Posts Tagged ‘kids art’
Growth Mindset Lesson Plan
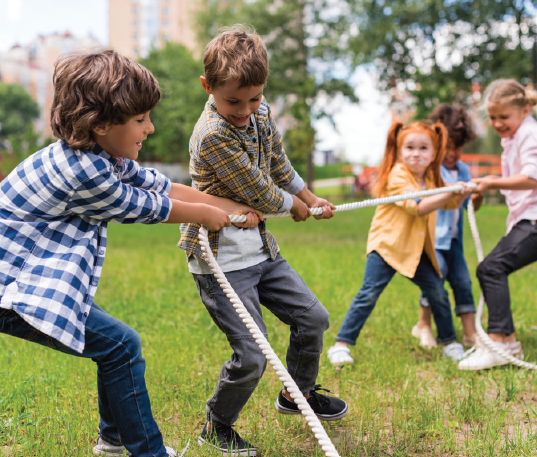
You might be wondering what a growth mindset is, so let’s start by defining it. A growth mindset is the believe that we can improve our abilities through effort, practice, and learning from mistakes. The opposite of a growth mindset is a fixed mindset which is the believe that our abilities are set in stone.…
Read MoreDream Catcher

New ideas for Craft! Create your own beautiful modern style Dream Catcher using our R42280, release stress and relieve yourself. Learn how to create these dream catchers and add a wonderful touch to your home.
Read MoreNew Product Highlight: Color Wheel Stencils
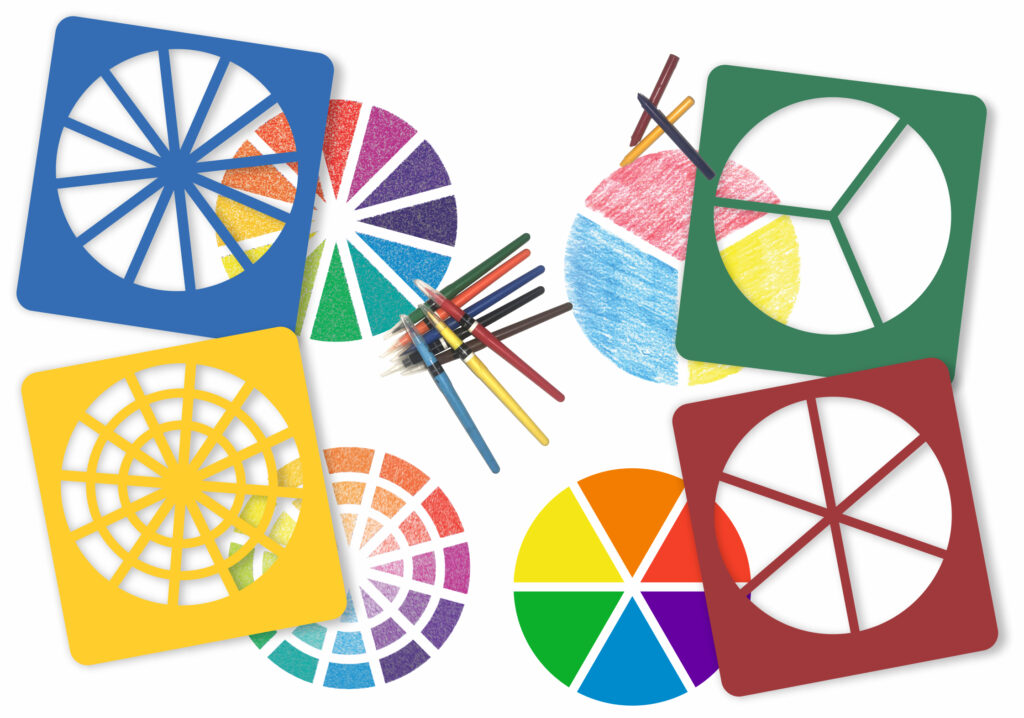
Create fun by encouraging students to create personal color wheels! We like this activity because it can be simple or complex, with a good balance between structure that guides students and open-ended fun that fosters creativity.
Read MoreProduct Spotlight: Holiday Color Diffusing Shapes
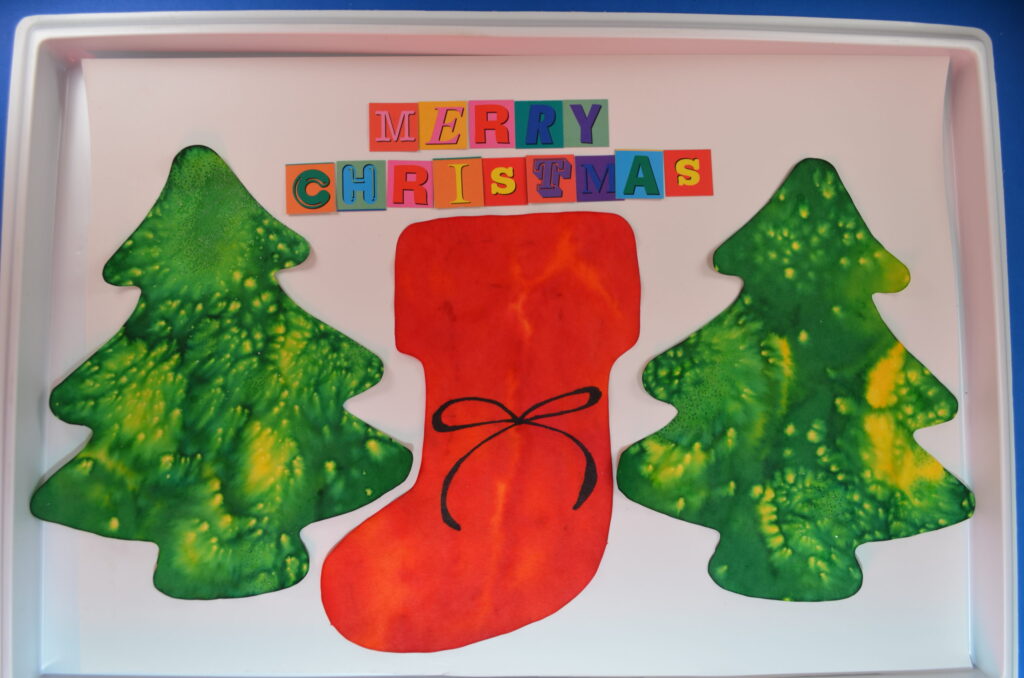
This month, we’re featuring two of our new Color Diffusing shapes to get us in the holiday spirit during the month of December: Color Diffusing Evergreens and Color Diffusing Stockings.
Read MoreLet’s make a mandala fractions t-shirt!

Age: 4+ Duration: 30 minutes (or more, if you’re really having fun) Learning Outcomes: A mandala is a spiritual symbol that represents the universe. So, this craft will give us an opportunity to start a conversation about the people who create these symbols. Also, we’re going to focus on the mathematical component of these intricate…
Read MoreLet’s Make A Window Cling!
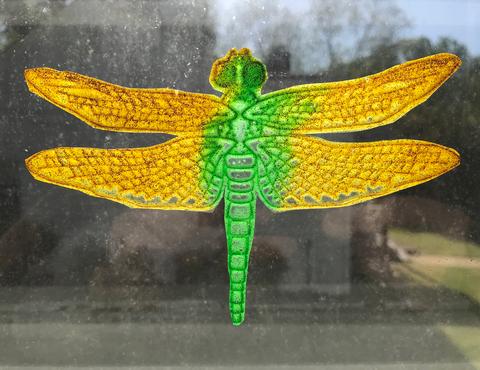
Age: 4+ Duration: 30 minutes (or more, depending on your design preferences), plus drying time. Learning Outcomes: We’re going to be mixing ingredients, painting and decorating with our creations. We can learn about the subjects related to our rubbing plates, nature, science, etc. And, we can even have a discussion about sunlight and color as…
Read MoreSensory Collage Easter Egg Art Project
Are you looking for Easter egg ideas? The sensory collage Easter egg art project is great for your classroom activities. It introduces children to the important senses of the human body with Roylco’s Sensory Collage Kit. It’s also great for working on fine motor skills. Age: 5+ Duration: 15 minutes Learning Outcomes: Exercise fine motor skills. Practice sorting…
Read MoreMake your own Origami Rabbit
Are you looking for more Easter ideas this week? Making origami rabbit is fun and easy. Today we are going to show you how to make these cute origami rabbits. Age: 4+ Duration: 6 Minutes Learning Outcomes: Practice following step-by-step instructions while exercising fine motor and spatial skills. You’ll Need: R15219 Elementary Origami Animals Markers Glue Stick…
Read MoreA Pot Of Gold for St. Patrick’s Day
Are you looking for craft ideas for St. Patrick’s Day? Create some decorations to make the house and classroom more festive. Lets make a spiral rainbow and pot of gold. Age: 4+ Duration: 5 minutes Learning Outcomes: Exercise fine motor skills. holiday activities. Makes a perfect take-home craft. You’ll Need: R15295 Rainbow Paper R15409 Economy Metallic Paper Markers, pencils,…
Read MoreFlag Designer
Create your own beautiful flags or duplicate your country’s flag with our Flag Designer kit! Use the blank card flags to initiate discussion about country flags and their symbolism. Talk about your own country’s flag and what the colors or … Continue reading ![]()