Flag Designer

2015-06-15-FeatureImage

Create your own beautiful flags or duplicate your country’s flag with our Flag Designer kit

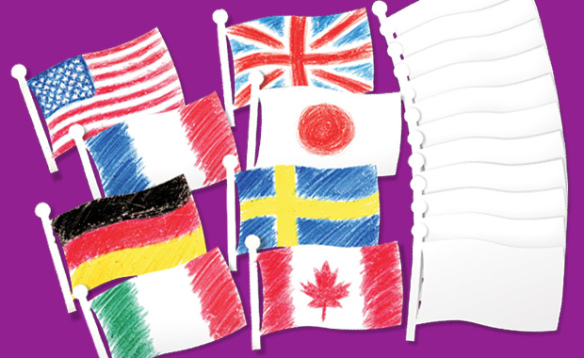
Use the blank card flags to initiate discussion about country flags and their symbolism. Talk about your own country’s flag and what the colors or images on the flag represent. You can even broaden the discussion to include the country flags for students of different nationalities.

You can make the project more interesting if you encourage children to design their own flags for a favorite team, make-believe country or for a special club.

Provide your students with scrap paper on which to first design their flags. Use crayons, markers or pencil crayons to color in your flags.

Pin up the finished flags for a classroom display!

Here are some other great project ideas you can incorporate in your unit study about flags:

• Make a flag windsock using a super-cool color resist technique!

• Hang your flags together with a Paper Hand Wreath to celebrate diversity in the classroom!

Line-20

Like us on FacebookShare this post with your friends, or Subscribe to this blog today to receive original craft project updates every Monday, Wednesday and Thursday!

Spotlight on… Squiggle Pipettes

squiggle pipette painting watercolors

We recently revamped our pipette line with a few new designs! One of the new designs is our fabulous Squiggle Pipettes. Learn more below!

squiggle pipette painting watercolors

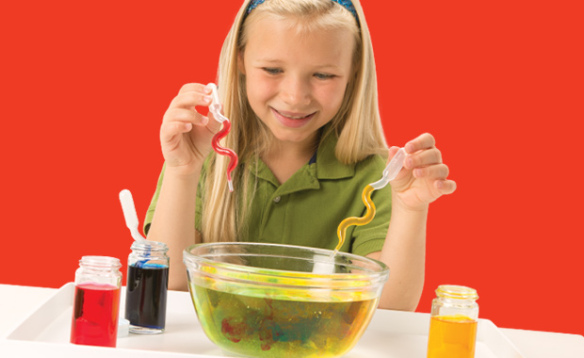
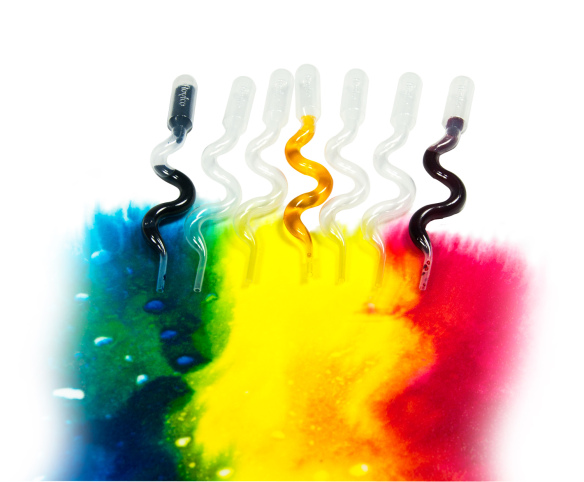
Squiggle Pipettes feature an interesting squiggle design that helps to distribute paint evenly onto paper. Learn more about this product here! Pipettes are not only a great tool to use for painting, but can be incorporated into fine motor exercises–the motion of squeezing the bulb helps to get kids working out their pincer grip! If you are planning to paint with the pipettes, use watercolor paints.

To use your pipettes, first squeeze the bulb to press out all the air. Dip the nozzle into a container of watercolor and release the bulb to suction the paint into the pipette. Squeeze the bulb again to release the paint over your sheet of paper.

[youtube https://www.youtube.com/watch?v=QmCBhIL4COc]

You can use the Squiggle Pipettes to color your art! Here are some ideas you can try for yourself! Click on the links to be taken to the full tutorials.

 • Make your own giant weaving mat using only Color Diffusing Paper, paint and Squiggle Pipettes! Cut the dried colored paper into strips and weave them in and out of each other to make a beautiful woven mat.

Learn our secret for color-resist painting! We use Squiggle Pipettes to add color to the flag designs.

Color your own clothes! A paper vest, that is. Find more about how to design your own vest at the link.

• Form your art into beautiful images of animals using basic shapes! Squiggle Pipettes are used to make the painted images.

Line-16

Like us on FacebookShare this post with your friends, or Subscribe to this blog today to receive original craft project updates every Monday, Wednesday and Thursday!

Thank You 2013 Art Camp Kids!

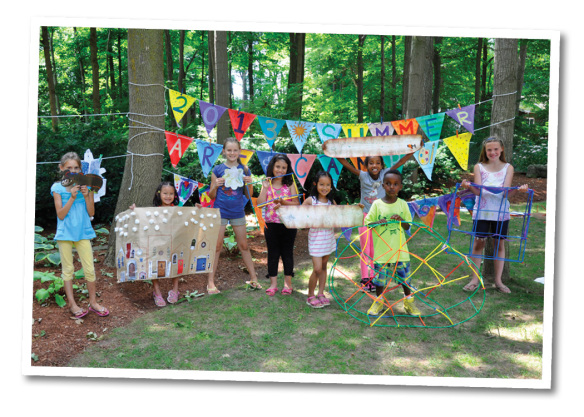
Group ShotToday’s post is a little bit different than our regular series of posts! The folks at Roylco enjoyed a fantastic summer art camp in 2013 thanks to our brilliant art campers. Using our classroom materials, the group completed a variety of amazing projects. We would like to say, “Thank you!” to all of our campers and showcase some of our favorite moments from the camp!

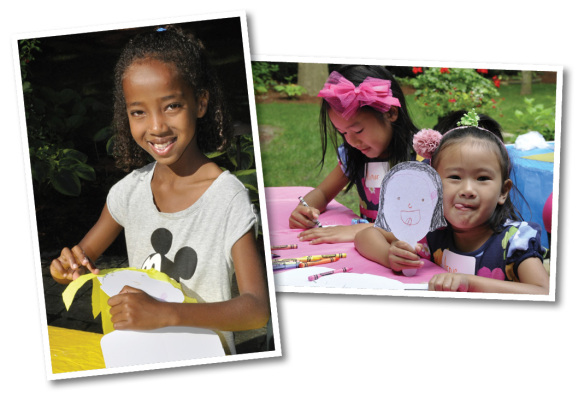
drawing, coloring, all about meGetting to capture smiles like this was definitely one of our favorite moments. Using our “All About Me” products, our art campers were able to express the best of their own creativity with representations of themselves!

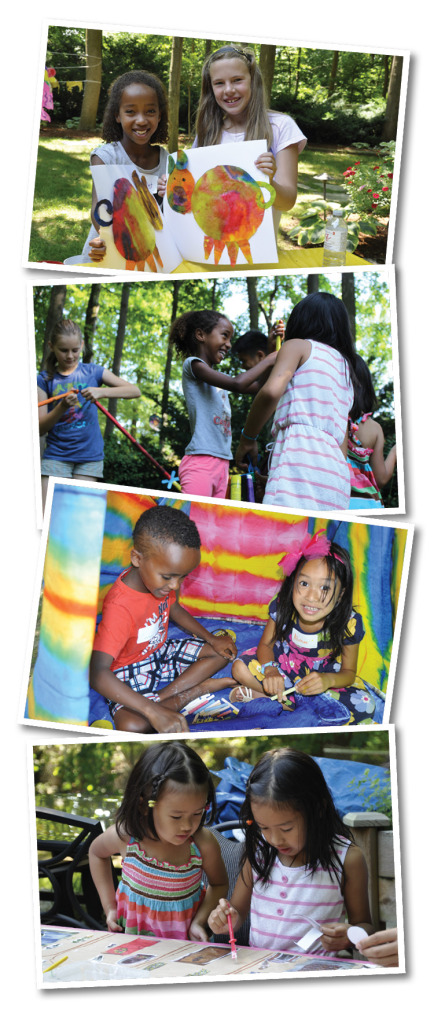
color diffusing, straws and connectors, architecture paperThese were some of our favorite moments: getting to see the Art Campers working together and having fun while learning new concepts. The kids learned a variety of skills, everything from building, stacking, painting, gluing, molding, sorting and more!

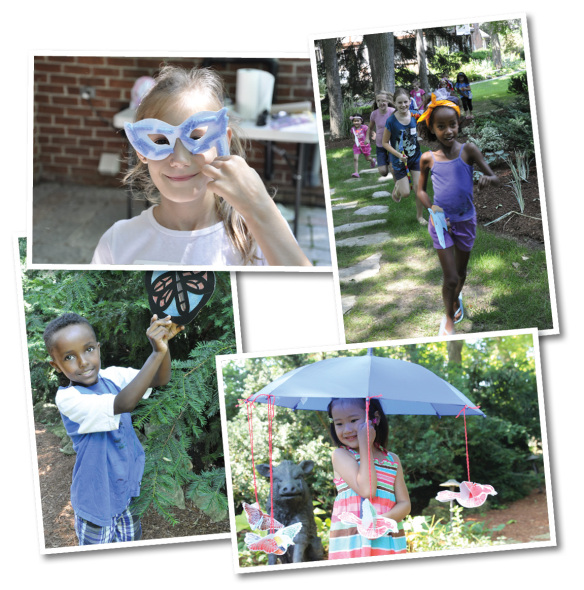
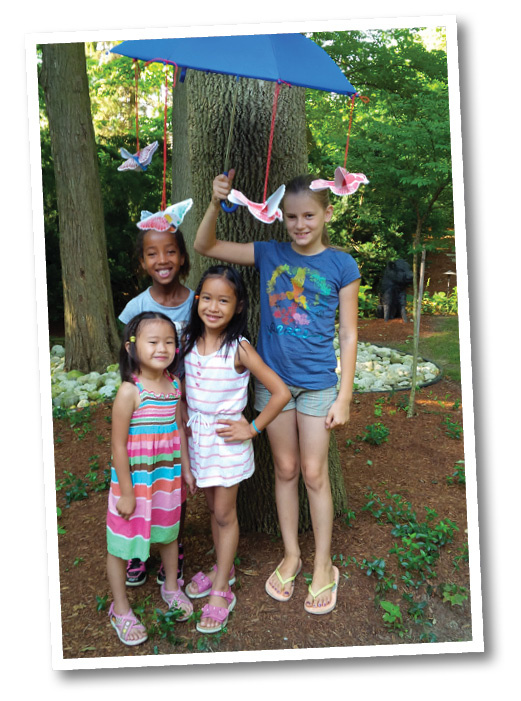
hanging stained glass, umbrella, masks, animal hop

The best was when we let the campers take their own initiatives with their crafts. Let’s have an animal foot race! Or, let’s find a good place to hang our stained glass frames. It’s an endless lesson in fun and excitement.

art campWe had wonderful hot summer days to enjoy our good company! That, combined with good spirits and creativity turned our summer art camp experience into a dream.

color reveal birds

We all loved to pose for photos with our new friends!

Kids NamesWe have to give a shout-out to our best buds at the 2013 Art Camp! Everyone did an amazing job and had a blast together. Thank you so much, art campers!

Line-12Like us on FacebookShare this post with your friends, or Subscribe to this blog today to receive original craft project updates every Monday, Wednesday and Friday!

Paint Bellows Tree

P7290065feature

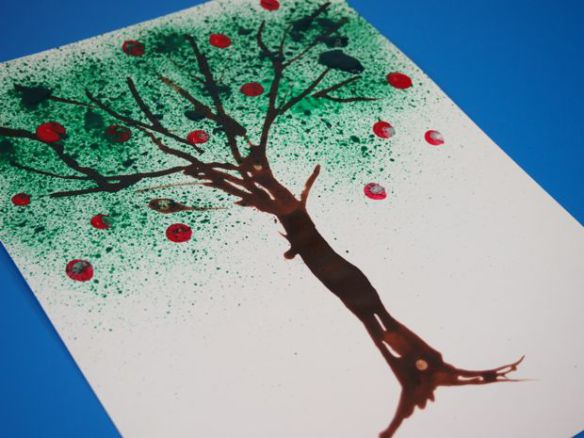
Use process-based methods to create colorful tree artwork! The techniques used involve materials such as Paint Bellows, fingerpaint and Squiggle Pipettes, all combined to give your students an exercise in fine motor development while enjoying the result of the final image. 

Age: 3+

Duration: 10 minutes

Learning Objectives: Explore process artwork through fine motor activity. Use Paint Bellows and Squiggle Pipettes to exercise squeeze-and-release motions using various finger coordination. Achieve harmonious effects with 3 different art techniques. Enhance image association through fluidly and unidirectionally moving the pipette to make a tree trunk, spritzing paint to make the tree leaves and pressing fingerpaint onto the paper to make apples. Create results with process-based art!

You’ll Need:

R54460 Squiggle Pipettes

R5419 Paint Bellows

• Fingerpaint in tree colors (green, brown, red)

• Card paper sheet (8.5 x 11″)

• Paint tray

Line-04

Educators are always looking for ways to add process steps to their students’ learning activities. Instead of merely focusing on the process, guide students to make beautiful artwork through step-by-step fine motor exercise using several different tools–Paint Bellows, Squiggle Pipettes and their own fingers!
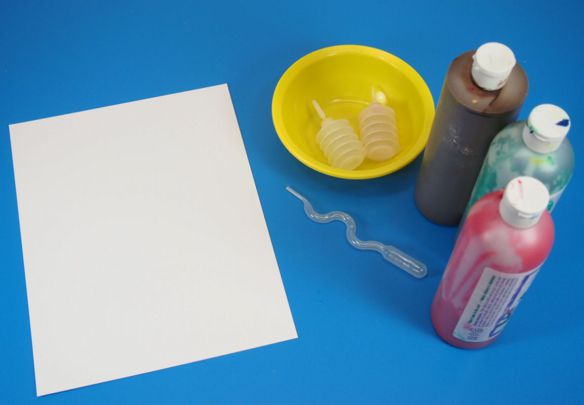
OLYMPUS DIGITAL CAMERAYou won’t need many materials to make this artwork! Place the sheet of card paper inside a paint tray. I use card paper in this project to help withhold it shape under the paint.
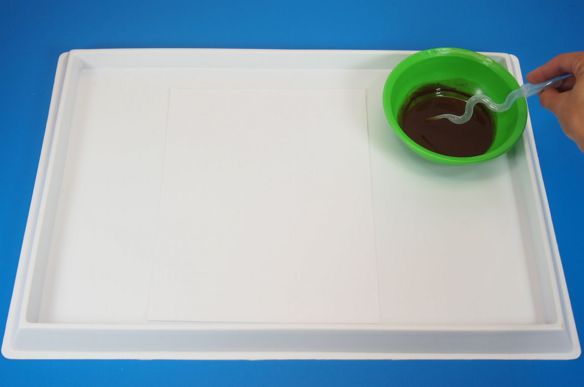
OLYMPUS DIGITAL CAMERAMix one part brown paint with one part water to make the paint watery for the Squiggle Pipette. To use the Squiggle Pipette, dip the nozzle into the paint, and squeeze the bulb to release all the air. Release the bulb while holding the nozzle in the paint to draw in some of the paint.
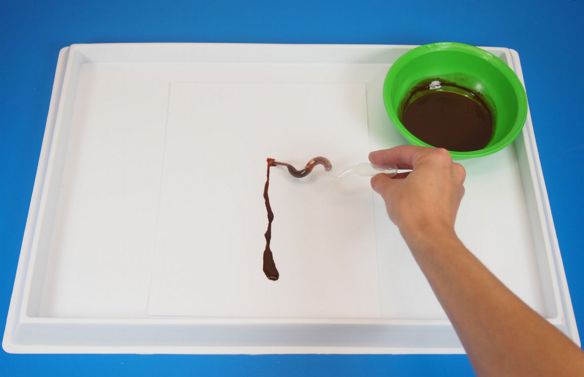
OLYMPUS DIGITAL CAMERATo paint with the Squiggle Pipette, release the paint onto a sheet of card paper. Start from the bottom of the sheet, squeeze out a bit of paint, then draw up the Squiggle Pipette while continuing to squeeze the paint out. This will produce a tree-trunk base for the tree artwork.
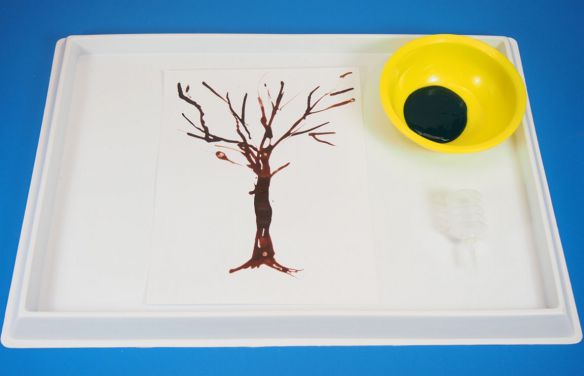
OLYMPUS DIGITAL CAMERAUse the remaining brown paint in the Squiggle Pipette to make offshoots from the main tree trunk. These will form the boughs and branches of the tree. A good technique is to squeeze a bit of paint out from the center of the tree, then draw the pipette outwards from the center to make a wispy, crooked branch.

Add a few lines at the bottom of the tree trunk to form the tree’s roots.
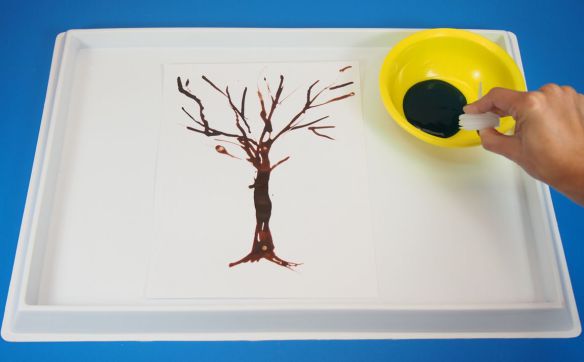
OLYMPUS DIGITAL CAMERASqueeze a bit of thick green paint into a bowl. NOTE: Do not water down this paint! In order to effectively use the Paint Bellows, you will need to use very thick paint. This helps to achieve the splatter effect better than using watered-down paint.

To use the Paint Bellows, first squeeze the top and bottom of the accordion chamber together. This will release all the air from the chamber.
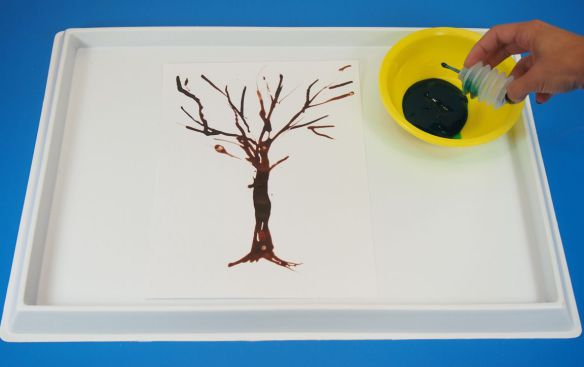
OLYMPUS DIGITAL CAMERAHold the Paint Bellow taut as you dip the nozzle into the paint, then release the top and bottom to allow the chamber to draw in the paint. You can see that only a very small amount of paint has been drawn into the chamber.
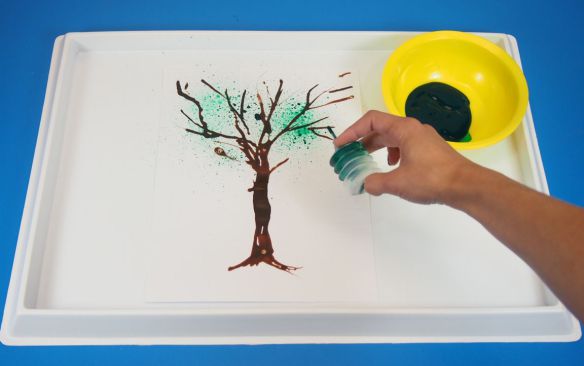
OLYMPUS DIGITAL CAMERASqueeze the top and bottom of the Paint Bellows together to make the chamber spritz out the paint. The effect will produce multiple miniature dots on the canvas.
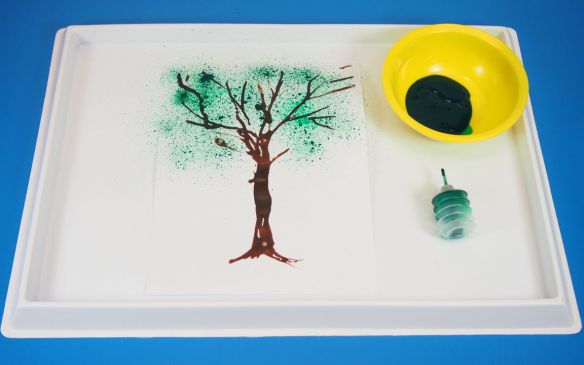
OLYMPUS DIGITAL CAMERAContinue adding more spritzes of paint around the boughs of the tree. Focus on getting students to exercise their finger muscles while using the Paint Bellows.
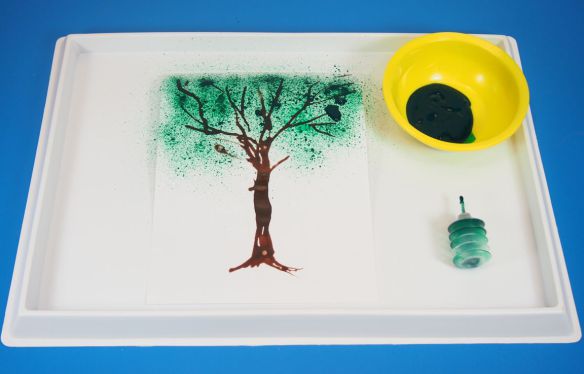
OLYMPUS DIGITAL CAMERAContinue filling up that tree space until you are happy with how it looks. Concentrate more green in the spaces near the boughs, so that your artwork mimics the appearance of leaves throughout the tree.
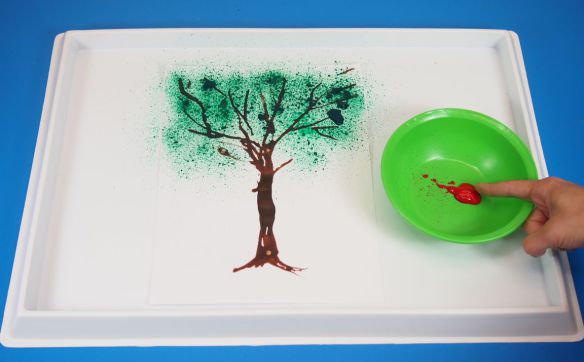
OLYMPUS DIGITAL CAMERANow we are ready to decorate the tree. Squirt a bit of red finger paint into a bowl. Students can dip one finger into the red paint.
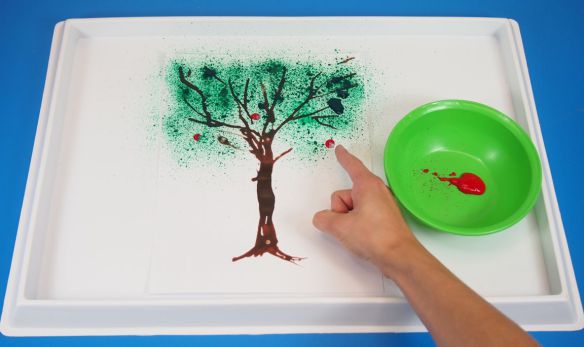
OLYMPUS DIGITAL CAMERAUse the tip of your finger to make little dots representing apples (or any type of fruit) on the tree.
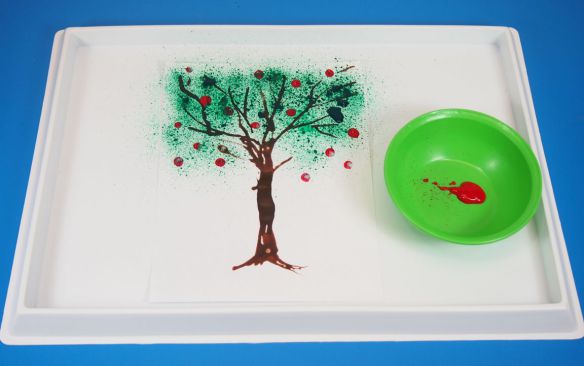
OLYMPUS DIGITAL CAMERAContinue adding dots to emphasize concentrated finger placement. Students should pay attention to the overall balance and composition of their tree artwork, and focus on where placing the dots will make the tree look fuller.
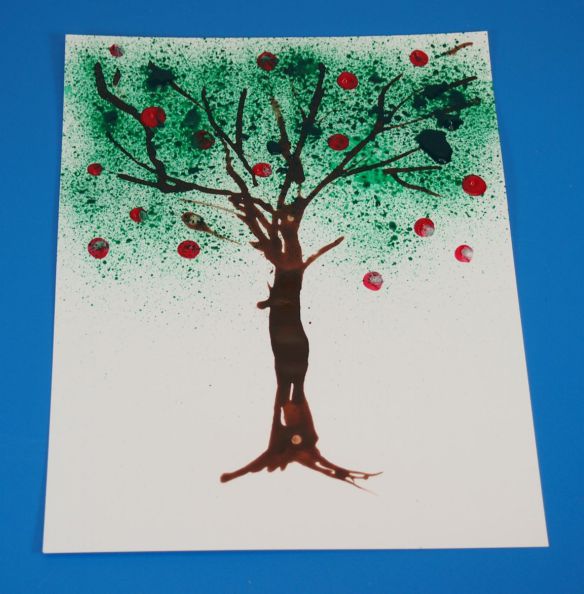
OLYMPUS DIGITAL CAMERAWe’re all done!

You can experiment with different types of tree appearances or add more to your painting. However, the core purpose of the artwork is to engage fine motor skills and focus on process as well as result art.

Line-04

Thanks for checking out this post! Like us on FacebookShare this post with your friends, or Subscribe to this blog today to receive original craft project updates every Monday, Wednesday and Friday!

Craft Spotlight: Super Snowflake Stencils

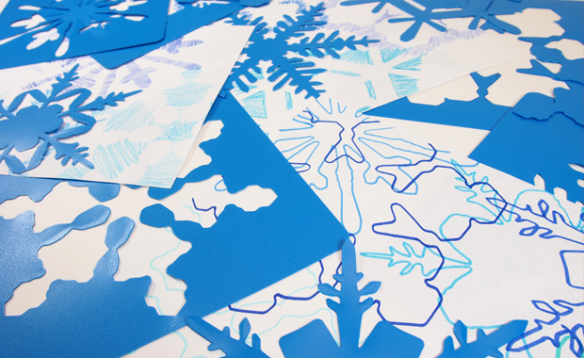
Feature-Image-SnowflakestencilsIf you want to give some pizzazz to your winter-themed artwork, check out our Super Snowflake Stencils! We’ve created an assortment of beautiful snowflake designs that your students can use again and again!The Super Snowflake Stencils are jumbo-size, perfect for small hands to use, manipulate and trace! Our video below shows you several different techniques on how to use the stencils. You can trace the outline of the stencil, color in the available space of the stencil, or add your own twist to tracing.

Get TWO for the price of one: Each of the stencils comes intact with a backing that can also be used as a stencil. Simply separate the inner shape from the outer backing and distribute both to your students.

Talk about the science of snowflakes and how they are made. When the temperature drops, water in the atmosphere gets crystallized into ice form. These miniature ice water droplets are frozen into snowflakes. You can discuss how no two snowflakes are alike, but many can be categorized into the 12 common scientific snowflake shapes!

R58622

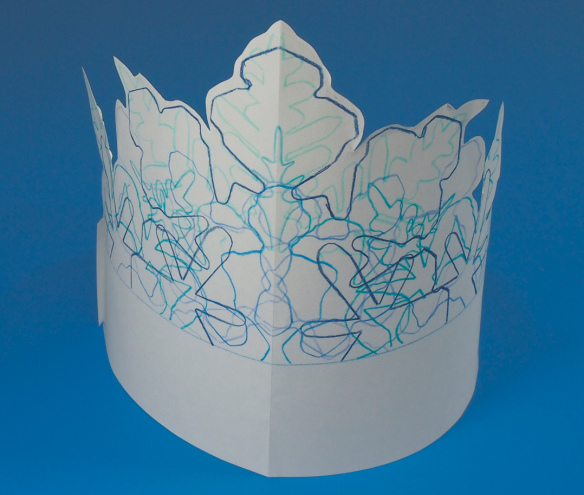
Last year, we posted a project using our Super Snowflake Stencils entitled Winter Crowns. Learn how to make these simple charming crowns with a few colorful blue pencil crayons and the stencils. Great for students to wear during a winter-themed play or for circle time sessions.

_1030118

Line-16

Thanks for stopping by! If you’d like to send us your Super Snowflake Stencil project ideas, contact us at subscriber@roylco.ca for a chance to be featured in an upcoming post!

Craft Spotlight: Sensory Collage Kit

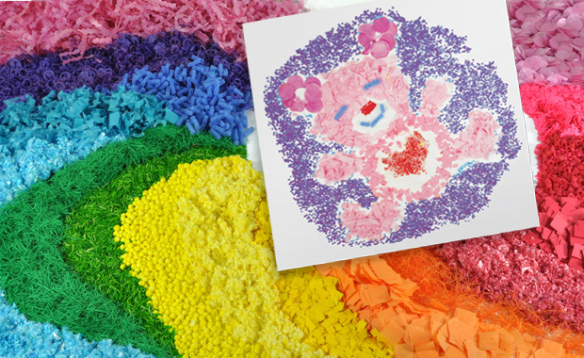
Feature-Image-SensoryCollageWELCOME BACK TO 2014! We are ecstatic to begin the New Year with a plethora of craft ideas, guest posts and so much more! To start off, I’ve decided to post on our Sensory Collage Kit–filled with a variety of colorful materials to add brilliance, texture and fun to your students’ collage projects!

The Sensory Collage Kit features 20 sensory art packs with a variety of different textures to explore. Some materials are soft and pliable while others are bumpy or rough. Sort the materials by texture type or color.

R75419

In the video below, Cathy shows you how to put together a simple illustration of a shooting star using the collage materials.

One tip for using the collage materials is to dip our R5725 Goo Spreaders into a bowl of glue and have the students ‘draw’ out their illustration using the glue. Note: Use colorful glue (such as glitter glue or craft store colored glue) so that students can see their illustration. Draw one section at a time, then drop a handful of collage material on top. Shake off the excess and voila! You have started your first sensory collage illustration!

View the complete guide HERE! View the pdf to discover project ideas, material descriptions and more.

To build sensory awareness and develop fine motor skills, ask your students to describe the various textures while covering their eyes. Get them to think about the type of texture they are feeling. What would the material best represent? For example, the scratchy, thin green material could be used as grass while the fluffy blue material could be used for the sky. There are endless possibilities with the Sensory Collage Kit that you can discover for yourself NOW!

Our tip is to first draw the illustration in clear lines using black marker. Once this is done, your students can fill in the individual sections with the collage materials as they see fit.

DSCF7141

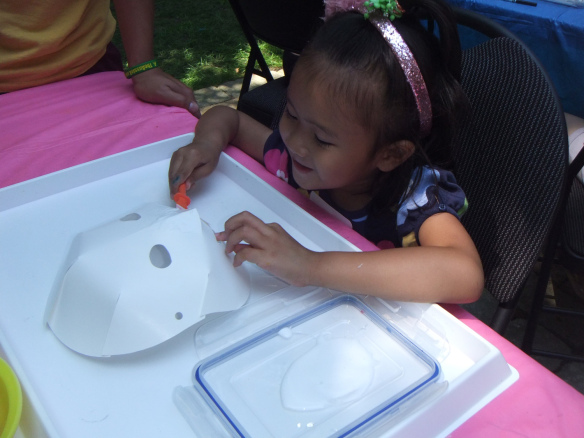
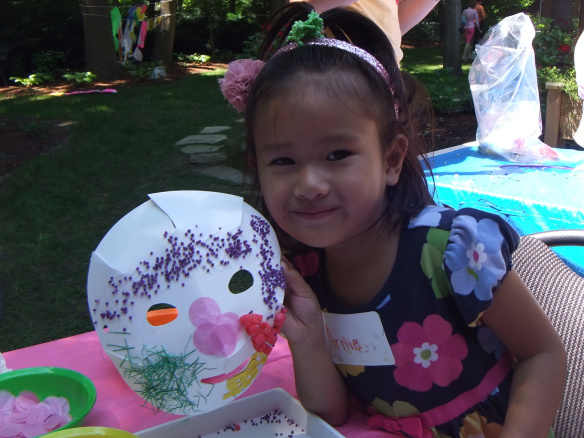
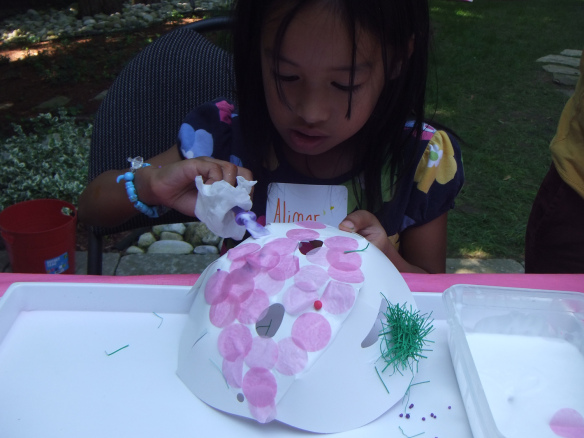
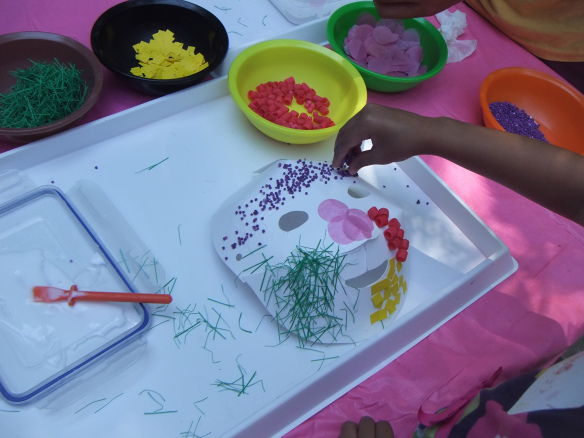
Our Art Campers took their sensory collage experience one step further and applied the materials to our R52076 Folding Fun Masks! With Goo Spreaders, a bit of glue and a lot of imagination, these little artists created a series of decorative masks for fun drama play!

DSCF7169While making their masks, the art campers were asked to describe their favorite textures and why they used these particular textures on the masks.

DSCF7162Some of the responses had to do with the colors chosen mostly, but others responded with what they were reminded of when holding and handling the materials. Some art campers described one of the materials as ‘bead-like’ while others identified others as ‘grassy’ or ‘fluffy.’

DSCF7165Line-19Thanks for stopping by! We wish you all a Happy New Year here at Roylco and look forward to working with teachers, educators and parents in the coming weeks to improve our commitment to early childhood education with our products. Contact us for more information if you are interested in working with us, or would like to showcase your own craft projects. Email us at subscriber@roylco.ca!
Christmas Twist Stars

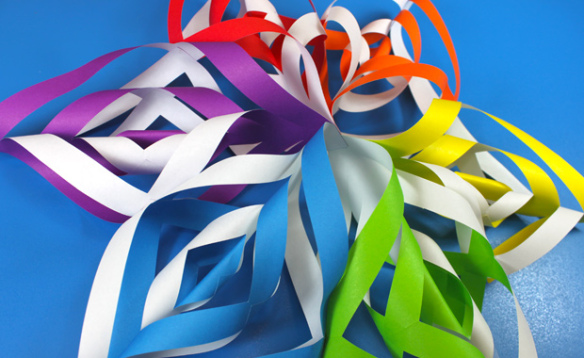
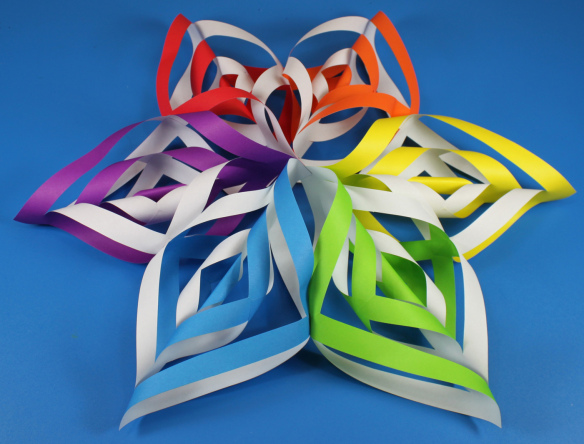
Feature-Image-CutFoldStarA whimsical star design hung in your classroom is sure to turn heads! Use our R15350 Cut & Fold Squares for brilliant color.

Age: 6+

Duration: 20-30 minutes

You’ll Need:

• R15350 Cut & Fold Squares

• Tape

• Scissors

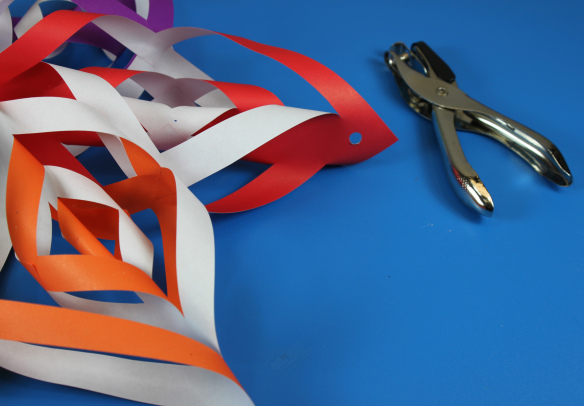
• Hole punch

Line-07The great thing about this craft is that it looks complicated, but is actually super-easy to make! All you require is square-cut paper, a simple folding technique and a few snips with scissors. I’ll walk you through the process step-by-step, but I’ve also made a few detailed animations to help you through each step.

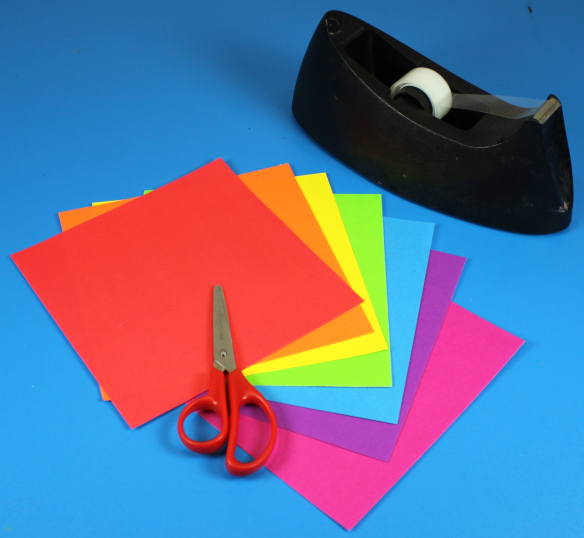
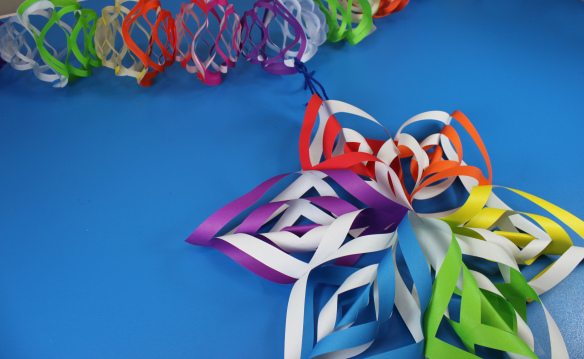
IMG_7854Choose your selection of colors. A rainbow-colored star will stand out just as nicely as a red and green arrangement!

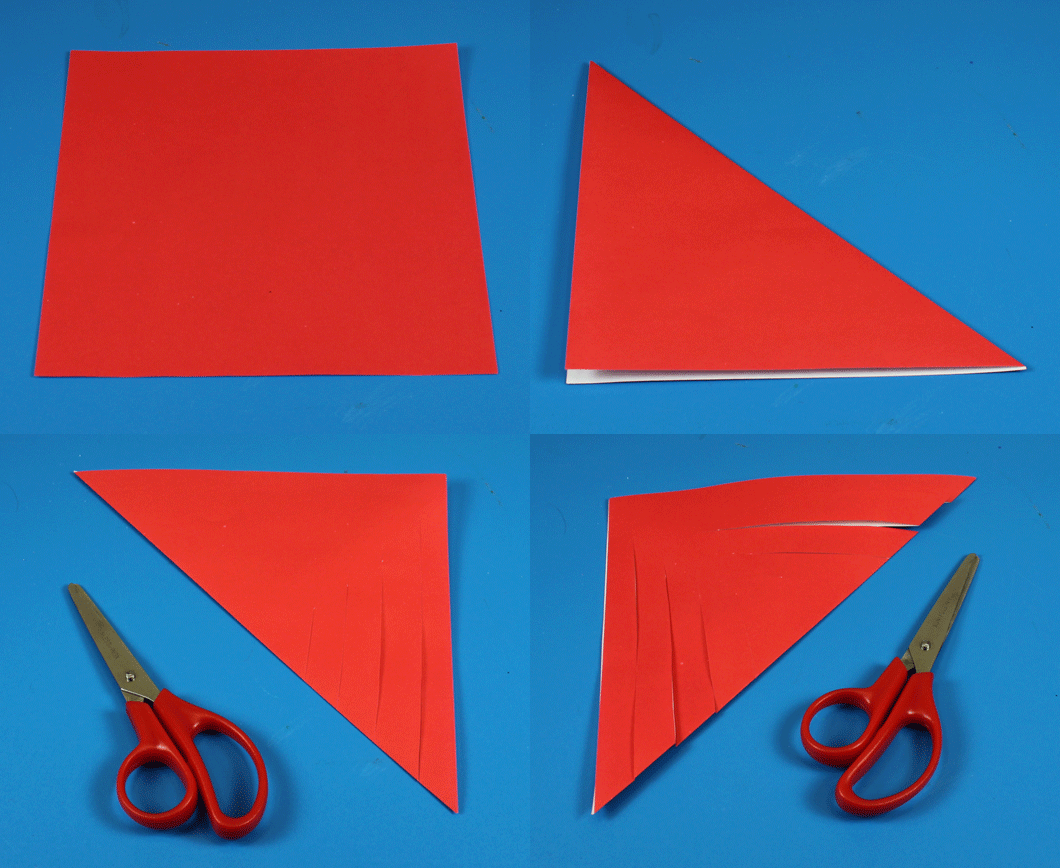
StarFoldCutAnimationThe Christmas Star is divided into several parts. Each part can be made simply with one Cut & Fold Square and a few cuts with scissors. First fold your square into a triangle.

From the fold line, close to the edge of the triangle, cut 1 long line towards the point of the triangle. Do not cut all the way across the triangle, but stop about 1/2″ below the edge. Make another cut just beside the first. Stop the cut about 1/2″ below the first cut. Make a third cut beside the second cut. Stop the cut about 1/2″ below the second cut. Mirror the same cuts on the other side of the triangle.

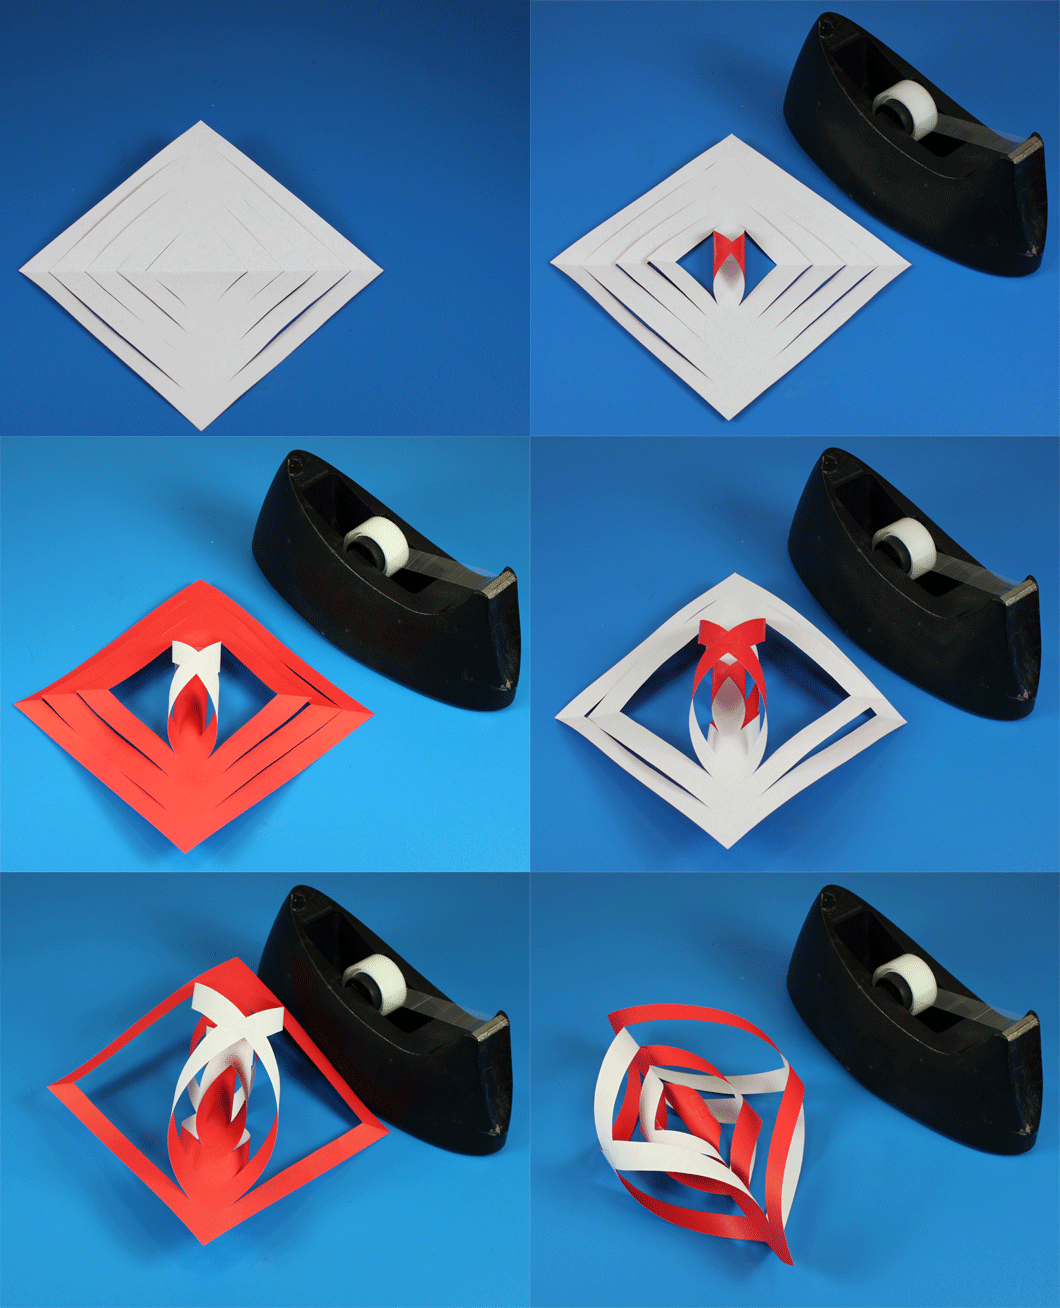
StarFoldTapeAnimationUnfold the triangle back into a square. Turn the square so that it makes a diamond shape. You’ll notice that the cuts make little triangle strips on either side of the diamond shape. Start with the uncolored side facing up. Join the corners of the center together. Use tape to secure.

Next, flip the shape over and join the next two corners together with tape. Flip the shape over again to the uncolored side and join the next two corners. Continue flipping the shape over and joining the next set of corners until you get something like a spiral, which you can see in the last image in the animation.

StarFoldAttachAnimation

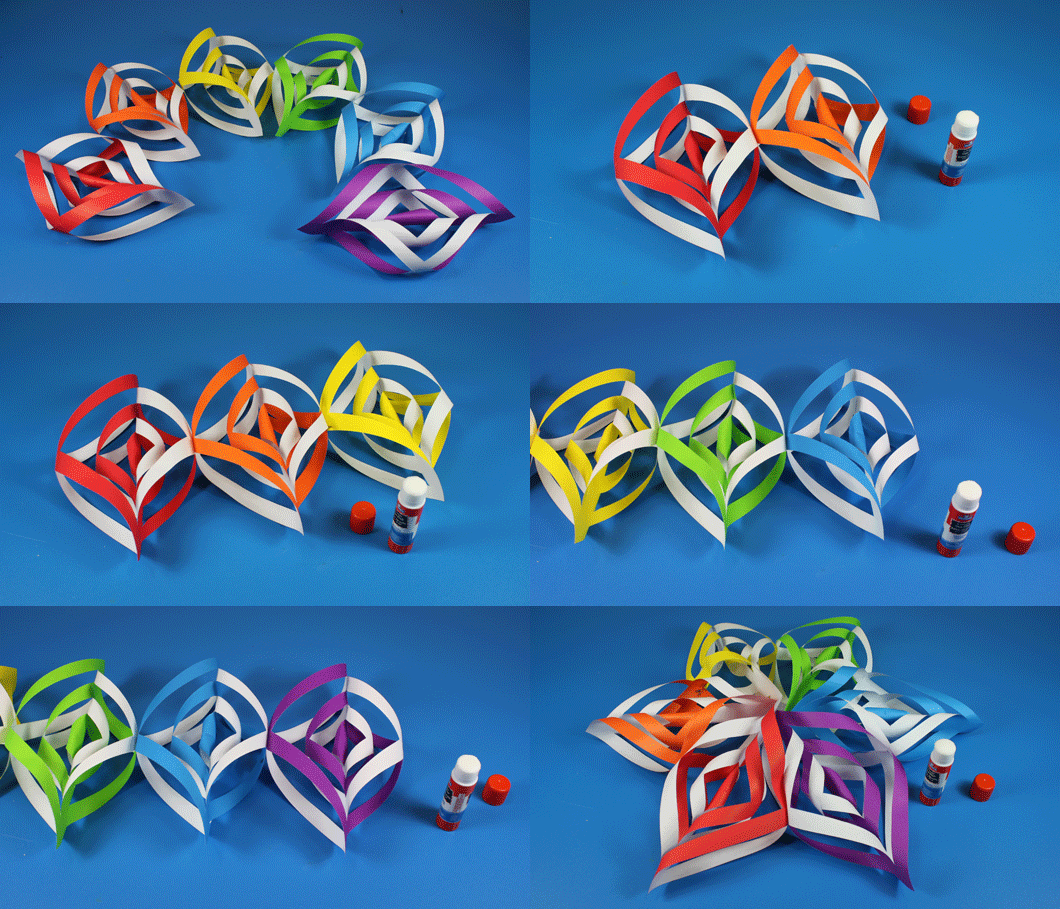
In order to make a Christmas Twist Star, you will need 6 of the colorful spirals. Alternate the colors of the spirals (such as red, green, red, green, etc) or make one of each color available in the Cut & Fold Squares pack.

To join the spirals, glue the sides together. You should have all 6 spirals glued side by side in a row. Wait for the glue to dry before bending the whole line of spirals into a circle. Glue the sides of the last two spirals together. The spirals will all angle out from the center to look like a large star!

IMG_7877Punch a hole through the top of one of the spiral points.

IMG_7880Tie a length of string from the hole to hang the star!

IMG_7876Line-07

Show us your beautiful Christmas Twist Stars! Send us photos of your students’ work to subscriber@roylco.ca. Wishing you a wonderful winter vacation!

Special Feature this week:

We’ll be updating every day of this week and next week with fantastic holiday crafts you can use in your classroom!

Please note:

LittleFingersBigArt won’t be posting anything between December 18th, 2013 and January 6th, 2014! Have a wonderful winter vacation!

Tot School uses our Rubbing Plates!

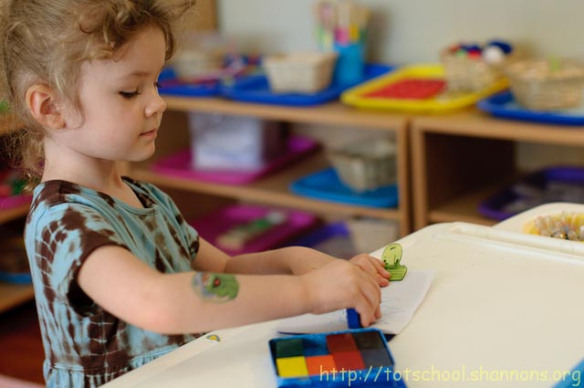
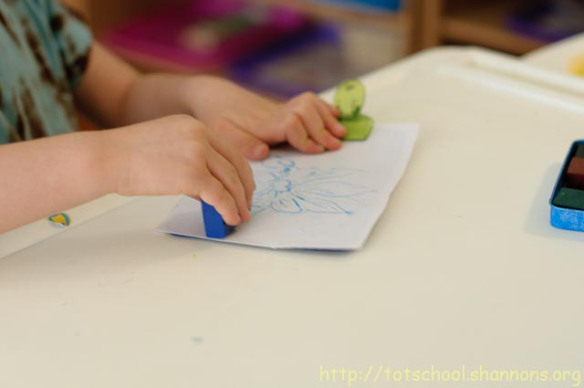
FlowerPlateRubbings-5793-1Tot School made an assortment of rubbing plate prints using our R5804 Flowers Rubbing Plates! Check out Sweet Pea’s review on how well the prints turned out!


The post, called “Rubbing Plates” was published on July 23rd 2010 and can be viewed at this link.

Sweet Pea’s technique for using the rubbing plates is a great start for early learners with developing fine motor muscles. Using the non-dominant hand to hold the rubbing plate and paper in place, rub crayon across the surface of the paper with the dominant hand. This helps to reinforce muscle control and encourages patience and timing while making rubbing plate prints.

FlowerPlateRubbings-5798-1

And the flowers turned out lovely! Sweet Pea found that using block crayons helps to create an even image all throughout. If you are using regular crayons, be sure to use the side of the crayon rather than the point. The point will spread too much of the crayon over the paper and will blend the rubbing plate image in with the rest of the color.

Another important tip that Shannon wrote was that the images themselves could be used for botanical lessons: Use the provided identification sheet to connect the images to real existing flowers. Learn about flowers by name and match them to the rubbing plate images!

Thanks to Shannon for this post!

Images and original post © Tot School.

This post was not sponsored for a review. At LittleFingersBigArt, our mission is to present to our readers and viewers the newest and most creative craft ideas that fans of Roylco have made on their own. Our goal is to allow you and other educators and parents to reuse our products in fun ways so that children always get the best educational experience from them!

We’d love to see more ideas like this one! If you’ve got a brilliant craft idea or have made a version of one of our crafts that you would like to share with us, send an email to subscriber@roylco.ca with photos, descriptions or a link to your work. We will create a feature post and link back to you with full credit. We’d love to hear from you!


Craft Spotlight: Alphabet Pasting Pieces

Feature-Image-alphapastingpiecesThis week’s Craft Spotlight highlights our Alphabet Pasting Pieces as we get set for literacy activities! Use this literacy tool as an introduction to letter recognition, letter order and to help students construct new words.

The Alphabet Pasting Pieces are small cutouts of letters in different fonts and colors to help students get used to the variable appearance of the alphabet. Add the pasting pieces to any of your scrapbooking projects or use in conjunction with scrap pieces of paper to make interesting collage artwork!

_DSC0069

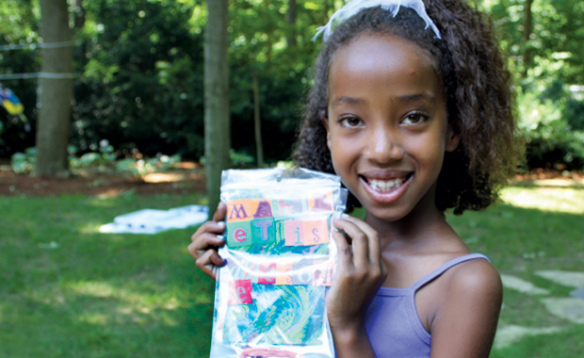
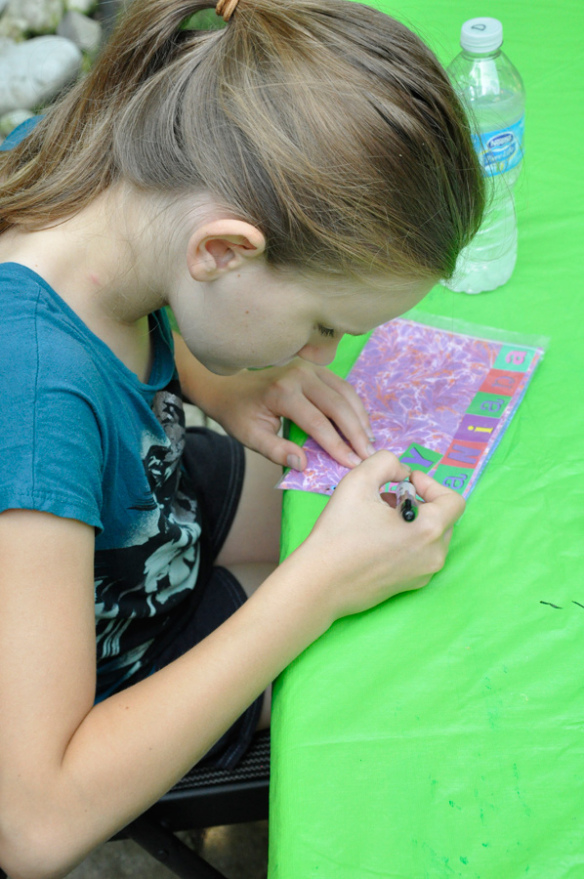
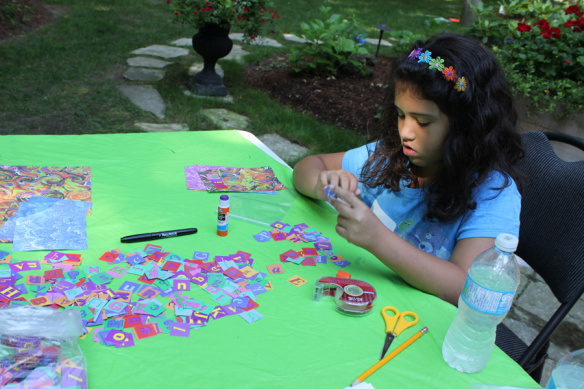
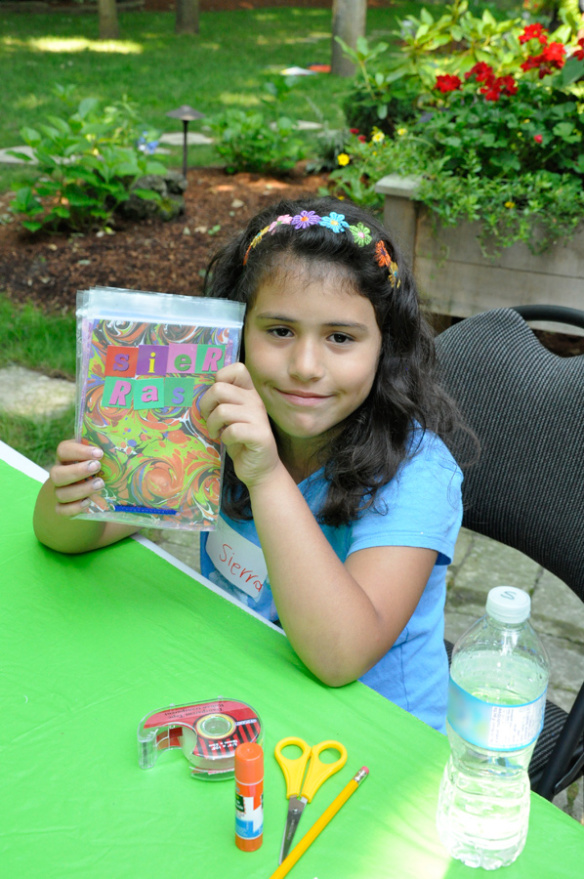
The letters are printed on both sides of the card, so they can also be used for literacy mobiles! In this activity, our crafters used the pasting pieces to spell out their names.

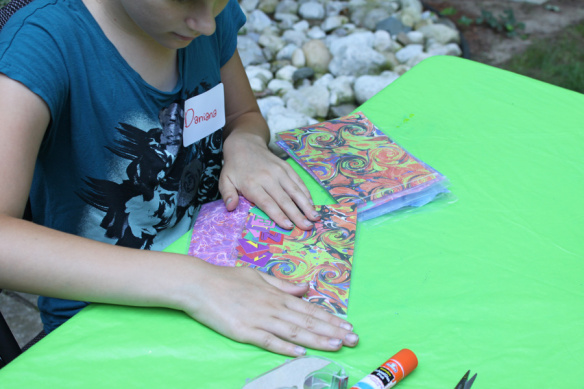
IMG_2347One of the projects they made was a homemade scrapbook from zip-lock bags and decorative paper. The pasting pieces were then used to spell out words such as, “My Book” or “Art Book.” Each zip-lock bag was attached together at one end with a hole punch and pipe cleaner to make it look like a miniature art portfolio!

IMG_2340Use the colorful letters for sorting and counting activities! Give students a handful of the pasting pieces and ask them to sort the letters by vowels or consonants. Then sort by color! Finally, count how many individual pasting pieces are in each pile.

_DSC0073The pasting pieces are a great way to decorate scrapbooks, journals, collage art and more!

Line-09Show us your literacy activities or artwork with photos! Contact us at subscriber@roylco.ca for a chance to be featured in one of our upcoming posts!