Sensory Collage Easter Egg Art Project

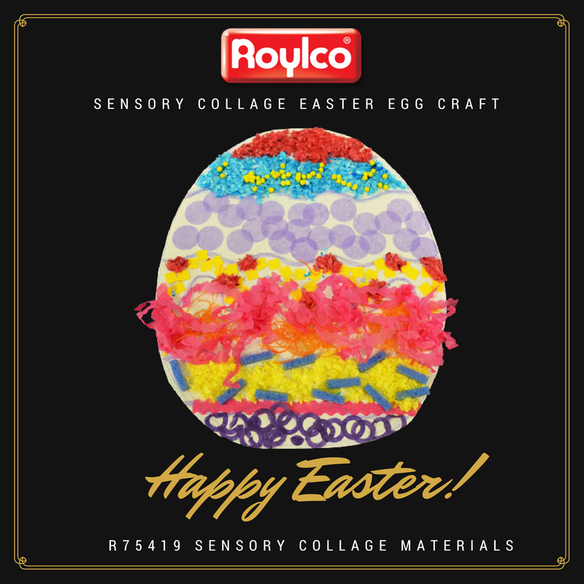
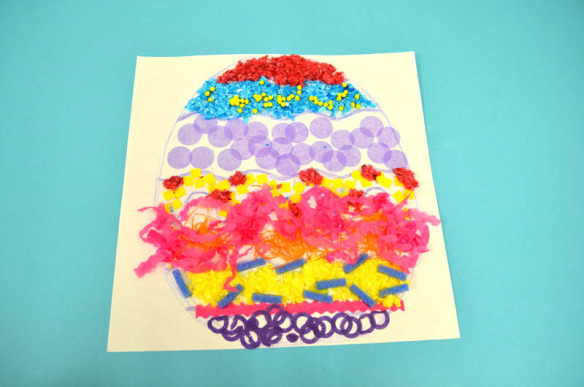
Are you looking for Easter egg ideas? The sensory collage Easter egg art project is great for your classroom activities. It introduces children to the important senses of the human body with Roylco’s Sensory Collage Kit. It’s also great for working on fine motor skills.

Age: 5+

Duration: 15 minutes

Learning Outcomes: Exercise fine motor skills. Practice sorting materials by color and texture. Learn about collage art. Develop sensory awareness.

You’ll Need: 

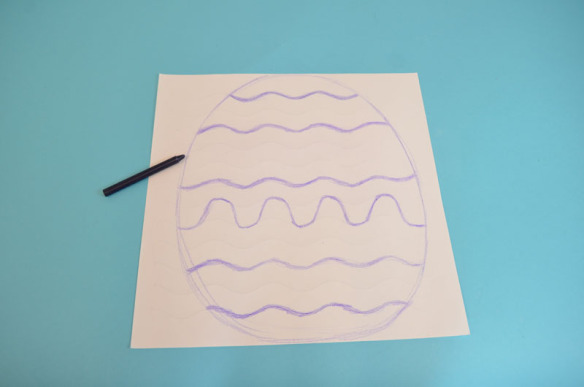
Pull out a wavy sheet from the R15413 Sensory Paper package, choose your favorite pastel color, and draw an outline of an egg. Encourage kids to slowly move their palms and fingertips over the paper to feel the small raised patterns. Some kids may want to follow the patterns on the paper to create their designs, while others may want to create their own designs. You can color the wavy lines on the paper and it will divide the egg into different sections. You can make these lines as bold as you like.

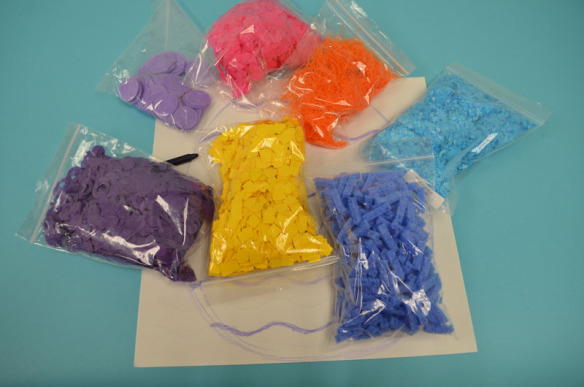
Next, plan and place the sensory art materials you like on your egg. The Sensory Collage Kit contains 20 different sensory art packs to use in creating unique illustrations.

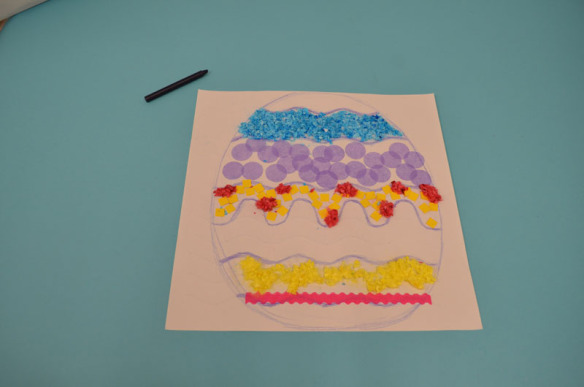
Before gluing the sensory art materials onto the artwork, you can play with the colors and the different textures. Think about which sensory art materials would best represent your Easter egg artwork.

Encourage children to talk about the color and the texture they use on the artwork and discuss what they feel. Is the color a warm color or a cool color? Is the material rough, hard, scratchy, smooth or bubbly? After exploring the materials, children can start to glue the sensory materials onto the artwork.

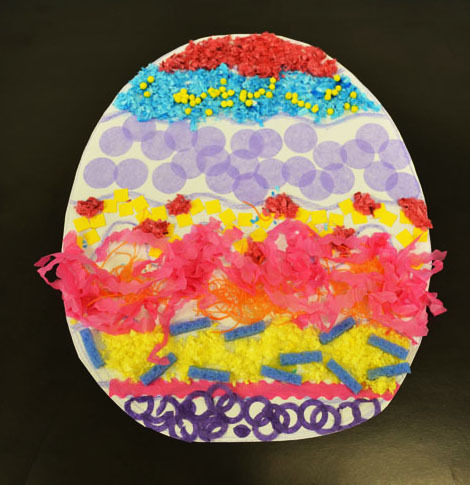
The artwork is almost finished. Have the children cut out the egg and glue it on to the  cardstock. Here is our sensory collage Easter egg artwork. Write your name on the artwork and take it home for your Easter celebration!

For more information please visit https://roylcostore.com/products/sensory-collage-kit 


Bundle Savings

Get all the Roylco items used
in this project and save 15%!

$47.58 USD
bundled price
Add Bundle
to Cart
 

Scents Sort Match-Up Kit

scents sorting sensory smell

Exercise your sense of smell with our Scents Sort Match-Up Kit! Help students learn everything they need to know about basic smells that we encounter in our daily experiences. 

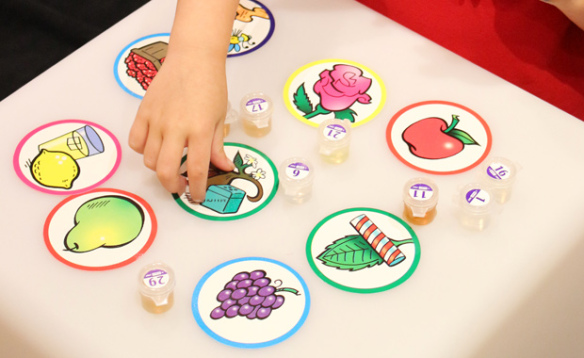
The R62301 Scents Sort Match-Up Kit is great for encouraging children to explore their natural senses. The kit features 30 different liquid scents contained in small self-sealing capsules and 30 matching picture cards. Each of the capsules are numbered to correspond with the list of scent names featured in our guide here. The scents are also pleasing and familiar to students, including those of apple, grape, mint and so on.

Students can pop open the cap of each capsule and try to identify the scent they are smelling. Talk about the familiar scents and where students may have encountered them. When they have a clear idea of what kind of scent they are smelling, they can choose the correct picture card to match the capsule.

You can play one of six different educational games to enrich students’ exploration of their olfactory sense. These games attempt to provide students with cross curricular lessons such as brainstorming descriptive adjectives, or playing a number matching game. Find out more at this link!

Line-07

Like us on FacebookShare this post with your friends, or Subscribe to this blog today to receive original craft project updates every Monday, Wednesday and Thursday!

Welcome to the Light Cube!

2014-10-09-FeatureImage

We at Roylco are excited to launch our new series of posts about our brilliant Educational Light Cube! Check us out every Thursday for a brand new look at our sensory-engaging light box… and all the amazing things you can do with it. Let’s get introduced!

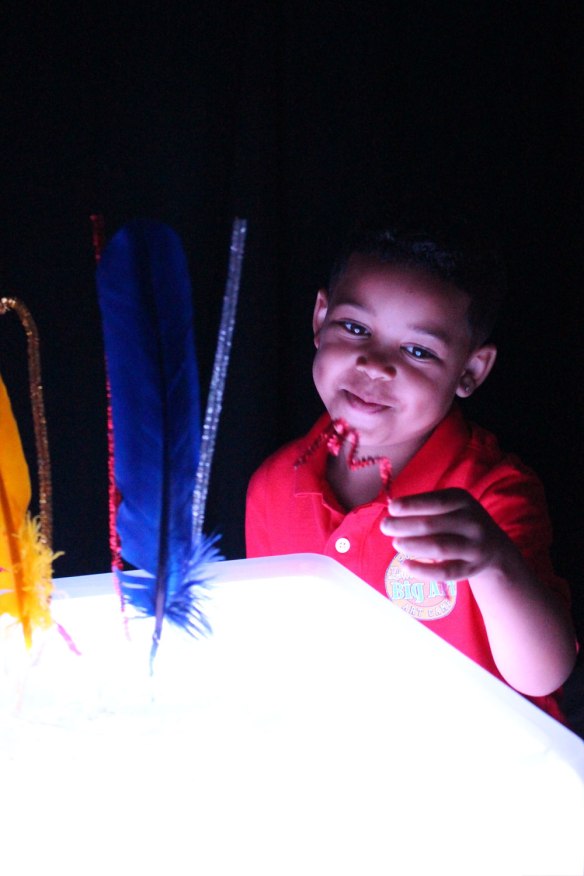
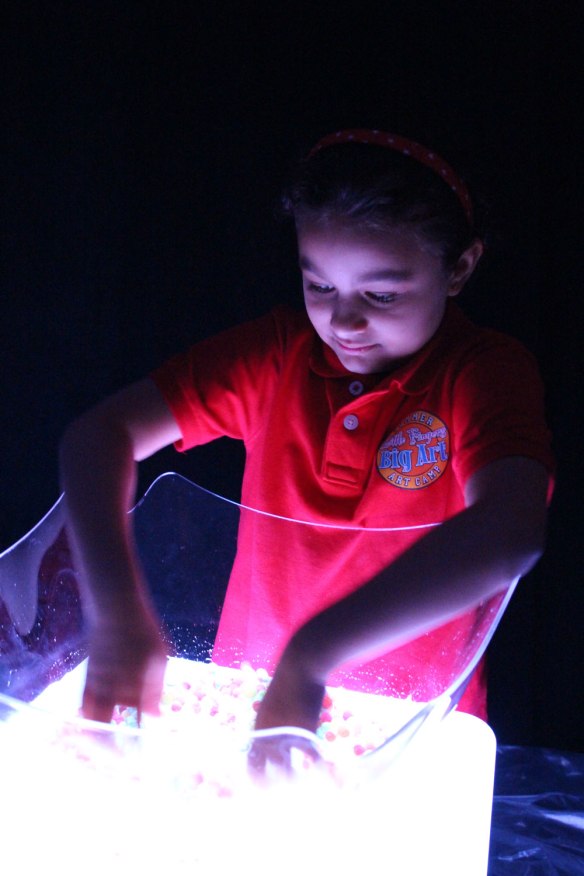
IMG_0123The R59601 Educational Light Cube is a sensory base that can be used for a variety of activities! Place different materials onto the Light Cube and turn the unit on. You will notice a bright, beautiful glow emitting from the Light Cube and illuminating the objects on the cube. This is a great way to engage children who would not normally respond to these materials in normal light conditions.

IMG_0247The cube has a water-resistant surface that can easily be cleaned with warm water and soap. This makes it a great base for water-based sensory activities and painting activities.

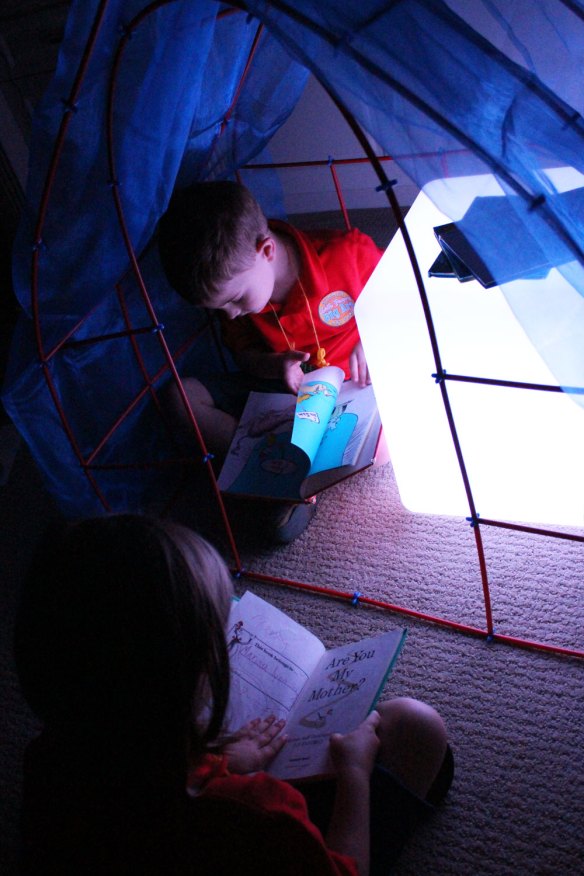
IMG_0385The Light Cube is portable, durable and a great addition to your classroom! Use it as furniture or to illuminate a low-light area, such as a reading fort.

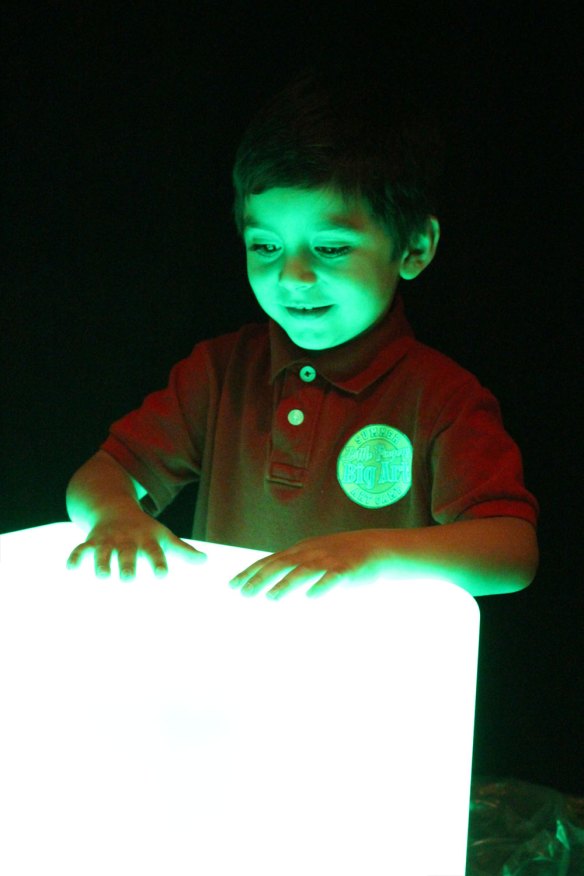
IMG_0409Cycle through multiple light colors using the accompanying remote. There are 16 colors in total. You can make the colors strobe, flash, fade and smoothly transition between each one.

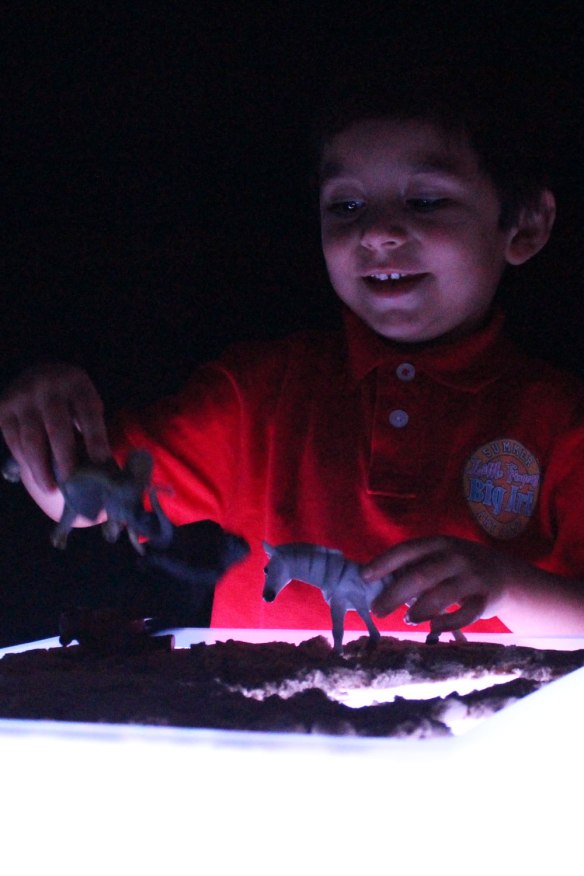
IMG_0463You can use the Light Cube to engage students in virtually any lesson plan using simple materials already in your classroom. Set up environments like this one, with animal figurines and gravel! Kids will love playing with the different sets.

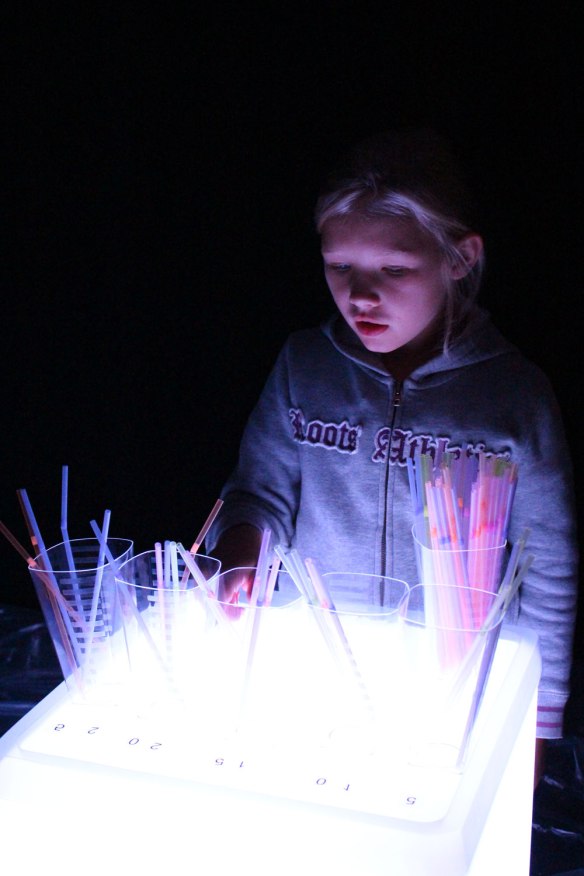
IMG_0595Use the Light Cube to arrange math manipulatives on the surface. Students focus best when their attention is directed on one thing at a time, and the Light Cube does just that with its soft glow.

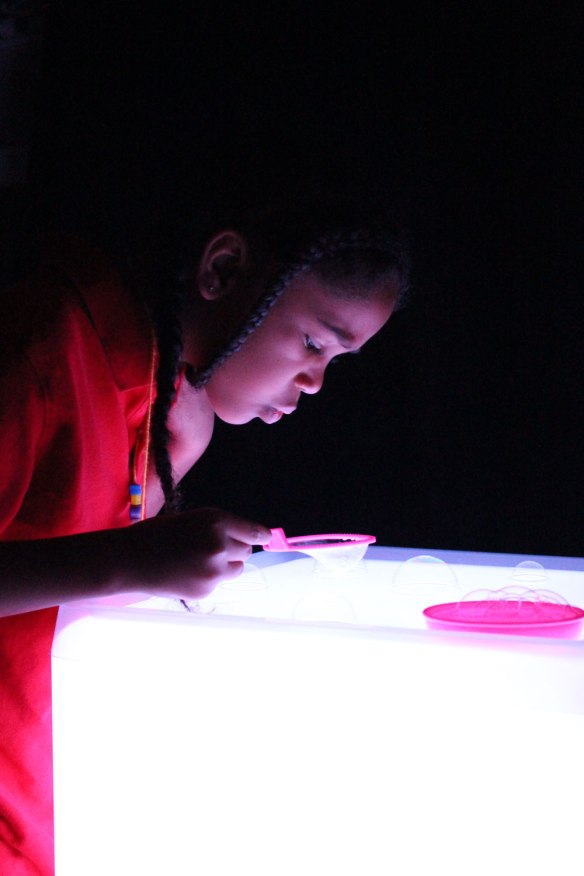
IMG_0632It engages students to experiment with different materials and view the effects of color-changing light!

IMG_0730

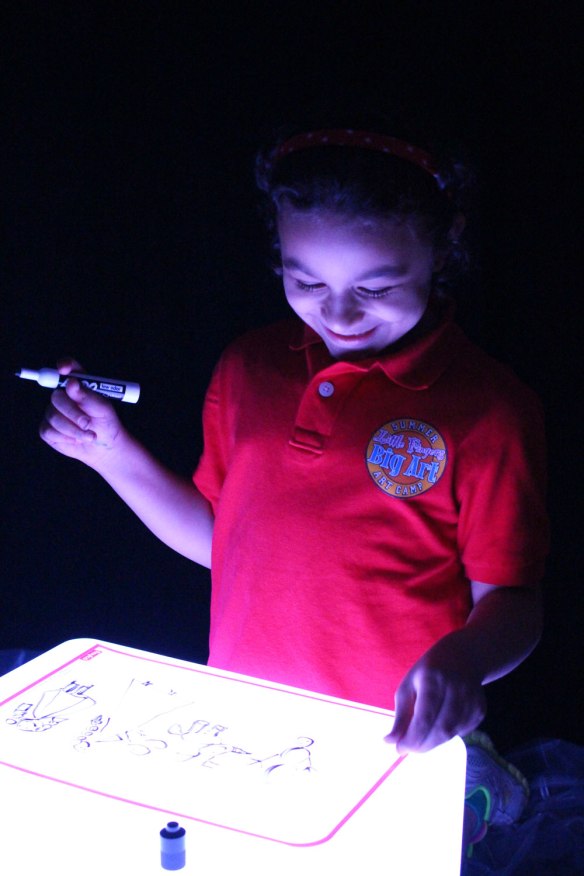
Practice writing skills!

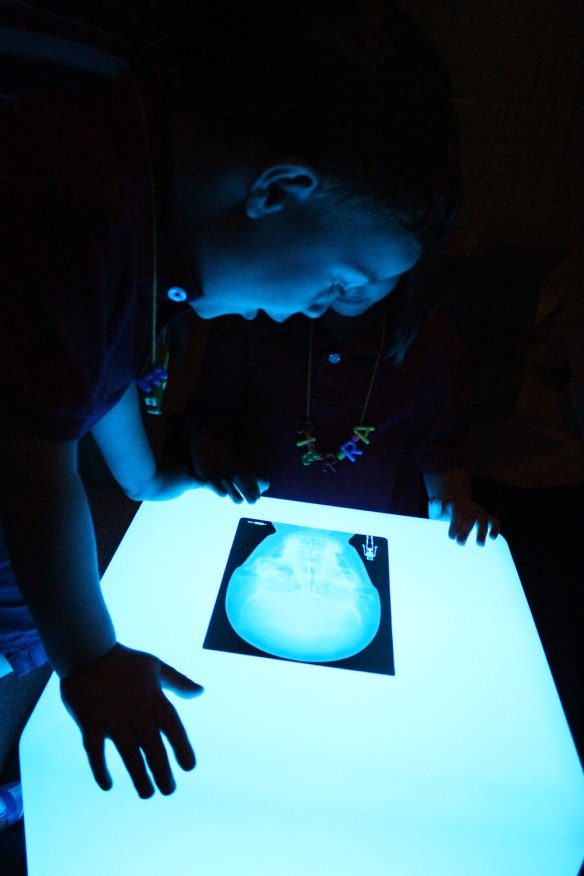
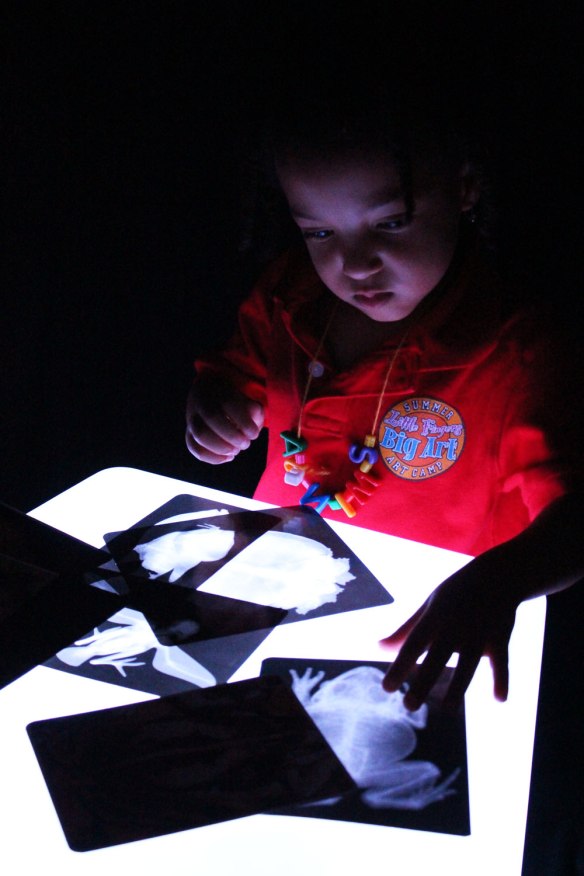
IMG_8785Observe new concepts on the Light Cube, such as human or animal anatomy using our range of x-ray products!

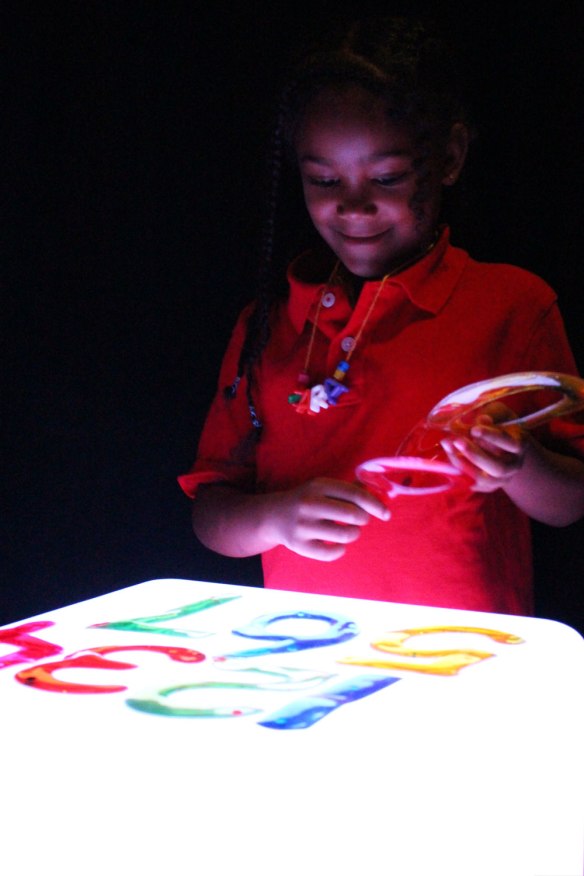
IMG_9303Test out new sensory materials such as gel-stickers! These materials feel great on little fingers, and illuminate well on the Light Cube.

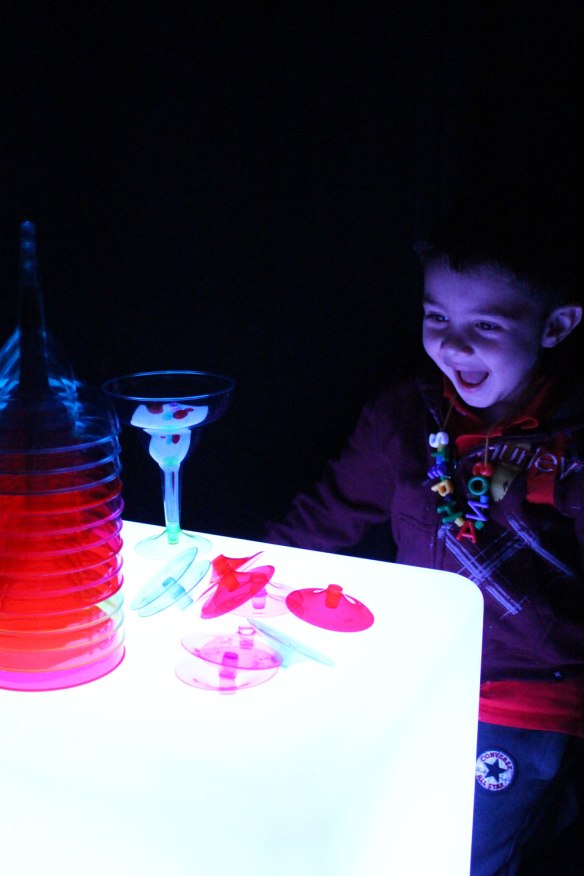
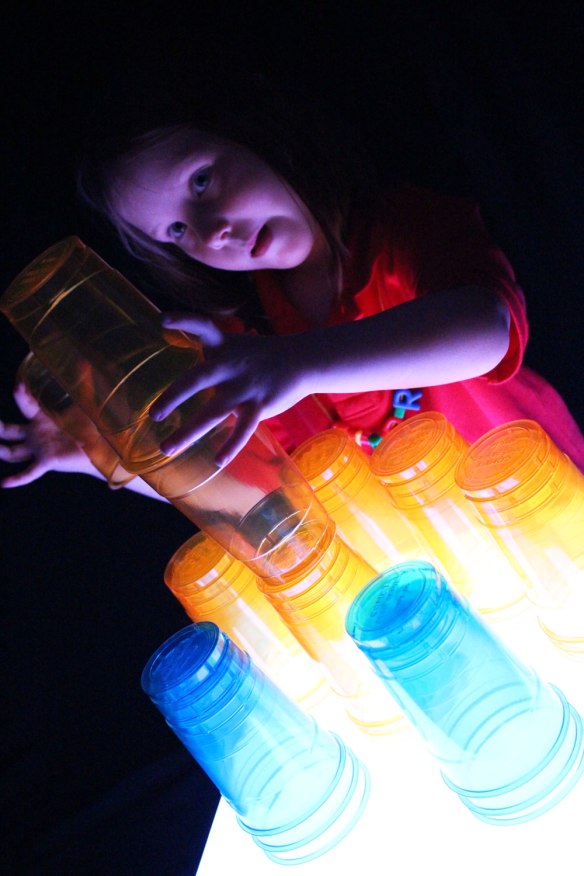
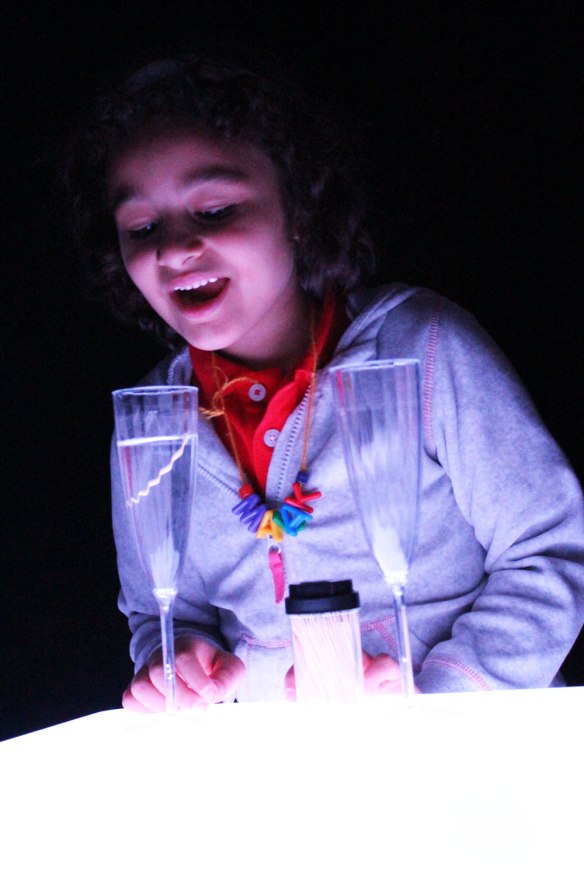
IMG_9355Stack ‘em up and knock ‘em down! Try out a range of building materials, such as clear plastic dollar store cups, to build your tallest colorful towers!

IMG_9484Keep your students engaged in light exploration with soft-glow lighting. Make a small fort for reading, playtime, math activities and more to amplify the effect of the Light Cube.

IMG_9508Explore what’s inside unique animal specimens!

IMG_9549Older students can join in the fun, too! Set up the Light Cube in a darkened area, and give your students tracing paper and pencils to work with. While using the Light Cube as a tracing light box, students can easily check their work and develop their own creative ideas.

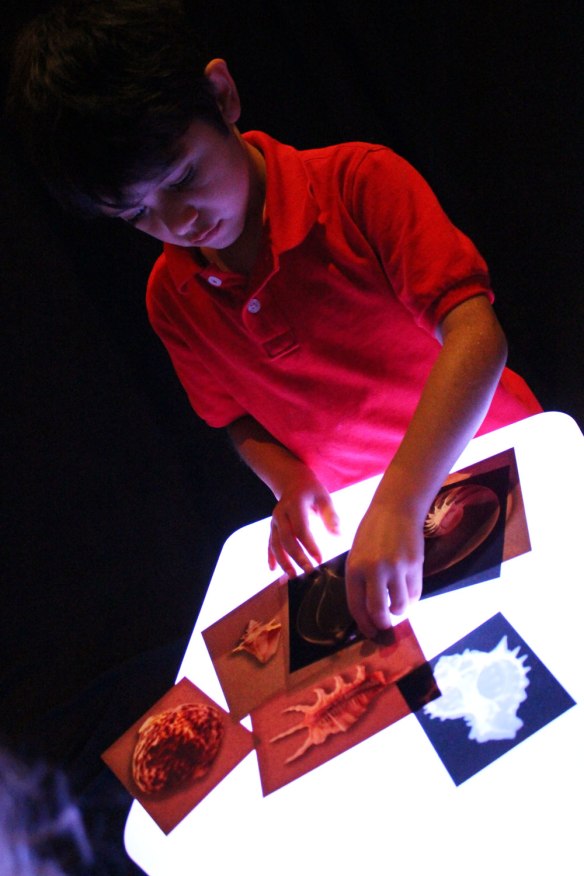
IMG_9615Match up transparent sheets that are printed with various images. Here, we’ve showcased our shell x-rays.

IMG_9745Students will love watching colors leap right off the Light Cube. They can use the materials to build fantastic structures or simply observe the effects of light on color.

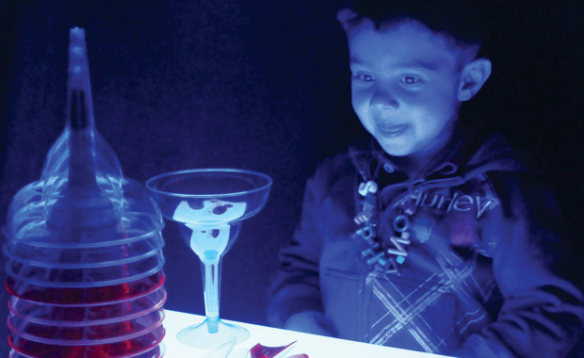
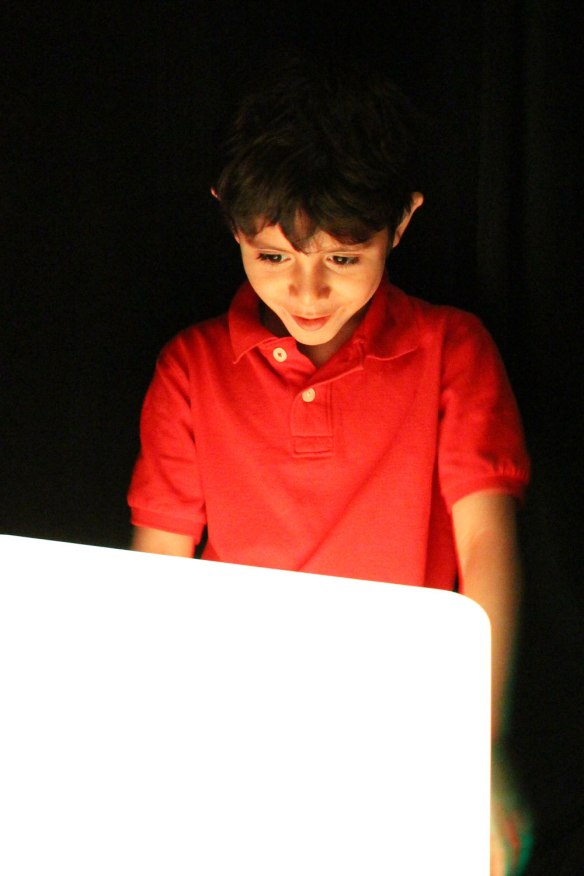
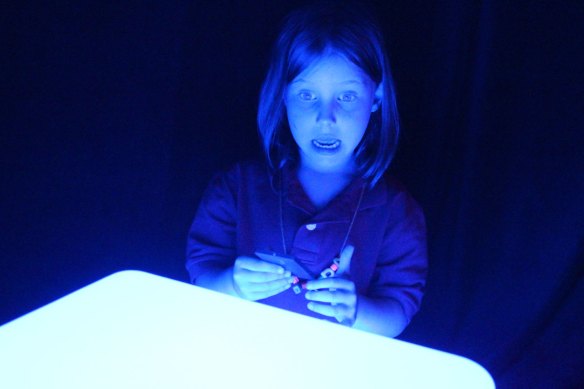
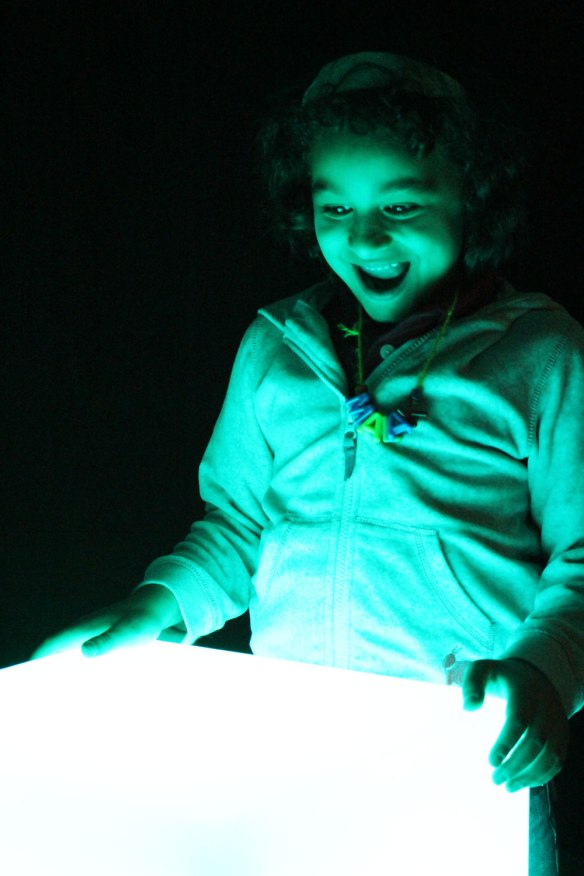
IMG_9813Turn on the strobing lights to get amazing responses like this one!

IMG_9915And this one! The Light Cube does it all… delight, entertain, educate and stimulate with its sleek design, bright, colorful lights and durable learning surface.

IMG_9931We’re sure you will delight in your very own Light Cube as well! Visit our Roylco Store for more details or contact your local toy/educator retail store to get your Light Cube today!

Line-20

Like us on FacebookShare this post with your friends, or Subscribe to this blog today to receive original craft project updates every Monday, Wednesday and Friday!

Craft Spotlight: Mix and Match Emotion Masks®

2014-08-11-FeatureImage

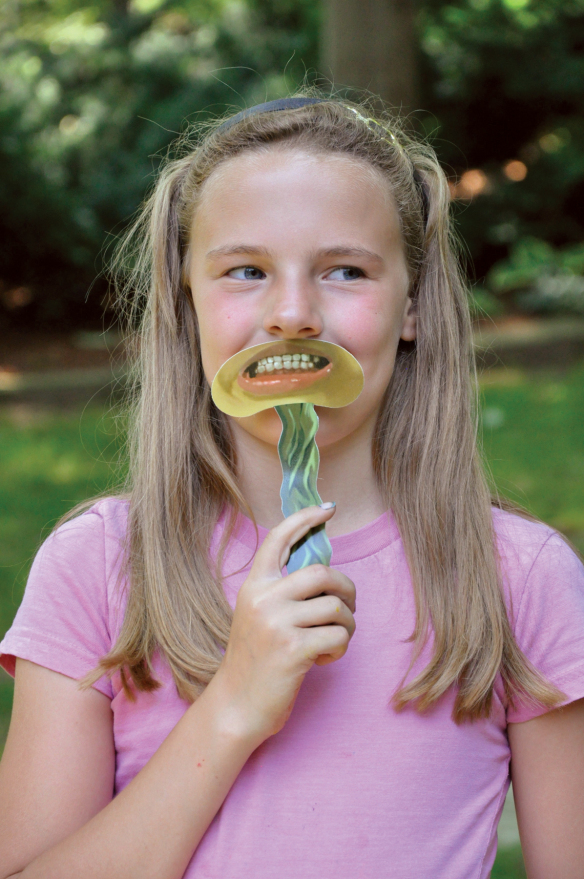
How are you feeling today? Pretty good or what?! Our art campers were feeling their very best while playing with our hilarious R4959 Mix and Match Emotion Masks®! 
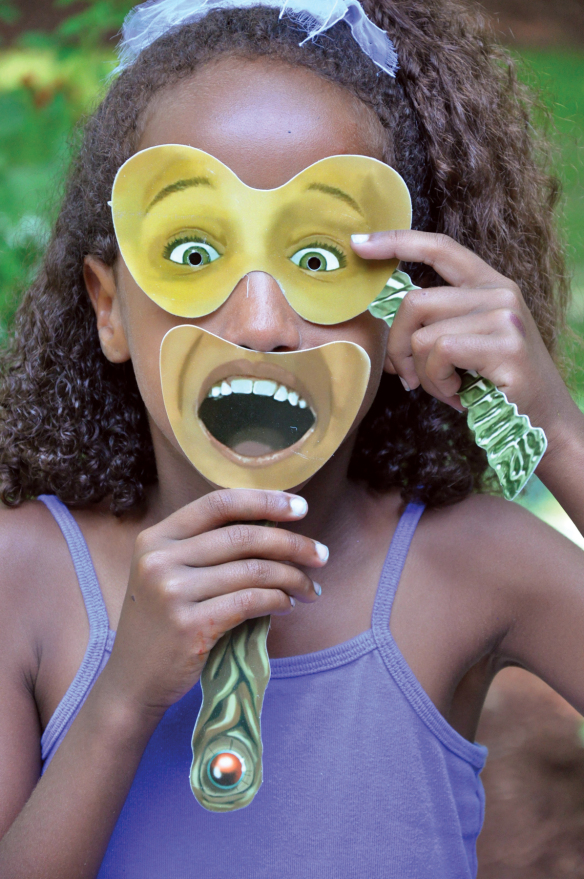
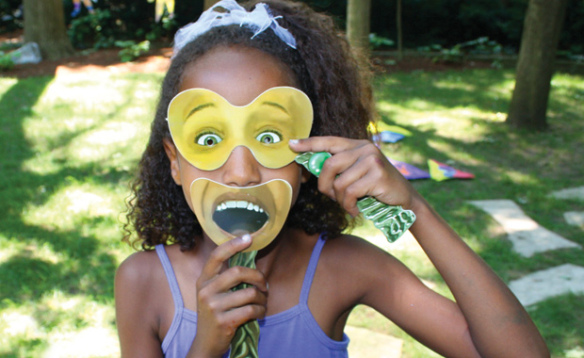
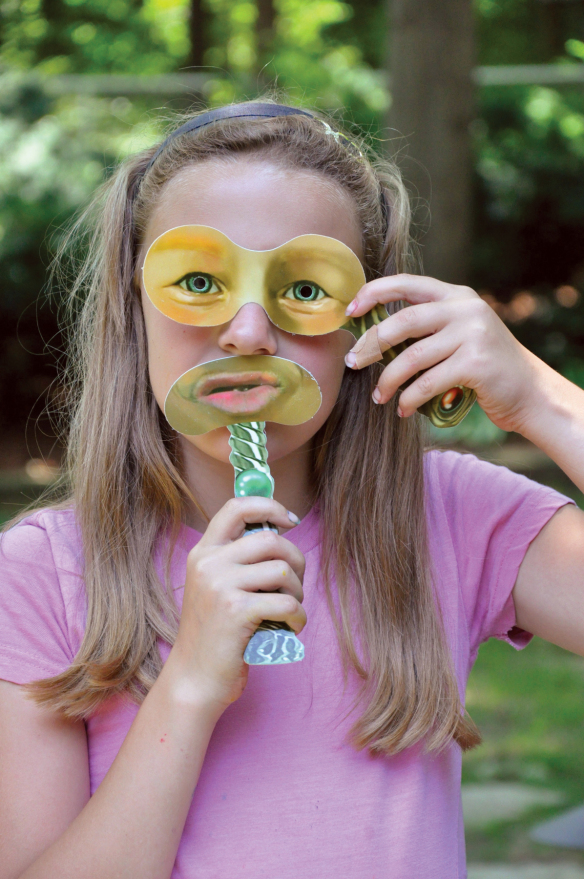
The Mix and Match Emotion Masks are a unique set of masks that are divided between upper and lower face images. The upper face masks typically show the eyes in a variety of emotions (in the cover photo above, the camper is showing her eye mask that features surprise)–sad, happy, angry, surprised, for instance! The lower face masks show the mouth adjusted to reflect other emotions as well–such as contempt, interest, fear and so on.

_DSC0266

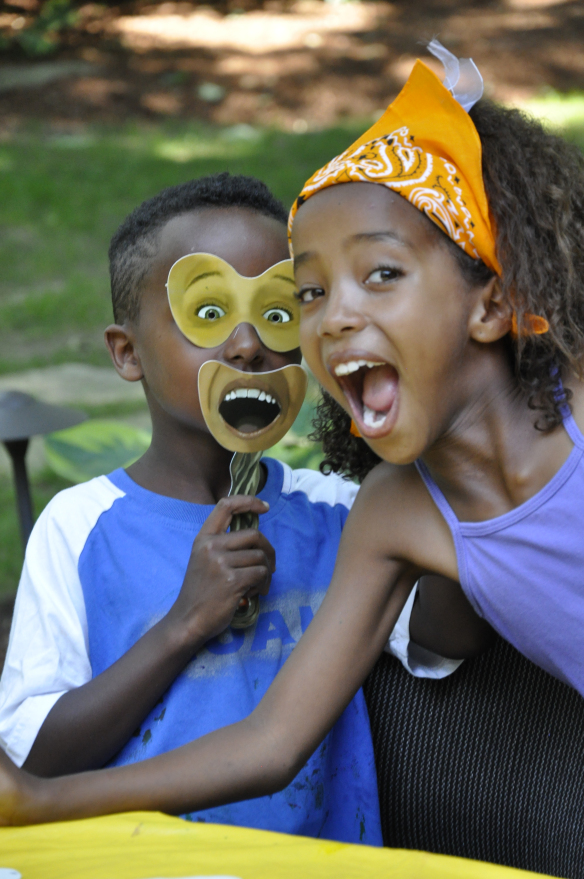
Using individual mask pieces, you can talk with your students about existing emotions, and how they affect us and people around us.

By “mixing and matching” emotions, you can make up your own!

_DSC0262Regardless, children will have lots of fun changing their appearances with one of these ingenious masks. The material is tear-resistant and coated with protection for years of re-use! This will benefit you in pre-K classrooms as you can use them to teach young children about self-awareness and how feelings are important to our interactions with other human beings.

_DSC0302You can see by the picture above that it’s easy to inspire children to experience a range of different emotions with external things (such as masks). In a way, this is how regular emotions are experienced. There are multiple external things every day that happen to us. Each of these things–whether it be another person, an event, object, entertainment, etc–can cause us to react or respond in certain ways. Sometimes, certain persons experience different emotions simply because they can (don’t you wake up some days and feel happy that you are alive?)

_DSC0265All in all, learning about emotions is a great experience!

Line-10Thanks for checking out this post! Like us on FacebookShare this post with your friends, or Subscribe to this blog today to receive original craft project updates every Monday, Wednesday and Friday!

Feely Bag Find-It Letters

Feature-Image-eyespygame

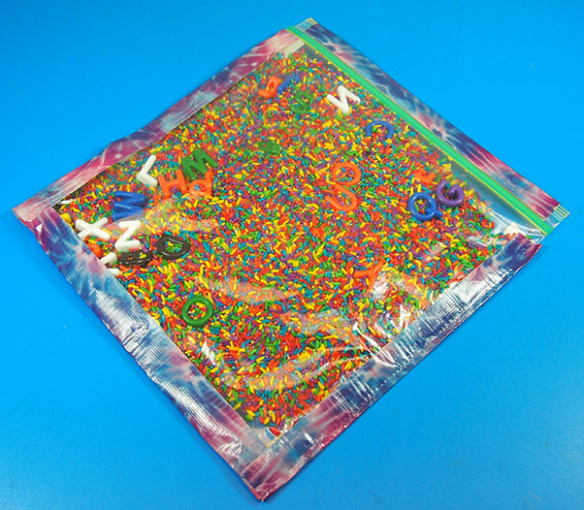
Can you find all the letters of the alphabet? Check out our tutorial below for an easy-to-make game students will love playing with during rainy days! This project uses our R2184 Manuscript Letter Beads which help students feel for the shape of each letter as they search for them! 

Age: 4-7

Duration: 15 minutes

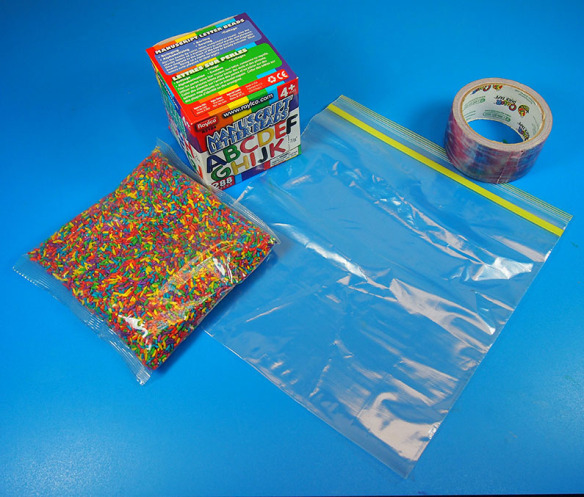
You’ll Need:

• R2184 Manuscript Letter Beads

• R2114 Colored Rice

• Ziploc® bag

• Tuck tape or duct tape

Line-12

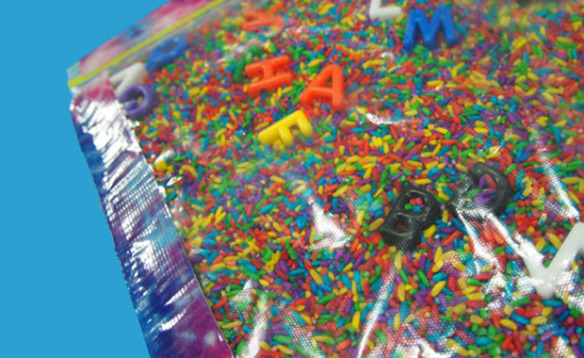
The objective of the Feely Bag Find-It game is to locate and find all the letters or numbers placed into the bag using touch. Students can “feel” and look for various kinds of letters or numbers, for example, letters that are vowels, consonants, uppercase or lowercase. These different rules help students reinforce different linguistic concepts while playing with the Feely Find It Bags!

OLYMPUS DIGITAL CAMERA

This is a pretty easy project that most young students can help out with. You can make multiple kinds of Feely Bags–for uppercase and lowercase letters, numbers or even miniature action figures! Note: Be careful when handling Colored Rice as it can spill everywhere if not properly siphoned into the bags. Use a measuring cup or spoon to transfer the Colored Rice from its container to the Feely Bag.

OLYMPUS DIGITAL CAMERA

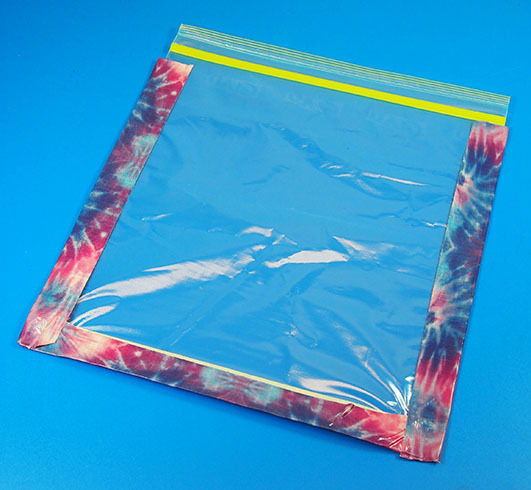
First seal up all three sides of the Ziploc® bag with colorful or decorative duct tape. This helps to ensure that the Colored Rice won’t seep out in case there is a rip in any of the edges.

OLYMPUS DIGITAL CAMERA

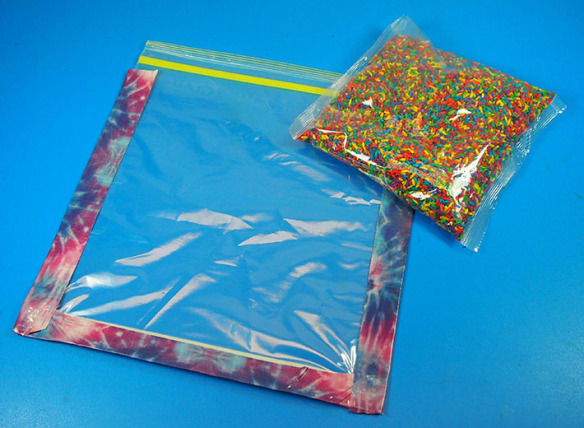
Fill the Ziploc® bag with the Colored Rice.

OLYMPUS DIGITAL CAMERA

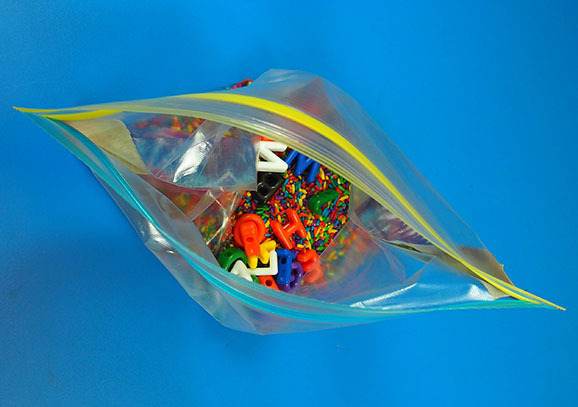
Next, place in the Manuscript Letter Beads or Math Beads.

OLYMPUS DIGITAL CAMERA

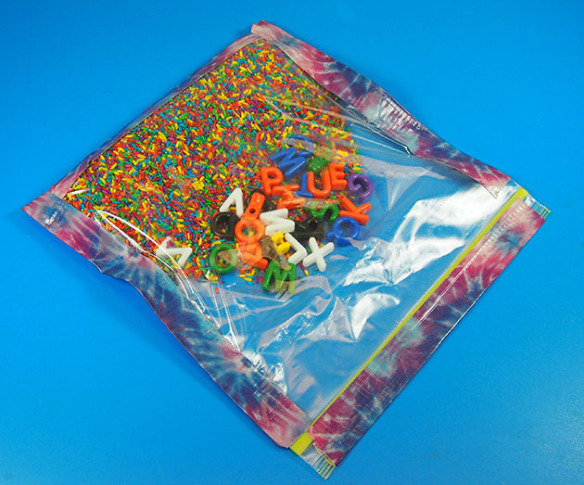
Close the opening in the Ziploc® bag and seal with another strip of duct tape. Note: Gently press out all of the air from the bag through the opening before closing it up.

OLYMPUS DIGITAL CAMERA

Shake the bag to mix all the contents together and hide all the visible beads in the mass of Colored Rice.

Give students a time frame to find all their beads or have students sit in a circle and pass the Feelie Find-It Bag around so that each student can locate one assigned letter or number bead.

Line-12

Tell us how today’s project went by sending us an email to subscriber@roylco.ca! Send us photos of your students’ work and we will write up a feature post highlighting your classroom crafting adventures!