Education & Inspiration

FIFA World Cup Crafts for Kids: DIY Flags, Jerseys & Soccer Balls! The World Cup is almost here – and we’ve got the most fun, colorful way to get kids, classrooms, and daycares cheering! All you need are our color diffusing art supplies. Whether you’re a teacher looking for a fun World Cup week activity,…
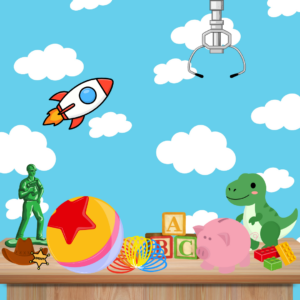
To Infinity & Art Supplies: Hands-On Crafts Inspired by Toy Story 5 Roylco craft pairings for when you’re done watching the movie If you’ve already taken the kids to see Toy Story 5, you know that it hits differently. Watching Woody, Buzz, and Jessie fight to stay relevant in a world of tablets and touchscreens…
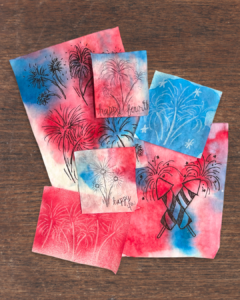
4th of July Crafts to Celebrate America’s 250th Anniversary! America’s 250th birthday only happens once. Make it count, and make it colorful! This 4th of July, we’re breaking out the watercolor, color diffusing paper, and the patriotic spirit with three Roylco crafts. These crafts are perfect for classrooms, backyards, and everywhere in between! Whether you’re…
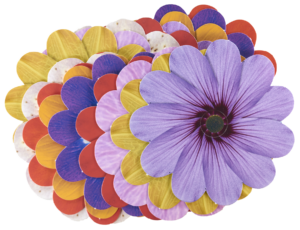
Weaving Activites for Kindergarteners: Fun Crafts That Build Big Skills Weaving is one of those timeless crafts that looks impressive but is surprisingly simple to introduce to young children. For kindergarteners, weaving activities aren’t just fun. They’re a powerful way to develop fine motor skills, strengthen hand-eye coordination, build patience, and learn about pattern and…
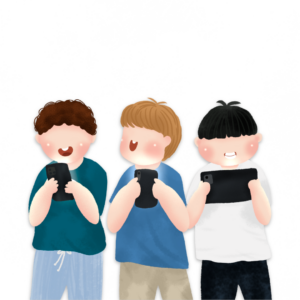
What Kids Are Really Building When They Put Down Their Phones There’s no shortage of articles telling parents to limit their child’s screen time. But very few of them answer the most important question: What happens when they do? Let’s be honest, taking away their phone or tablet doesn’t build any skills on its own.…

Preschool Lesson Plans That Combine Movement and Literacy Preschoolers were never meant to sit still for long periods of time, and any early childhood educator knows it. Wiggles, bouncing, spinning, and constant movement are part of how young children explore the world around them. So when teachers search for preschool lesson plans or alphabet activites,…

The Best Father’s Day Gifts Are Handmade Father’s Day is approaching quickly and if you’re looking for something meaningful to make Dad this year, we’ve got you covered! There’s something about a handmade card that store-bought cards can’t replicate. It takes thought, time and creativity for little ones to bring their letters to life for…
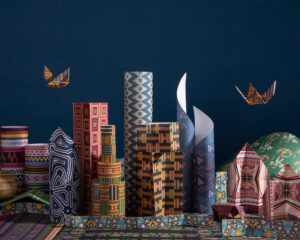
Using Art to Inspire Global Learning: Project Ideas Art is meant to spark a conversation about culture, tradition, and the beauty of our differences. We have compiled a few paper-based art activities using Roylco’s Around the World Paper to do just that. This is a collection of 96 sheets of authentic patterned paper inspired by African,…
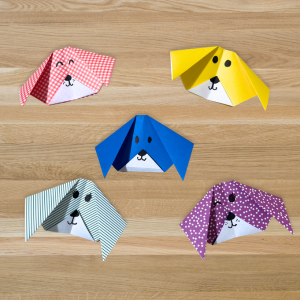
How to Make an Origami Dog Face (Step-by-Step) Looking for a fun origami craft kids can actually make? If so, you’re in the right place. This step-by-step photo guide shows you how to fold an origami dog face using just one square of paper. No experience needed – just folding, learning, and a whole lot…
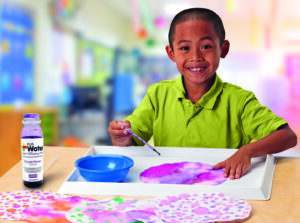
Discover The Magic Of Color: Learn The Capillary Effect With Roylco Diffusing Paper! Explore our lesson plan here! Have you ever watched colors magically spread across paper? That exciting moment is called the Capillary Effect! This process allows a liquid to move through small, narrow spaces like tiny fibers in paper. It happens because of…