Education & Inspiration
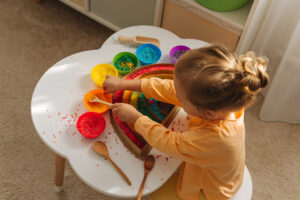
Sensory Activities to Support Development in the Classroom You’ve noticed it. A student who can’t settle. Another who shuts down the moment the room gets loud. A child who needs to touch everything, or refuses to touch anything. Since schools reopened, many teachers report that sensory needs in the classroom feel more intense and more…

Fine Motor Activities for Preschool: Build Skills Through Hands-On Play Have you ever watched a four year old thread a lacing needle for the first time? The tip of their tongue appears, their whole body leans in, that moment of focus, that is fine motor development happening in real time. In classrooms, daycares, and at…

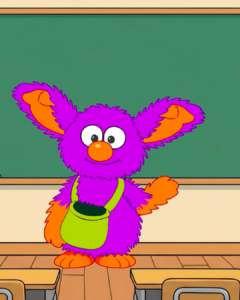
Free SEL Coloring Pages: Theo, Chloe & Edgar for the Classroom Looking for SEL coloring pages for kids that actually connect to your curriculum? You’re in the right place. Coloring is quiet. It’s focused. It asks something of a child’s hands and gives something back to their mind. For students navigating big emotions, that combination…
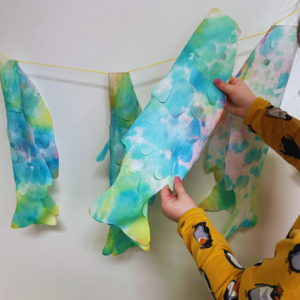
What Is International Children’s Day🎏 International Children’s Day, or Koinobori, is celebrated in many countries to honor children’s happiness, rights, and cultural heritage. Many schools use this occasion to focus on fun, learning, and compassion. In classrooms, it’s a perfect opportunity to blend cultural learning, art, and fun activities. These Children’s Day classroom activities help…
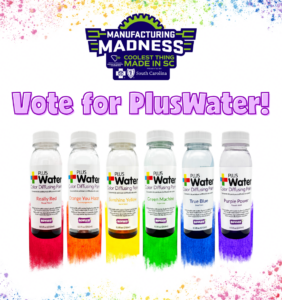
PlusWater Paint Is In The Running For SC Manufacturing Madness! We have exciting news to share: Roylco’s brand-new PlusWater Color Diffusing Paint has been nominated in the 2026 SC Manufacturing Madness contest – and we need your vote! This annual statewide celebration puts South Carolina’s best-made products head-to-head in a bracket-style competition. Because of this…
The Layered Lab: Reimagining Dissection for the Modern Classroom Why the “FrogXplore: See-Through Anatomy Guide” Is the Best Frog Dissection Alternative for Learning For generations, traditional frog dissections have been used in science classrooms to demonstrate anatomy. But many teachers, parents, and homeschool educators now want a more accessible, ethical, and engaging way to teach…
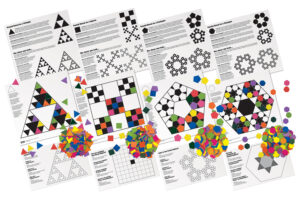
Transform abstract math concepts into colorful, tangible learning experiences through these hands-on fractal activities for kids What Are Fractals, and Why Should Kids Learn About Them? Imagine looking at a fern leaf and noticing that each tiny leaflet looks like a miniature version of the entire frond. Alternatively, observe how tree branches split into smaller…
Teaching vowel sounds is one of the most important foundations in early reading and phonics. We’ve thought through how to teach short and long vowel sounds and created this complete guide for homeschooling parents. If you’re a homeschool parent working with kindergarten or first-grade students, understanding how to effectively teach short and long vowels can…

One way to foster a positive, supportive environment is to use Affirmation Flowers to support Social & Emotional Learning (SEL) activities. We believe that emotional growth and learning is a vital part of any child’s education; in fact, we developed Roylco’s Affirmation Flowers as a tool to help teachers, parents, and special education instructors encourage…
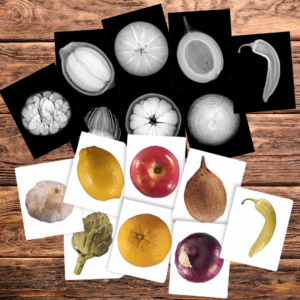
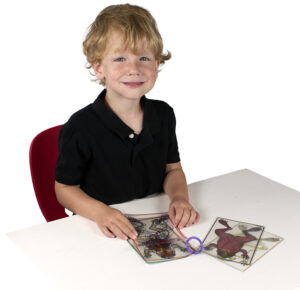
What’s inside a leaf, a shell, or even the human body? Roylco’s X-Ray products invite students of all ages to explore the unseen world through hands-on discovery and visual investigation. Designed to spark curiosity and encourage critical thinking, these unique learning tools help students examine internal structures, patterns, and systems in a way that feels…