Valentine’s Day: Pop Up Pivot Cards

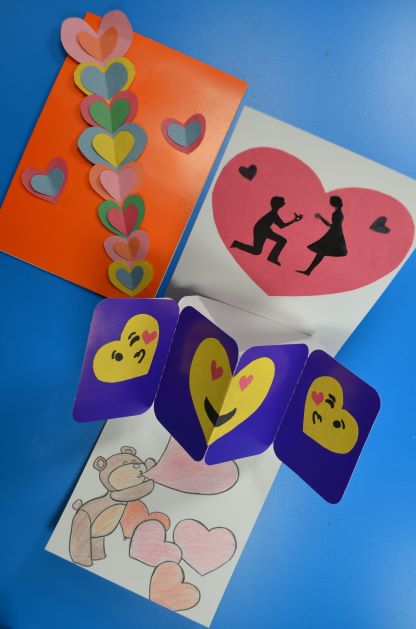
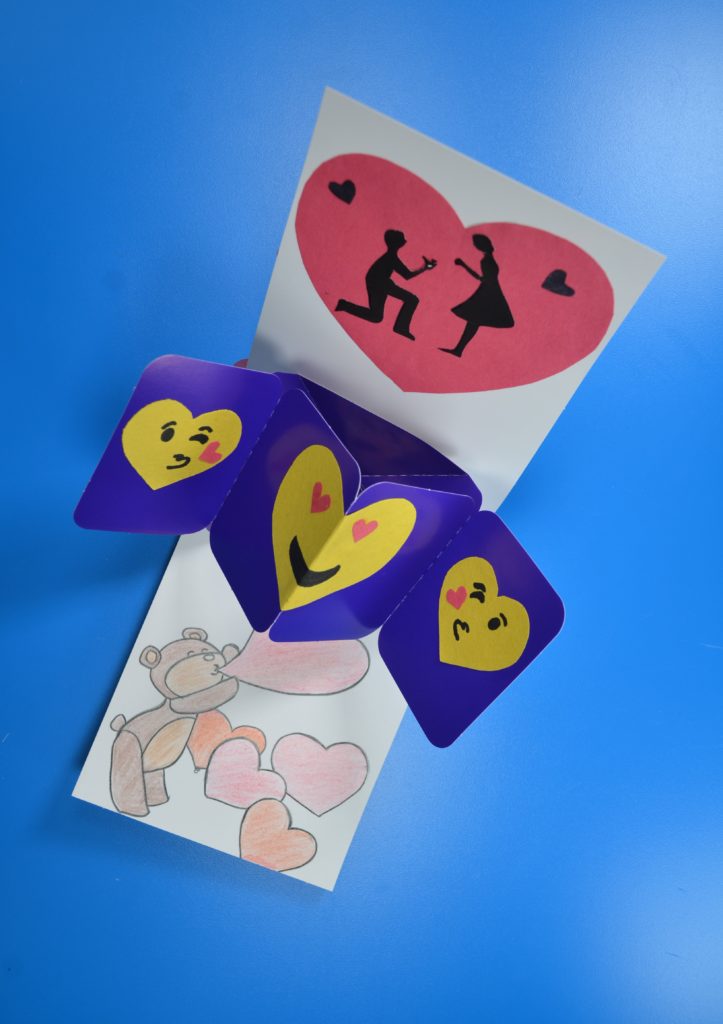
Make your Valentine feel Special. Create your own Super Cute Valentine Card by using our New R51460 Pop Up Pivot Cards. Send a love note to all your friends and family members with this sweet Valentine’s Day card. The clever design is easy to assemble and fun to decorate. The three-dimensional message card unfolds and pivots as the card opens.

Age: 5+

Duration: 15-30 minutes

Learning Objectives: Makes a perfect take-home craft. Encourage creativity. Integrate art, literacy, and holiday activities. Exercise fine motor skills.

You’ll need:

This Craft Lesson is divided into three Parts:

  • The front card
  • The Pivot Mechanism
  • The Pop-Up Message Card

Let’s get started

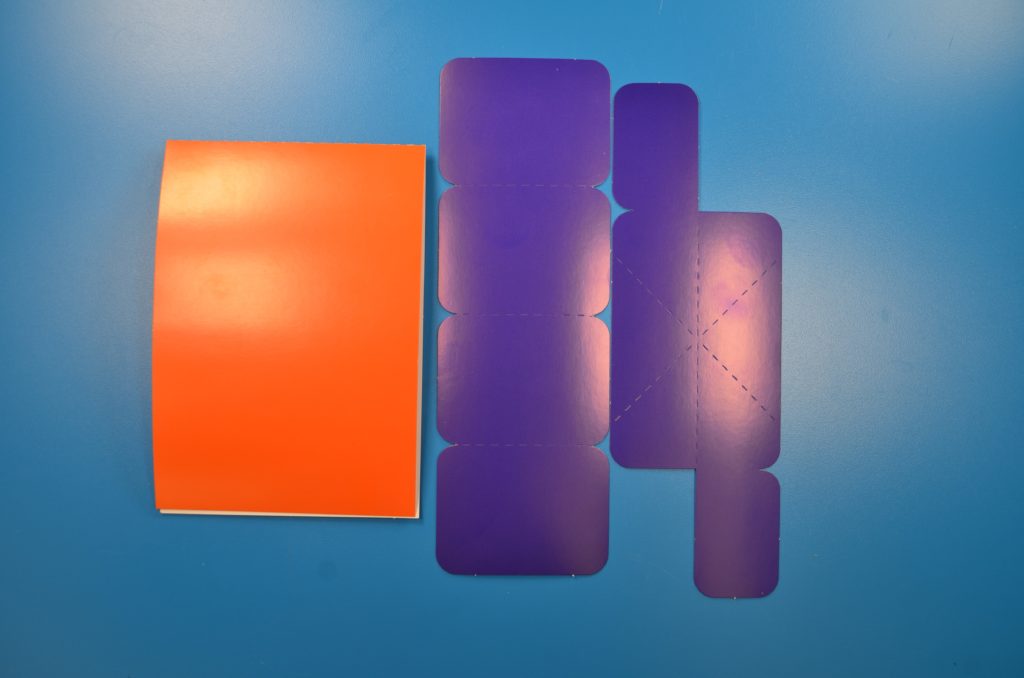
There are three pieces to each card: the card, the pop-up message card and the pivot mechanism. Take all three and fold the card in half.

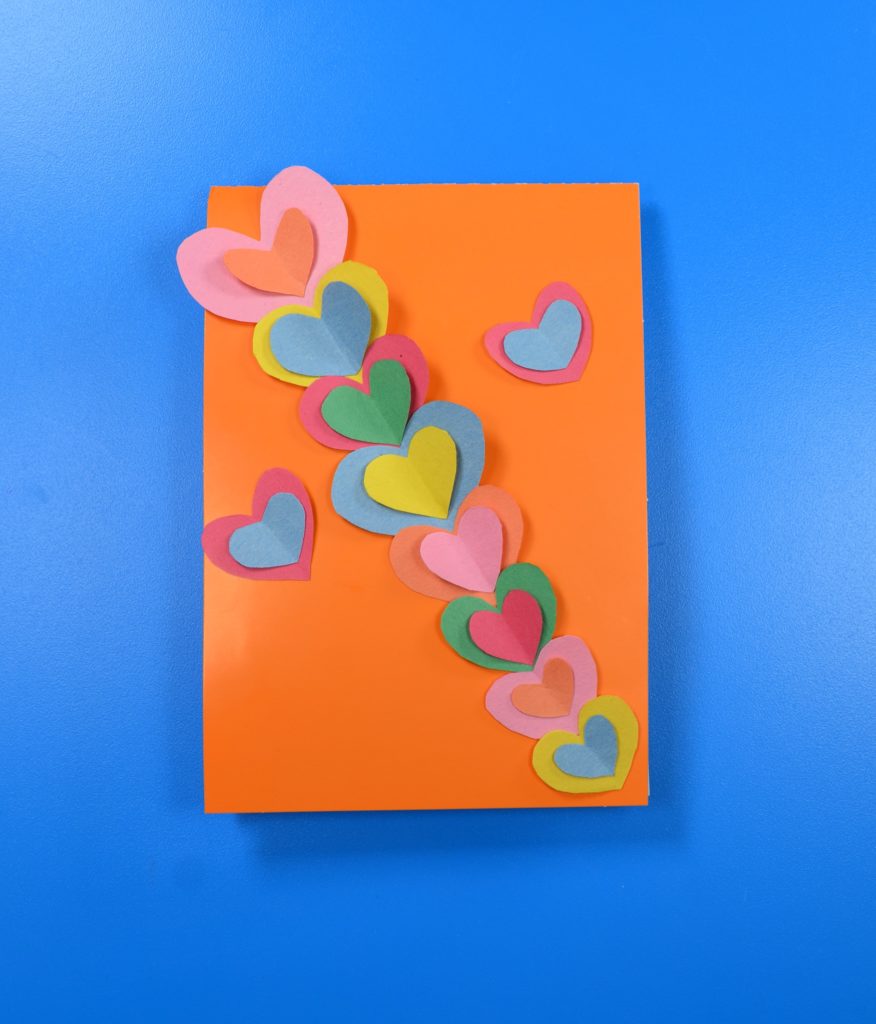
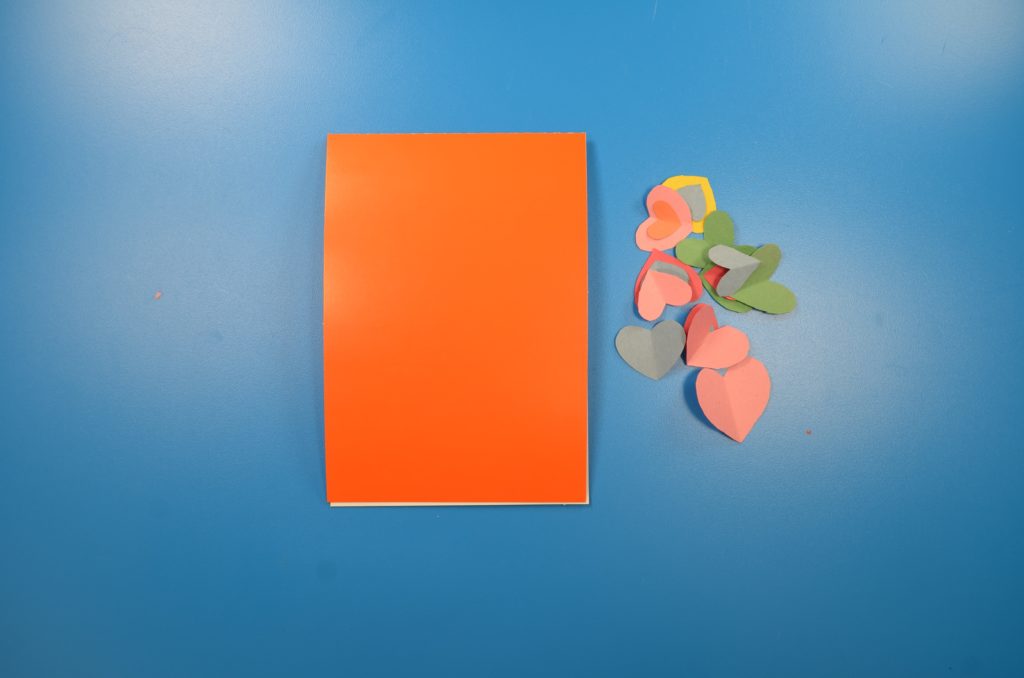
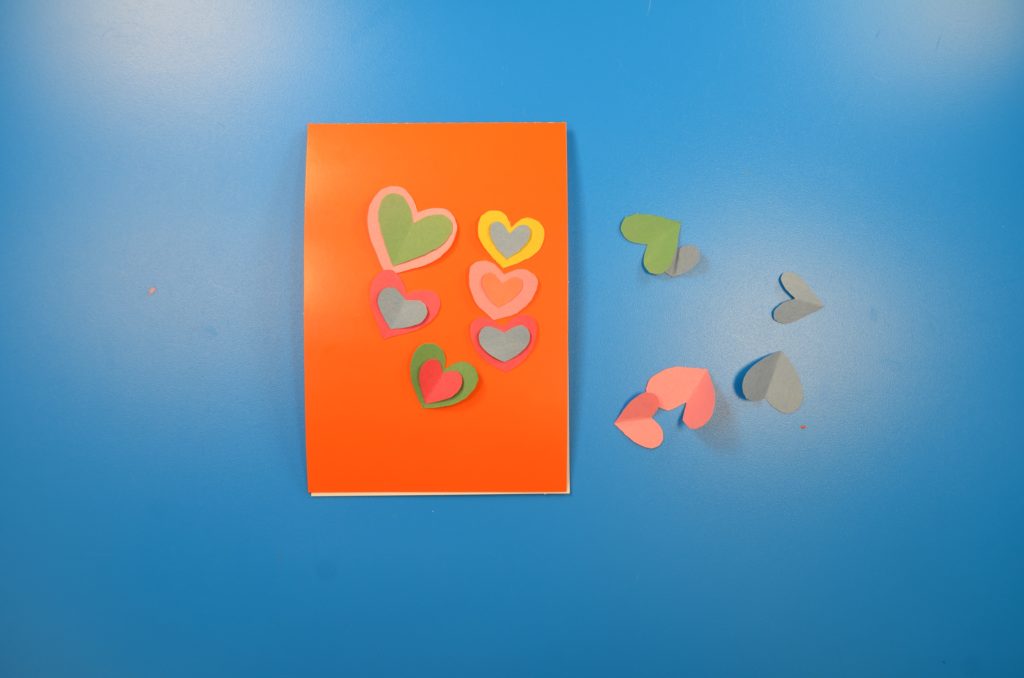
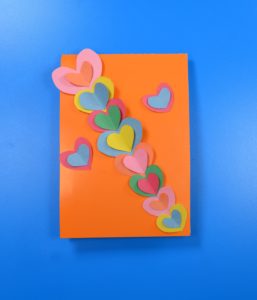
Now, start decorating the card. Take craft papers of different bright colors. Make some heart shapes (small and big) and cut those out. Once you get your heart shapes, glue the smaller hearts onto the bigger ones.

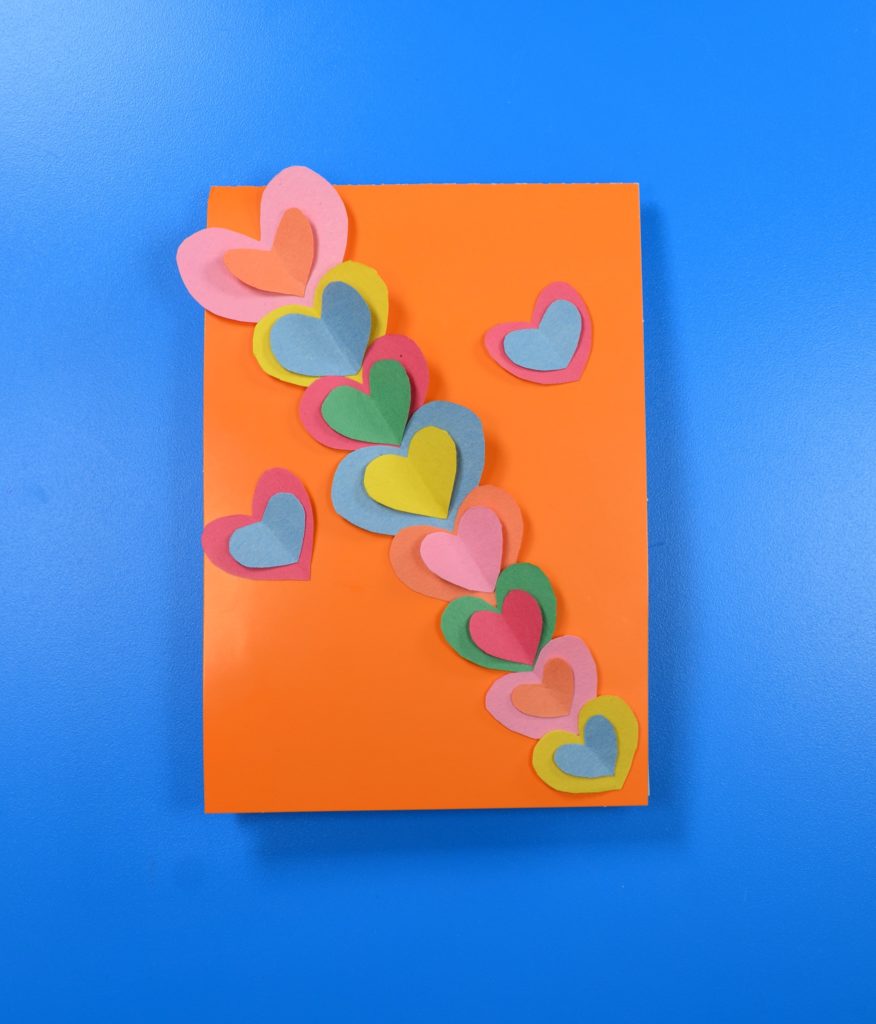
Glue all the heart shapes onto the front of Card. To make the cad looks attractive, glue the bigger shapes first and then the smaller ones. You will get a beautiful front.

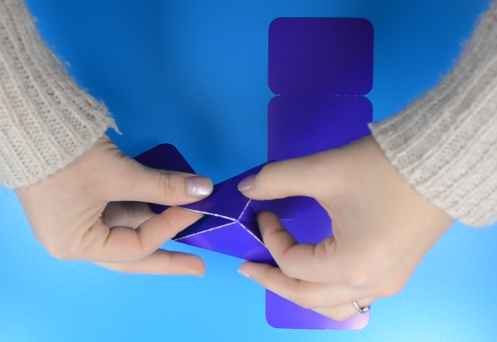
Take the Pivot Mechanism. Fold it in half horizontally along the score line. Fold down and inside both the left and right wings.

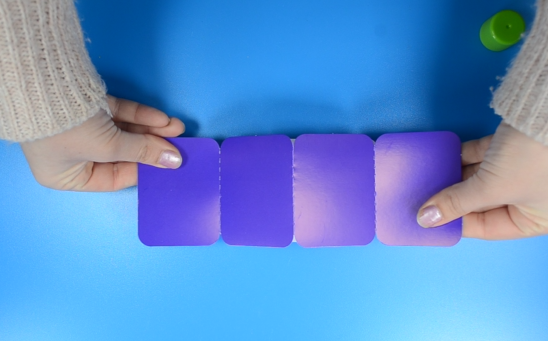
Take the pop-up message card. Fold it in a zigzag fashion along the score line.

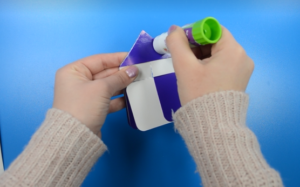
Now, apply glue to both the left lower and upper right flaps of the pivot mechanism. Unfold the message card and align both ends to the glued area of pivot mechanism.

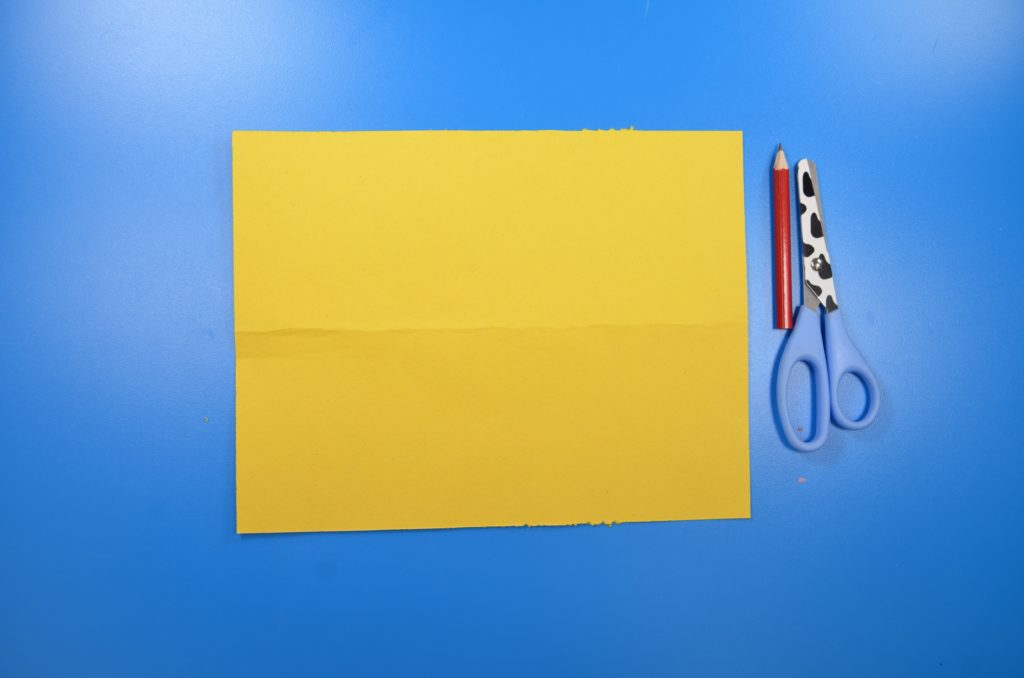
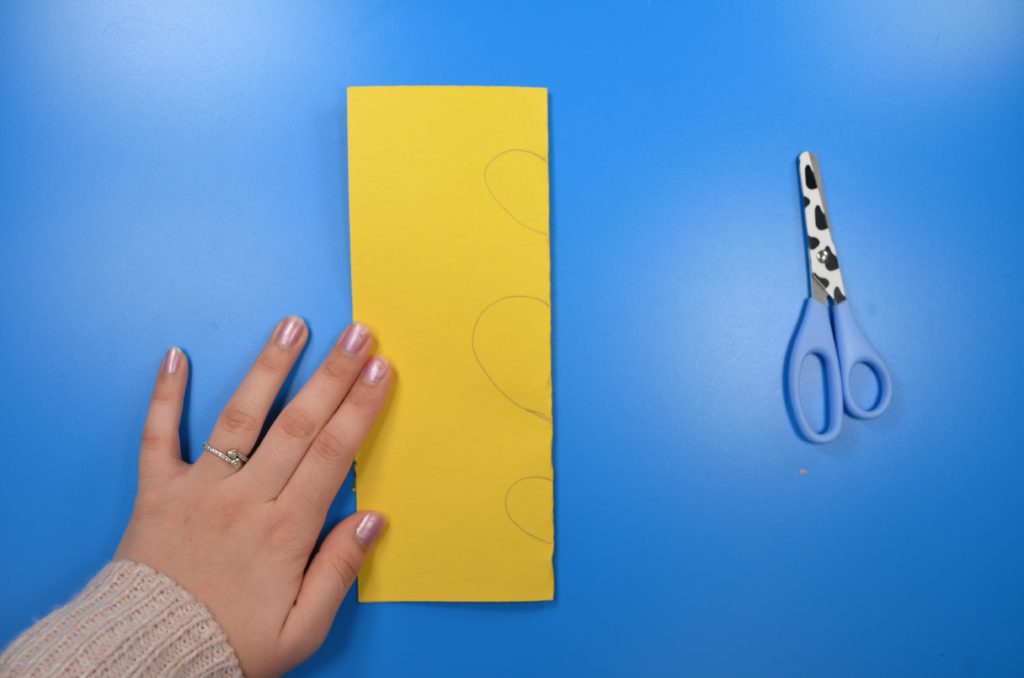
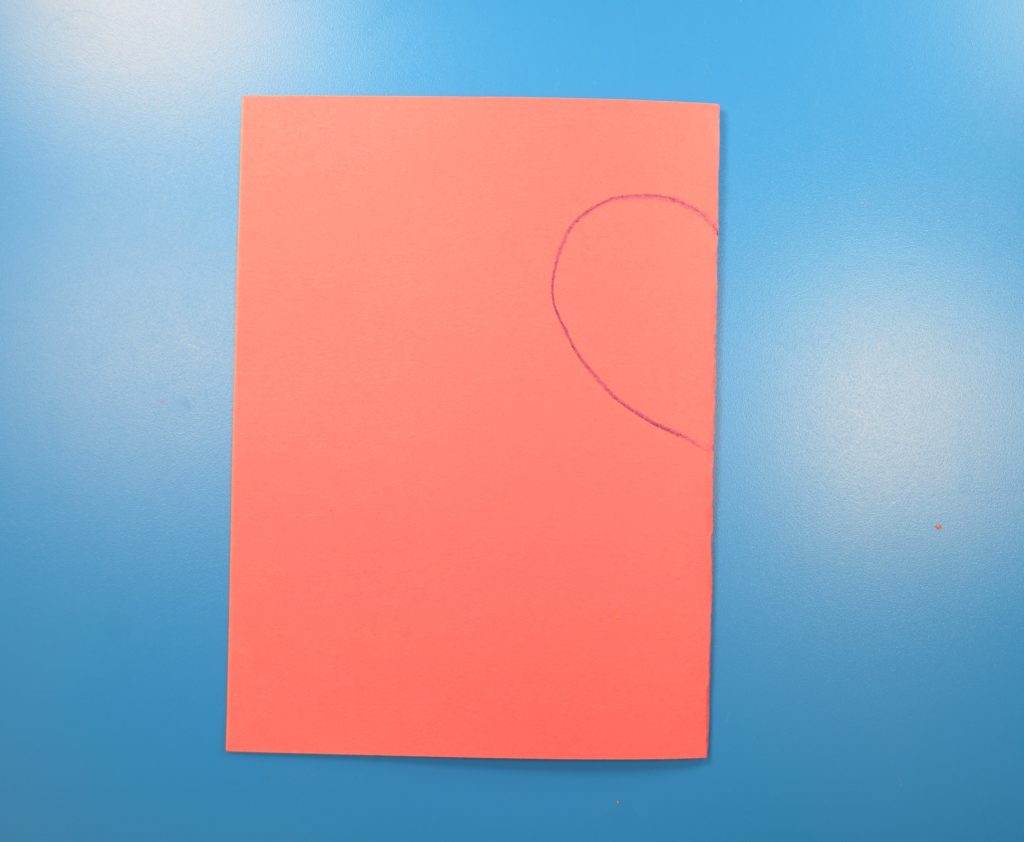
Let’s decorate the message card, take a colored craft paper of your choice. Fold it in half and draw three heart shapes(just draw one sided hearts).

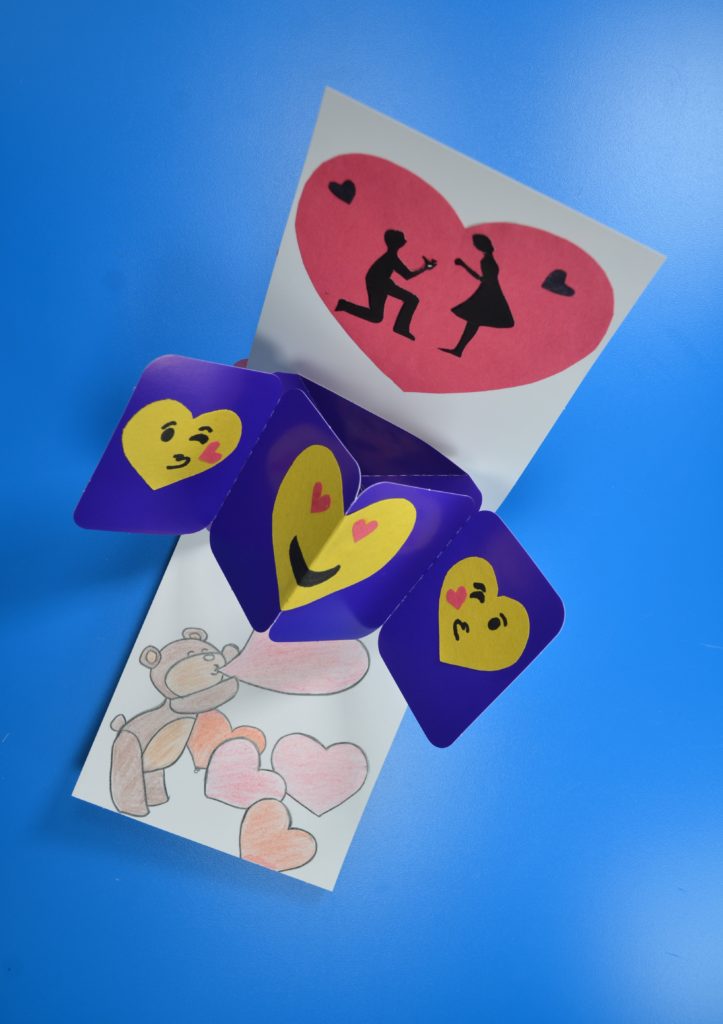
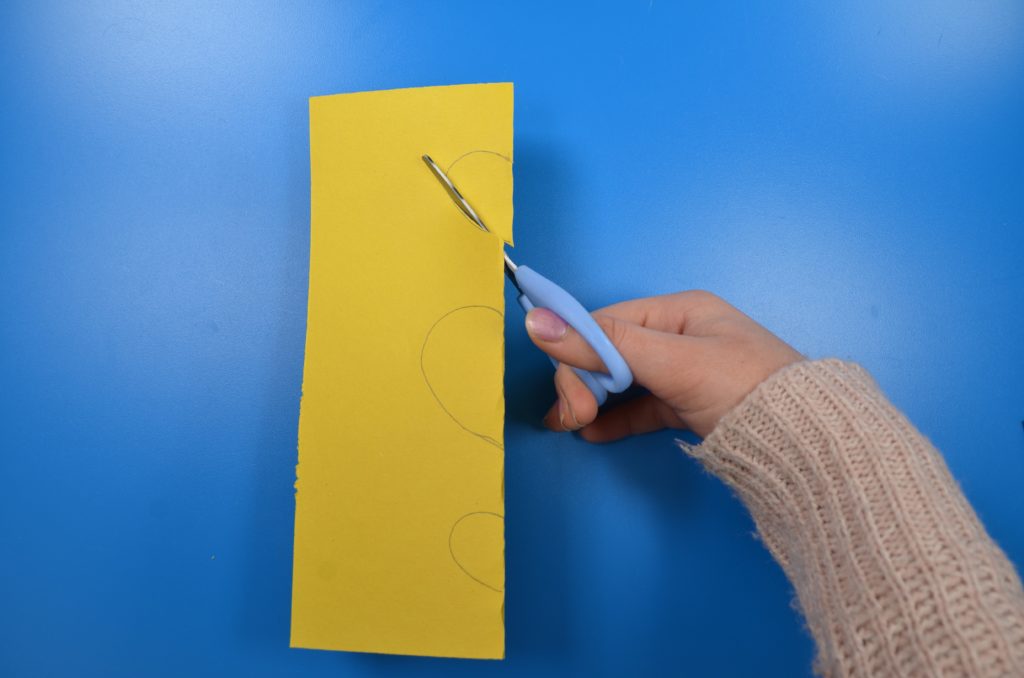
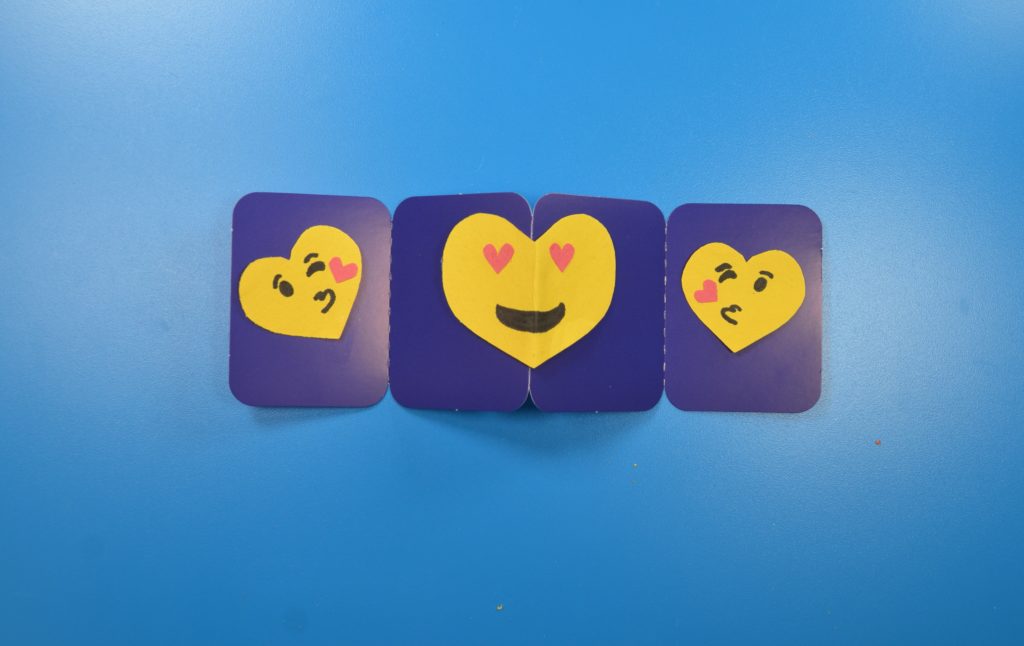
Cut out the heart shapes. Make two kissing emojis and one heart eyes emoji using black marker and small heart shapes. Glue the heart eyes emoji at the center of message card and kissing emojis on the left and right flaps.

Once you are done, apply glue within the indicator lines on the inside of the card and then apply glue to the top of the pivot mechanism. Fold the card shut.

It’s time to decorate the inside of card. Take a craft paper, fold it from center and draw one sided heart. Cut the heart shape out.

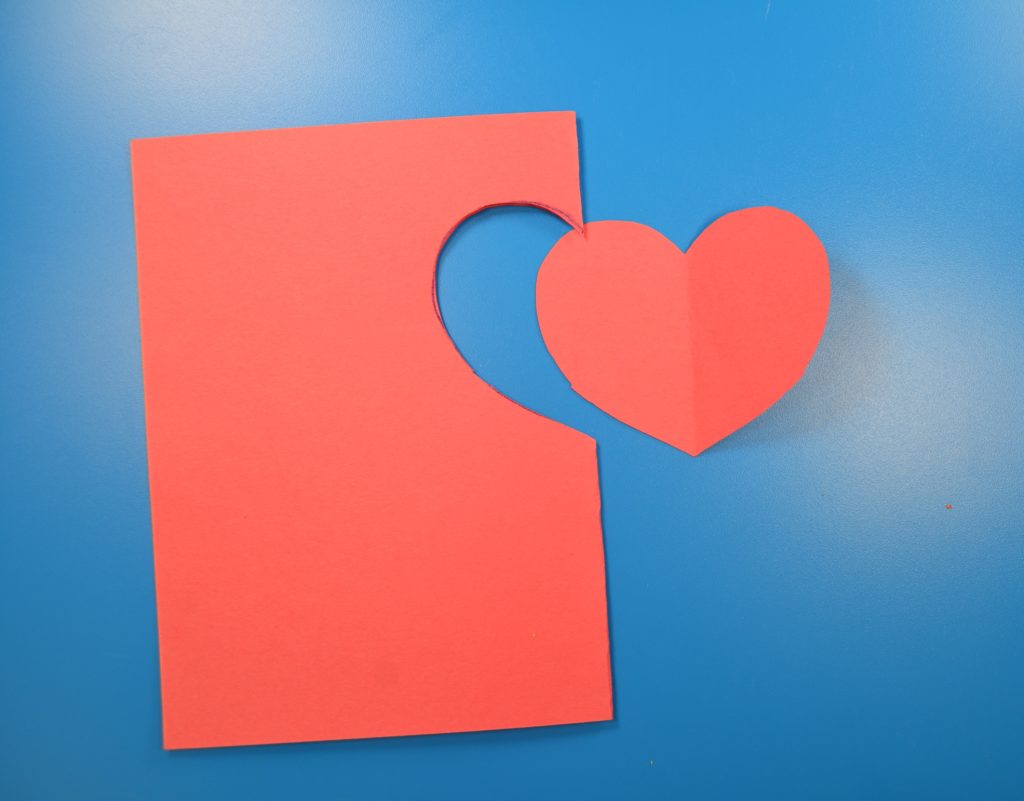
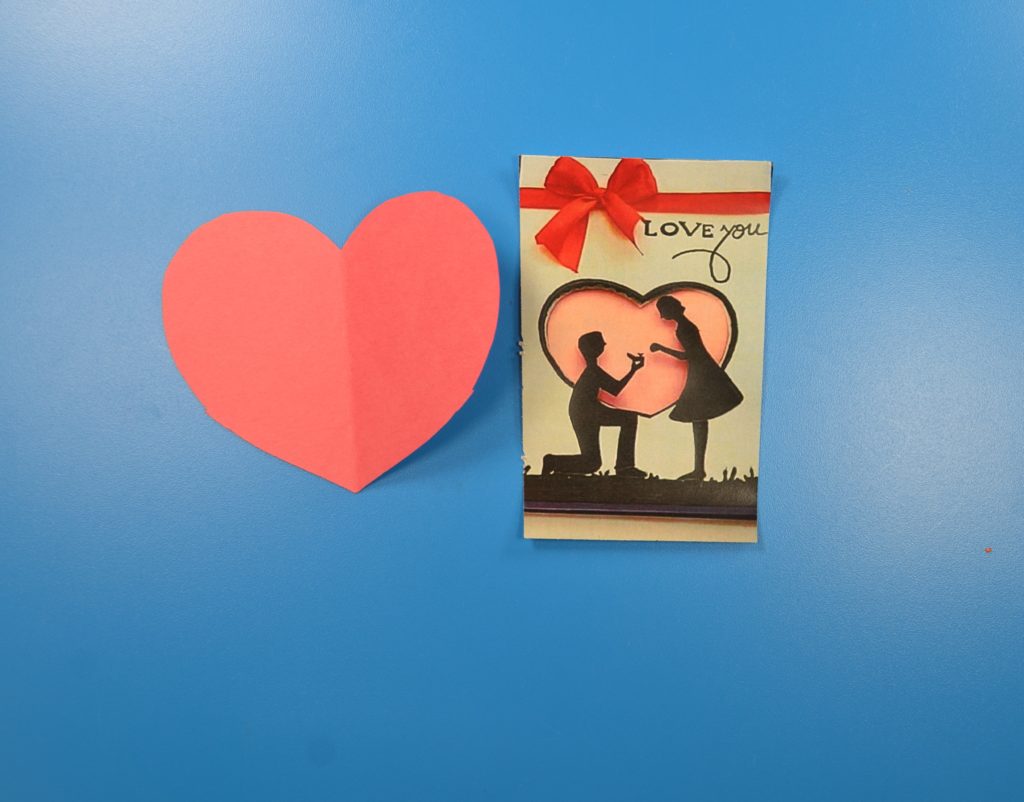
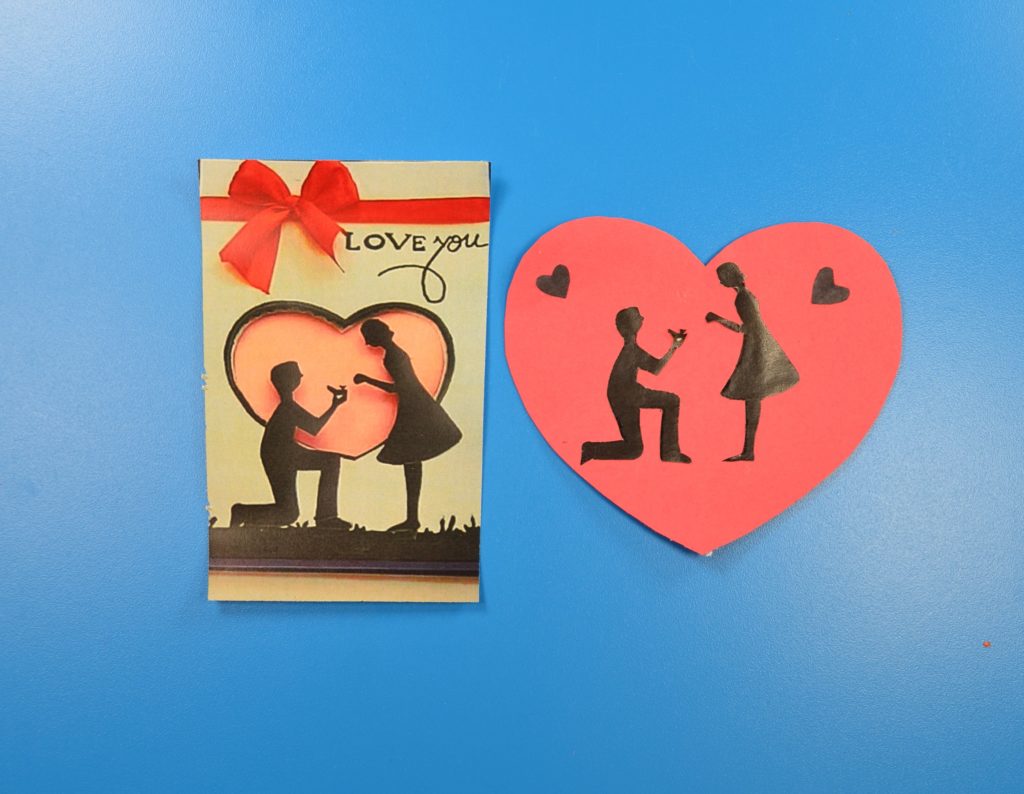
Then, take any couple’s picture. Start cutting the picture. Choose your spot from where to start and follow along the lines. Cut nicely around the couple and once you are done, glue it on the heart shape.

Glue the decorated heart on the upper side of card and draw any teddy or cartoon on the other side and fill it with some nice crayons or pencil colors. Your Valentines Card is ready.

Happy valentine’s Day!

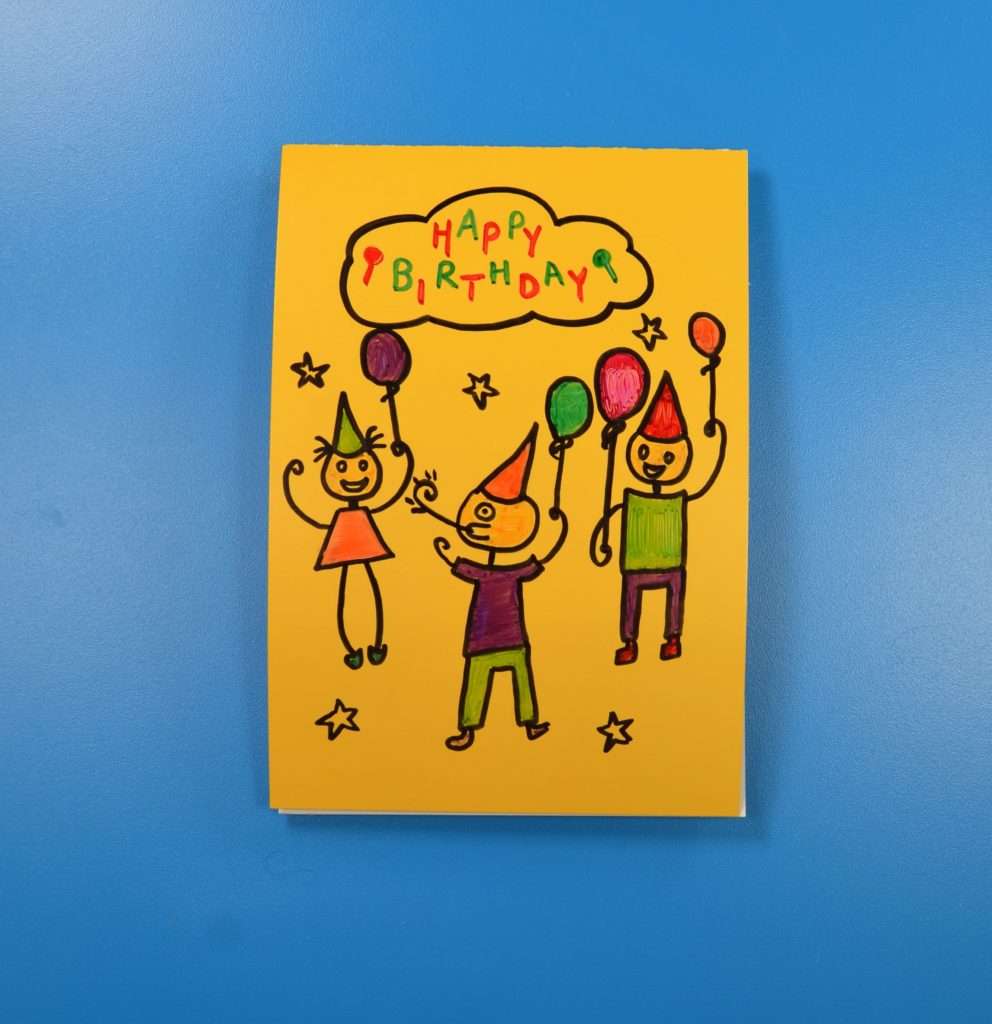
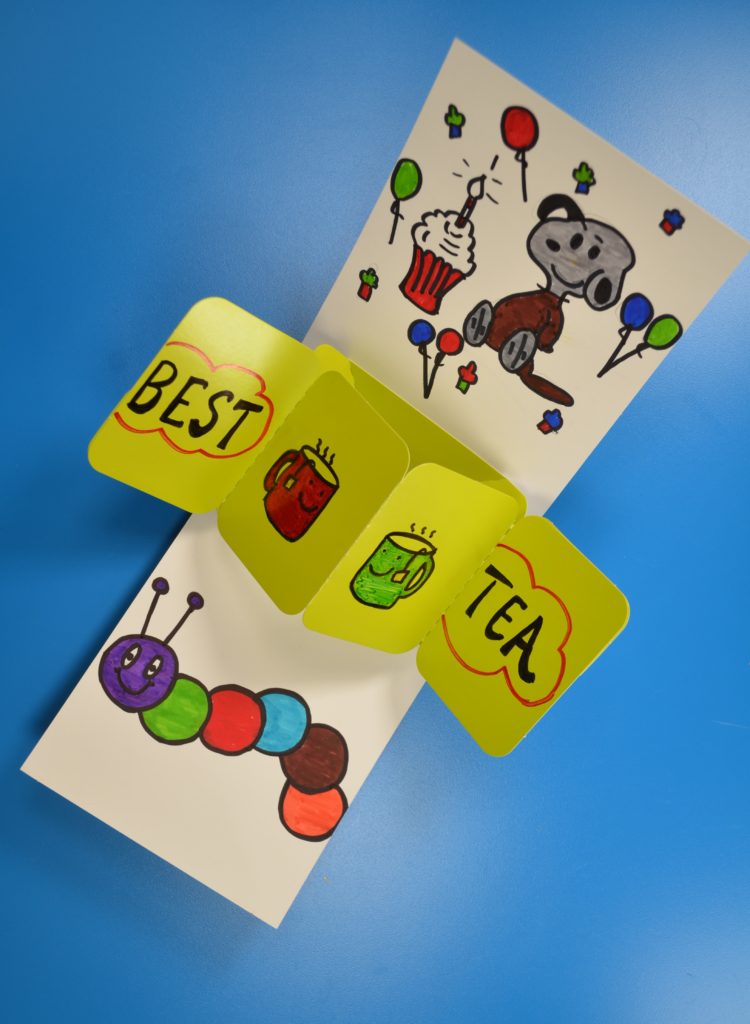
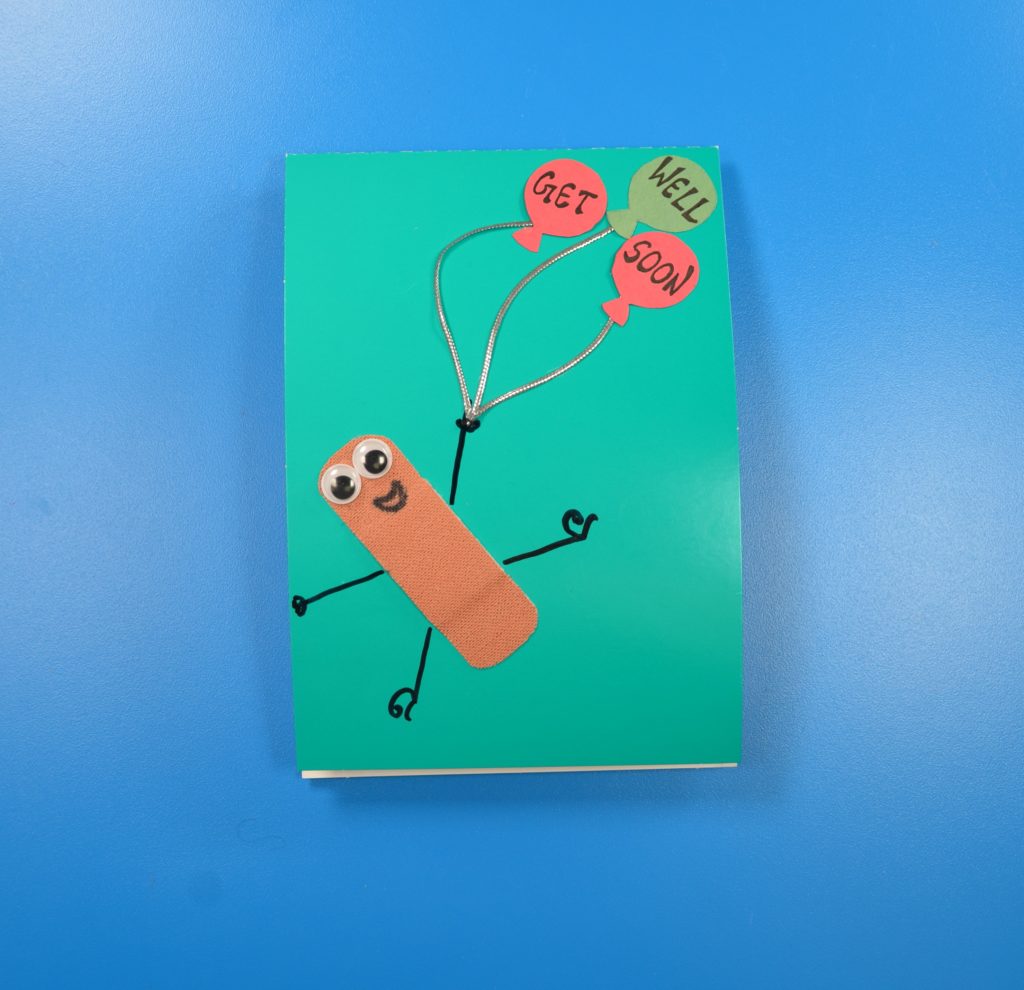
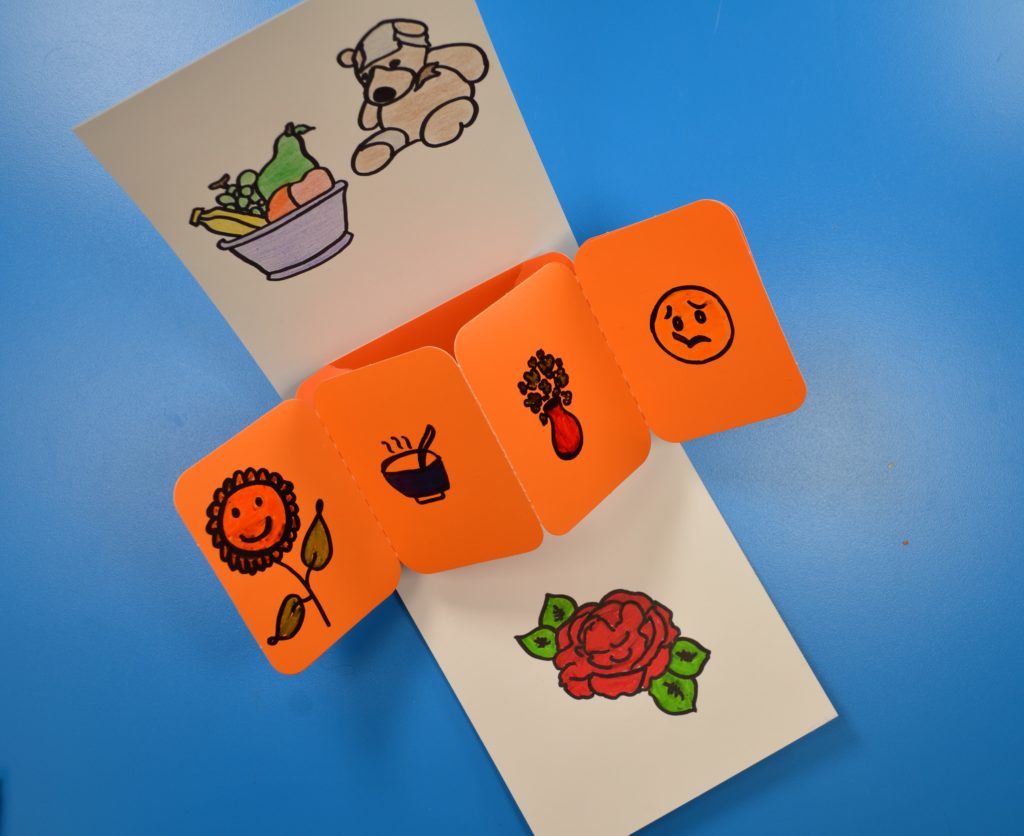
Use these cards for Birthdays, Get Well Soon, Mother’s or Father’s Day.

line-13.png (585×76)

Thanks for checking out this post! Like us on FacebookShare this post with your friends, or Subscribe to this blog today to receive more project ideas!

New Product Highlight: Dinosaur Unruly Rulers

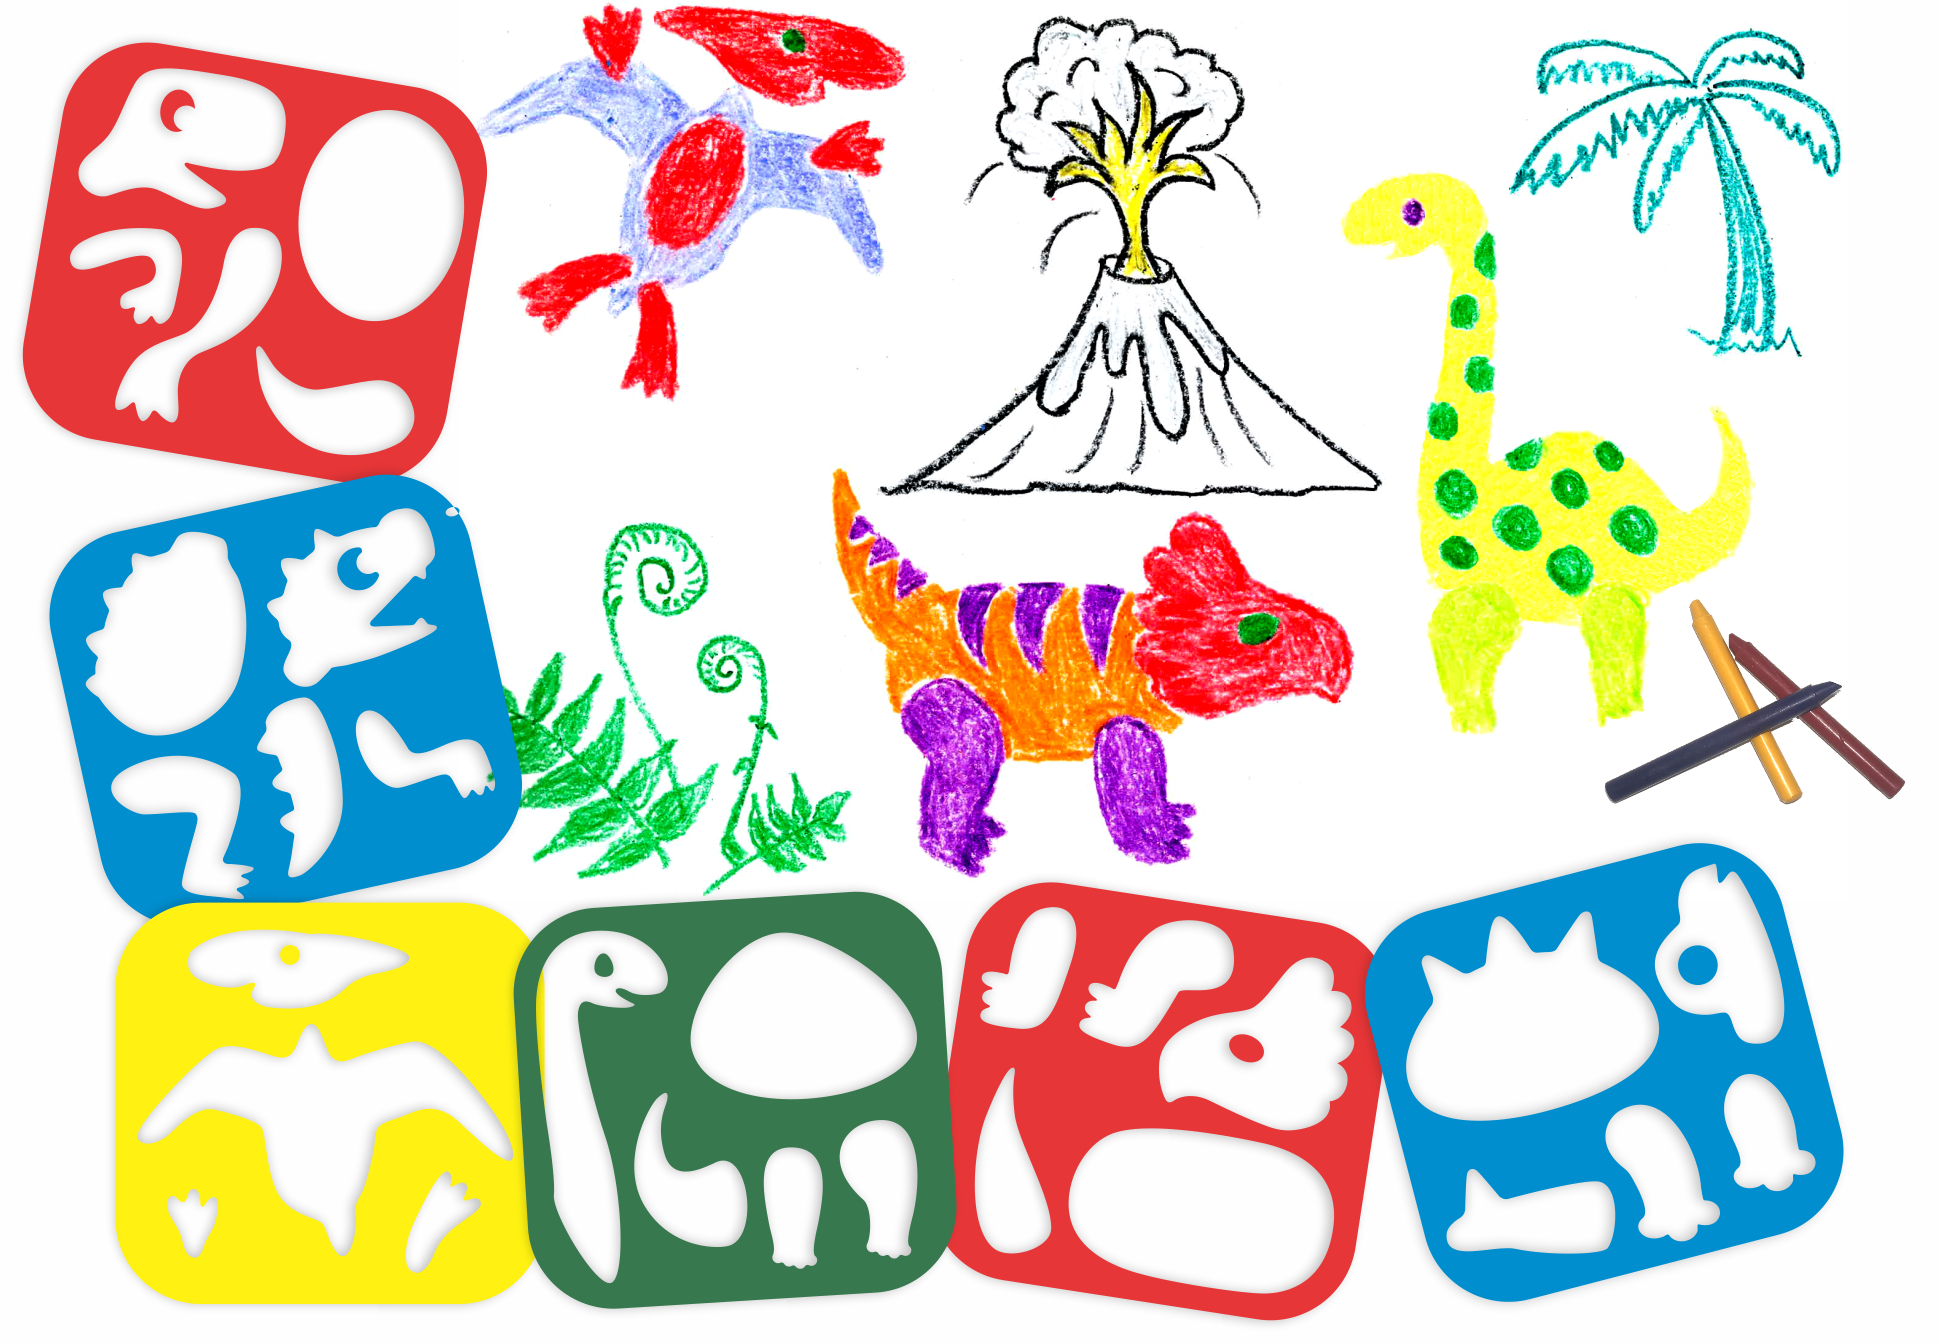
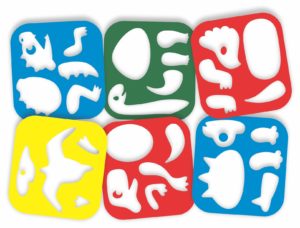
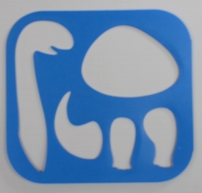
Get ready for an art adventure! This set of 6 stencils is fun and useful. Use these Dinosaur Rulers to create your own Dinosaur. Trace around the stencil and add colors when finished.

Age: 3+

Duration: 15-20 minutes

Learning Objectives: Mix and match dinosaur elements to create unique prehistoric animals. Use colored pencils, markers and crayons to decorate your dinos. The simple designs are easy by a wide range of ages.

You’ll need:

  • Crayons, Pencil crayons or markers to design and decorate the dinos
  • Scissor
  • Glue Stick
line-08.png (585×76)

Take a stencil and place it onto a paper. Start tracing the interior edges to draw a perfect dinosaur.

Trace all the body parts starting from head to toe. Mix & match all the elements to give it a proper shape.

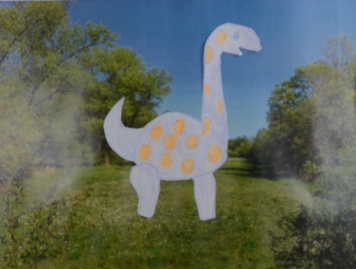
Finish the dinosaur shape off with a tail. Here you can see how well the patterns transfers onto the sheet.

Now, it’s time to give colors to this dinosaur. Start filling the shape with your preferred color of crayons and decorate it with your favorite color combination.

To make it more unique, cut out the dinosaur. Choose any picture or a piece of craft paper and glue it on it.

It’s a lot of fun for children to discover the different types of dinosaurs. Try all Dinosaur Rulers and make your own Dinosaur.

Please watch the full video here: https://youtu.be/VM-YXhzKXcw
Visit our website https://roylco.com/shop/dinosaur-unruly-rulers/ for more information.

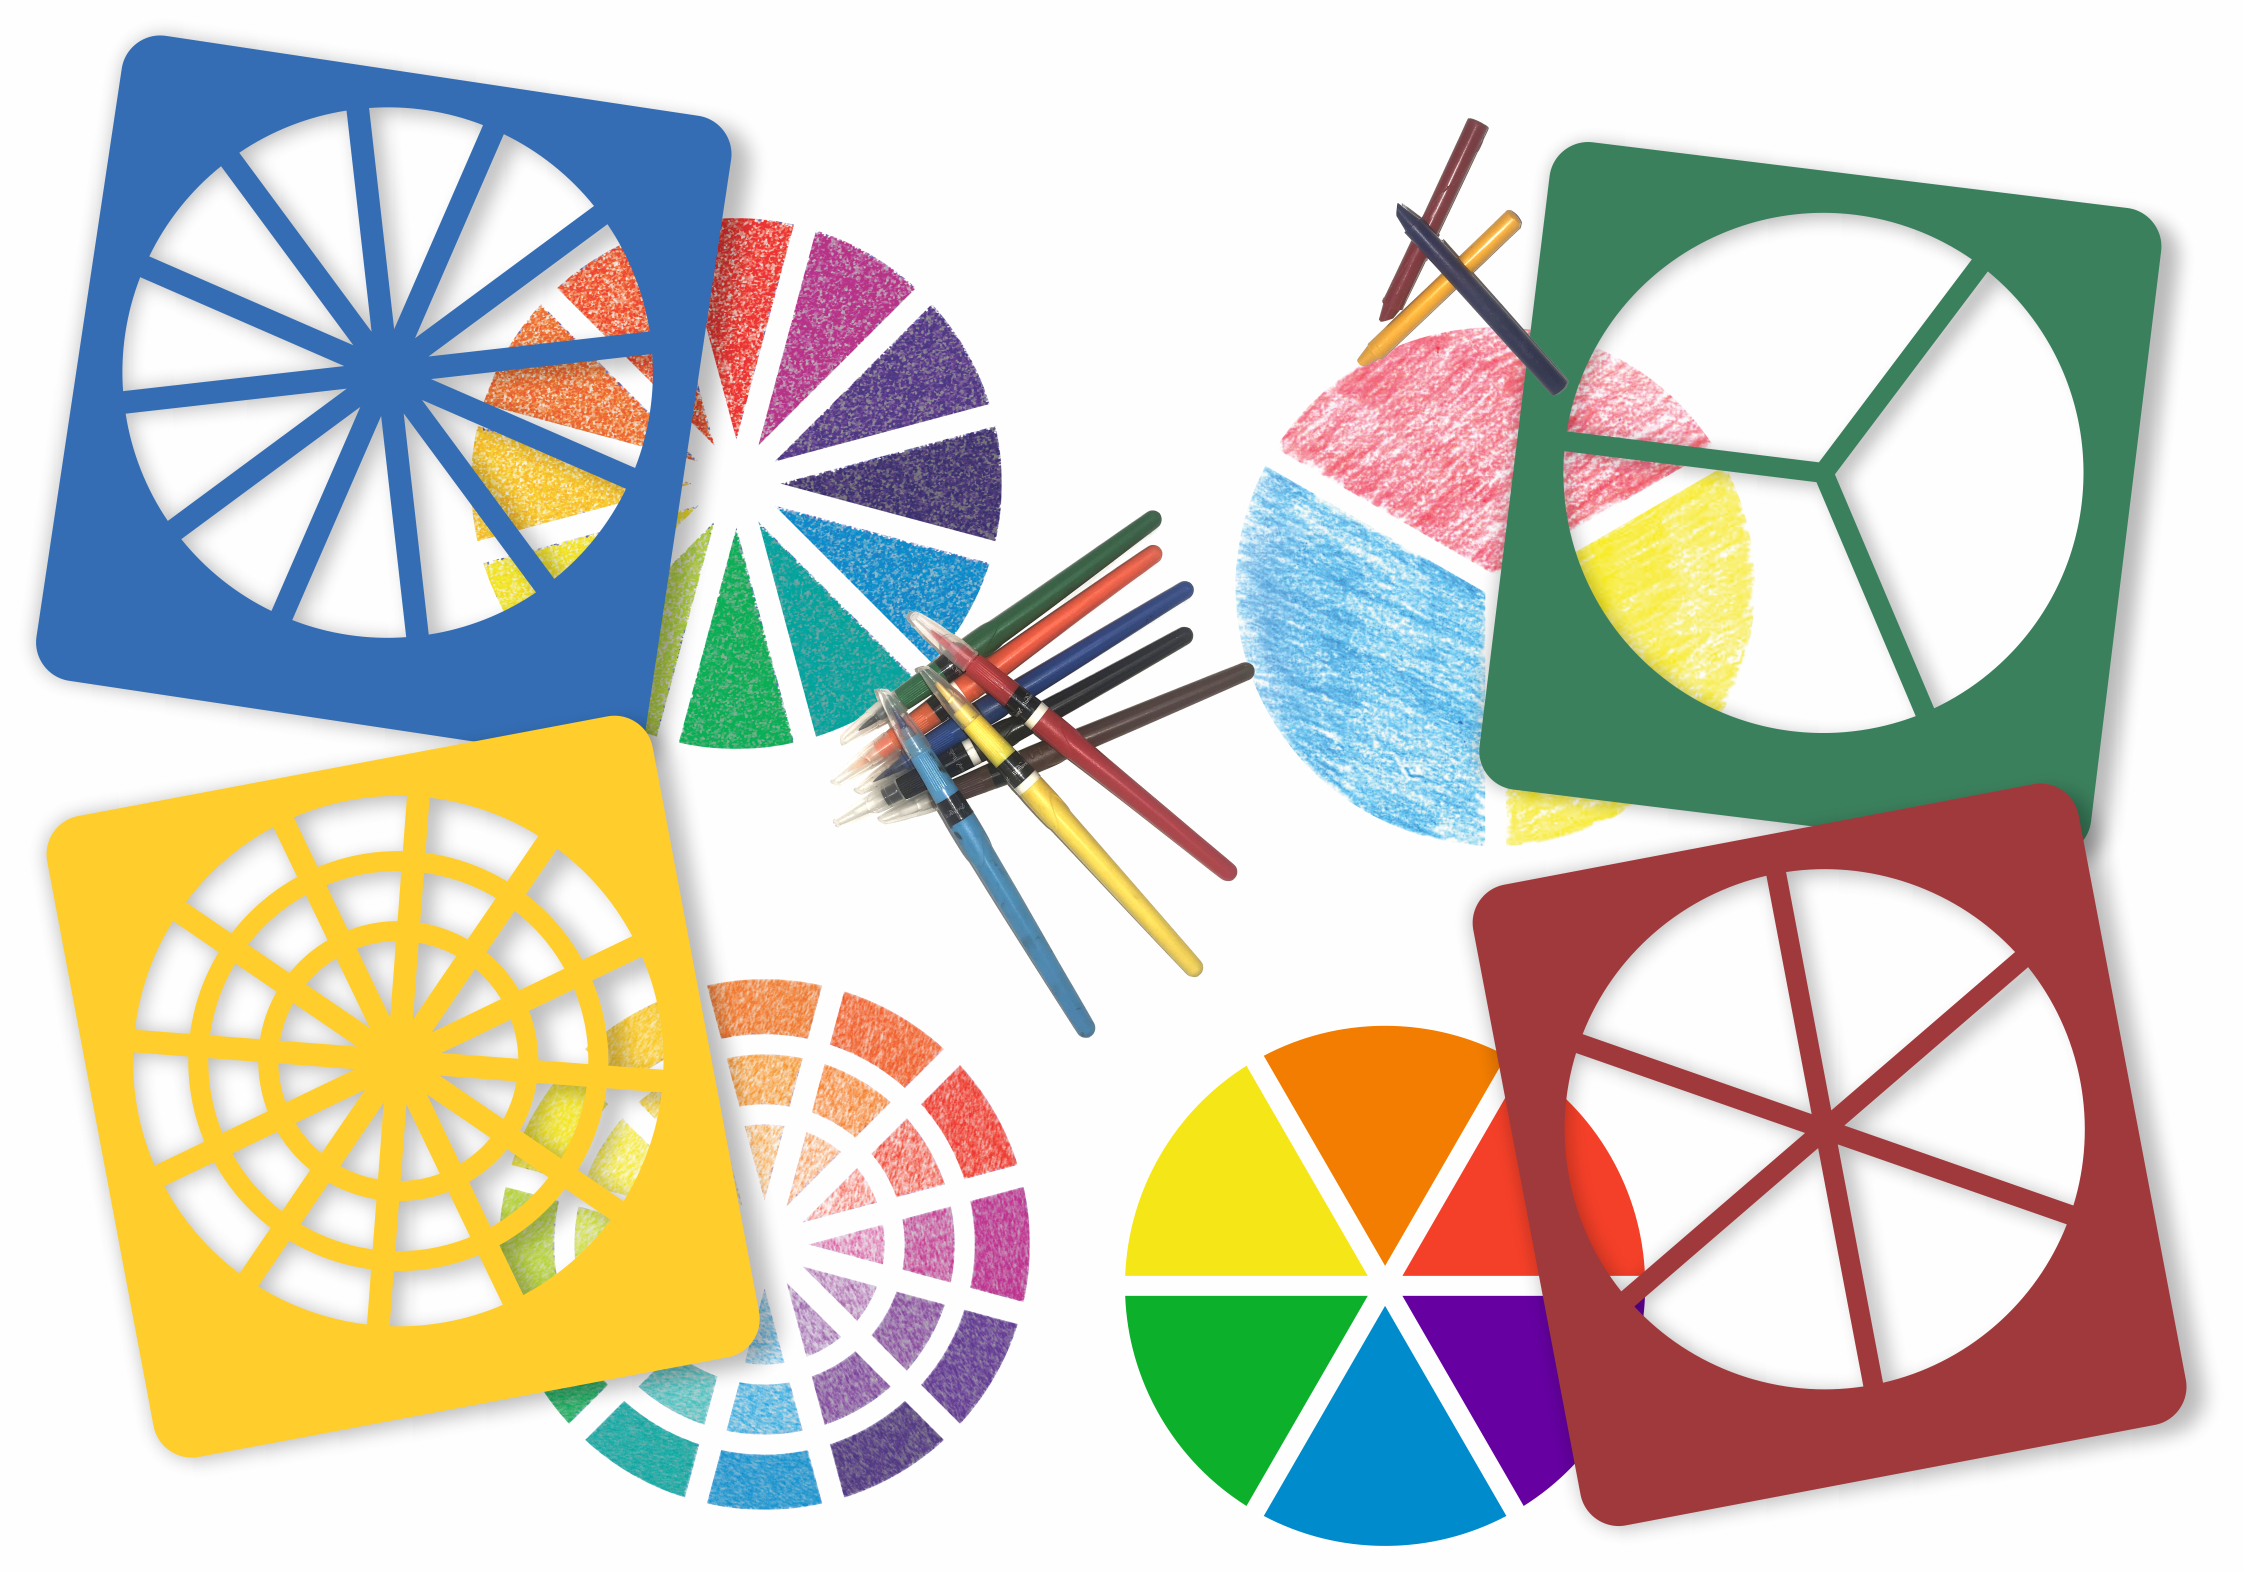
New Product Highlight: Color Wheel Stencils

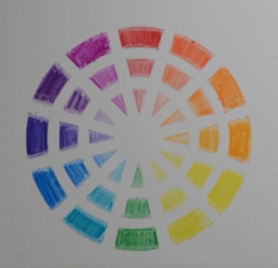
Create fun by encouraging students to create personal color wheels! We like this activity because it can be simple or complex, with a good balance between structure that guides students and open-ended fun that fosters creativity.

Age: 4+
Duration: 15-30 minutes

Here are few ideas on how to use them:

Idea 1: Get familiar with colors by keeping it simple.

What you’ll need:

LET”S GET STARTED

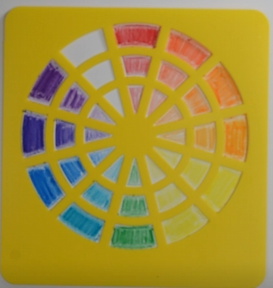
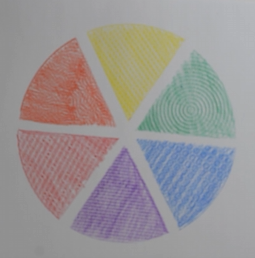
Take a wheel Stencil of your Choice. Put it onto a paper. Start filing up the inner edges with your choice of Color. To get an attractive look, try different colors. You can use Crayons, Markers or Pencil Colors. Once you are done, take off the stencil and see how beautifully the patterns get transfer to the sheet!

Idea 2: Take your color wheels up a notch by adding texture.

What you’ll need:

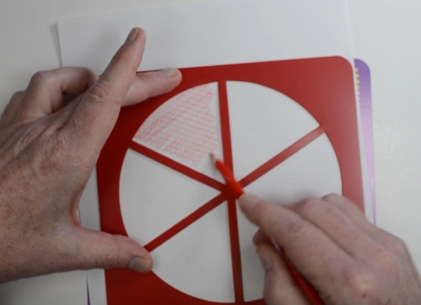
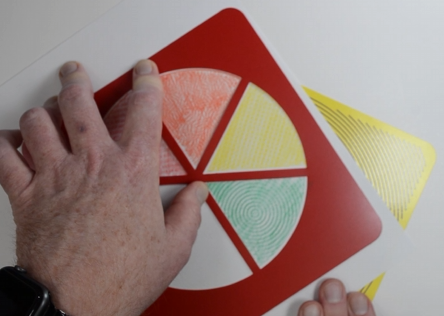
Take a Wheel Stencil and place it onto a white paper. Place one of our R48250 Rubbing Plate underneath the white paper. The twist starts from here. Fill the first wheel pattern with color of your choice. Once you are done, take that rubbing plate out and switch it with another rubbing plate. Fill up all the patterns by using as many rubbing plates you want and you’ll see the difference.

Idea 3: Take your color diffusing projects in a more structured direction by incorporating the color wheel.

You’ll need:

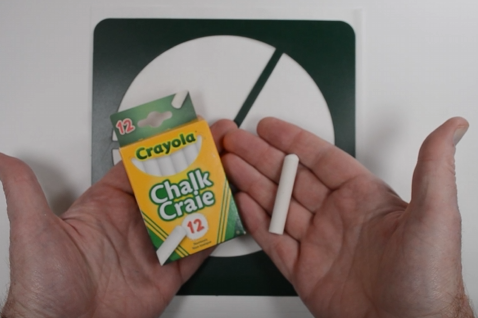
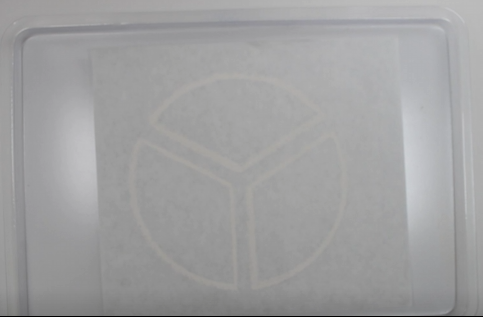
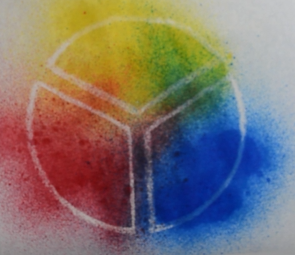
Take a R15212 Color diffusing Paper and place a wheel stencil over it. Outline the wheel patterns with a chalk or with a white crayon. Now, place the diffusing paper on a no mess tray. Take Our R54466 Junior Paint Spritzers, fill the bottle with liquid water color paint and spritz out a fine mist of color. Use different colors to create different effects.

Let us know how you choose to use your Color Wheel Stencils! Have fun and get creative!
Visit our website https://roylco.com/shop/color-wheel-stencils/ for more information.

Line-08

Thanks for checking out this post! Like us on FacebookShare this post with your friends, or Subscribe to this blog today to receive more project ideas!

Product Spotlight: Holiday Color Diffusing Shapes

This month, we’re featuring two of our NEW products:

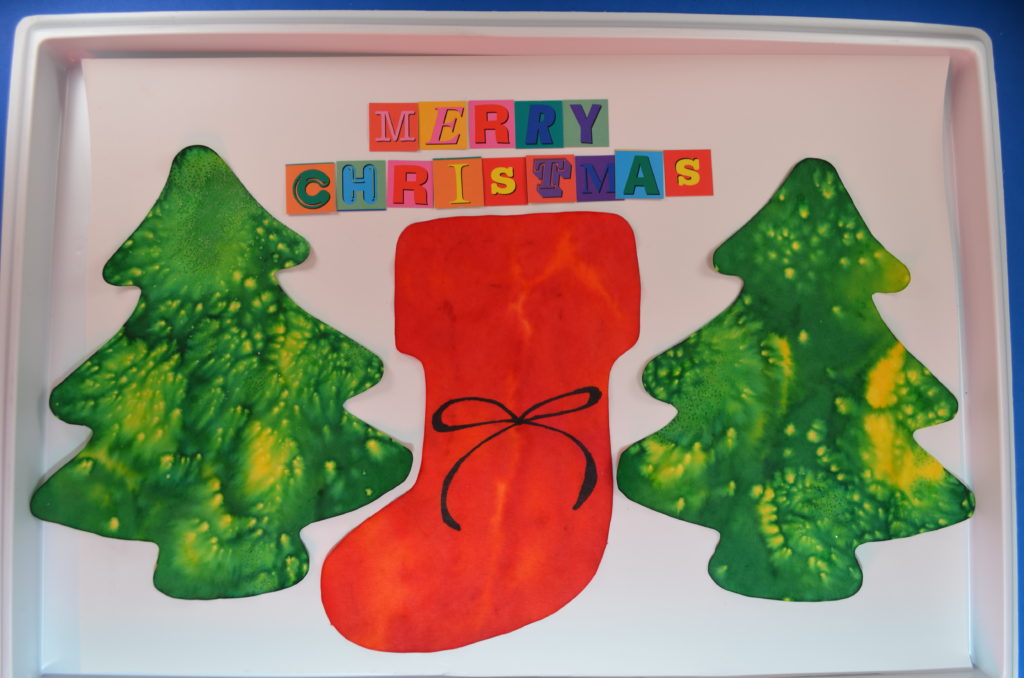
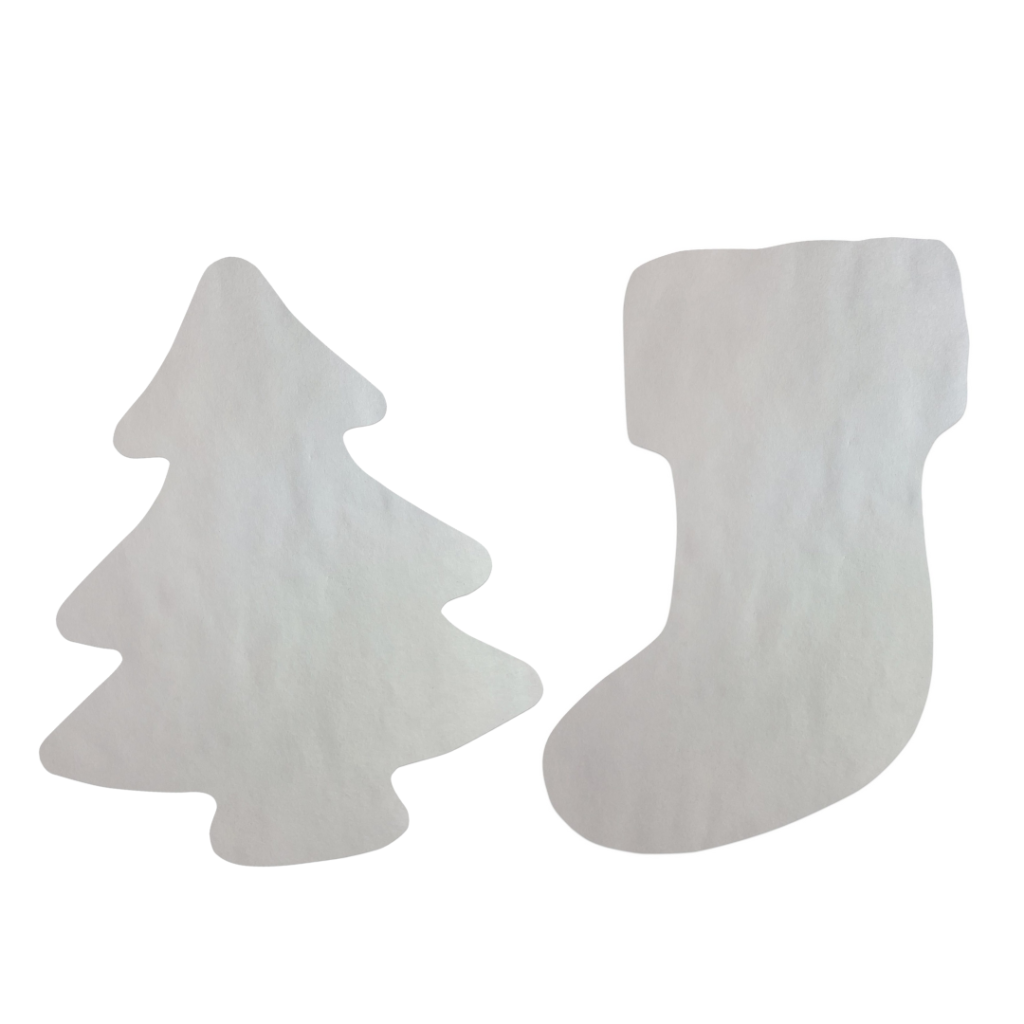
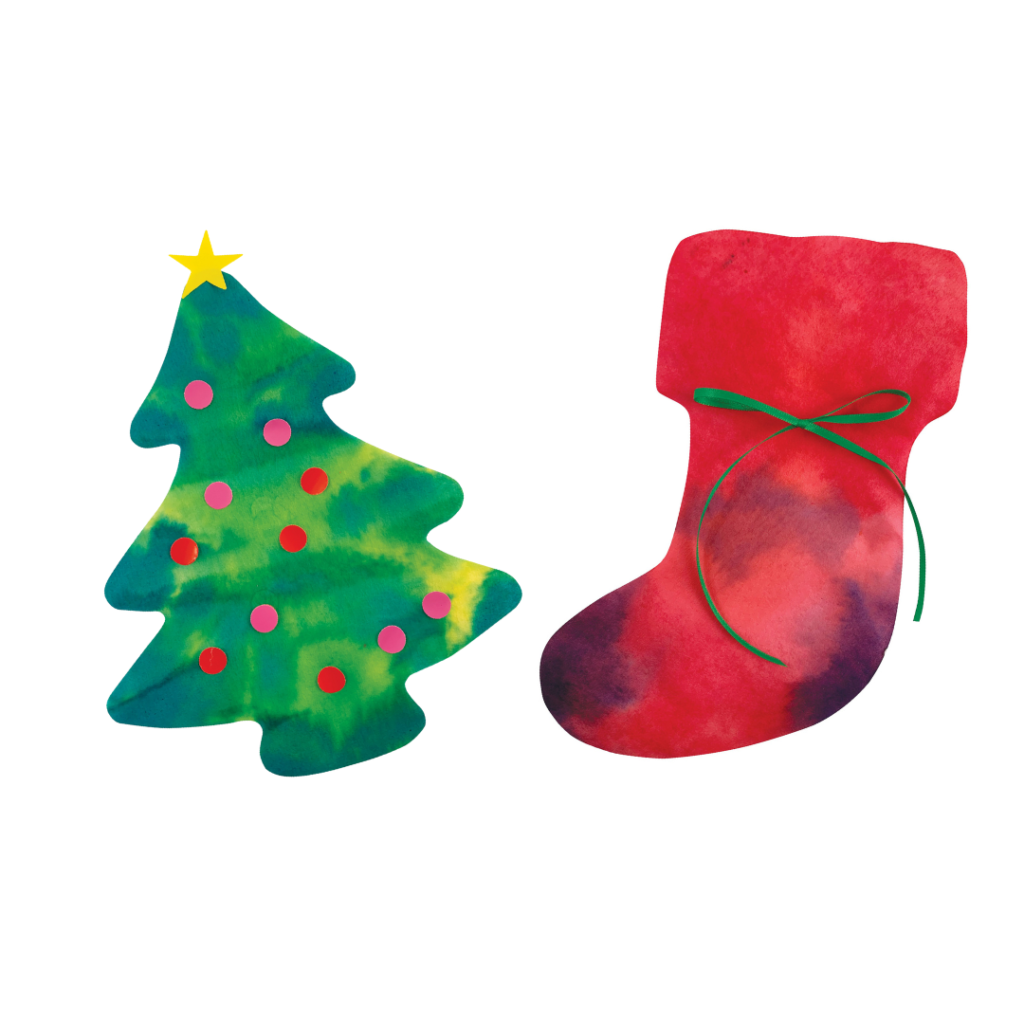
These color diffusing shapes help us get in the holiday spirit while simultaneously developing a deeper understanding of color. There are 3 easy ways to transform these shapes from A to B:

A. Plain Color Diffusing shapes–functional but still waiting for the magic to happen
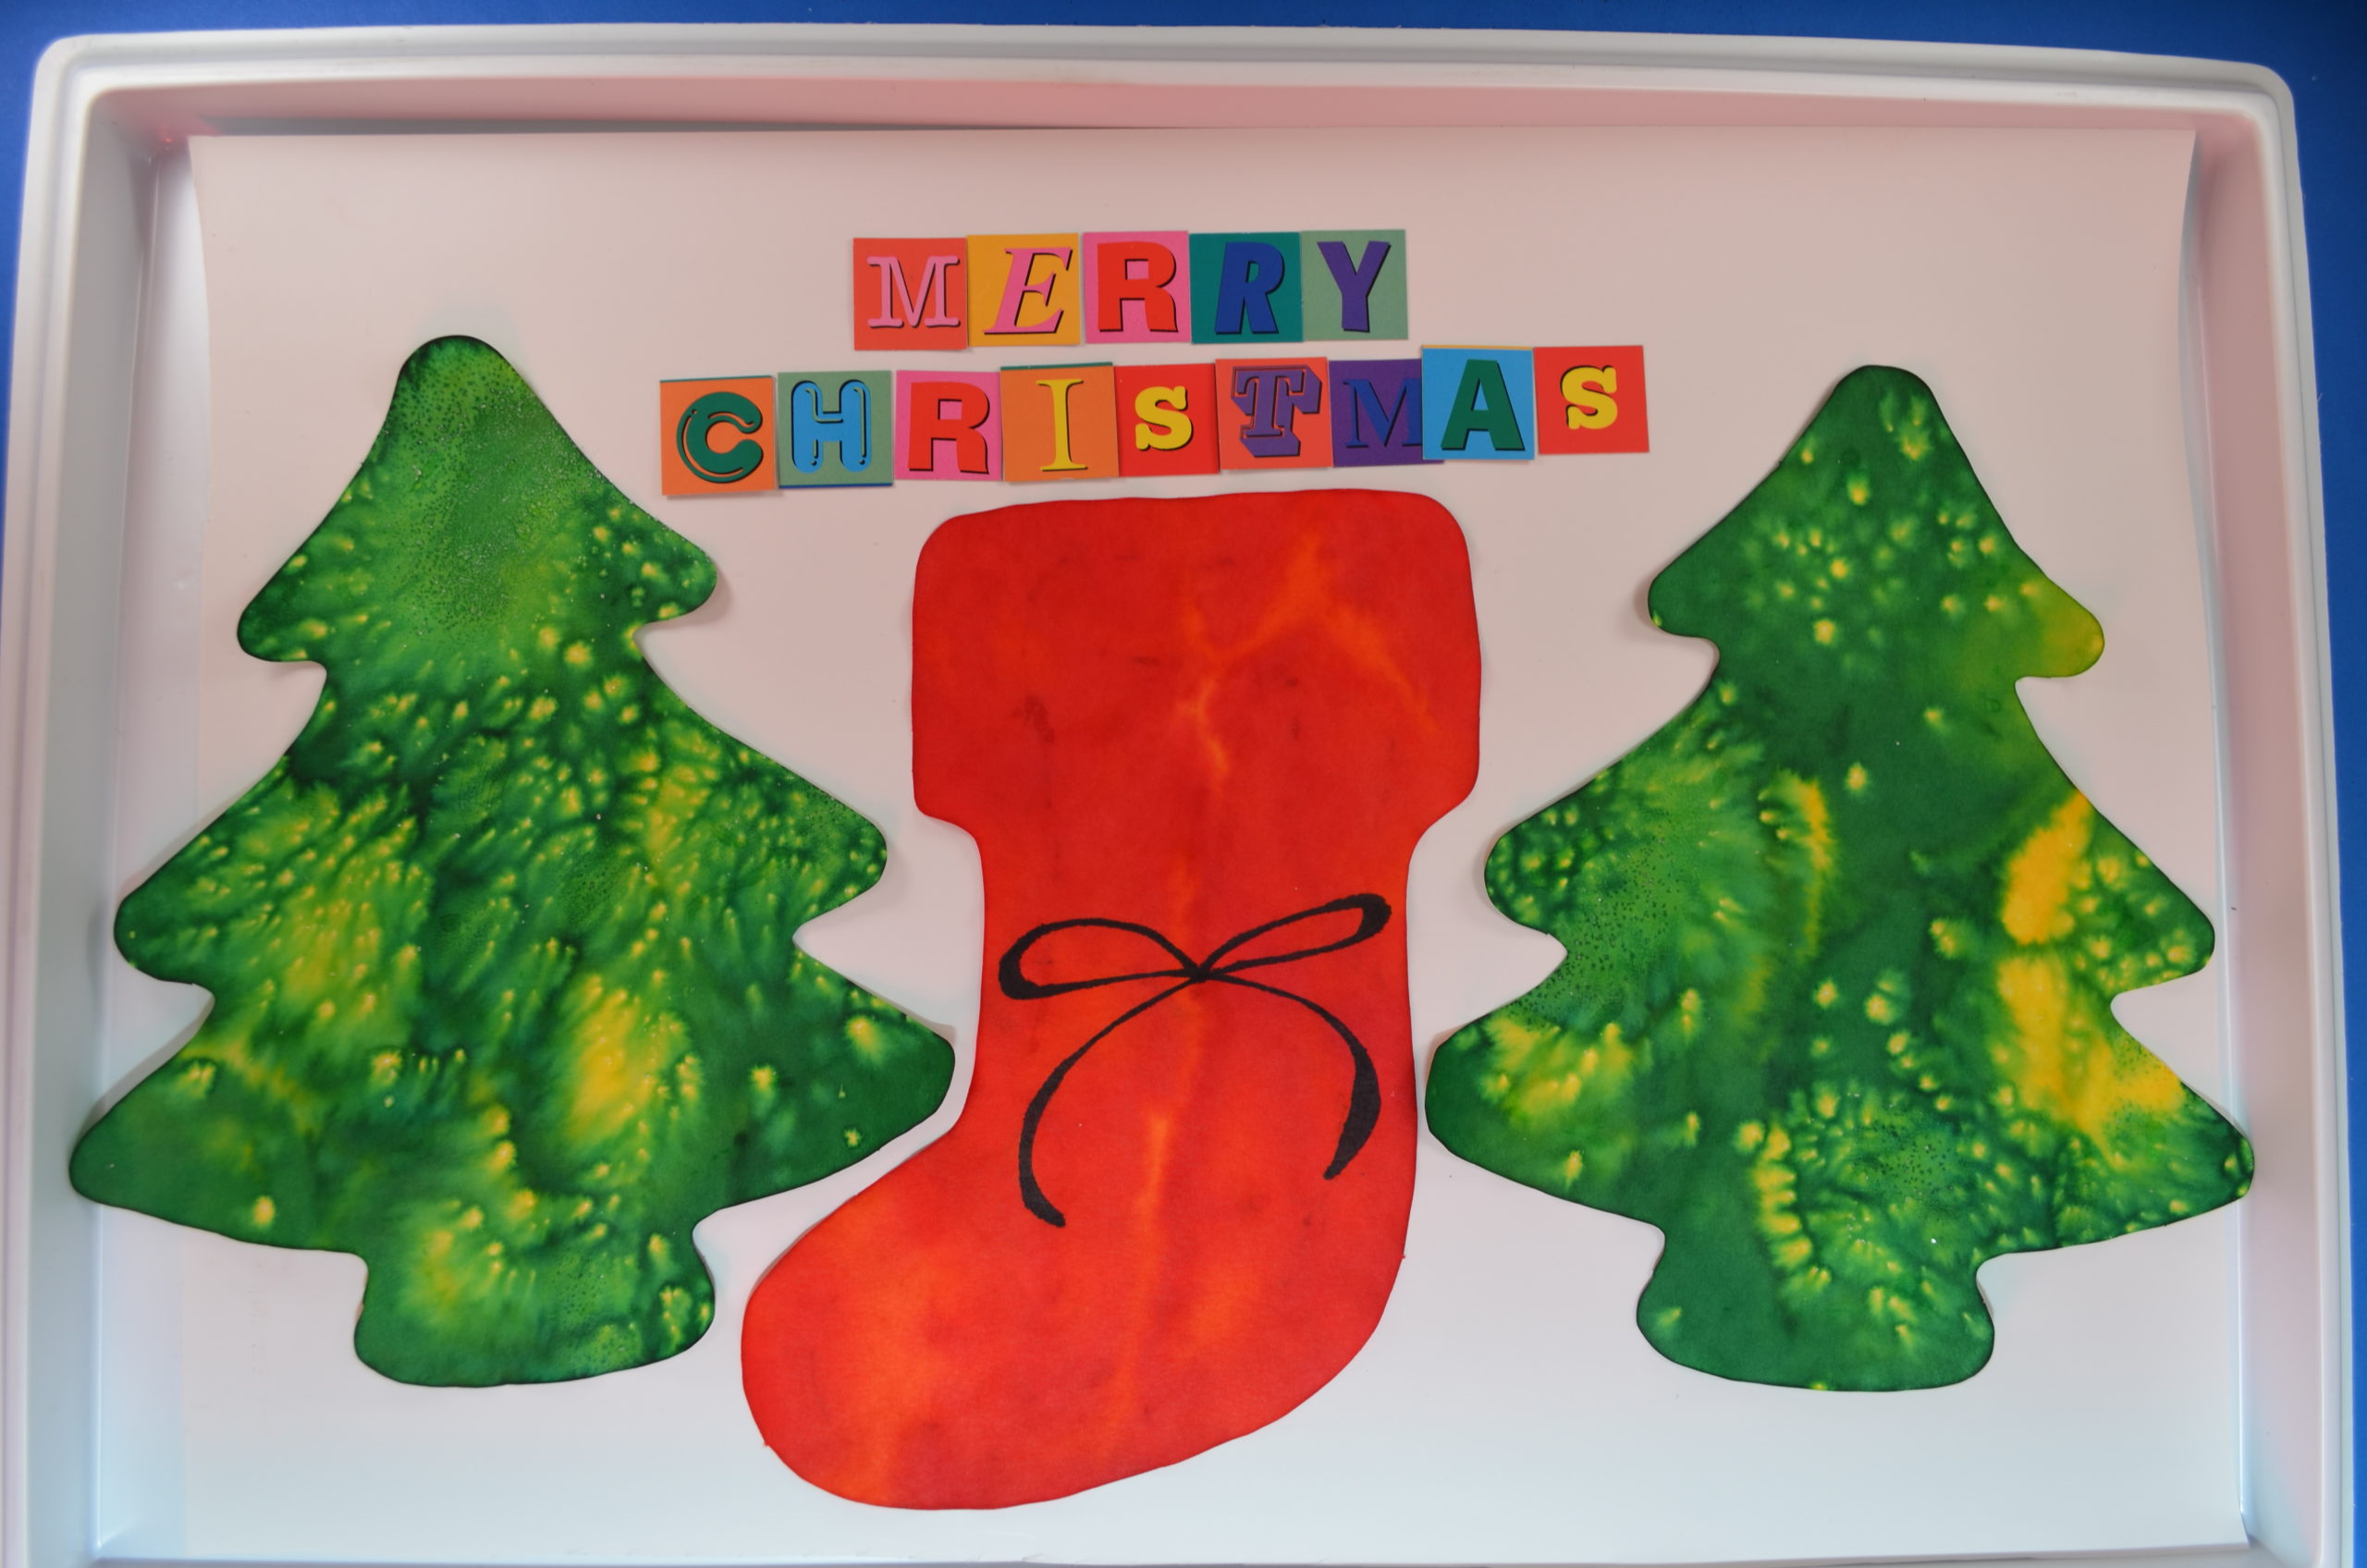
B. Color Diffusing magic transformed the shapes into these beautiful works of art!

Method 1: Washable Marker & Water

This is the easiest method and the mess-free method. Simply use any washable marker to color the shape, and don’t worry about filling in all the white spaces! When you’re done, spray water on the shape and watch the colors diffuse and create secondary or even tertiary colors.

If you need a spray bottle for the water, we recommend Junior Paint Spritzers–they are perfect for small hands.

Method 2: Watercolor

Break out your trusty watercolor set and go to town! Because of the water used with the watercolor paint, the colors will diffuse throughout the paper as you paint. You can always add some extra water at the end and watch the colors diffuse even more. This is especially helpful if you’d like to make light or pastel designs.

Method 3: Liquid Watercolor & Water

This method creates the most impressive designs, IMHO. You can find liquid watercolors online or at your local craft store. Be careful because these paints can be POTENT! It takes quite a few washes to remove the paint from hands, but that is also what makes the designs so beautiful on Color Diffusing paper.

Simply use a spray bottle with the liquid watercolor to add splashes of color to your Color Diffusing shapes. Once you’re happy, spray the shapes with water and watch the colors blend!

If you need a spray bottle for the color or water, we recommend Junior Paint Spritzers–they are perfect for small hands.

Pro tip: Stick to primary colors! It’s easy to get carried away with color, but once they start diffusing, they have a tendency to blend into one, amorphous brown color if you get too complicated!


Try all 3 and let us know your favorite method!

If you like this, you’ll like Blots of Ornaments too! These ornaments have the added benefits of being cut out of extra thick, high-quality color diffusing paper so that they can be used as real ornaments on a tree or windowsill!

Make your own Origami Rabbit

Are you looking for more Easter ideas this week? Making origami rabbit is fun and easy. Today we are going to show you how to make these cute origami rabbits.

Age: 4+

Duration: 6 Minutes

Learning Outcomes: Practice following step-by-step instructions while exercising fine motor and spatial skills.

You’ll Need: 

Step-by-step Instructions ( Please see the graphic above ):

  1. Fold your paper in half to make a triangle.
  2. Fold the creased side of the triangle up about 3/4″.
  3. Fold one side toward the center, line up the points and crease.
  4. Fold another side toward the center. Line up the points and crease.
  5. Fold the bottom up.
  6. Flip it over. Fold the top point inside to create the top of the rabbit’s head. You can see the rabbit’s head is ready now.
  7. Let’s work on the rabbit’s body. Take another piece of paper. Please check the graphic, fold one side of the paper to make a triangle. Then line up the points and fold another side into a triangle.
  8. Flip it over. Align with the point at the bottom, fold the paper to make a triangle. Then line up the points and fold another side into a triangle.
  9. Align with the points in the middle, then fold the shape into half to create a rabbit’s body. Put the rabbit’s head on the top of the body. The basic shape of rabbit is ready.

Ideas:

  • Roylco’s R15219 Elemetary Origami Animals pack provides different patterns and bright colors of origami paper. Contrasting colors are printed on the reverse side. Use the fun bright paper to create your own designs.
  • You can draw different cute facial features on the rabbit. Or you can use other craft paper to cut out the features and glue them on the rabbit.
  • Check out our blog post on “How to make origami carrots” and make a couple of carrots for your rabbits.
  • Display the rabbits somewhere festive, hide them around the house, or around the neighborhood where friends might find them.
  • Punch a hole at the back of the rabbit. Thread a piece of yarn with all the rabbits you make. Hang the rabbits from the ceiling or use them to decorate bulletin boards, doors and hallways!

Please visit https://roylcostore.com/products/elementary-origami-animals for more information.

Make Cross Weaving Mats for this Easter !

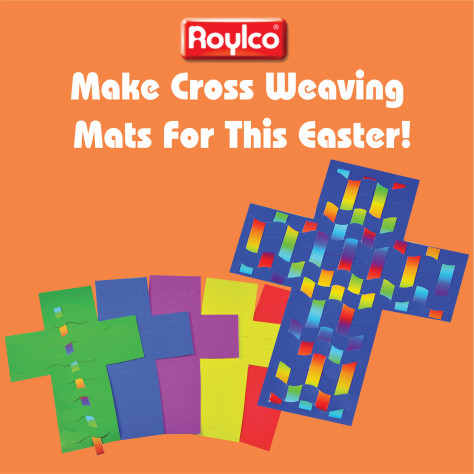
Let’s make cross weaving mats for this Easter! With this simple project, the art of weaving colorful strips of paper through a bright Cross Weaving Mat promotes hand-eye coordination!

Age: 4+

Duration: 8-10 minutes

Learning Outcomes: Explore cultural traditions and symbols. Practice folding and taping. Exercise Fine motor skills. Create a take-home craft.

You’ll Need:

Weave a colorful Cross!
• Begin by gently separating the weaving strips from the panel and loosening the die-cut slats of the cross. Allow four strips per cross.

• Start by weaving the vertical area of the cross. Insert a strip through the slats of the
mat and weave in and out. When you have finished the first strip, start the second but
alternate the “in and out” pattern each time. A wavy, checkerboard pattern will appear.

• Trim off the excess weaving strip lengths and use to complete the cross bar of the cross.Carefully glue or tape the ends down on the backside of the weaving mat. Notice the different color combination you have created on the reverse side.

Tape your finished cross to a window for inspirational window art or decorate a Bible
classroom doorway. Use several Cross Weaving Mats to decorate a bulletin board for Easter!

Thank You Art Campers!

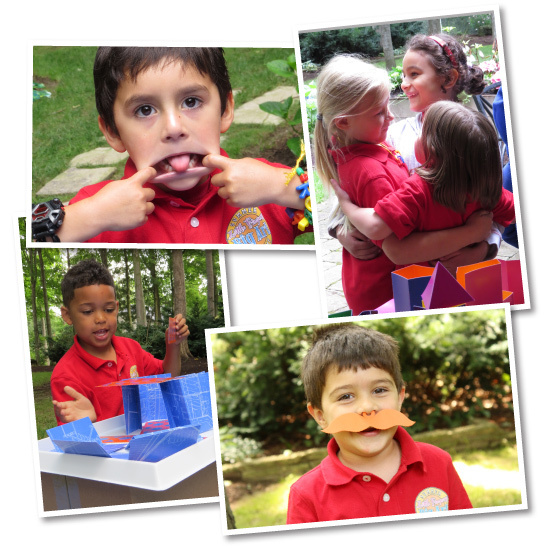
kids art camp roylco

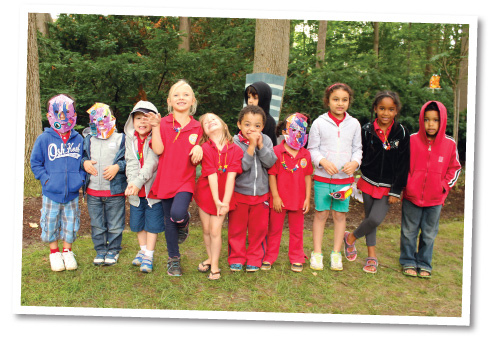
Thank you to all our wonderful art campers who participated in our 2014 Art Camp! We had a blast!

ThankYouPhoto-02

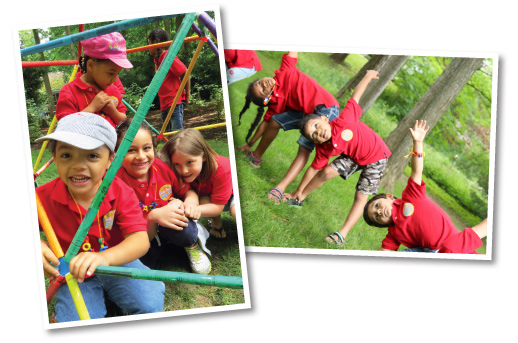
Although it was unusually cold for the middle of summer, we did lots of activities that kept us up on our feet and moving about. The kids not only took part, they engaged fully with each other and made the best of friends!

ThankYouPhoto-05

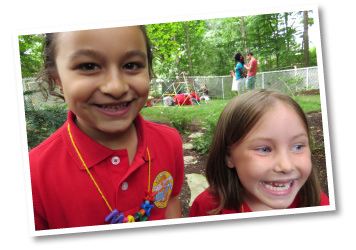
We had some silly moments…

ThankYouPhoto-06

…some sneaky moments…

ThankYouPhoto-04

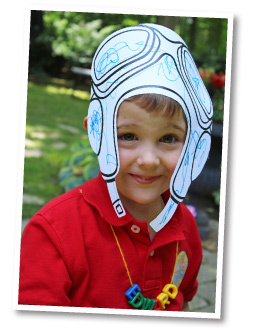
…and some out-of-the-box moments!

ThankYouPhoto-03

All of these moments brought about a willingness to explore with new materials and develop artistic ability using fine and gross motor skills!

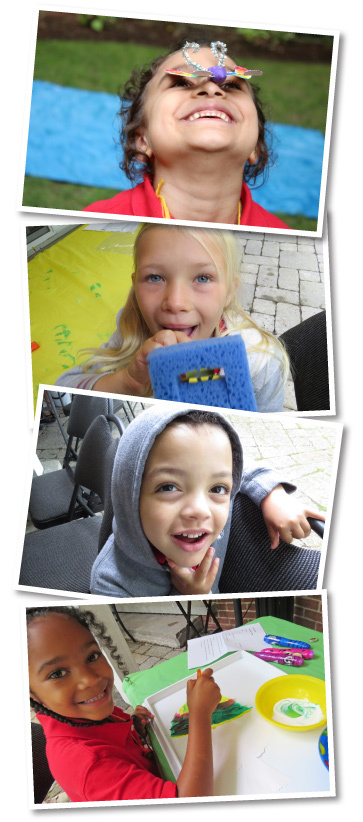
We’ve put together a gallery of faces featuring our lovely campers. Thanks again for all the great memories and we hope to see you soon!

ThankYouAllKids

Line-16

Like us on FacebookShare this post with your friends, or Subscribe to this blog today to receive original craft project updates every Monday, Wednesday and Thursday!

Project Spotlight: 3D Ornaments

2014-12-15-FeatureImage

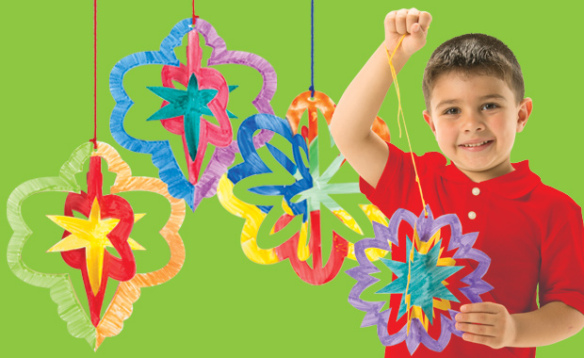
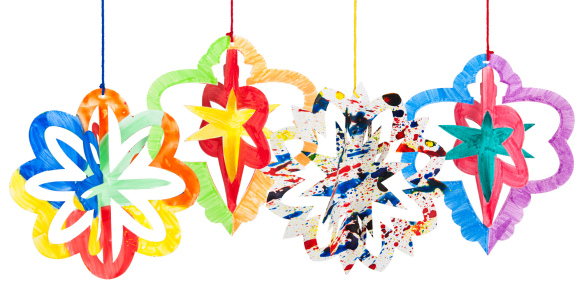
Decorate with color this season! Fold up beautiful ornaments with our special designs–use paint, crayons or markers to color in the shapes.

Each of the R51081 3D Ornaments are die-cut into 3 folding designs. This means that when folded, the card ornament transforms into a beautiful arrangement that can be hung from the ceiling or as a part of a giant seasonal mobile.

20141127_112219

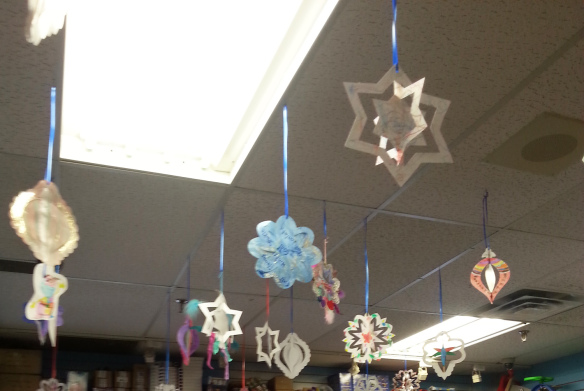
This photo was taken in Simply Wonderful Toys in Guelph, Ontario. They decorated the ceiling using our 3D Ornaments! The ornaments were given to children to color and collage while they waited for parents to finish shopping.

51081-3D-Ornaments-art_4

Here’s a look at some of the ways you can decorate the ornaments. Use paint or markers to color in alternating sections of the ornament. Splatter paint blobs across the ornament to give your design a retro tie-dye effect. Experiment with different paint techniques to make your ornament stand out!

51081-3D-Ornaments-girl

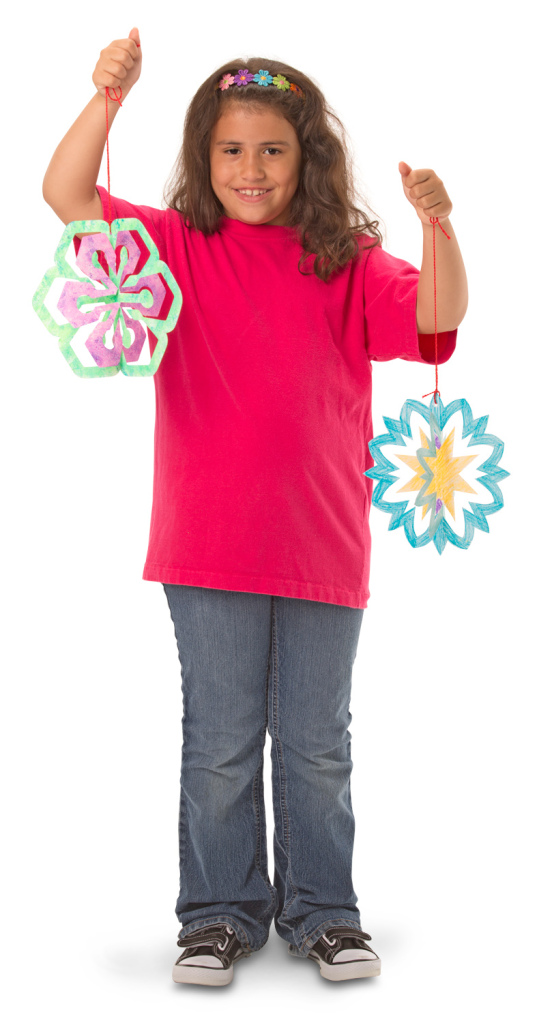
All finished decorating! Pop out the ornament along the scored lines and fold each layer of the ornament towards opposite sides. Thread some string through the pre-punched hole at the top of the ornament and hang.

Line-08


Like us on FacebookShare this post with your friends, or Subscribe to this blog today to receive original craft project updates every Monday, Wednesday and Friday!

Little Fingers Big Art won’t be posting from now until the week of January 5th, 2015. Enjoy a safe and prosperous holiday! See you in the NEW YEAR! Check back for more incredible arts and crafts projects in your classroom. All the best, from all your friends at Roylco!

New Year’s Masquerade Masks

2014-12-10-FeatureImage

This year’s New Year’s party will be a blast with fancy custom-made masks! Celebrate the past year and what the New Year will bring!

Age: 5+

Duration: 10-20 minutes

Learning Objectives: 

You’ll Need:

R15623 Tie Dye Paper

R22020 Color-In Masks

• Glue

• Scissors

• Pencil

• Rhinestones or sticker jewels

• Feathers

• Hole punch

• Decorative ribbon

Line-15

Encourage your students to think of their New Years masks as a reflection of their creative expression. So go crazy with it! Bring out your stock of decorative materials from the craft closet–look for things like sequins, bright, shiny beads or buttons, rhinestones, tinsel and more!

P1015837

Gather up your plethora of decorations for the masks! You don’t need to use a full sheet of the Tie-Dye Paper to decorate the mask; in fact, it would make sense to cut each sheet in half and divide the halves between two students.

P1015840

Place the Color-In Mask onto the Tie-Dye Paper and trace around the outside edges with pencil. Be sure to mark those eye holes as well as the pre-punched holes on the sides!

P1015841

Cut out the Tie-Dye Paper along the traced lines.

P1015843

Glue the Tie-Dye Paper cutout directly on top of the Color In Mask.

P1015848

Pick out your assortment of decorative items. Start adding details to your mask! Make patterns with the sequins or rhinestones, trace the outlines of the eyeholes or the edges of the mask.

P1015849

At this stage, I’ve decided to add decorative feathers to the mask. This adds a bit of flair! You can use hot glue, but regular white glue works fine as well. Simply press and hold down the feather shaft for 30 seconds. If the feather pops away from the paper, dab a bit of glue onto the feathery strands and press down onto the paper.

P1015850

Finally, punch holes through the Color-In Mask on either side.

P1015854

Attach a strand of ribbon onto each side of the mask. It’s a good idea to make two strands of ribbon for each mask, as it is easier to tie the mask around students’ heads. This is a great take-home project for kids before they head home for the holiday season!

Line-15

Like us on FacebookShare this post with your friends, or Subscribe to this blog today to receive original craft project updates every Monday, Wednesday and Friday!