Junior Paint Spritzers

54466 Junior Paint Spritzer Hands 2.jpg

These spritzers are the perfect new tool for art classrooms! 

Create beautiful works of art with these adorable, elephant-headed paint sprayers!
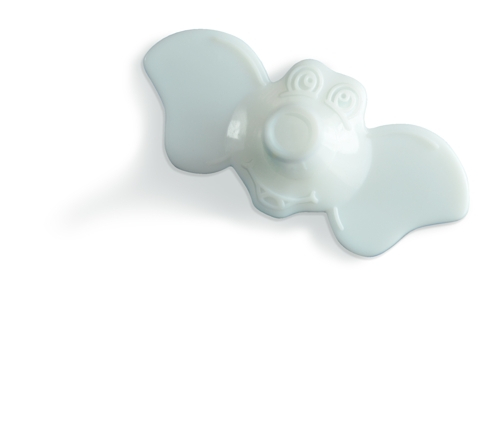
54466 Jr Paint Spritzer-Head

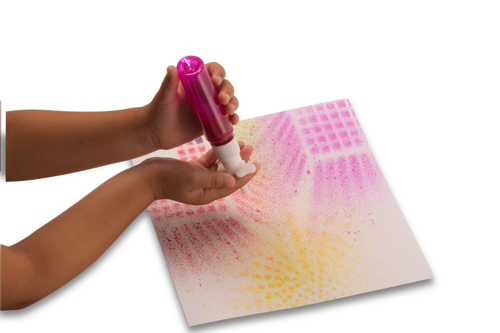
Fill the sprayer bottle with liquid watercolor paint, point the elephant’s head down and squeeze the elephant ear-pump to spritz out a fine mist of color onto craft paper. Make yourself a rainbow of paint sprayers by putting different colors in each of the five sprayers. Dilute the paint with water or add liquid soap to make stains easier to clean.

Graffiti isn’t something we want to teach students how to do, but the painting techniques
employed by street artists like Banksy have many applications. Freehand and stencil spray painting techniques can be successfully adapted for a classroom environment. In addition to teaching an art technique, this is a great opportunity to talk to children about stealing like an artist.

Children might know the phrase “good artists copy, great artists steal.” This quote has been attributed to T. S. Eliot, Pablo Picasso and Steve Jobs. No matter who said it, stealing like an artist doesn’t mean copying someone exactly and presenting the results as your own work—that is plagiarism! Stealing like an artist means using a technique you admire from an artist and innovating that technique to create a unique final product.
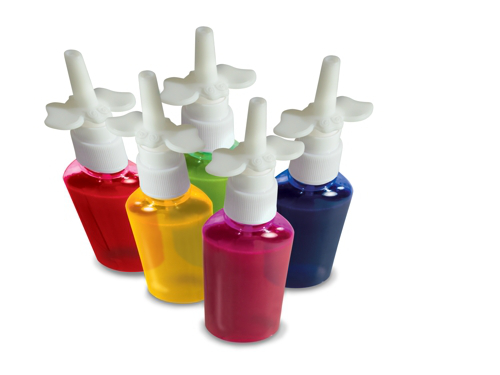
54466 Junior Paint Spritzer_Bottle2

Ideas

  • Try putting masking tape on paper in random patterns, spray paint on the paper and then removing the masking tape to reveal beautiful artwork.
  • Choose a base color and spray it on a sheet of paper. Place small objects like buttons, blocks, or small cups and containers on the paper over top of the base layer of paint. Spray more layers of paint in different colors over your paper. When you remove the objects, you will have a gorgeous layered painting.
  • Spray a layer of paint down. Lightly crumple a sheet of news paper and quickly press it down and remove it to create exciting textures in the paint.
  • Use the elephant spritzer to create a background for your painting, and allow it to dry completely. Then use a different medium (crayons or colored pencils) to create the foreground of your painting.
  • Create a gorgeous paint texture by laying a piece of mesh or a sheet of Roylco’s R1504 Paper Mesh over top of a sheet of paper and pray paint over top. Remove the mesh to reveal the texture.
  • Make a rubbing with a crayon. Use the elephant sprayer to add color and pizzazz to the rubbing. The wax in the crayon resists the paint and will show through.

Line-15

Like us on FacebookShare this post with your friends, or Subscribe to this blog today to receive original craft project updates every week


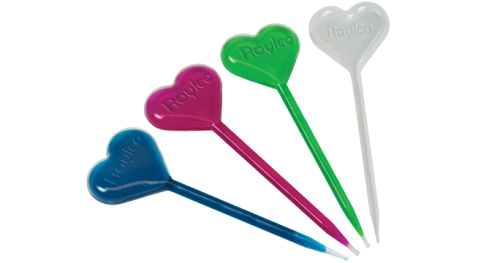
Junior Heart Paint Pipettes

R54470-A

Use our Junior Heart Paint Pipettes and love your art! The pipettes have heart-shaped bulbs at the top that will encourage children to practice flexing and squeezing their fingers.

Mix a few drops of concentrated watercolor paint or food coloring with about 2 cups of warm water. Squeeze the bulb to expel all the air from the inside and then dip the nozzle into a bowl of watercolor paint. Release the bulb. The inner chamber will fill with paint.

Squeeze the bulb to press out the paint.

R54470-B

Here are some ideas on how to use the Paint Pipettes!

  • Make interesting splatter art.
  • Mix up watercolor paint with a dash of glitter. Pipette the mixture onto a sheet of Color Diffusing Paper. Let dry overnight, then in the morning, get a look at your fantastic glitter painting!
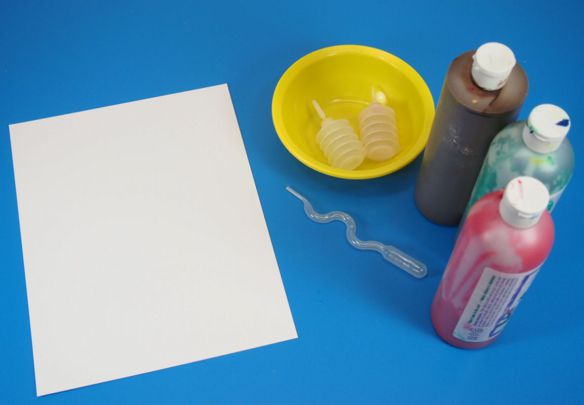
  • Make a gel heart! Mix up ¼ cup cold water to 1 packet of Knox® Gelatine. Add ¼ cup boiling water and stir until dissolved. Use the pipette to draw in some of the mixture. Let set at room temperature or place in the fridge for faster setting times. Once the gel is set, use a pair of scissors to cut the pipette open. Peel away the sides to reveal your gel heart! Tip: Add in a bit of food coloring to the mixture before you let it set.

Looking for more ideas? Check out our YouTube page for more Roylco videos!

Line-09

Like us on FacebookShare this post with your friends, or Subscribe to this blog today to receive original craft project updates every week!

Thank You Art Campers!

kids art camp roylco

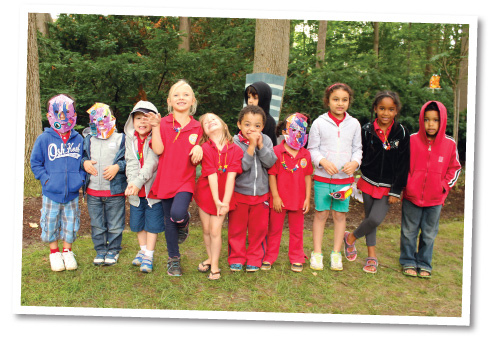
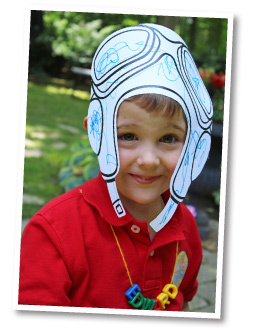
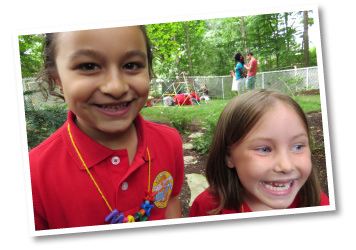
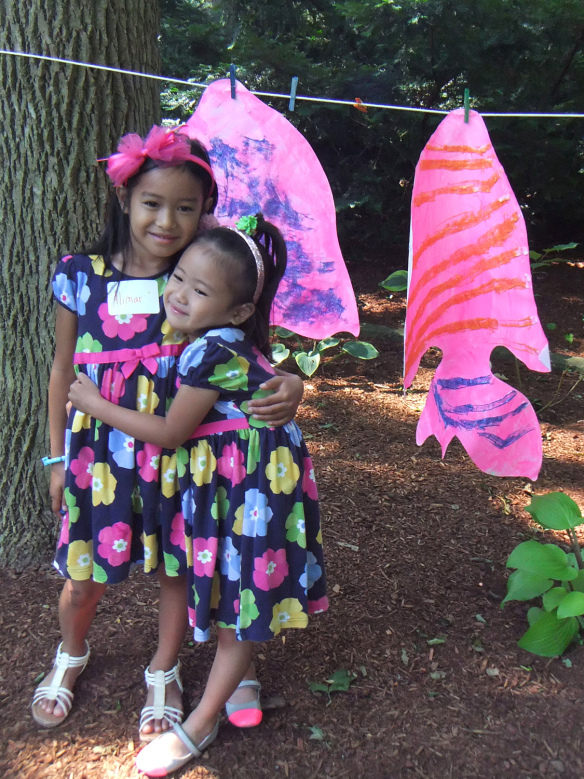
Thank you to all our wonderful art campers who participated in our 2014 Art Camp! We had a blast!

ThankYouPhoto-02

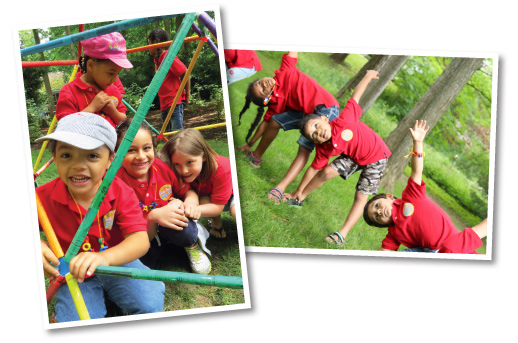
Although it was unusually cold for the middle of summer, we did lots of activities that kept us up on our feet and moving about. The kids not only took part, they engaged fully with each other and made the best of friends!

ThankYouPhoto-05

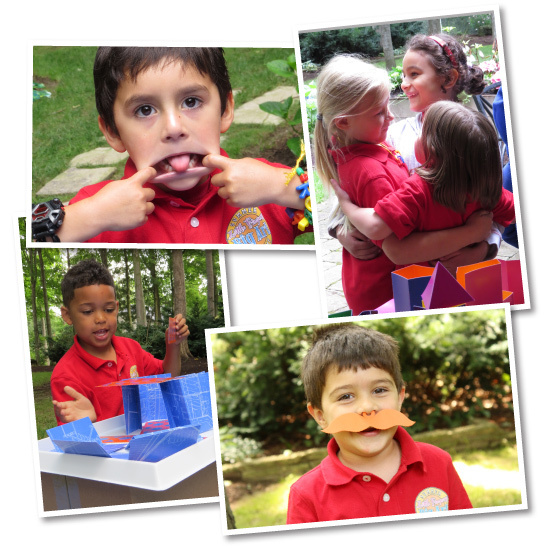
We had some silly moments…

ThankYouPhoto-06

…some sneaky moments…

ThankYouPhoto-04

…and some out-of-the-box moments!

ThankYouPhoto-03

All of these moments brought about a willingness to explore with new materials and develop artistic ability using fine and gross motor skills!

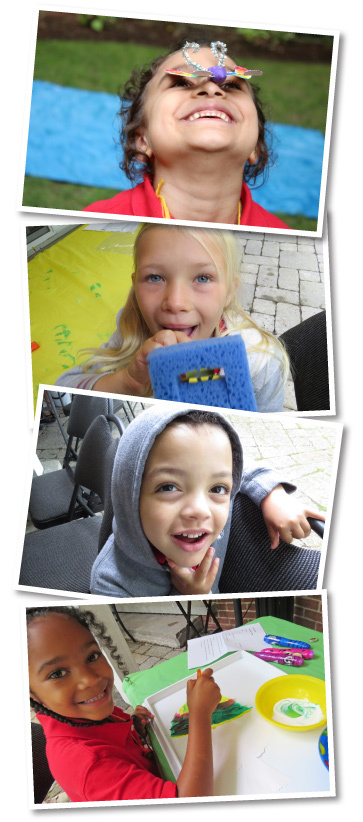
We’ve put together a gallery of faces featuring our lovely campers. Thanks again for all the great memories and we hope to see you soon!

ThankYouAllKids

Line-16

Like us on FacebookShare this post with your friends, or Subscribe to this blog today to receive original craft project updates every Monday, Wednesday and Thursday!

Collage A Saurus

collage a saurus dinosaur craft

We will never know what dinosaurs actually looked like, but we can imagine! These amazing mysterious creatures were our inspiration for the latest addition to our 2015 product line-up: R16035 Collage-A-Saurus!

collage a saurus dinosaur craft

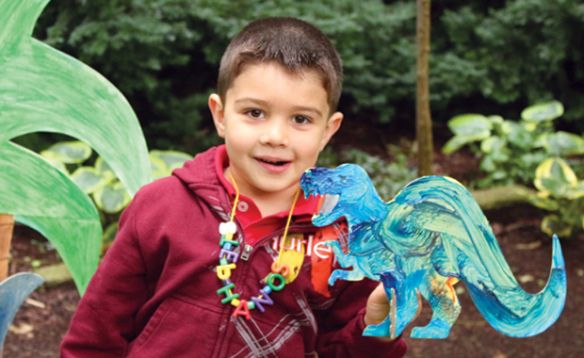
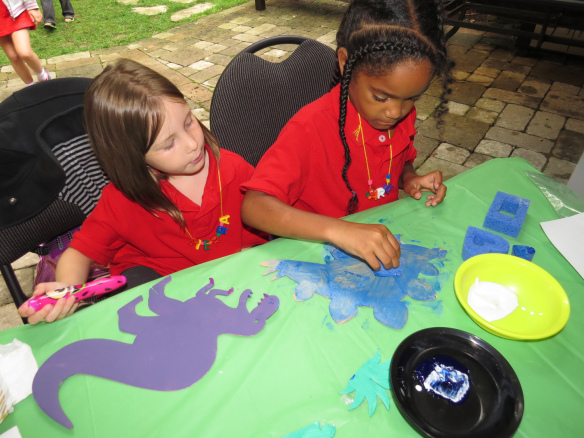
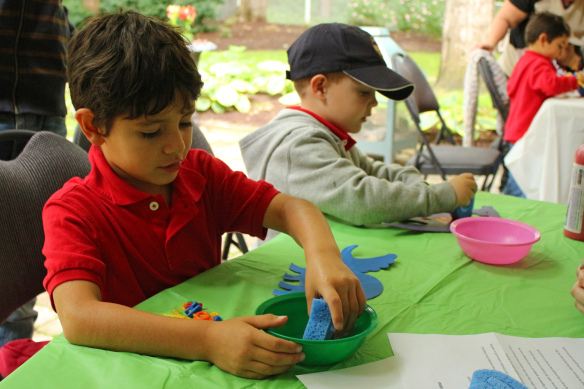
The card dinosaurs can be popped out of the flat sheet along with the accompanying stand, which is fashioned to look like a tree or jungle shrub. Paint the dinosaurs a flat color such as white, blue or pink and leave to dry. The fun part is getting students to add their own finishing touches to the dinosaurs using materials such as sponges, stamps and more!

collage a saurus dinosaur craft

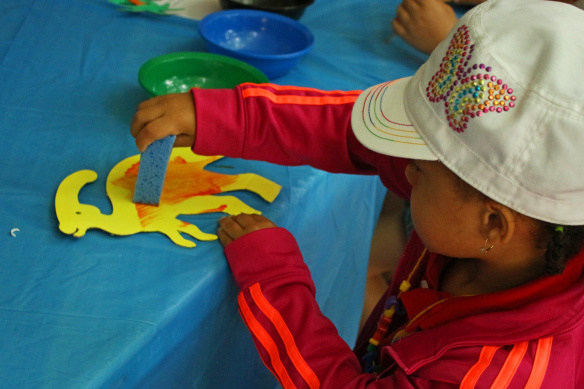
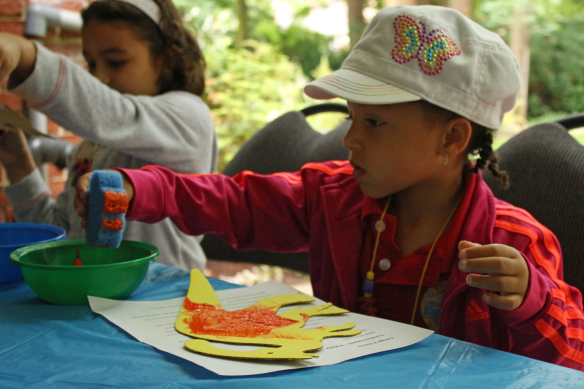
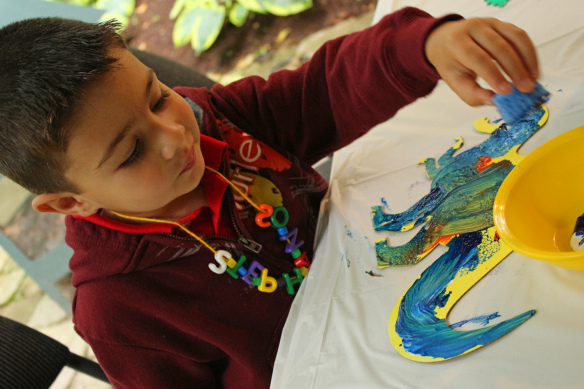
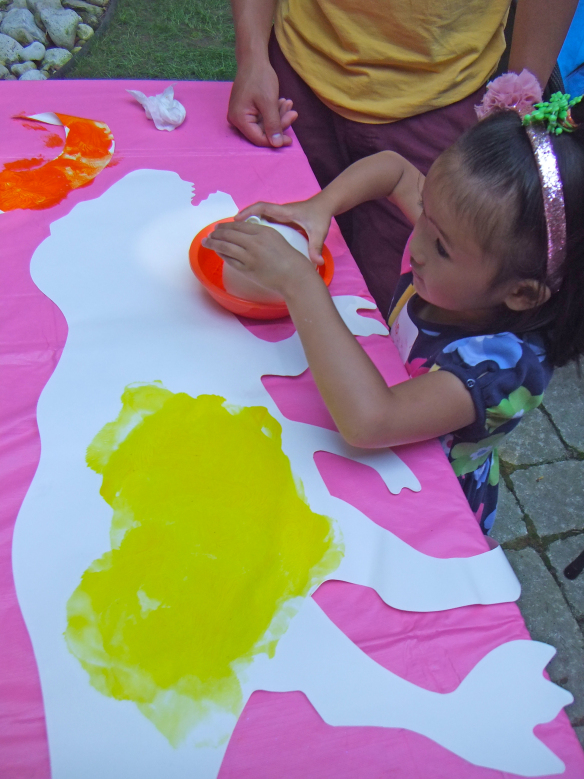
This art camper decided to use a sponge to create a blended orange pattern on this dinosaur’s body. We used tempera paint to decorate the dinosaurs.

collage a saurus dinosaur craft

Keep the paint in a bowl for easy access and less mess.

collage a saurus dinosaur craft

Everyone chose a contrasting color from the flat color their dinosaurs were painted. We talked about the significance of the word “contrast” when referring to color groups.

collage a saurus dinosaur craft

Some students decided to mix and match the colors together, like this dinosaur who got a bit of blue-and-orange treatment.

collage a saurus dinosaur craft

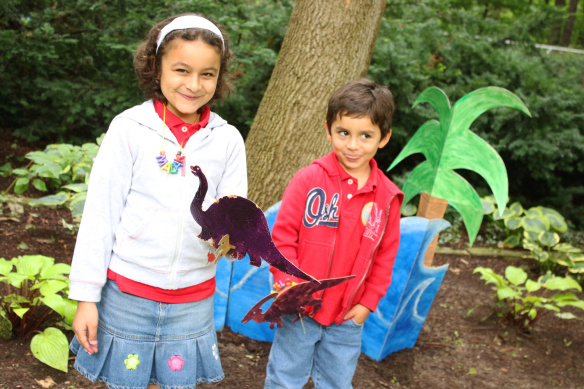
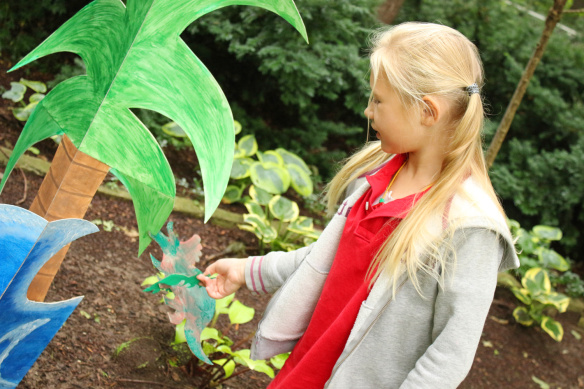
Once the paint dried, we took the dinosaurs to a walk by our tropical photo backdrop!

collage a saurus dinosaur craft

We got some great photos of the outing!

Line-15

Like us on FacebookShare this post with your friends, or Subscribe to this blog today to receive original craft project updates every Monday, Wednesday and Thursday!

Color Diffusing Bugs

outdoor crafts bugs

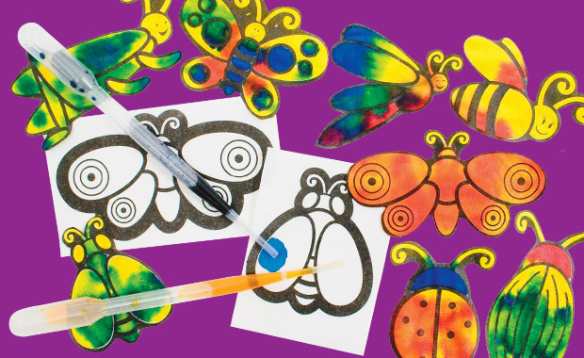
Bright and beautiful Color Diffusing Bugs are the perfect activity for painting outdoors or learning about nature. 

Simply amazing Color Diffusing technology allows you to create easy masterpieces with watercolors! Our R24905 Color Diffusing Bugs are a great introduction to Color Diffusing Paper if you’ve never used it before. The special absorbent papers are printed with cute images of bugs–butterflies, ladybugs, beetles, dragonflies, bees and more!

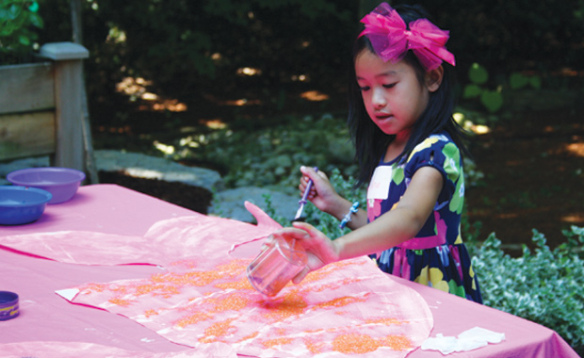
Place a sheet into a paint tray. Mix up a few watercolors and drip them onto the sheets with pipettes such as these ones! The watercolors will spread outwards from where they were dropped to create an interesting blended, tie-dye effect when dry.

This is a great activity to perform outdoors because the sun will dry up the watercolors almost instantly. Here are some ideas on what to do with your bugs after they are dry:

• Tape the bugs to a window. When the sun hits the window, the paper will illuminate like a stained glass piece!

• Tape the bugs to a length of string and hang it up as a garland.

• Decorate your spring or summer wall with the bugs.

Line-05

Like us on FacebookShare this post with your friends, or Subscribe to this blog today to receive original craft project updates every Monday, Wednesday and Thursday!

Spotlight on… Squiggle Pipettes

squiggle pipette painting watercolors

We recently revamped our pipette line with a few new designs! One of the new designs is our fabulous Squiggle Pipettes. Learn more below!

squiggle pipette painting watercolors

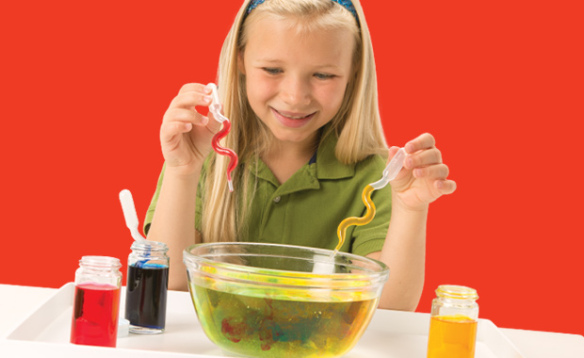
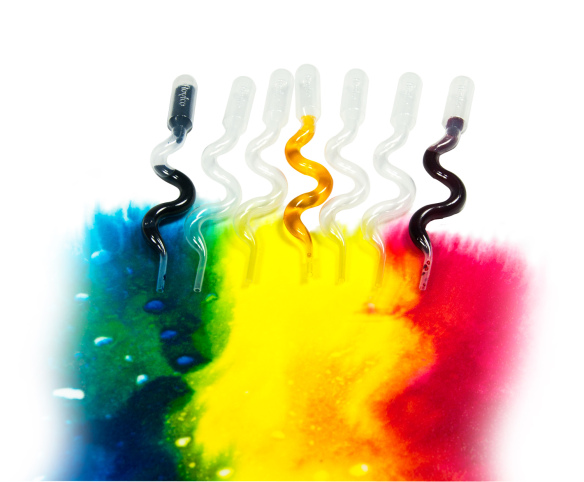
Squiggle Pipettes feature an interesting squiggle design that helps to distribute paint evenly onto paper. Learn more about this product here! Pipettes are not only a great tool to use for painting, but can be incorporated into fine motor exercises–the motion of squeezing the bulb helps to get kids working out their pincer grip! If you are planning to paint with the pipettes, use watercolor paints.

To use your pipettes, first squeeze the bulb to press out all the air. Dip the nozzle into a container of watercolor and release the bulb to suction the paint into the pipette. Squeeze the bulb again to release the paint over your sheet of paper.

[youtube https://www.youtube.com/watch?v=QmCBhIL4COc]

You can use the Squiggle Pipettes to color your art! Here are some ideas you can try for yourself! Click on the links to be taken to the full tutorials.

 • Make your own giant weaving mat using only Color Diffusing Paper, paint and Squiggle Pipettes! Cut the dried colored paper into strips and weave them in and out of each other to make a beautiful woven mat.

Learn our secret for color-resist painting! We use Squiggle Pipettes to add color to the flag designs.

Color your own clothes! A paper vest, that is. Find more about how to design your own vest at the link.

• Form your art into beautiful images of animals using basic shapes! Squiggle Pipettes are used to make the painted images.

Line-16

Like us on FacebookShare this post with your friends, or Subscribe to this blog today to receive original craft project updates every Monday, Wednesday and Thursday!

Craft Spotlight: Big Huge Fingerpaint Fish!

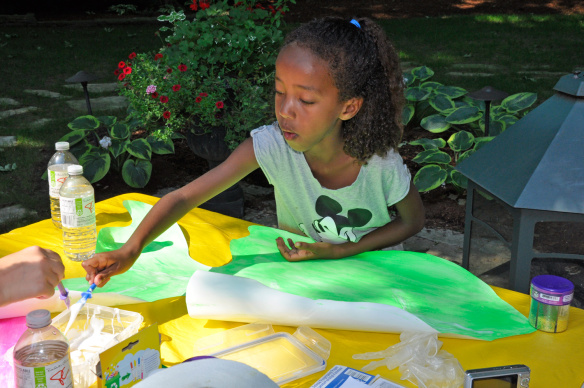
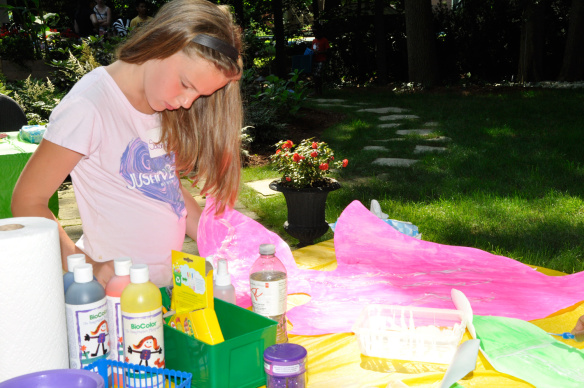
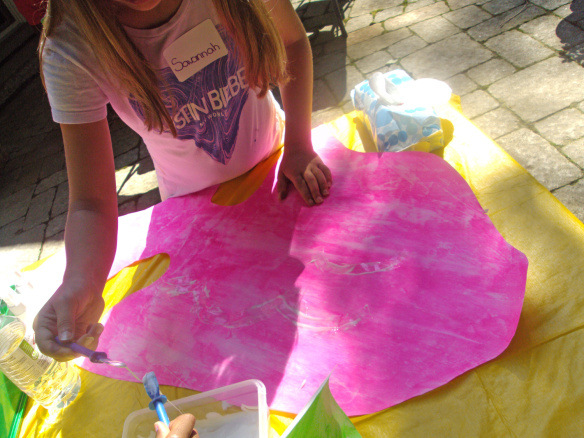
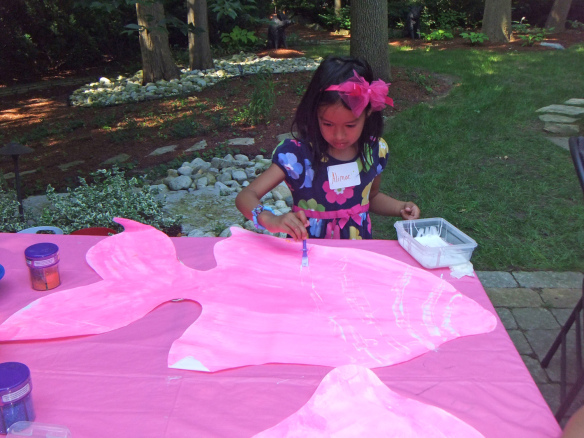
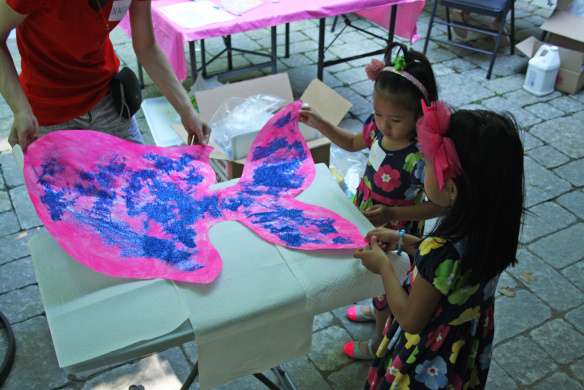
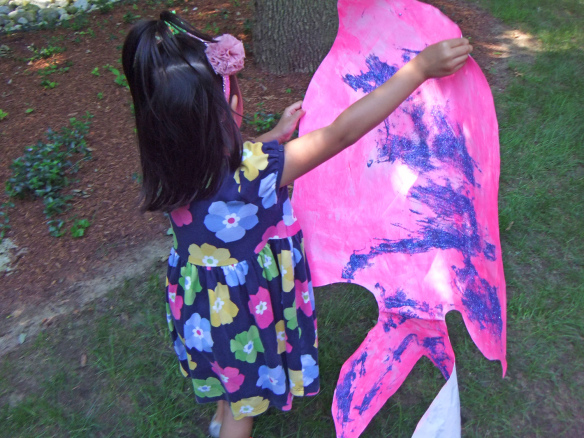
2014-10-06-FeatureImageDecorate giant paper fish with fingerpaint, glue and glitter! Our art campers painted and collaged several Big Huge Fingerpaint Fish paper projects. Check out their process below!

_DSC0126The R75402 Fingerpaint Fish is 3 feet long and about 2 feet at its widest point, making it a great canvas for group art projects!

_DSC0127First we painted the Fingerpaint Fish fully on one side as a base for the next layer of art collage material. Use thick tempera paint or fingerpaint to saturate one side of the painting shape.

DSCF7054

Next, we provided the campers with a container of glue. Use regular dollar store containers to keep glue intact between groups of students. You can place the lid back onto the container to keep the glue from drying out.

DSC05290We used R5725 Goo Spreaders to scoop up the glue and spread it across the Fingerpaint Fish.

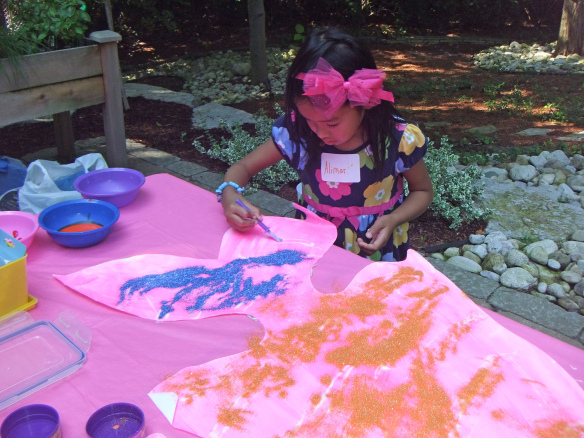
DSCF7037We asked our art campers to imagine they were drawing on fish scales or body patterns with the glue. Why would we paint the fish with glue? Good question!

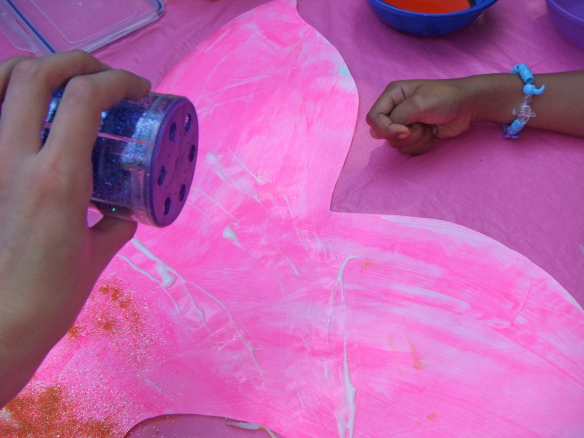
DSCF7053So we could add glitter!

DSCF7058Using glitter, the fish scales become bright and colorful!

IMG_7321After we doused the fish with glitter, we helped each other tilt the fish sideways to help the excess glitter slide off.

DSCF7063Next, we hung up the fish to dry.

DSCF7065What a great art project! Not only did the art campers get to work on their art cooperatively, but they explored new patterns and fun techniques to decorate their fish projects.

Line-10

Like us on FacebookShare this post with your friends, or Subscribe to this blog today to receive original craft project updates every Monday, Wednesday and Friday!

Paint Bellows Tree

P7290065feature

Use process-based methods to create colorful tree artwork! The techniques used involve materials such as Paint Bellows, fingerpaint and Squiggle Pipettes, all combined to give your students an exercise in fine motor development while enjoying the result of the final image. 

Age: 3+

Duration: 10 minutes

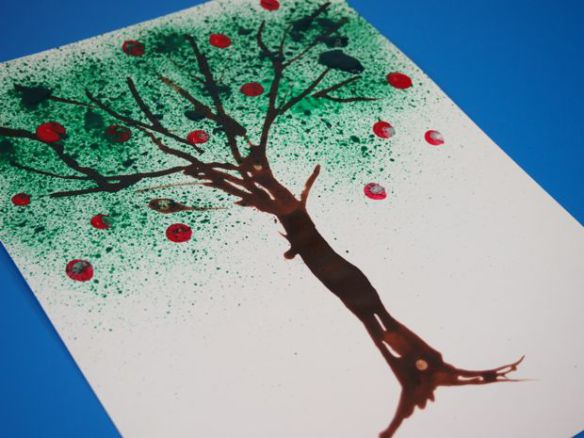
Learning Objectives: Explore process artwork through fine motor activity. Use Paint Bellows and Squiggle Pipettes to exercise squeeze-and-release motions using various finger coordination. Achieve harmonious effects with 3 different art techniques. Enhance image association through fluidly and unidirectionally moving the pipette to make a tree trunk, spritzing paint to make the tree leaves and pressing fingerpaint onto the paper to make apples. Create results with process-based art!

You’ll Need:

R54460 Squiggle Pipettes

R5419 Paint Bellows

• Fingerpaint in tree colors (green, brown, red)

• Card paper sheet (8.5 x 11″)

• Paint tray

Line-04

Educators are always looking for ways to add process steps to their students’ learning activities. Instead of merely focusing on the process, guide students to make beautiful artwork through step-by-step fine motor exercise using several different tools–Paint Bellows, Squiggle Pipettes and their own fingers!

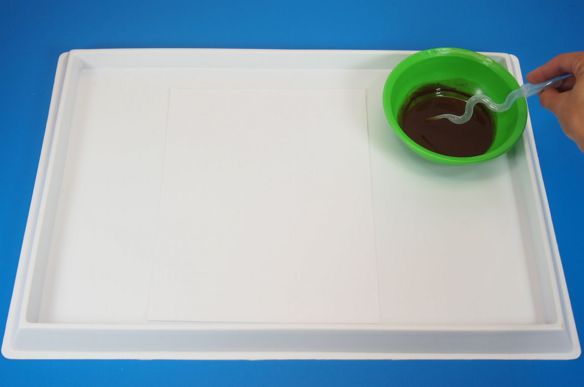
OLYMPUS DIGITAL CAMERAYou won’t need many materials to make this artwork! Place the sheet of card paper inside a paint tray. I use card paper in this project to help withhold it shape under the paint.

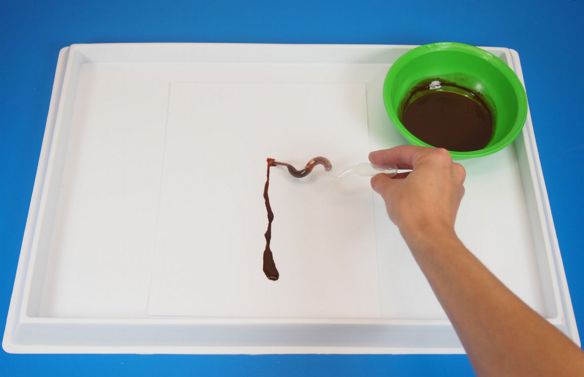
OLYMPUS DIGITAL CAMERAMix one part brown paint with one part water to make the paint watery for the Squiggle Pipette. To use the Squiggle Pipette, dip the nozzle into the paint, and squeeze the bulb to release all the air. Release the bulb while holding the nozzle in the paint to draw in some of the paint.

OLYMPUS DIGITAL CAMERATo paint with the Squiggle Pipette, release the paint onto a sheet of card paper. Start from the bottom of the sheet, squeeze out a bit of paint, then draw up the Squiggle Pipette while continuing to squeeze the paint out. This will produce a tree-trunk base for the tree artwork.

OLYMPUS DIGITAL CAMERAUse the remaining brown paint in the Squiggle Pipette to make offshoots from the main tree trunk. These will form the boughs and branches of the tree. A good technique is to squeeze a bit of paint out from the center of the tree, then draw the pipette outwards from the center to make a wispy, crooked branch.

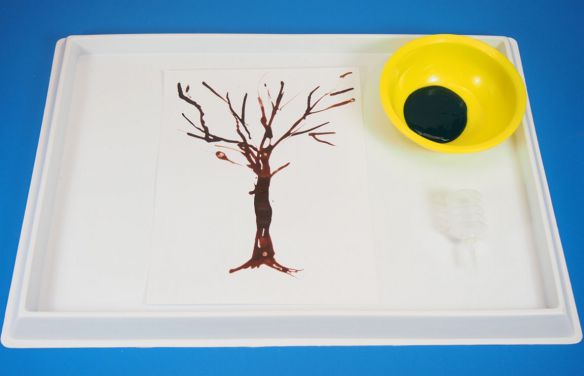
Add a few lines at the bottom of the tree trunk to form the tree’s roots.

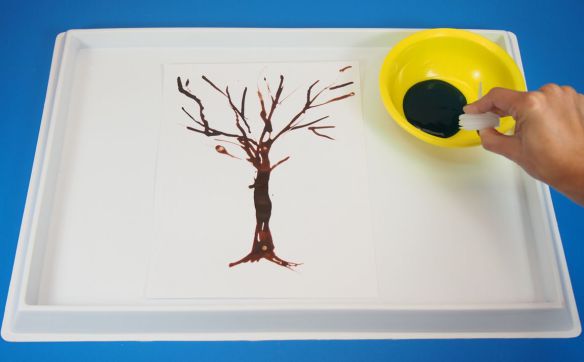
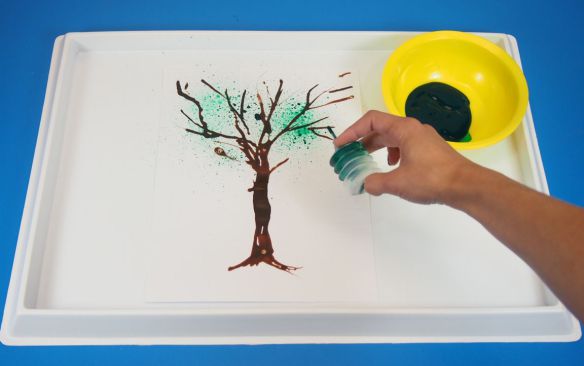
OLYMPUS DIGITAL CAMERASqueeze a bit of thick green paint into a bowl. NOTE: Do not water down this paint! In order to effectively use the Paint Bellows, you will need to use very thick paint. This helps to achieve the splatter effect better than using watered-down paint.

To use the Paint Bellows, first squeeze the top and bottom of the accordion chamber together. This will release all the air from the chamber.

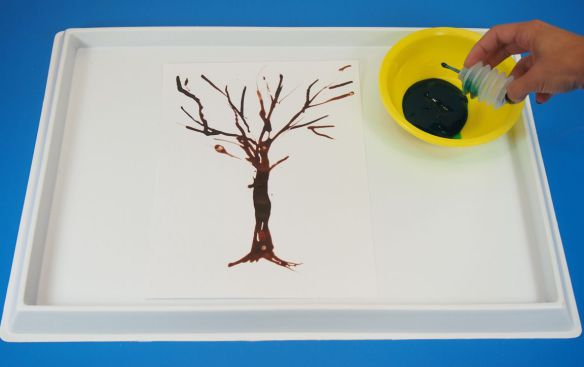
OLYMPUS DIGITAL CAMERAHold the Paint Bellow taut as you dip the nozzle into the paint, then release the top and bottom to allow the chamber to draw in the paint. You can see that only a very small amount of paint has been drawn into the chamber.

OLYMPUS DIGITAL CAMERASqueeze the top and bottom of the Paint Bellows together to make the chamber spritz out the paint. The effect will produce multiple miniature dots on the canvas.

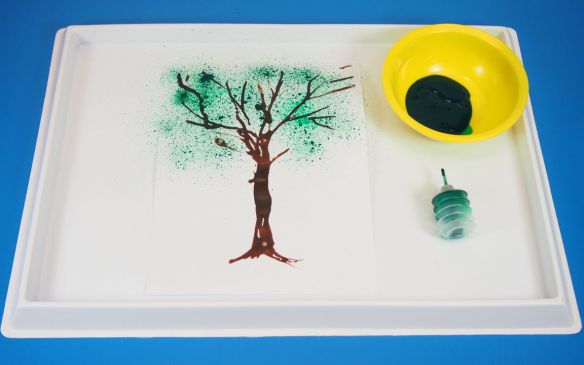
OLYMPUS DIGITAL CAMERAContinue adding more spritzes of paint around the boughs of the tree. Focus on getting students to exercise their finger muscles while using the Paint Bellows.

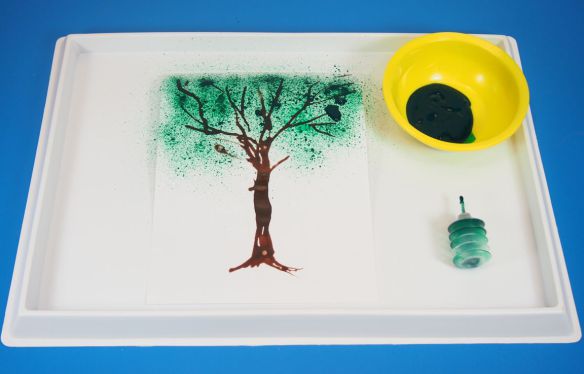
OLYMPUS DIGITAL CAMERAContinue filling up that tree space until you are happy with how it looks. Concentrate more green in the spaces near the boughs, so that your artwork mimics the appearance of leaves throughout the tree.

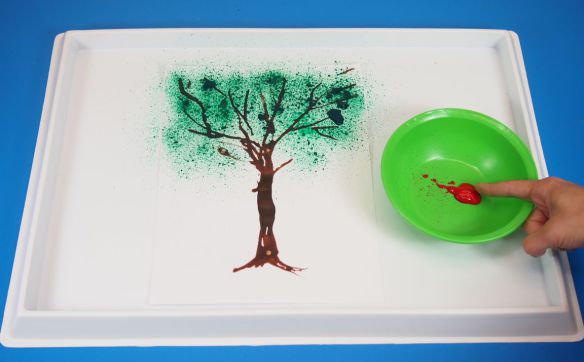
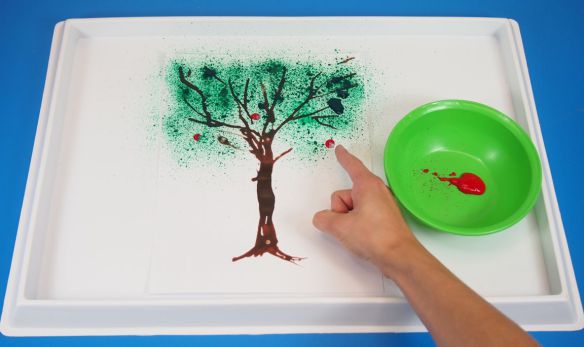
OLYMPUS DIGITAL CAMERANow we are ready to decorate the tree. Squirt a bit of red finger paint into a bowl. Students can dip one finger into the red paint.

OLYMPUS DIGITAL CAMERAUse the tip of your finger to make little dots representing apples (or any type of fruit) on the tree.

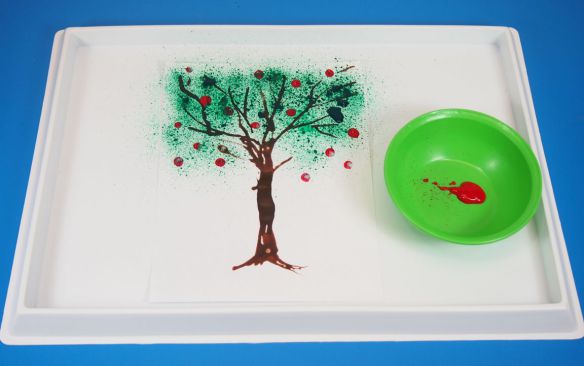
OLYMPUS DIGITAL CAMERAContinue adding dots to emphasize concentrated finger placement. Students should pay attention to the overall balance and composition of their tree artwork, and focus on where placing the dots will make the tree look fuller.

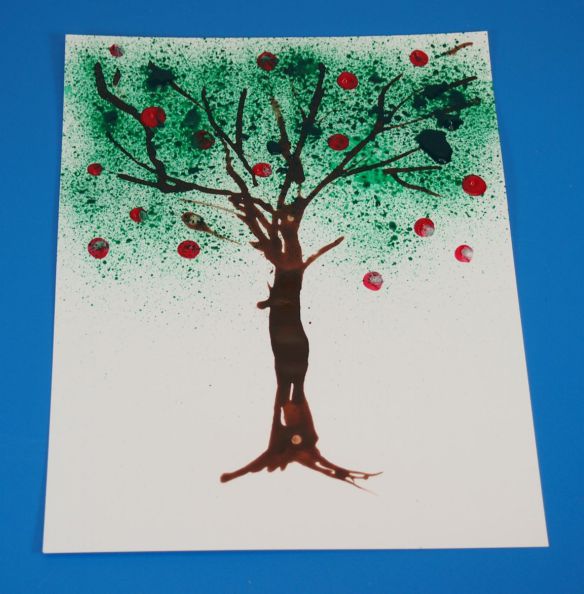
OLYMPUS DIGITAL CAMERAWe’re all done!

You can experiment with different types of tree appearances or add more to your painting. However, the core purpose of the artwork is to engage fine motor skills and focus on process as well as result art.

Line-04

Thanks for checking out this post! Like us on FacebookShare this post with your friends, or Subscribe to this blog today to receive original craft project updates every Monday, Wednesday and Friday!

Craft Spotlight: Big Huge Dinosaurs!

2014-05-12-FeatureImage

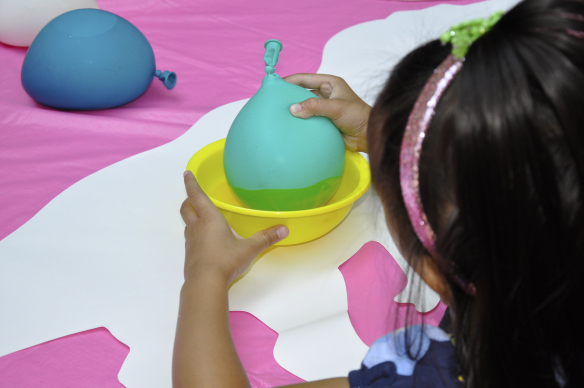
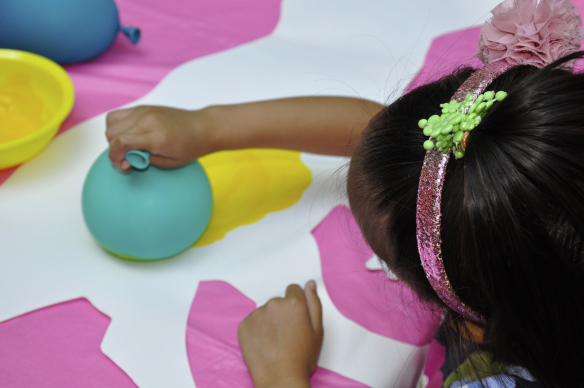
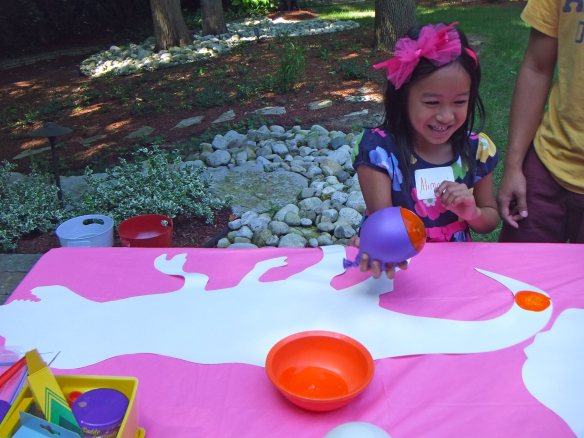
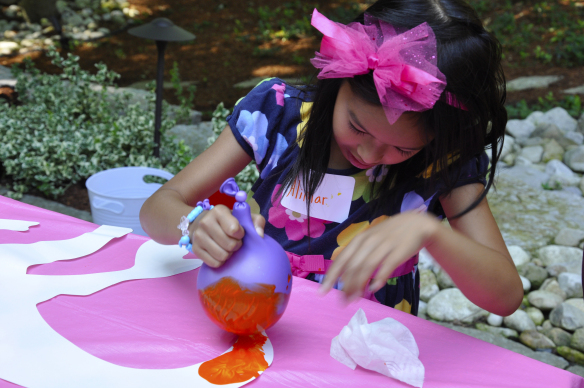
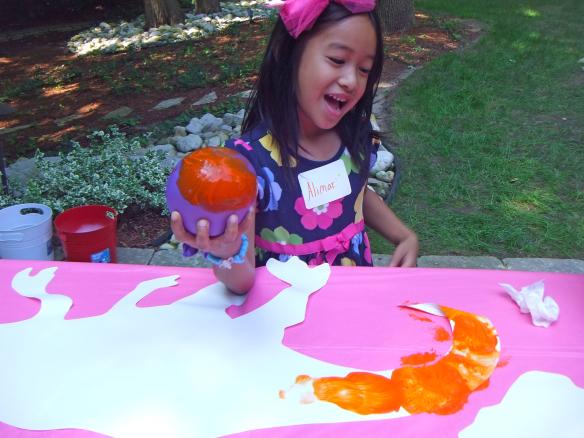
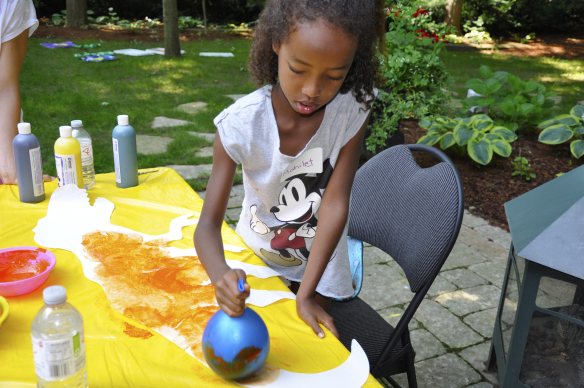
To give your Big! Huge! Dinosaur a unique appearance, use balloon painting! This cool technique keeps little fingers clean while generating a fun painting experience.

R75424 Big! Huge! Dinosaurs are perfect for large scale fingerpainting projects. The sheet itself reaches roughly 3 feet in length, but you don’t need a whole lot of paint to cover it up! Fingerpaints spread evenly across the special paper material, especially when children are eager to fill in all the blank parts of the canvas.

DSCF7082


Designing the dinosaur’s skin is the best part. What colors will you choose? And what kinds of patterns will you organize the colors in? To help simplify this process, we asked our little artists to use balloons!

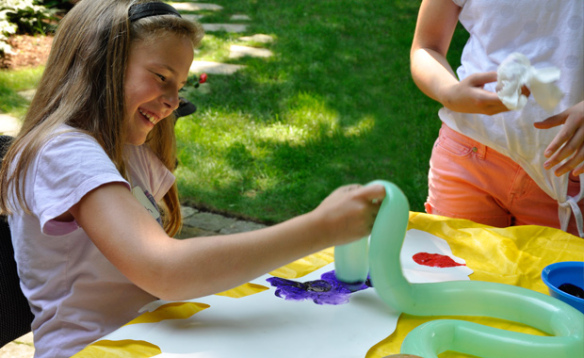
_DSC0166Dip the balloon in paint.

_DSC0168And stamp all over the dinosaur canvas!

DSCF7067Our campers loved being able to make their own impressions with the balloons!

_DSC0170Some of the balloons were used just like paintbrushes. The paint was spread evenly across the surface of the dinosaur.

DSCF7071

Why were balloons important to use? Well, the rubber of the balloon expands and contracts when it’s applied against another surface.

_DSC0177

This helped to create a splotchy, ripply effect on the dinosaur paper, making it look like the dinosaur’s skin!

DSCF7072

Although some students may feel overwhelmed by the largeness of the dinosaur canvas, the dinosaurs are perfect for group painting activities. Combine groups of students together to develop fine motor skills while creating a work of art!

R75424

We have great project ideas available at the PDF guide, which you can access here!

Line-09

Thanks for viewing this post! Like us and subscribe to our blog today for updates every Monday, Wednesday and Friday! Send a line through our contact form and link with us today to get you started on your own crafting journey.