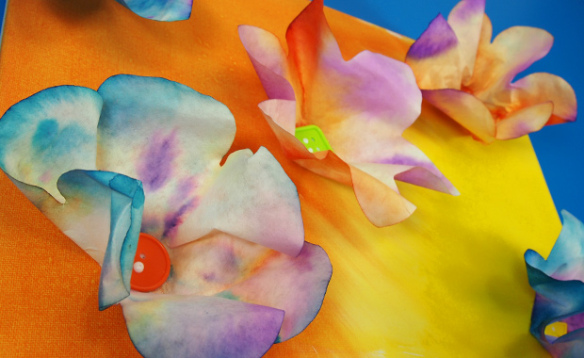
Make a beautiful wall art canvas with 3D flowers using our R2440 Color Diffusing Paper Flowers!
Age: 4+
Duration: 15-20 minutes
Learning Objectives: Children get to take home their own projects to hang up on their bedroom walls at home. Use different colors to produce interesting combinations. Paint easily with fun and engaging Color Diffusing Paper! Create a wash of color on a canvas and talk about essential keywords such as balance, subject and background.

You’ll Need:
• R2440 Color Diffusing Paper Flowers
• R2131 Bright Buttons
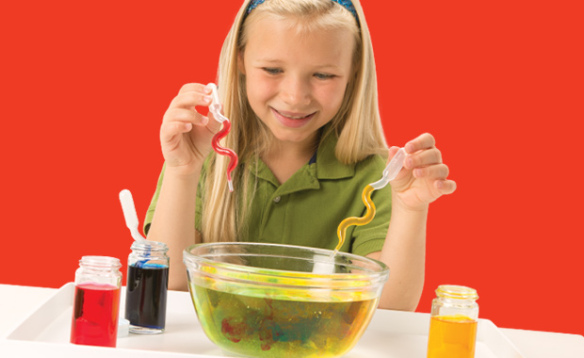
• R54460 Squiggle Pipettes
• Canvas
• Watercolor paint
• Paint tray
• Spray bottle of water
• Small plastic cups
• Paintbrush
• Glue

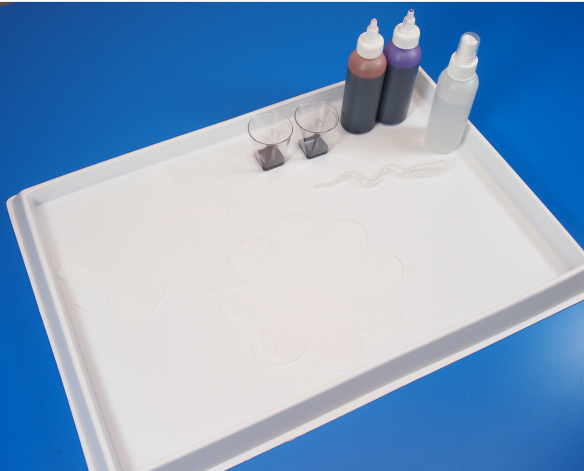
Pour a small amount of watercolor into each cup. Set up your workstation so that the flowers are on the paint tray.
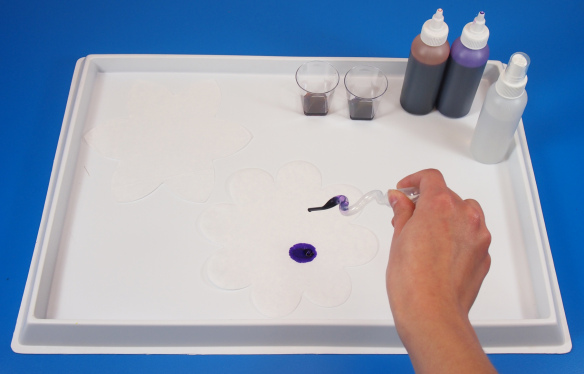
Squeeze the bulb of the Squiggle Pipette to expel all the air inside, then dip the nozzle into the paint and release the bulb. This will draw the paint into the main chamber of the pipette. Carefully raise the pipette on top of the paper and squeeze the bulb to release the paint. Use different colors to make interesting effects!
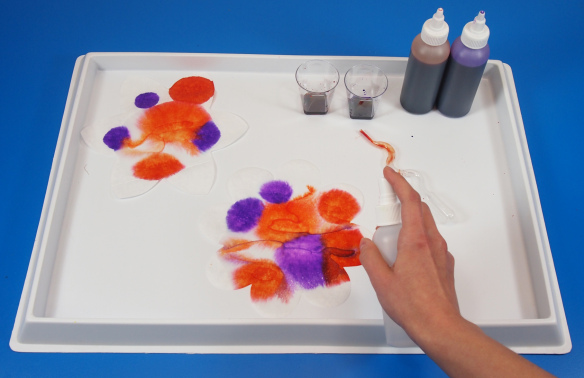
Spray the concentrated watercolor spots with a bit of water to help diffuse the paint throughout the flower.

To give your Color Diffusing Flower some dimension, drape it on top of an overturned cup. Leave it to dry for 30 minutes under direct light.

While the Color Diffusing Paper Flowers are drying, prepare your canvas for painting! You can use watercolor on the canvas as this will give it a nice diffused look. Pour the concentrated watercolor into little cups so as not to use too much, although a little will go a long way!
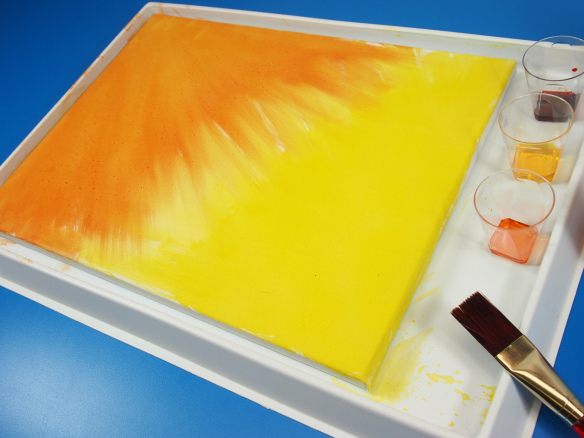
I created a gradient wash from one corner of the canvas to the opposite corner. First I started with the darkest color I had–red–and blended it into an orange once it hit the yellow on the opposite side. Even though there isn’t much red remaining, it is still a lovely transition! Although your students can paint their canvases different colors, it’s a good idea to keep the colors minimal. Remember, the canvas will form the background to your 3D art, so it needs to let the flowers stand out!
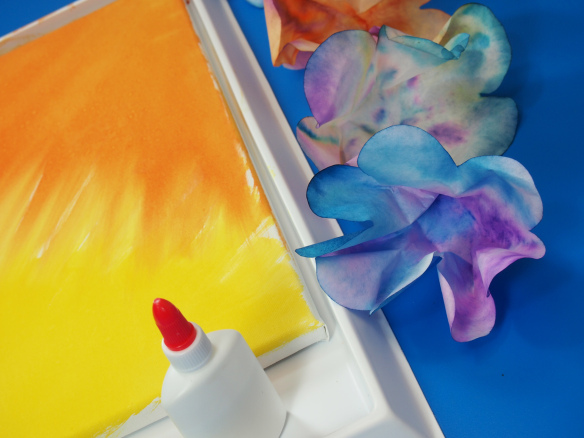
Now get your flowers ready to attach to the canvas!
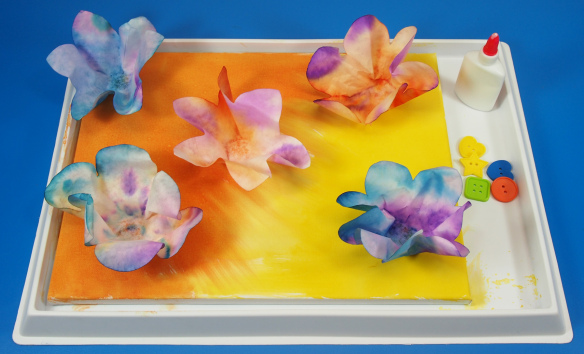
Dab a bit of glue onto the back of each flower center and press the flower onto the canvas. Hold the flower down for about 20 seconds to make sure that the glue starts working to secure it to the canvas.
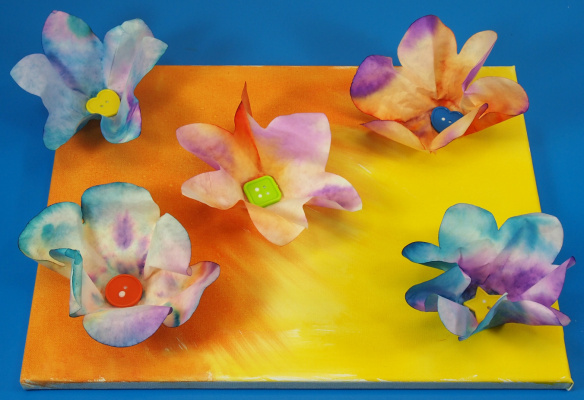
Glue a button to the center of each flower. Use contrasting colors to really make the 3D art pop!

Like us on Facebook, Share this post with your friends, or Subscribe to this blog today to receive original craft project updates every Monday, Wednesday and Thursday!