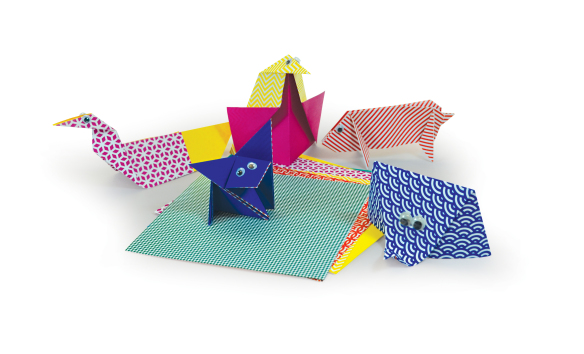
Elementary Animals: Fold A Mouse!

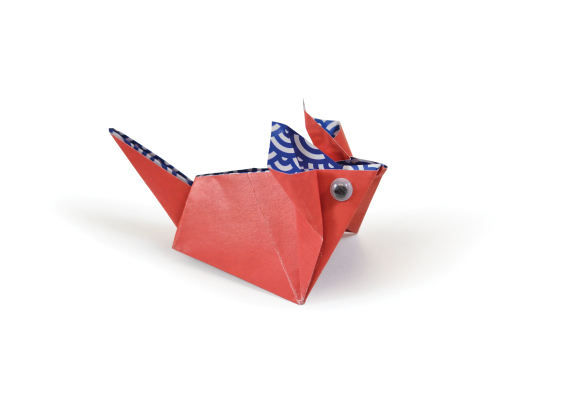
Welcome to our fifth and final origami animal project: the mouse!15219 - Mouse Carft (eyeballs).jpgThis project is definitely best-suited to third graders because the folds are a little more intricate than our previous projects.

Age: 7+

Duration: 10 minutes

Learning Outcomes: Practice reading and understanding step-by-step directions independently. Exercise fine motor skills. Develop patience.

You’ll Need:

Line-21

Start by downloading and printing the mouse folding instructions. This fully illustrated, step-by-step instruction sheet allows students to work independently to create an adorable mouse pal. We have also created a step-by-step video for visual learners:

These adorable mouse pals can serve as take-home art projects in and of themselves. However, if you want to extend the activity, challenge students to use their mice to recreate a favorite scene from their favorite mouse book! Our Set the Scene! Diorama Boxes are an excellent tool for this project. Some great books to use for this project include:

Line-21

Like us on FacebookShare this post with your friends, or Subscribe to this blog today to receive original craft project updates every week!


Elementary Origami Animals for 2nd Grade

15219 - Crafts Collection

Welcome to our third set of Origami Animals! Today we will be focusing on two projects perfect for second graders: the Penguin and the Swan.

Age: 5+

Duration: 5-8 minutes

Learning Outcomes: Exercise fine motor skills. Practice following directions independently.

You’ll Need: 

Line-09

With second graders, this activity can be individual, done in small groups OR done as a class. If you are structuring this activity individually or in small groups, first download the instruction sheet (Click on the link under “You’ll Need”), and print off copies for each student or group of students. The fully illustrated and easy to follow instruction sheets allow students to problem-solve and work independently to create an adorable finished product. If students get stuck, direct them to the video tutorials.

Our first project today is the penguin.

Once students have successfully folded their penguins, there are some great options for books to pair their animals with! One of my favorite books was read to me by my teacher during our lunch break, and it has penguins galore. Mr. Popper’s Penguins by Richard Atwater is a fantastic book to pair with penguin pals. Other great books about penguins include:

Today’s second project is the swan.

Once everyone has their folded swans, pair them with a book! Hans Christian Anderson was a big fan of swans, and he wrote fairy tales that have been adapted into picture books including familiar titles like The Ugly Duckling and Wild Swans. Other excellent titles featuring swans include:

  • The Trumpet of the Swan by EB White
  • The Swan Princess by Rosie Dickins
  • Although it’s not a book, Swan Lake the ballet is a great addition to children’s cultural education. It’s also a great way to get kids interested in literature as well as dance and theater!

As always, challenge your students to read independently with a little help from their winged pals!

Line-22

Like us on FacebookShare this post with your friends, or Subscribe to this blog today to receive original craft project updates every week!


Elementary Animals: Fold a Pig!


15219 - Pig Craft (eyeballls)

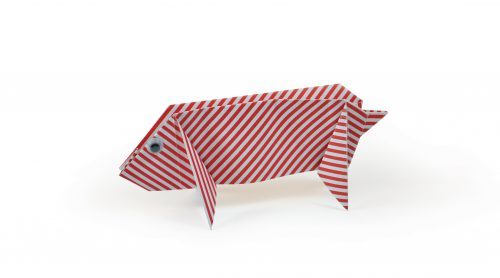
Welcome to our fourth origami animal project! Today we’ll be focusing on a project ideal for third graders: folding a pig! 

Age: 7+

Duration: 10 Minutes

Learning Outcomes: Practice following step-by-step directions while exercising fine motor and spatial skills.

You’ll Need: 

Line-10

If you structure this activity as a small group or individual project, start by downloading and printing the fully illustrated instruction sheet for your students. The easy to follow instruction sheets allow students to independently work to create an adorable pig pal. If they get stumped, however, direct them to the video:

The completed pig pals can serve as a take-home project in and of themselves, but if you want to extend the activity, challenge your students to use diorama boxes to recreate their favorite scene from their favorite pig-themed book! Some of those books might include:

Line-22

Like us on FacebookShare this post with your friends, or Subscribe to this blog today to receive original craft project updates every week!

Elementary Origami Animals for 1st Grade

15219 - Crafts Collection

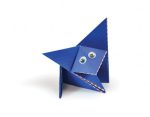
Welcome to the second installment of our elementary origami series! Today, we’ll be focusing on two 1st grade projects: The fish and the fox!

Age: 4+

Duration: 5 minutes

Learning Outcomes: Practice following step-by-step directions. Exercise fine motor skills.

You’ll Need:

Line-21

We’ll start with the fish today. Under “You’ll Need” is the instruction sheet, with step-by-step instructions and illustrations for students who want to experiment on their own. I have also created an instruction video for you:

Once your fish is all folded up, give him eyes and a smile! The fish will lay flat, so you can also extend the exercise by decorating your fish. Use small pieces of tinfoil or glitter, and students will have their own rainbow fish! The picture book The Rainbow Fish is one of my favorites, and it’s an excellent book to use with this project. Some of my other favorite fish-themed books are:

  • One Fish, Two Fish, Red Fish, Blue Fish by Dr. Seuss
  • The Cat in the Hat by Dr. Seuss
  • Fish by Steve Parker (An Eyewitness Book)

If fish don’t fit your curriculum, fold up a fabulous fox! Under “You’ll Need” is the instruction sheet, with step-by-step instructions and illustrations for students who want to experiment on their own. I have also created an instruction video for you:

I love how cute the finished fox is! And your fox is a perfect companion for many different books. A great lunchtime read for the whole class and their fox friends is Roald Dhal’s Fantastic Mr. Fox! Some of my favorite picture books with foxes include:

  • Chanticleer and the Fox by Geoffrey Chaucer, adapted and illustrated by Barbara Cooney
  • Fox in Socks by Dr. Seuss
  • Fables and fairy tales, like “The Gingerbread Man” or “The Fox and and the Scorpion”

Challenge your students to read aloud and practice word recognition with their fantastic folded friends!

Line-07

Like us on FacebookShare this post with your friends, or Subscribe to this blog today to receive original craft project updates every week!

Elementary Origami Animals for Kindergarten

15219 - Crafts Collection.jpgWelcome to the first in our new series on Elementary Origami Animals! Add a tactile dynamic to early literacy! Today, we’ll be focusing on two kindergarten level projects: the Puppy and the Elephant! 


Age: 3+

Duration: 5 minutes

Learning Outcomes: Practice following directions as you fold these together as a class. Exercise fine motor skills to fold and crease neatly.

You’ll Need: 

Line-06

Start by choosing a sheet of the double-sided origami paper. Here is the video tutorial for folding the elephant:

Once you have folded your elephant, use a glue stick to put google eyes on him! You can also use washable marker.

Once all the kids have their elephants, the question is, what book do you pair your elephant with? For very young readers, picture books read with reading buddies are a great option. Independent learners might also enjoy exploring the images in an elephant reference book on their own! Some of my favorite elephant books include:

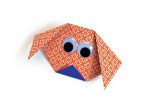
If you want to fold the puppy instead, start with a sheet of origami paper. Here is the video tutorial for folding the puppy:

Once your puppy is folded, give him eyes and a nose!

There have been many, many picture books about dogs and puppies written, so feel free to choose your favorite! Here are some of my favorites:

Challenge students to practice letter recognition with their origami pals!

Line-22

Like us on FacebookShare this post with your friends, or Subscribe to this blog today to receive original craft project updates every week!


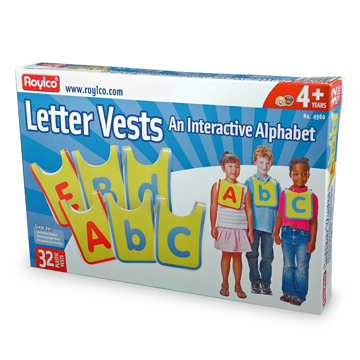
Letter Vests

R4960a

Learn important language skills in a fun and interactive way.

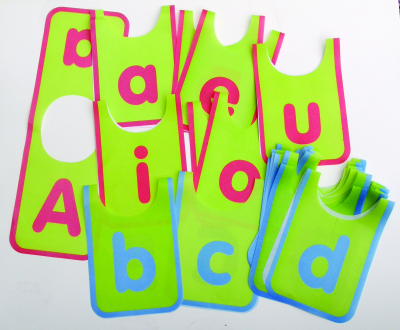
Letter Vests are durable, brightly colored and laminated. The Letter Vests are made with tear resistant material, however under extreme circumstances they can rip. If a rip occurs, carefully remove the vest from the child and apply a small piece of clear tape to the front and back of the tear.

4960

Clean the vest with a damp cloth.

Each vest represents one manuscript-style letter of the alphabet in lower-case on the front, and upper-case on the back. Vowels are featured in red and constants are blue. The letters A,E,L,N,O and S have been duplicated to extend the number of words your students can spell.

4960 letter vests

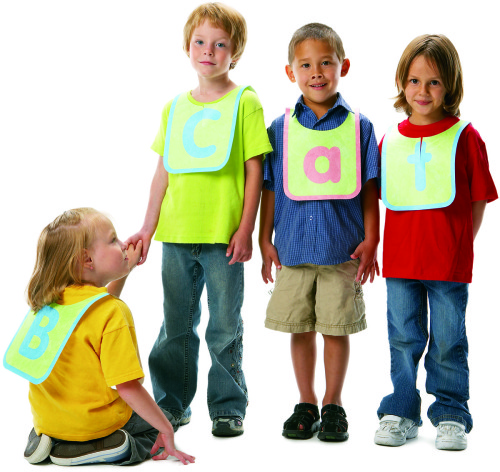
These Letter Vests allow children to learn the sounds of each letter, experiment with rhyming words and discover words in an engaging way.

Start language explorations by giving each child a Letter Vest introducing the letters of the
alphabet. Ask students to order themselves into an alphabetical line. Introduce rhyming words that have the same ending. Start by spelling out the ending of a three-letter word, then go through the alphabet letter by letter to form all possible words ending with the last two letters. Write a list of vocabulary words. Ask students to arrange themselves into the word using the Letter Vests.

Line-02

Like us on FacebookShare this post with your friends, or Subscribe to this blog today to receive original craft project updates every week!

Big Alphabet Picture Stencils

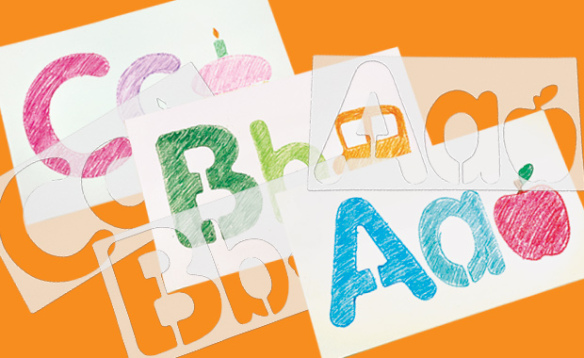
big alphabet picture stencils

Teach literacy while exercising fine motor skills through tracing! Our specially designed Big Alphabet Pictures Stencils are the perfect compliment to early art and literacy learning.

The stencils feature an uppercase and lowercase letter along with an accompanying image that phonetically represents the letters. Place the letters down onto a sheet of paper. Show developing students how to hold the stencil down with one hand while using a pencil to trace the inner edges of the stencil.

Young students can use the resulting tracing to color in with markers or crayons. The stencils are intended to teach students about uppercase and lowercase letters. Uppercase letters are typically used at the beginnings of sentences, or to begin a person or city name. Lowercase letters are all the rest of the letters that come afterwards.

Older students can use multiple stencils to spell out their names. To help students develop their fine motor skills even further, place the stencils onto a bed of sand in your sensory tray. Ask students to trace the letters out with their fingers.

Line-03

Like us on FacebookShare this post with your friends, or Subscribe to this blog today to receive original craft project updates every Monday, Wednesday and Thursday!

Light Cube Reading Light!

light box cube reading house

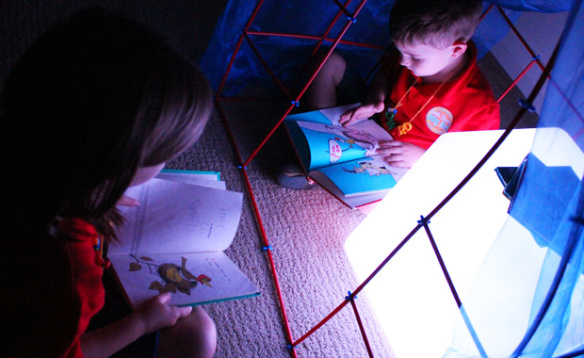
Welcome back to 2015! We hope everyone had a wonderful holiday break. We are excited to kick off the New Year with a feature post on our Educational Light Cube! Here’s a cool idea: use it as a soft glowing lamp for your classroom reading fort!

light box cube reading house

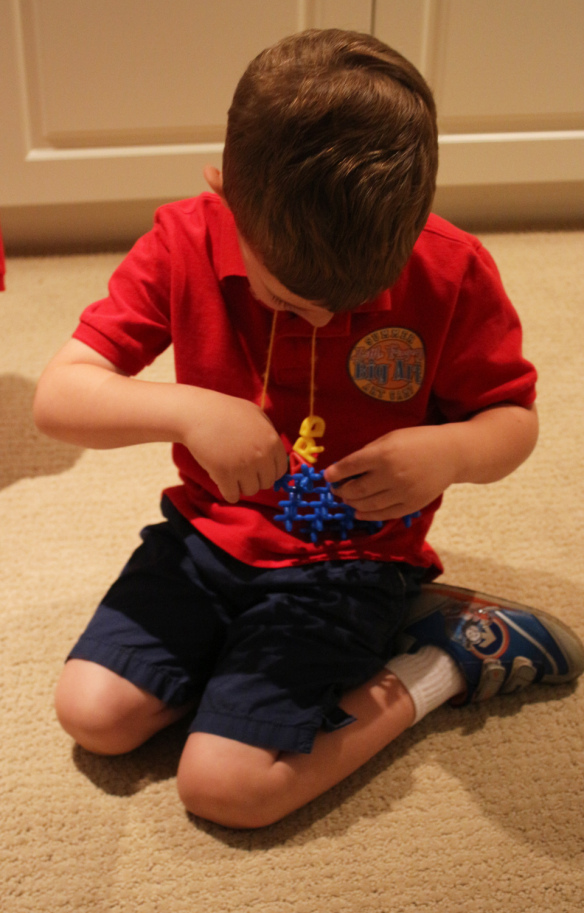
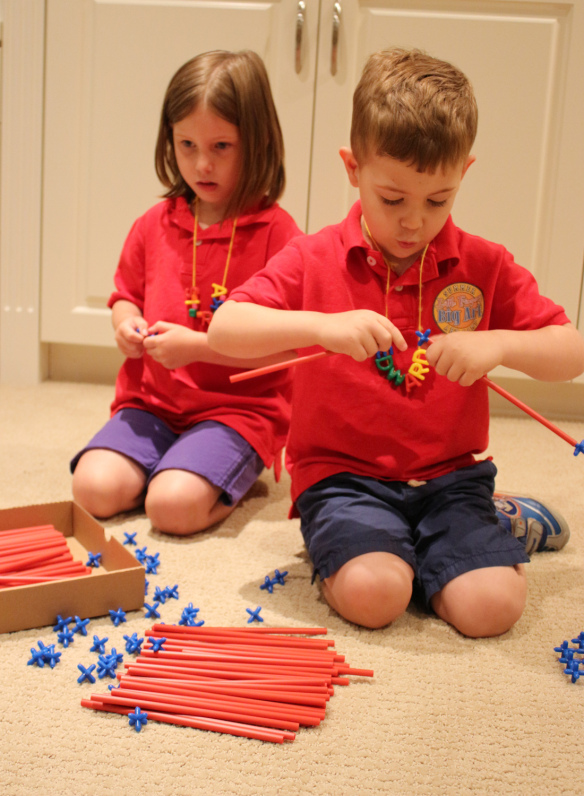
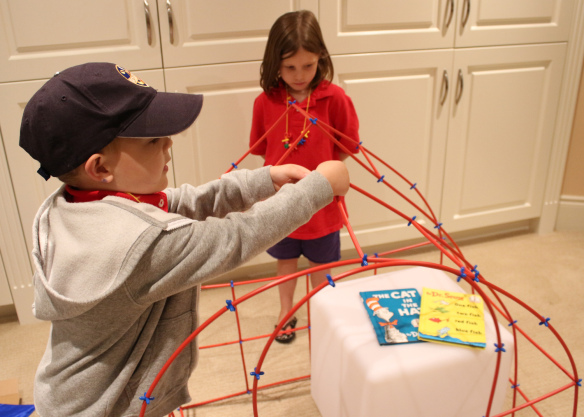
We first started building our fort using Straws and Connectors. Here, Ed is separating the Connectors from each other.

light box cube reading house

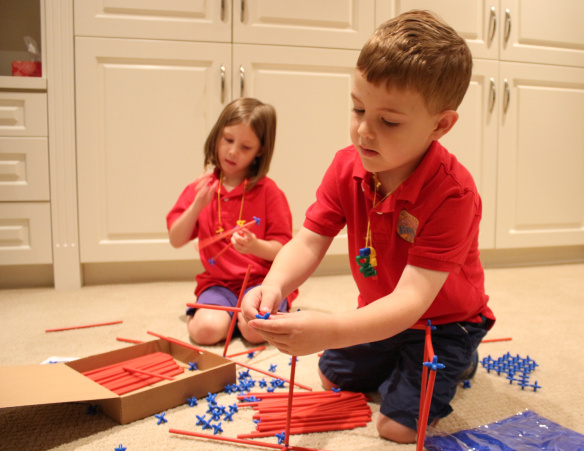
We taught the campers how to connect the Connectors together with the Straws. This was the starting point for building the reading fort. The diagram for building this reading fort can be found here!

light box cube reading house

We all worked together to build the fort, starting with the base and working our way up.

light box cube reading house

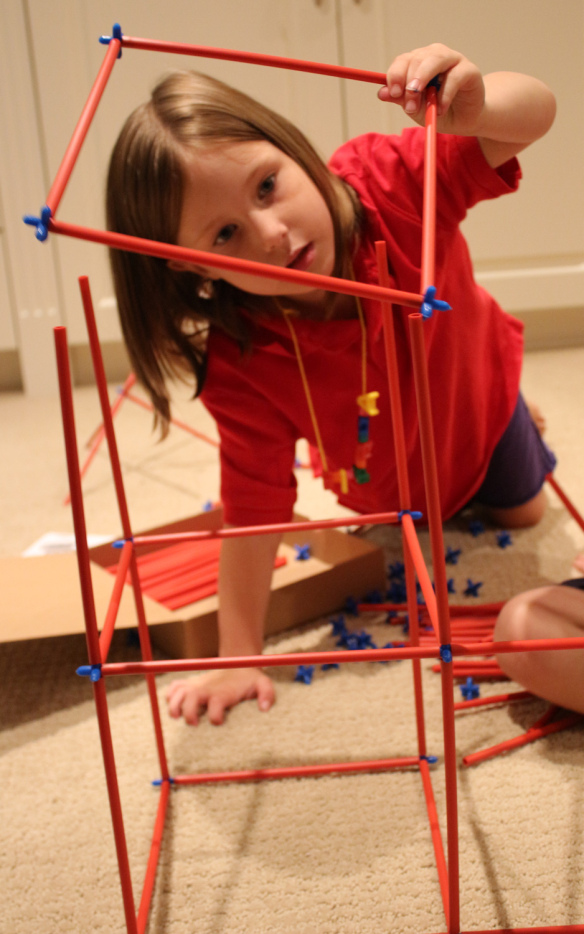
The best part is guessing what the final sculpture will look like! It’s one thing to see it on paper but another to see it in real life. Suddenly, we all got excited and started building faster.

light box cube reading house

After we built the base, we joined the roof together with a point at the top.

light box cube reading house

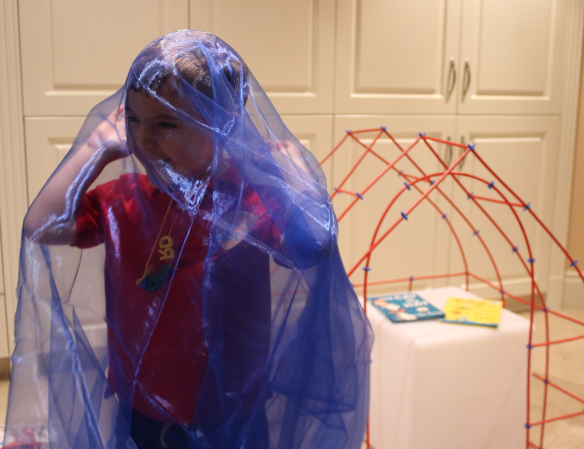
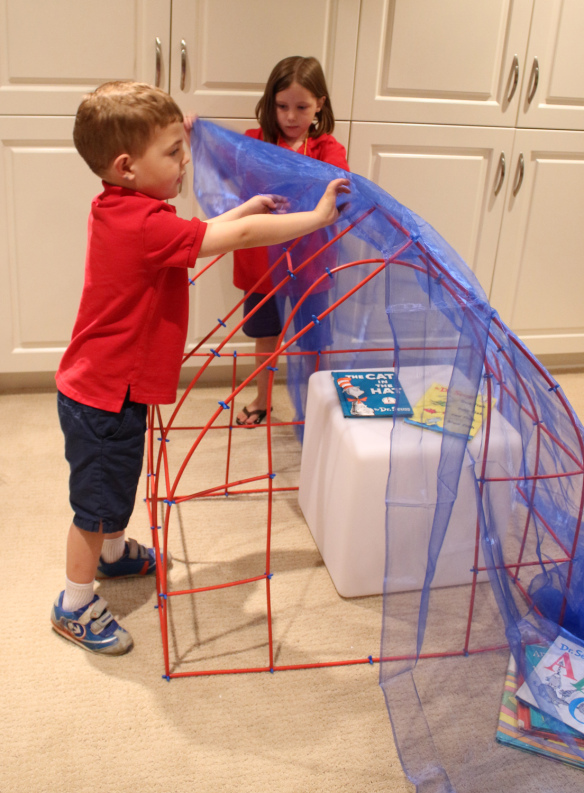
The Straws and Connectors pack comes with a large blue veil that can be draped on top of the Straws and Connectors structure to make it enclosed. Ed got excited to put the veil on top of the structure but he soon realized he needed some help!

light box cube reading fort

This is what teamwork is all about! Here comes Sierra to help Ed out.

light box cube reading fort

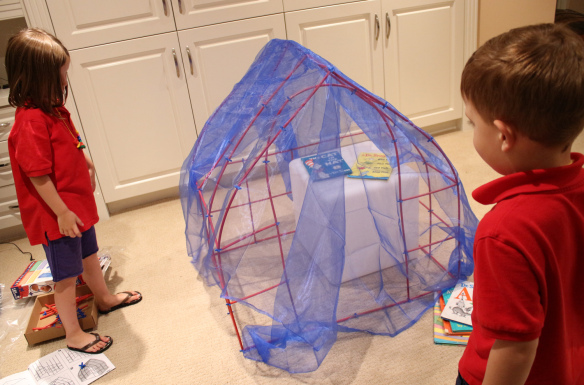
Almost finished…! Now to turn on the Light Cube to complete our reading fort.

light box cube reading fort

The soft glow of the Light Cube made reading enjoyable and calming at the same time. Both of the campers became so immersed in their reading, they forgot about all the crafting going on outside. This is a perfect project for your classroom that your students will love to build, and later, use for themselves. The reading fort is also a great place to store the Light Cube when not in use for sensory explorations or when you would like to center excitable students’ attention on quieter projects.

Line-03

Like us on FacebookShare this post with your friends, or Subscribe to this blog today to receive original craft project updates every Monday, Wednesday and Thursday!

Fingerpaint Sensations Alphabet

2014-08-20-FeatureImageIt’s almost time for Back to School! …And that means getting to know new students through their names. In order to spell their names correctly, students will need to begin their literacy lessons. It just so happens that September is filled with various literacy weeks, so this week’s craft is the perfect start to learning some letters through sensory fingerpainting!

Age: 3+

Duration: 15-20 minutes

Learning Objectives: Use fingers to paint. Develop fine motor skills while stimulating tactile senses. Learn letters of the alphabet for Back to School and for literacy lessons.

You’ll Need:

R75415 Finger Paint Sensations Kit

R7512 Fingerpaint “No Mess” Trays

R5519 Paint Bowls

• Paint 

• Mixing spoon

• Card paper

• Pencil

Line-05

Add a touch of sensory appeal to your students’ literacy lessons with our Fingerpaint Sensations kit! Designed to enhance students’ tactile skills, the fingerpaint kit features 10 safe, special additives that can be combined with paint to turn fingerpainting into a cool experience.
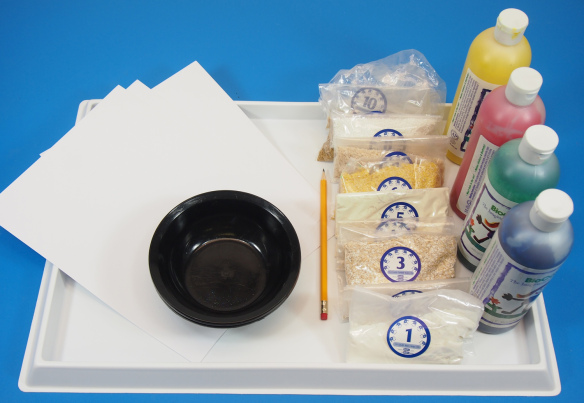
P8190175In the photograph, you can see all 10 additives in labeled bags. Select your favorite colors and mix with different additives to engage your students’ fingerpainting experiences.
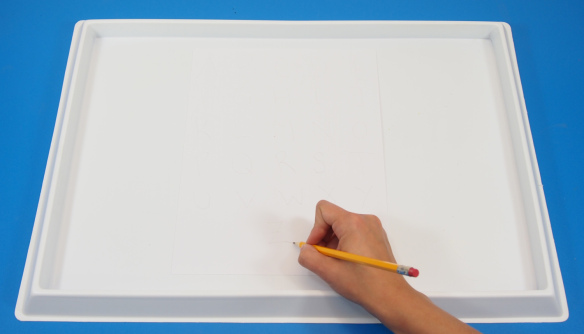
P8190179

Place your card paper onto the paint tray. Write all the letters of the alphabet onto the card paper. I wrote 5 rows of 5 letters each with the last letter ‘Z’ written at the bottom.
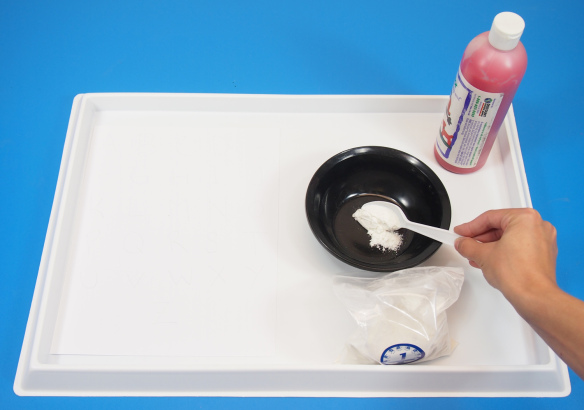
P8190184I’ll start with each of the additives. Once again, they are 100% safe for students to use, which is the best part, as kids will love feeling the different textures on their fingers! The 1st additive is called “Fine Grit.” This will make the paint feel gritty to kids’ fingers.
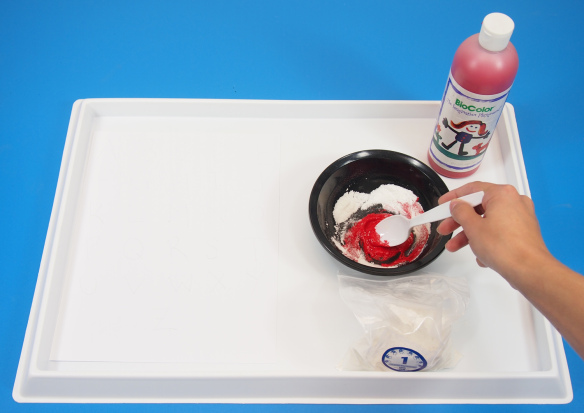
P8190188Mix 1 teaspoon of Fine Grit Additive #1 to a few squirts of paint.
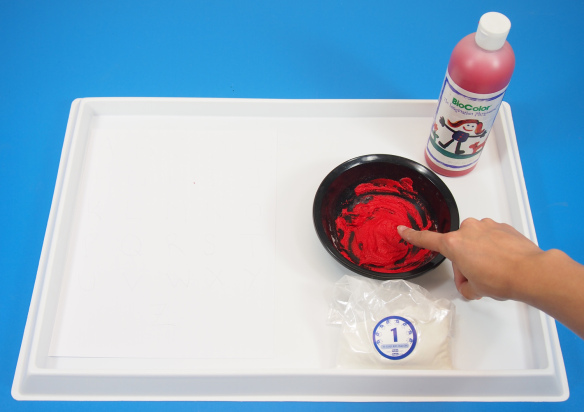
P8190191Show children how to dip their “painting” finger into the textured fingerpaint.
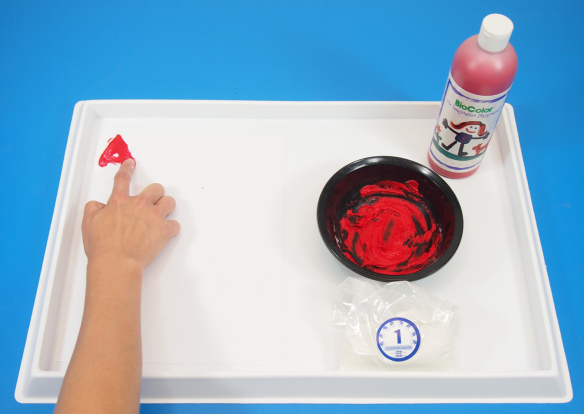
P8190194Locate your first letter and trace the pencil marking with your finger. This is a great way to reinforce the shape of the letter while giving your students a different texture to feel!
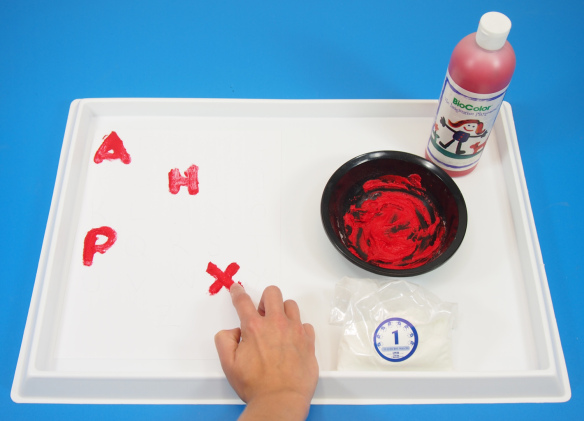
P8190197I’ve decided to mix up the colors, so I’m going through them randomly. You can follow one row of letters or make your own combination of colorful, textured letters!
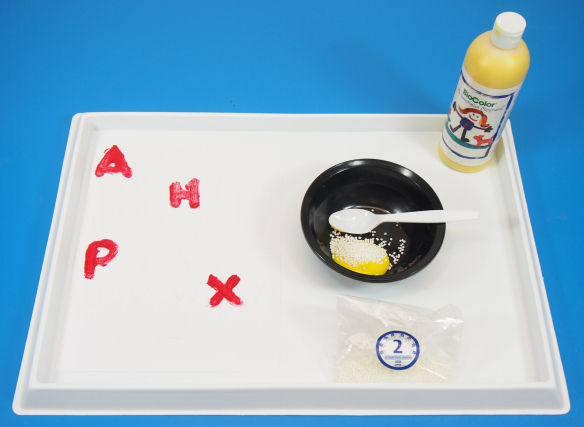
P8190203Additive #2 is known as “Frictionless” which adds small decorative balls to the paint.
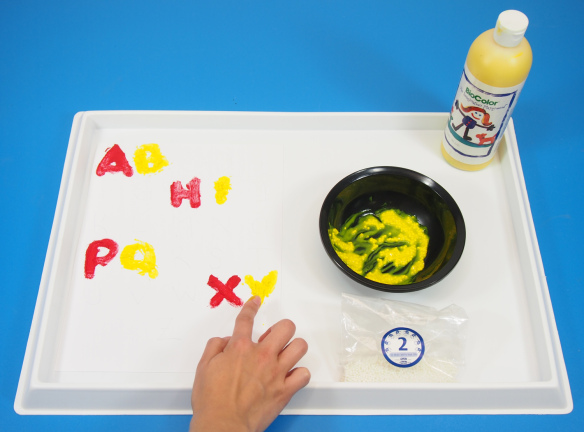
P8190209Mix 1 teaspoon of Additive #2 to another color of paint. I’ve added another letter beside each previous letter.

P8190211The next additive is #3. This one is called “Soft.”
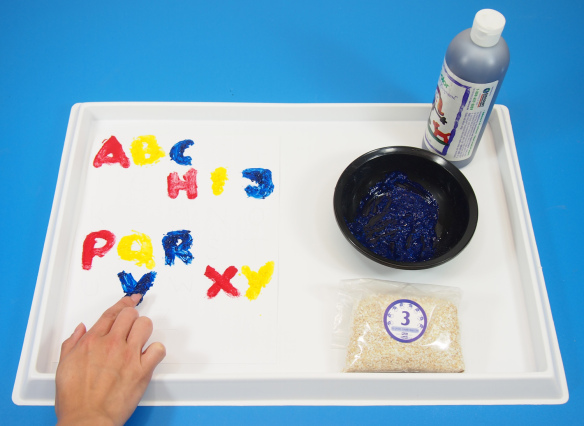
P8190215Add more letters to the alphabet poster!
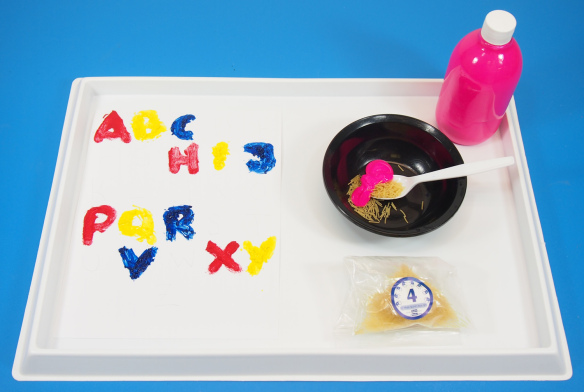
P8190218Additive #4 is called “Slippery.” Remember, you can add more of the additive to the paint to increase the textured effect!
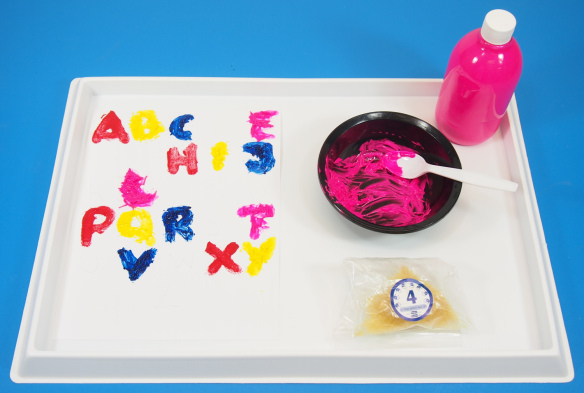
P8190222This one is a little difficult to handle, so choose letters that are simple to fingerpaint.
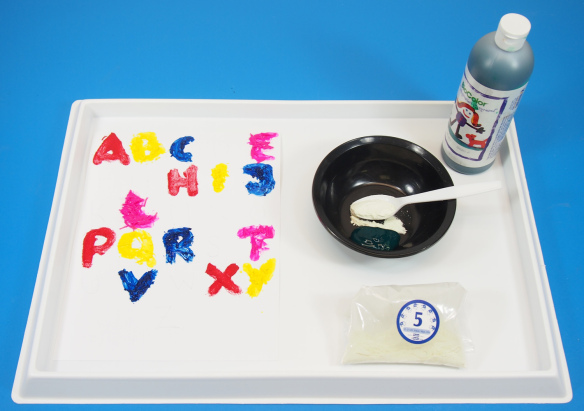
P8190225Additive #5 is known as “Gooey.” This additive turns the paint sticky and slimy!
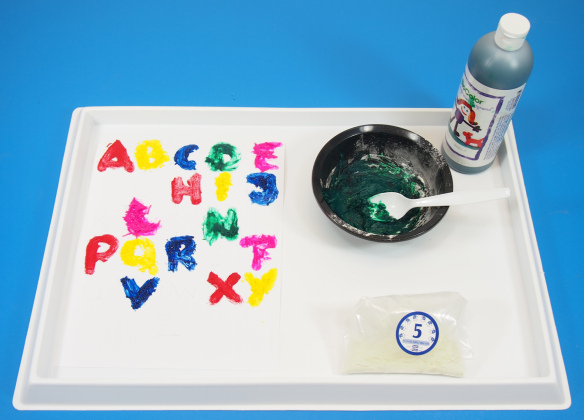
P8190228Here I’ve just painted 2 additional letters to make room for the rest!
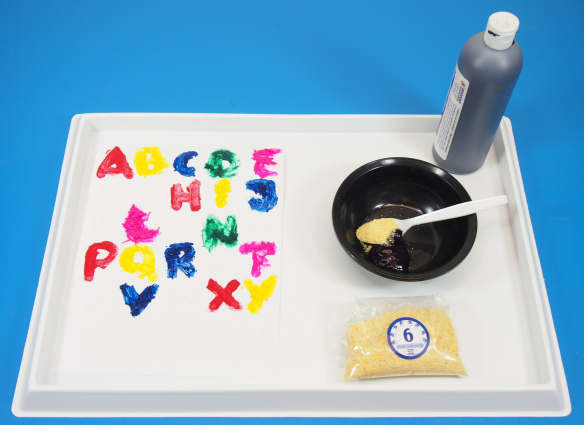
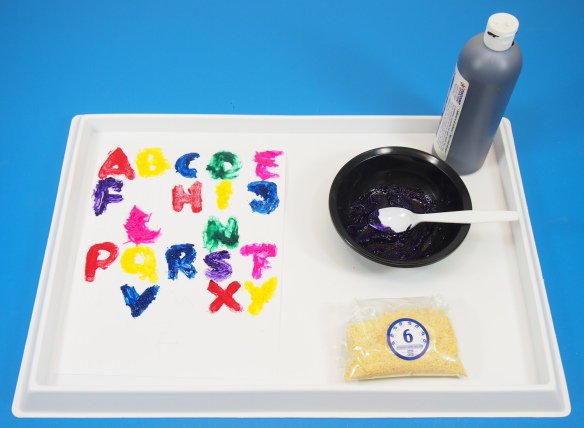
P8190231Additive #6 is known as “Coarse Grit.”

P8190235Add in a few more letters. We’re almost done!
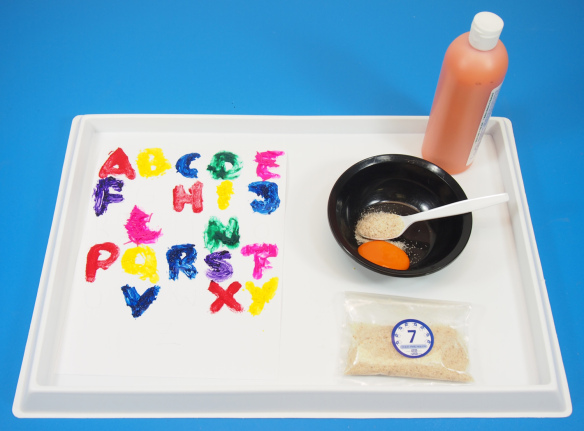
P8190238Additive #7 is called “Goopy.” The ingredients clump together to make a goopy substance.
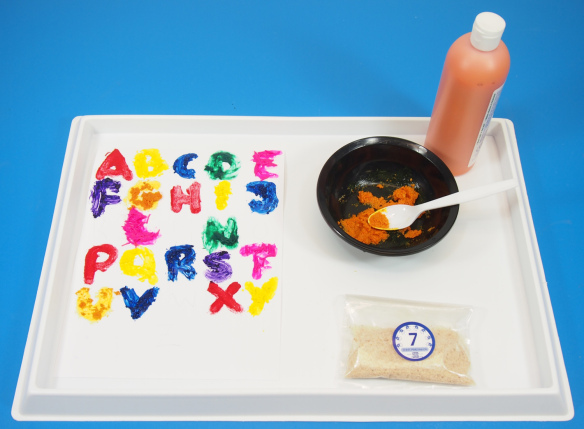
P8190241You can see just how goopy it is!

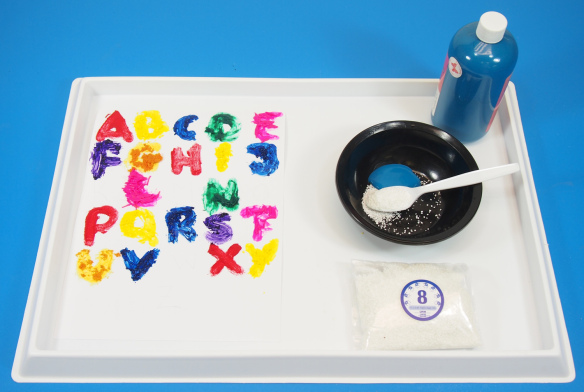
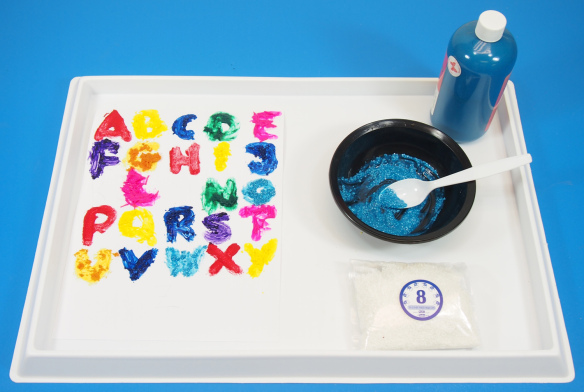
P8190244Additive #8 is known as “Rolly Polly.”

P8190246I’ve added two more letters.

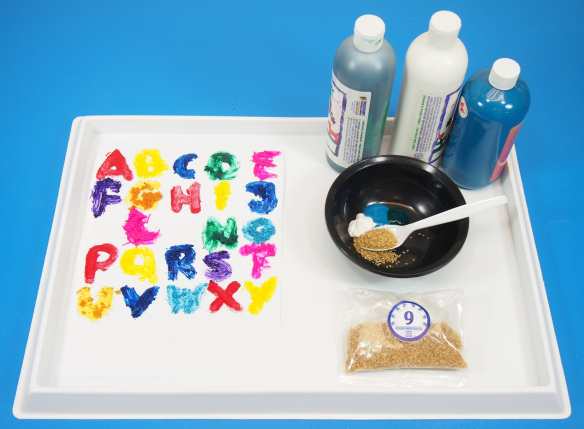
P8190249This next additive is called “Super Grit.”
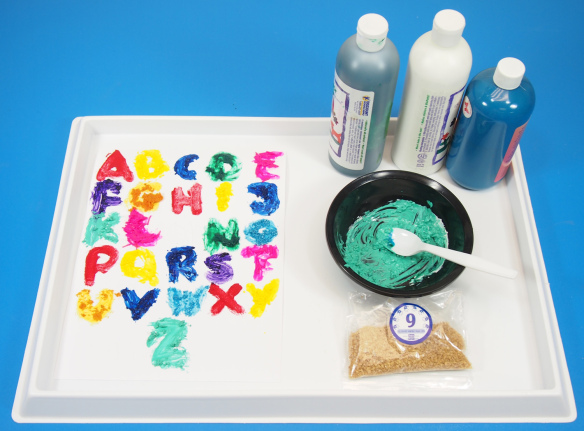
P8190252I’ve mixed several colors to add more interest to our alphabet poster.
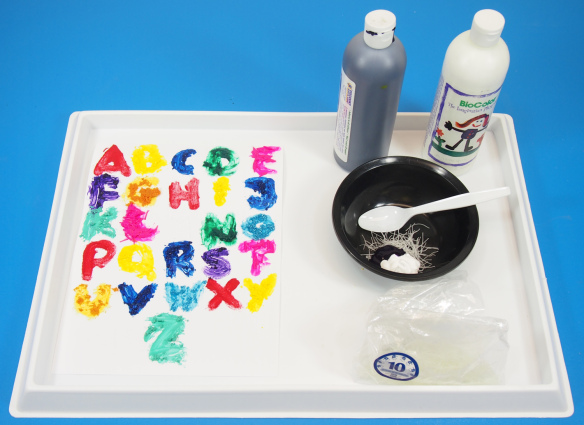
P8190256The last additive, #10, is called “Stringy.”
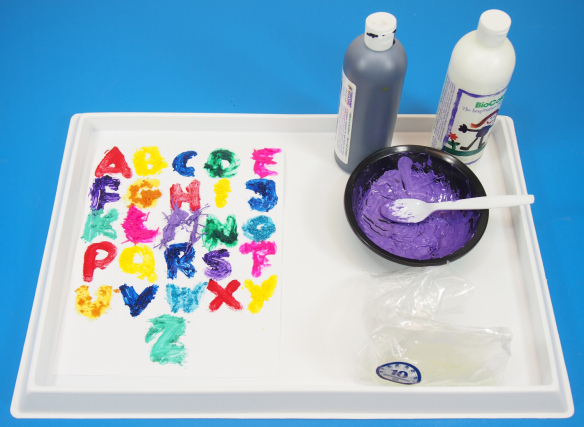
P8190258I’ve lightened the purple and positioned the stringy additives to make a textured “M.”
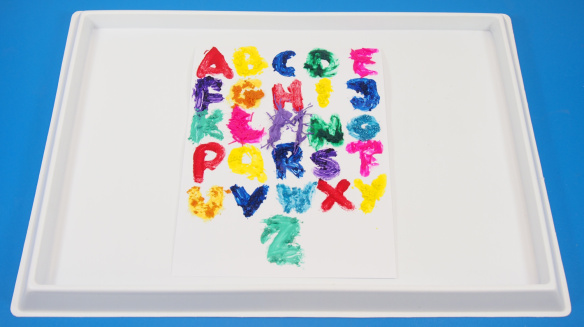
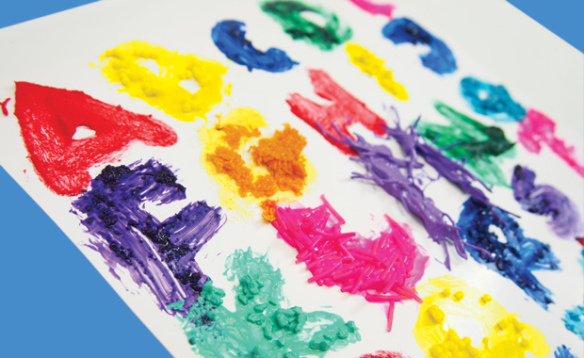
P8190259Here’s the final look. Wait for the paint to dry before letting students feel their fingers over the letters. What kinds of textures can they feel on the paper? Let them describe the textures to you while they learn about the letters!

Line-05Like us on FacebookShare this post with your friends, or Subscribe to this blog today to receive original craft project updates every Monday, Wednesday and Friday!