Lace Paper

22054_Lace Design Paper_Craft Fish


Create, design, decorate and embellish a variety of paper projects with our multipurpose Lace Design Paper! The lightweight material and lacy textures are perfect for a multitude of cut and paste projects. Features 8 beautiful designs ranging from checkered to flowery and ornamental. Our special paper has the look and feel of thick tissue paper with multiple pressed patterns, and can be dyed to any color or pasted onto any surface for a fabric-like feel with paper-like versatility!

Lace Paper comes in 8 assorted intricate designs. Choose a design that will fit your project best. For this initial project, we will be dyeing the Lace Paper in different colors and then cutting it up to use as an embellishment for book-covers, cards and a variety of other projects!

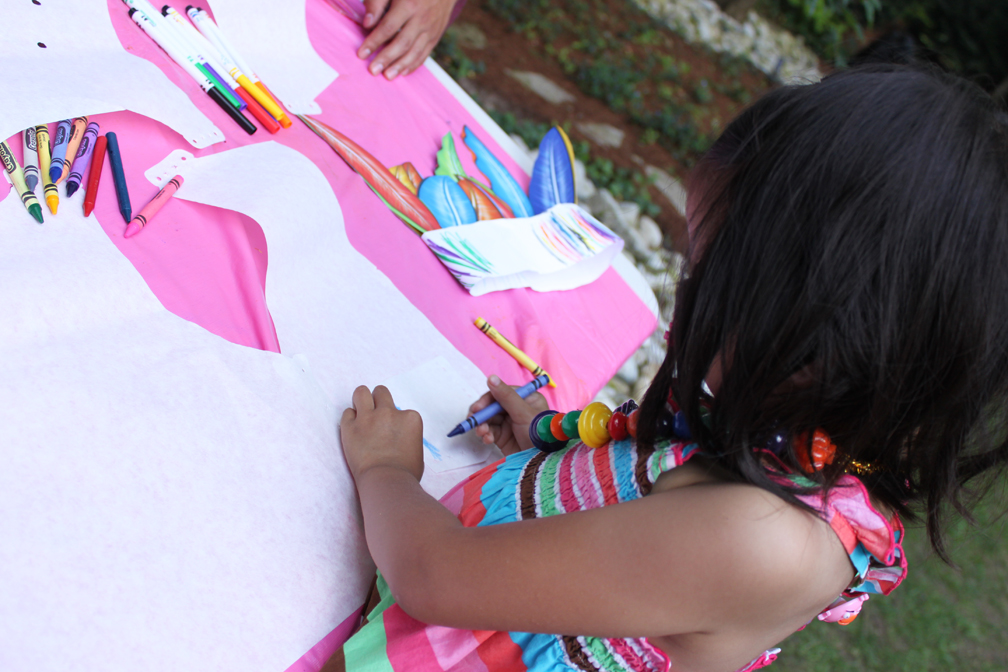
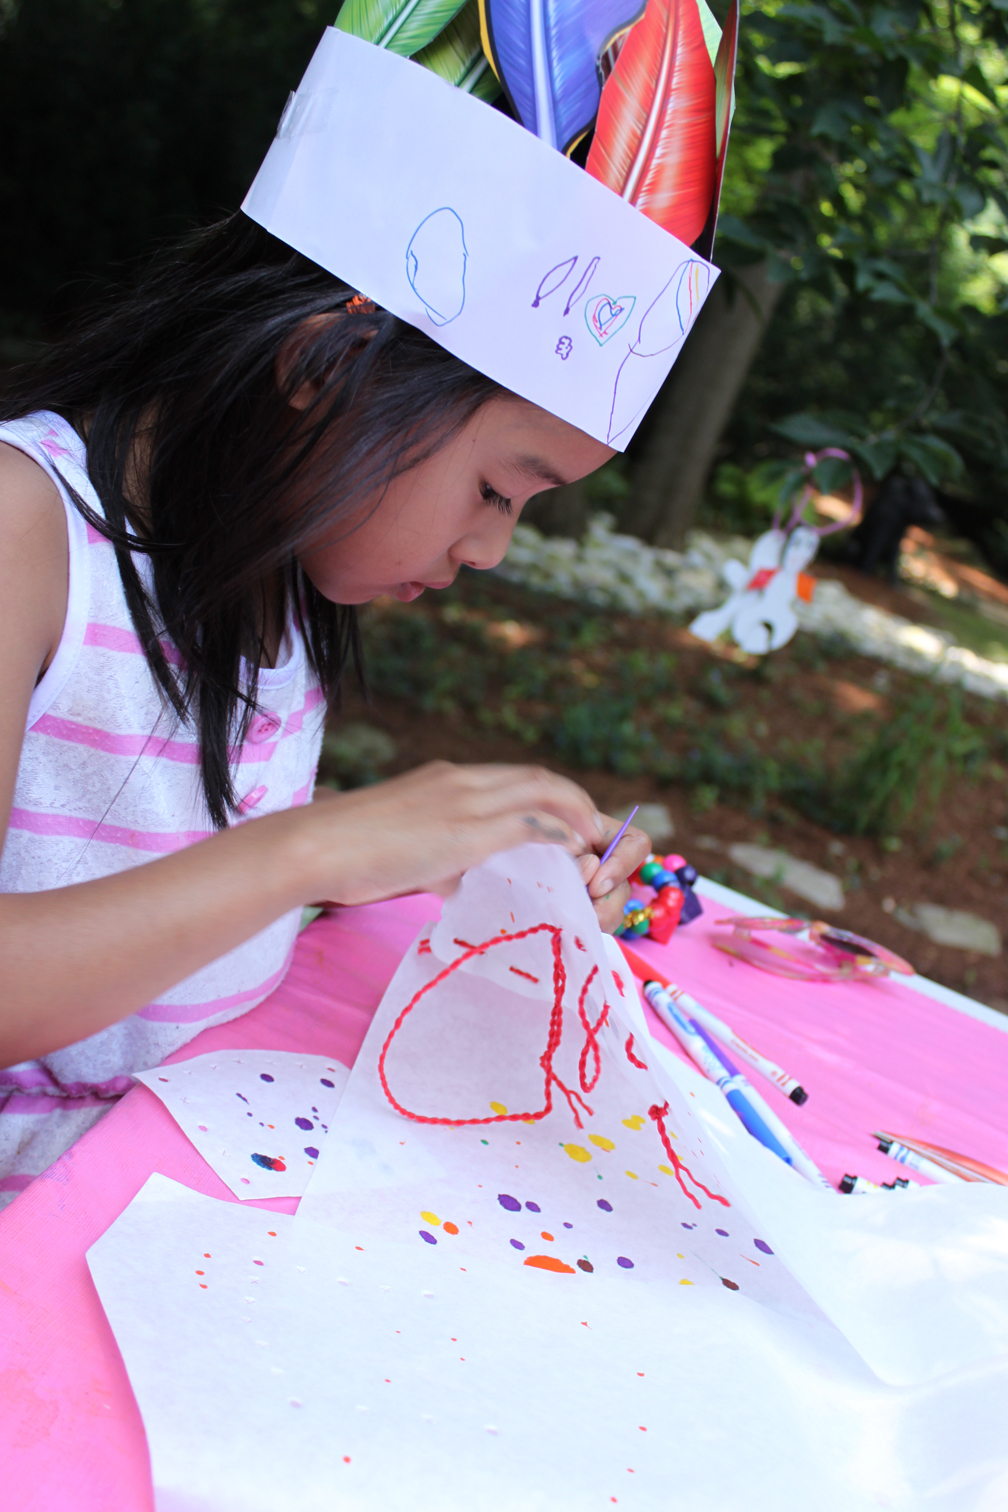
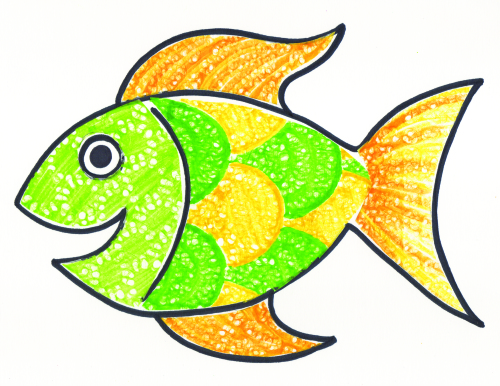
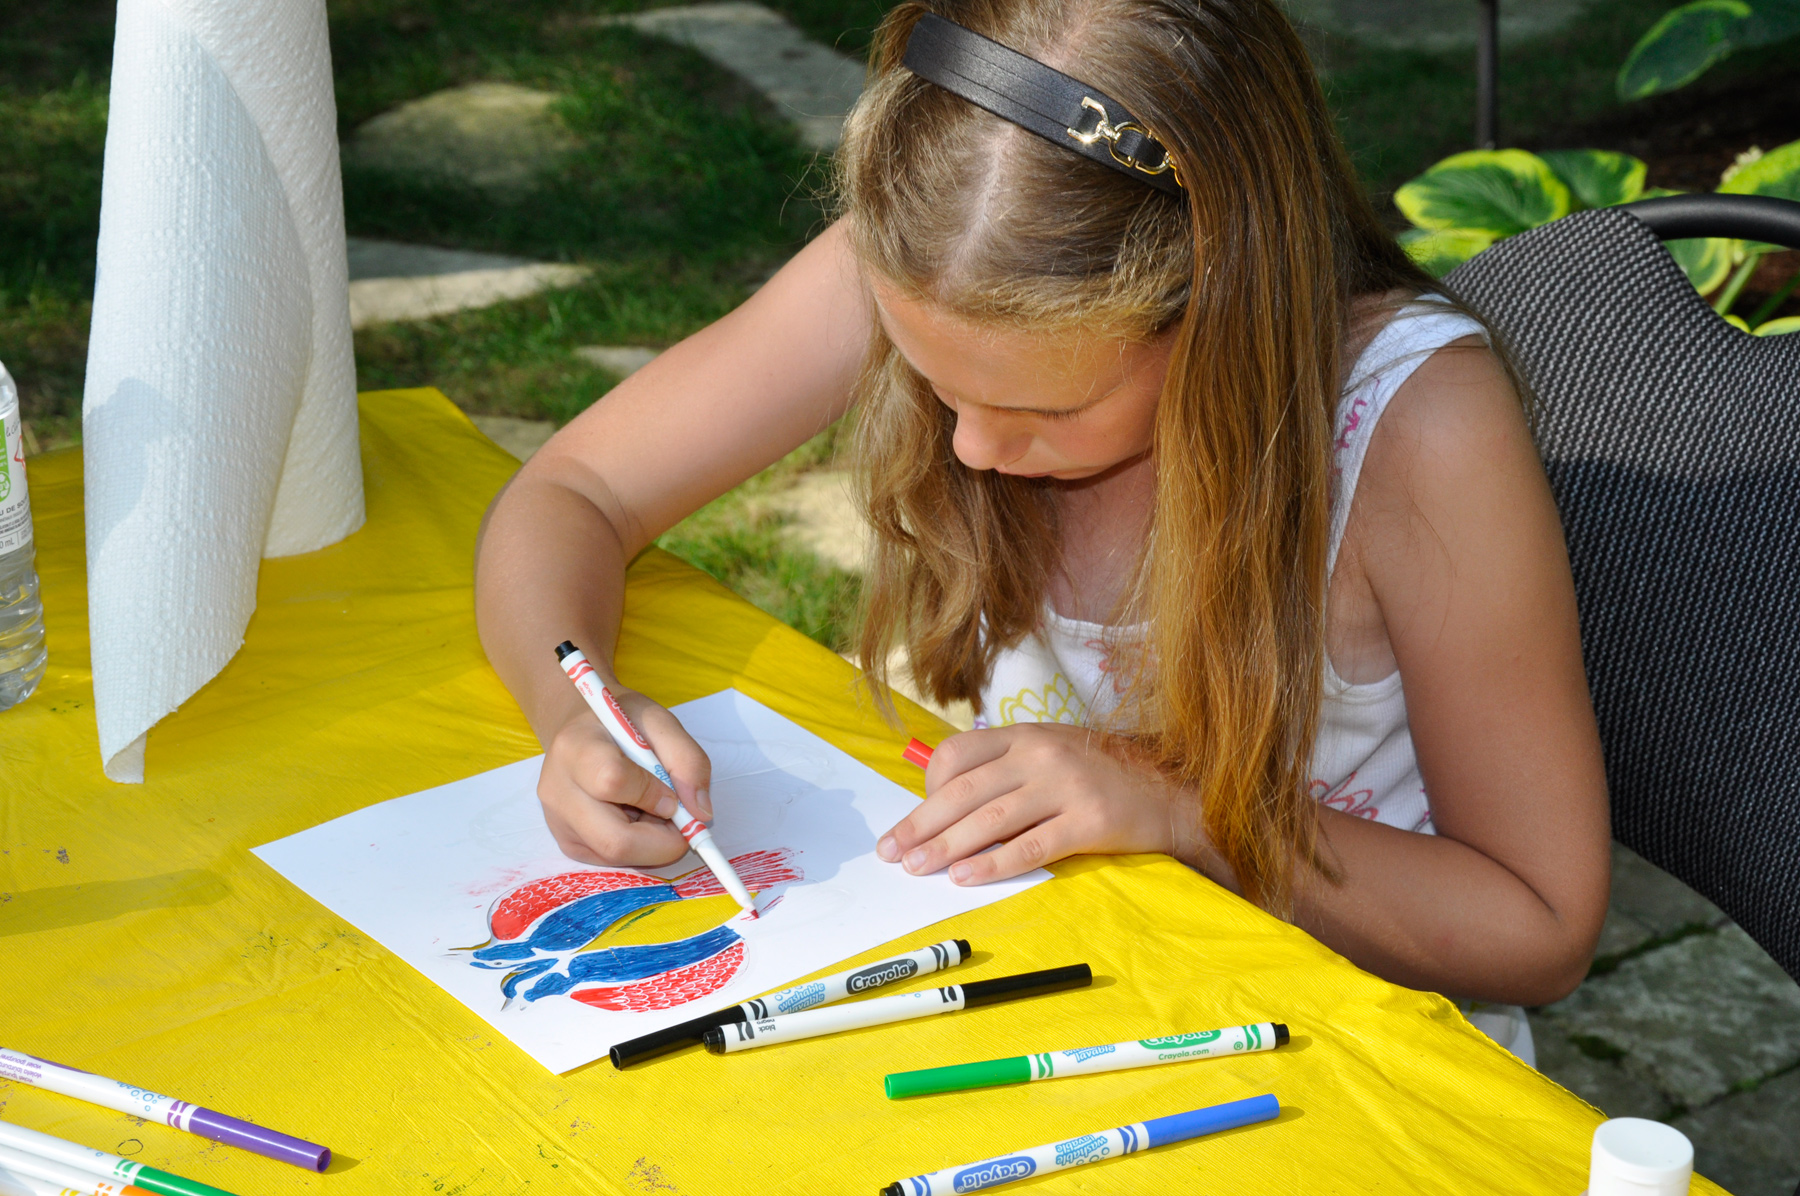
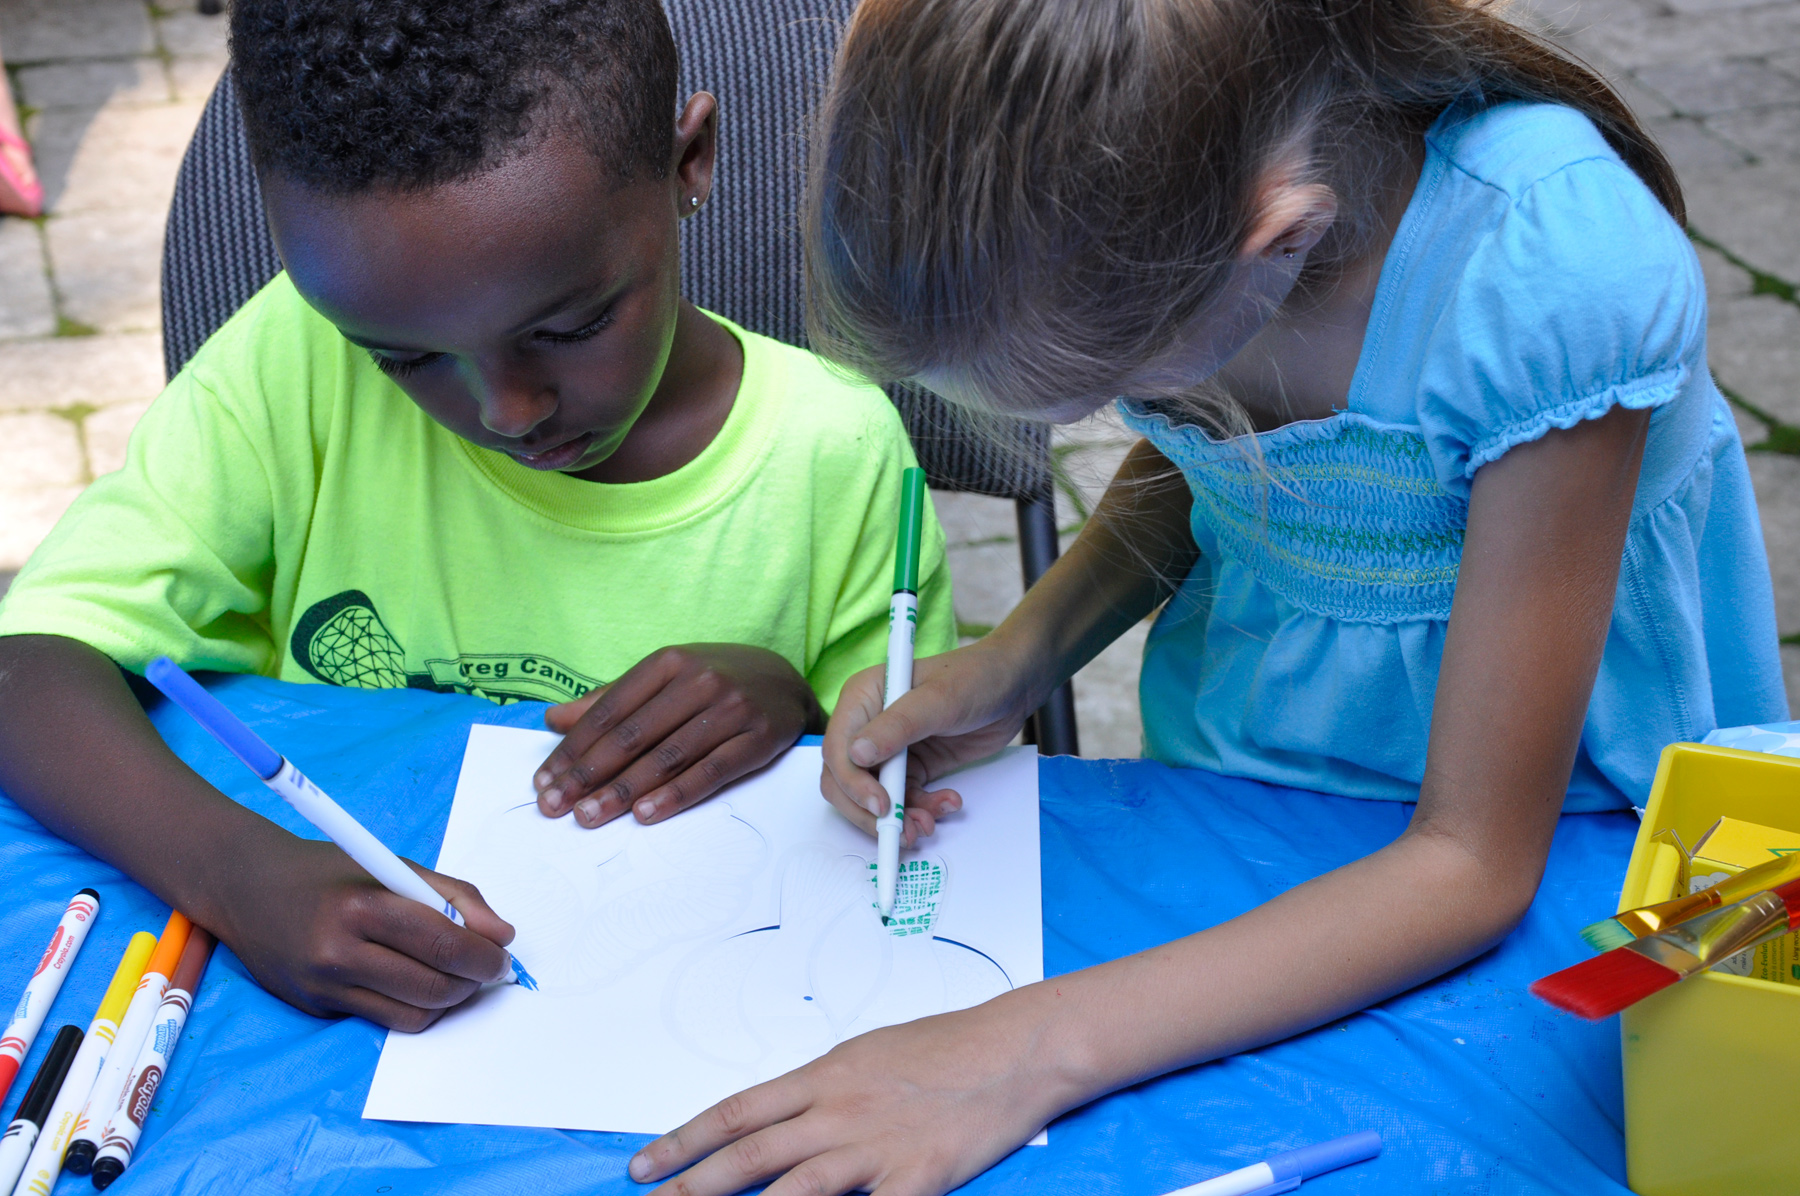
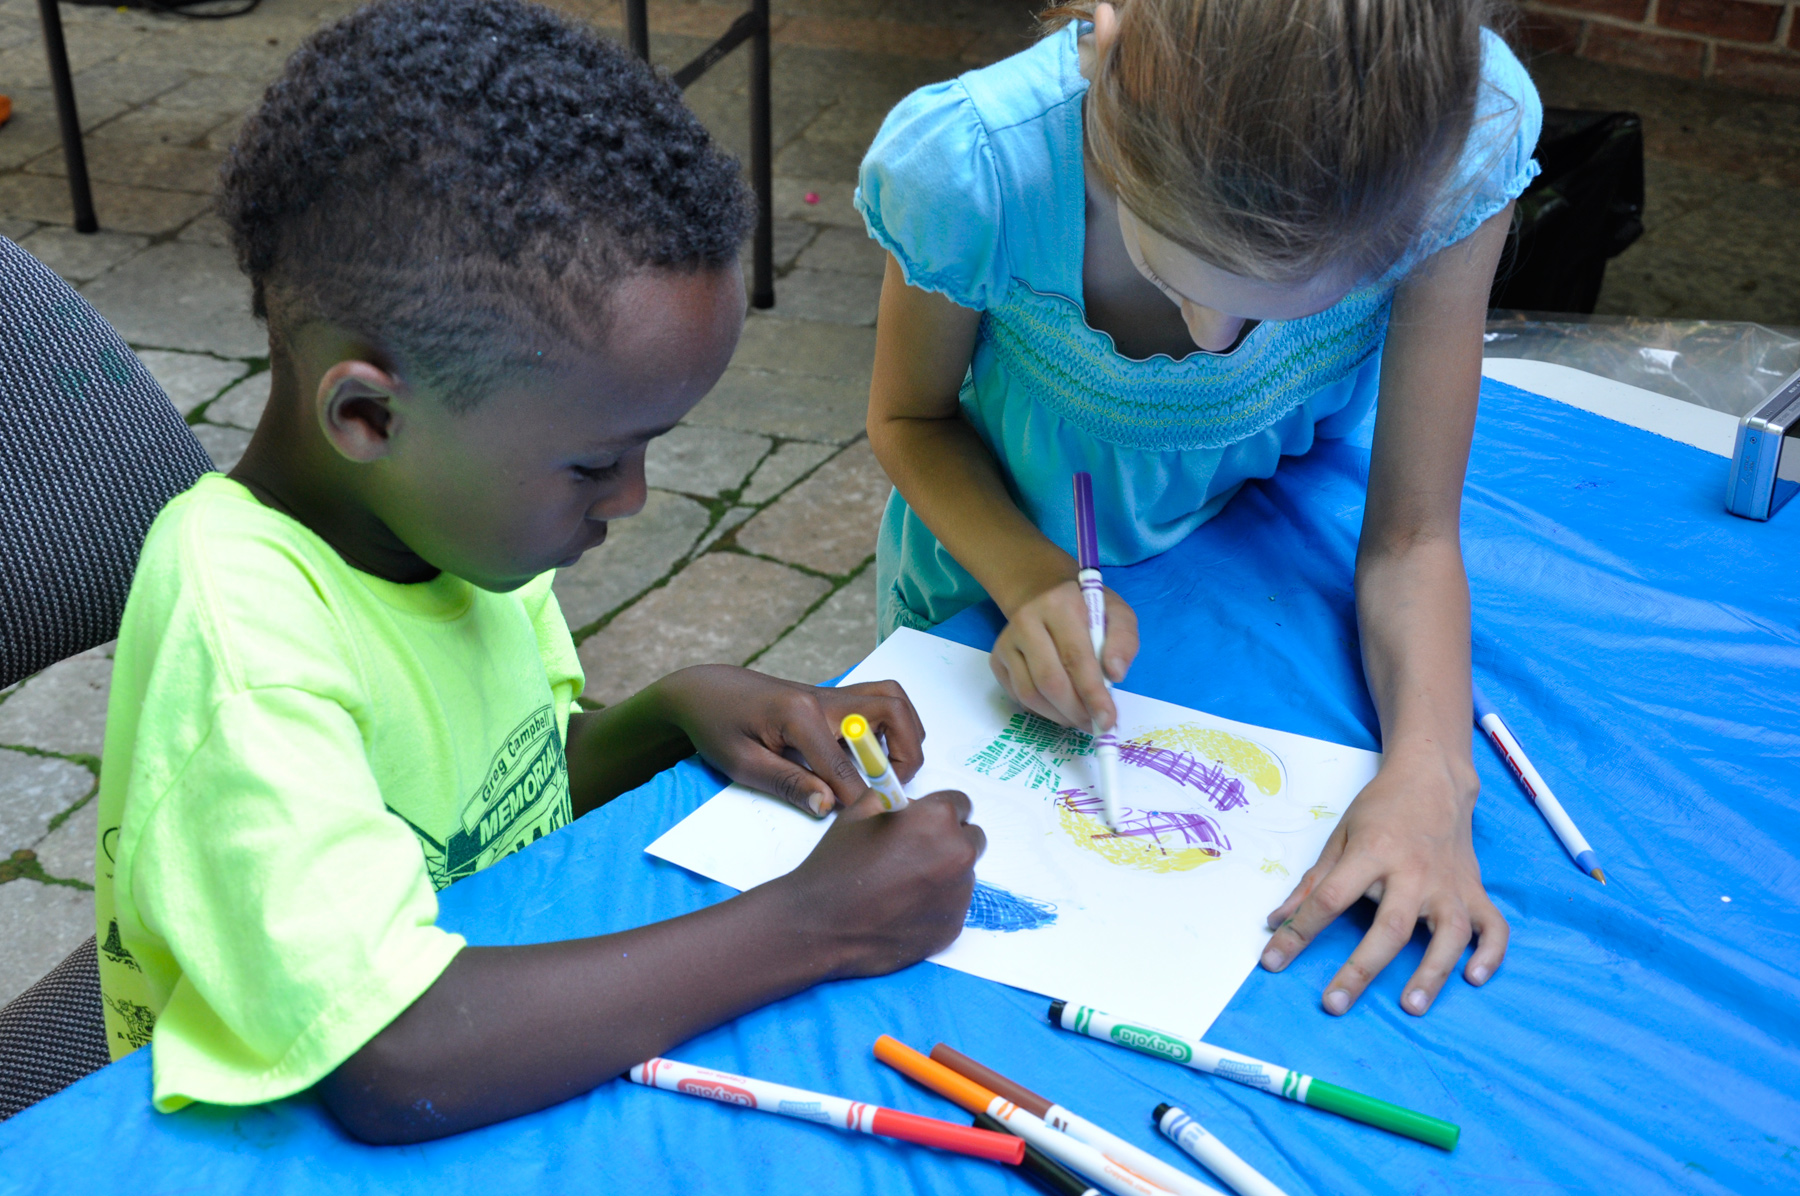
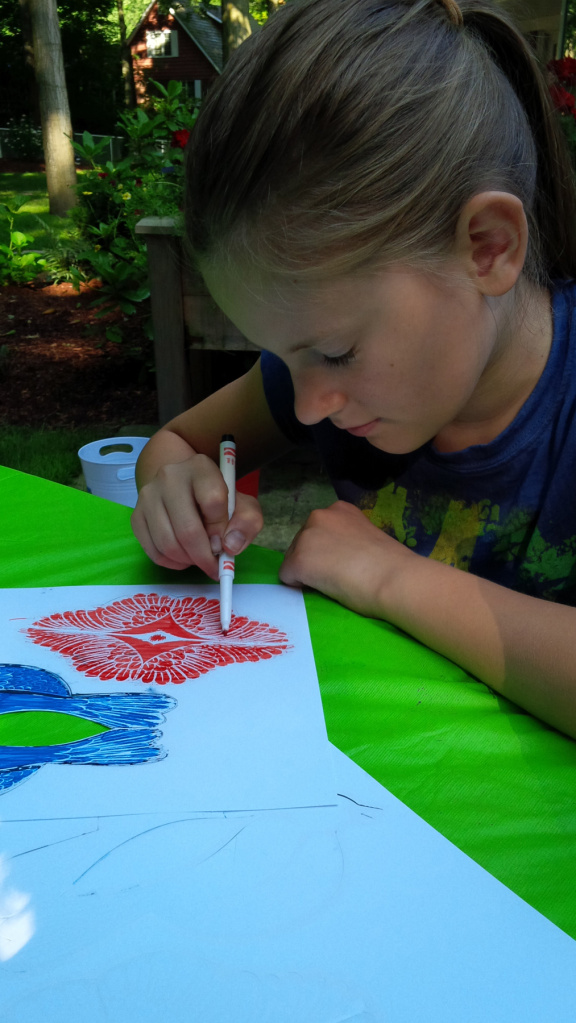
Use a broad-tipped marker and gently add some color onto the Lace Paper. You don’t have to color the entire sheet. Color only a small amount.

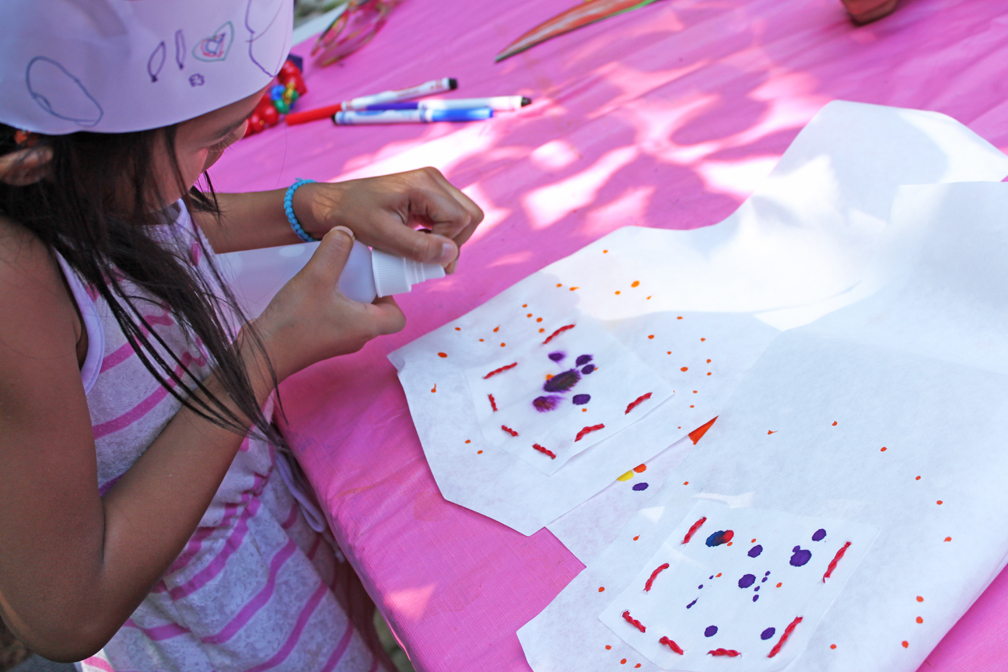
Spray a bit of water onto the marker ink and watch as it soaks through the material—just like our Color Diffusing Paper! You can add more marker colors and spray those spots with water or continue spraying with water to simply diffuse the color even more throughout the sheet.


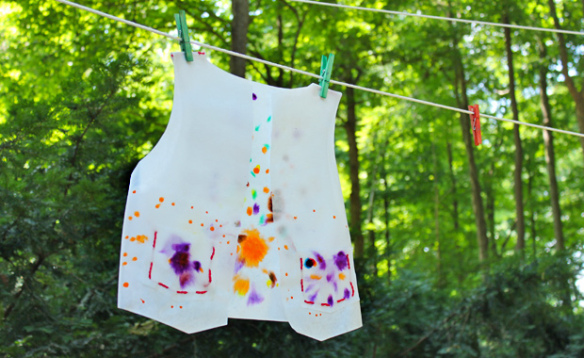
Leave the Lace Paper sheet to dry overnight. For fast results, place the paint tray and Lace Paper outside in direct sunlight or position underneath a desk lamp. Once the paper is dry, use for craft activities!

Here are some suggestions on what to do with your dried and dyed Lace Paper designs! We will go into more detail with each project further into this guide.

  • Paste sections of the material onto a paper mâché mold and create a lacy textured effect.
  • Ÿ
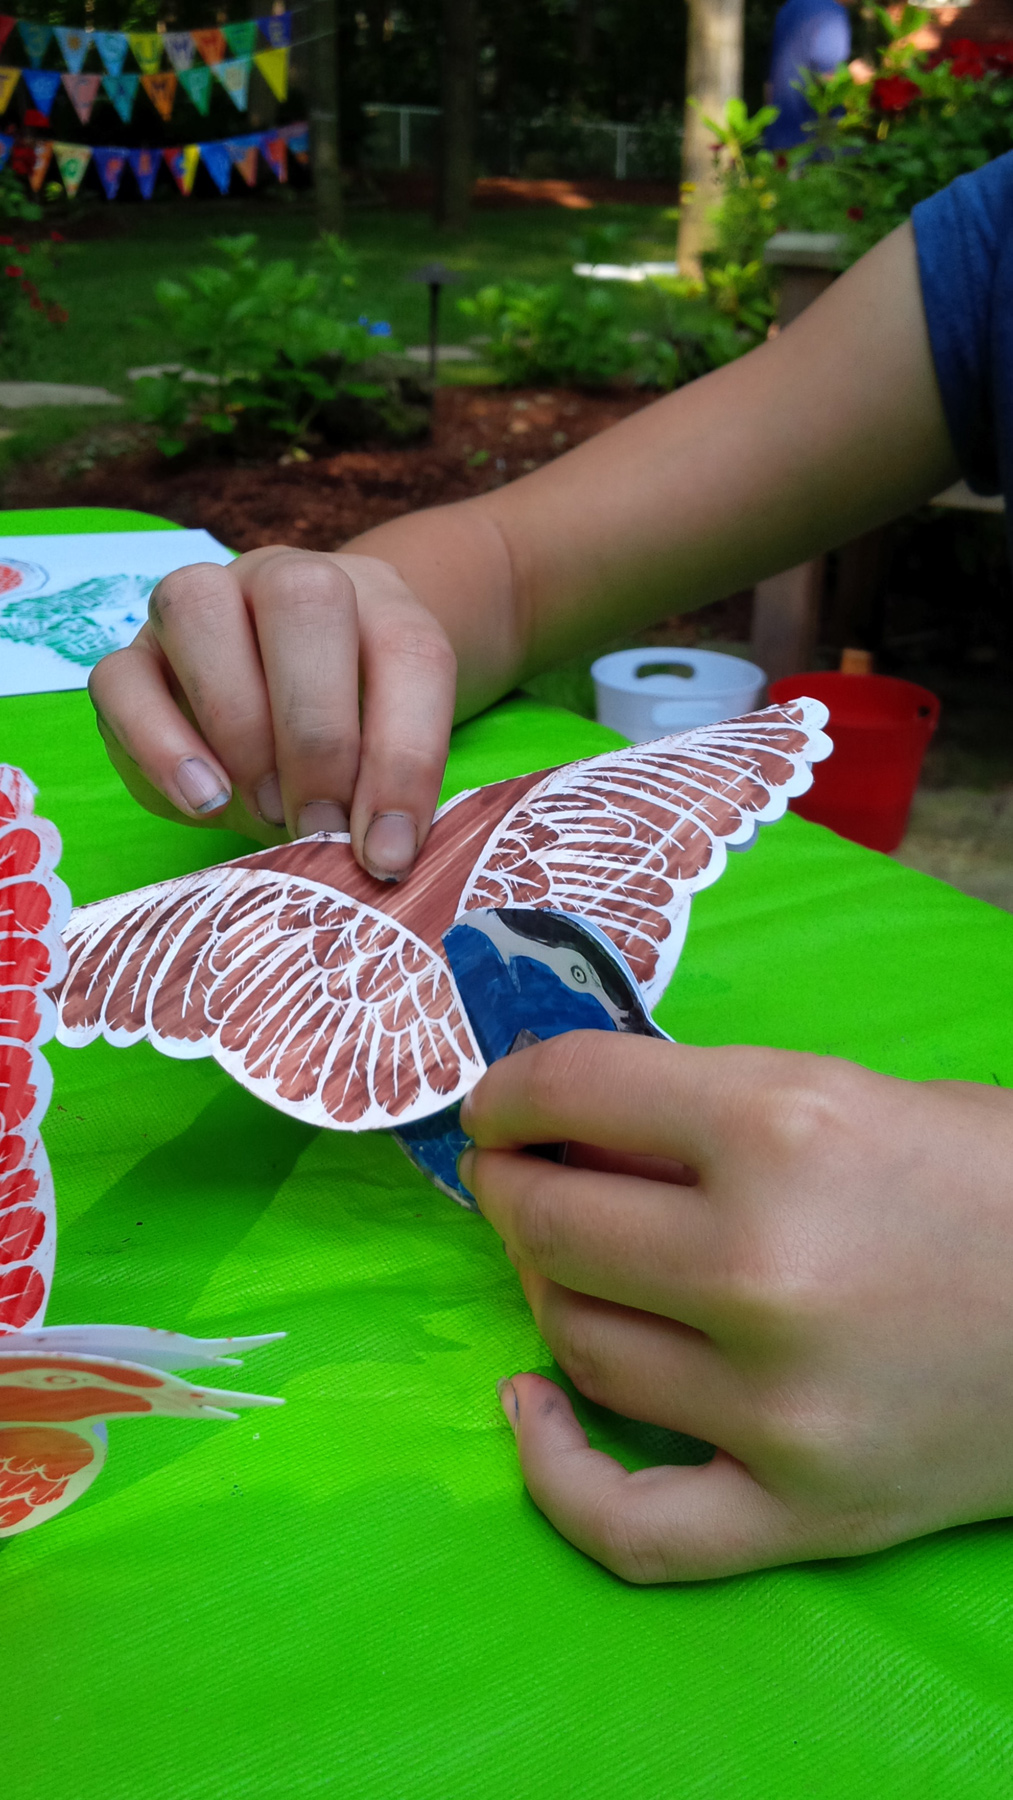
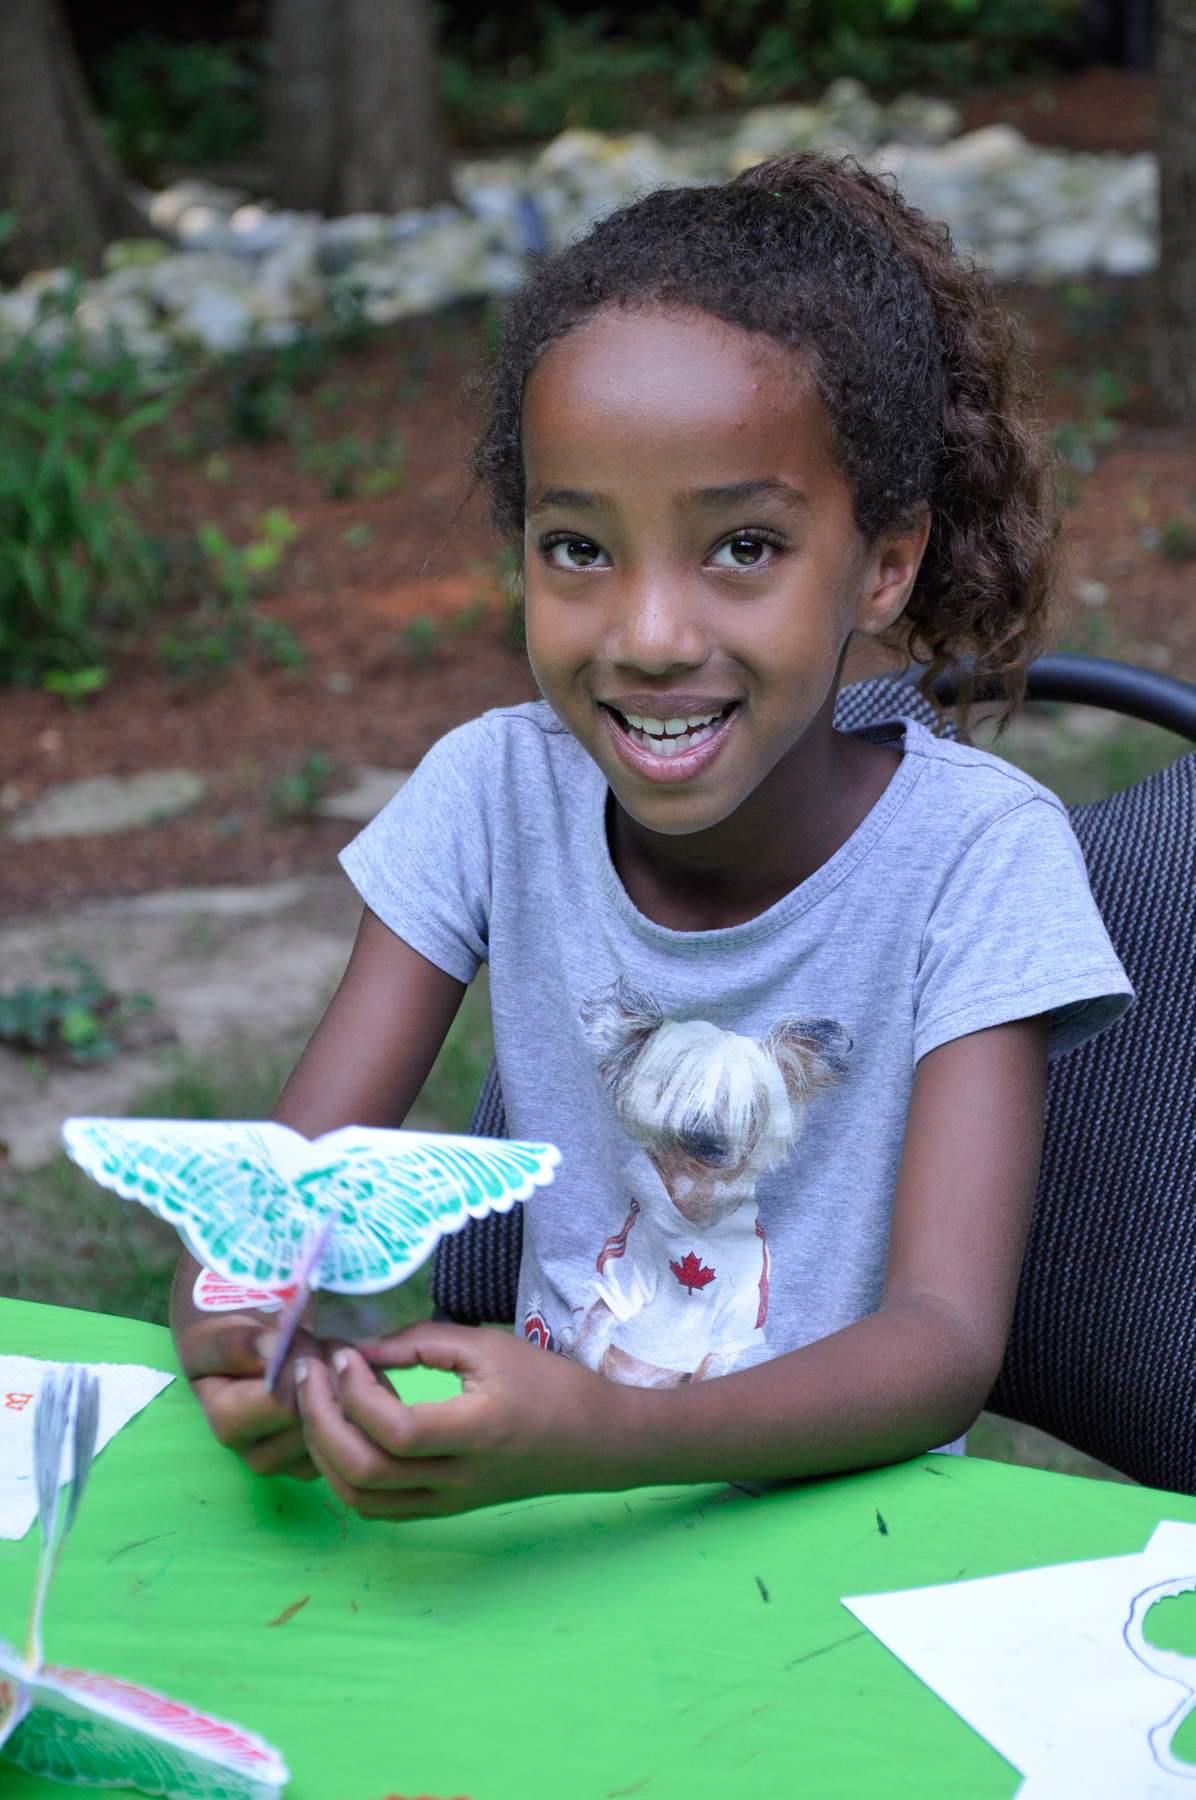
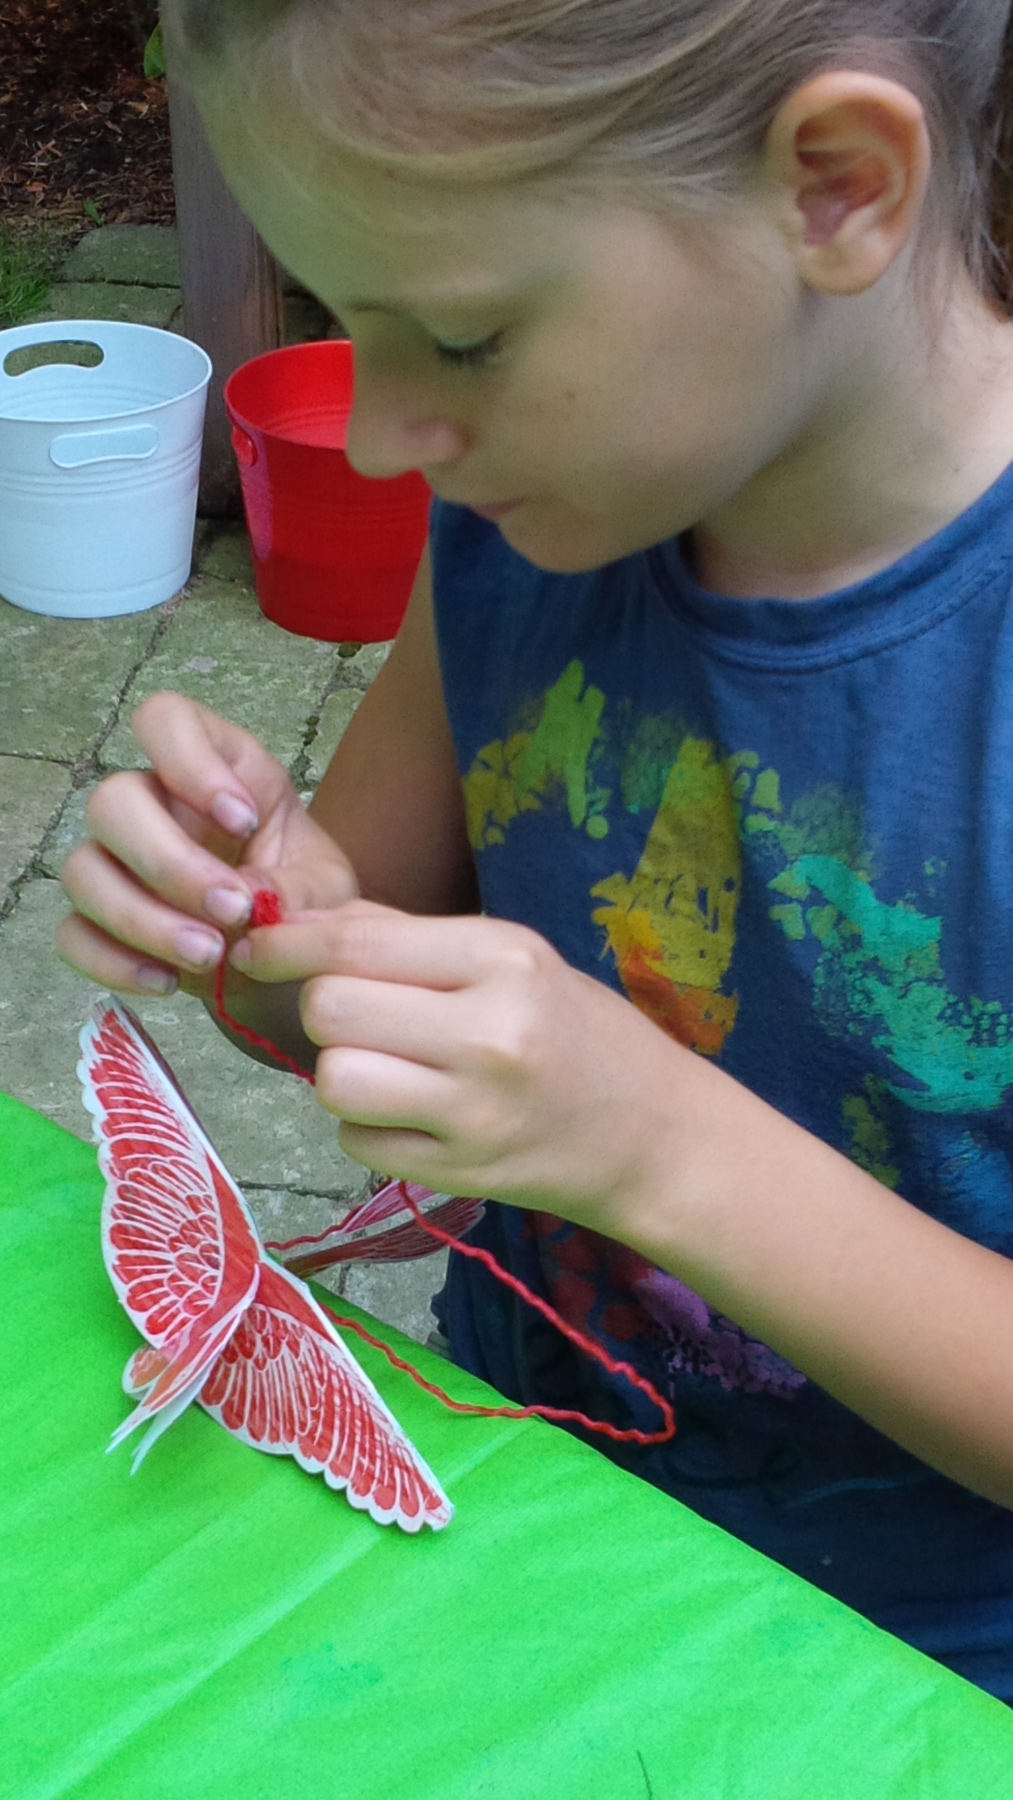
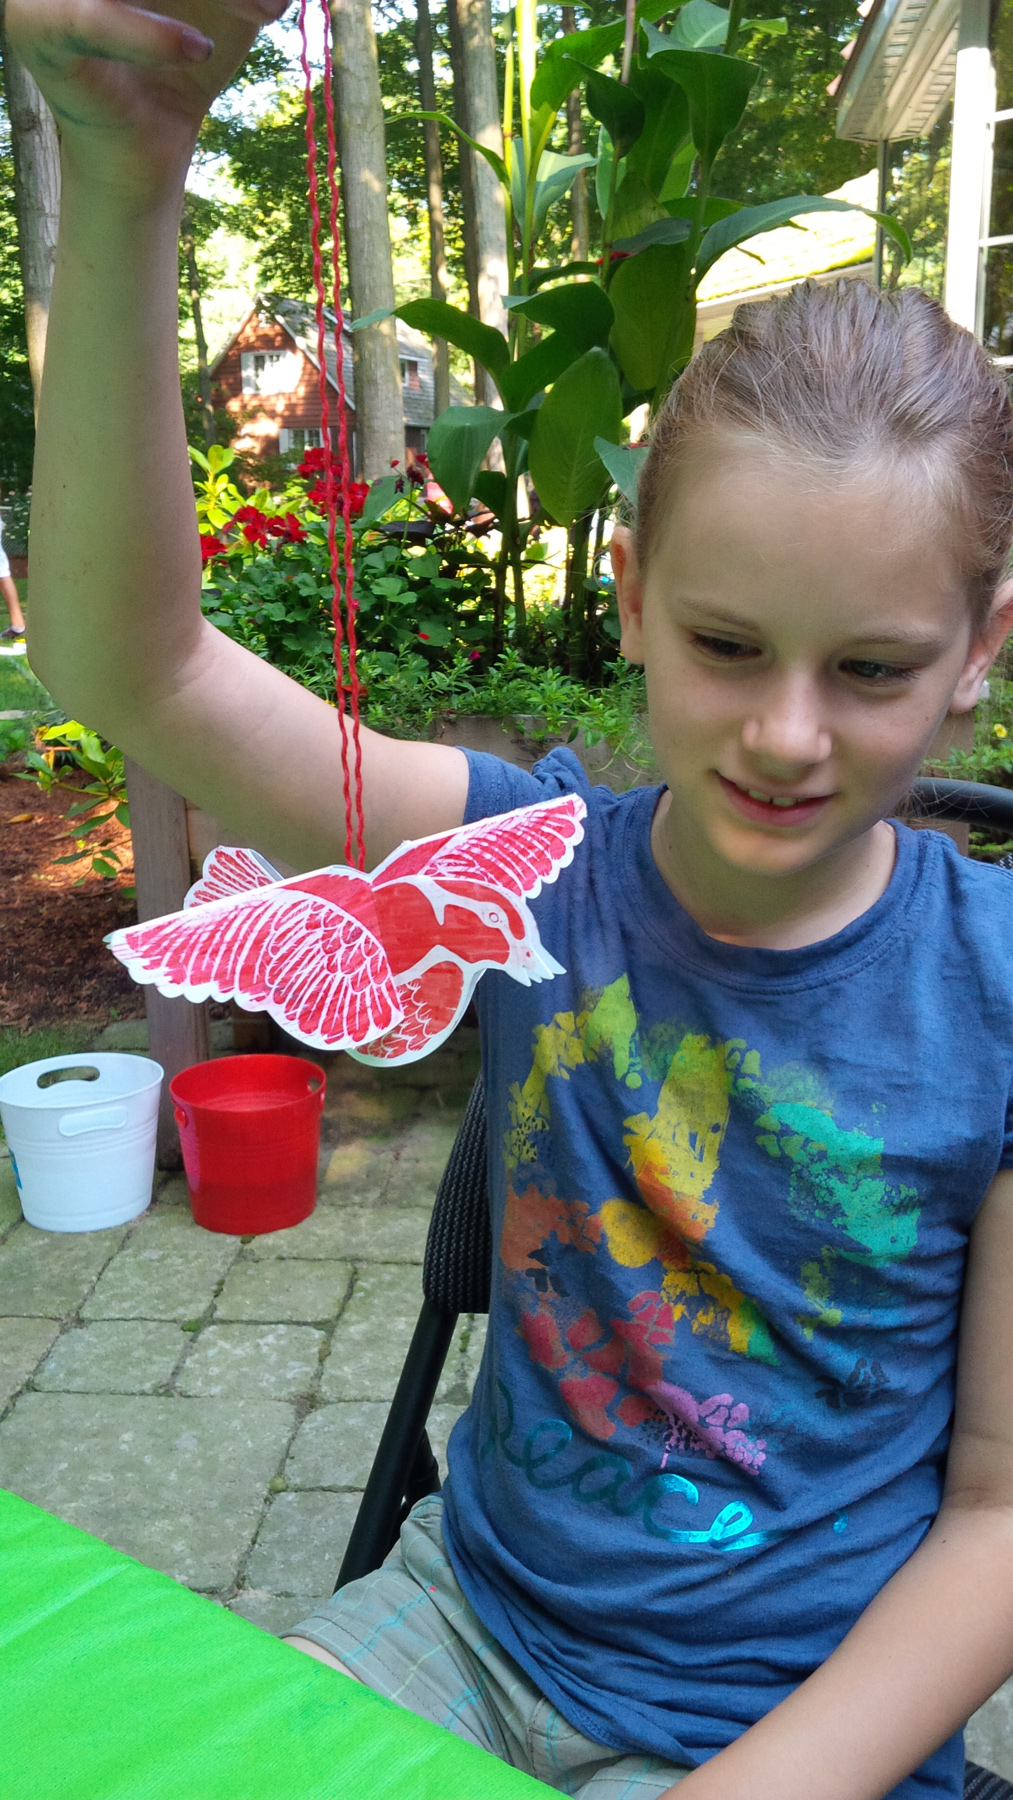
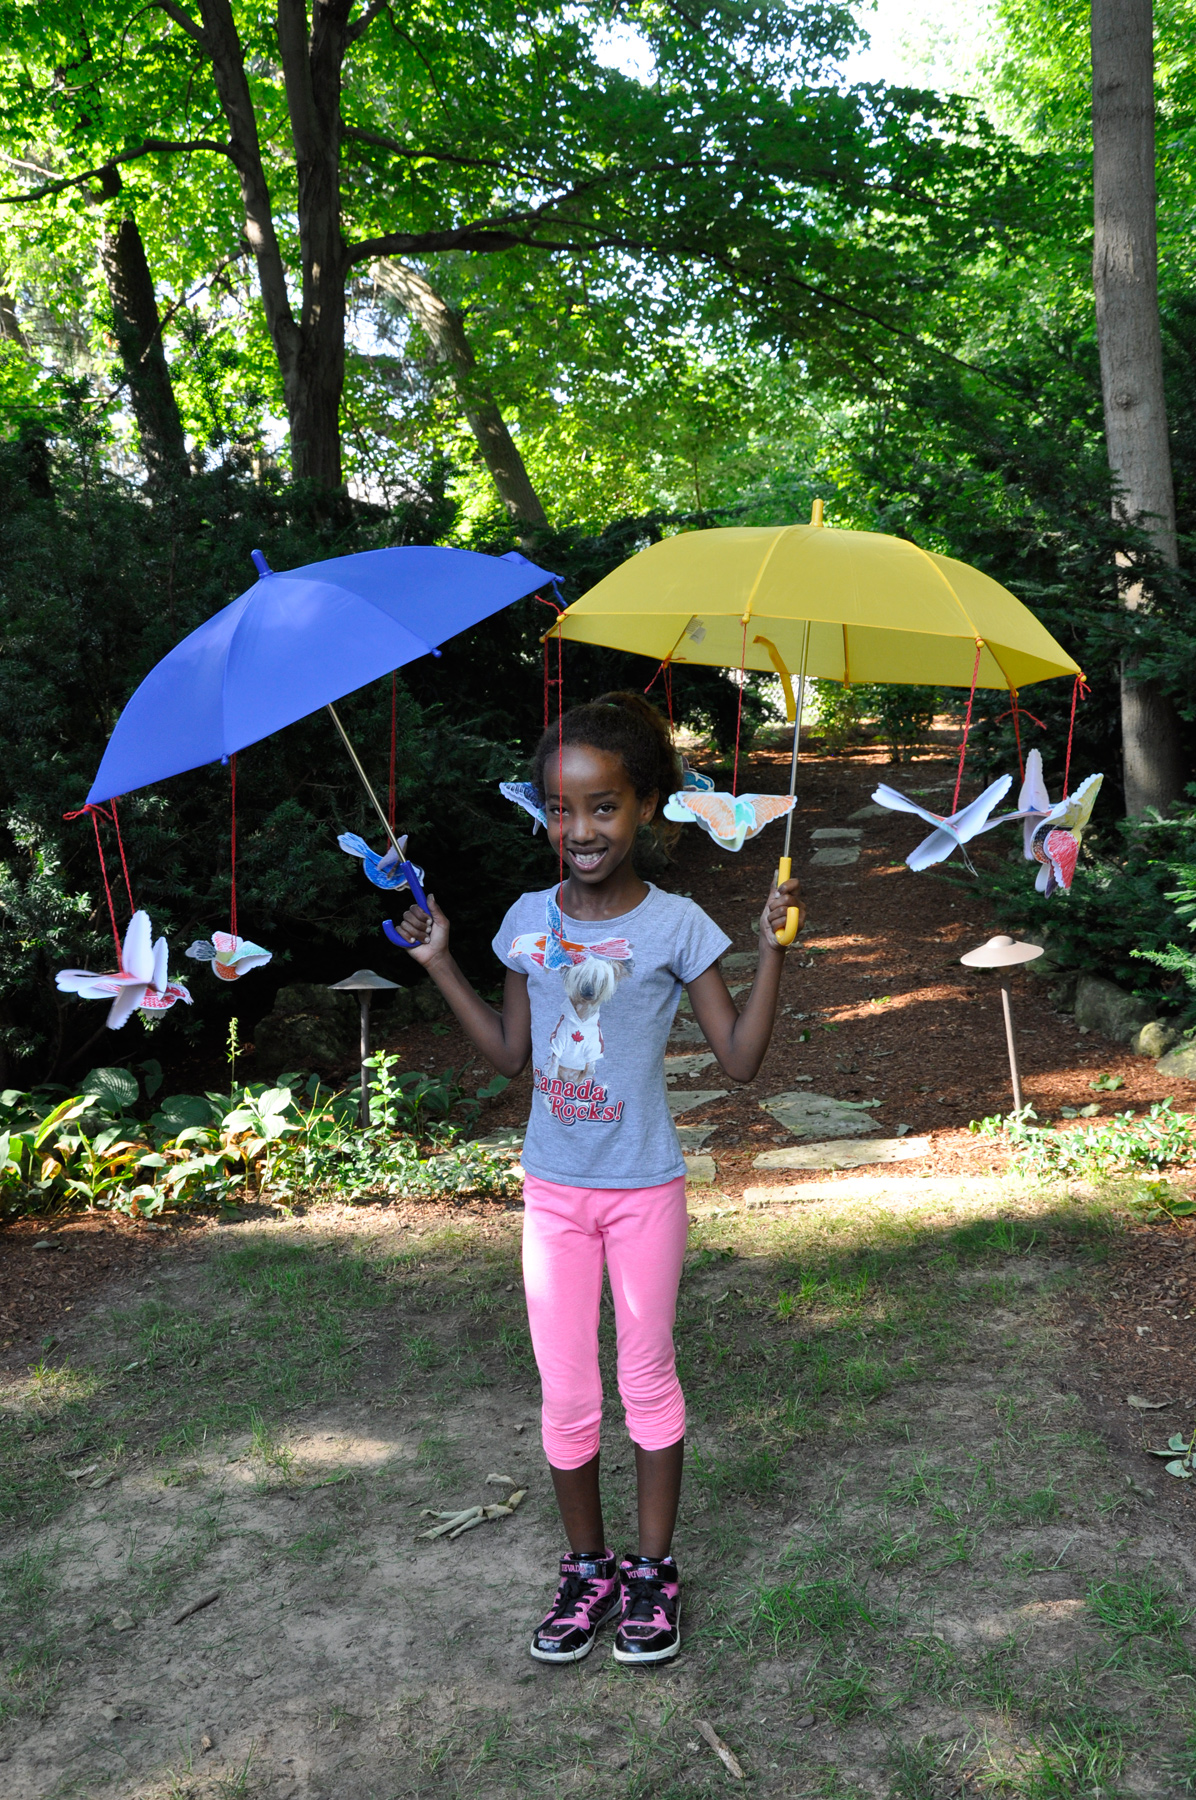
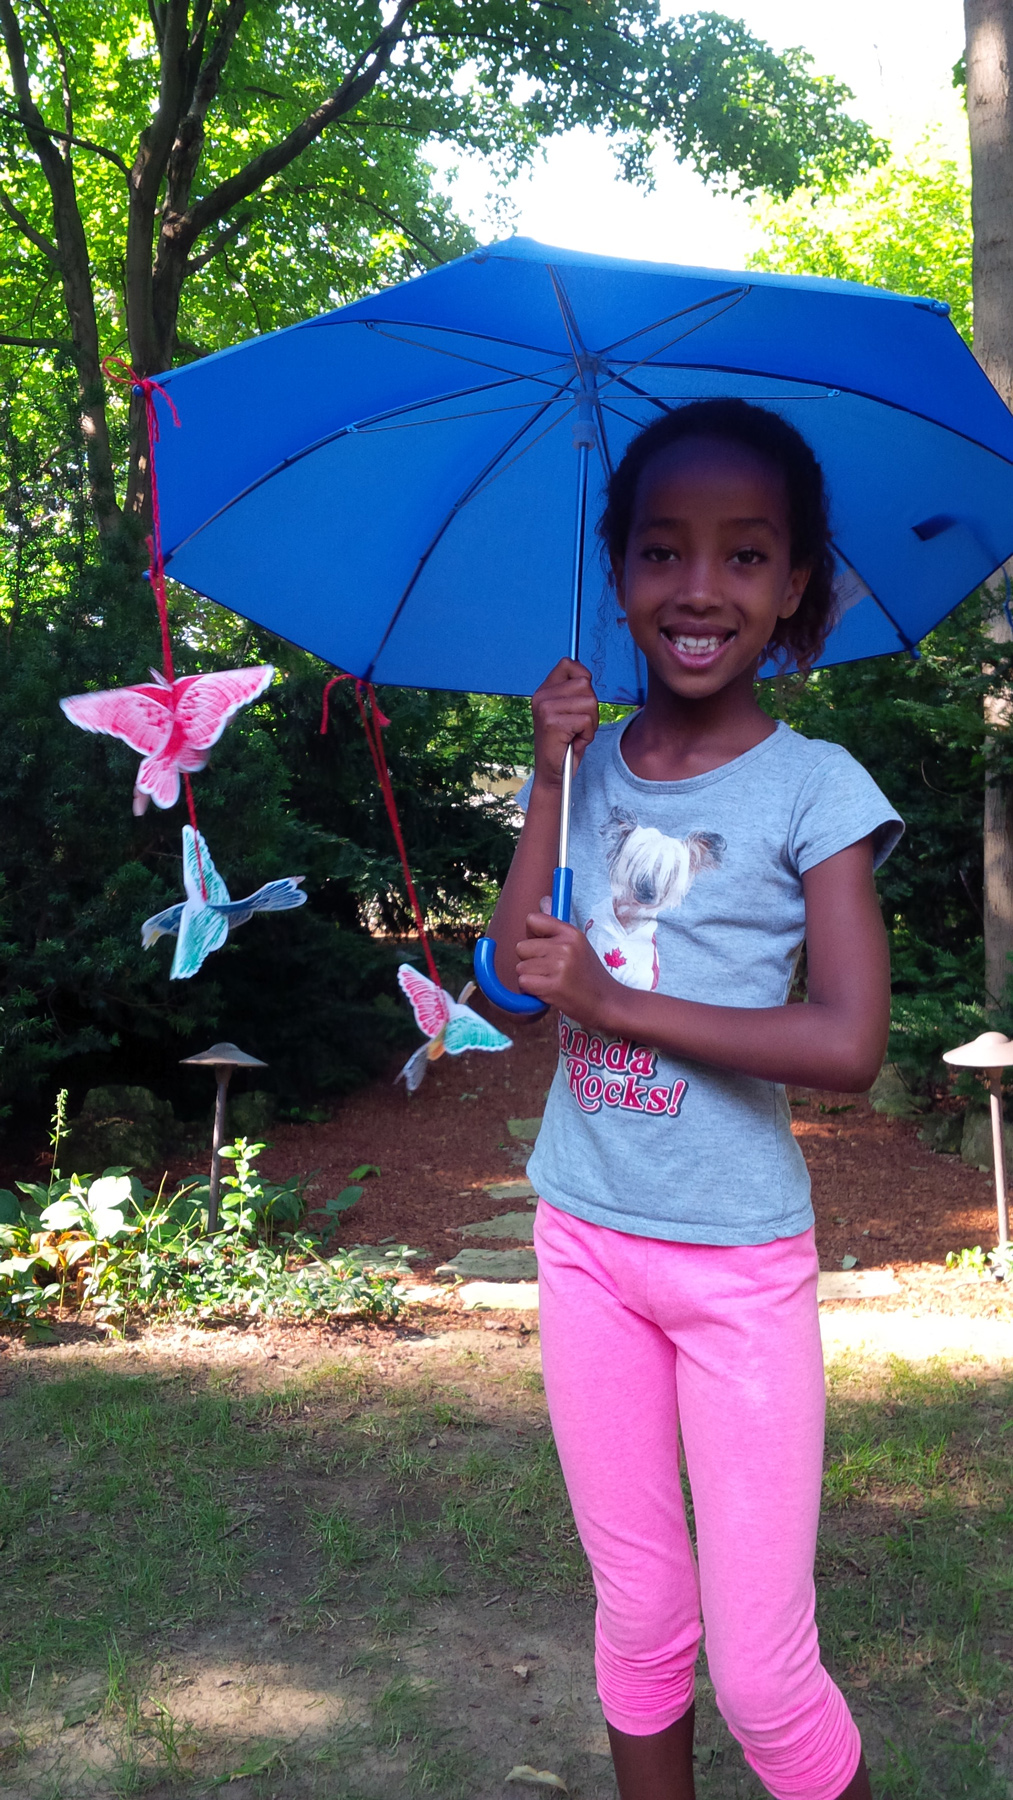
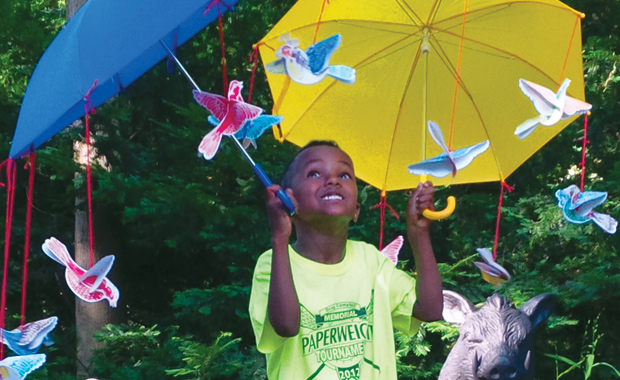
Create a colorful butterfly using materials from the Dollar Store.
  • Fold the Lace Paper sheet twice to make a cute card for Valentine’s Day.
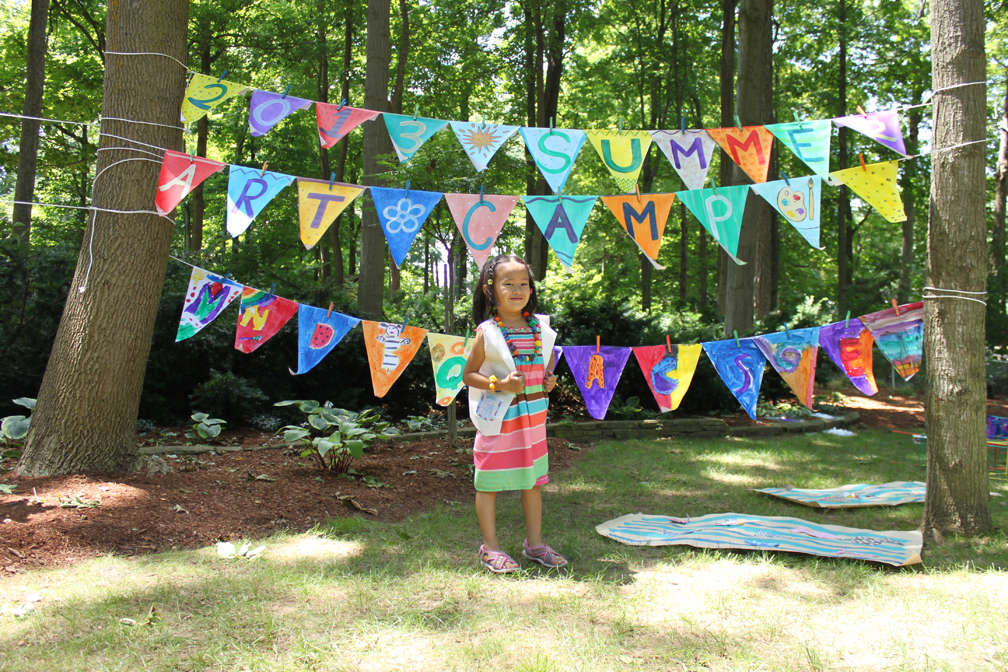
  • Make little bunting flags!
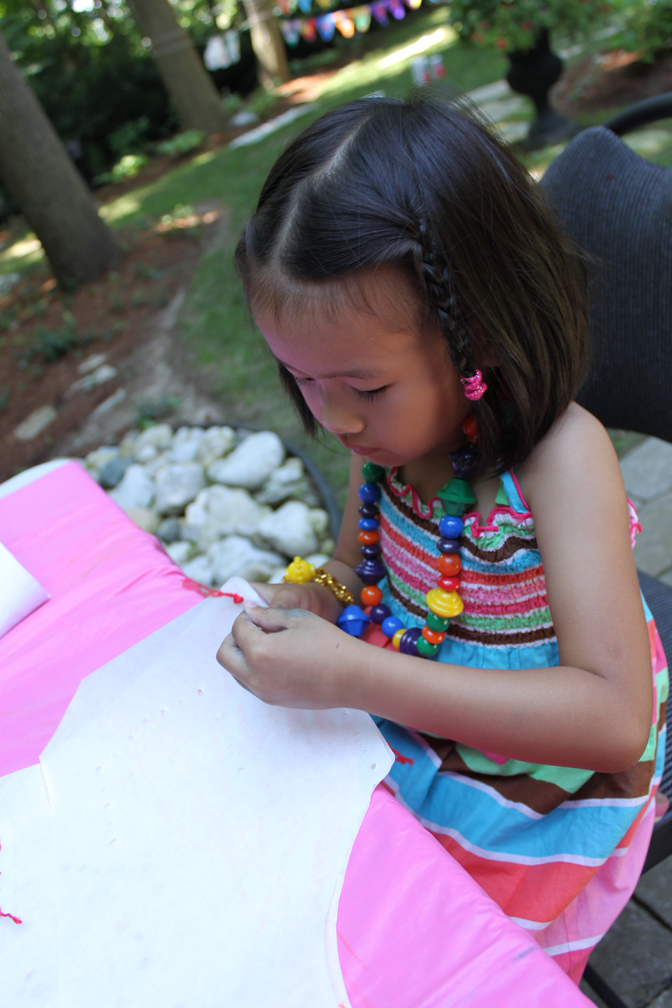
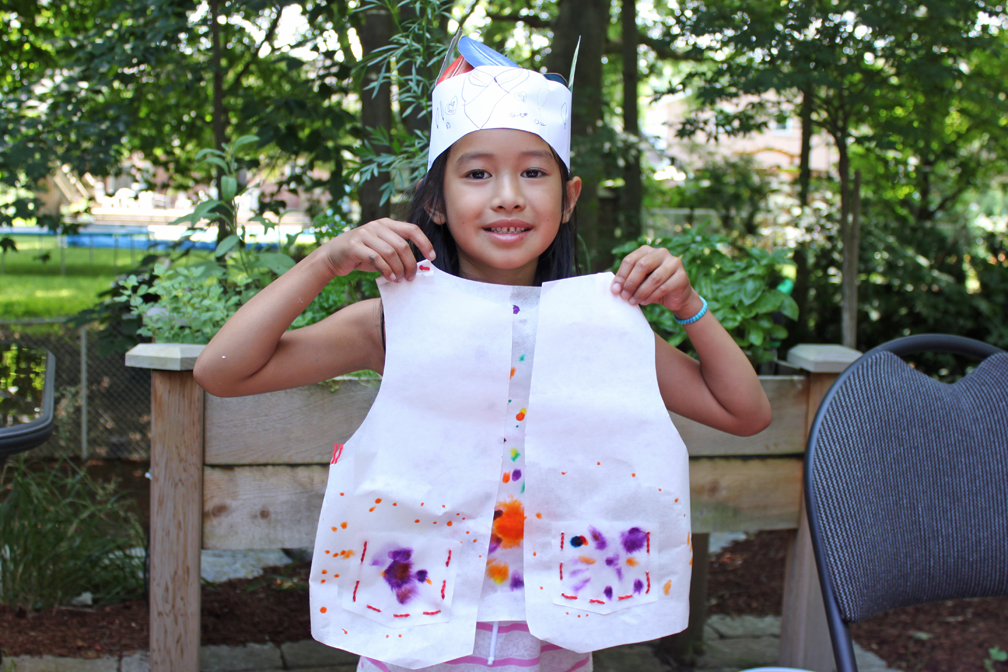
  • Decorate clothes for a paper doll.
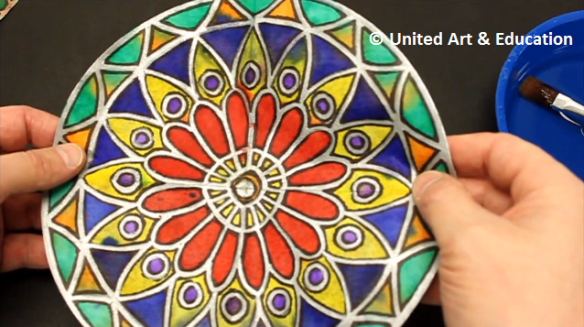
  • Design a stained glass frame with black construction paper and Lace Paper.

Line-09

Like us on FacebookShare this post with your friends, or Subscribe to this blog today to receive original craft project updates every week!

Cassie Stephens uses our Japanese Carp Wind Sock Kit!

This art teacher helps infuse so much inspiration and creativity into her students’ work… it’s zany!! We LOVE the Japanese Carp Wind Socks Mrs. Stephens’ class made and we’d want you to have a look and share in the wonder!

The basic wind sock shape was used as the base for students to draw their designs on with markers.

Once students had finished their designs, they were instructed to put up their hand to get Mrs. Stephens attention. Mrs. Stephens would then spritz their designs with water to get the colors to mix around, much like the effects produced with our Color Diffusing Paper!

The windsocks were then wrapped and secured together with tape. The students hung them from the top edge of a window overlooking a beautiful courtyard. The image is astounding, but you’ll have to click the link to Cassie’s blog to see it!! Hint: It’s the perfect backdrop for this craft!

Thanks to Cassie for putting together this amazing project! See the full blog post here.

Line-13

Like us on FacebookShare this post with your friends, or Subscribe to this blog today to receive original craft project updates every Monday, Wednesday and Friday!

Craft Spotlight: Color Reveal Birds

2014-06-16-FeatureImage

Get ready for an amazing feature post on our beautiful Color Reveal Birds! I have so many photos to share with you from this wonderful day. See our campers’ artwork and some step-by-step assembly of the birds.

_DSC0344

The Color Reveal Birds feature a kit of 24 sheets. Each sheet has two parts: The main bird body, and its wings.

_DSC0362

The best part is that at first, the Color Reveal Birds don’t look like much. Once you add markers, however, watch for emerging patterns!

_DSC0357

Combine colors together! Color the bird’s head blue and its body red, then switch for another color–such as blue–for its wings!

_DSC0361

Make sure you use thick markers that can cover a lot of surface area. The best effect is achieved when the entire bird is colored in.

IMG_00000743

We got many different kinds of designs!

IMG_00000747
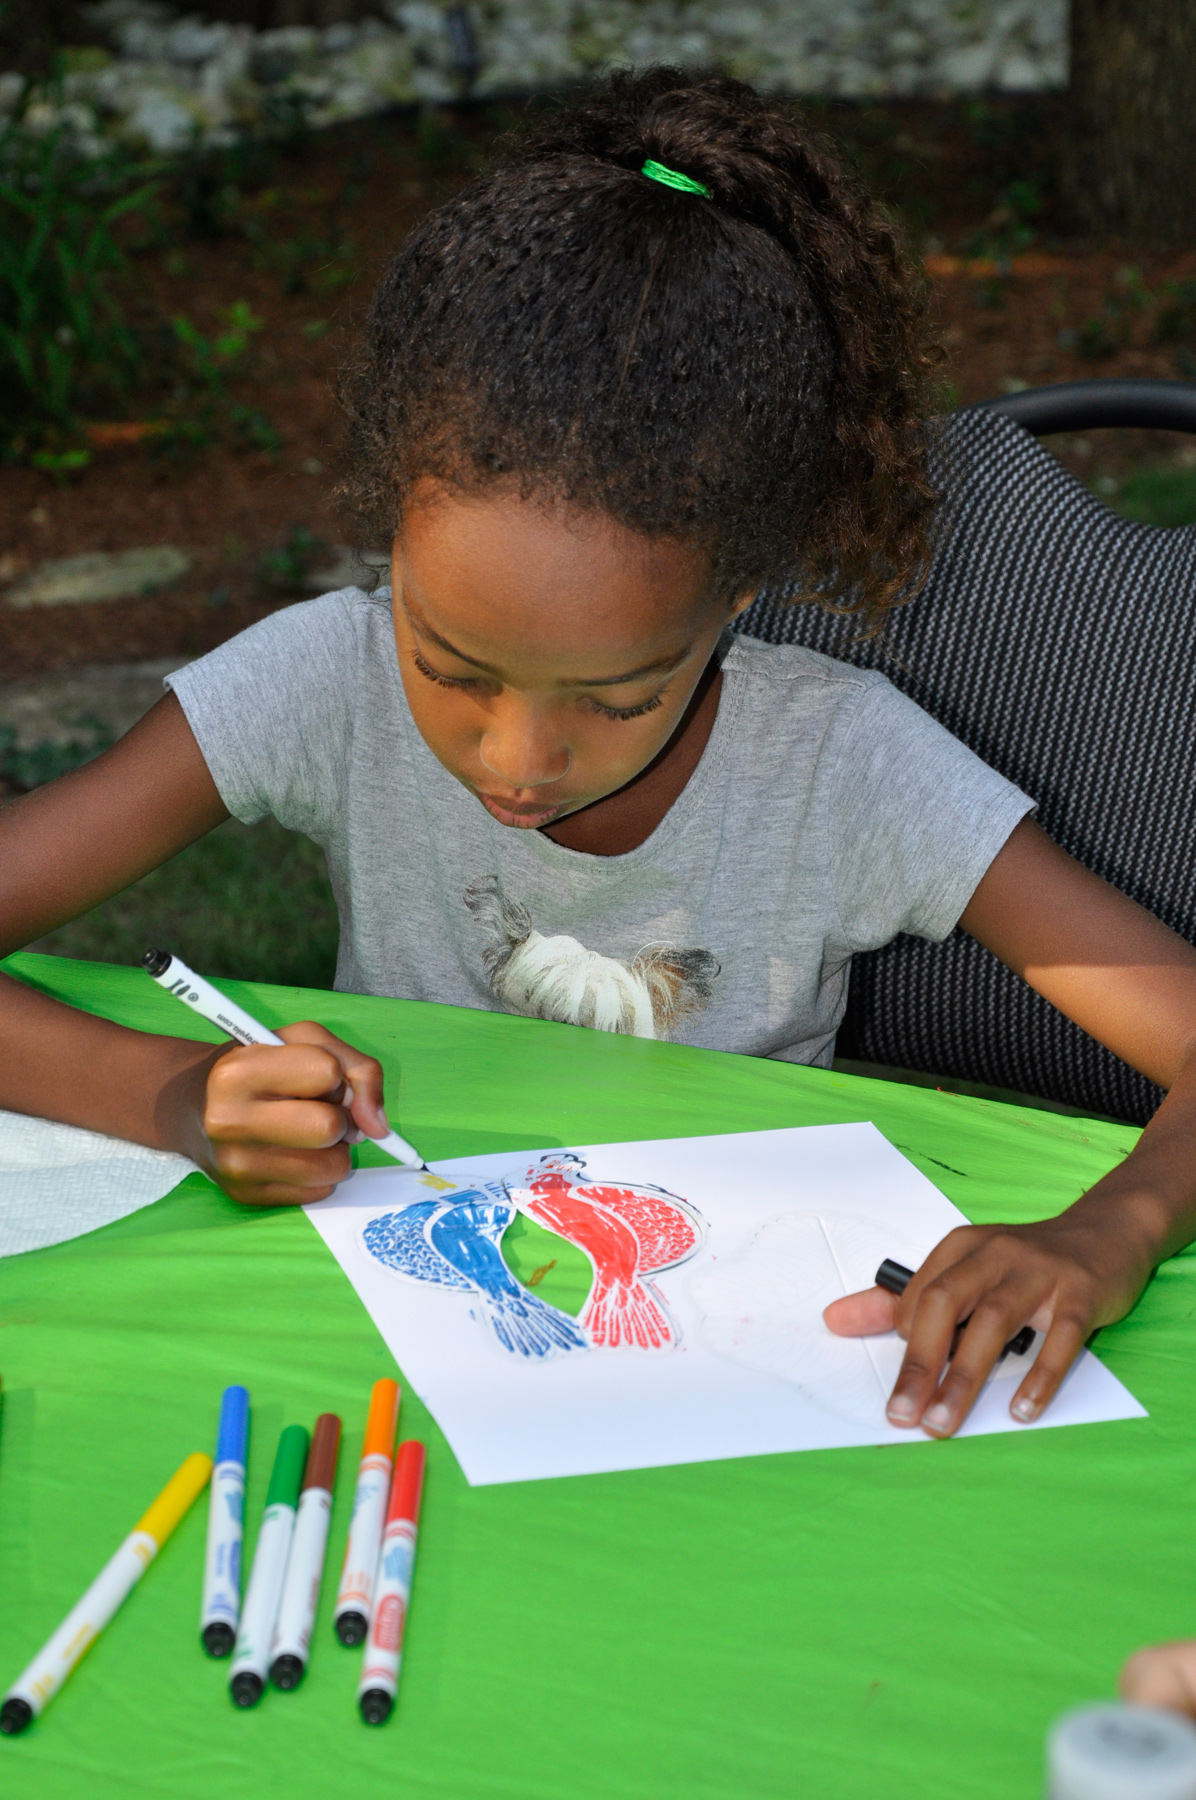
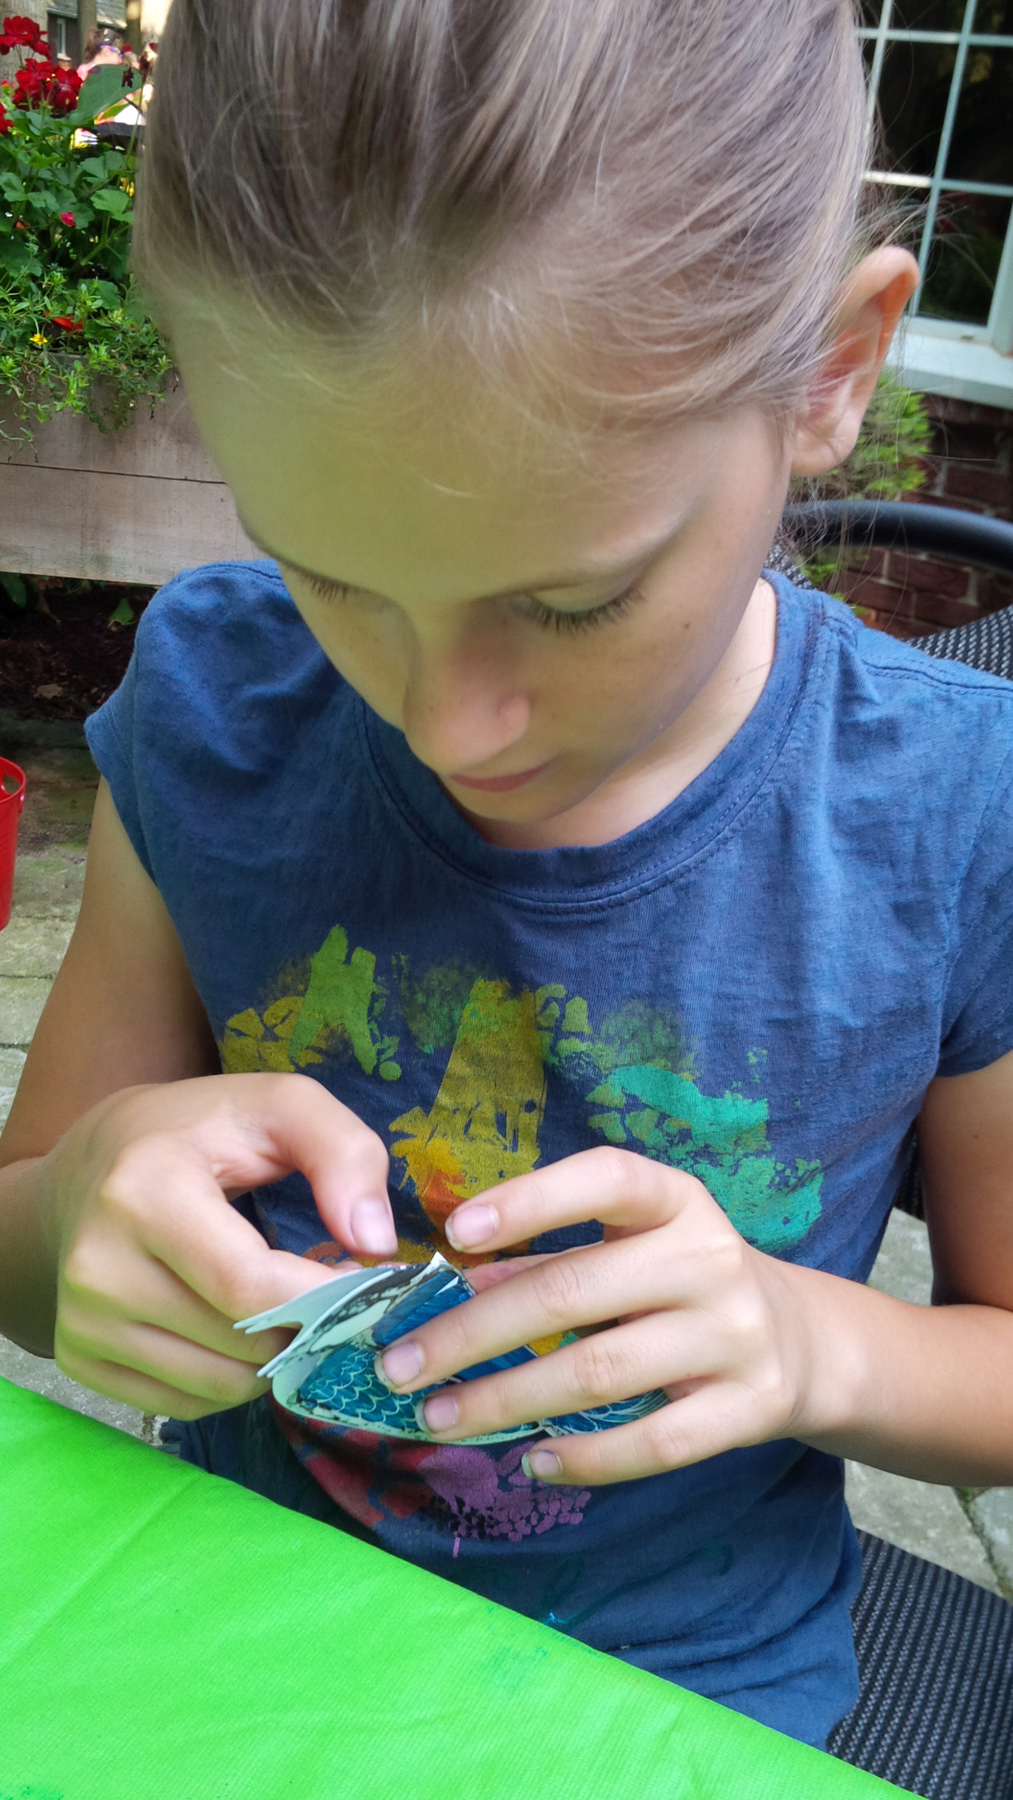
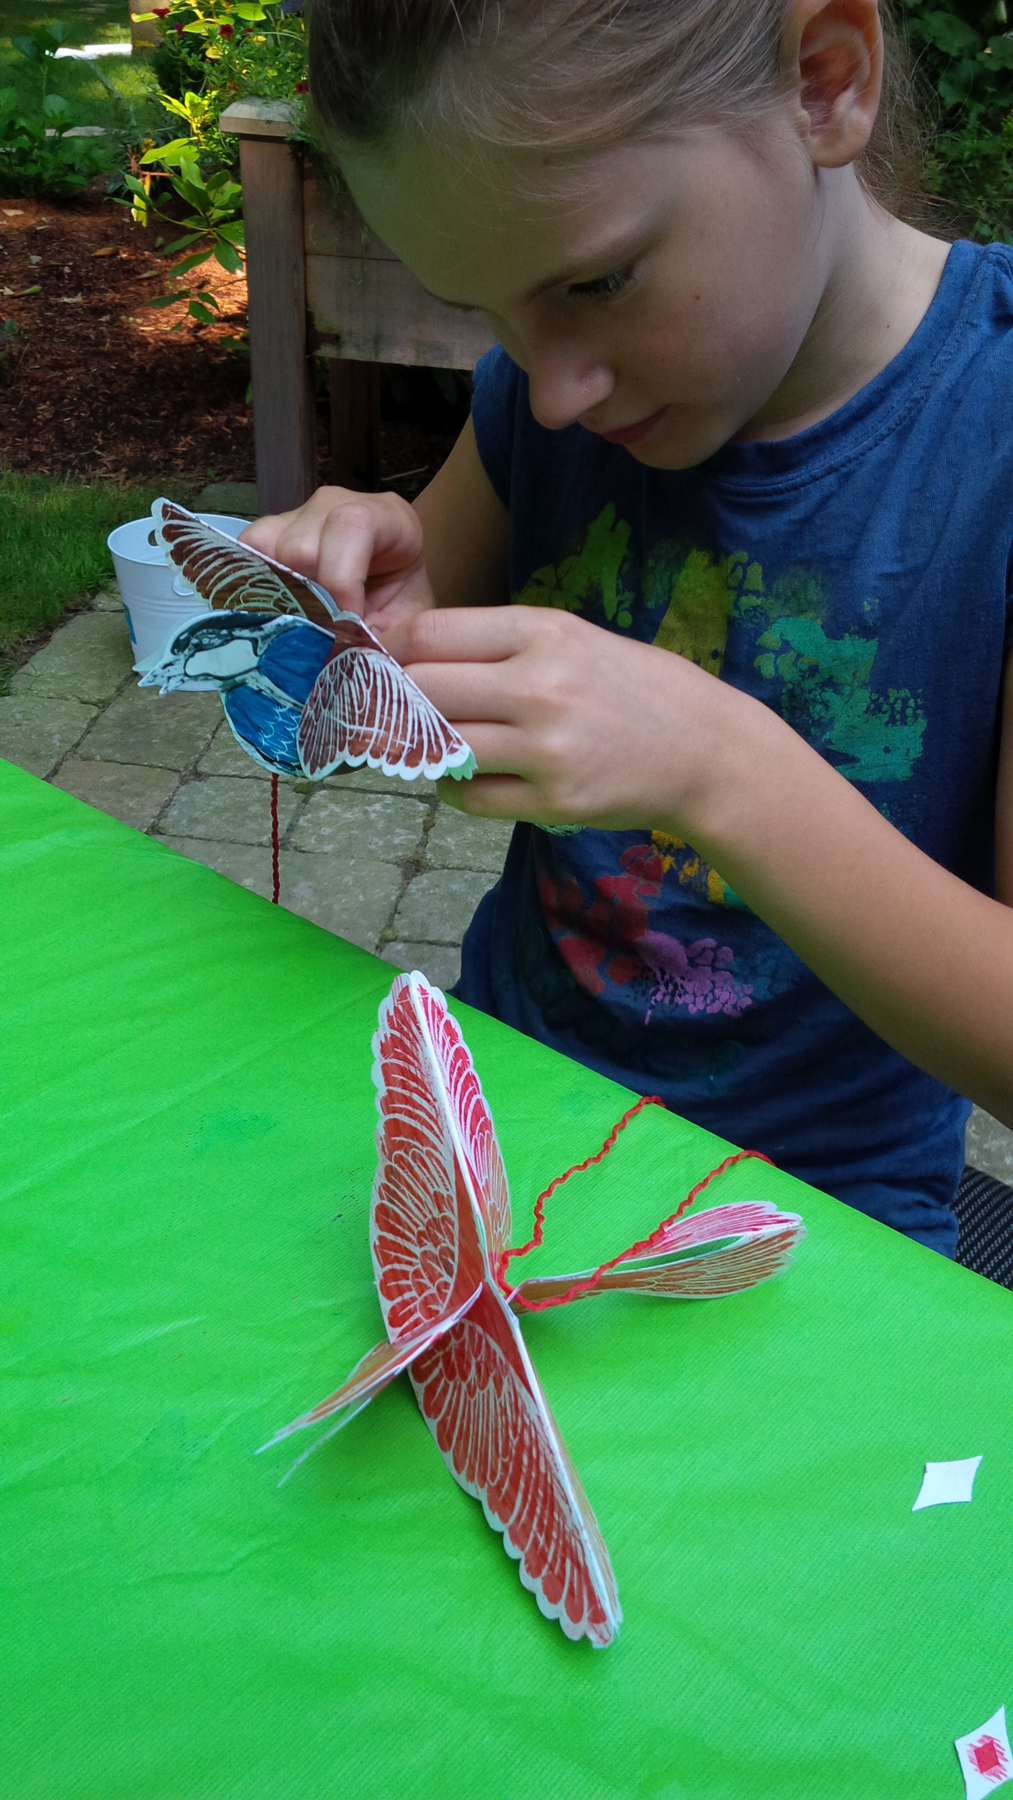
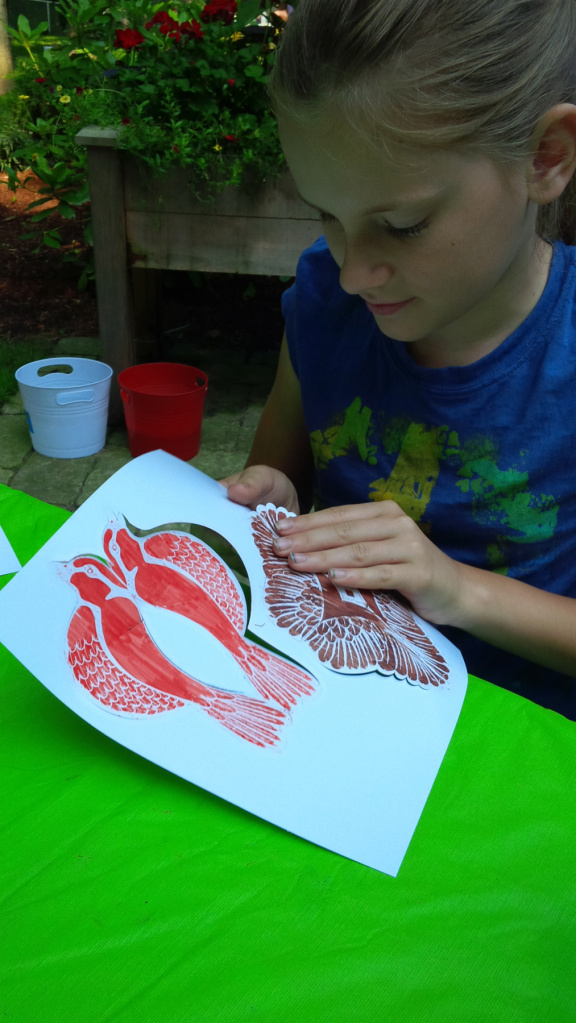
When you are finished coloring, pop out the bird from the backing. The pieces are already scored to make it easy for you to remove them from the sheet.

IMG_00000753

Fold the bird’s body in half down along the middle.

IMG_00000756

There are two slots in the top of the bird’s body. These slots allow you to easily slip the bird’s wings onto the top.

_DSC0356

In addition, there are two notches in the back that help secure the bird’s wings at the back. This will also help fan out the bird’s wings.

IMG_00000768

The top of the bird’s body features a hole punch that can be used to thread string through.

IMG_00000773

Knot the ends of the thread together.

IMG_00000772Ready to hang!

_DSC0373Our art campers had so much fun with finding places to put the birds. But the best of all was getting to attach the birds to the spokes of cute kid-sized umbrellas.

_DSC0371

A flock of birds are approaching!

IMG_00000799Here’s another great shot of our campers with the bird umbrella!

IMG_00000810

They just loved posing with it!

IMG_00000813

Hang the birds from a classroom mobile or use to decorate a window!

IMG_00000824Great job, campers!

Line-13

Thanks for checking out this post! Like us on FacebookShare this post with your friends, or Subscribe to this blog today to receive original craft project updates every Monday, Wednesday and Friday!

Craft Spotlight: Sew Up Vests

2014-04-28-FeatureImage

Wear your art! That’s what we say for our amazing Sew Up Vests! These multi-skill craft projects are made from versatile Color Diffusing material so that the paint design you make on the vest creates a tie-dye like effect when you add a bit of water. Paint, fold, sew and wear your vest for a variety of classroom activities!

Sew Up Vests help encourage fine motor development while giving children the creative freedom to design their own wearable vest. The vests dry fairly quickly in the sun after painting, so you don’t have to be stuck waiting for long!

To see more about our Sew Up Vests, visit this webpage. The accompanying teacher’s guide gives you more project ideas and suggestions to experiment with your Sew Up Vests.

Use the vests for group differentiation, gross motor exercise, math and literacy games, or for drama class!

IMG_2670


At the Art Camp, our little artists went to town with their vest designs! We supplied the campers with markers and spray bottles of water to help distribute the ink throughout the vests. Some of our campers decided to use crayons instead!

IMG_2684Once several spots of marker were applied to the vest, the campers used their spray bottles to spread the ink throughout the material.

IMG_2682

Next, we sewed the various pieces together. There are two pocket pieces, a back vest piece and two side vest pieces. All the pieces have matching holes to help coordinate your students’ sewing. Here, we use our plastic sewing needles, which are included in the kit.

IMG_2698

The guide provides you with further details on how to sew together the vest.

IMG_2691

We tried a few spots with paint first to see how they turned out!

IMG_2699

The best part was getting to wear the vests.

IMG_2701

These art vests are perfect for students to personalize and to feel good about wearing them.

Line-16

Thanks for viewing this post! Subscribe to this blog today to get updates on new craft products and craft ideas every Monday, Wednesday and Friday! Send us any comments, questions or suggestions through the contact form at the top of the page.


United Art & Education uses our Color Diffusing Circles!

colordiffusingpapercircles

United Art & Education uses our R24908 Color Diffusing Circles to make rose-window style stained glass images! 

The process is very simple and can be applied to most other Color Diffusing Circle projects. First, the R24908 Color Diffusing Circles were folded in half twice. A pencil was used to sketch in a rose-window like design on the portioned part. Later, the artist applied watercolor markers to add color and definition to the sketch. 

The final step used a paintbrush to dab water onto the colored parts. This distributes the color through all the underlying layers.

When the paint is dry, unfold the entire Color Diffusing Circle to reveal the complete art underneath!

Check out the full step by step process and final artwork in the video below! Be sure to leave them a positive comment!

Line-14

Thanks for dropping by! If you have a Roylco project you would like to share with us, please email the details to subscriber@roylco.ca. We would love to hear from you!