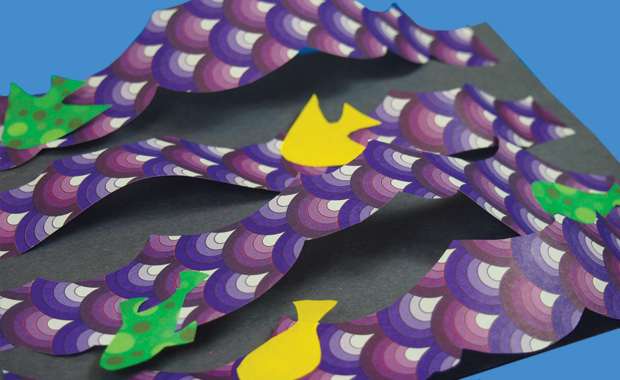
3D Ocean Scenes

3D Ocean Scene Hero Shot

2014-06-09-FeatureImage

Following our ocean theme for this week, I’ve put together a little craft that incorporates our decorative papers into a fun and vivid cut and paste activity! Find out how to make your own ocean scenes below!

Age: 6+

Duration: 15-20 minutes

Learning Objectives: Exercise fine motor skills through cutting wave shapes. Focus scissor skills while cutting out fine details in various shapes. Turn 2D shapes into 3D images. Combine a flat base color with decorative paper to simulate the appearance of ocean waves. Combine colors together. Learn how to space elements apart to express dimension.

You’ll Need:

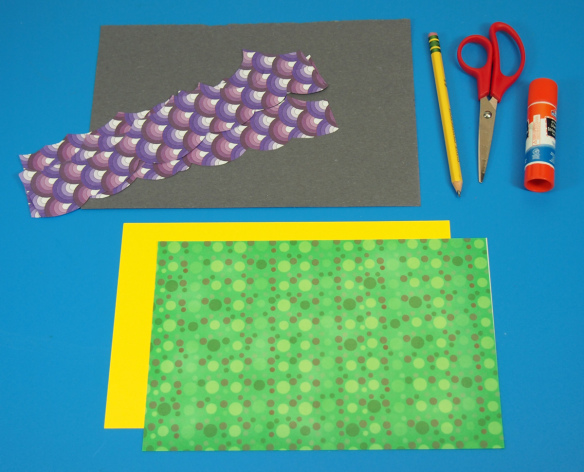
R15203 Decorative Hues Paper

• Construction paper, 9 x 12″

• Glue

• Scissors

• Pencil

Line-08

This craft is definitely one of our easier ones. There are less materials to use in this activity, so the final product is simple but effective. Kids will love playing around with the 3D waves to make their fish characters appear as if they are swimming!
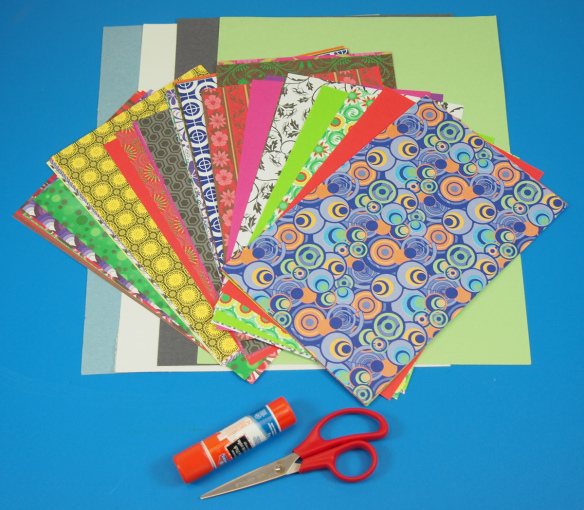
P6099446Here’s a selection of the various Decorative Hues Papers you can use, along with some suggested backdrops for your ocean scenes. Blue is definitely a go-to color, but you may not have 30 sheets of blue construction paper easily available.

Other colors to use are: white, black, green, or even (not pictured here) purple! White goes well against light blue or greenish waves. Black can be used to depict a night-time ocean scene. Green works well with blue or white waves. Purple can be used for a deep-sea scene. Grab some references online to see what kinds of color combinations work with different ocean scenes.
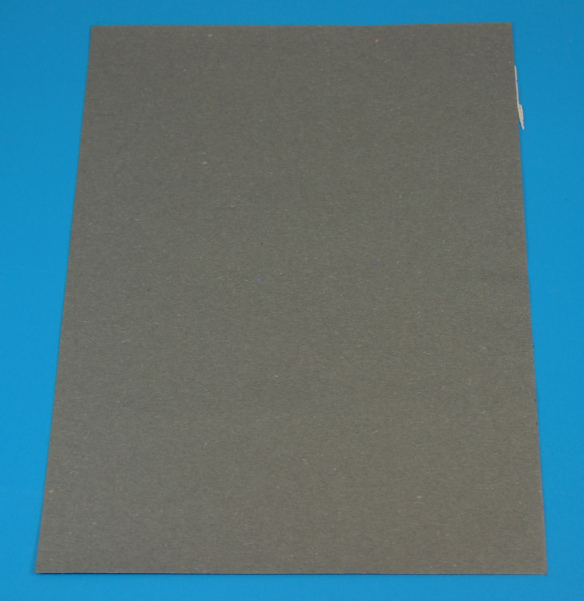
P6099449I’m going to show you how a difficult color–such as black–can be incorporated into an ocean scene.
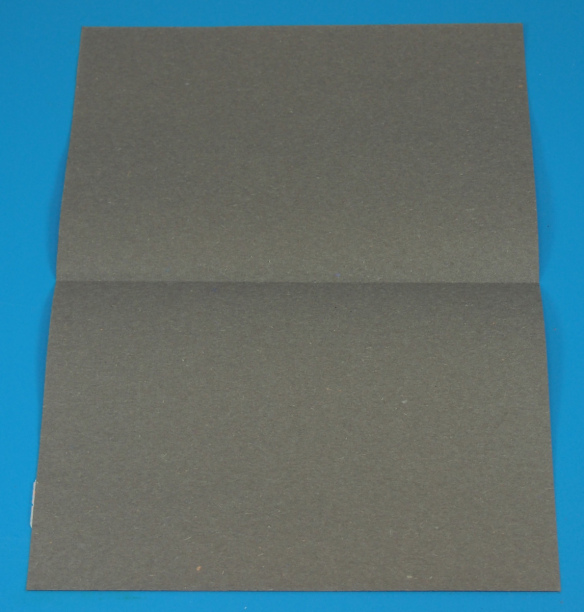
P6099451Most construction paper sheets come in 9 x 12″ configurations. For this activity, you will only need half of the sheet, so two students can use one color and create different waves effects. Fold the sheet of paper in half.
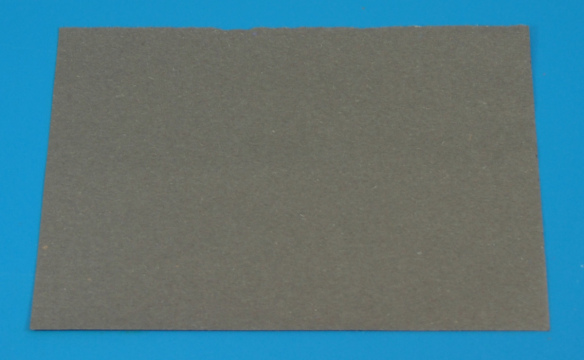
P6099452Use the folded line to cut or tear your sheet in half. You should have a sheet size of 9 x 6″.
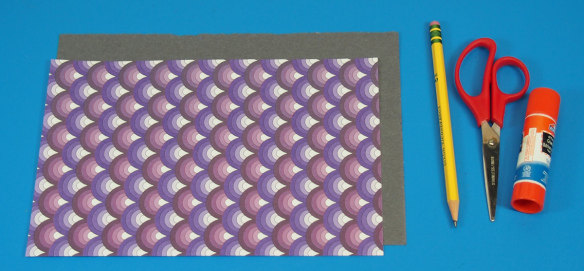
P6099456I’ve selected a pretty wave-like pattern from the Decorative Hues paper. Notice I’ve used a sheet that’s predominantly purple. This makes it appear as if the reflection of the water is casting a purplish hue.
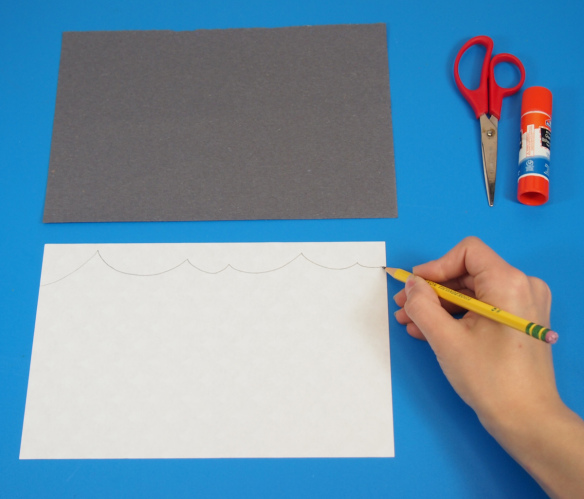
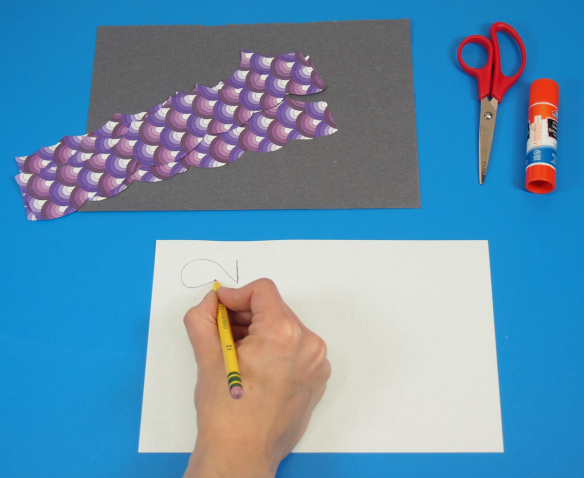
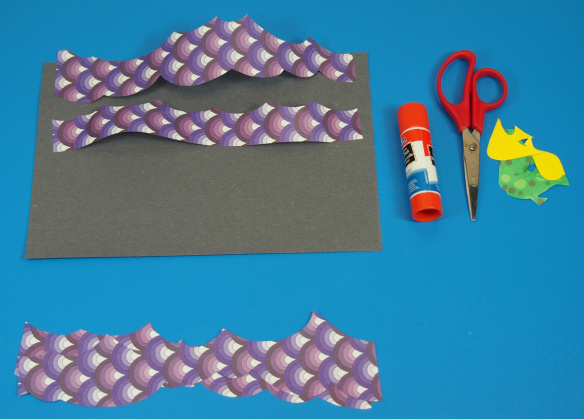
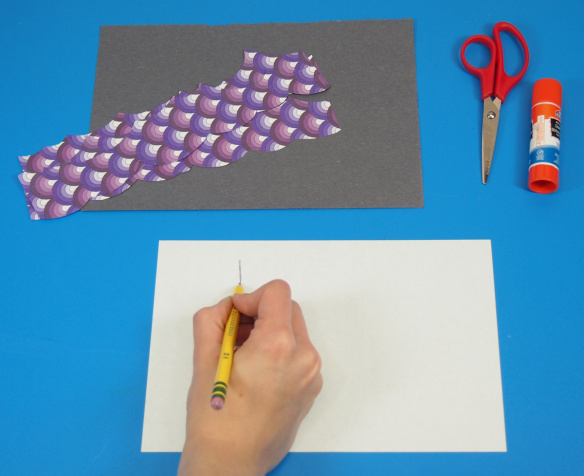
P6099458Flip your wave paper over and draw a line with peaks across the length of the sheet. You can get students to practice drawing wave lines on scrap paper before drawing them on the Decorative Hues paper.
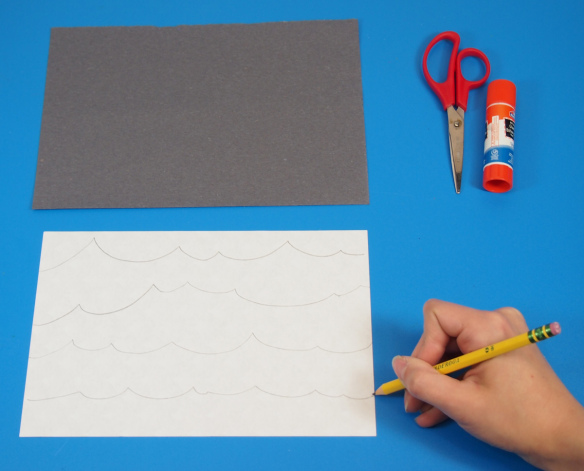
P6099460You can fit about 3-4 wave lines on the back of the Decorative Hues sheet. Keep the spacing relatively equal, but you can do thinner lines if you wish.

P6099463

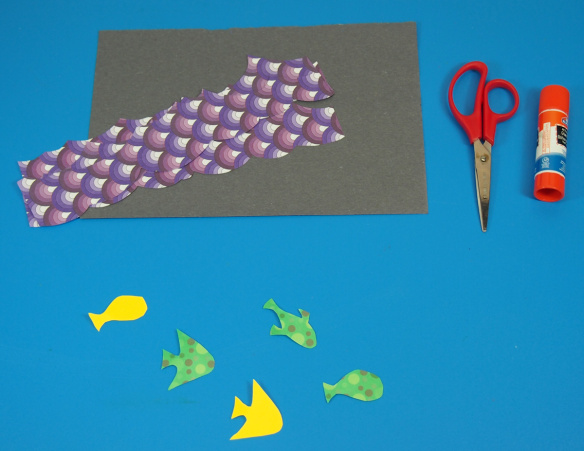
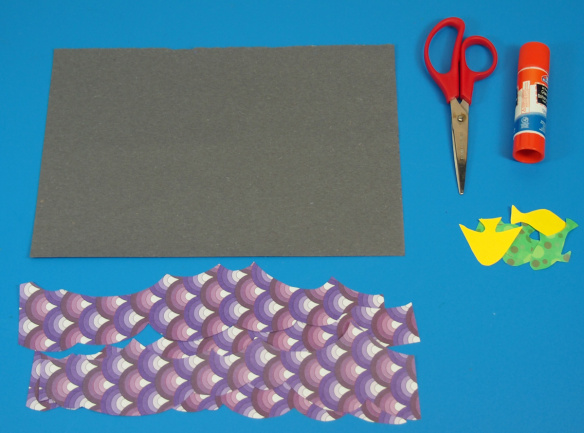
Cut each of the wave lines out from the paper. Discard the part above the first line you drew. Next, select two fun colors for the fish shapes. Fish are relatively small so you can cut the sheets in half and distribute among students.

Fish Drawing Lesson!

Click on any of the following subheadings to learn how to draw:

Basic Fish Shape

Fish Design 2

Fish Design 3

Basic Fish Shape

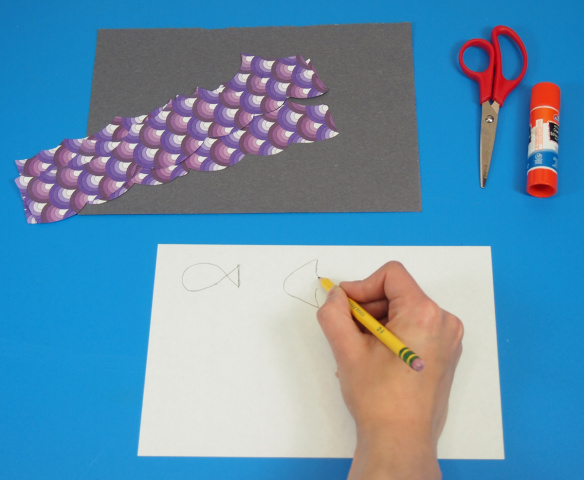
Draw a basic fish shape with two basic shapes: a triangle for the tail and an oval for the body.

P6099464

Start by drawing a small line.

P6099465From the bottom of the line, draw a large oval shape.
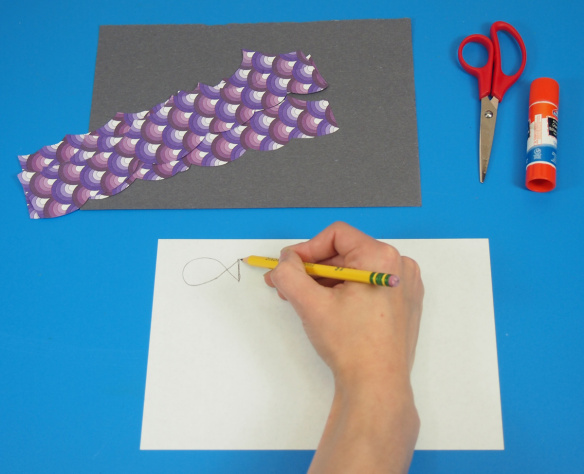
P6099466Complete the oval by crossing over and connecting it to the top of the line.

Fish Design 2

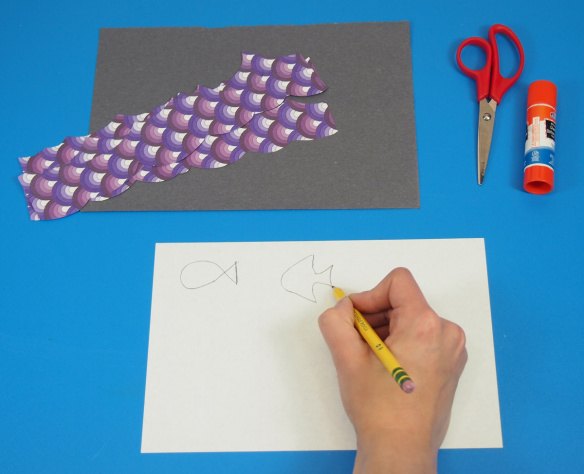
This fish look a little more exotic, but is made up of two triangles: a large triangle for the body and a small triangle for the tail.

P6099468

First draw a large rounded triangle shape. Leave the line open so it can connect to the tail.

P6099469

Finish the fish shape off with a smaller triangle for the tail.

Fish Design 3

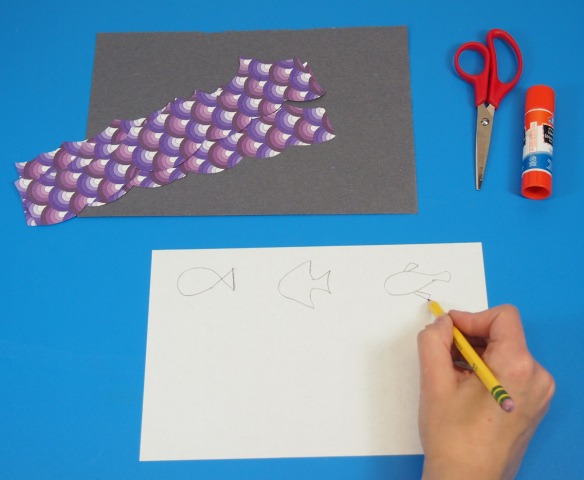
This fish design is a little more complex. It is based after the top view of a koi fish, so it requires a little more curve to the basic shapes. There are a lot of ovals and rounded triangles used in this fish shape. Older students can use reference drawings of other fish to make their designs.
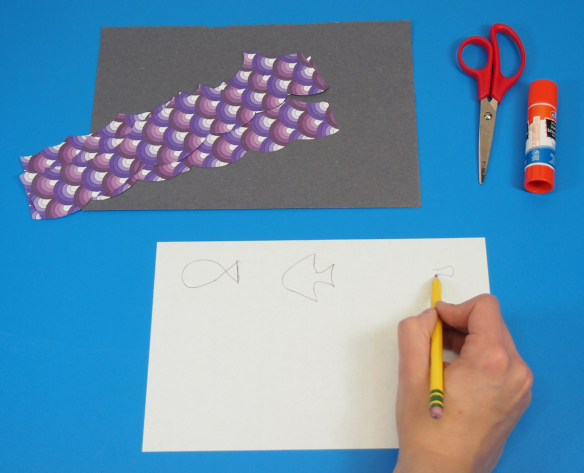
P6099470Draw a loose tear-drop shape for the tail.
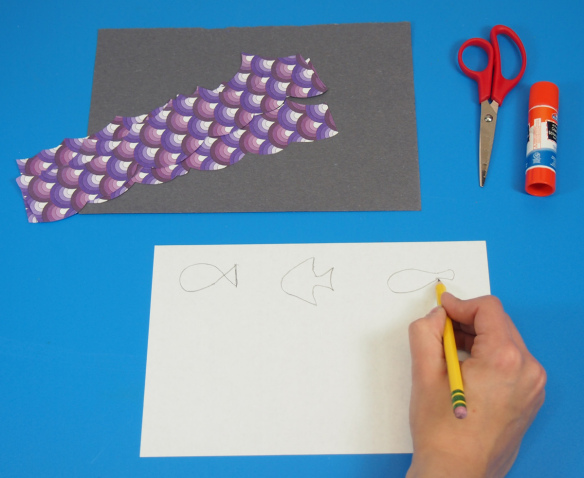
P6099471Connect the tail to a large oval body.

P6099472

Add small triangles for fins.

P6099474

Cut out all the fish shapes. Thanks to the versatile design, it’s easy to flip the fish to face any direction.

P6099475

Now let’s get ready to assemble the 3D ocean scene!

P6099478

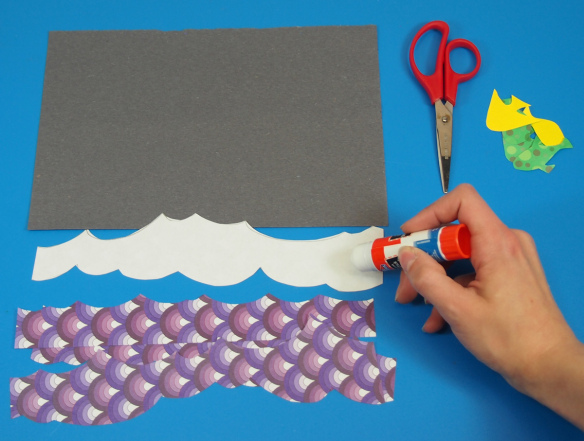
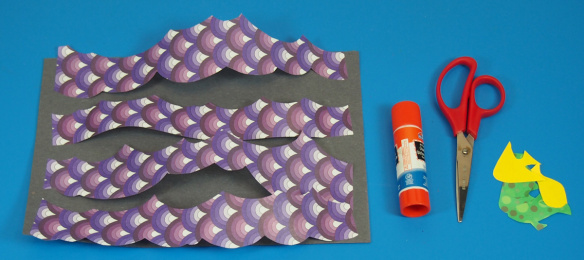
Flip over the first wave pattern you wish to use. Dab a bit of glue on either end of the strip.

P6099479

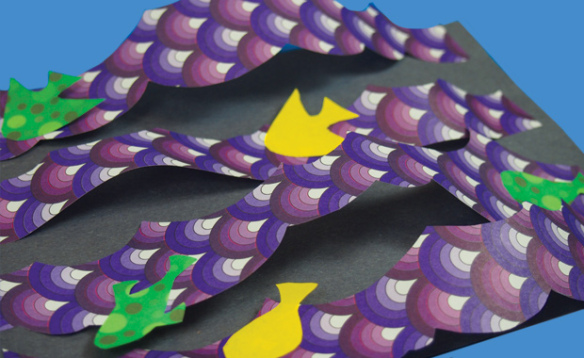
Slightly curl in the wave strip as you glue it down onto the background. Slide the edges of the wave strip about 1/4″ away from the edge of the background. This will lift up the sheet off the background to create a wave effect. Space each of the wave strips apart as you glue them down.

P6099482

Hang loose and get ready to add in the fish!
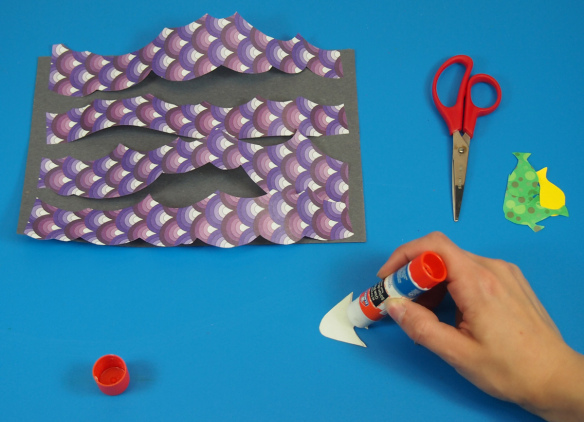
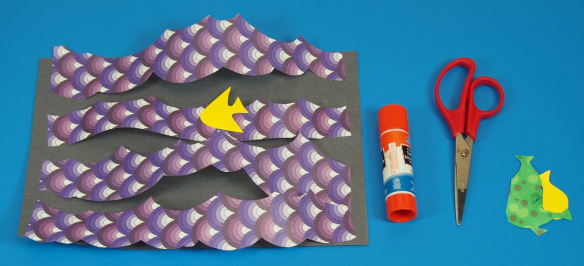
P6099484Dab glue onto the back of the fish shape.

P6099485

And glue your fish onto one of the wave strips.

P6099486

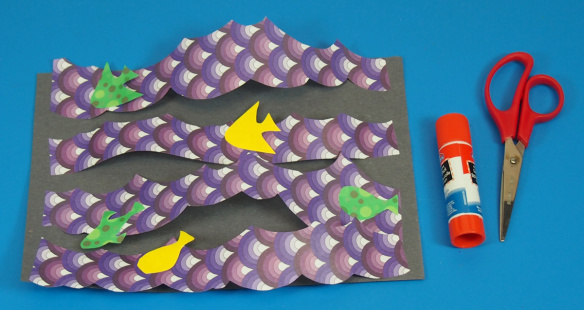
Fill up the entire scene with fish figures! Now they all look like they’re surfing the waves!

P6099491

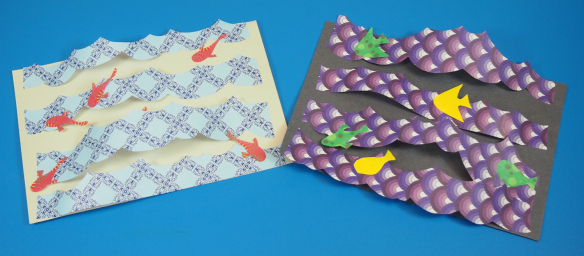
Here’s a look at what else you can do with different combinations of Decorative Hues paper! The scene on the left depicts a series of koi fish on light blue waves. The scene looks like it’s fresh out of a painting!

Line-08Thanks for checking out this post! Like us on FacebookShare this post with your friends, or Subscribe to this blog today to receive original craft project updates every Monday, Wednesday and Friday!

Changing Seasons Diorama

diorama changing seasons

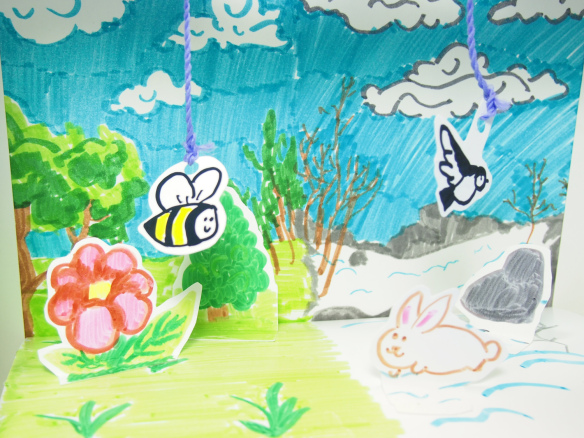
To explore the beauty of nature and the changing of the seasons, we put together a beautiful diorama with a split down the middle to show the transition from winter to spring! 

Age: 5+

Duration: 20-30 minutes

Learning Objectives: Talk about seasonal transitions, the names of the different seasons, why seasons occur and how each is connected through changes in the earth’s atmosphere and physical landscape. Use references and brainstorming sessions to discover what kinds of ecology systems can be represented in both spring and winter. Illustrate scenes, draw props and characters and cut out resulting drawings with scissors. Combine multiple media to form a complete scene.   

seasons diorama

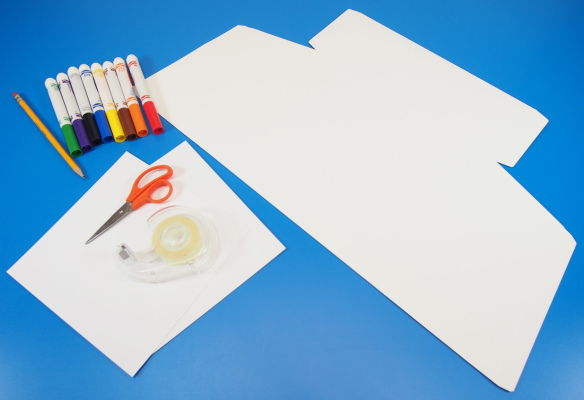
You’ll Need: 

R52094 Set the Scene! Diorama Box

• Card paper

• Scissors

• Markers

• Tape

Line-19

seasons diorama

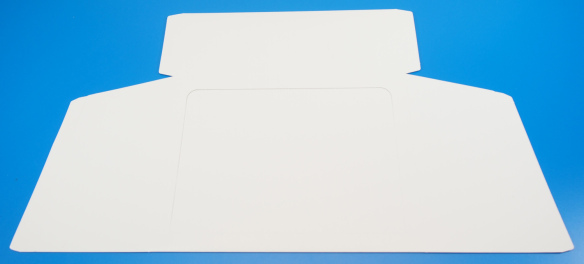
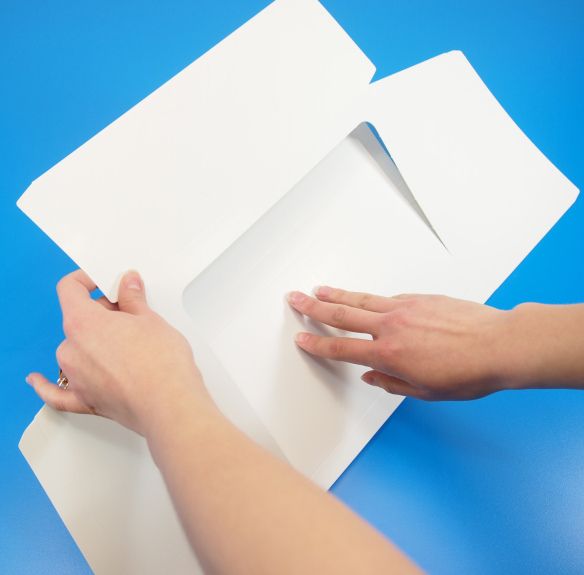
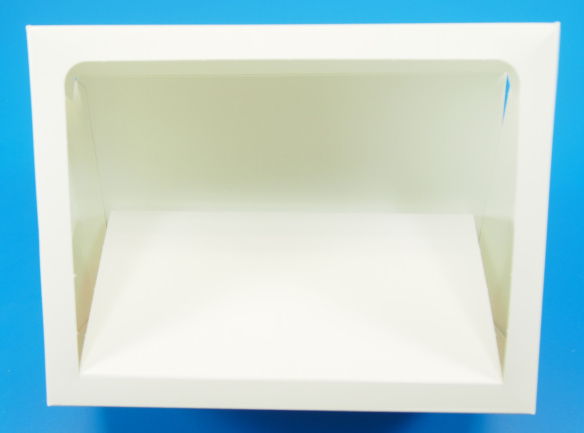
Each of the dioramas are flat-packed for easy assembly. Lift the piece up to reveal its box-like shape.

seasons diorama

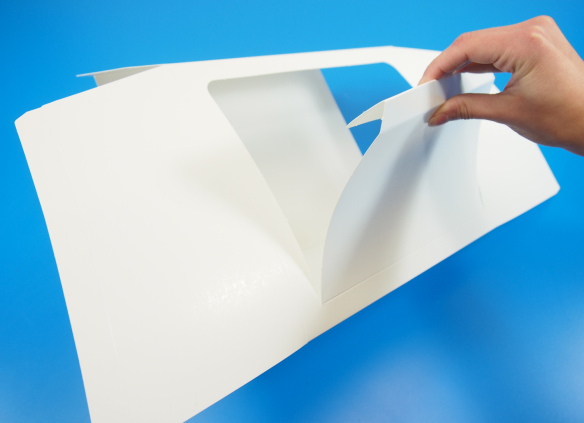
Press the inside die-cut part of the diorama. This piece is attached to the diorama by the bottom. This part will form the stage for the interior of the diorama.

seasons diorama

There is a score line at the top that can be folded in. This will help the stage to sit evenly inside the diorama. When you are finished designing and illustrating the interior of the diorama, tape the edges of the stage to the inside of the diorama to secure.

seasons diorama

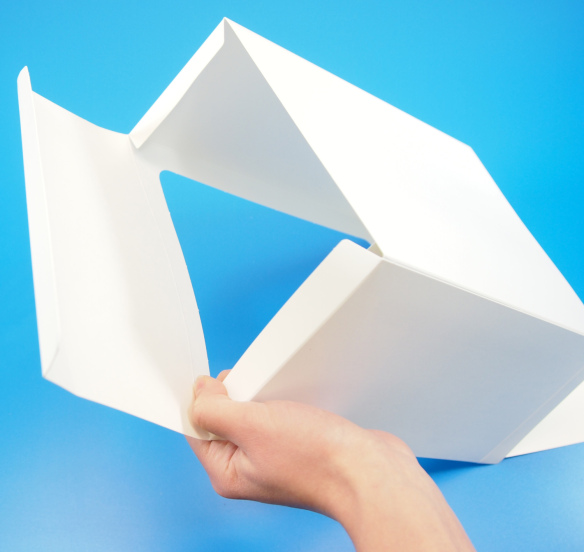
There are flaps on either side of the diorama that can be folded in to secure the upright shape of the diorama. Tape the sides down together.

seasons diorama

Tape the sides down to secure the shape of the diorama.

seasons diorama

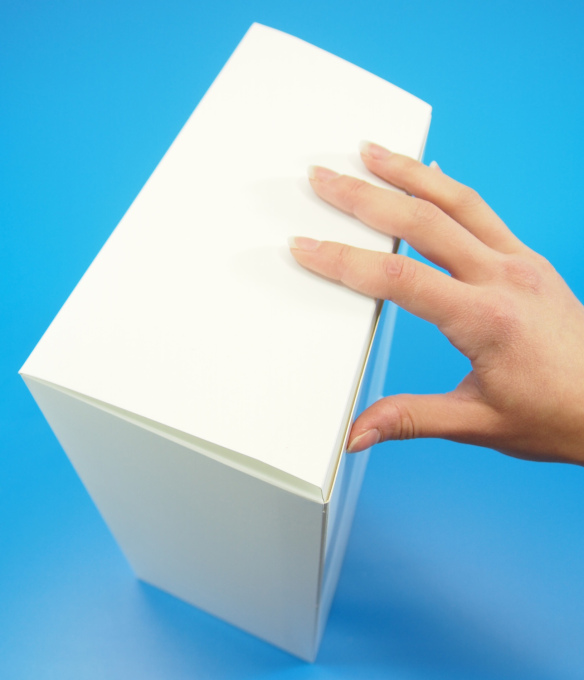
This is the final look of the diorama without any illustrations.

seasons diorama

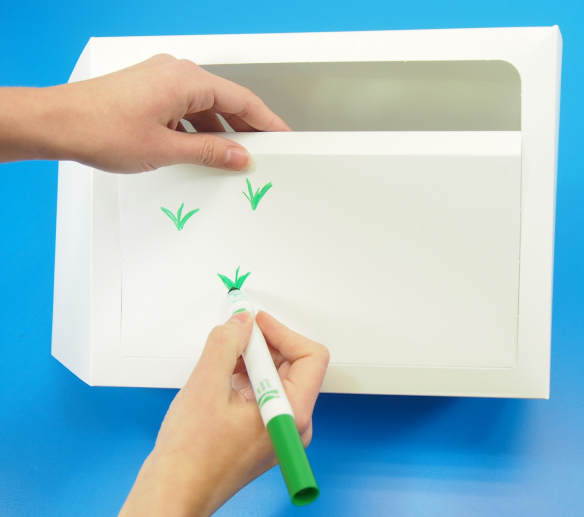
Lift out the inside stage and illustrate your foreground. To turn the diorama into an exploration of seasons, I’ve divided the diorama stage with an imaginary line. Start illustrating the details for the spring season on one side. I’ve drawn stalks of grass onto the foreground and will color around them with a lighter green to represent a field or meadow.

seasons diorama

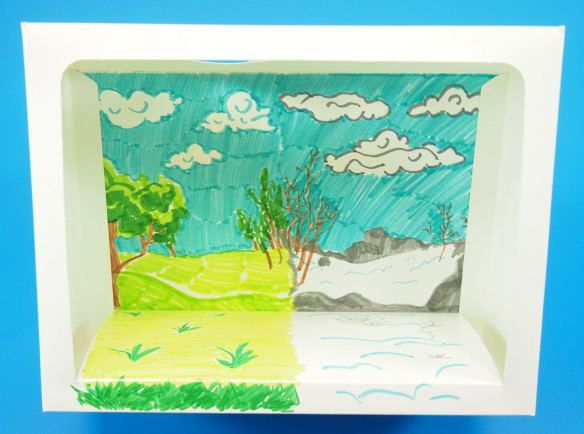
This is what the final illustration looks like! You can draw a background onto a sheet of paper, cut it out and paste it onto the back or draw directly onto the back of the diorama.

seasons diorama

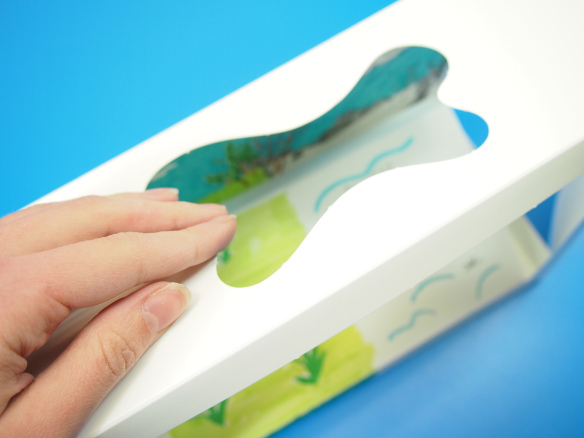
Pop out the skylight tab. This will allow you to hang items from the roof or to let some light into the interior of the diorama.

seasons diorama

Now we’ll move on to make the card characters and objects for the inside of the diorama.

seasons diorama

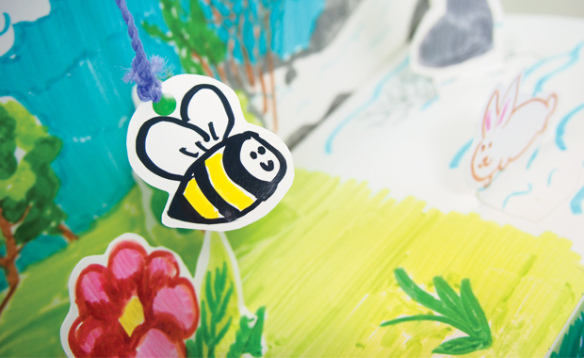
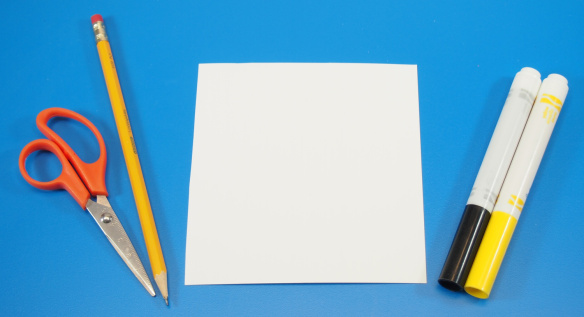
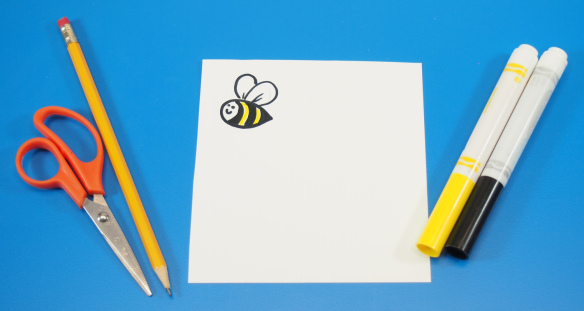
Using a pencil to sketch out the drawing and markers to fill it in, I’ve made a little bumblebee character!

seasons diorama

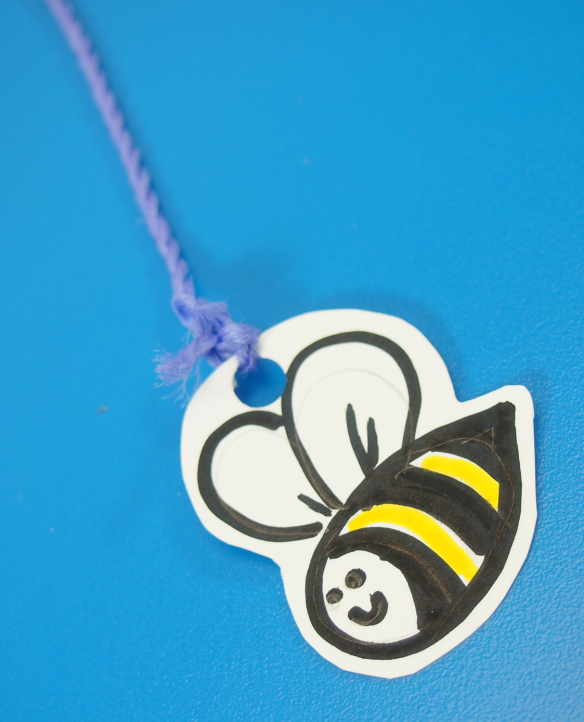
Cut a small white border around your drawn character. Punch a hole through the top if it will be suspended from the ceiling of the diorama. Tie on a length of string to the hole and tape to the inside of the diorama.

seasons diorama

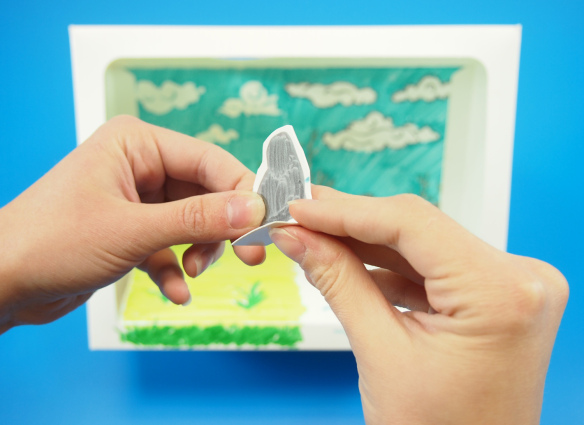
To form the bottom objects, draw the illustrations onto leftover card pieces. Leave a bit of space at the bottom as you cut each shape out. Fold the bottom part inwards; this will be the tab to glue the object down onto the diorama.

seasons diorama

Add a few more details to fill in the space! We’ve got a white bunny, a boulder and a flying chickadee in the winter side, while a bumblebee hovers above a flower and a tree on the spring side. You can have a preliminary discussion with your students to figure out what kinds of elements could go into the diorama on either side of the imaginary seasonal line.

Line-13

Like us on FacebookShare this post with your friends, or Subscribe to this blog today to receive original craft project updates every Monday, Wednesday and Thursday!

Thank You 2013 Art Camp Kids!

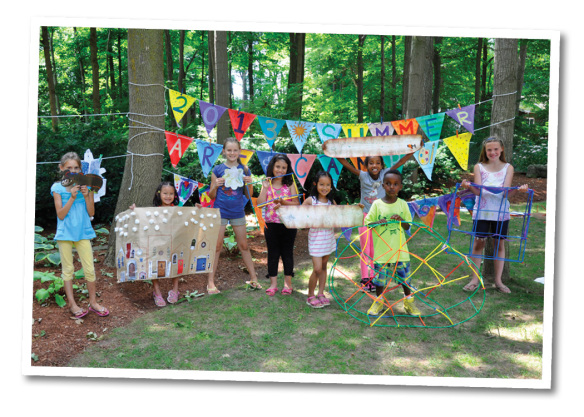
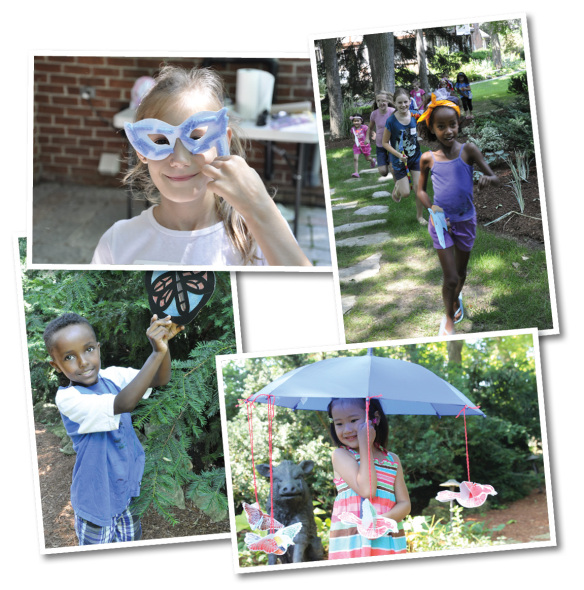
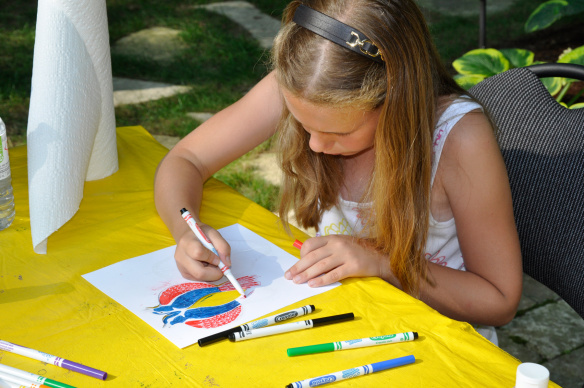
Group ShotToday’s post is a little bit different than our regular series of posts! The folks at Roylco enjoyed a fantastic summer art camp in 2013 thanks to our brilliant art campers. Using our classroom materials, the group completed a variety of amazing projects. We would like to say, “Thank you!” to all of our campers and showcase some of our favorite moments from the camp!

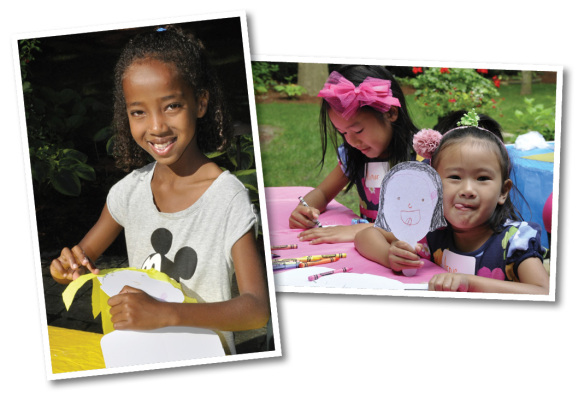
drawing, coloring, all about meGetting to capture smiles like this was definitely one of our favorite moments. Using our “All About Me” products, our art campers were able to express the best of their own creativity with representations of themselves!

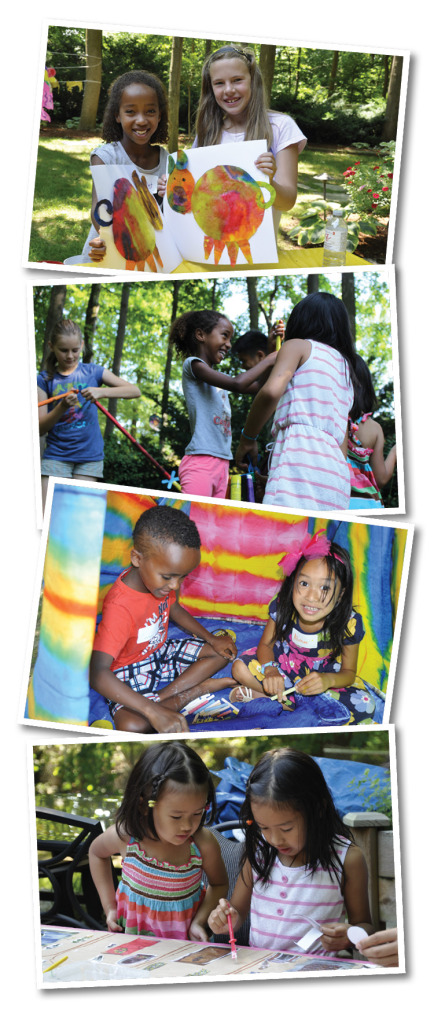
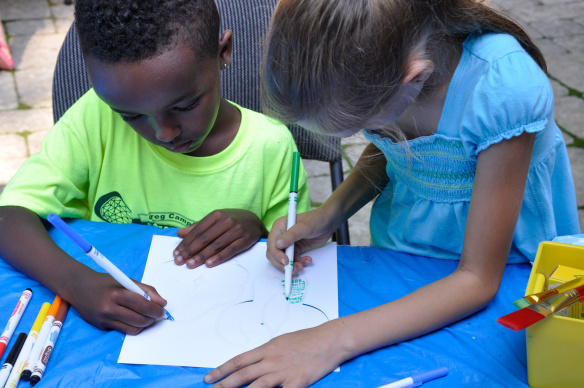
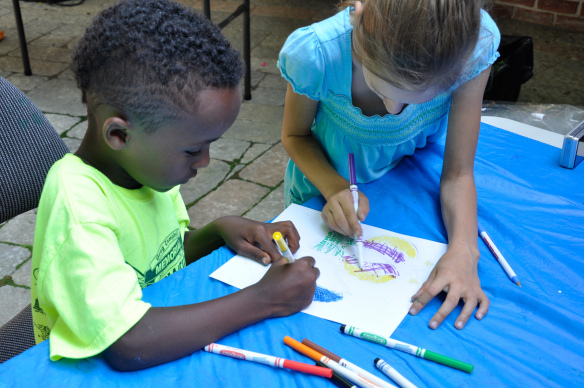
color diffusing, straws and connectors, architecture paperThese were some of our favorite moments: getting to see the Art Campers working together and having fun while learning new concepts. The kids learned a variety of skills, everything from building, stacking, painting, gluing, molding, sorting and more!

hanging stained glass, umbrella, masks, animal hop

The best was when we let the campers take their own initiatives with their crafts. Let’s have an animal foot race! Or, let’s find a good place to hang our stained glass frames. It’s an endless lesson in fun and excitement.

art campWe had wonderful hot summer days to enjoy our good company! That, combined with good spirits and creativity turned our summer art camp experience into a dream.

color reveal birds

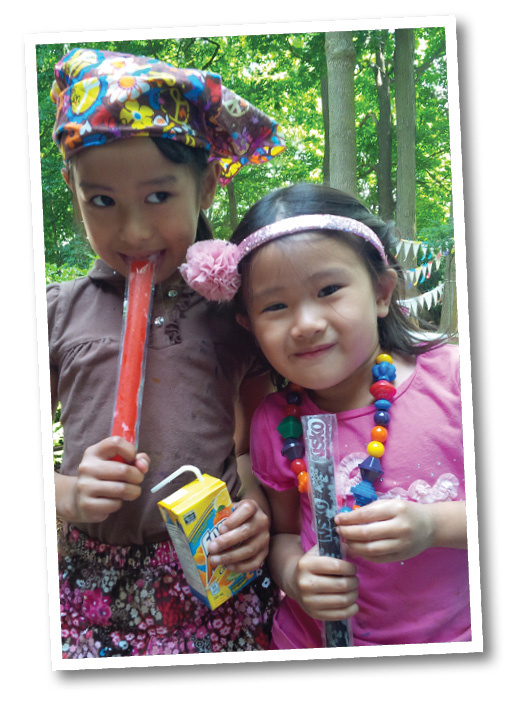
We all loved to pose for photos with our new friends!

Kids NamesWe have to give a shout-out to our best buds at the 2013 Art Camp! Everyone did an amazing job and had a blast together. Thank you so much, art campers!

Line-12Like us on FacebookShare this post with your friends, or Subscribe to this blog today to receive original craft project updates every Monday, Wednesday and Friday!
Craft Spotlight: Wild Weaving Mats

2014-07-07-FeatureImage

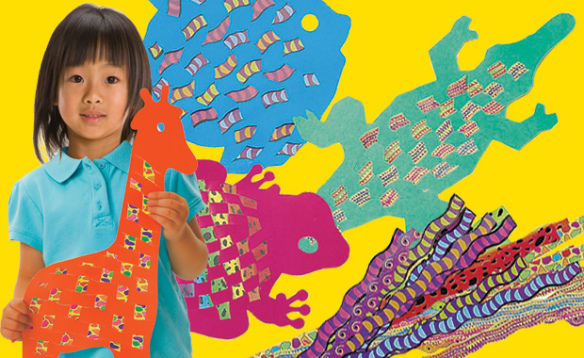
Weave wonderful animal mats using pre-cut printed strips. Create patterns while developing fine motor skills! 

The animal mats are made extra-large so you can hang the finished decorations up on a jungle-themed wall mural. They are pre-cut with slots to encourage weaving beginners to make interesting designs and learn concepts of going over and under.

R16001

These animals are ready to be decorated! Get the whole class in on the fun. Use craft feathers to glue to the birds or use metallic paint to add details to animals like the crocodile, fish or frog!

View more ideas at the PDF guide here. Watch the YouTube video below to see exactly how the mats are done.

Line-12Thanks for checking out this post! Like us on FacebookShare this post with your friends, or Subscribe to this blog today to receive original craft project updates every Monday, Wednesday and Friday!
Craft Stick Bracelets

2014-06-04B-FeatureImage

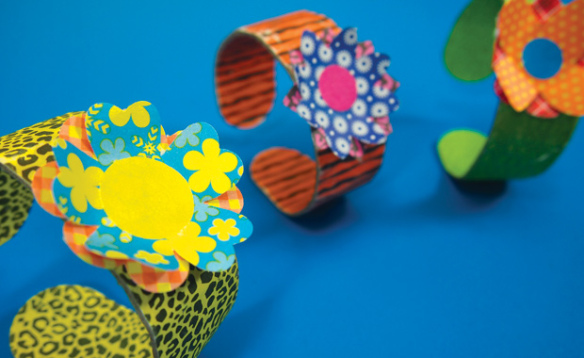
Make beautiful bracelets using our R39100 Wild Animal Craft Sticks! An ingenious process creates a curved shape in the craft stick that you can use as a bracelet!

Age: 4+

Duration: 10 minutes. Project dries overnight.

Learning Objectives: Combine craft stick designs with flower pieces to make beautiful combinations. Observe the effects of glue and water on manipulating the shapes of craft sticks. Use simple techniques to create an effective, visually appealing product.

You’ll Need:

R39100 Wild Animal Craft Sticks

R15657 Wild Flower Paper Bits

• Small plastic disposable cups

• White glue

• Glue stick

• Water

• Paint tray

• Container

• Paper towels

Line-09

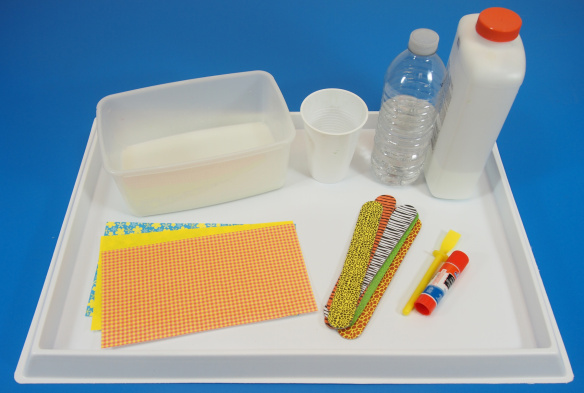
It’s a good idea to protect your work surface as you will be working with glue and water. Children can share one container of water and glue between each other, but that will inevitably lead to some messes!

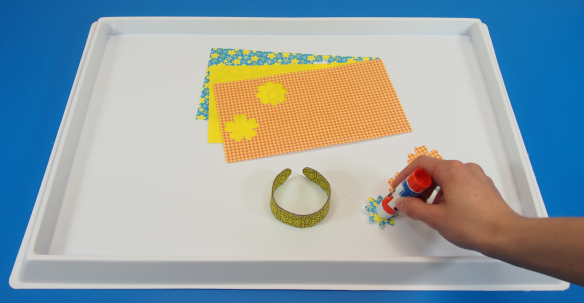
P1019186

Set up all of the supplies you’ll need. The craft sticks are patterned in 5 different designs, but you can experiment with different designs using the Wild Flower Paper Bits.

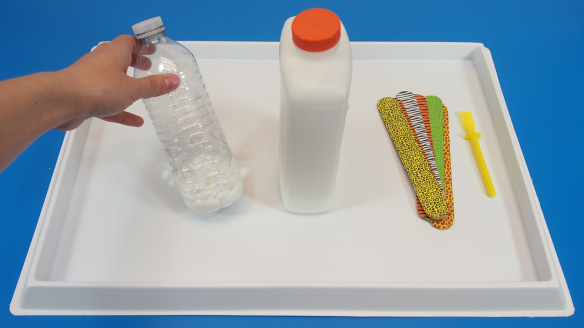
P1019192First, mix 1 part water with 1 1/2 parts glue. You want to have more glue than water, as this will help the bracelet retain its shape. I suggest mixing the glue and water together in a bottle. Cap it off, then shake to get the two ingredients fully mixed.

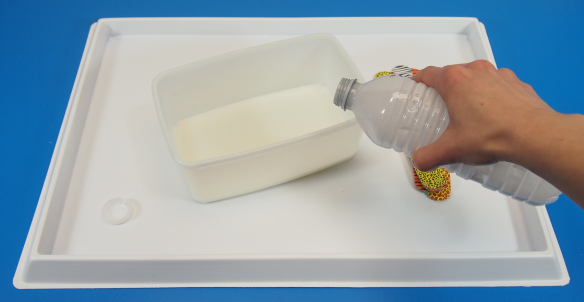
P1019203Pour the mixture into a container that’s long enough to fit the craft sticks inside.

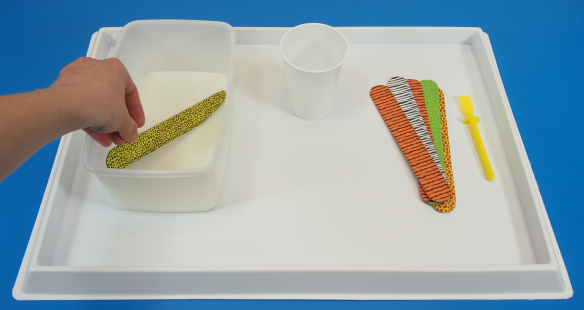
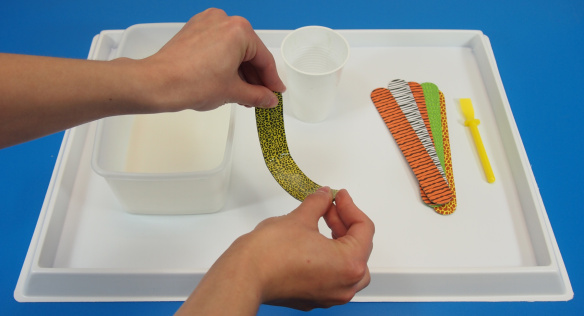
P1019206Dip one craft stick inside the container. Let it sit inside for about 1-2 minutes.

P1019211Once you remove the craft stick, it becomes bendable! Carefully press the craft stick along its length to loosen it up. Grab the ends and gently bend the craft stick inwards.

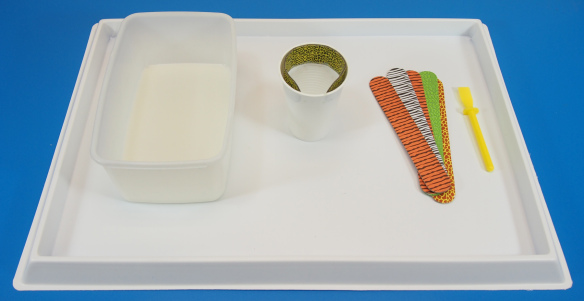
P1019213Place the craft stick inside the plastic disposable cup along the topmost rim.

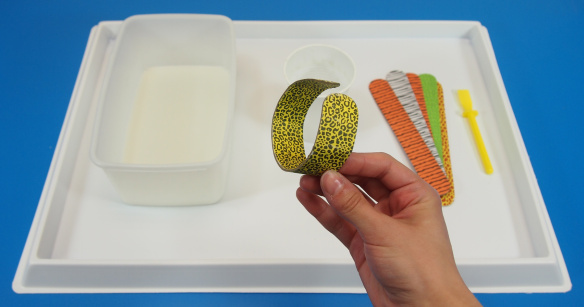
P1019216Let sit overnight until it dries. In the morning, remove the bracelet from the cup to reveal a beautiful shape!

P1019221

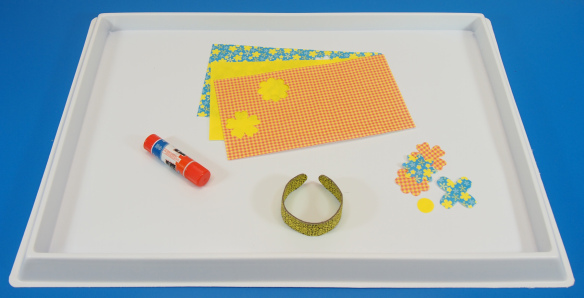
Now you can decorate your bracelet! Pop out a few of the Wild Flower Paper Bits. Choose several different shapes and patterns.

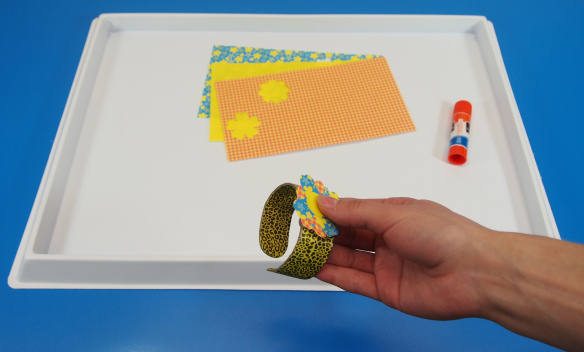
P1019222Dab a bit of glue into the center of each flower. Layer the flowers.

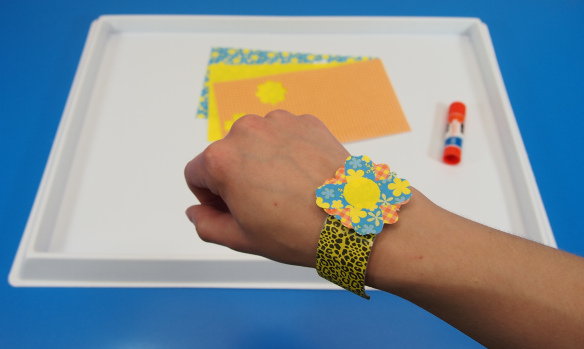
P1019226Finally, add a lot of glue to the center of the craft stick bracelet and press your flower design down onto it.

P1019228Ready to wear!

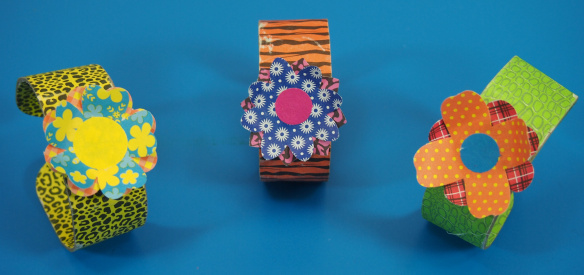
P1019235You can try a number of different combinations with just a few sheets of flower bits and a great craft stick design!

Line-09

Thanks for checking out this post! Like us on FacebookShare this post with your friends, or Subscribe to this blog today to receive original craft project updates every Monday, Wednesday and Friday!
Craft Spotlight: My Very Own Puppet Theatre

2014-06-23-FeatureImage

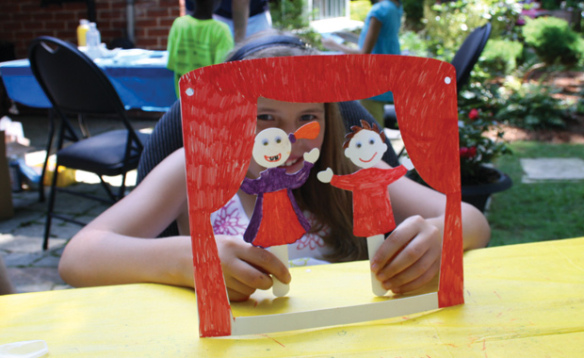
Play and perform with your personalized puppet theatre! The projects are die-cut to look like theatre curtains and come with two puppet cutouts to decorate and use as characters in your very own play!

R39201 My Very Own Puppet Theatre projects are each hole-punched on either side so they can be threaded with string and worn like a great big necklace.

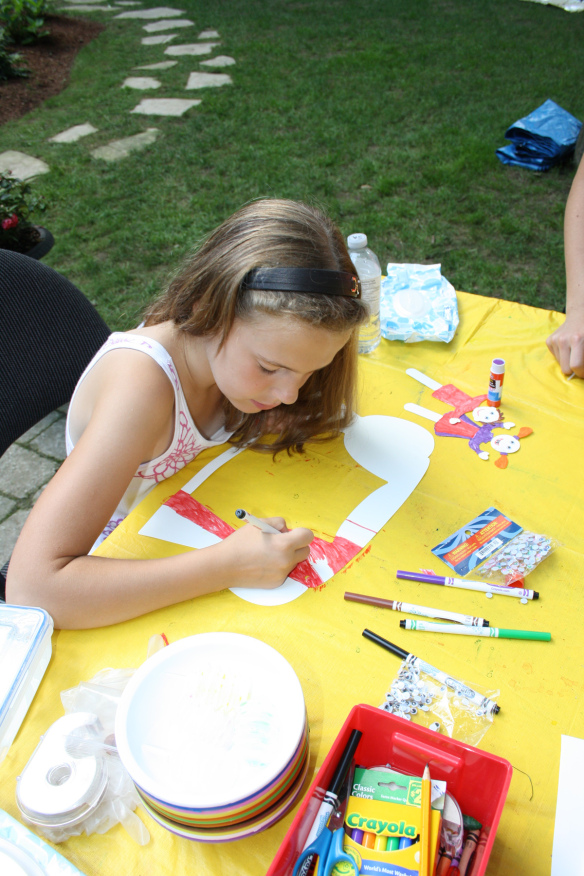
IMG_7717First pop out the puppet theatre from the backing. Color in the theatre with bright marker colors, like red or purple! Color in the puppet characters as well. The characters are cut with a handle so they are easy for kids to hold.

IMG_7727

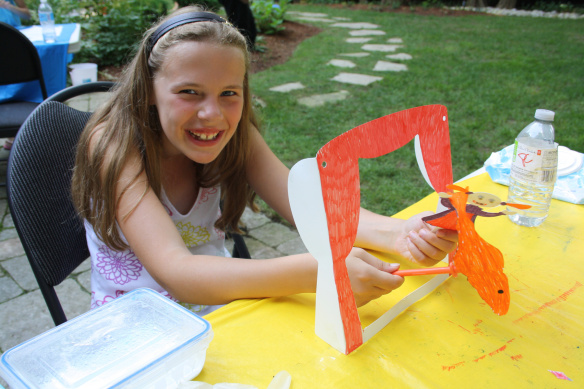
One of our art campers came up with an idea to make her own puppet character. She used card to cut out a fish shape, colored it in, then attached it to one of our Goo Spreaders! Your students can experiment with different ideas like this.

R39201

Kids can wear the puppet theatre and perform puppet plays anywhere! Read the Puppet Theatre full web guide here to discover curriculum connections and great activities for the classroom.

Line-05

hanks for checking out this post! Like us on FacebookShare this post with your friends, or Subscribe to this blog today to receive original craft project updates every Monday, Wednesday and Friday!
Summer Birdcage Craft

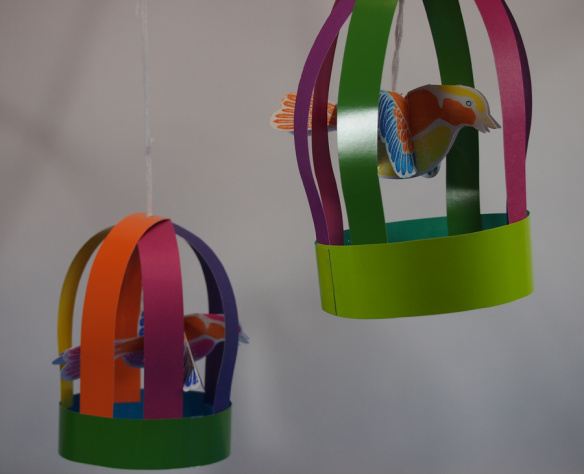
2014-06-18-FeatureImageA craft birdcage makes a great take-home craft and adds a nice finishing touch to the Color Reveal Birds project.


Age: 5+

Duration: 20 minutes

Learning Objectives: Practice scissor skills while cutting paper strips. Exercise fine motor skills through continuous coloring motions. Observe amazing changes in the appearance of artwork through special color reveal technology.

You’ll Need:

R75504 Color Reveal Birds

R22052 Double Color Sheets

• Scissors

• Ruler

• Pencil

• Markers

• Hole punch

• Tape

• Yarn

Line-19

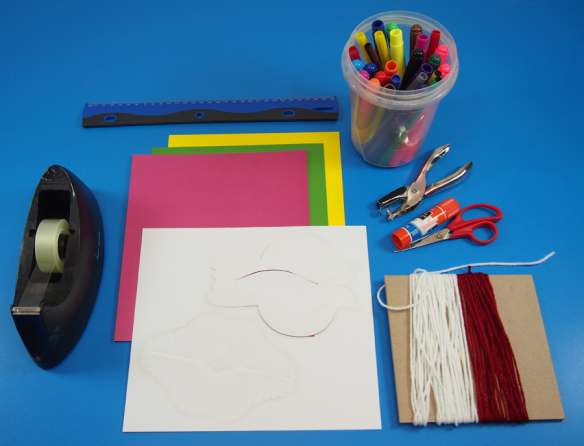
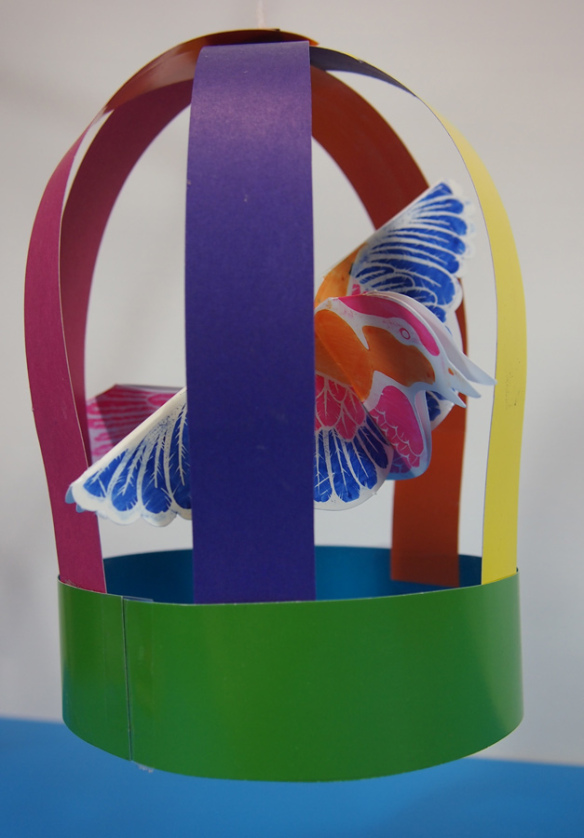
The best part about making this birdcage is that you already have the main centerpiece–the bird–made up from the Color Reveal Bird project, so you don’t have to spend extra time looking for and cutting out templates to color in. Simply color in and wrap up in a colorful birdcage!

P6109512

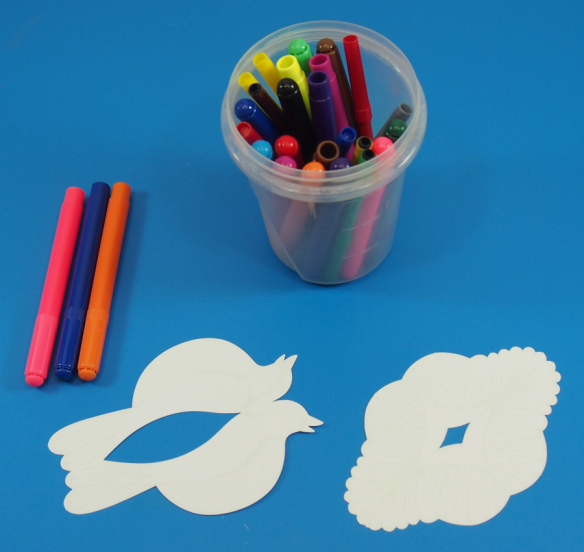
In case you missed the earlier Craft Spotlight post, I’m going to show you just how to put together your Color Reveal Bird first.

P6109516

Choose your marker colors!

P6109523

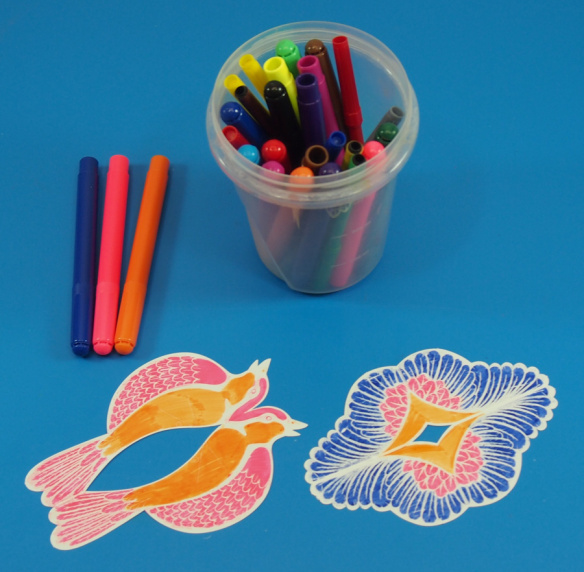
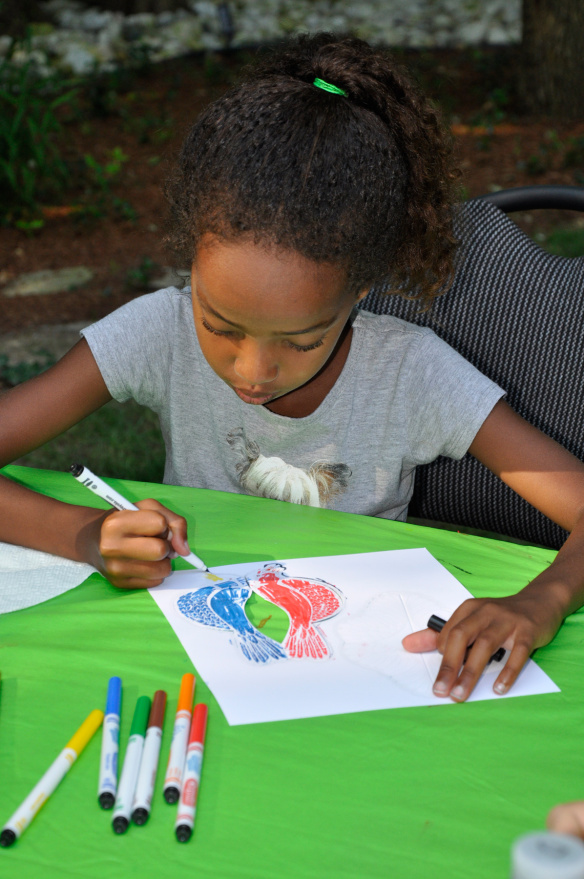
When you rub the marker across the surface of the bird body and wings, you’ll start to see a beautiful design appear!

P6109526

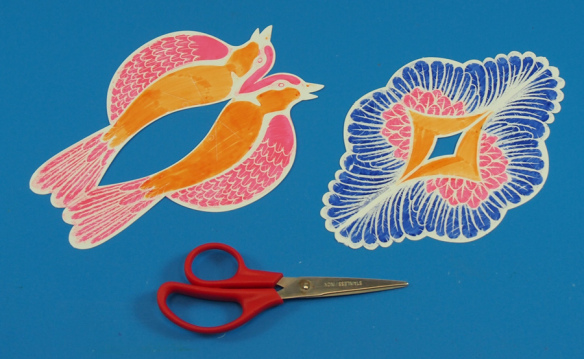
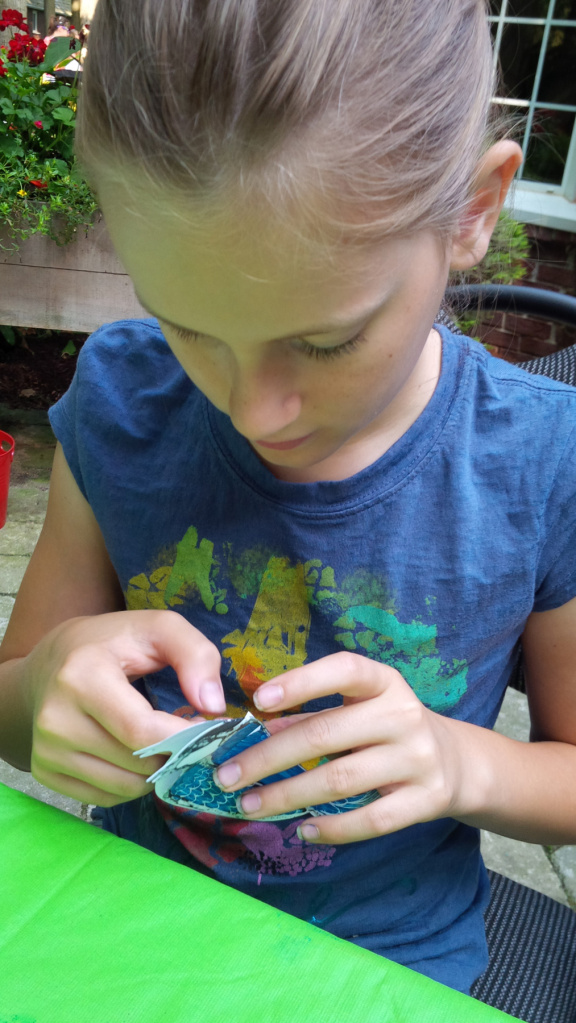
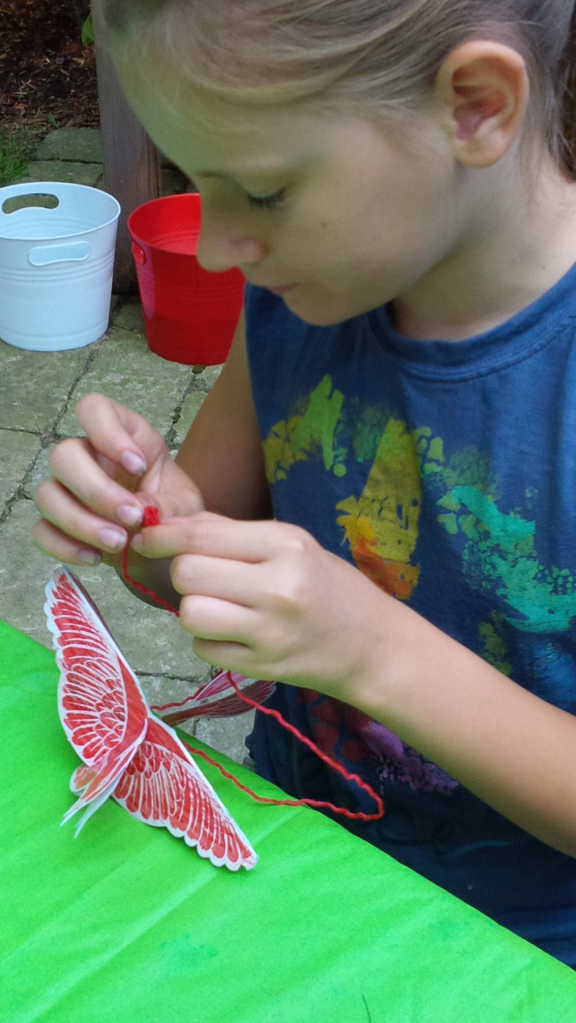
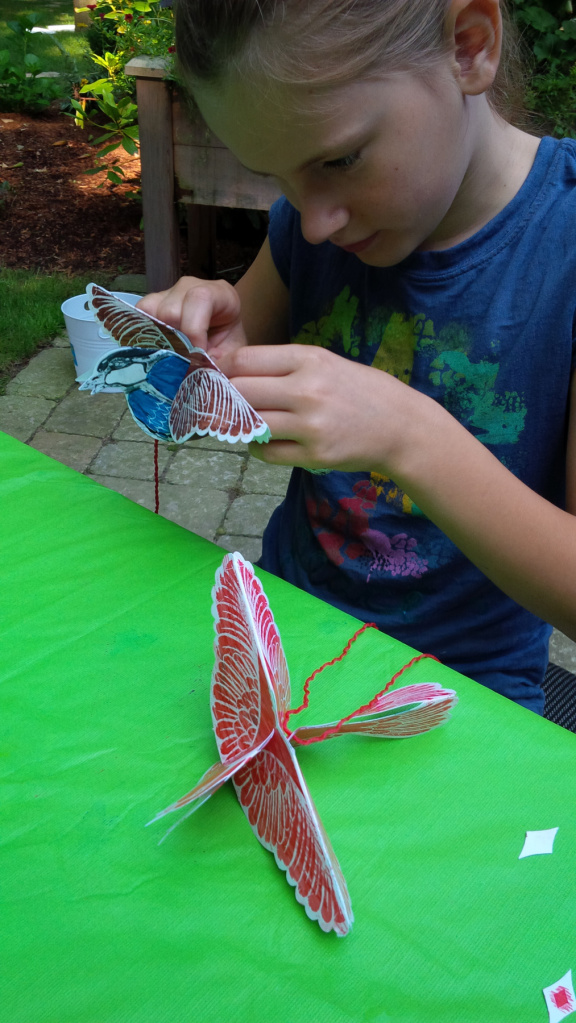
Once you have both pieces fully colored in, you can start to assemble them. For this step, you will need a pair of scissors.

P6109528

First, let’s fold the bird body and wings in half. Both pieces are scored along the middle so folding should be easy!

P6109533

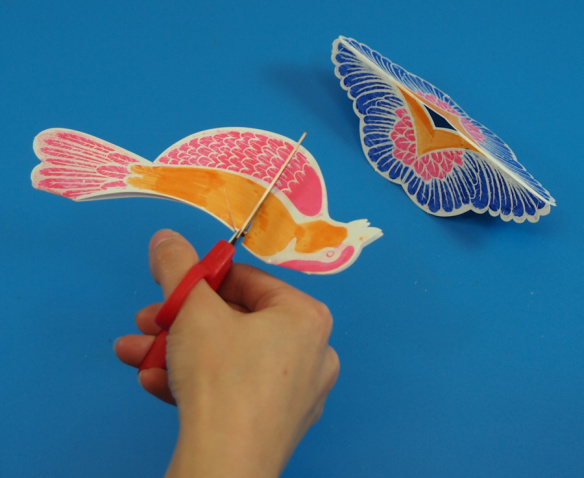
There are two triangle shaped slots on the bird’s back. The wings fit right into those slots, but you will need to loosen up the opening. Take your scissors and fit them right along the slot opening. Cut into the bird body at about an 1/8″ of the way down.

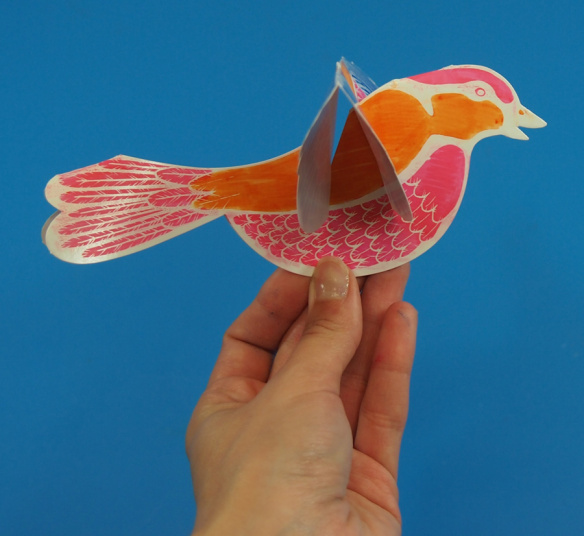
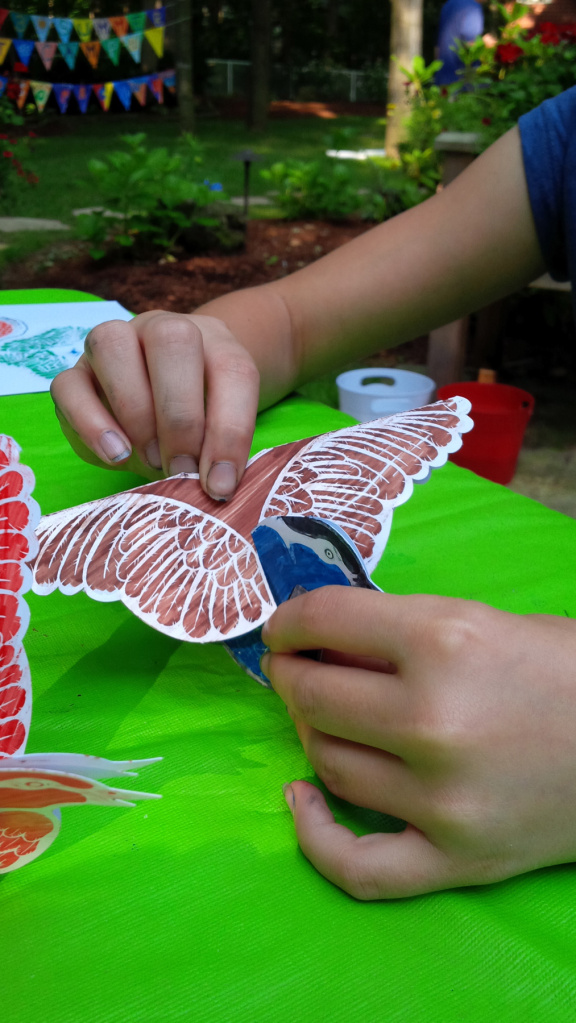
P6109537The wings fit directly onto the triangle slot. Turn the wings sideways as you slide them into the slot. Push the front of the wings into the forward slot, and the back of the wings into the rear slot.

P6109538

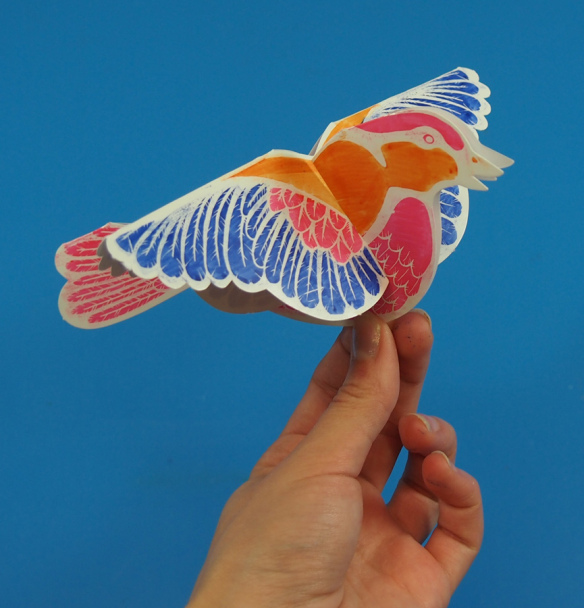
Here’s a front view of the Color Reveal Bird. It’s ready to fly off!

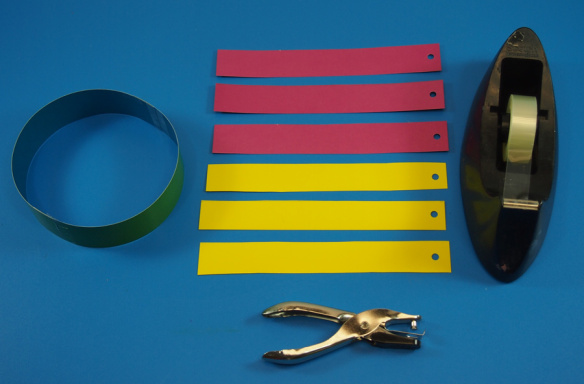
P6109542Now we will make the birdcage itself. Grab your materials and pick out colors for the decorative cage. The Double Color Cards are double-sided so the bars for the birdcage will show off a variety of colors.

P6109552

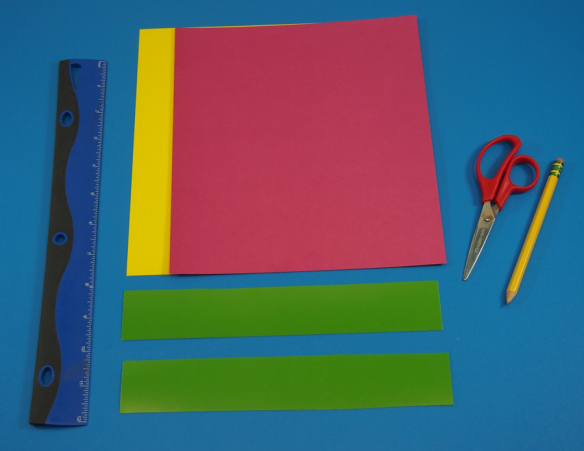
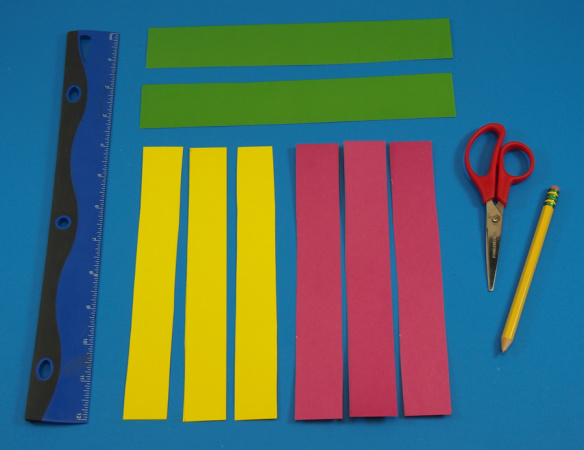
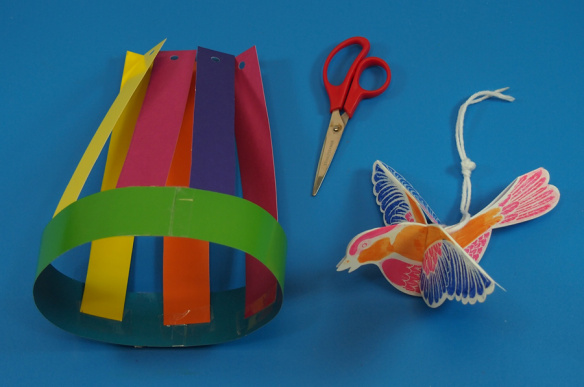
Cut out two 1 1/2″ (4 cm) thick strips along the long side. These will form the base of the birdcage.

P6109560

From the rest of the Double Color Card sheets, cut strips along the long side that are 1″ wide (2.5 cm). These will form the bars for the birdcage.

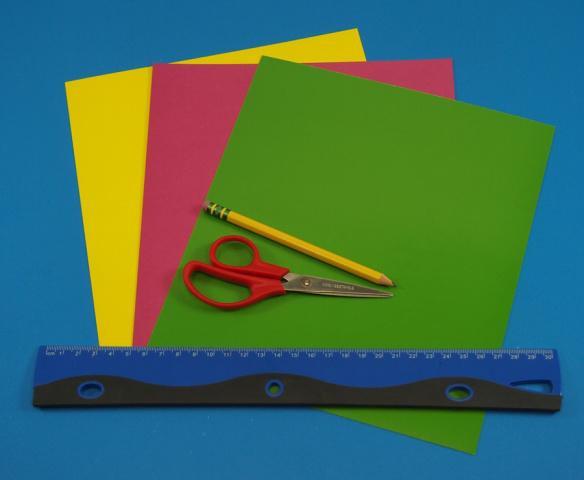
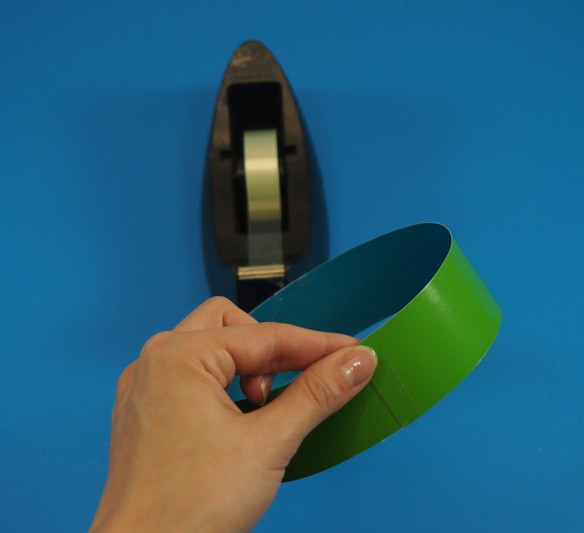
P6109568Take the two larger 1 1/2″ strips and join the ends together with tape. This will form a round base.

P6109574Hole punch each of the smaller 1″ strips at the top. These holes will help you to hang up the birdcage as well as the Color Reveal Bird inside.

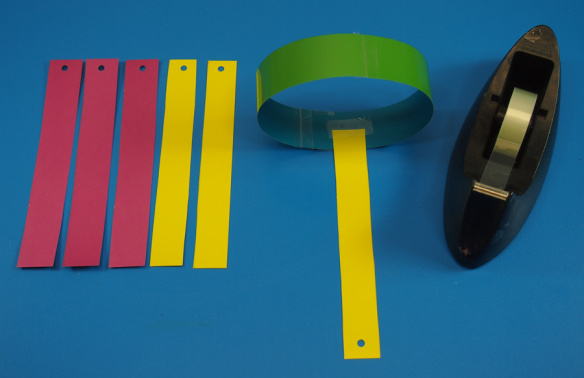
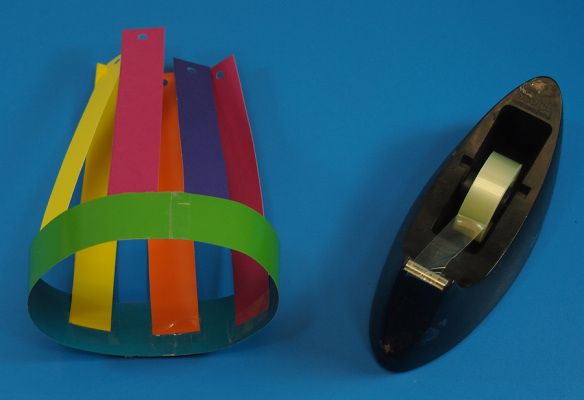
P6109577Now we are ready to assemble the birdcage! Tape the 1″ strips onto the birdcage base at the end opposite from the hole-punched end. Tape the end close to the top edge of the birdcage base for a longer set of bars, or closer to the bottom edge for a shorter set of bars.

P6109580Repeat for the rest of the 1″ strips until you get something that looks like a funky hat!

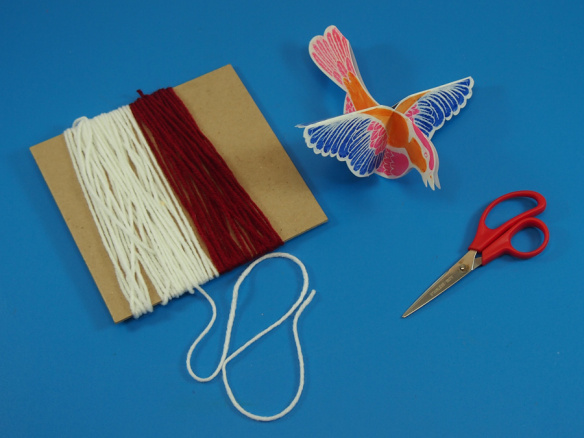
P6109582Set your birdcage aside until you have the Color Reveal Bird strung up. Cut a fair sized amount of yarn that will be used to hang the bird and hang the birdcage.

P6109591There is a small hole at the top of the bird’s back. Thread the string through and secure the yarn with a large-sized knot.

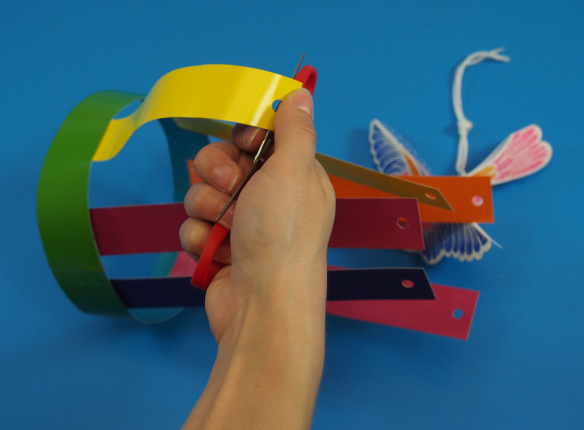
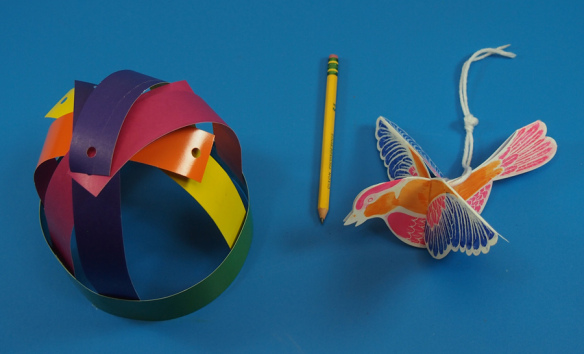
P6109594In order to make the birdcage appear more rounded, you will need to use the blunt end of a pair of scissors or a pencil to gently curl the birdcage bars.

P6109596

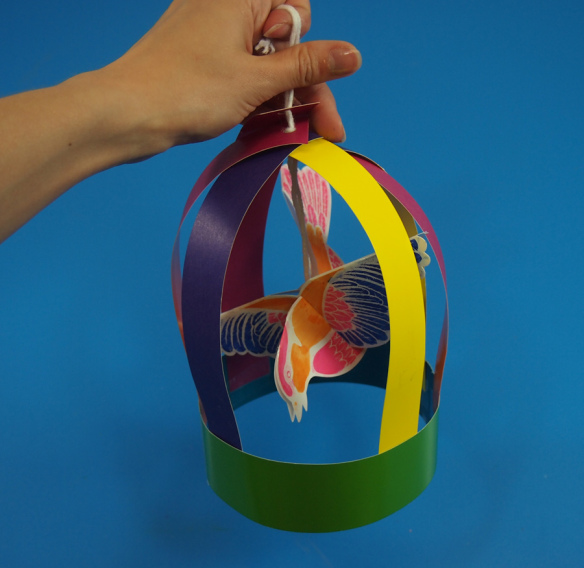
The bars should curl over and onto one another. This will help make stringing easier. Thread the ends of the yarn from the Color Reveal Bird through the holes in the paper strips. The knot you made should stop the bird from passing up too close to the top of the birdcage.

P6109600

Like so! You can make another knot at the top of the birdcage to hold all the strips in place, or simply knot the two ends together and hang from a desired location!

P6109609

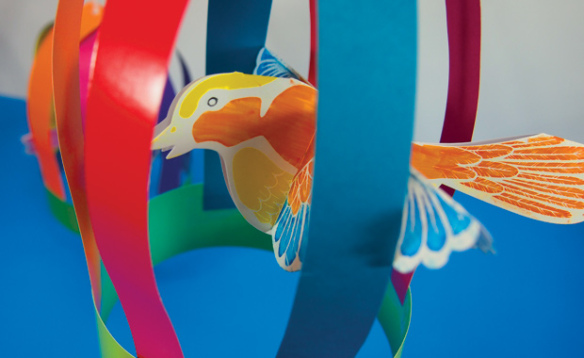
Here’s what a few of our birdcage projects turned out to look like! Notice how vibrant the colors are. This will look beautiful hung from the ceiling in a children’s bedroom or outside in the garden!

P6109619

Line-19

Thanks for checking out this post! Like us on FacebookShare this post with your friends, or Subscribe to this blog today to receive original craft project updates every Monday, Wednesday and Friday!
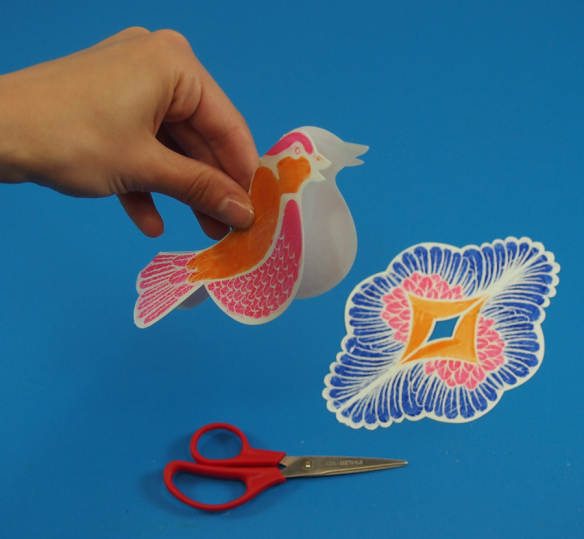
Craft Spotlight: Color Reveal Birds

2014-06-16-FeatureImage

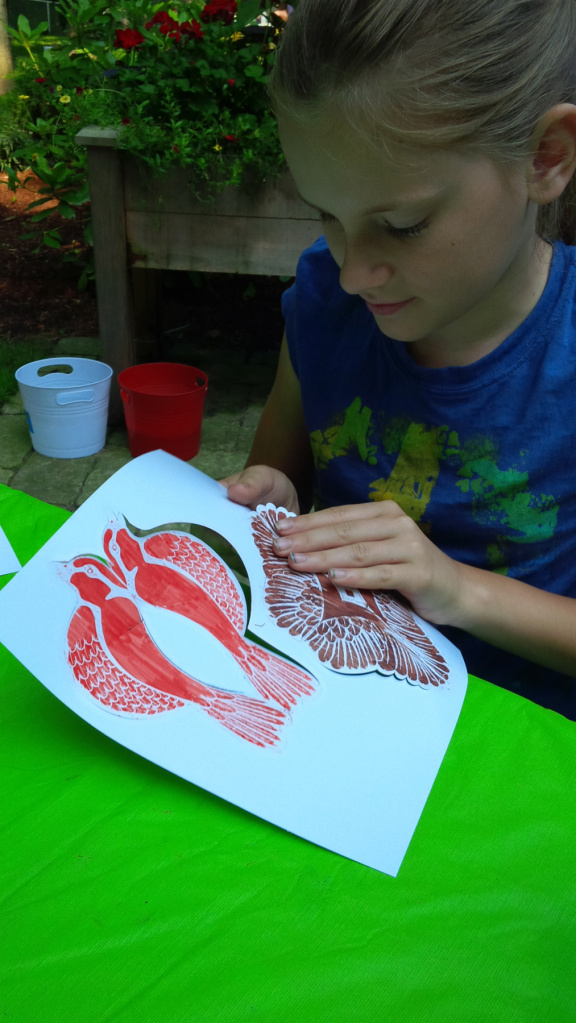
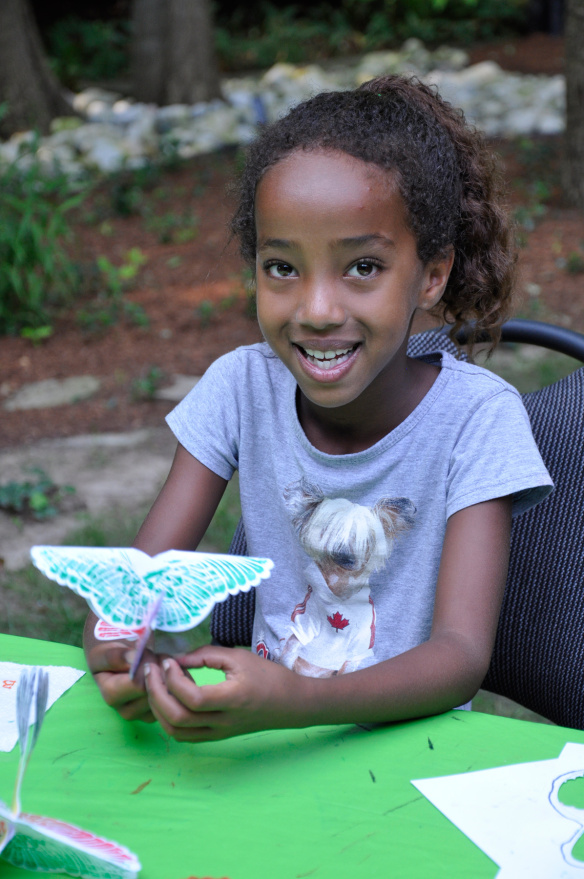
Get ready for an amazing feature post on our beautiful Color Reveal Birds! I have so many photos to share with you from this wonderful day. See our campers’ artwork and some step-by-step assembly of the birds.

_DSC0344

The Color Reveal Birds feature a kit of 24 sheets. Each sheet has two parts: The main bird body, and its wings.

_DSC0362

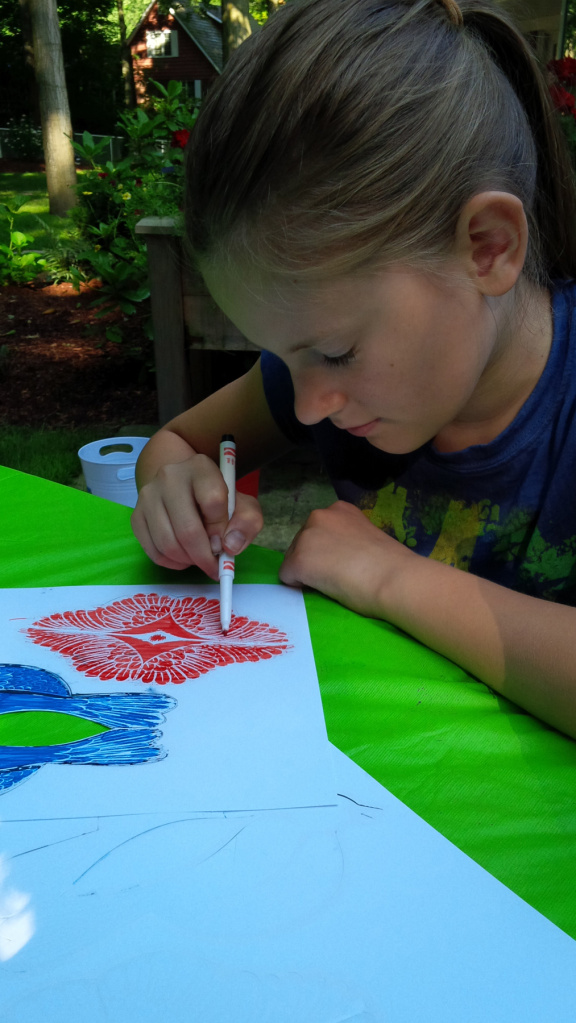
The best part is that at first, the Color Reveal Birds don’t look like much. Once you add markers, however, watch for emerging patterns!

_DSC0357

Combine colors together! Color the bird’s head blue and its body red, then switch for another color–such as blue–for its wings!

_DSC0361

Make sure you use thick markers that can cover a lot of surface area. The best effect is achieved when the entire bird is colored in.

IMG_00000743

We got many different kinds of designs!

IMG_00000747When you are finished coloring, pop out the bird from the backing. The pieces are already scored to make it easy for you to remove them from the sheet.

IMG_00000753

Fold the bird’s body in half down along the middle.

IMG_00000756

There are two slots in the top of the bird’s body. These slots allow you to easily slip the bird’s wings onto the top.

_DSC0356

In addition, there are two notches in the back that help secure the bird’s wings at the back. This will also help fan out the bird’s wings.

IMG_00000768

The top of the bird’s body features a hole punch that can be used to thread string through.

IMG_00000773

Knot the ends of the thread together.

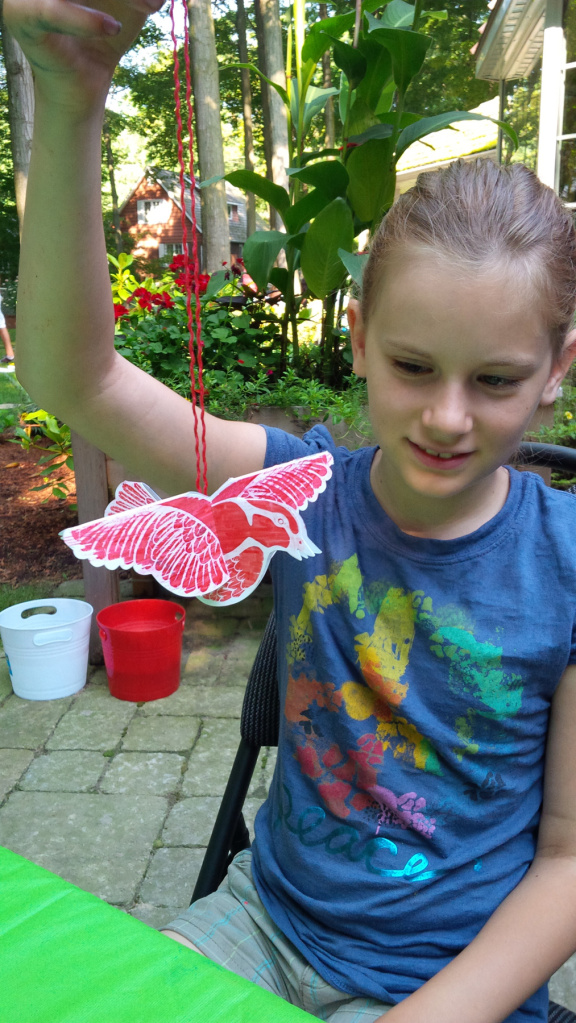
IMG_00000772Ready to hang!

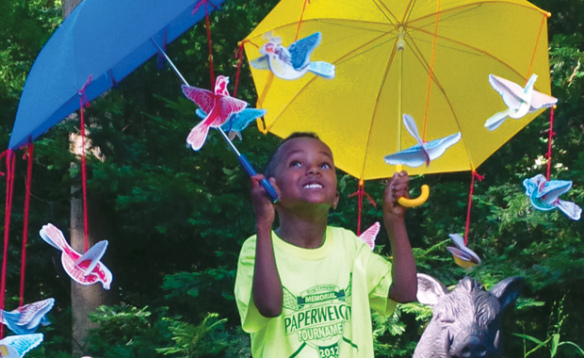
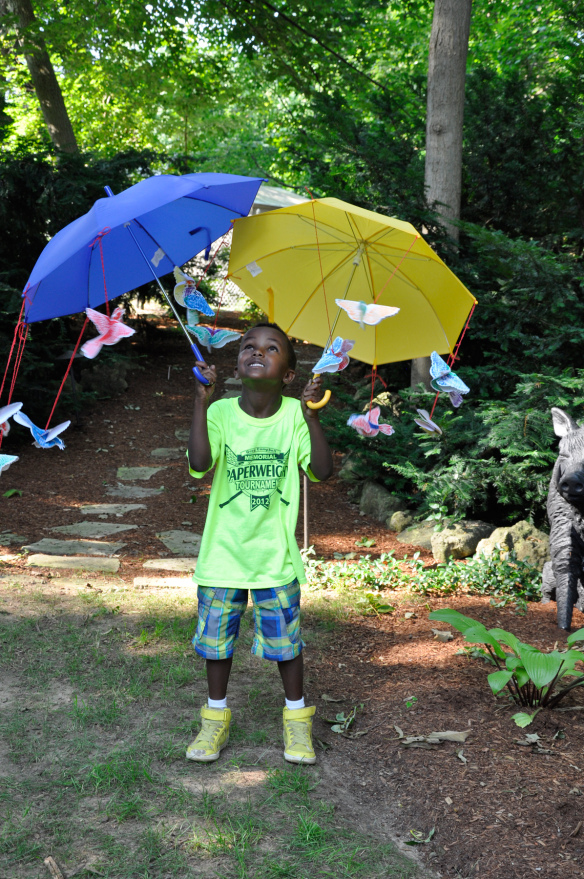
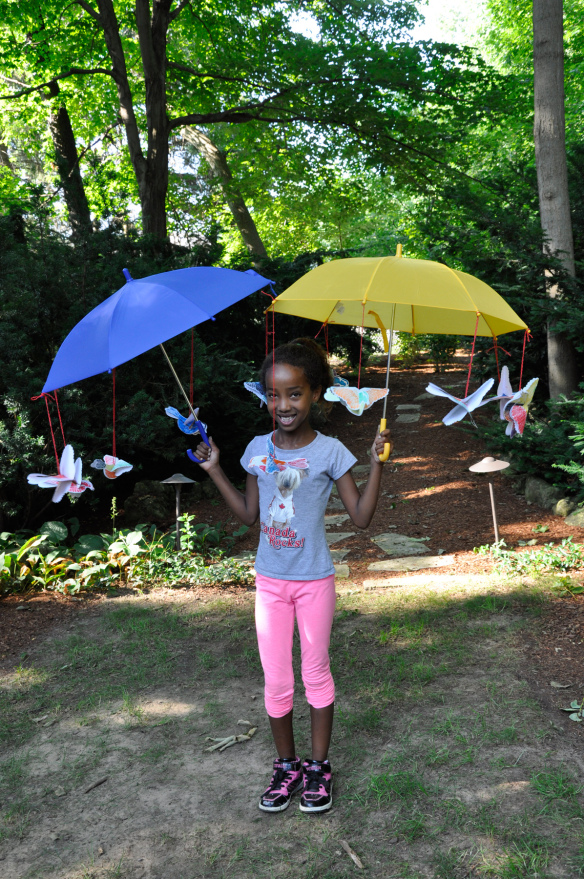
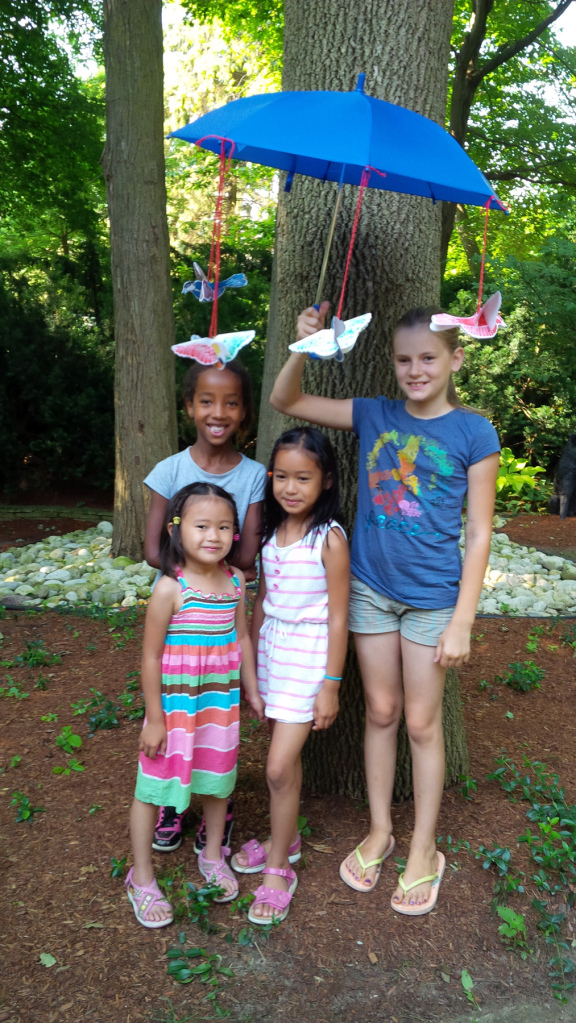
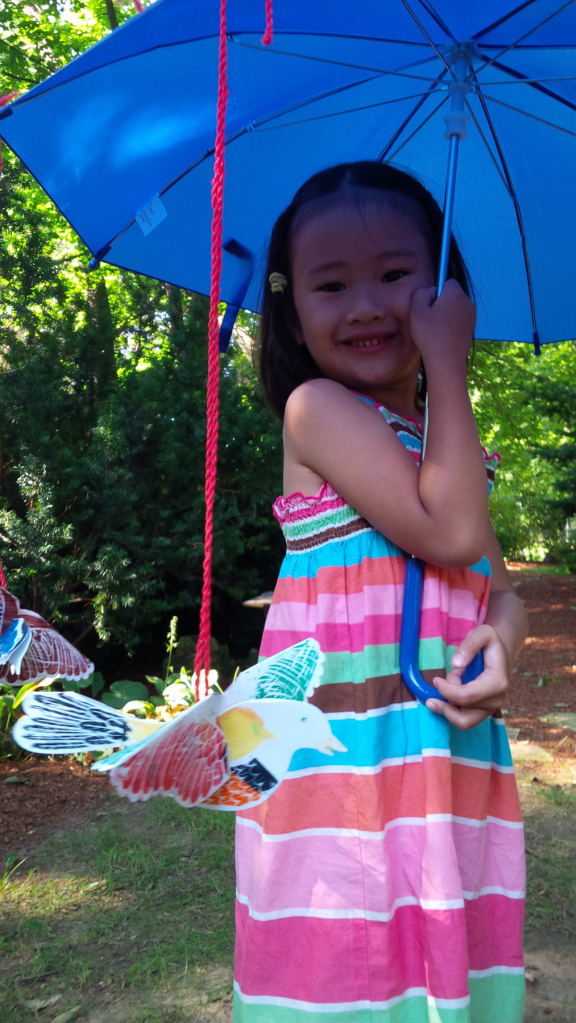
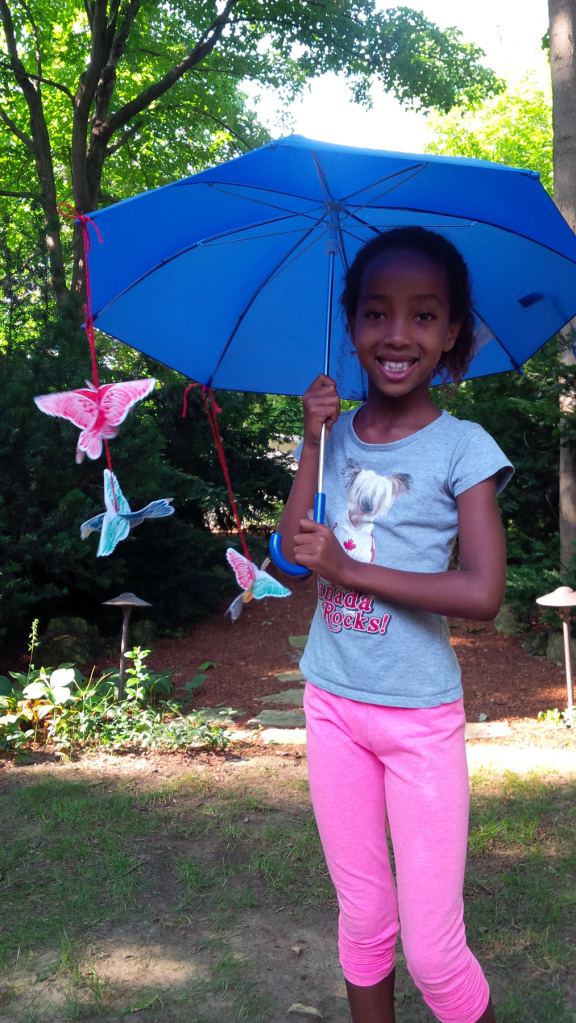
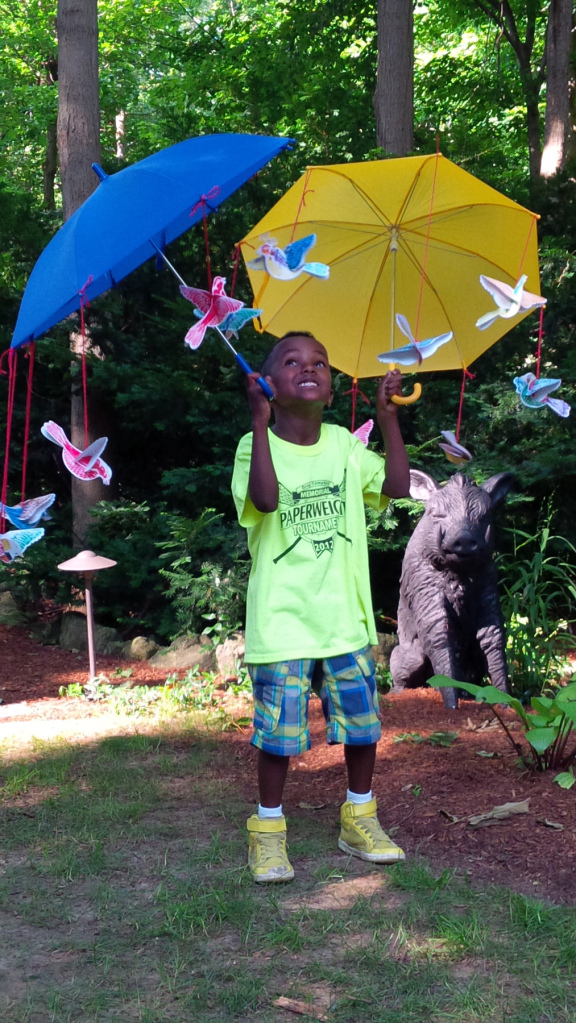
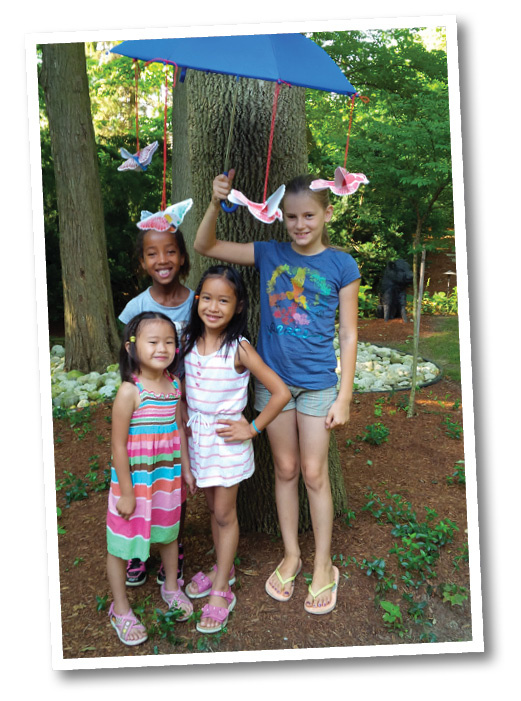
_DSC0373Our art campers had so much fun with finding places to put the birds. But the best of all was getting to attach the birds to the spokes of cute kid-sized umbrellas.

_DSC0371

A flock of birds are approaching!

IMG_00000799Here’s another great shot of our campers with the bird umbrella!

IMG_00000810

They just loved posing with it!

IMG_00000813

Hang the birds from a classroom mobile or use to decorate a window!

IMG_00000824Great job, campers!

Line-13

Thanks for checking out this post! Like us on FacebookShare this post with your friends, or Subscribe to this blog today to receive original craft project updates every Monday, Wednesday and Friday!
Craft Spotlight: Retro Pop Paper

2014-06-09-FeatureImage

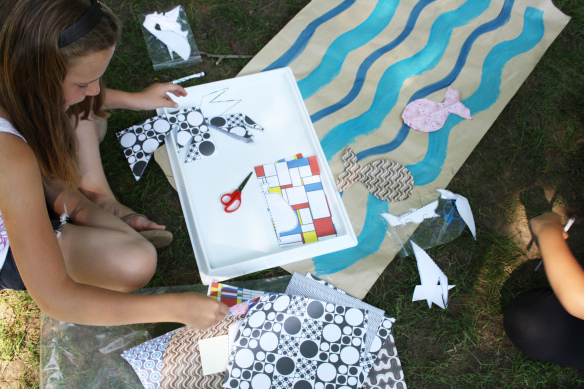
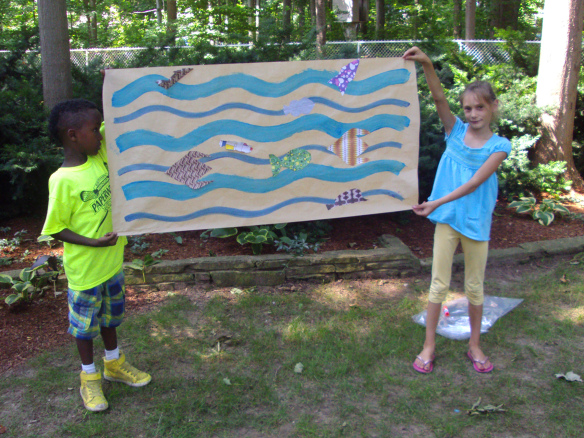
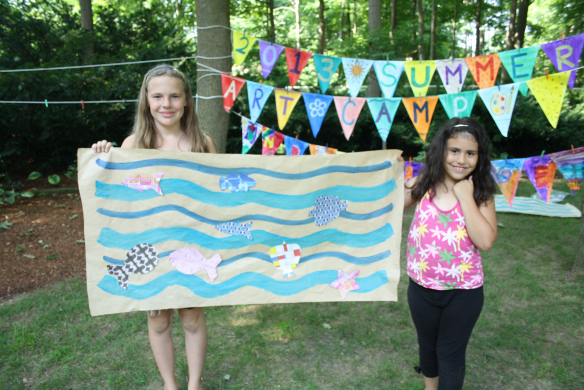
Add beautiful effects to your cut and paste projects! R15303 Retro Pop Paper provides you with a variety of bright colors and eye-catching designs. For this project, our Art Campers decorated painted wave paper with fish cutouts using the Retro Pop Paper. See more below!
DSC05525

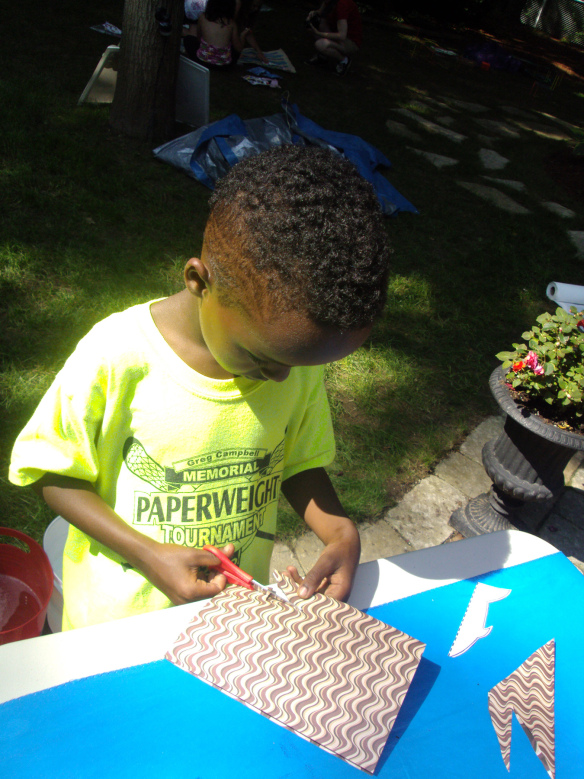
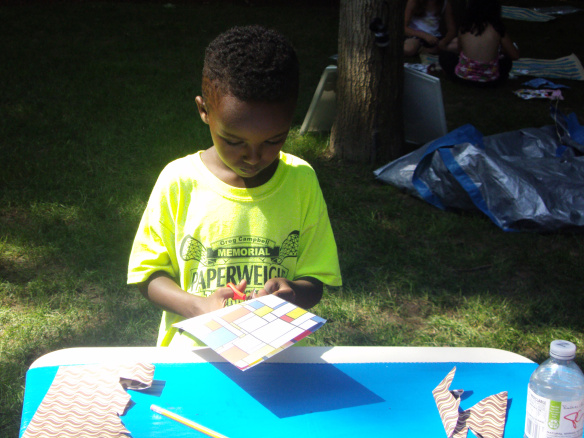
First, we supplied our campers with a few fish templates that they could apply to the paper, trace out and cut. We showed them how to fold the paper, and then place the templates, folded, onto the fold line of the Retro Pop Paper.

DSC05528

Once the campers had traced the shape onto the paper, they cut it out.

IMG_7679

With the paper unfolded, a fish shape appeared! We tried a variety of different fish shapes. You can see the shapes in the top right.

DSC05529

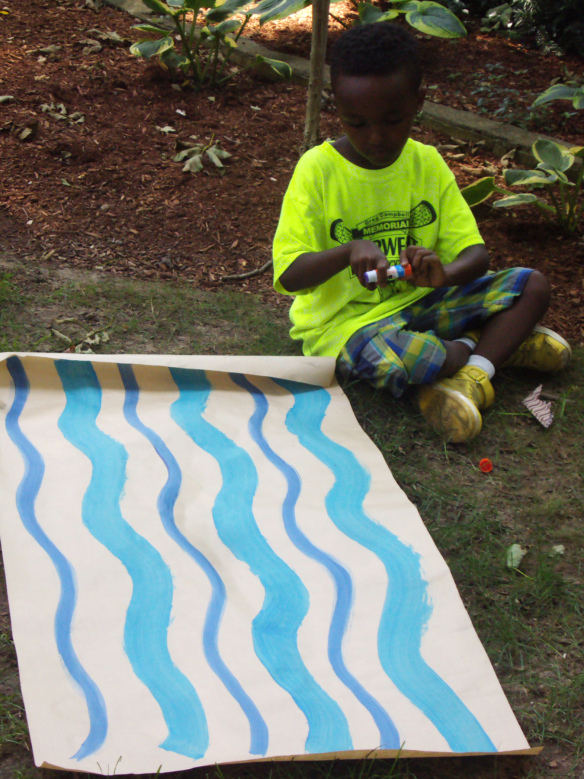
The backdrop was a sheet of brown craft paper that we had in rolls in our art room. We spread out the sheets and cut them at about 3-4 foot widths, then painted them with blue wavy lines.

DSC05531

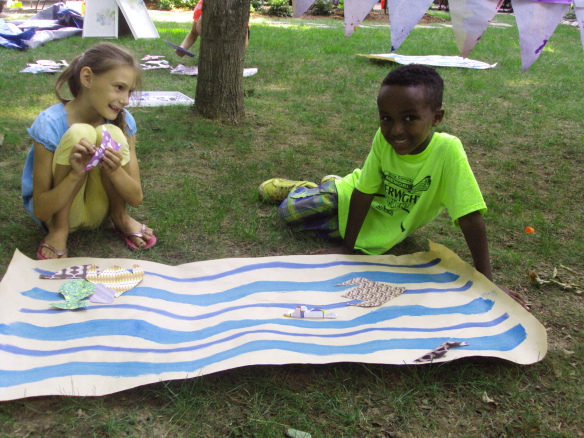
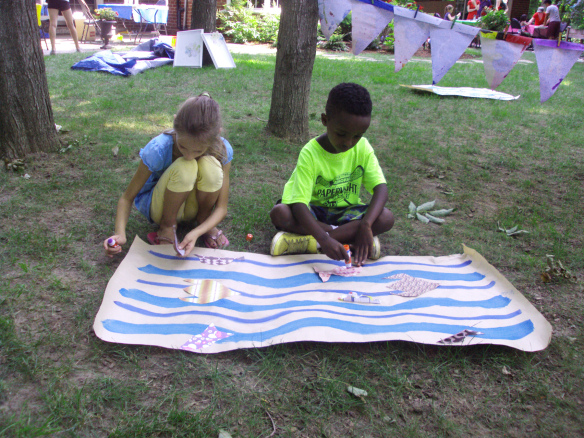
Our campers applied a bit of glue to the backs of the fish shapes and pasted them into various positions on the craft paper.

DSC05532

The campers had a lot of space to work with!

DSC05535

All done! Check out all those gorgeous fish designs!

IMG_7694

Here’s what another group did. Great work, campers!

Line-18

hanks for viewing this post! Like us on Facebook and subscribe today to our blog for more updates like this every Monday, Wednesday and Friday!