
To explore the beauty of nature and the changing of the seasons, we put together a beautiful diorama with a split down the middle to show the transition from winter to spring!
Age: 5+
Duration: 20-30 minutes
Learning Objectives: Talk about seasonal transitions, the names of the different seasons, why seasons occur and how each is connected through changes in the earth’s atmosphere and physical landscape. Use references and brainstorming sessions to discover what kinds of ecology systems can be represented in both spring and winter. Illustrate scenes, draw props and characters and cut out resulting drawings with scissors. Combine multiple media to form a complete scene.

You’ll Need:
• R52094 Set the Scene! Diorama Box
• Card paper
• Scissors
• Markers
• Tape
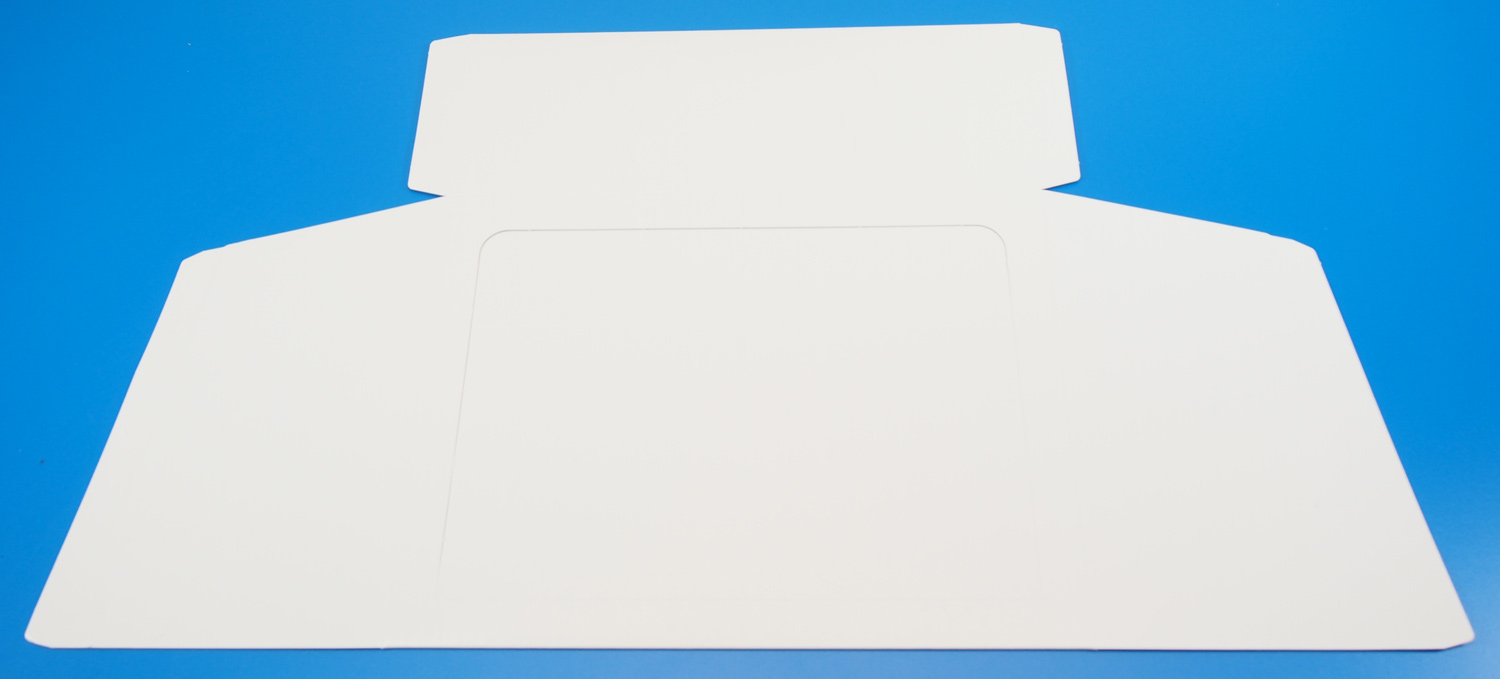
Each of the dioramas are flat-packed for easy assembly. Lift the piece up to reveal its box-like shape.

Press the inside die-cut part of the diorama. This piece is attached to the diorama by the bottom. This part will form the stage for the interior of the diorama.

There is a score line at the top that can be folded in. This will help the stage to sit evenly inside the diorama. When you are finished designing and illustrating the interior of the diorama, tape the edges of the stage to the inside of the diorama to secure.

There are flaps on either side of the diorama that can be folded in to secure the upright shape of the diorama. Tape the sides down together.

Tape the sides down to secure the shape of the diorama.

This is the final look of the diorama without any illustrations.
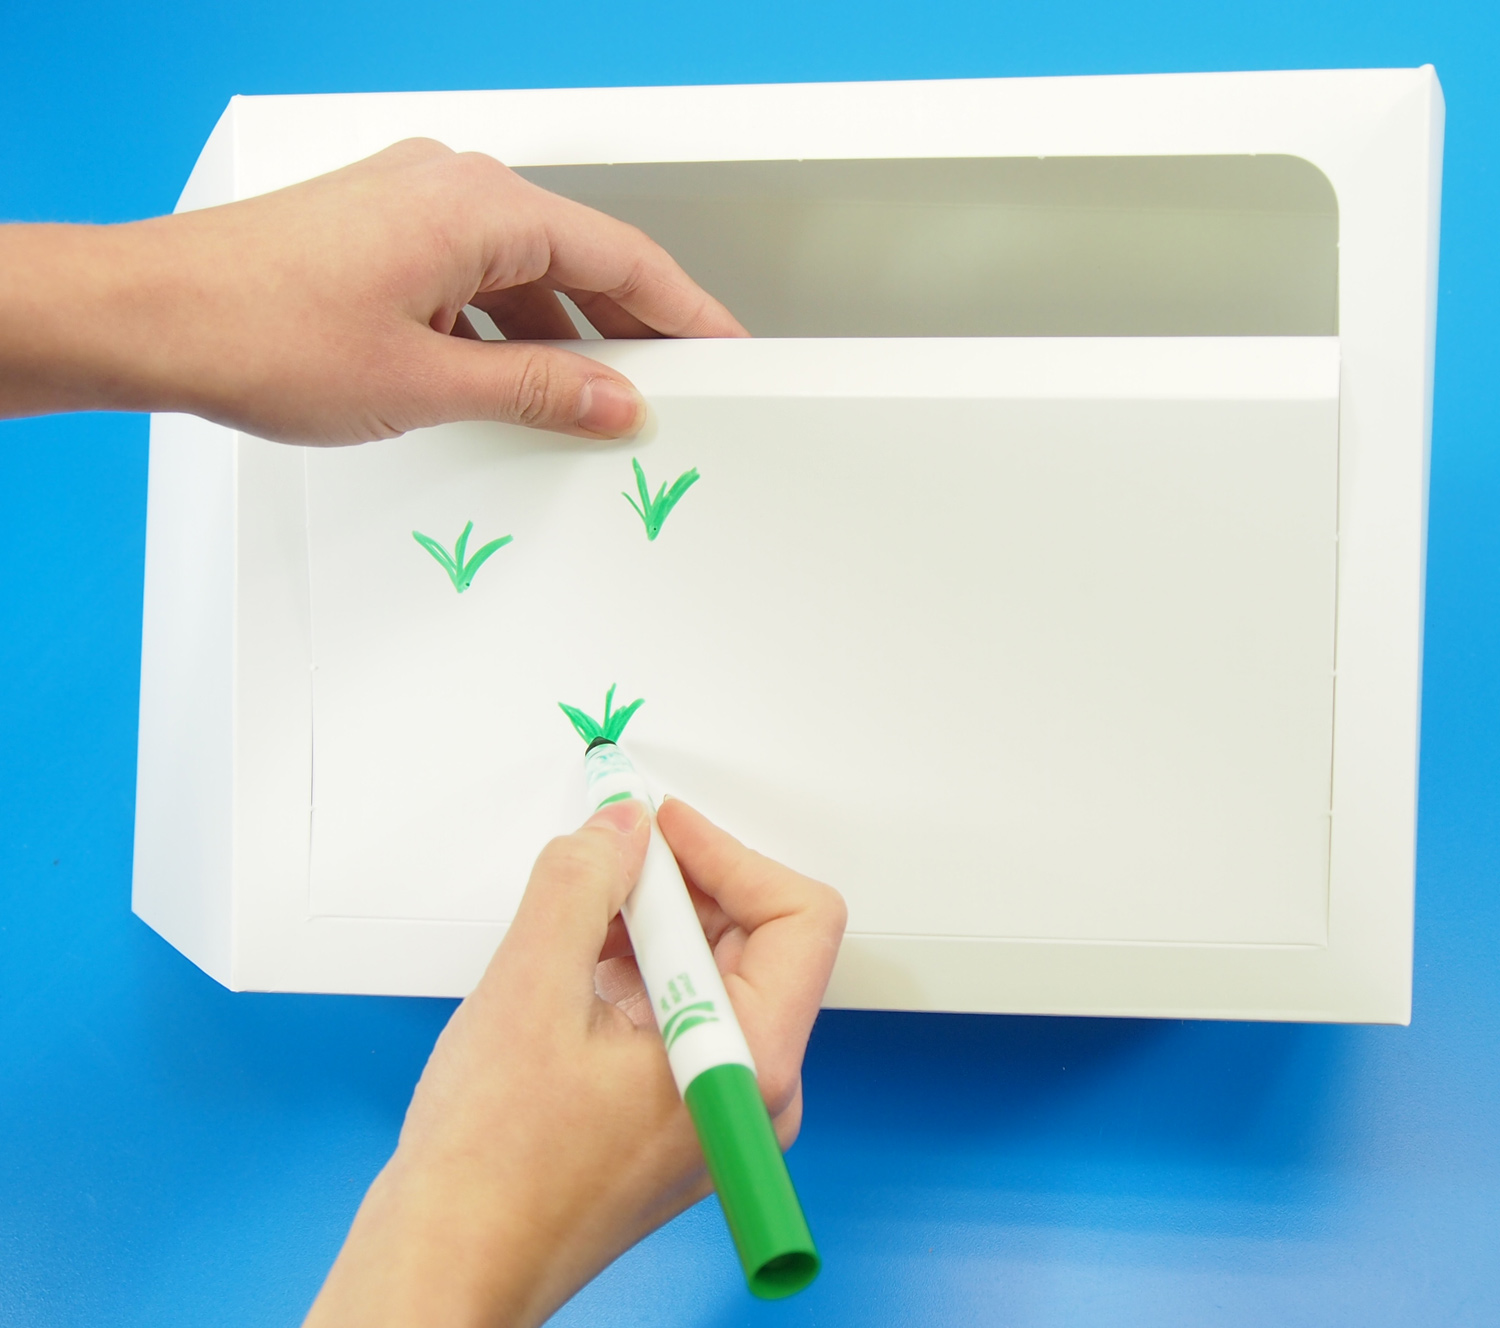
Lift out the inside stage and illustrate your foreground. To turn the diorama into an exploration of seasons, I’ve divided the diorama stage with an imaginary line. Start illustrating the details for the spring season on one side. I’ve drawn stalks of grass onto the foreground and will color around them with a lighter green to represent a field or meadow.
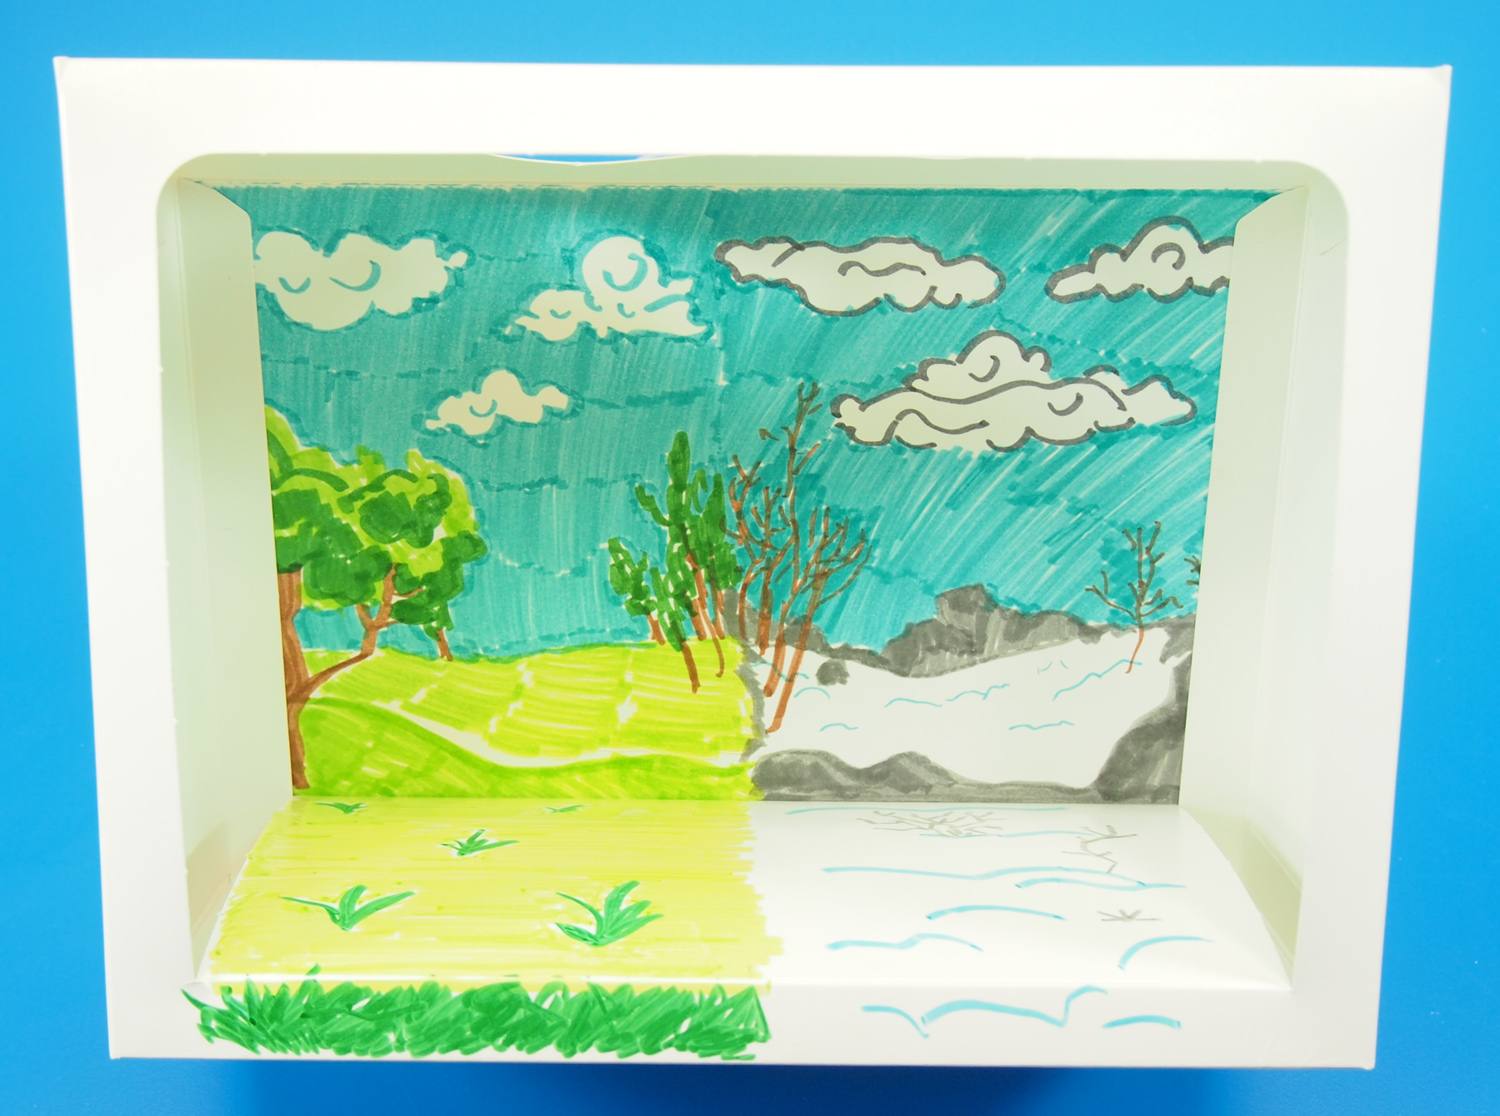
This is what the final illustration looks like! You can draw a background onto a sheet of paper, cut it out and paste it onto the back or draw directly onto the back of the diorama.

Pop out the skylight tab. This will allow you to hang items from the roof or to let some light into the interior of the diorama.

Now we’ll move on to make the card characters and objects for the inside of the diorama.

Using a pencil to sketch out the drawing and markers to fill it in, I’ve made a little bumblebee character!
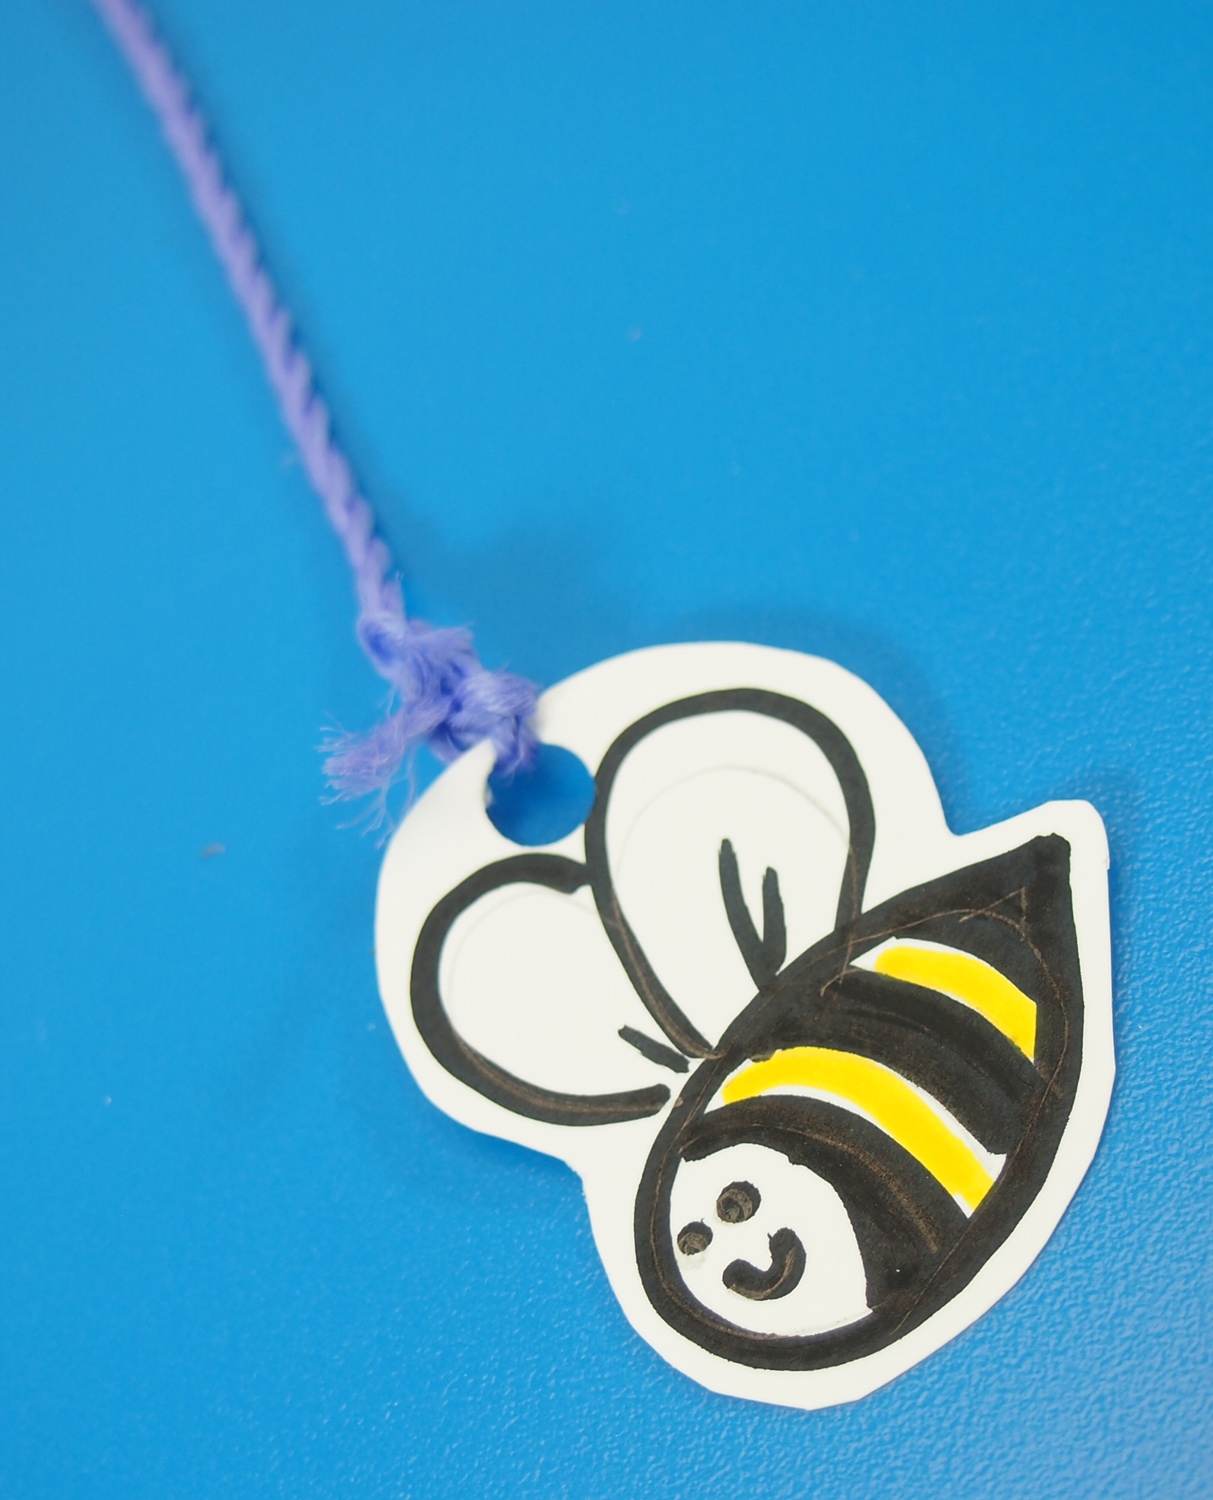
Cut a small white border around your drawn character. Punch a hole through the top if it will be suspended from the ceiling of the diorama. Tie on a length of string to the hole and tape to the inside of the diorama.

To form the bottom objects, draw the illustrations onto leftover card pieces. Leave a bit of space at the bottom as you cut each shape out. Fold the bottom part inwards; this will be the tab to glue the object down onto the diorama.

Add a few more details to fill in the space! We’ve got a white bunny, a boulder and a flying chickadee in the winter side, while a bumblebee hovers above a flower and a tree on the spring side. You can have a preliminary discussion with your students to figure out what kinds of elements could go into the diorama on either side of the imaginary seasonal line.
Like us on Facebook, Share this post with your friends, or Subscribe to this blog today to receive original craft project updates every Monday, Wednesday and Thursday!