Get ready for an amazing feature post on our beautiful Color Reveal Birds! I have so many photos to share with you from this wonderful day. See our campers’ artwork and some step-by-step assembly of the birds.
The Color Reveal Birds feature a kit of 24 sheets. Each sheet has two parts: The main bird body, and its wings.
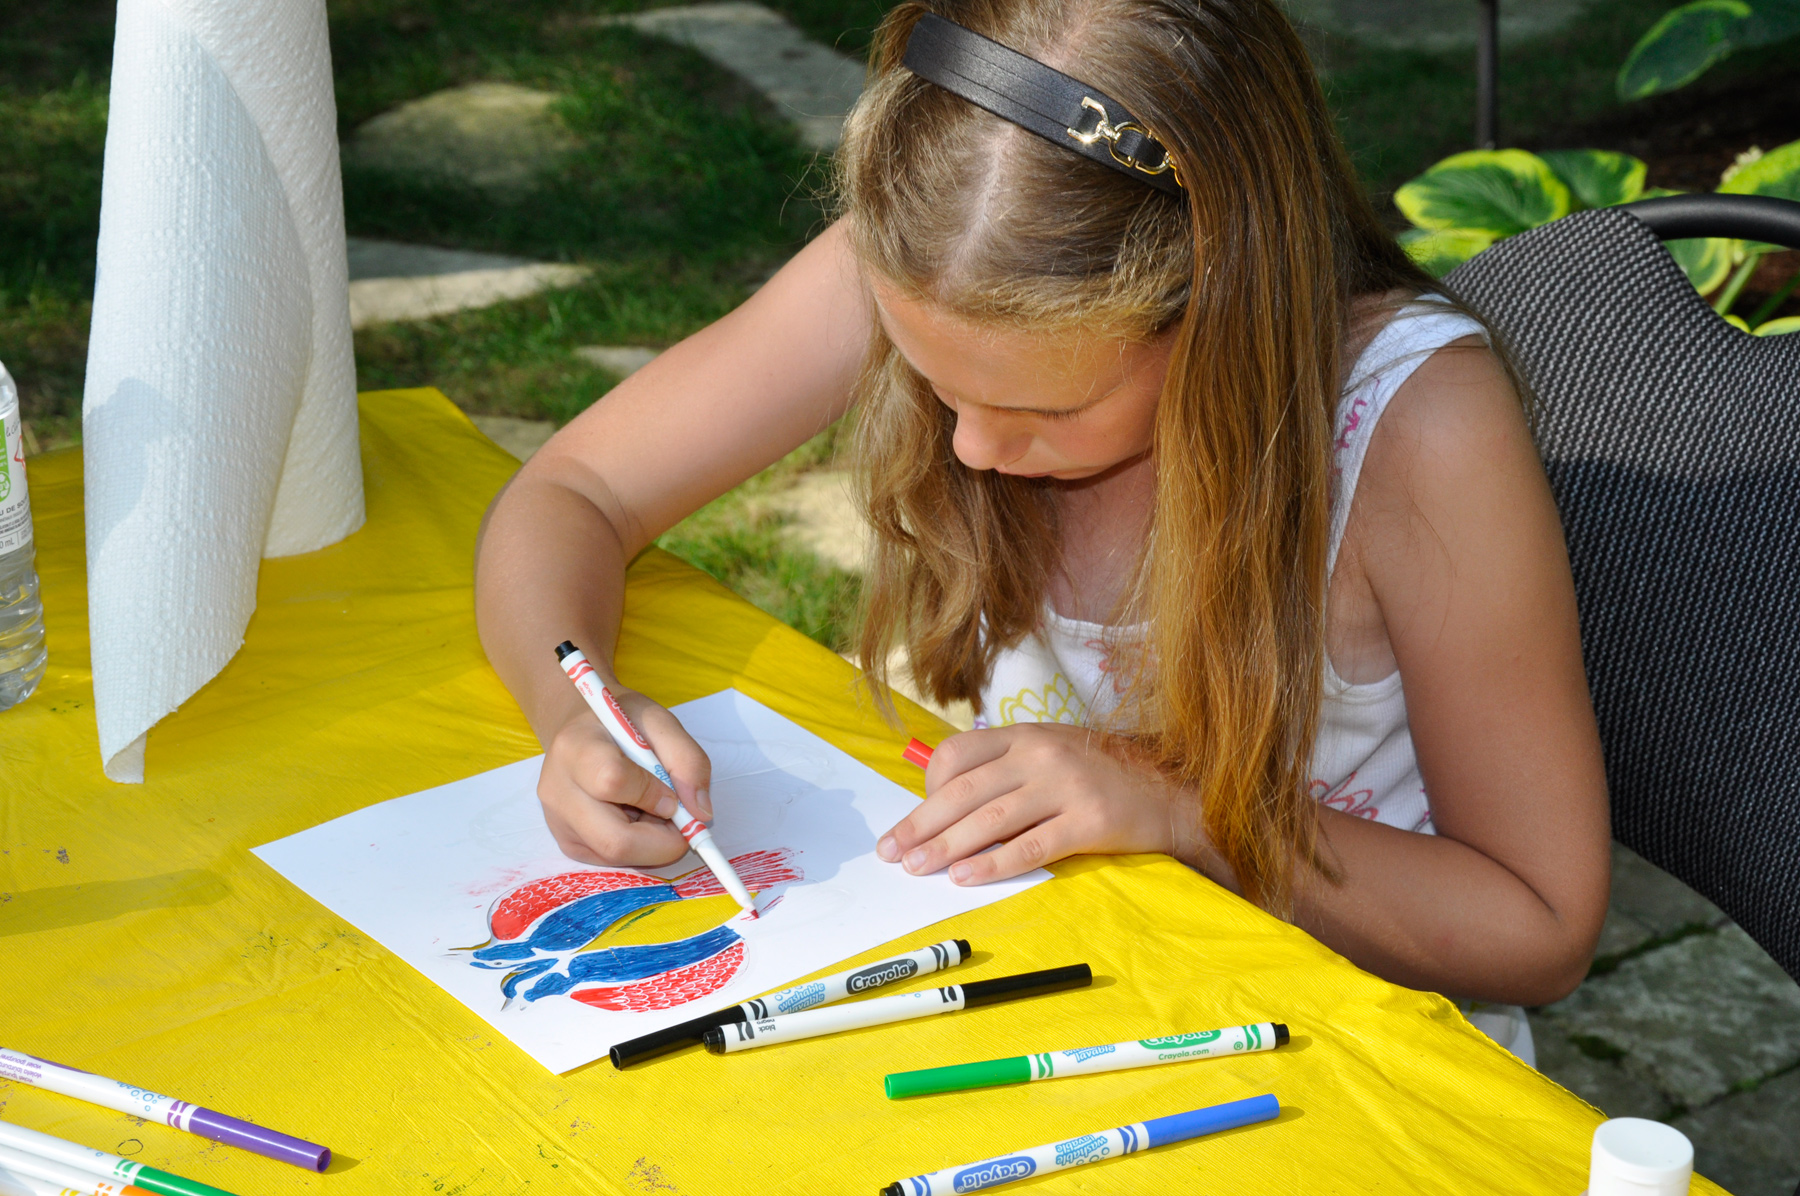
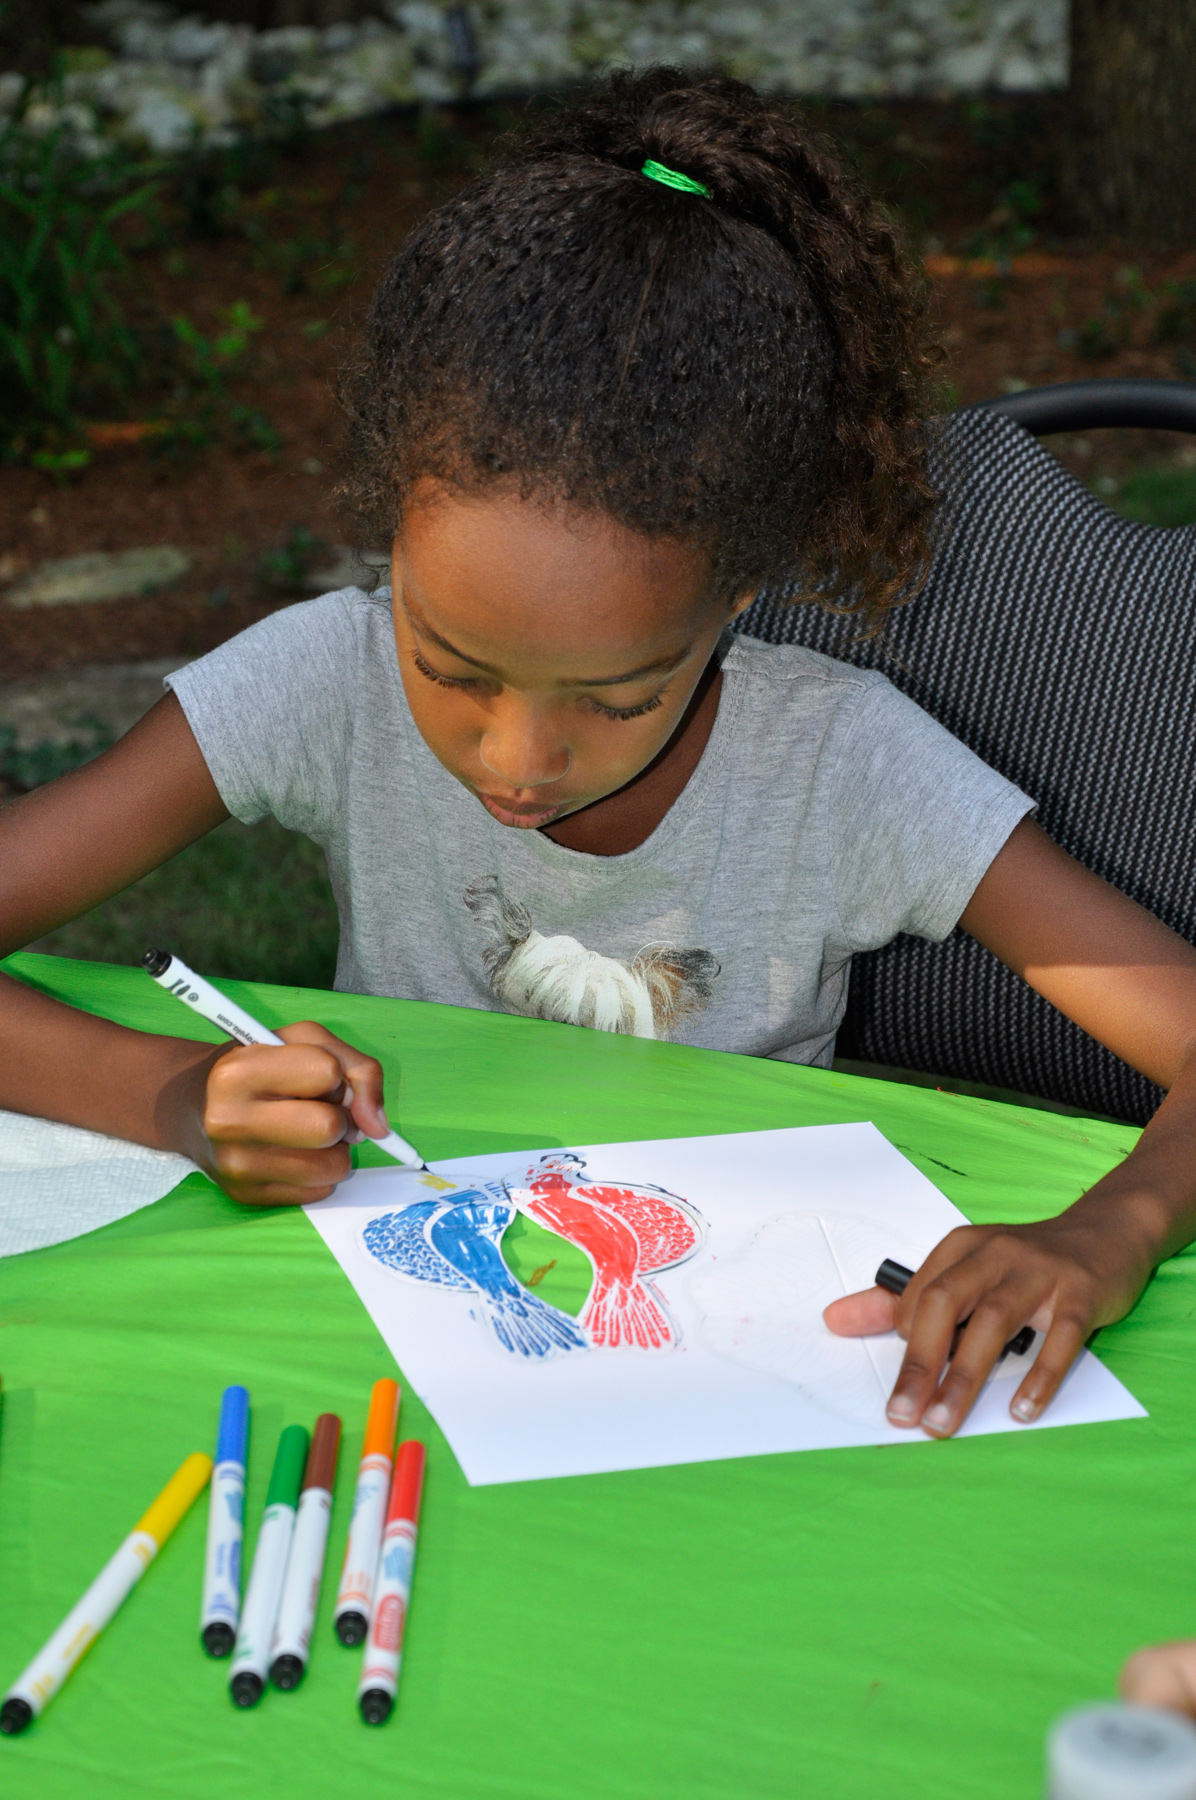
The best part is that at first, the Color Reveal Birds don’t look like much. Once you add markers, however, watch for emerging patterns!
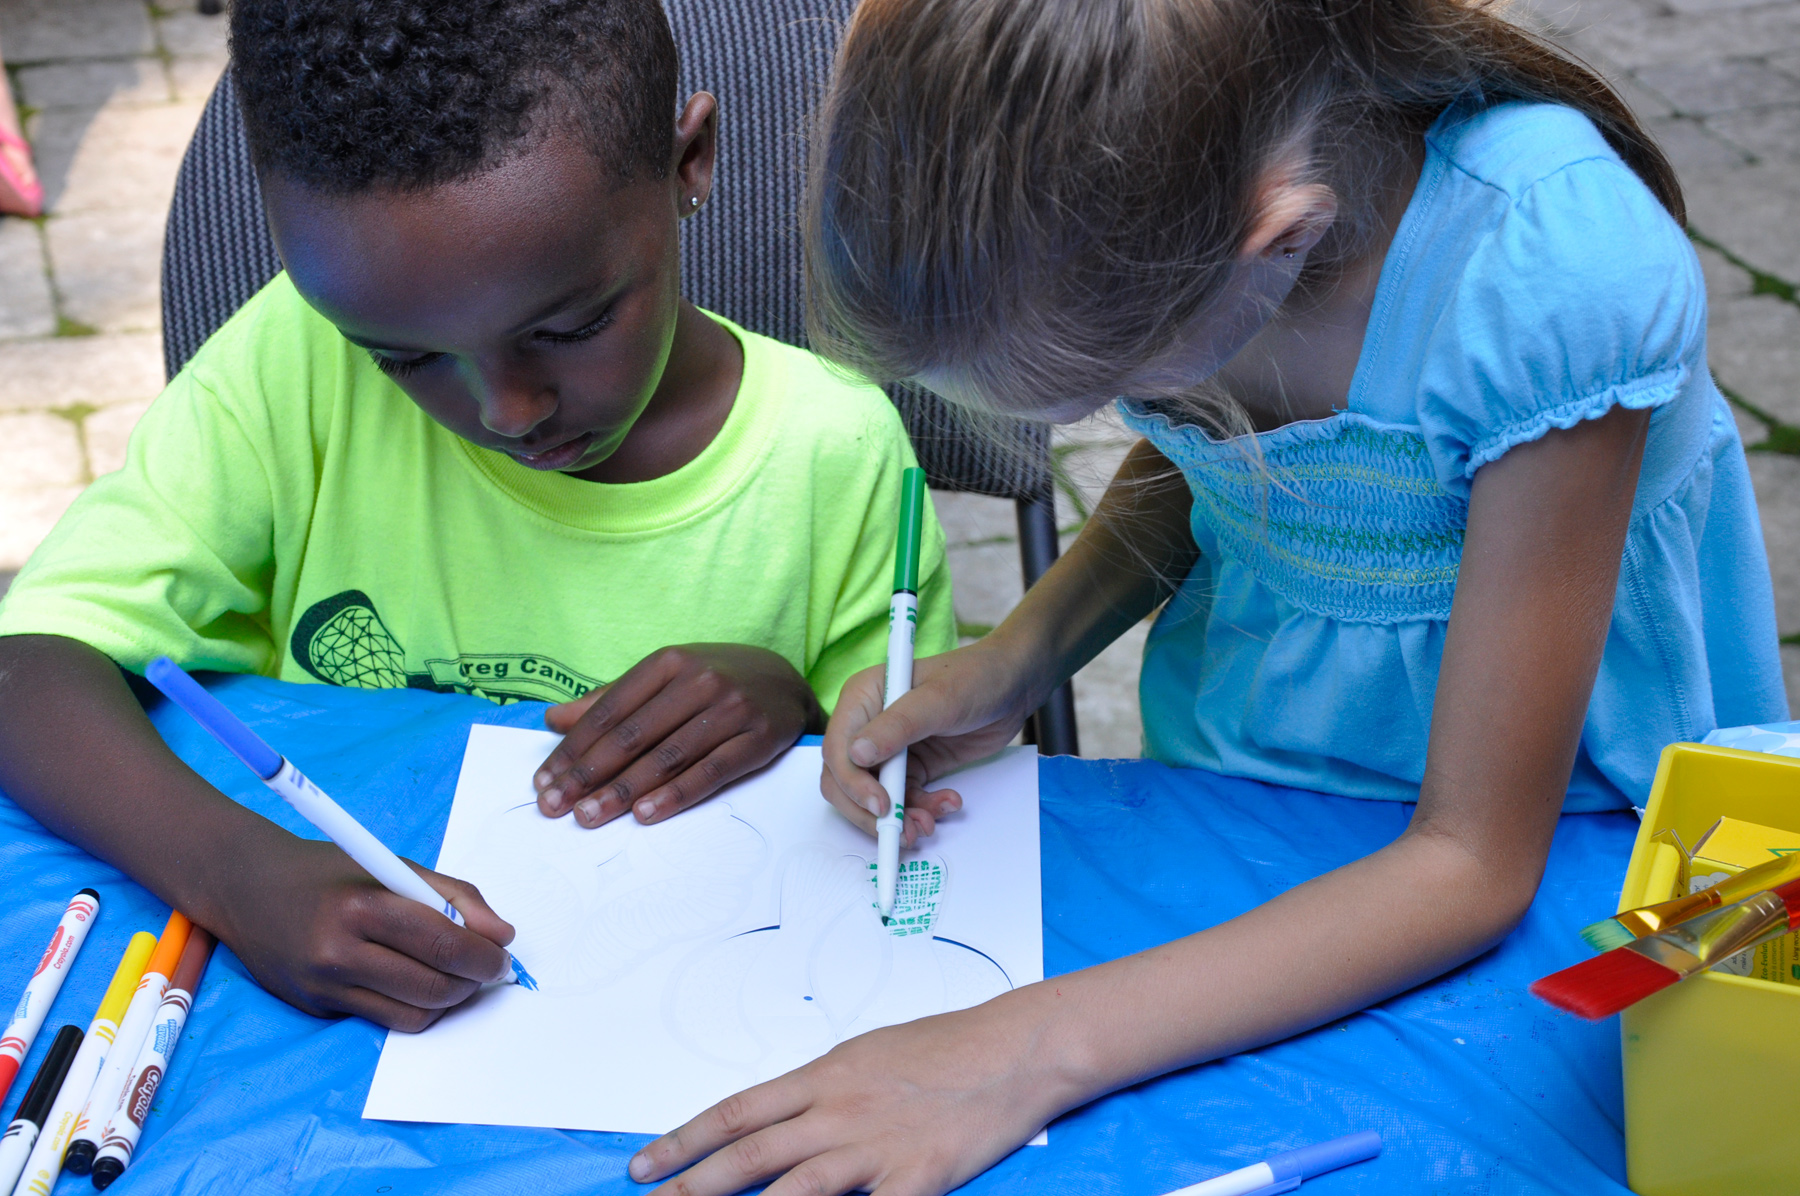
Combine colors together! Color the bird’s head blue and its body red, then switch for another color–such as blue–for its wings!
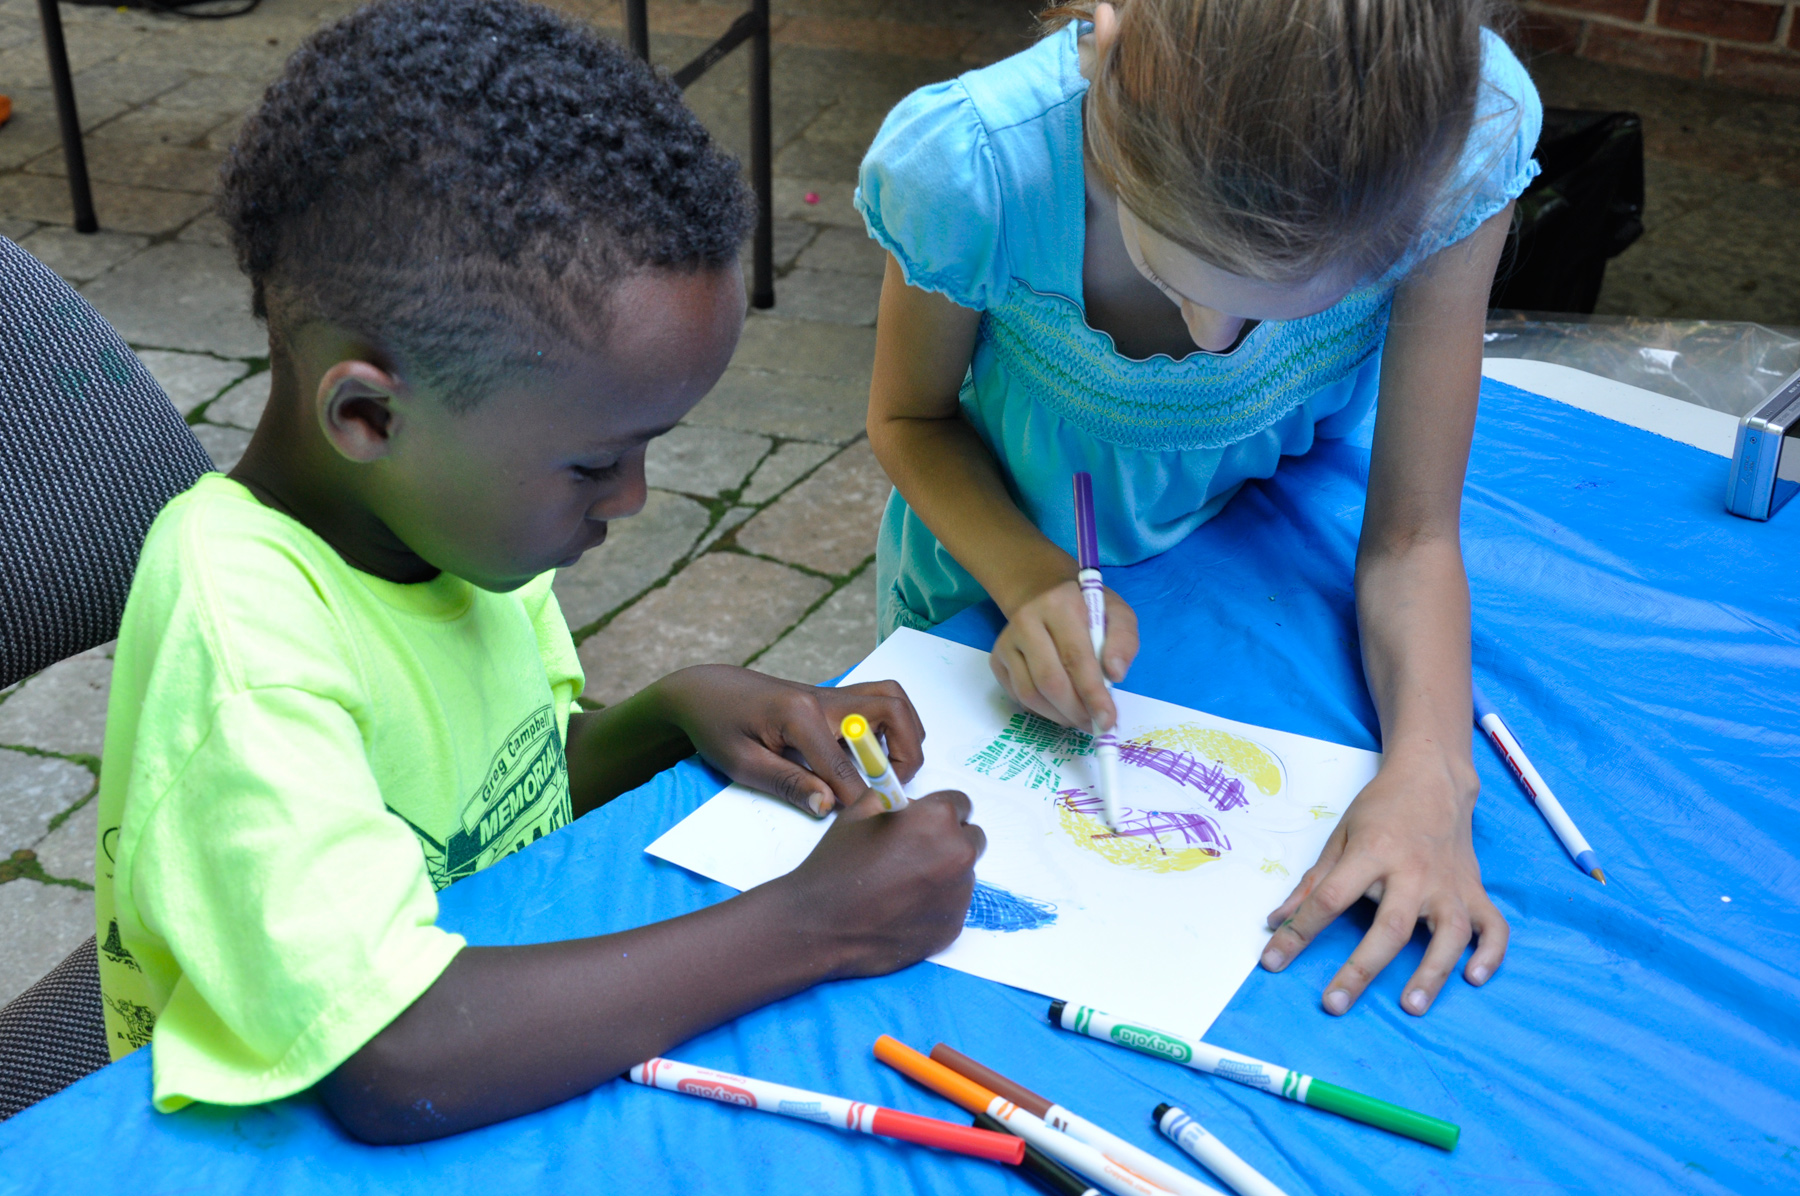
Make sure you use thick markers that can cover a lot of surface area. The best effect is achieved when the entire bird is colored in.
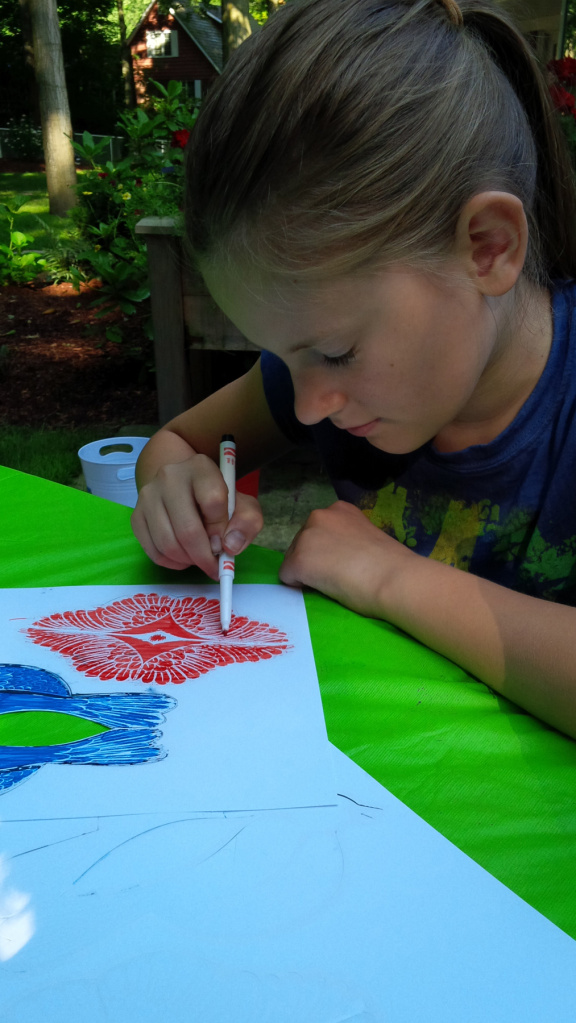
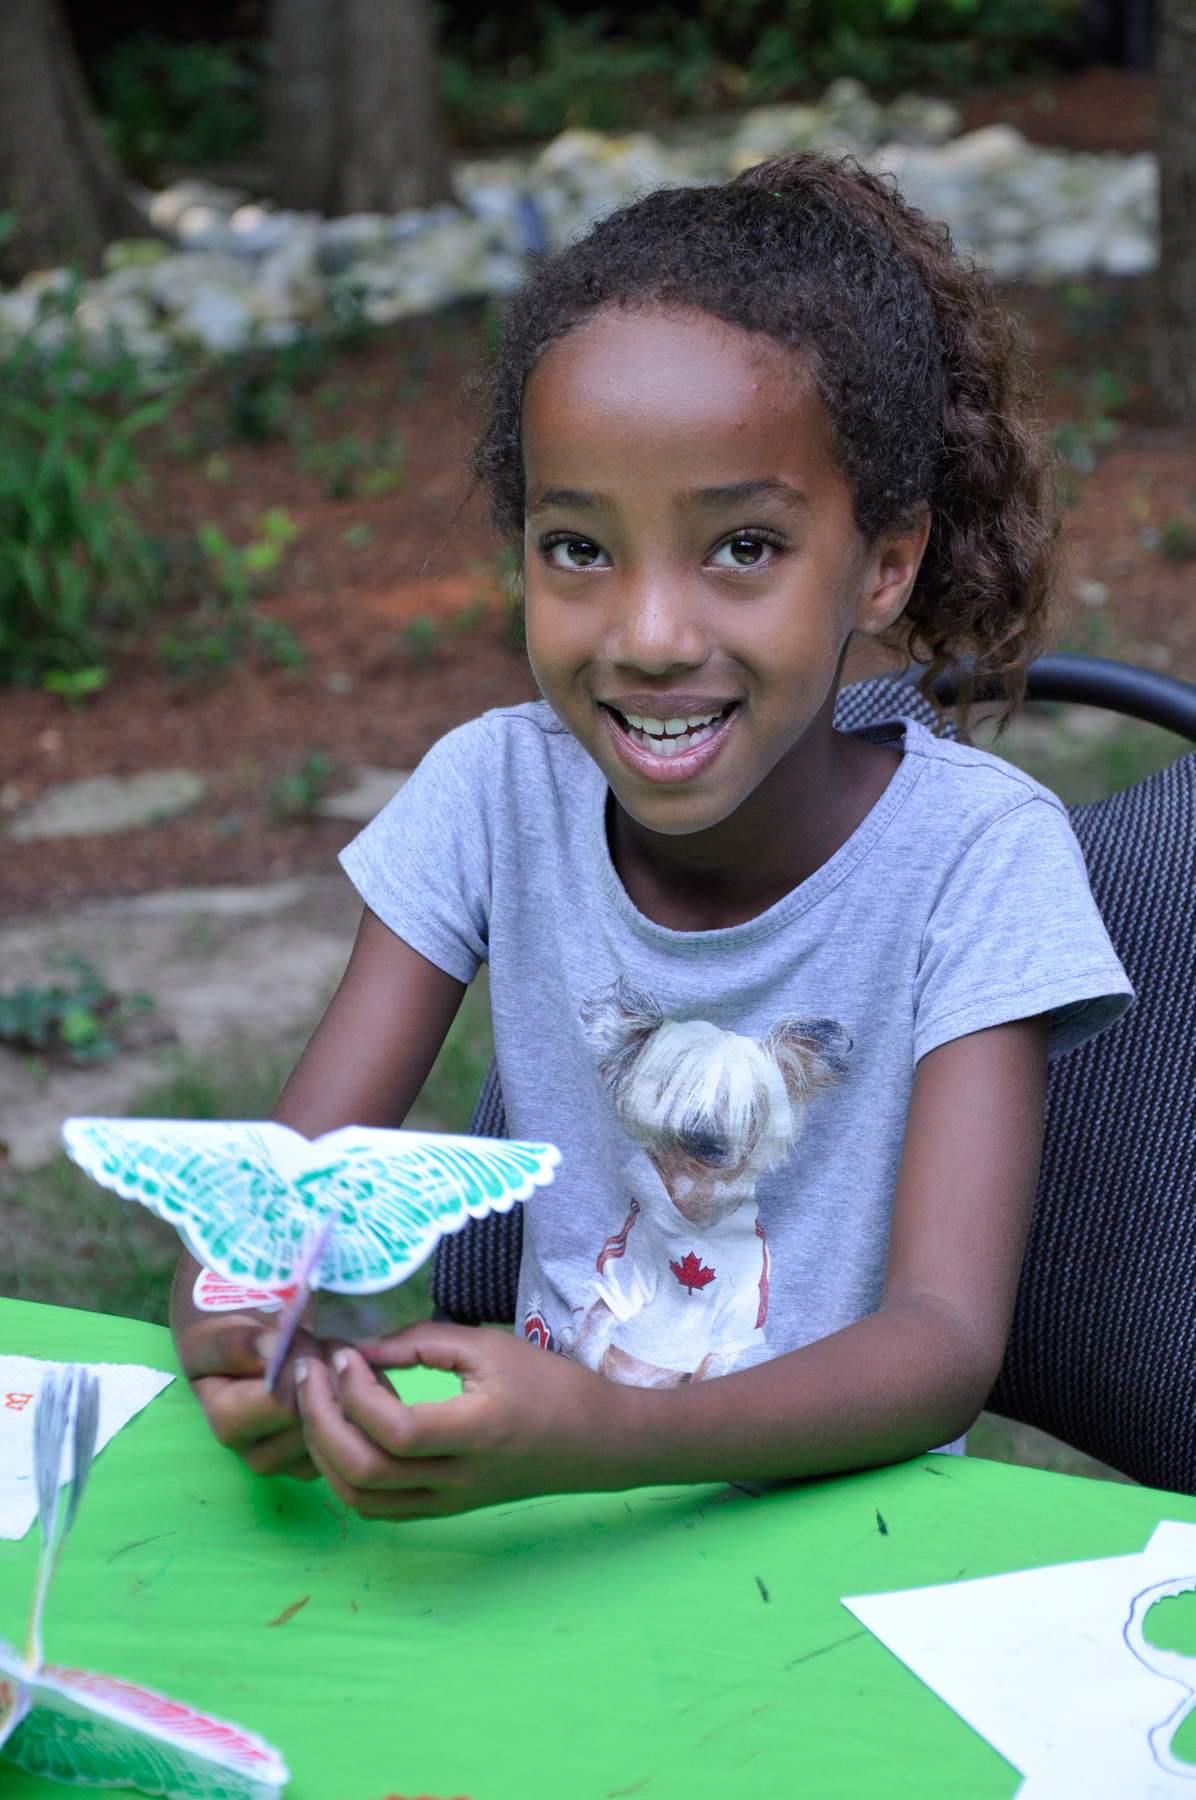
We got many different kinds of designs!
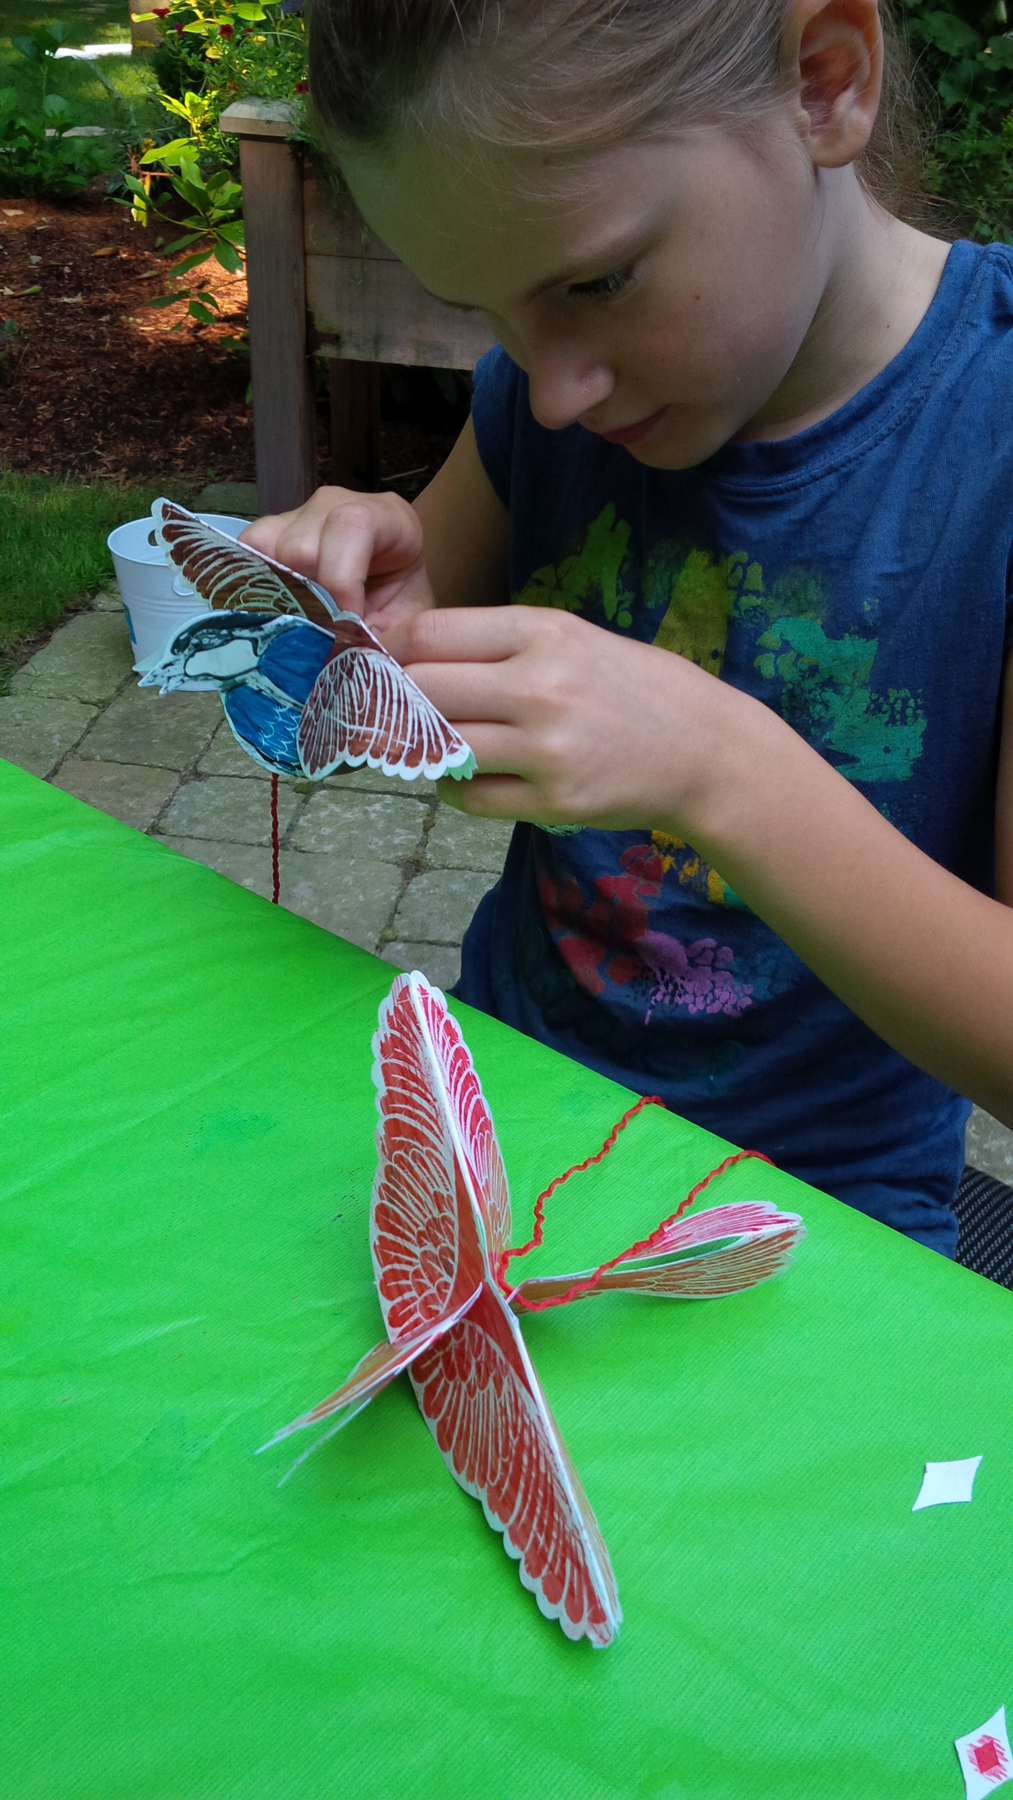
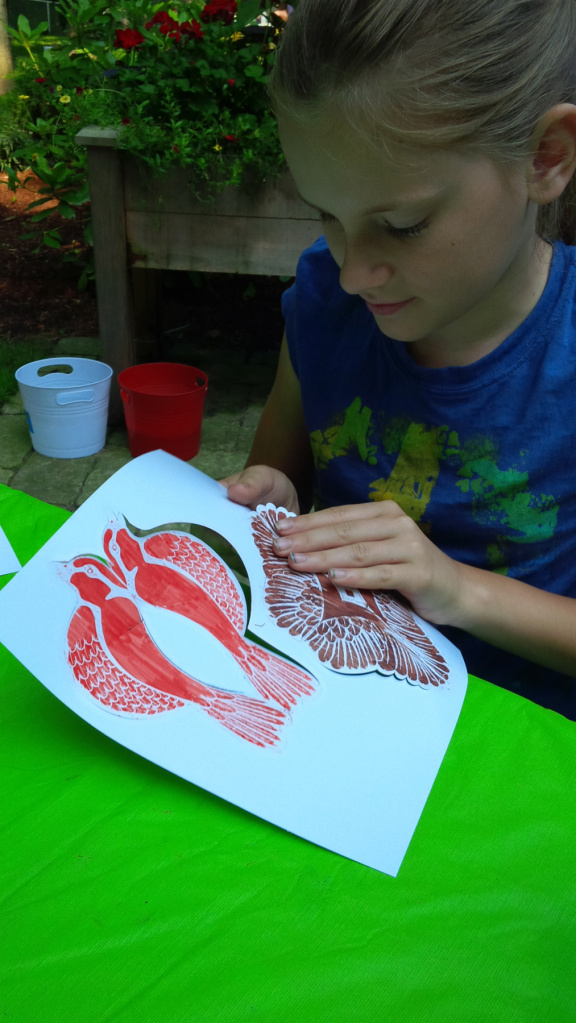 When you are finished coloring, pop out the bird from the backing. The pieces are already scored to make it easy for you to remove them from the sheet.
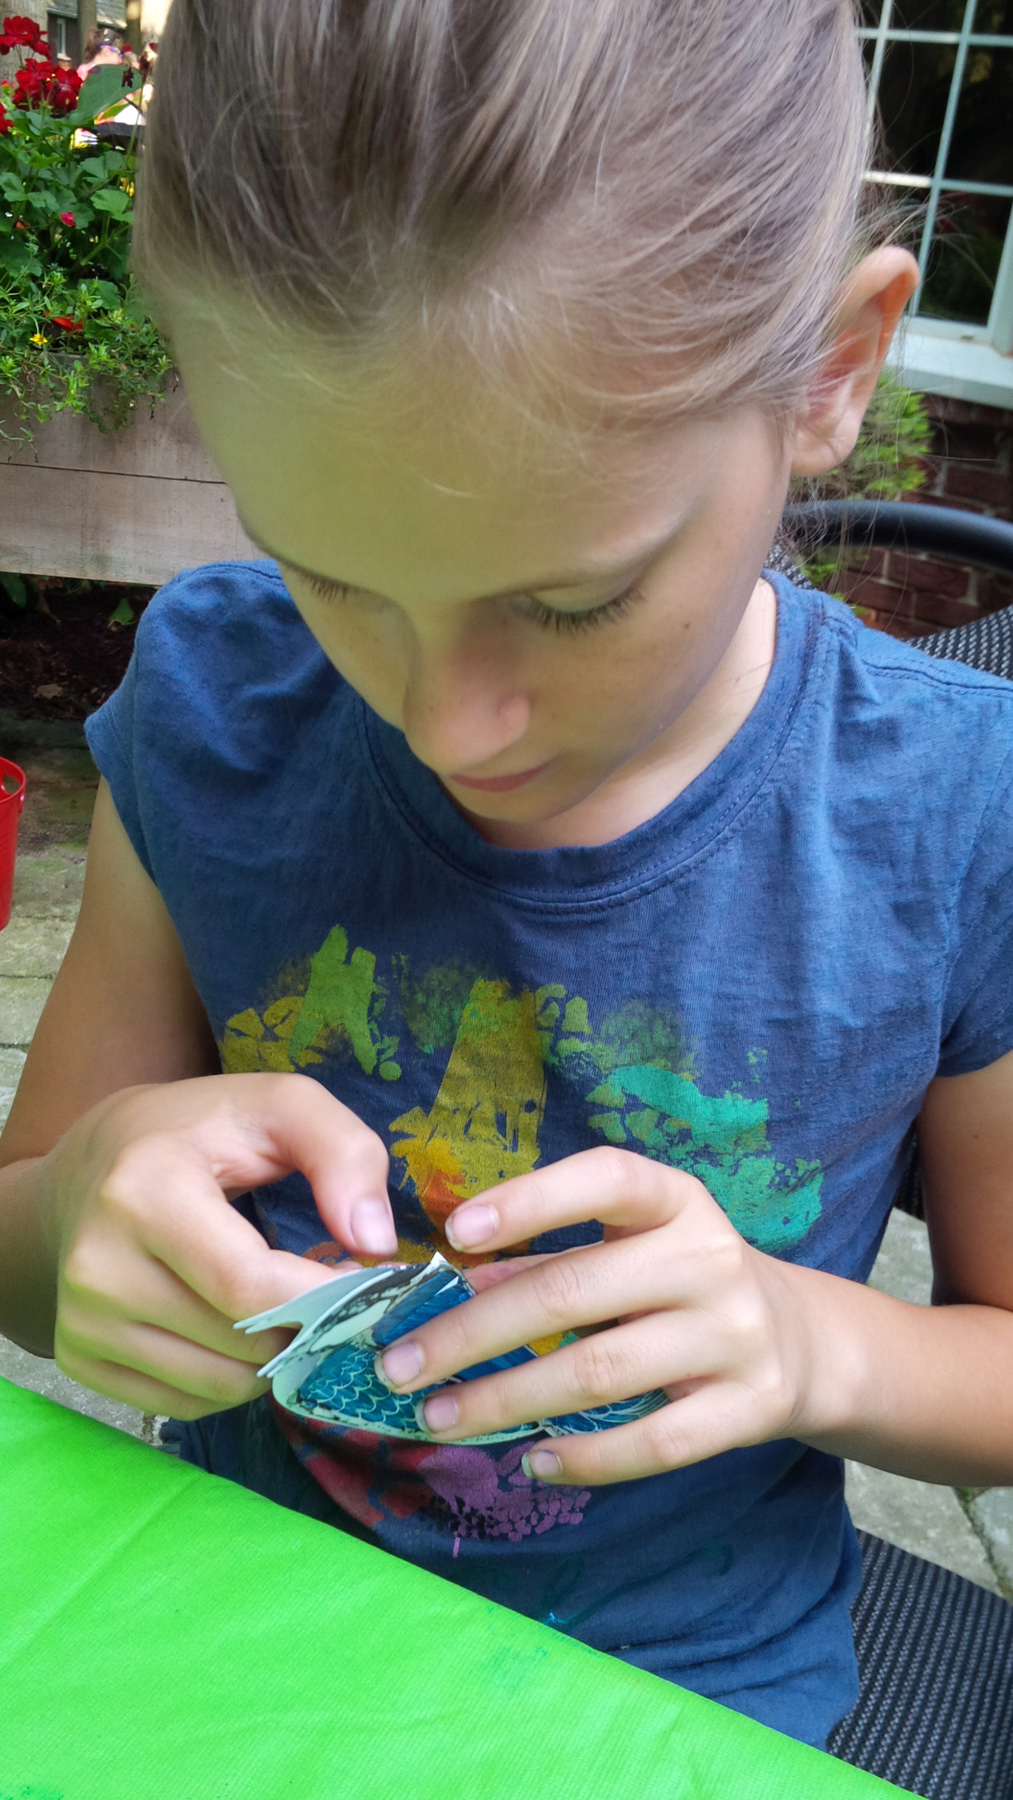
Fold the bird’s body in half down along the middle.
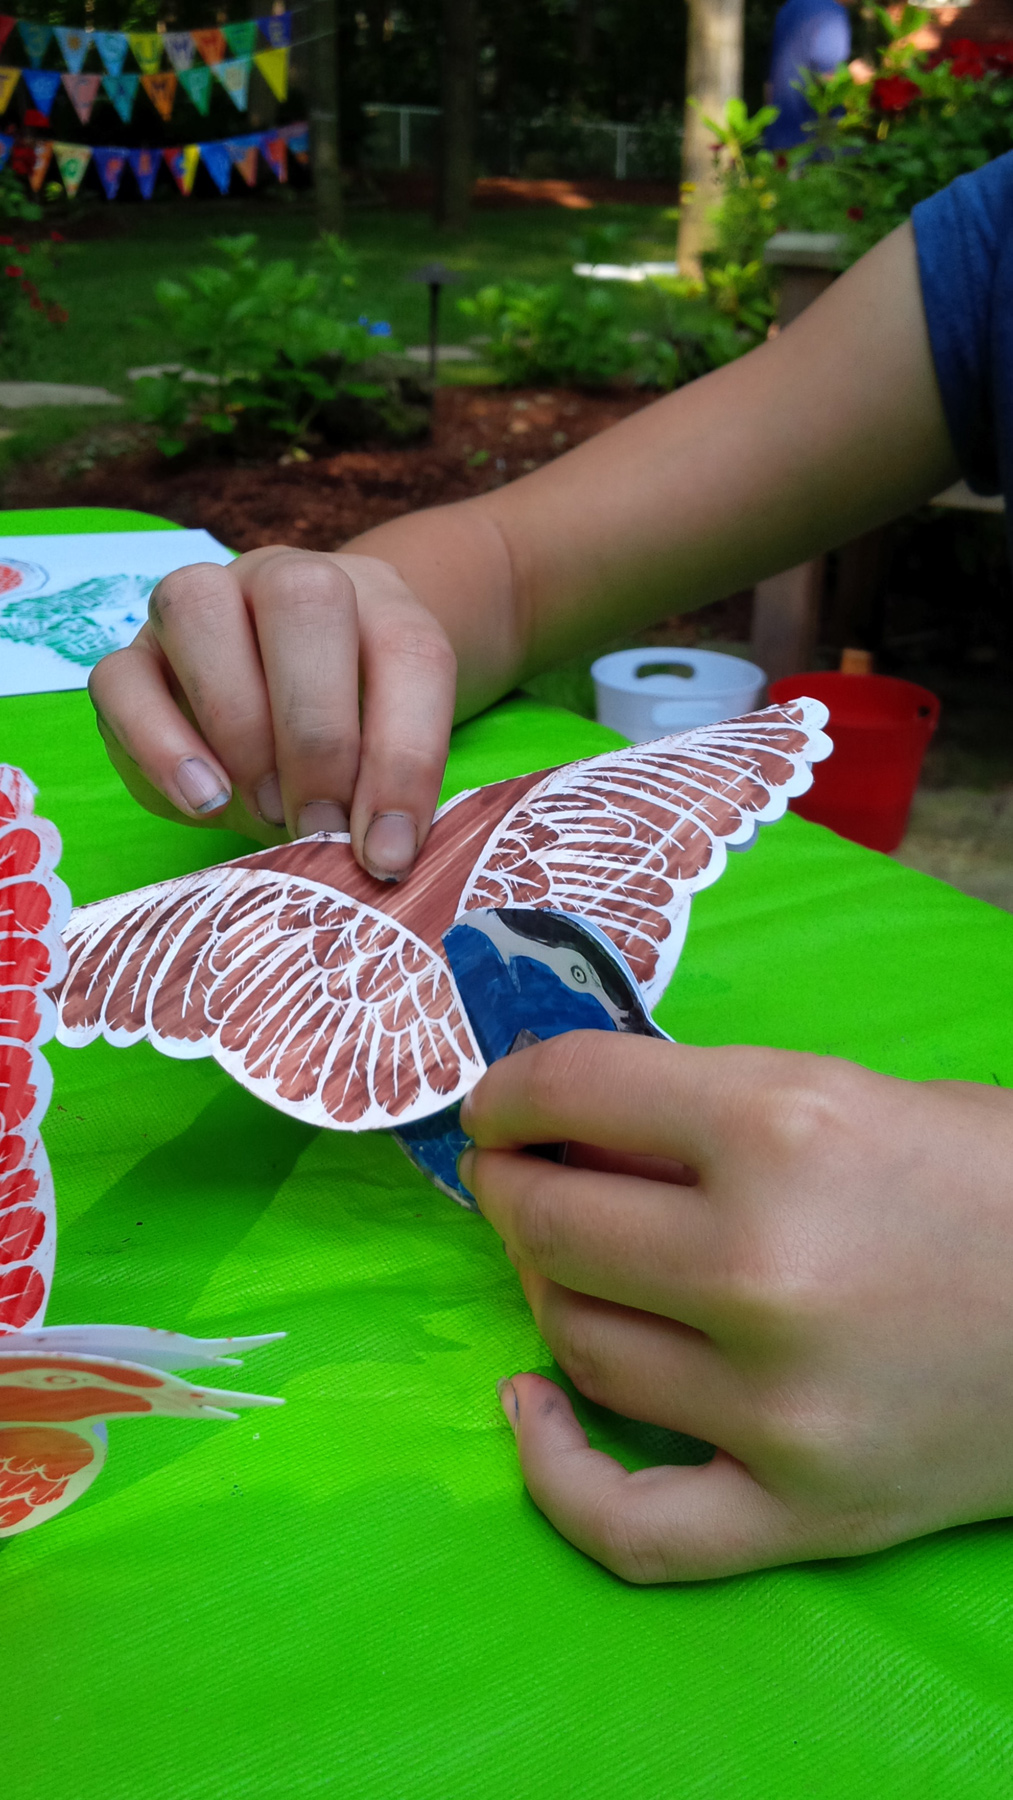
There are two slots in the top of the bird’s body. These slots allow you to easily slip the bird’s wings onto the top.
In addition, there are two notches in the back that help secure the bird’s wings at the back. This will also help fan out the bird’s wings.
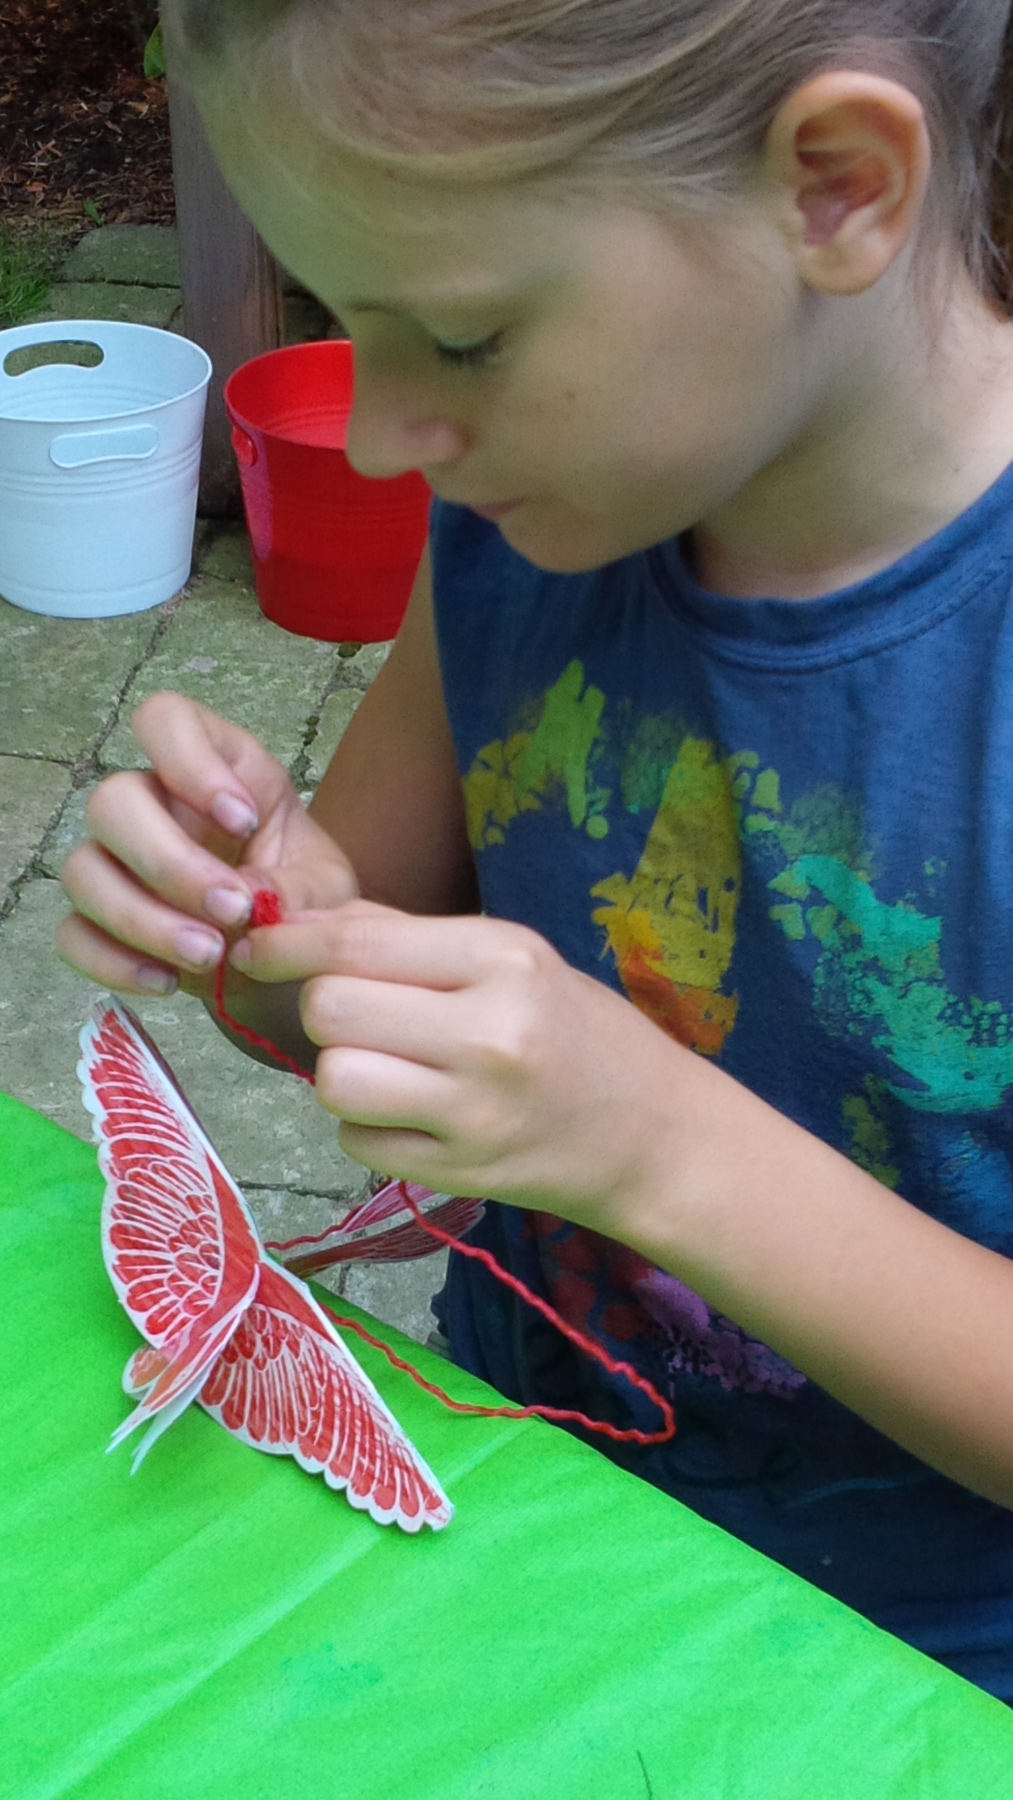
The top of the bird’s body features a hole punch that can be used to thread string through.
Knot the ends of the thread together.
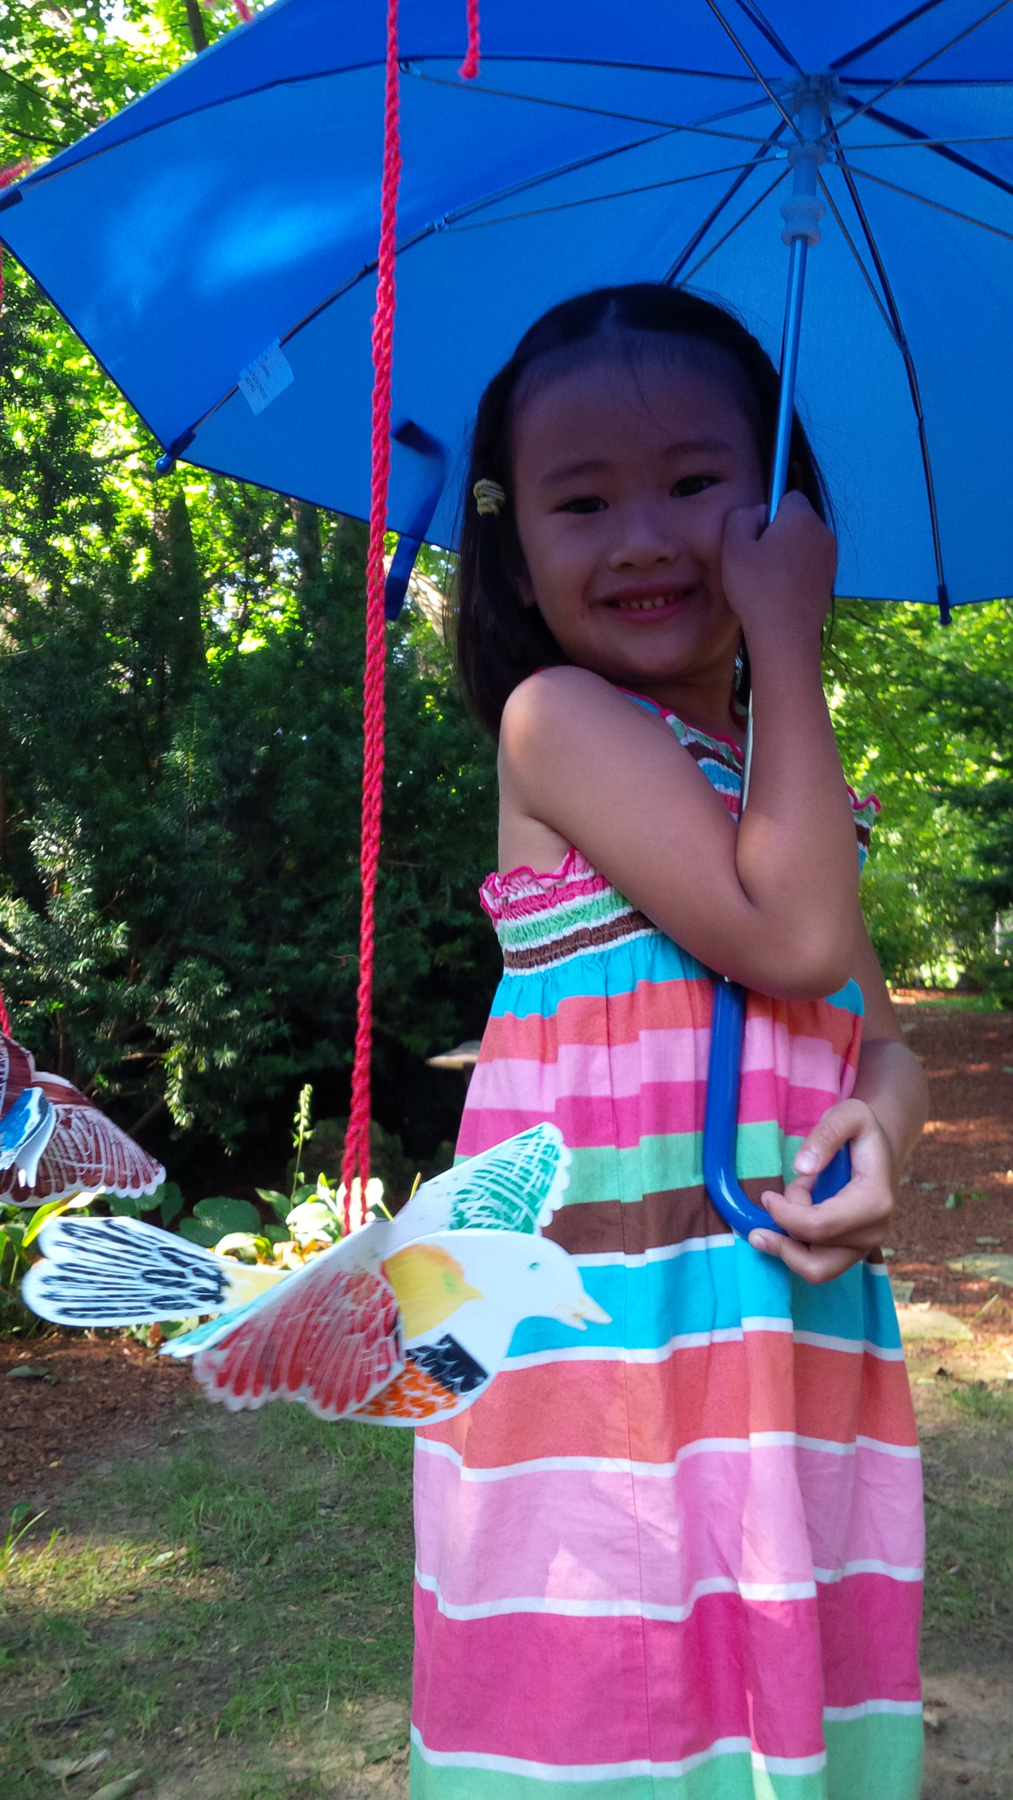
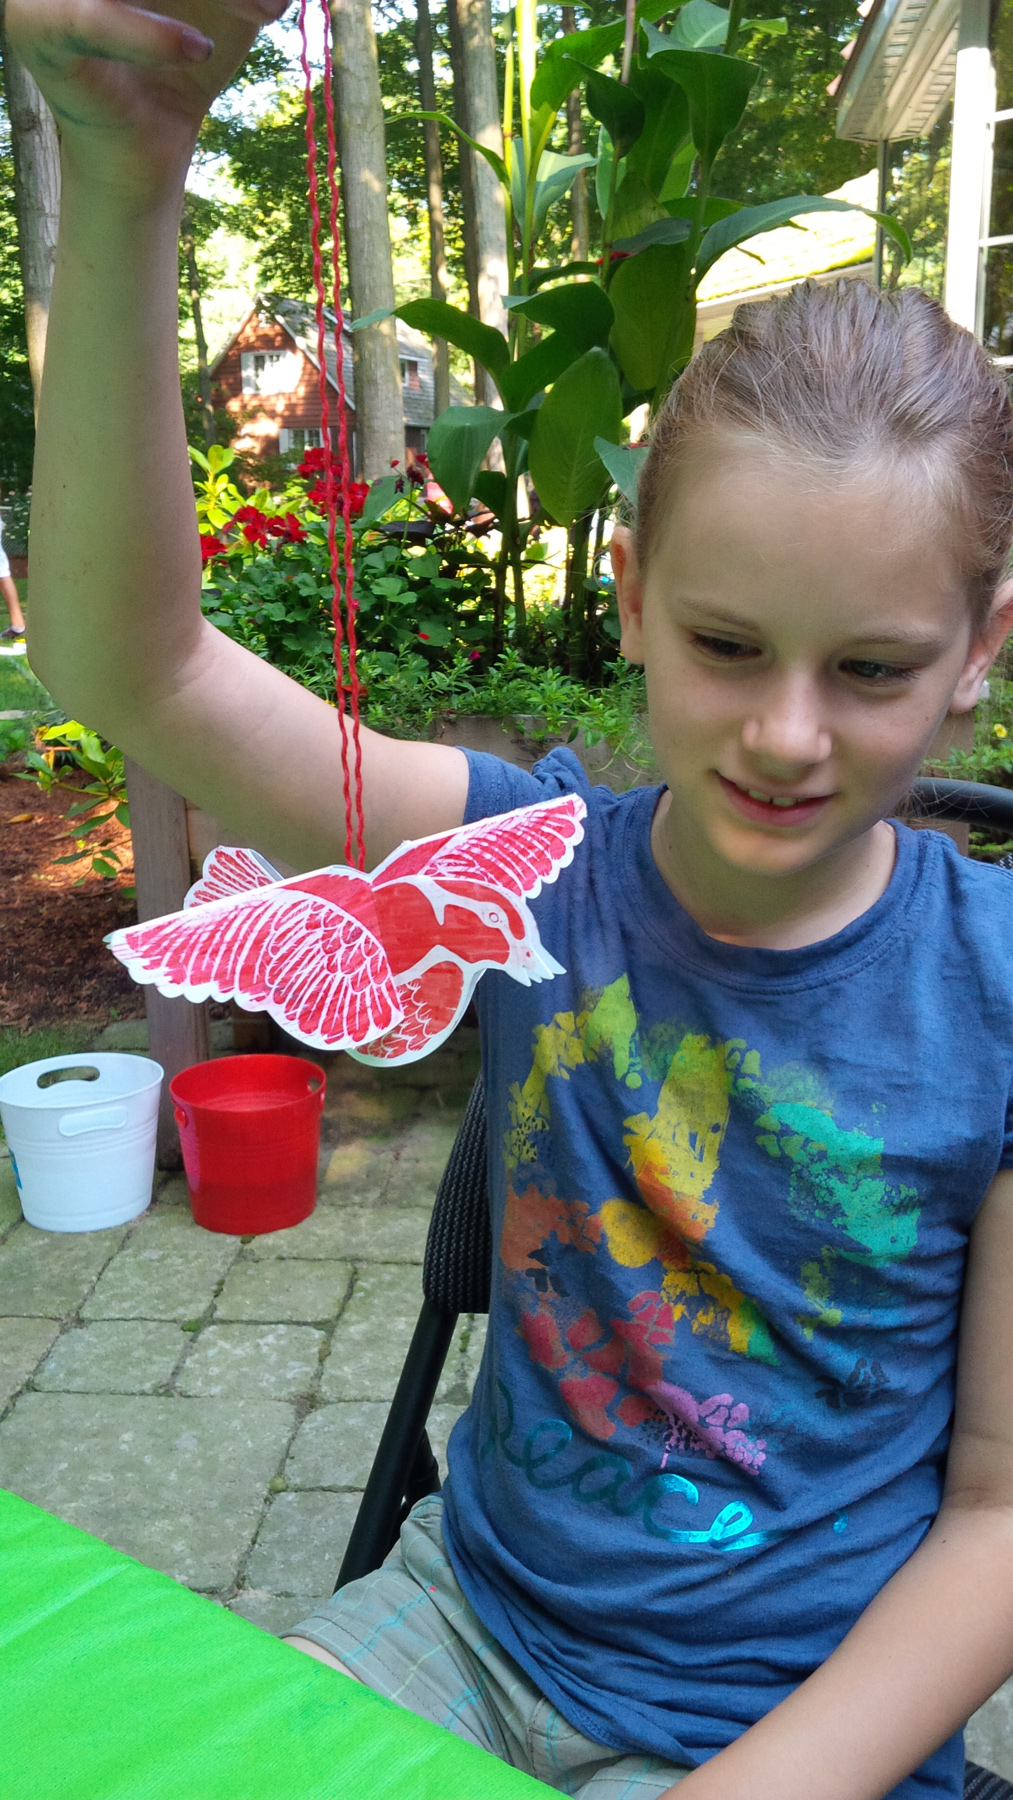 Ready to hang!
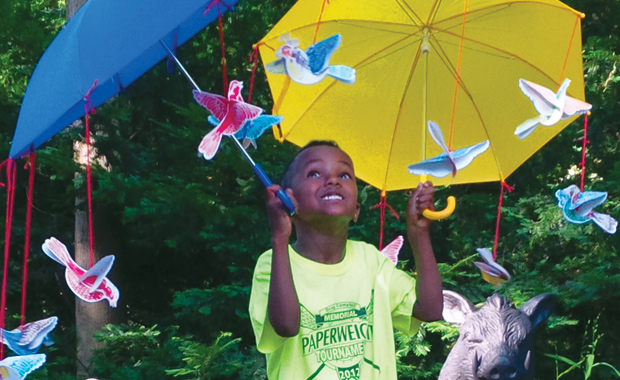
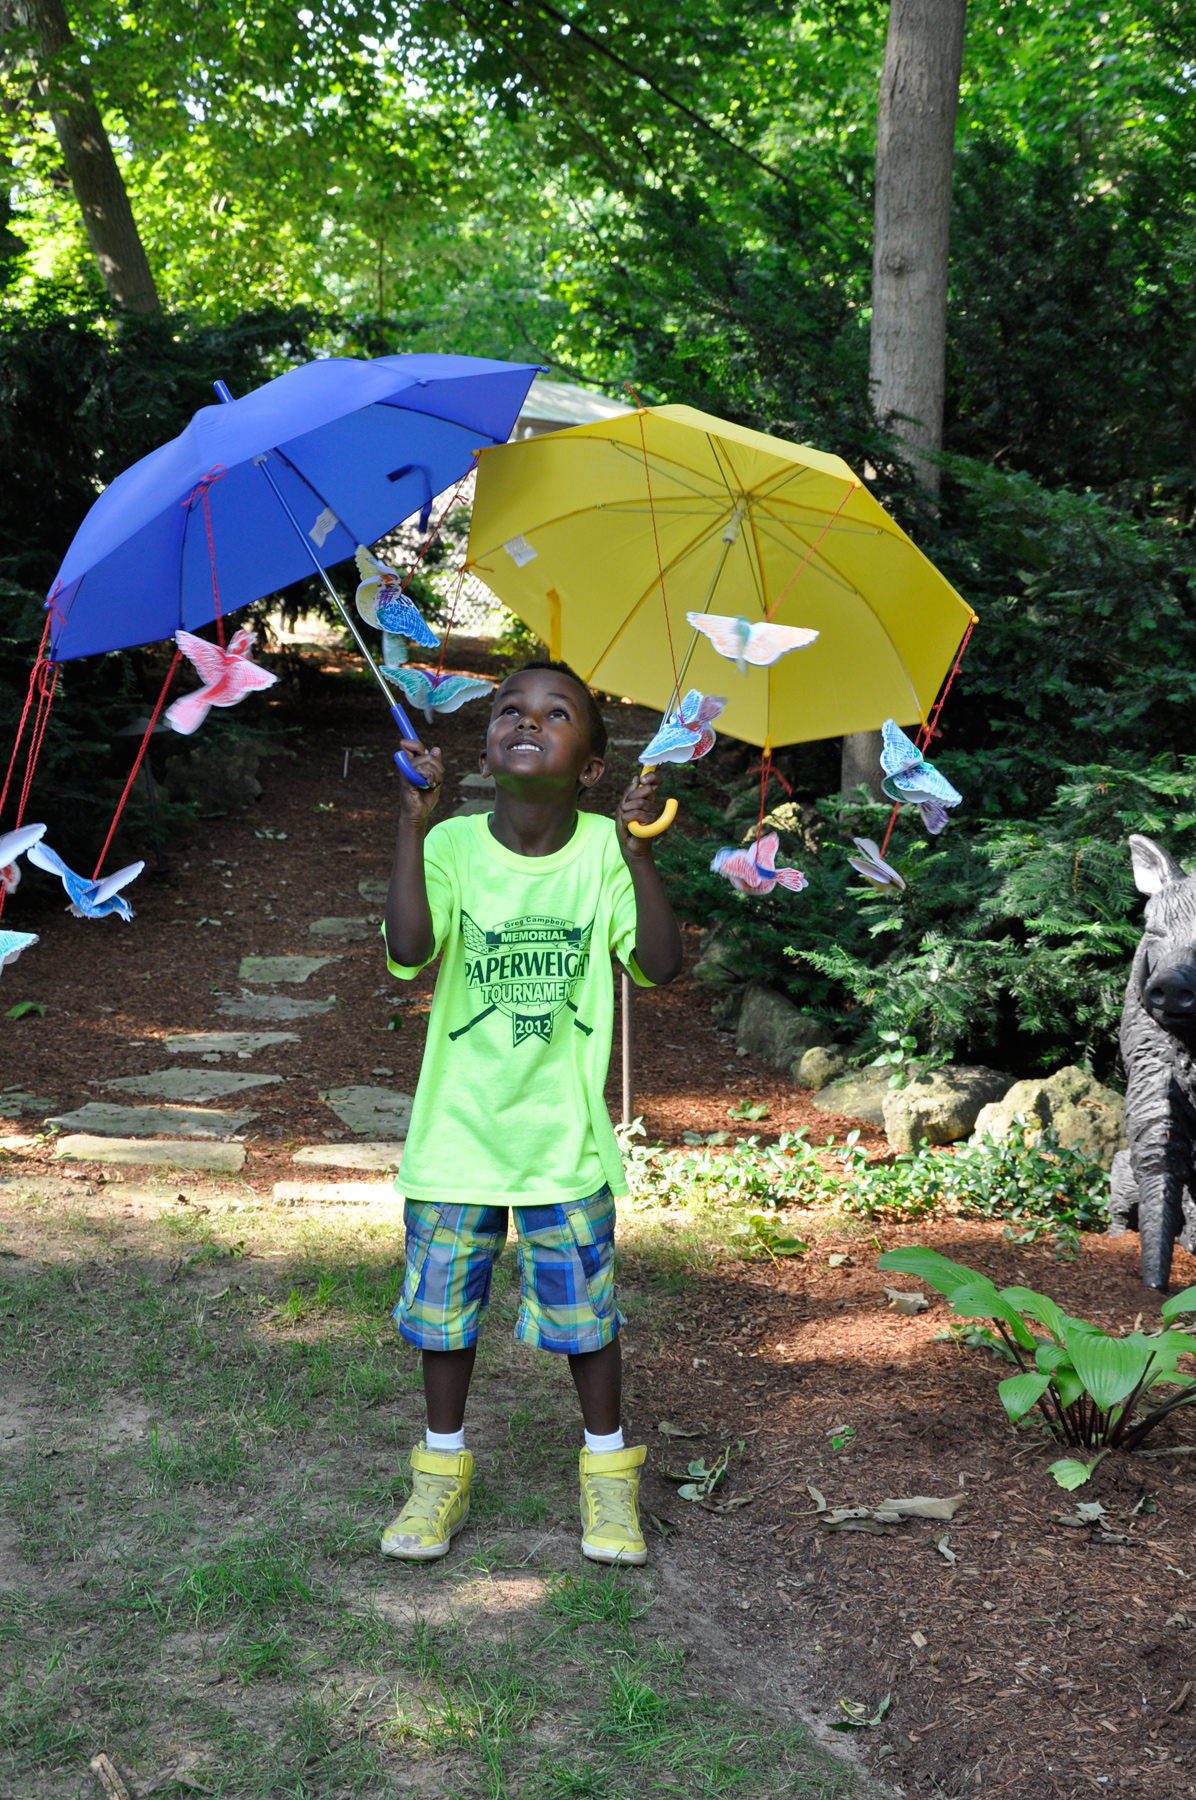 Our art campers had so much fun with finding places to put the birds. But the best of all was getting to attach the birds to the spokes of cute kid-sized umbrellas.
A flock of birds are approaching!
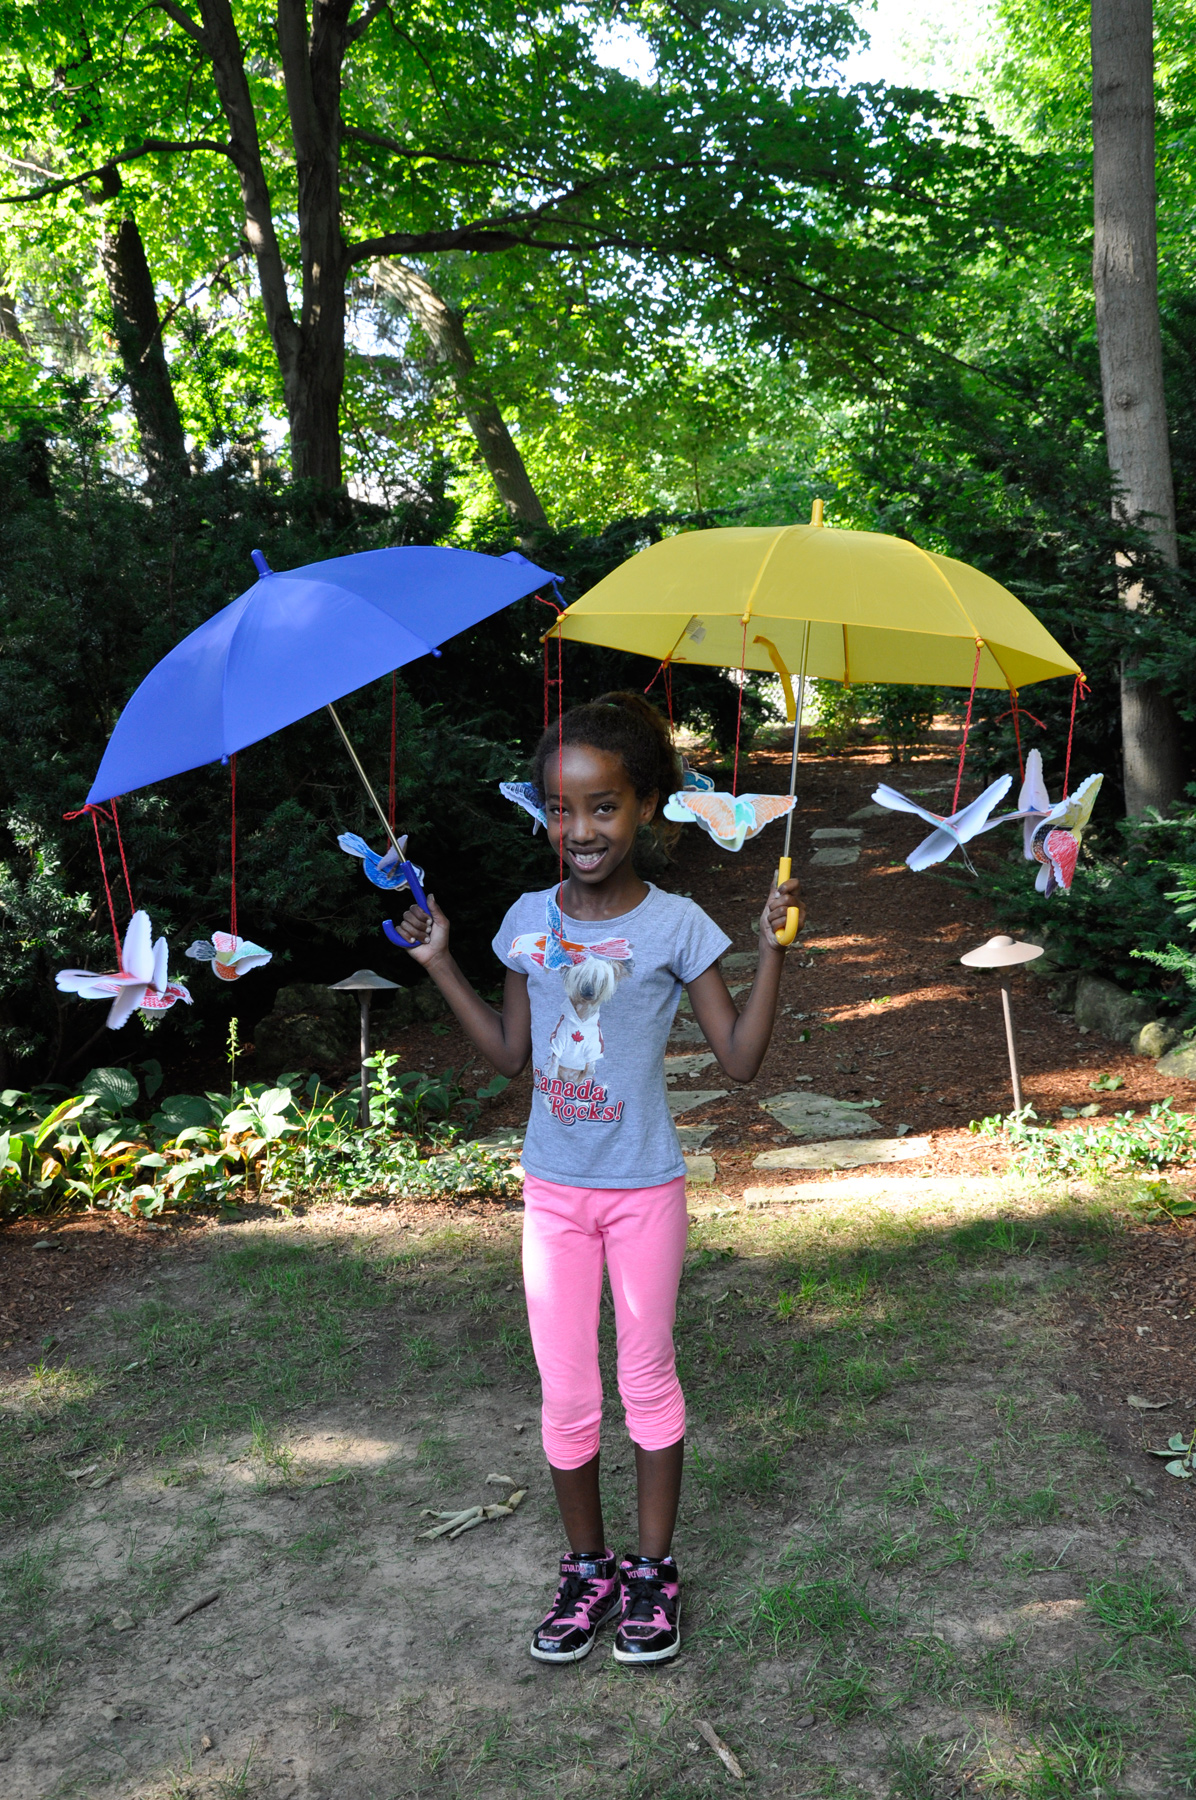
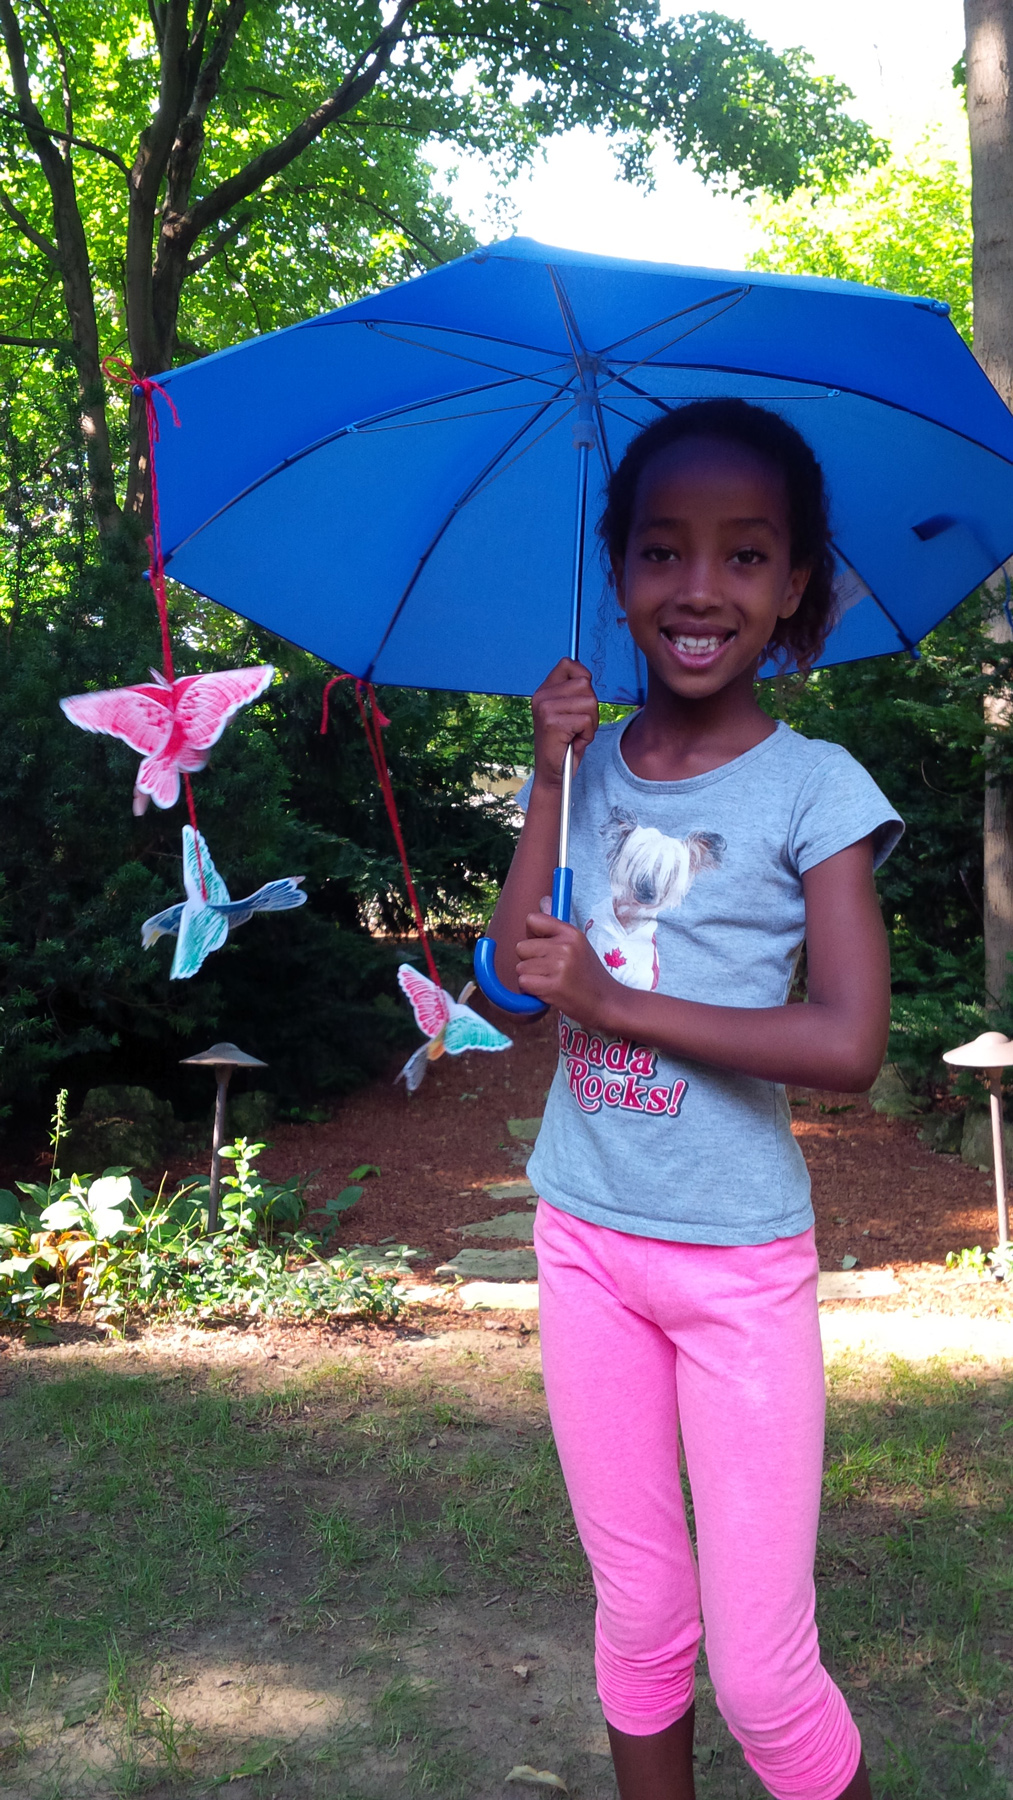
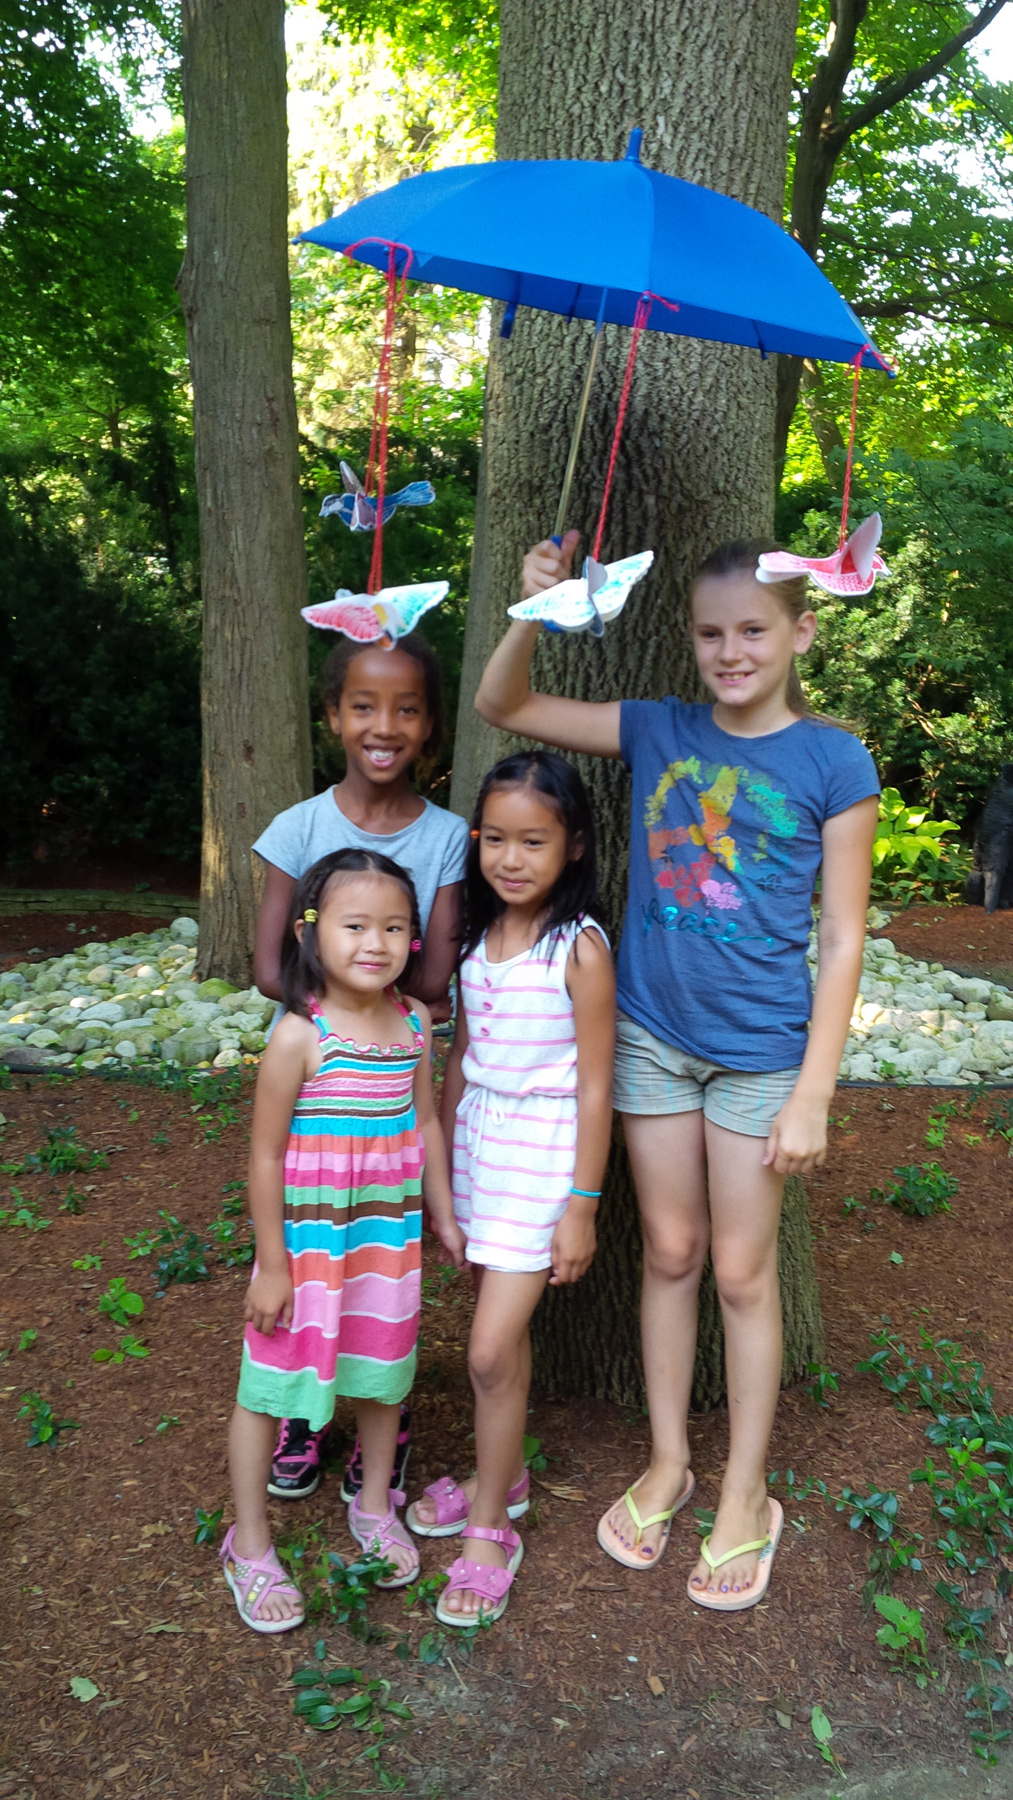 Here’s another great shot of our campers with the bird umbrella!
They just loved posing with it!
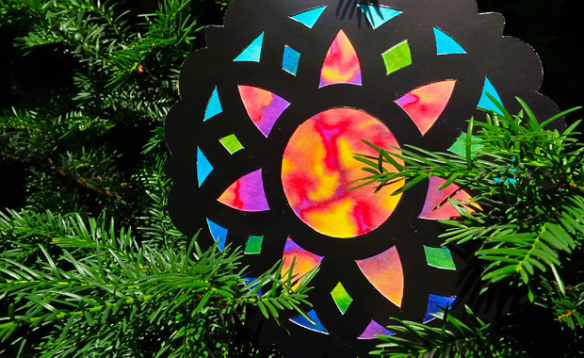
Hang the birds from a classroom mobile or use to decorate a window!
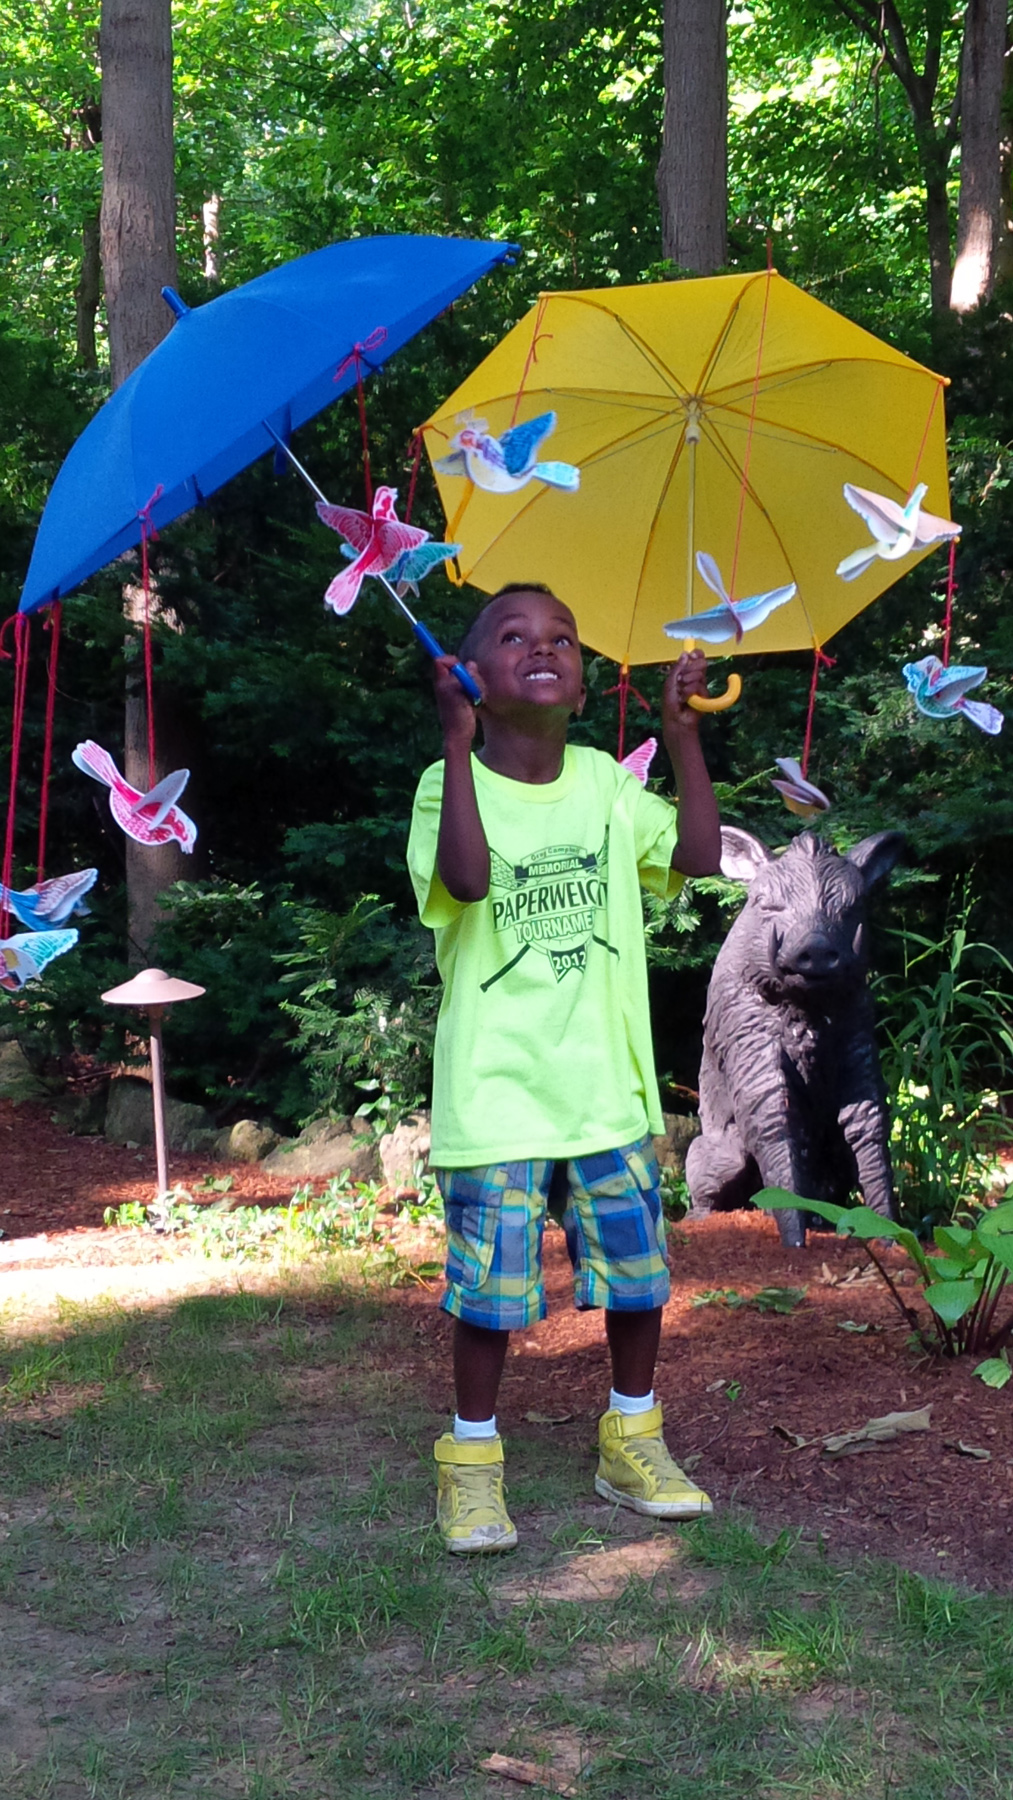 Great job, campers!

Thanks for checking out this post! Like us on Facebook, Share this post with your friends, or Subscribe to this blog today to receive original craft project updates every Monday, Wednesday and Friday!

![]()