Chinese Lanterns

Color-In Chinese Lanterns Craft

2014-02-12-FeatureImage

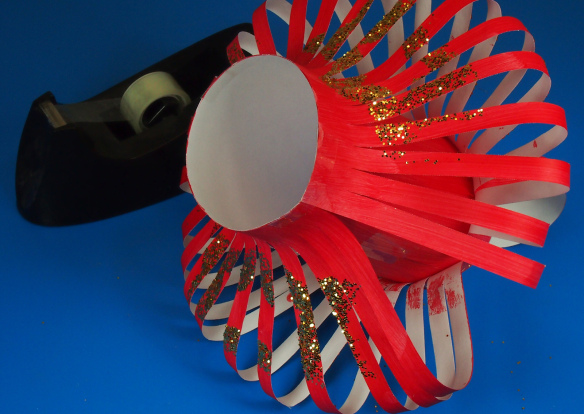
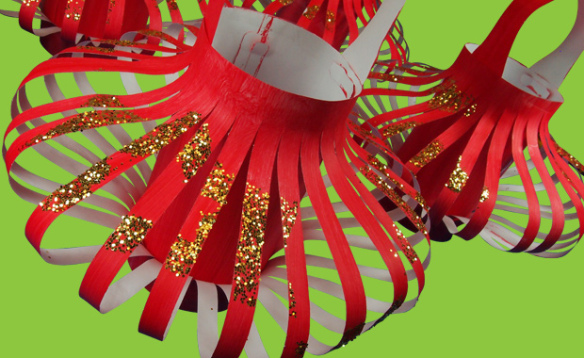
Get ready for Chinese New Year!  Learn how to create lanterns can help students work with form and color to create these awesome, decorative projects. We’ll show you the step by step process using our R22021 Color-In Chinese Lanterns and our R55009 Shape Sponges!

Age: 5+

Duration: 20 minutes

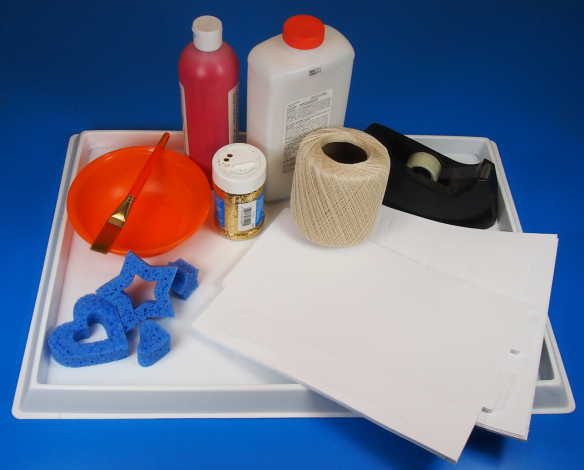
You’ll Need:

• R22021 Color-In Chinese Lanterns

• R55009 Shape Sponges

• Paint

• Glue

• Glitter (if desired)

• Paint tray

• Paint bowl

• Paint brush

• String

• Tape

Line-18

2014-02-12-Step01

It’s a good idea to use newspapers to contain glitter!

Each of the Chinese Lantern projects comes with 3 pieces: a large square with lines cut into it, a medium rectangle and a wavy-looking long piece.
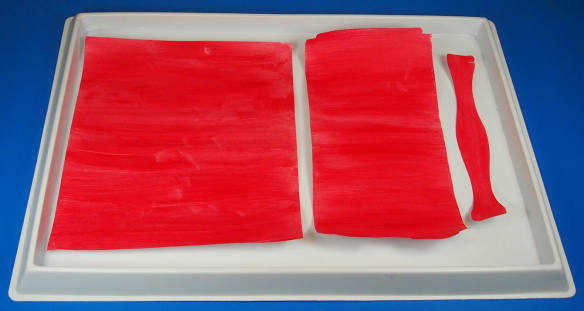
2014-02-12-Step03Set each piece inside your paint tray. Paint all 3 pieces in a flat color. If needed, paint on two or three layers. When you are satisfied with the strength of the paint color, set aside to dry.
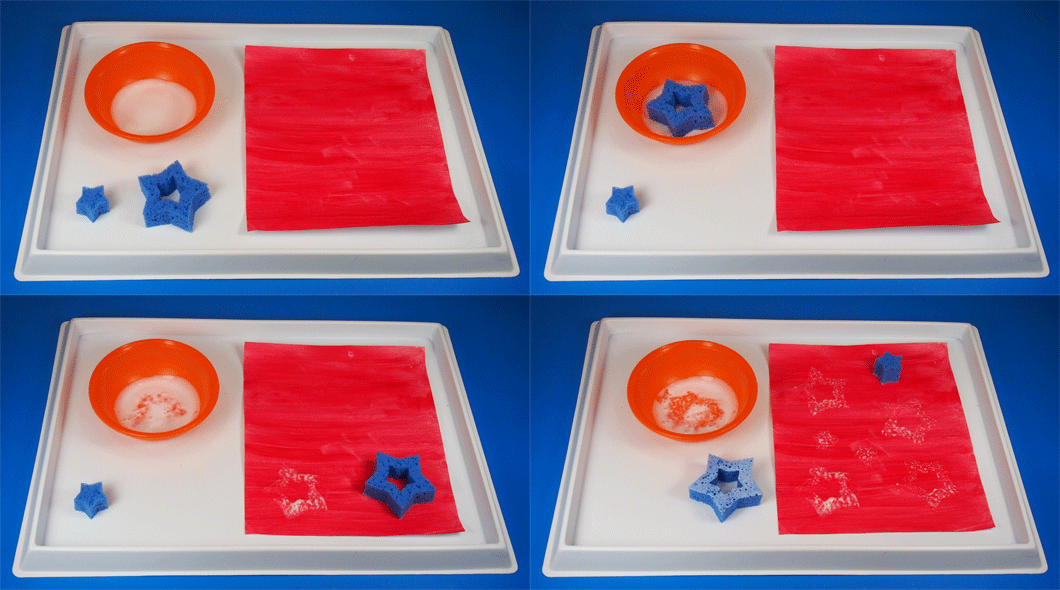
2014-02-05-Sponge-AnimationOnce the large square piece is completely dry, get ready to decorate it! Fill a plastic bowl with a bit of white glue. Select a favorite sponge shape and dip one side into the glue. Carefully stamp the sponge shape 4-6 times across the square lantern piece.
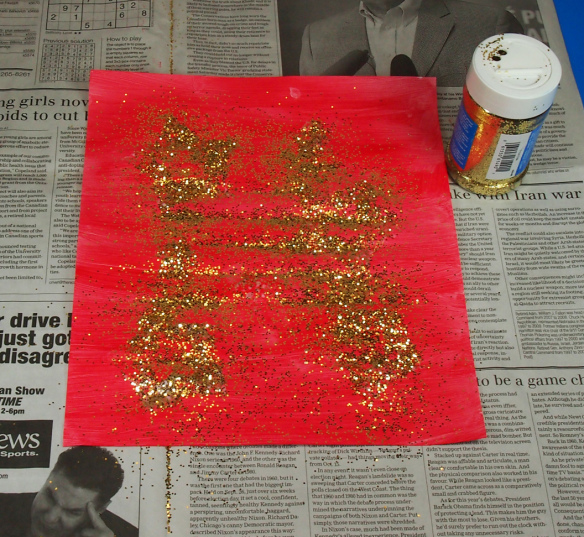
2014-02-12-Step05Make sure you do this step quickly, before the glue dries! Place the square piece onto newspaper. Sprinkle gold glitter glue completely on top of the stamped glue areas.
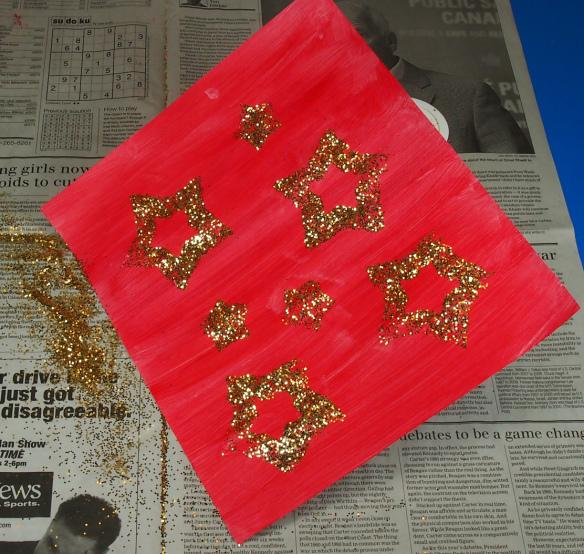
2014-02-12-Step06When the glue and glitter have dried, gently lift up one edge of the square piece and shake off the excess. Only the parts where the glitter met the glue will remain on the square piece. This creates a lovely surprise for students! Tip: Try to separate the die-cut lines if they are stuck together from the paint/glue.

2014-02-12-Step09

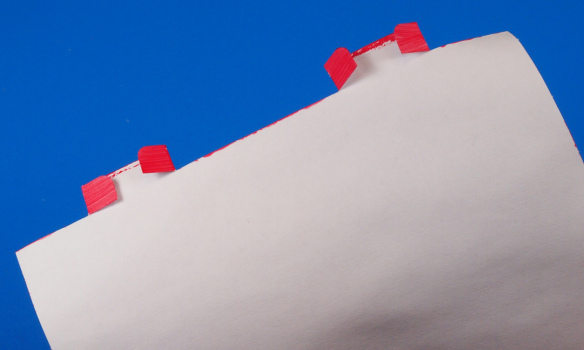
Now it’s time to switch back to the medium rectangle piece. There are two tabs at the top and of the rectangle piece. On the bottom are two slots. Flip over the piece and locate the tabs. Grab the sides of the tabs and fold them into the center.
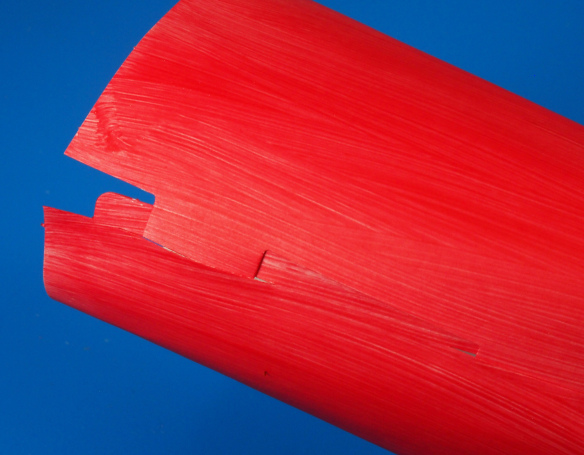
2014-02-12-Step10Roll the rectangle piece into a tube. To secure the tube, slide the folded tabs into the slots.
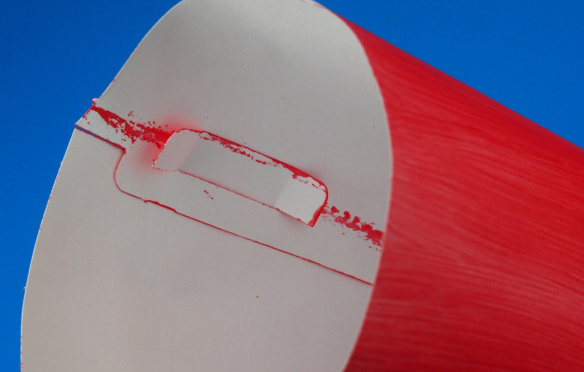
2014-02-12-Step11Reach inside the tube and unfold the tabs to “lock” in place.
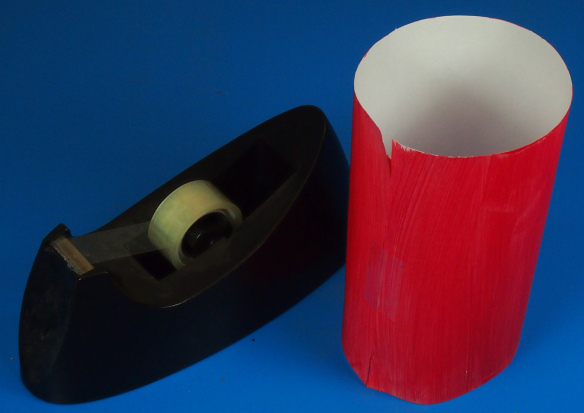
2014-02-12-Step12You can reinforce the tube with a bit of tape!
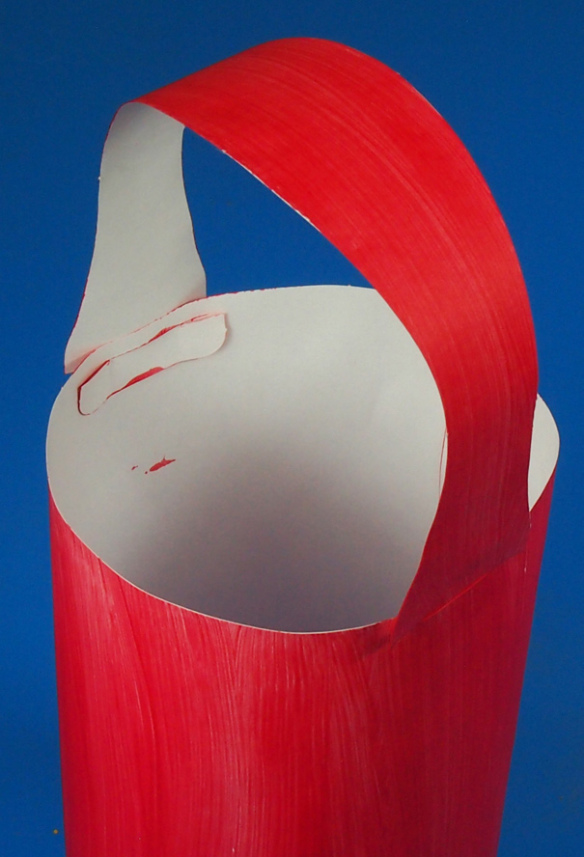
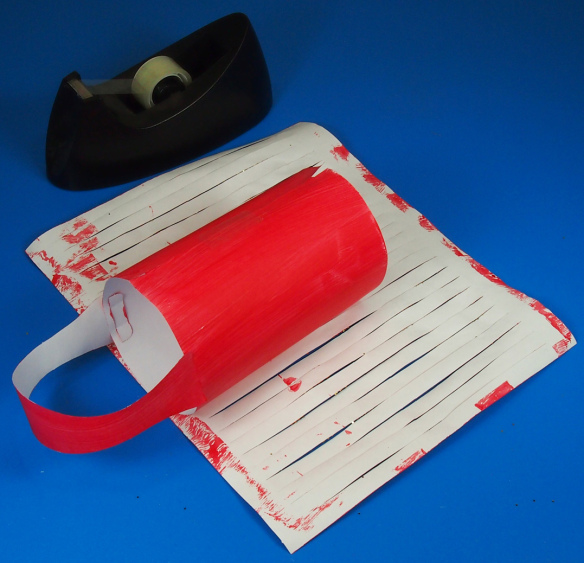
2014-02-12-Step13Now it’s time to attach the handle. That’s what the long wavy piece is for! Locate the two slots along the top edge of the tube and slide the ends of the handle through.

2014-02-12-Step14

This will create a little basket-like project. Lay your glitter-stamped square piece face down so that the unpainted side is facing up. Align the top edge of the basket tube with the top edge of the square piece.
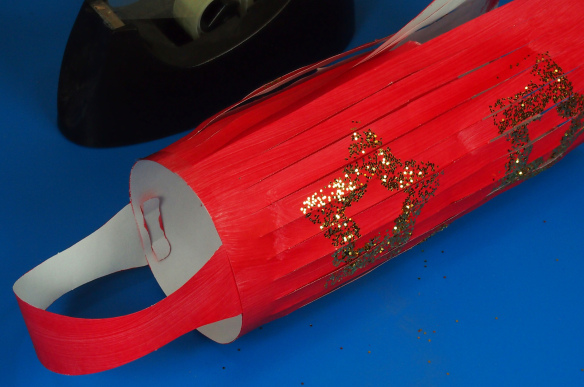
2014-02-12-Step15Wrap the glitter-stamped piece all around the tube and secure the edges together with tape.
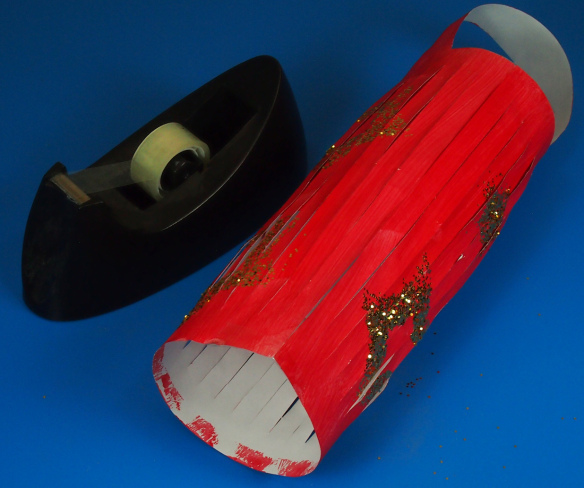
2014-02-12-Step16Now, flip the lantern over. To create the bowl effect, you need to match the bottom edge of the square piece with the bottom edge of the inner tube. This will cause the strips to fan out.
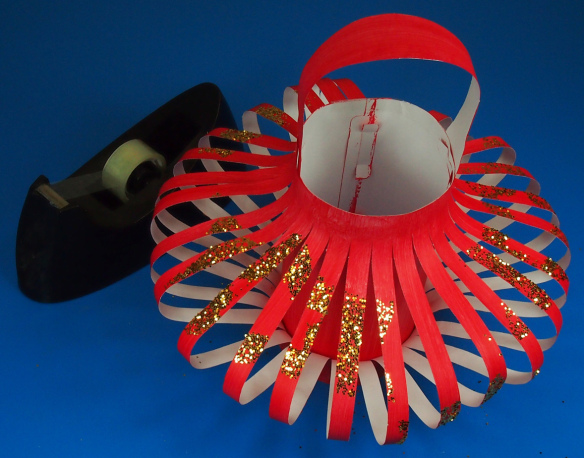
2014-02-12-Step17Tape the bottom edges together.

2014-02-12-Step18If needed, separate and fan out the individual strips.
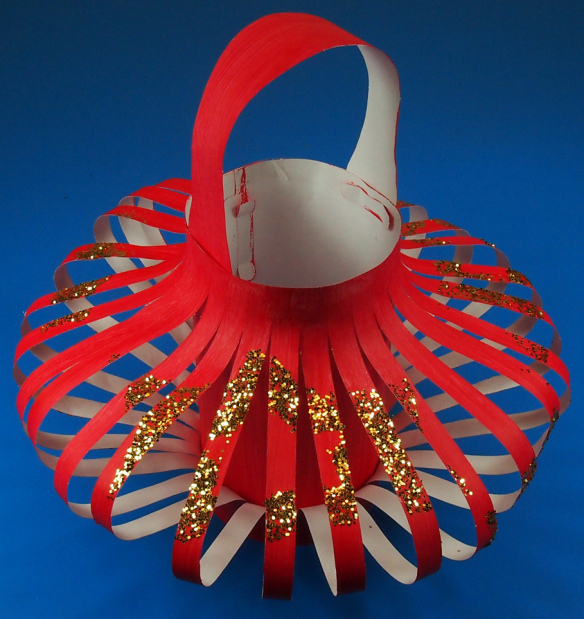
2014-02-12-Step19A beautiful, glittery take-home gift or, use string to hang the lanterns together from the classroom ceiling.

Line-18

Thanks for stopping by to view this post! If you would like to share some of your or your students’ projects, send photos of your work to subscriber@roylco.ca! Thanks for visiting and check back soon!

Craft Spotlight: Big Huge Fingerpaint Fish!

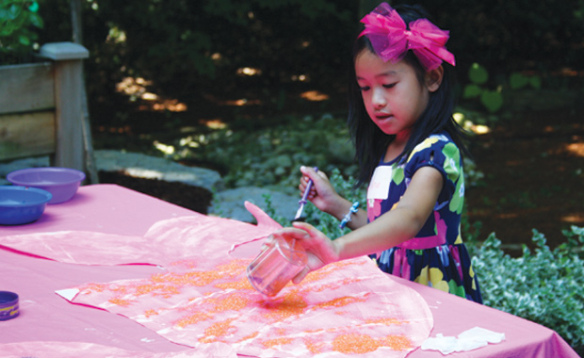
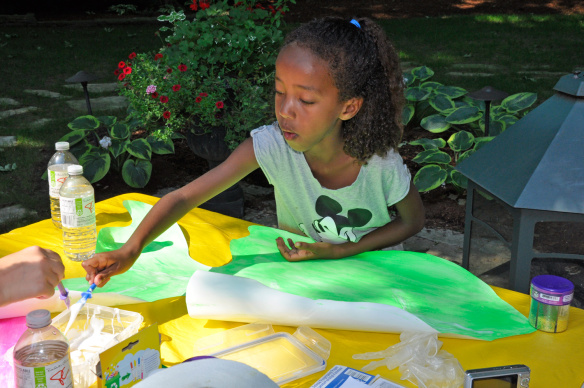
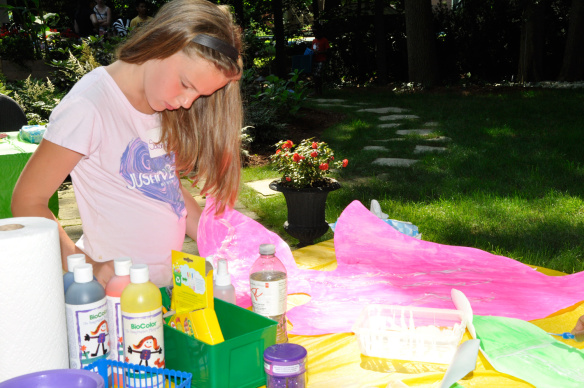
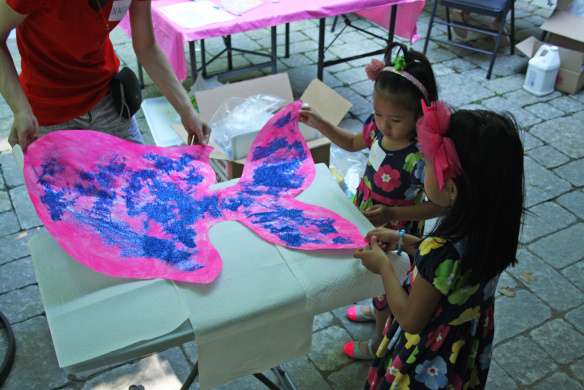
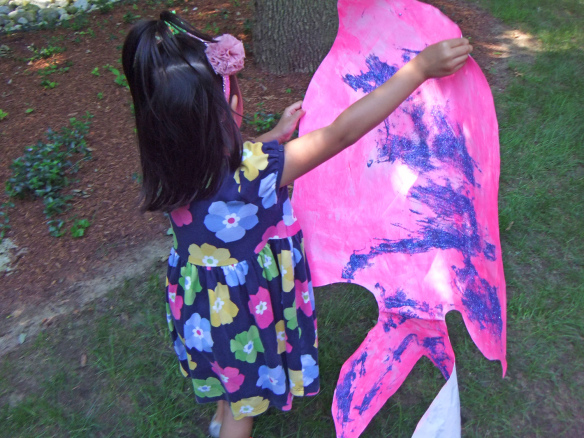
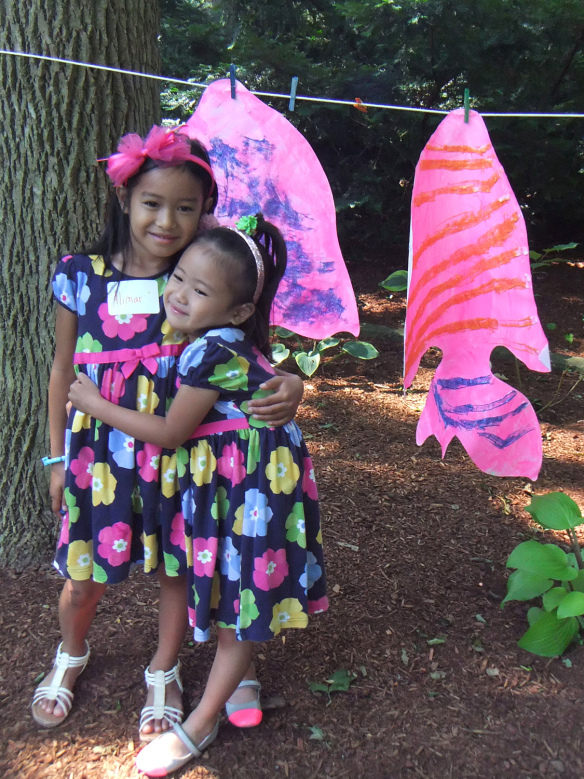
2014-10-06-FeatureImageDecorate giant paper fish with fingerpaint, glue and glitter! Our art campers painted and collaged several Big Huge Fingerpaint Fish paper projects. Check out their process below!

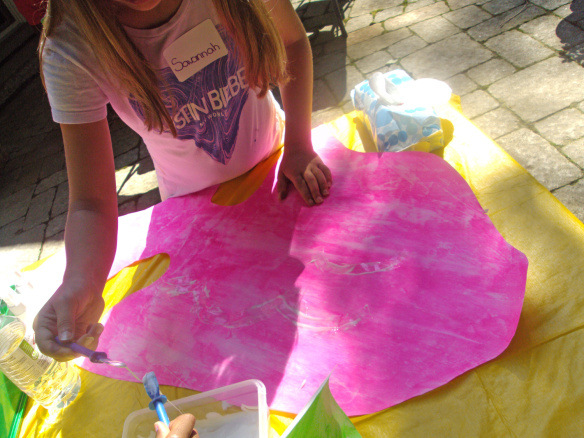
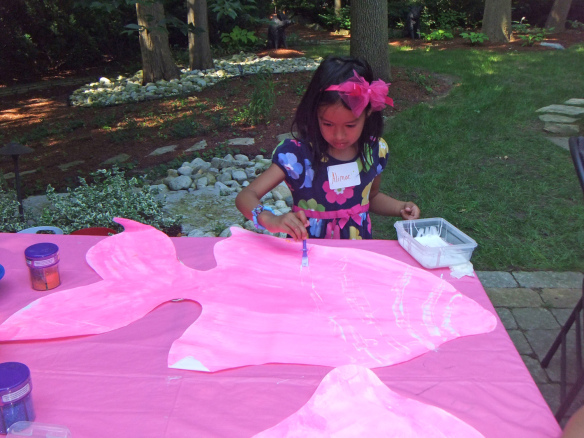
_DSC0126The R75402 Fingerpaint Fish is 3 feet long and about 2 feet at its widest point, making it a great canvas for group art projects!

_DSC0127First we painted the Fingerpaint Fish fully on one side as a base for the next layer of art collage material. Use thick tempera paint or fingerpaint to saturate one side of the painting shape.

DSCF7054

Next, we provided the campers with a container of glue. Use regular dollar store containers to keep glue intact between groups of students. You can place the lid back onto the container to keep the glue from drying out.

DSC05290We used R5725 Goo Spreaders to scoop up the glue and spread it across the Fingerpaint Fish.

DSCF7037We asked our art campers to imagine they were drawing on fish scales or body patterns with the glue. Why would we paint the fish with glue? Good question!
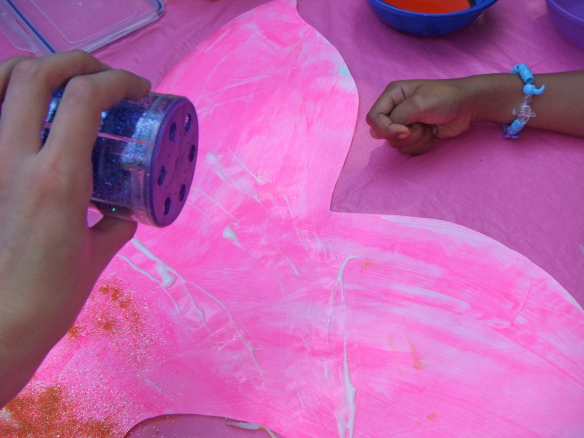
DSCF7053So we could add glitter!

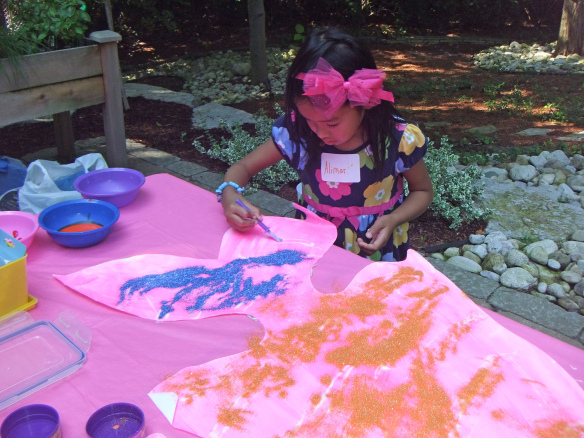
DSCF7058Using glitter, the fish scales become bright and colorful!

IMG_7321After we doused the fish with glitter, we helped each other tilt the fish sideways to help the excess glitter slide off.

DSCF7063Next, we hung up the fish to dry.

DSCF7065What a great art project! Not only did the art campers get to work on their art cooperatively, but they explored new patterns and fun techniques to decorate their fish projects.

Line-10

Like us on FacebookShare this post with your friends, or Subscribe to this blog today to receive original craft project updates every Monday, Wednesday and Friday!

Craft Stick Bracelets

2014-06-04B-FeatureImage

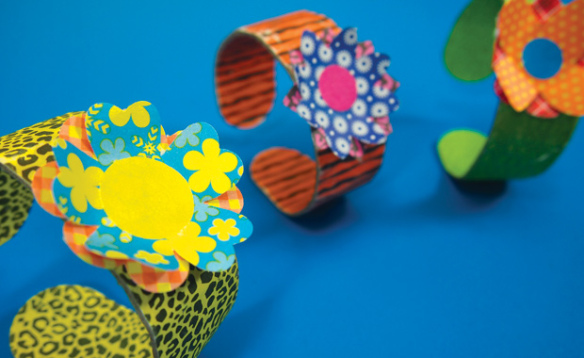
Make beautiful bracelets using our R39100 Wild Animal Craft Sticks! An ingenious process creates a curved shape in the craft stick that you can use as a bracelet!

Age: 4+

Duration: 10 minutes. Project dries overnight.

Learning Objectives: Combine craft stick designs with flower pieces to make beautiful combinations. Observe the effects of glue and water on manipulating the shapes of craft sticks. Use simple techniques to create an effective, visually appealing product.

You’ll Need:

R39100 Wild Animal Craft Sticks

R15657 Wild Flower Paper Bits

• Small plastic disposable cups

• White glue

• Glue stick

• Water

• Paint tray

• Container

• Paper towels

Line-09

It’s a good idea to protect your work surface as you will be working with glue and water. Children can share one container of water and glue between each other, but that will inevitably lead to some messes!

P1019186

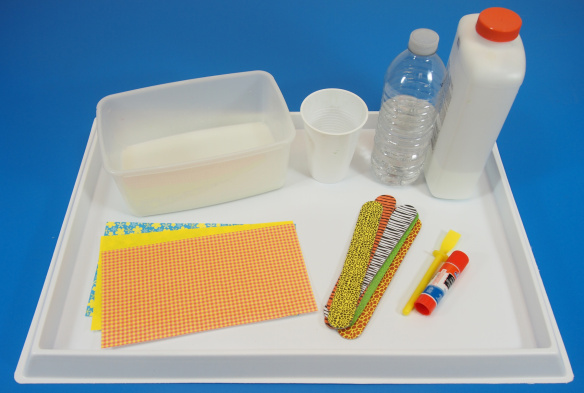
Set up all of the supplies you’ll need. The craft sticks are patterned in 5 different designs, but you can experiment with different designs using the Wild Flower Paper Bits.

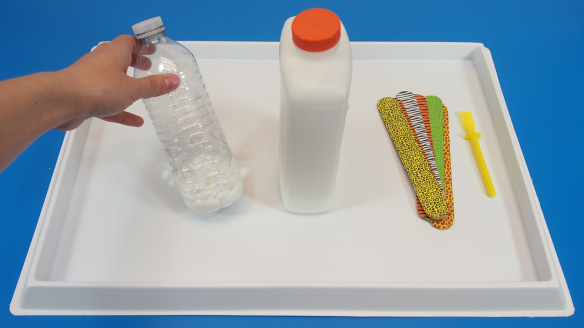
P1019192First, mix 1 part water with 1 1/2 parts glue. You want to have more glue than water, as this will help the bracelet retain its shape. I suggest mixing the glue and water together in a bottle. Cap it off, then shake to get the two ingredients fully mixed.

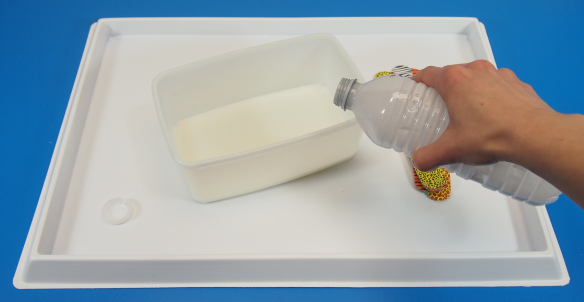
P1019203Pour the mixture into a container that’s long enough to fit the craft sticks inside.

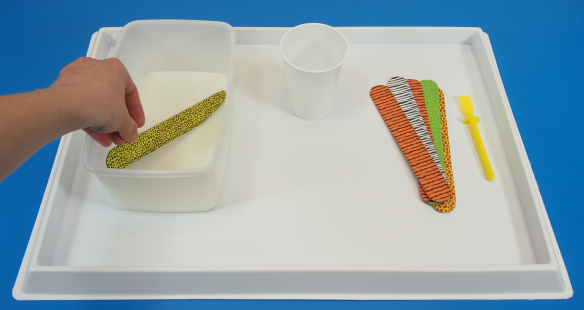
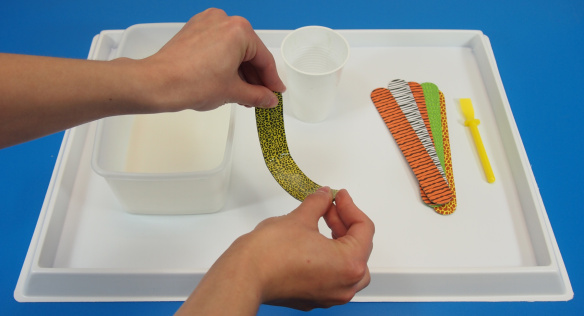
P1019206Dip one craft stick inside the container. Let it sit inside for about 1-2 minutes.

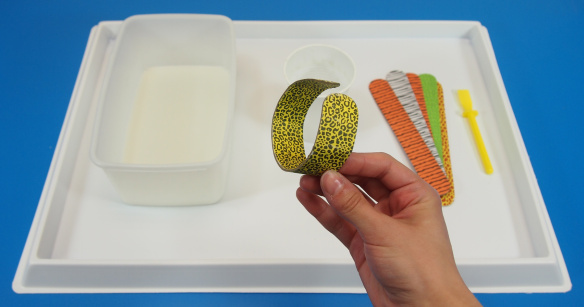
P1019211Once you remove the craft stick, it becomes bendable! Carefully press the craft stick along its length to loosen it up. Grab the ends and gently bend the craft stick inwards.

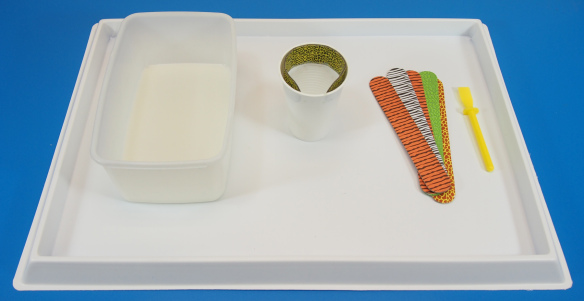
P1019213Place the craft stick inside the plastic disposable cup along the topmost rim.

P1019216Let sit overnight until it dries. In the morning, remove the bracelet from the cup to reveal a beautiful shape!

P1019221

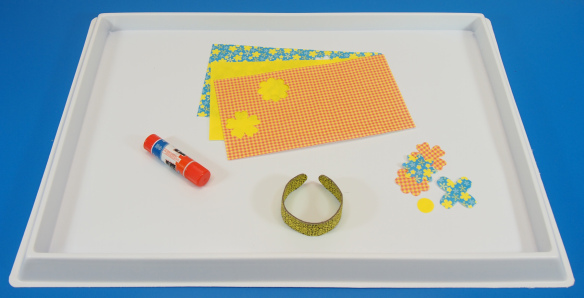
Now you can decorate your bracelet! Pop out a few of the Wild Flower Paper Bits. Choose several different shapes and patterns.

P1019222Dab a bit of glue into the center of each flower. Layer the flowers.

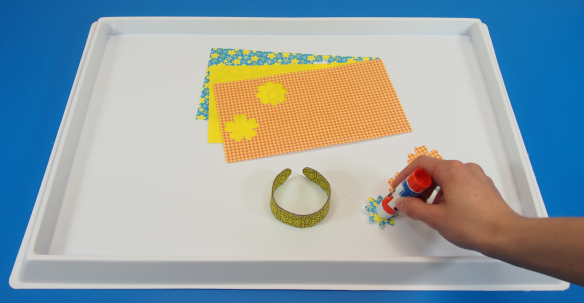
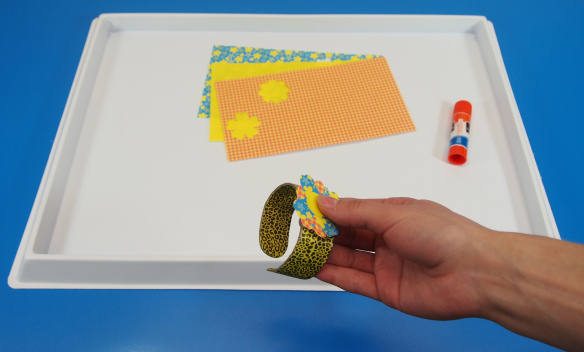
P1019226Finally, add a lot of glue to the center of the craft stick bracelet and press your flower design down onto it.

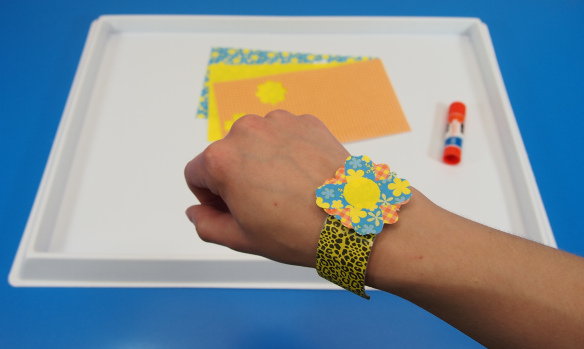
P1019228Ready to wear!

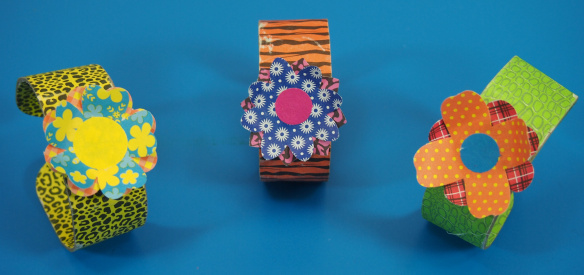
P1019235You can try a number of different combinations with just a few sheets of flower bits and a great craft stick design!
Line-09

Thanks for checking out this post! Like us on FacebookShare this post with your friends, or Subscribe to this blog today to receive original craft project updates every Monday, Wednesday and Friday!
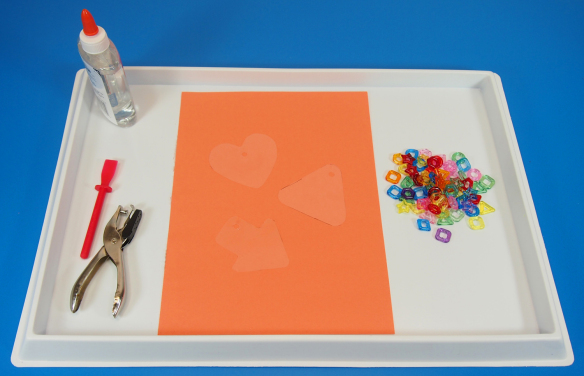
Fancy Stringing Rings Suncatchers

2014-05-28-FeatureImage

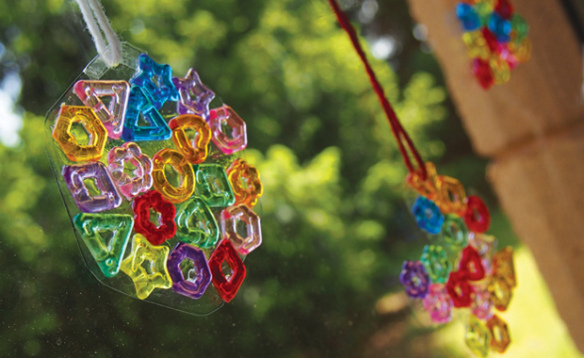
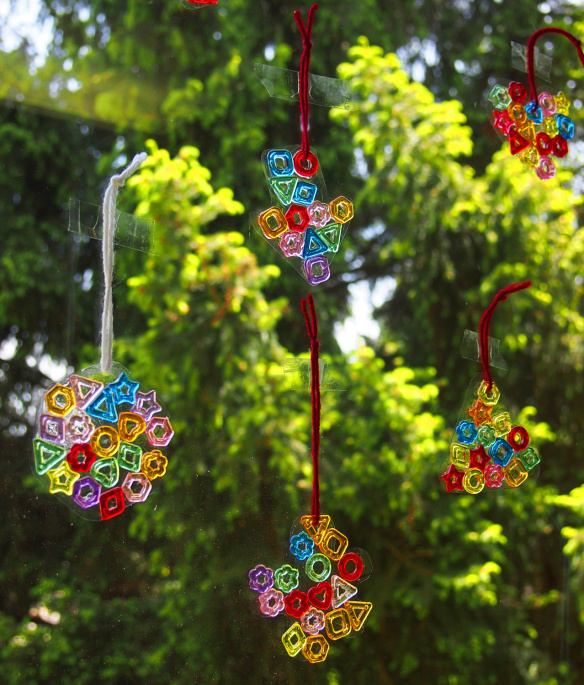
Most beaded suncatcher projects require one of the following: spending a lengthy amount of time to thread the beads into an intricate design, or melting down the beads together in the oven (say NO to plastic fumes)! This suncatcher uses simple materials that are readily available in your classroom!

Use fine motor skills to trace the shape onto the transparent sheet. Carefully spread a thick layer of glue with one hand while holding the shape with the other. Use two fingers to hold bead precisely in place while pressing it into the layer of glue.

Age: 3+

Duration: 10 minutes

You’ll Need:

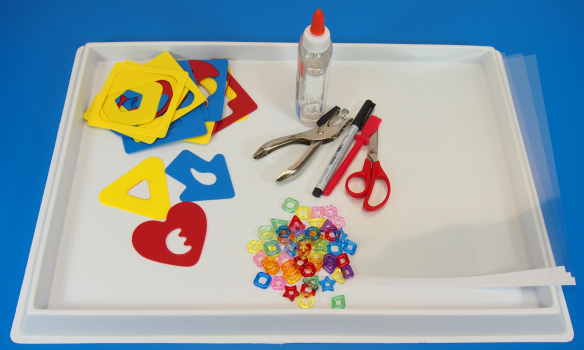
R2183 Fancy Stringing Rings

R58620 Fine Motor Skills Silly Stencils

• Transparency sheets

• Scissors

• Clear glue

• Fine point marker or pen

• String

• Tape

Line-11

Although melting beads together produces a beautiful stained glass effect, it is hazardous to attempt as the plastic will emit fumes that aren’t good for you and your kids’ health or the smell in your house! Try an alternative option that still produces a neat suncatcher effect without the smell or the hassle!

P1019099

Transparency sheets can be picked up at any office supply store nearby you. The type I use in this project has a textured side, so that can be used to help the glue stick to the material. Any type of transparency sheet should work, however. Give it a try!

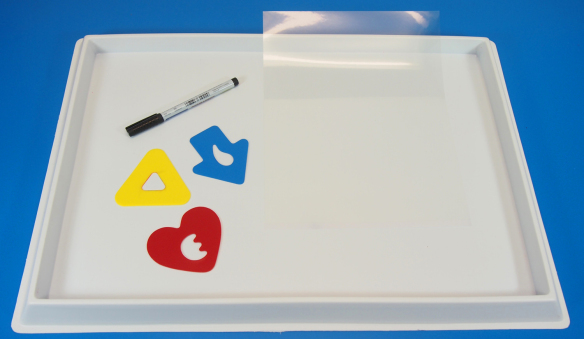
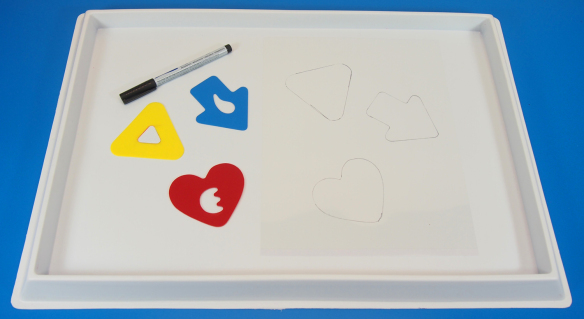
P1019105In order to make your suncatcher shape, you will need a basic shape stencil like some of those available in our stencil set. The stencils pop out of a backing, so you get two stencils from one.

P1019111Trace the stencil shape onto the transparency sheet. Use a fine point marker or pen to keep the lines light, but just noticeable enough that children are able to cut around it.

P1019118

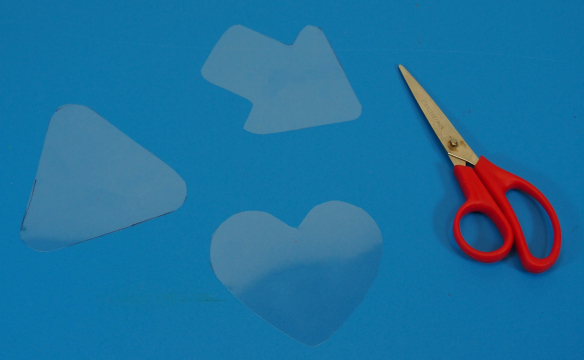
Cut out the shapes.

P1019128

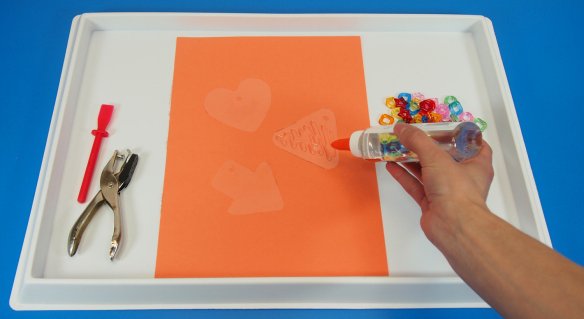
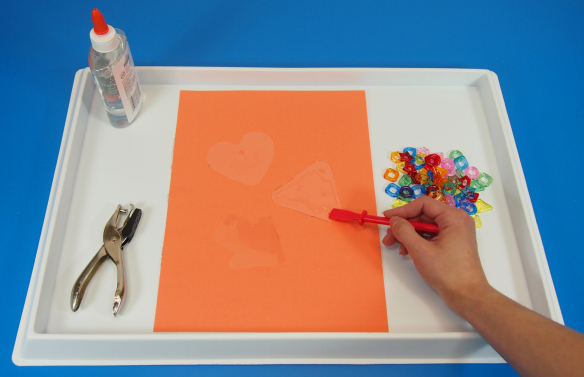
I’ve put a backing behind the shapes so you are able to see them (a bit?) better! Use a hole punch to make a hole at the top of each shape.

P1019130

Dab on a generous amount of clear glue.

P1019132

You can spread the glue across the surface of the transparent shape with a Goo Spreader available here or dab on extra glue.

P1019136

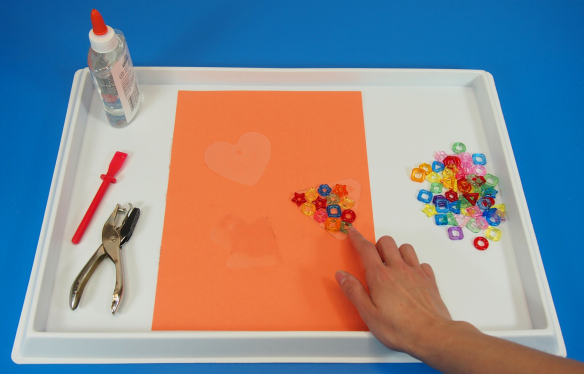
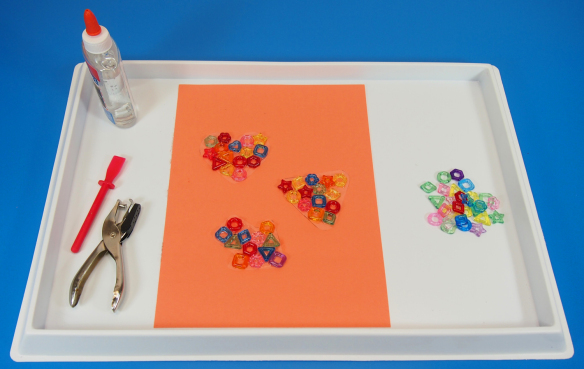
Drop a handful of beads onto the glue layer and spread evenly across. Make sure none of the beads sit on top of each other, but rather, side by side. Fit as many beads as you can on the transparent sheet shape and try not to go over the edge.

P1019138

Ta-Da! Now, let’s prep them up for the window.

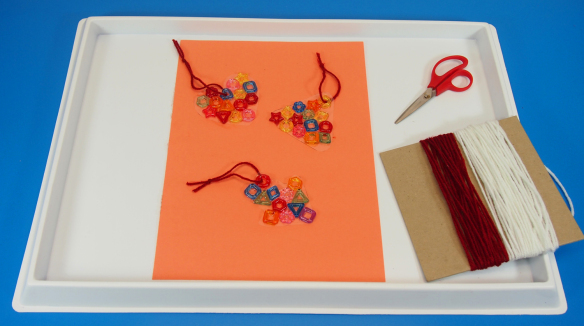
P1019142Thread a small amount of yarn or string through the hole and tie the end into a knot.

P1019152Use clear tape or a suction cap to hang the suncatchers onto a window. Watch how bright the colors appear when the sun rays hit them!

Line-11

Thanks for checking out this post! Like us on Facebook, Share this post with your friends, or Subscribe to this blog today to receive original craft project updates every Monday, Wednesday and Friday!

Craft Spotlight: Mosaics!

2014-04-07-FeatureImage

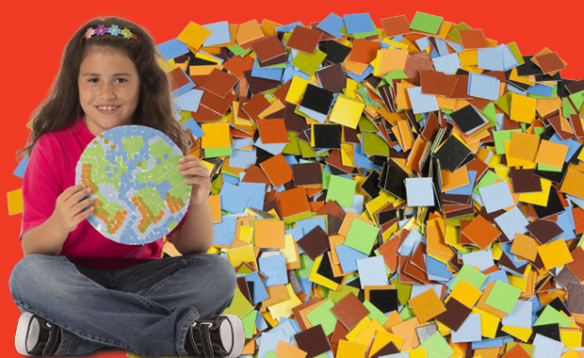
Use new materials to create stunning art projects! Our line of Mosaic products will inspire your students accomplish this simply using glue and a bit of colorful imagination. Our videos below showcase some project ideas you can use in your classroom.

Have a look below at some of our mosaic products, including R15639 Spectrum Mosaics, R15651 Fabric Mosaics and R15642 Quilt Mosaics!

R15639 Spectrum Mosaics

To start, let’s have a look at some of the features of our R15639 Spectrum Mosaics. View more of our colorful mosaics here! Spectrum Mosiacs are designed to be used with the included reproducible grid illustrations. Photocopy the grids and distribute to your students. A handful of assorted Spectrum Mosaics can be used to fill in all the blank boxes with a bit of glue.

R15639

The Spectrum Mosaics are double-sided with different colors on both sides. The mosaics come in many variations of different colors, so your students can sort the colors in similar groups or according to lightness or darkness. Your students can even come up with their own names for certain colors!

Watch the video below to see the Spectrum Mosaics in action! Use contact paper or sticky laminate paper to create your own reusable mosaic placemats! We suggest making a rough drawing of the final illustration, then filling in all the areas for the colors with the assorted Spectrum Mosaics.

R15651 Fabric Mosaics

Fabric Mosaics are a great way to add a sensory experience to your class art projects. See more about Fabric Mosaics here! We’ve used a variety of patterns and colors to form our Fabric Mosaics. These mosaics can be combined by type or color to make interesting designs! Use for filling in clothing textures for All About Me illustrations; gluing on journal and schoolbook covers; decorating picture frames and more!

R15651

The video below showcases some of the various types of Fabric Mosaics you can find in the pack.

Quilt Mosaics

The R15642 Quilt Mosaics are paper mosaics printed with multilayered designs, just like real quilts! See more of our Quilt Mosaics here! Click on the instructions guide at the bottom of the web page to access some quilt patterns that you can use for your students’ projects.

R15642

One side of the Quilt Mosaic is printed with a pattern while the opposite side features a flat color. You can separate the Quilt Mosaic blocks into triangles (which can be combined together to form a complete square). You can use the patterned portion of the mosaics to make illustrations and fill in the spaces of your illustration with the flat colored side.

The video below shows a step-by-step design to make using the Quilt Mosaics.

You can apply this process to other designs that are viewable on the website HERE!

Line-14

Thanks for viewing our post! Stay tuned for more in the upcoming weeks! Any comments or questions? Send us a line at subscriber@roylco.ca! We’d love to hear from you.

Colored Rice Stencil Shapes

2014-02-26-FeatureImage

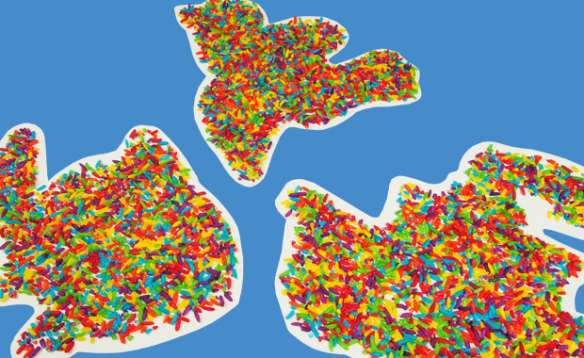
Earlier this week, we posted a Craft Spotlight post on Colored Rice. Today we’ll show you how to use Colored Rice with our various stencil shapes to make decorative shapes for your classroom wall!

Age: 4+

Duration: 15-20 minutes

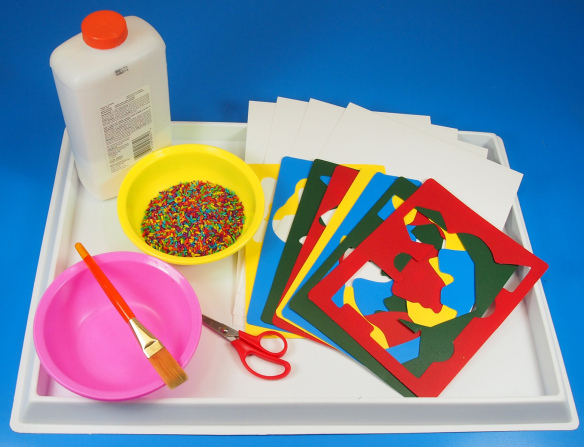
You’ll Need:

R2114 Colored Rice

R5522 Child’s First Stencil Set

• Construction paper / Card paper

• White glue

• Scissors

• Plastic bowls

• Paintbrush

• Paint tray

Line-10

This activity encourages students to work through a multi-step process. The first step encourages children to use their fine motor skills while tracing the image in the stencil. The second is carefully layering glue onto the image. The third is dropping a little bit of rice at a time onto the image, being careful to hold the rice between joined fingers. Not only do you end up with a great result but students gain some fine motor experience as well!

2014-02-26-Step01

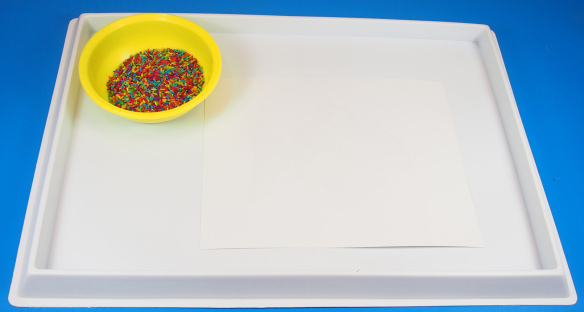
It’s a good idea to keep all the work inside a paint tray to eliminate problems that may happen from potential spills or mess.

2014-02-26-Step02

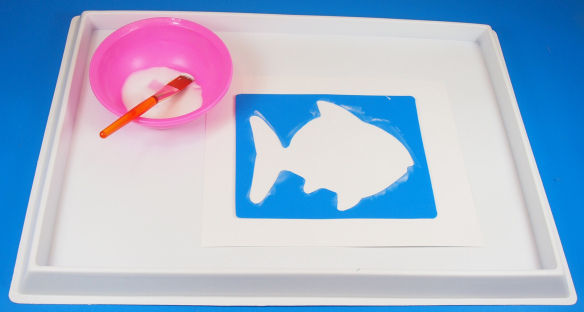
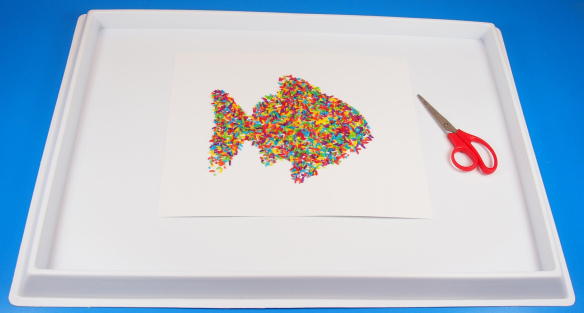
Choose your favorite stencil shape and place onto the card paper. Cover the inside of the stencil entirely with glue. Spread the glue using an old paint brush so you get an even layer.

2014-02-26-Step03

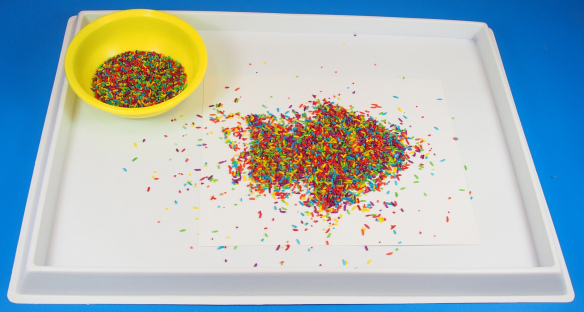
Next, remove the stencil. Grab a pinch of Colored Rice and spread all over the card paper. Make sure you layer on as much as possible!

2014-02-26-Step04

You have to ensure that the entire image is covered. The more Colored Rice you drop onto the image, the better chance you have of the rice adhering straight to the glue.

2014-02-26-Step05

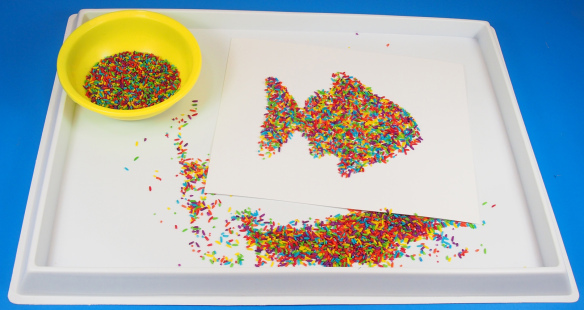
Wait for the glue to dry completely! Lift up the edge of the card paper and shake off the excess rice.

2014-02-26-Step06

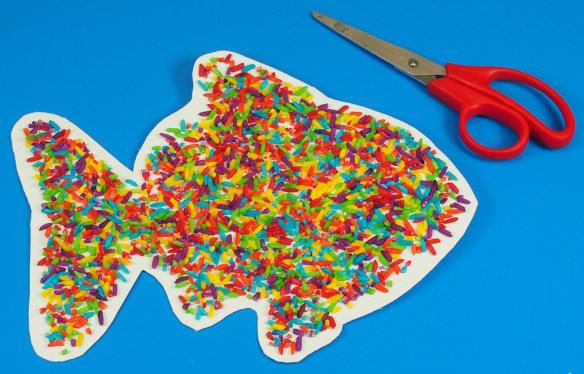
How brilliant is that! The Colored Rice has a wonderful multi-color blend that makes any shape stand out. The final step is to cut the shape out.

2014-02-26-Step07

Cut around the rice shape to give it a small white border. Apply a bit of tape or sticky tack to the back of the shape and post it up on a classroom wall!

2014-02-26-Step08

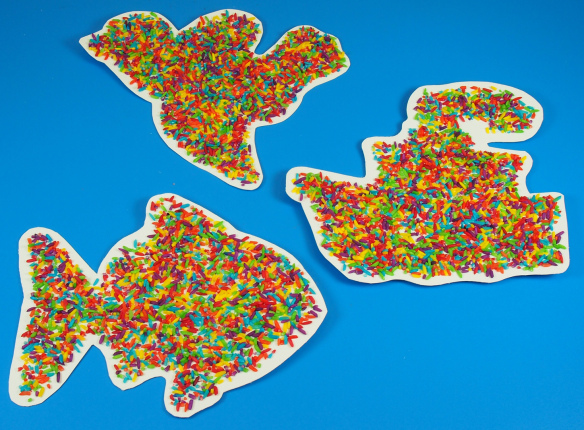
Combine several different shapes together!

Line-10

Thanks for stopping by! If you’ve made a craft similar to this or would like to send us your ideas, drop us a line at subscriber@roylco.ca! We’d love to hear from you.

Craft Spotlight: Colored Rice

2014-02-24-FeatureImage

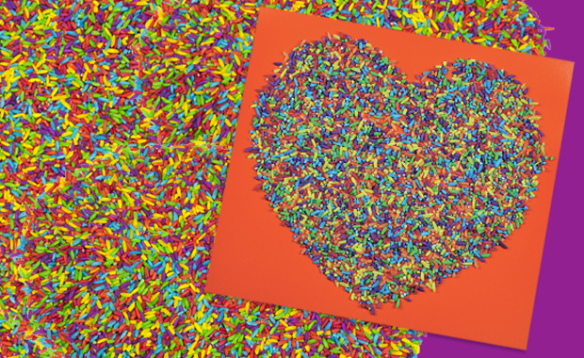
R2114 Colored Rice doesn’t work just as a collage material. It produces artwork that can be used in sensory activities! Non-toxic and easy to use. Check out more below!

A basic way to use Colored Rice is to first draw a basic image onto construction paper. Construction paper holds up best against glue, which is what we will use to stick the rice on. When you’ve drawn out your simple shape onto the paper, prepare your glue.

First, make sure your workstation is completely covered in a plastic sheet or newspaper. This will be important for later on. We suggest using something to catch the excess rice in, such as our plastic paint trays! Drop the glue into a plastic bowl and use an old brush to spread it across all the interior parts of the shape.

R2114

Once you have completely spread a layer of glue onto the shape you’ve drawn, sprinkle a large amount of Colored Rice all over the construction paper sheet. Let the rice sit onto the sheet until the glue is completely dry.

When the glue is dry, gently lift up one edge of the paper and allow the excess rice to shake off. The rest will stick to the parts of the image that were covered in glue.

To see more about this process, watch the video below!

Your students’ projects can be used as sensory images! Ask students to choose one simple shape each to make (such as stars, flowers, squares, circles, etc). Cut out small squares (about 4 x 4″) from construction paper and distribute one square to each student. Students can draw their chosen shape onto their square, cover the shape with glue and apply the rice to make the sensory images. Shake off the excess when the glue is dry.

Gather children into groups. One student in each group will be the leader. The leader will collect everyone’s sensory images and tell everyone to close their eyes. While no one is looking, the leader randomly distributes one sensory image to each student. Students must keep their eyes closed and feel over the rice texture to guess what shape it is!

Line-08

Thanks for dropping by! Explore our site to see more crafts like this. If you were inspired to make something from this craft, send us photos of your work to subscriber@roylco.ca and we will publish a special post! We’d love to hear from you!

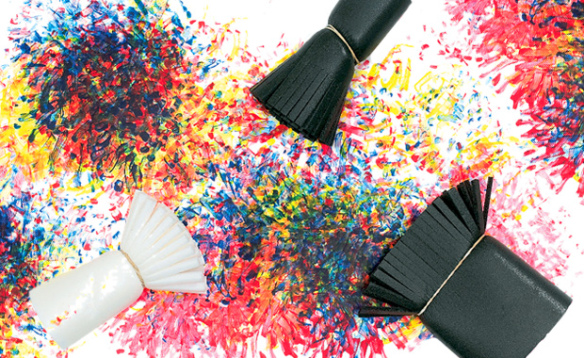
Craft Spotlight: Floppy Foam Brushes

Feature-Image-FloppyFoamBrushesTry something new with your painting projects using our versatile and easy-to-use Floppy Foam Brushes! Dip the brushes into paint and dab onto your paint paper for neat effects. Floppy Foam Brushes aren’t only good tools for paint use… See what our Art Campers used them for below in the post!

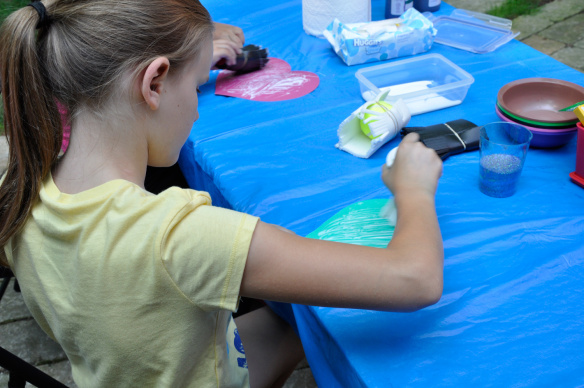
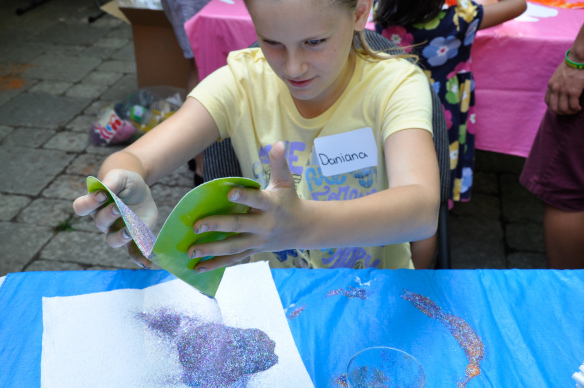
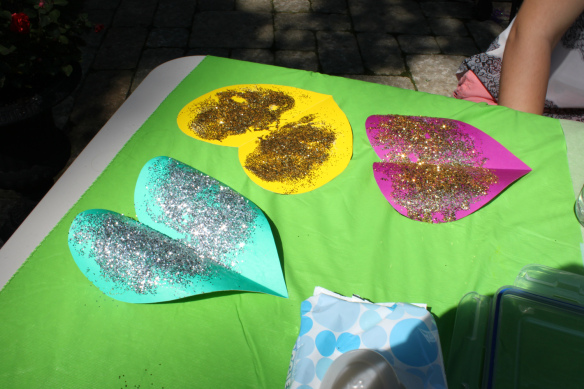
_DSC0164Our Art Campers filled small plastic containers with white school glue and dipped in their Floppy Foam Brushes. Each Art Camper had a paper heart that was cut from colorful construction paper. _DSC0165The Art Campers then used the glue-dipped Floppy Foam Brushes to sprinkle the glue at random throughout the paper heart. Next, they poured multicolored glitter onto the paper heart and let the glue dry. _DSC0173The next step was to remove the excess glitter, which this Art Camper did by bending the sides of the heart and tilting it over a sheet of paper towel. Using a paper towel helped to eliminate mess by keeping the glitter in one particular spot. We simply funneled the remaining glitter into our glitter containers by curving in the sides of the paper towel and tilting it over the opening to help the glitter slide inside. IMG_2076What beautiful hearts! We left them to sun-dry which really showed off the gleam of the glitter and helped the hearts to dry that much quicker. Line-18Thanks for viewing this post! If you would like to showcase your own painting techniques or have interest in any of the products showcased in this post, please email us at subscriber@roylco.ca for more details! We’d love to hear from you!