Scents Sort Match-Up Kit

scents sorting sensory smell

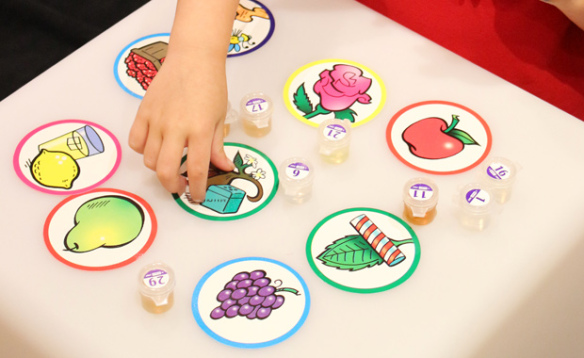
Exercise your sense of smell with our Scents Sort Match-Up Kit! Help students learn everything they need to know about basic smells that we encounter in our daily experiences. 

The R62301 Scents Sort Match-Up Kit is great for encouraging children to explore their natural senses. The kit features 30 different liquid scents contained in small self-sealing capsules and 30 matching picture cards. Each of the capsules are numbered to correspond with the list of scent names featured in our guide here. The scents are also pleasing and familiar to students, including those of apple, grape, mint and so on.

Students can pop open the cap of each capsule and try to identify the scent they are smelling. Talk about the familiar scents and where students may have encountered them. When they have a clear idea of what kind of scent they are smelling, they can choose the correct picture card to match the capsule.

You can play one of six different educational games to enrich students’ exploration of their olfactory sense. These games attempt to provide students with cross curricular lessons such as brainstorming descriptive adjectives, or playing a number matching game. Find out more at this link!

Line-07

Like us on FacebookShare this post with your friends, or Subscribe to this blog today to receive original craft project updates every Monday, Wednesday and Thursday!

Light Cube Jelly Play

2015-01-15-FeatureImage

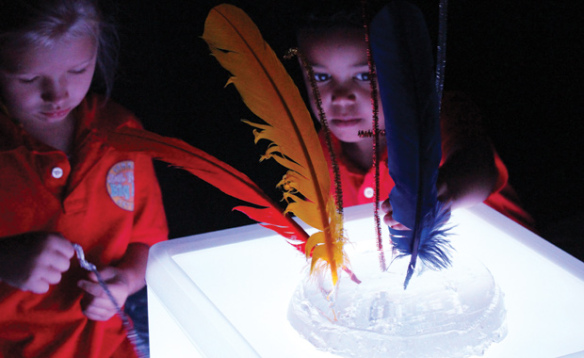
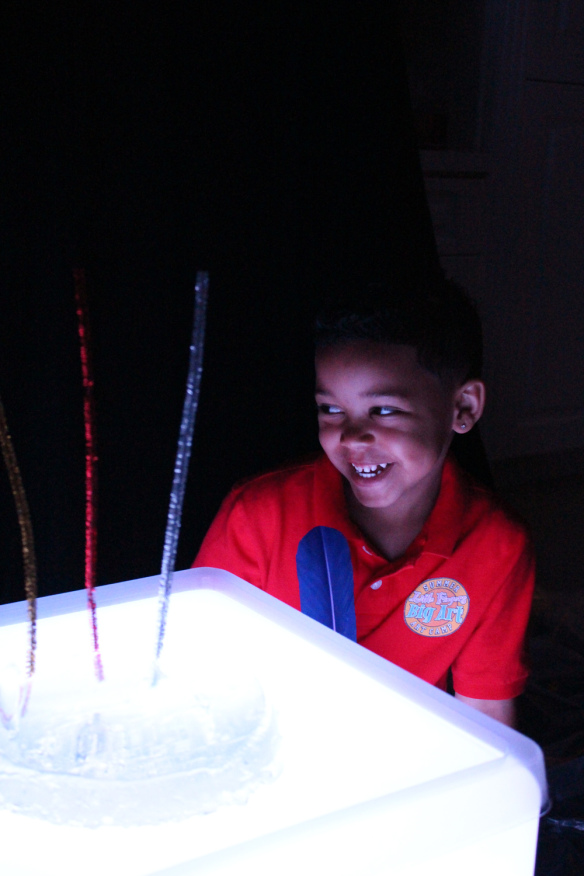
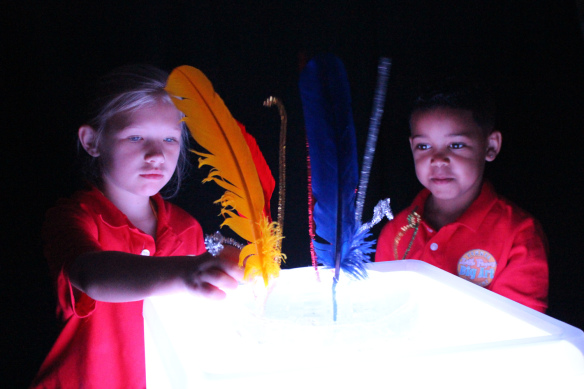
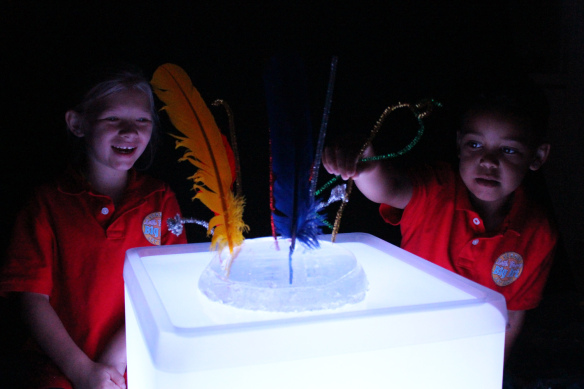
Kids love experimenting with new and weird materials. No wonder, then, that we had the perfect opportunity to play with giant gelatine blocks over the Light Cube–the kids were so intrigued! Using feathers to decorate the gelatine was an added fine motor activity that you can incorporate in your own gelatine block play! We detail more about this process below.

IMG_0102

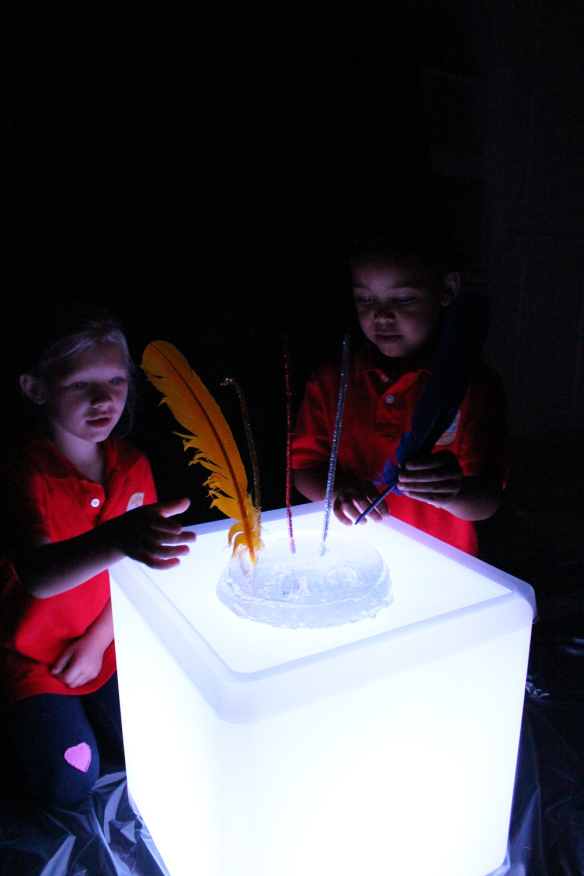
Gelatine blocks are great because they are transparent, meaning that they are clear enough to be seen through. Some gel blocks can be thicker depending on how you mix up the quantities (we will discuss more about how to make your own gel block below!) This is a great opportunity for teachers to talk about the differences between opaque (not see-through), translucent (somewhat see-through) and transparent (see-through) objects!

IMG_0104

The gel block has great texture and movement too! On the Light Cube, it looks even better because it glows with the light underneath.

IMG_0112

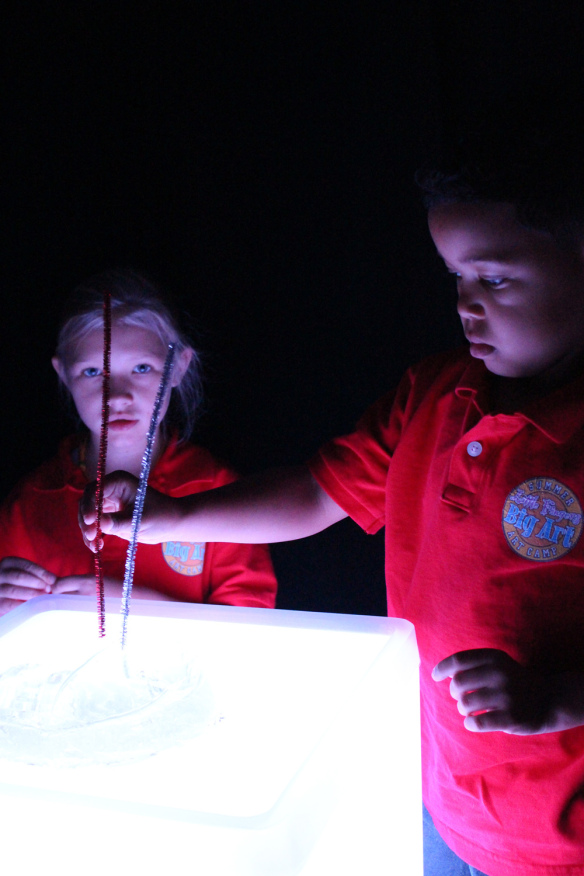
We asked the campers to “decorate” the gel block with fancy additions such as pipe cleaners and feathers. We used shimmering, glittery pipe cleaners to help bounce the light around even more.

IMG_0115

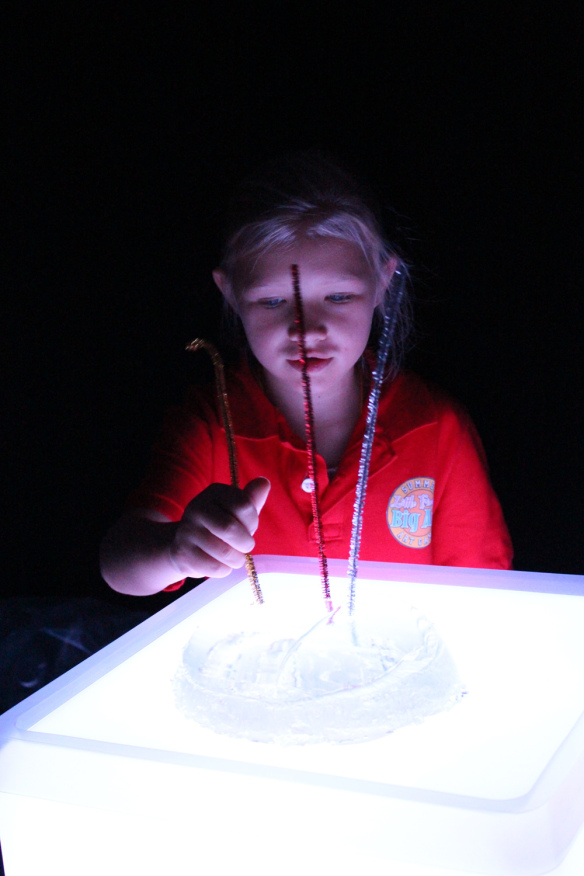
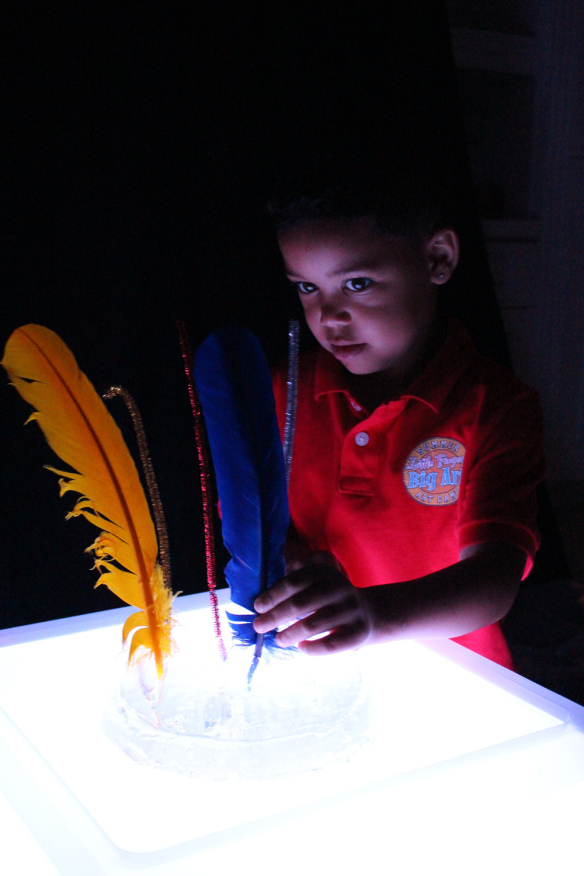
Both campers were really excited to see that the gel block acted like a stand for the feathers and pipe cleaners. It was soft enough to press the materials through but also firm enough to keep the materials in their spots without letting them tip over!

IMG_0118

Since we had the Light Cube set to a white glow, it made the colors of the feathers pop out! Look at the contrast between the yellow and the blue. These are complementary colors, meaning that they are placed directly across one another on the color wheel. Another cool lesson for students: learning about color groups!

IMG_0124

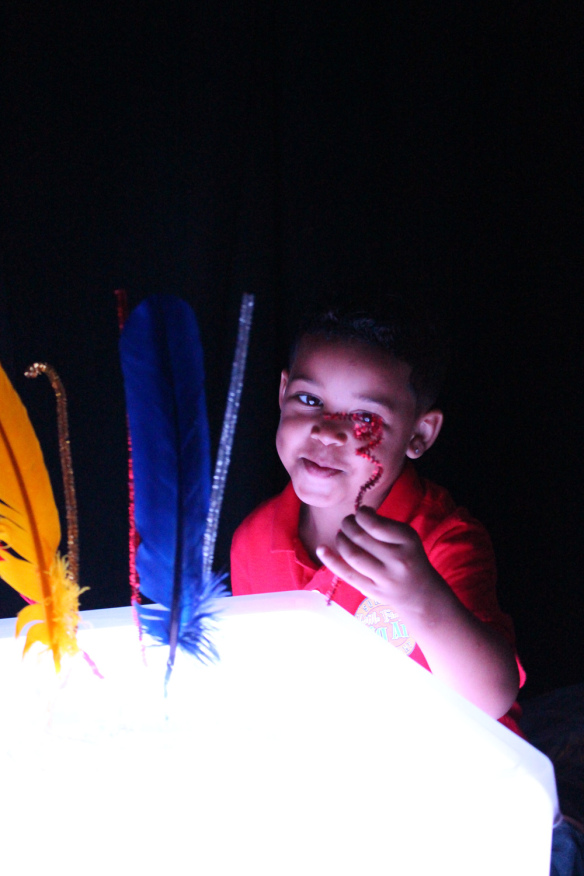
Once we got started, it was hard to stop! Fabian here decided to curl one of the pipe cleaners into a spiral shape and jut it into the gel block for fun.

IMG_0138

To make your gelatine block just like ours you will need the following:

• Knox® Gelatine (find a box of packets at any baking supplies or supermarket near you!)

• Heat-safe bowl or large mold, depending on your preference

• Hot or boiling water

• Cold water

• Measuring cup

• Baby oil

• Whisk

First, measure the cup capacity of the mold you are using. Simply use a measuring cup to keep track of how much water you use to fill the mold. Once you have a definite number, divide it in half. One half of the water cup capacity will need to be boiled while the rest will need to cool in the fridge. You can pour out half of the water into a kettle or sauce pan and heat it up until boiling. For every cup of water used to fill the mold, you will need to use 1 package of the Knox® Gelatine powder. While you are waiting for the water to boil, spread some baby oil onto the mold. This will help loosen the gelatine out of the mold when it is set. Pour the hot/boiled water into the mold and mix in with the gelatine powder using the whisk. When the gelatine is fully mixed into the water and there are no remaining clumps, pour in the remaining half of the water that was cooling in the fridge. Stir the mixture with the whisk. Place the gelatine mold into the fridge to set for 3 hours or leave overnight.

In the morning, pop out the gelatine mold. You can use a long spatula to ease the block out of the mold. Flip the mold over to set it on top of a tray. Place the tray onto the Light Cube and turn on the white glow to get started on your own neat sensory-fine motor play activity!

IMG_0139

We love the campers’ priceless reactions to the activity–they spent more time on it than we’d planned!

Line-07

Like us on FacebookShare this post with your friends, or Subscribe to this blog today to receive original craft project updates every Monday, Wednesday and Thursday!

Educational Light Cube: Dimensional Art by Twins at Play!

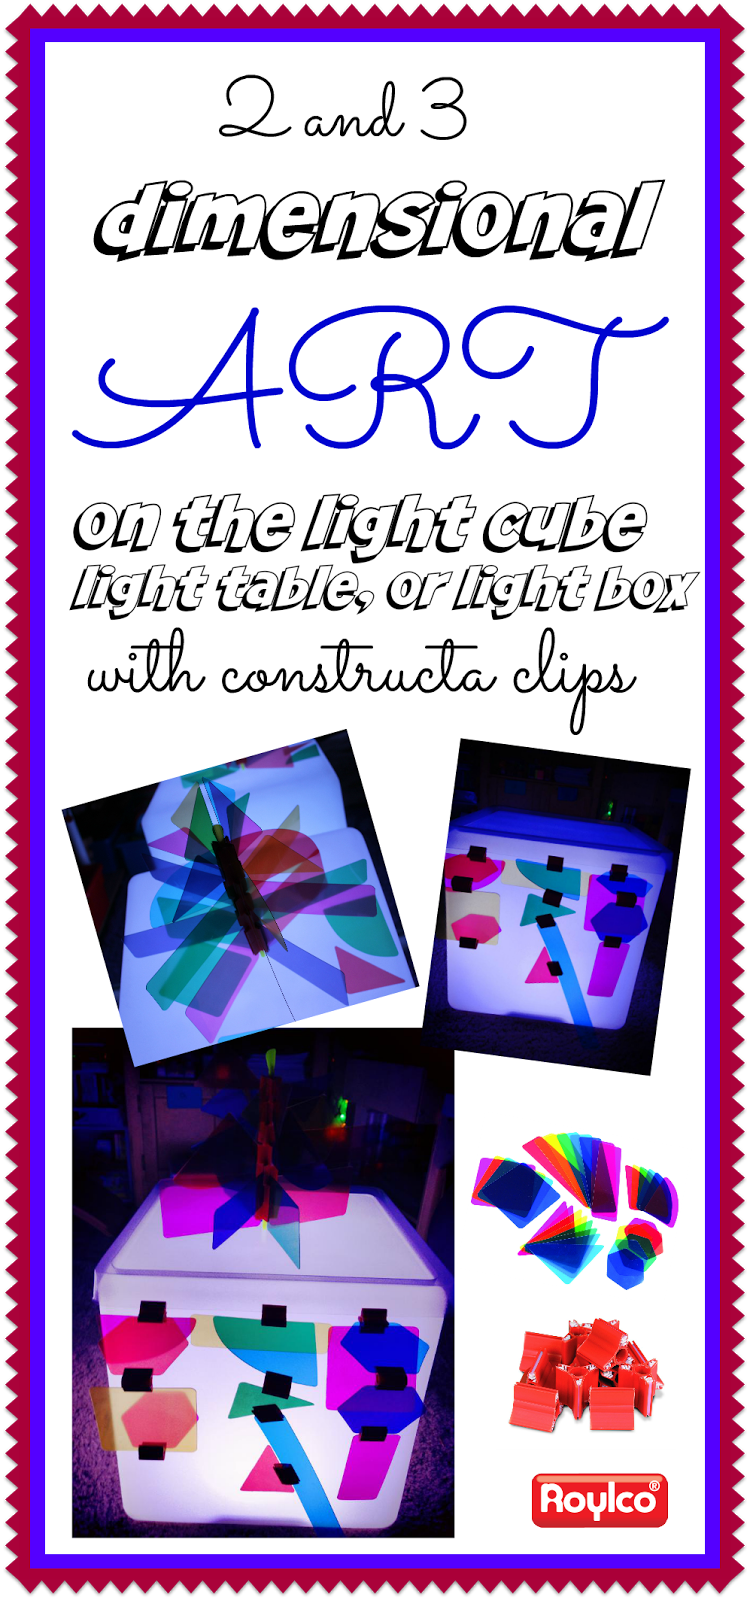
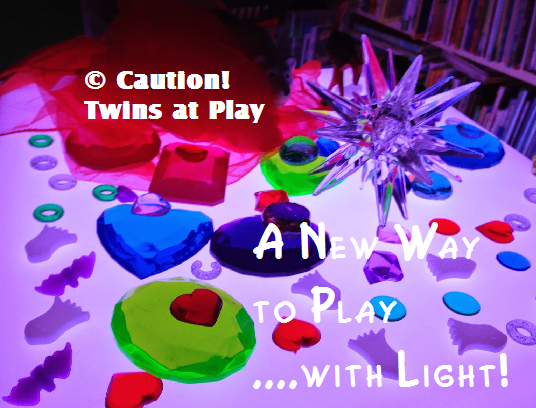
The awesome sensory and light play blog Twins at Play delivers a new post about our Educational Light Cube! Check out this great combination of our Light Cube Building set and Constructa Clips on a beautiful illuminated surface and the coolest sculpture you’ve seen yet! 

© Kristen from Caution! Twins at Play! blog

This is what Kristen from Twins at Play had to say about her twins’ experiences with these products:

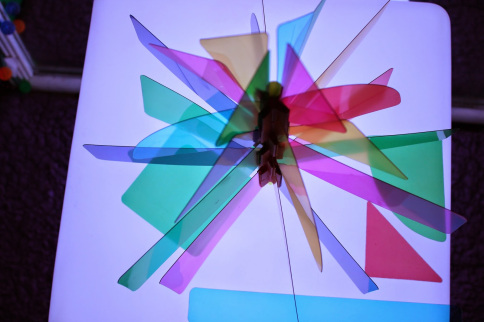
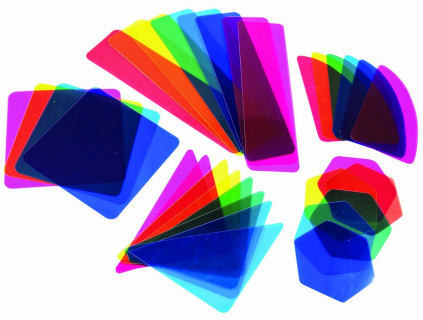
My twins and I have been enjoying making awesome shapes, sculptures, and art on the light cube with the Constructa Clips light table building kit! The kit comes with 48 red clips and 32 mylar shapes. The shapes are nice and sturdy but do bend a little for awesome building fun! The shapes are also great for color lessons! I love this kit, it is perfect for the light cube, light table, or even natural light play! They cast great color in sunlight!!

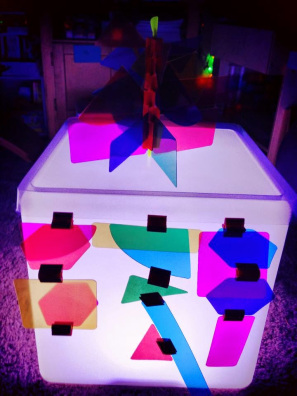
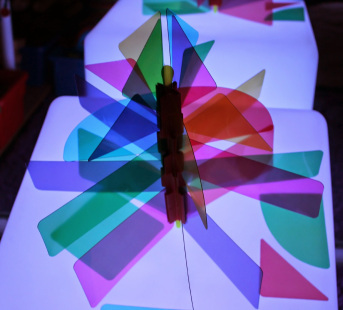
In the photos below, we used the clear plastic trays for the light cube to hang the clips from. Then we were able to build outward and downward with the constructa clips and shapes!  This was a really fun and unique building experience. This was also a very unique light cube/light table play experience.
We also used a plastic straw to create art sculptures. We used the 4 clip constructa clips to attach shapes and then we just put the straw through the whole in the center of the constructa clips. What a fun way to create art and building at the same time on the light cube!!

Thanks to Kristen @ Twins at Play for putting together this awesome post!

To see more about our R59601 Educational Light Cube, visit here!

R60165 Constructa Clips Light Table Building Kit can be viewed in-depth here.

Line-07

Like us on FacebookShare this post with your friends, or Subscribe to this blog today to receive original craft project updates every Monday, Wednesday and Friday!

Educational Light Cube: Sorting Colorful Plastic Circles

2014-10-23-FeatureImage

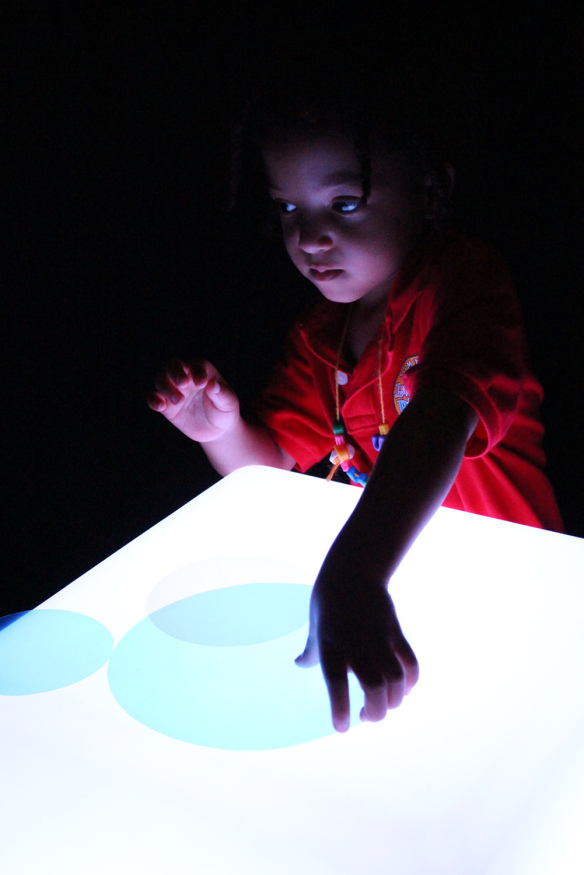
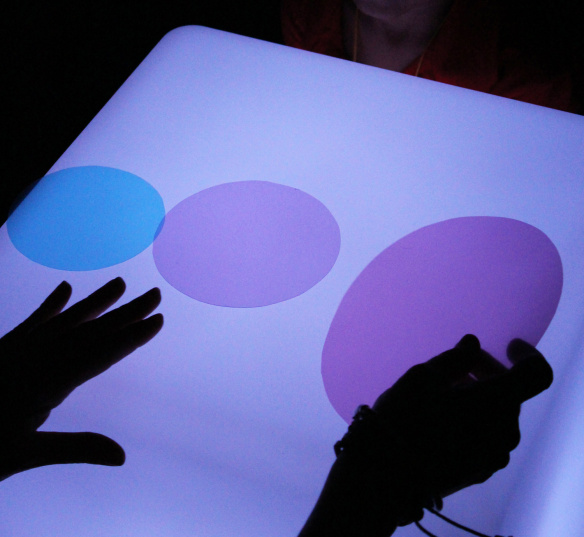
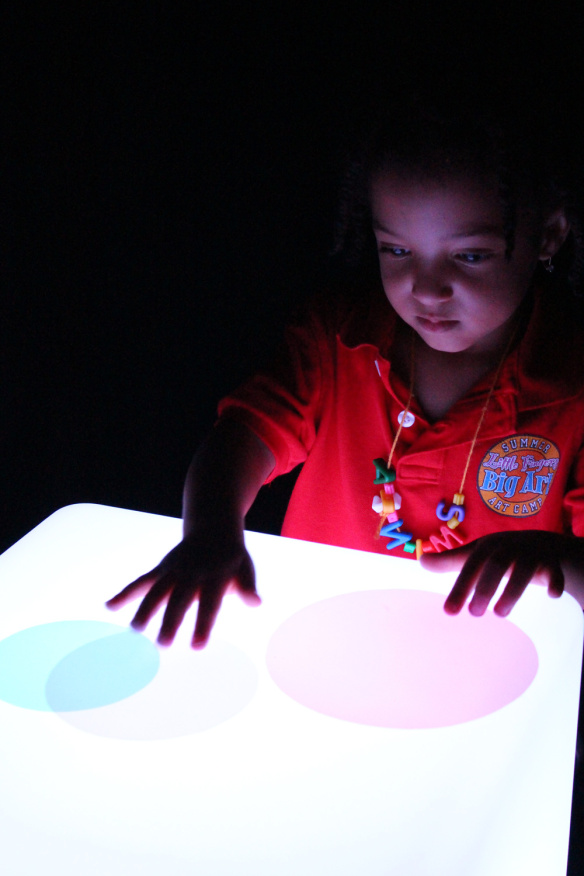
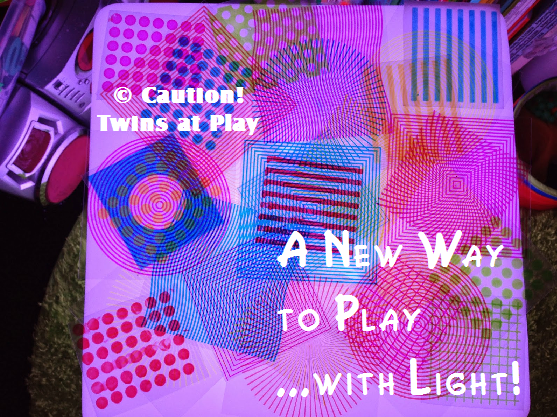
View the beautiful effects of colorful mylar shapes on the Light Cube!Today’s lesson was to experiment with different printed shapes and colors that can be overlapped to create new appearances.

IMG_9487

These mylar shapes were made from tinted transparency sheets. You can find colored transparency sheets at your local dollar store… as page dividers! Cut out simple shapes such as triangles, circles and squares from these special plastic sheets.

Incorporate math lessons with your Light Cube exercise. Teach your students about geometric shapes and their properties! Ask students to describe the shapes to you.

IMG_9490

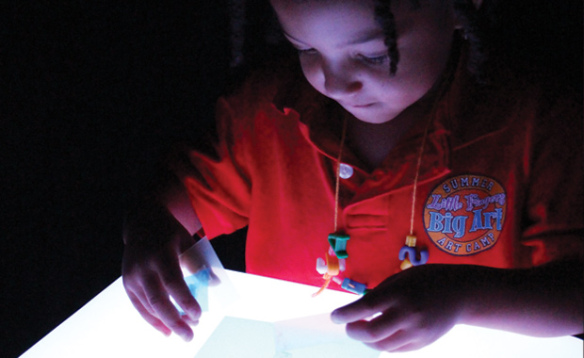
We asked our art camper Jasmine to combine the shapes together and see what kinds of new colors she could make. Each of the shapes were cut out of differently-colored transparency sheets. These colors, when overlapped, create new color combinations!

IMG_9492The sheets are transparent, meaning that you are able to see light through them. Place the sheets onto the Light Cube and turn on the strobing color function. Watch the transparent sheets change color as they reflect the light underneath.

Explore the meaning of transparent, translucent and opaque. Experiment further with other objects to see the differences between their transparencies.

Line-06

Like us on FacebookShare this post with your friends, or Subscribe to this blog today to receive original craft project updates every Monday, Wednesday and Friday!

Educational Light Cube: As Furniture?!

2014-09-25-FeatureImage

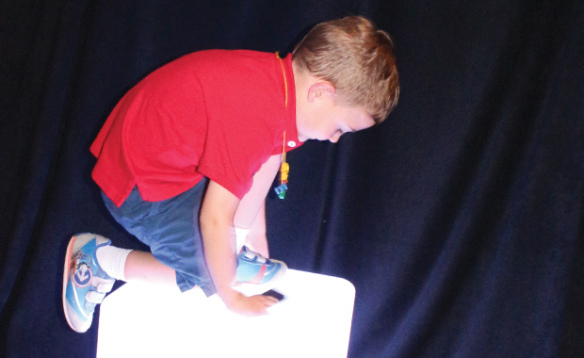
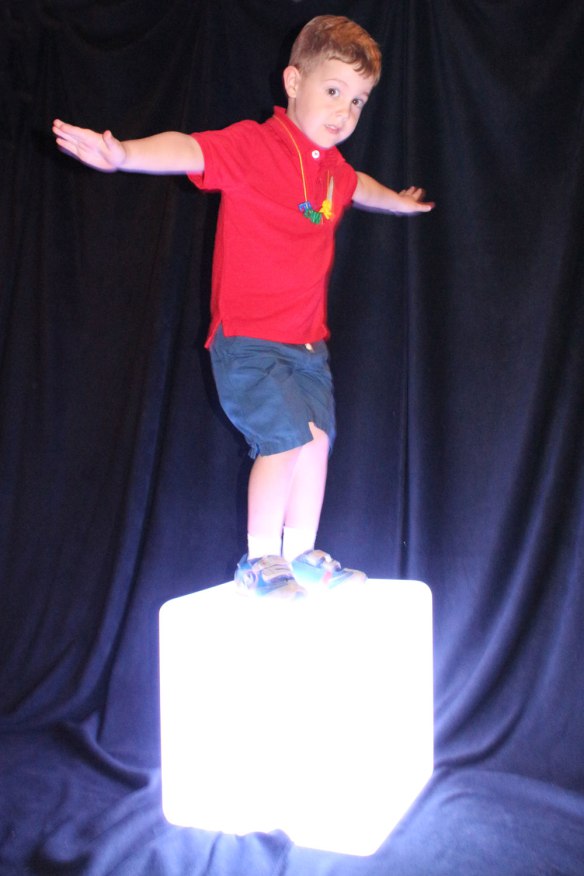
Yes, you heard right! Our R59601 Educational Light Cube can be used as a wonderful furniture addition to your classroom! The sturdy design makes it perfect not only as a table at the play center, but as a stool, a climbing base and more. 

We recommend placing the Educational Light Cube in a ‘quiet’ location, such as a reading area or playtime corner. It’s a good idea to have the cube fully charged before allowing students to use it as a furniture piece. Charge up the cube the night before to ensure that it has enough battery life (3-4 hours) to be used in the main classroom area. This eliminates the need to leave the AC adapter cord lying on the floor–if you have to have the Light Cube plugged in, tape down the cord or place a cord cover on top to prevent it from becoming a trip hazard.

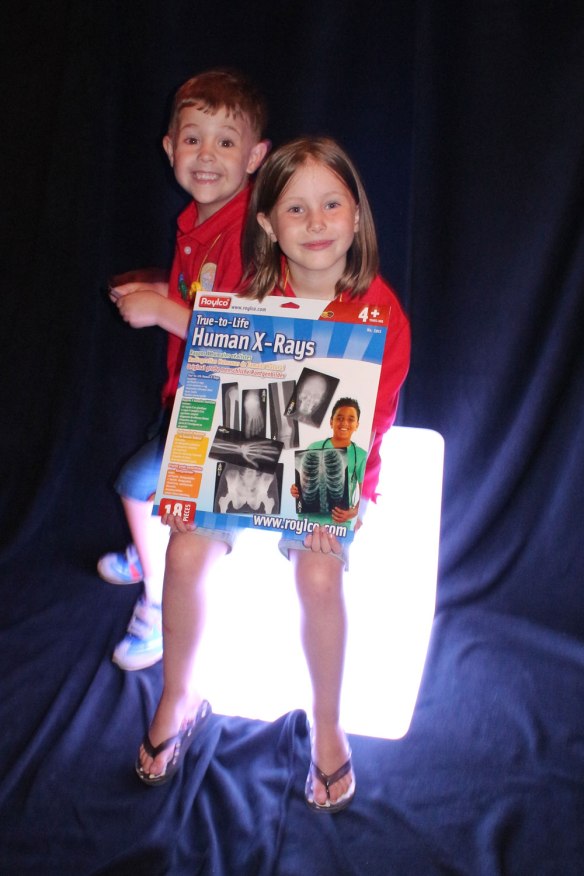
IMG_8738The Light Cube is a great complement to a variety of educational resources such as x-rays, overhead projection sheet activities and much more!

IMG_8745

The Light Cube doesn’t stand too far off the ground and is sturdy enough to support the weight of a student on it. As a result, it can be used as a light platform. Plus, it is the perfect height–not too high, and not to low! Students can easily kneel at the Light Cube and get the full benefit of being able to experiment with light as they manipulate the materials on top.

IMG_9826

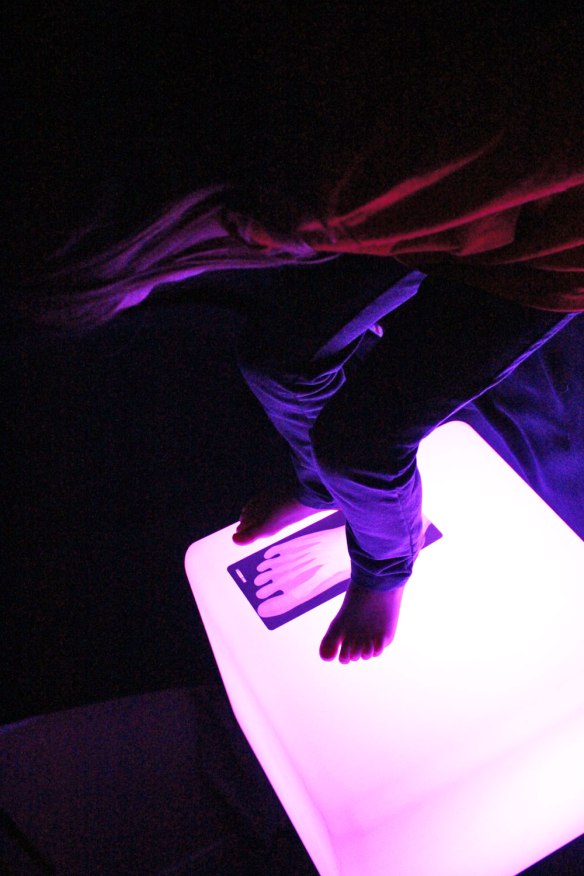
As students become more familiar with the Light Cube, they can extend their learning to incorporate gross motor as well as fine motor skills. Stand or sit up on the Light Cube to measure the size of your feet in comparison to an R5911 True to Life Human X-Ray foot, just like this student did! Or play Light games around the cube! Play memory games and hide various objects under cups, then shuffle them around. There’s tons of things to do on the Light Cube… just using it as a furniture piece alone is lots of fun!

Line-08

Like us on FacebookShare this post with your friends, or Subscribe to this blog today to receive original craft project updates every Monday, Wednesday and Friday!

Guest Post: Kristen from Twins at Play and the Educational Light Cube!

10592802_695355657208376_405822951096328009_n

Kristen from Twins at Play has written up a wonderful guest post about her twins learning and playing on the Educational Light Cube! Check out her brief overview of all the things you can do with the cube. 

Please visit Kristen’s blog at Twins at Play and see more great ideas for light table play! To view this particular post in its entirety, please visit the link HERE!

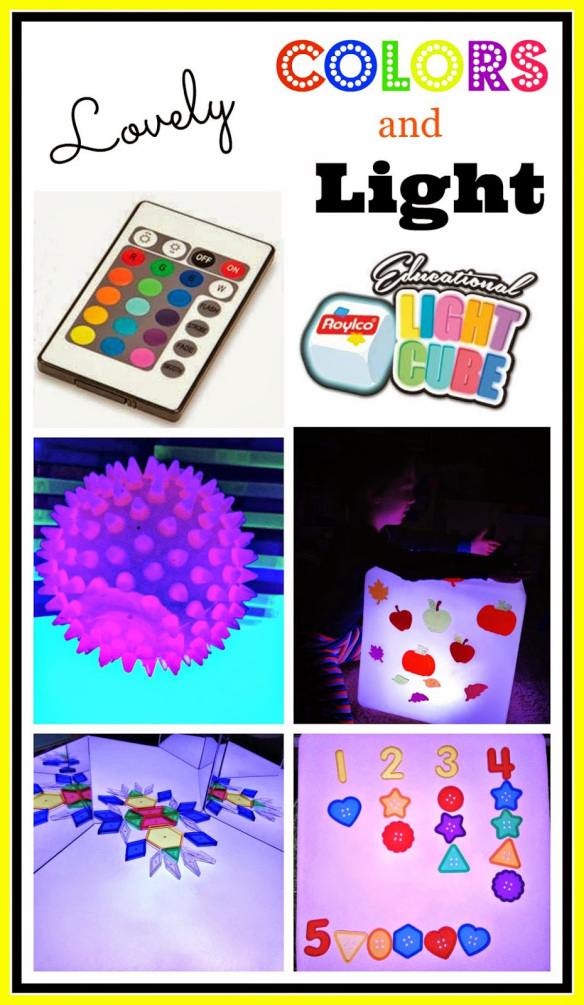
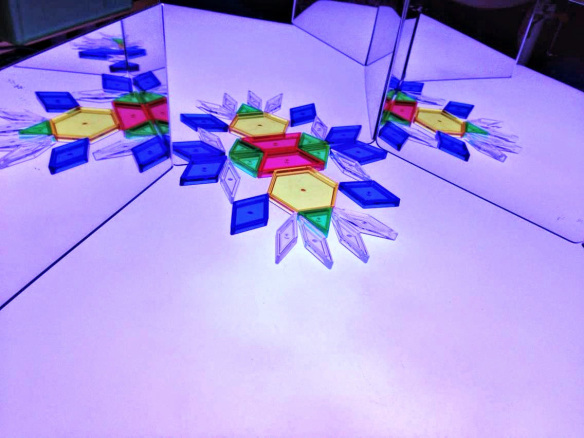
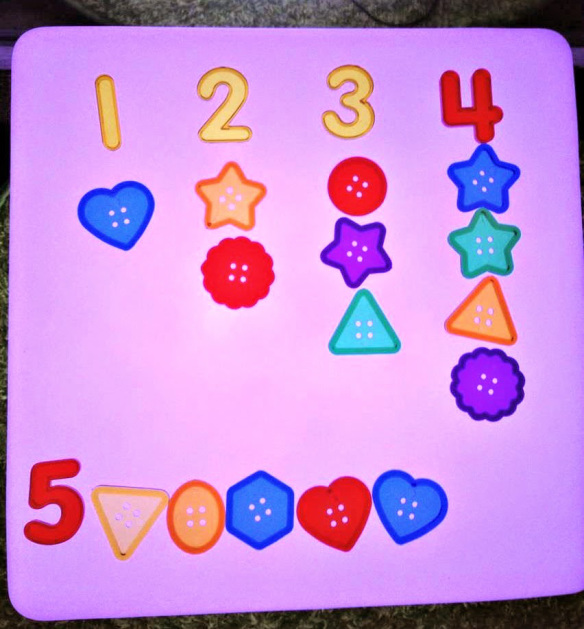
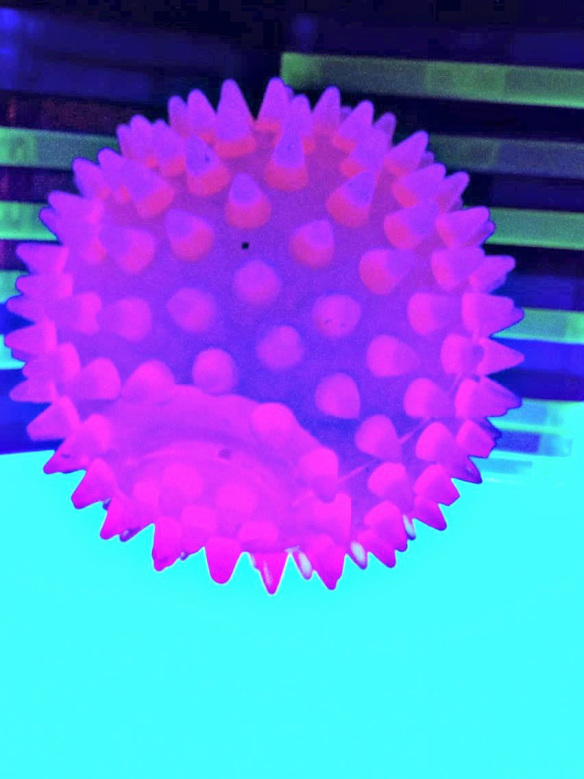
Exploring colors on the Educational Light Cube is a lot of fun. My twins have really enjoyed setting up items on The Educational Light Cube and then using the remote to change the color and see how everything looks in the different shades.

colors_and_light_light_cube

They also enjoy choosing items that are all of one color and setting up an activity that is based on a certain shade that the Educational Light Cube makes. I love how the great variety of colors that it can change to. The color options really are quite fantastic! The Educational Light Cube really does stand apart from any other light play source.

10687262_10204847898345876_5747754327464116793_o

With the adaptability to move to any location and operate without any batteries or cords, it really makes the possibilities of it’s use endless! You just need to have it all charged up overnight and it will be ready for use! You could potentially organize a light play themed children’s birthday party and have it set up with a variety of translucent building toys and sensory materials. The lovely glow of the Educational Light Cube really does draw in and fascinate children of all ages.

10628683_10204847898265874_1411604003251544187_o

The Educational Light Cube makes an excellent rainy day or sick day play item as well. With it’s ability to make play so magical, boredom is seldom an issue. You can find items from all over your home to place on the Educational Light Cube. You can also pick up items from Michaels craft store and the Dollar Tree. You would mainly want to collect items that are translucent, but colorful.  Most retail stores and educational stores have items throughout their store that could potentially be light table materials.

1273450_10204847904066019_3011301127530697679_o

There are any companies that make toys that are meant specifically to be played with on a light source, or in sunlight. However there are so many everyday household items that work brilliantly as well. There are really no limits, as long as you use safe materials. You can find many items at the Roylco store online, check it out HERE.

Find the Light Cube and accessory pack with removable messy play trays HERE.

Thank you to Kristen for this awesome post!

Images and text © Kristen from Twins at Play

Line-19

Like us on FacebookShare this post with your friends, or Subscribe to this blog today to receive original craft project updates every Monday, Wednesday and Friday!

Fingerpaint Sensations Alphabet

2014-08-20-FeatureImageIt’s almost time for Back to School! …And that means getting to know new students through their names. In order to spell their names correctly, students will need to begin their literacy lessons. It just so happens that September is filled with various literacy weeks, so this week’s craft is the perfect start to learning some letters through sensory fingerpainting!

Age: 3+

Duration: 15-20 minutes

Learning Objectives: Use fingers to paint. Develop fine motor skills while stimulating tactile senses. Learn letters of the alphabet for Back to School and for literacy lessons.

You’ll Need:

R75415 Finger Paint Sensations Kit

R7512 Fingerpaint “No Mess” Trays

R5519 Paint Bowls

• Paint 

• Mixing spoon

• Card paper

• Pencil

Line-05

Add a touch of sensory appeal to your students’ literacy lessons with our Fingerpaint Sensations kit! Designed to enhance students’ tactile skills, the fingerpaint kit features 10 safe, special additives that can be combined with paint to turn fingerpainting into a cool experience.
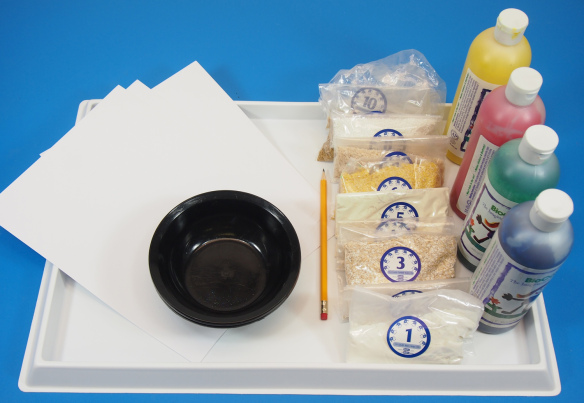
P8190175In the photograph, you can see all 10 additives in labeled bags. Select your favorite colors and mix with different additives to engage your students’ fingerpainting experiences.
P8190179

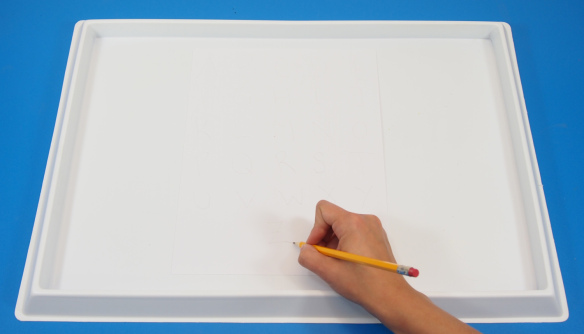
Place your card paper onto the paint tray. Write all the letters of the alphabet onto the card paper. I wrote 5 rows of 5 letters each with the last letter ‘Z’ written at the bottom.
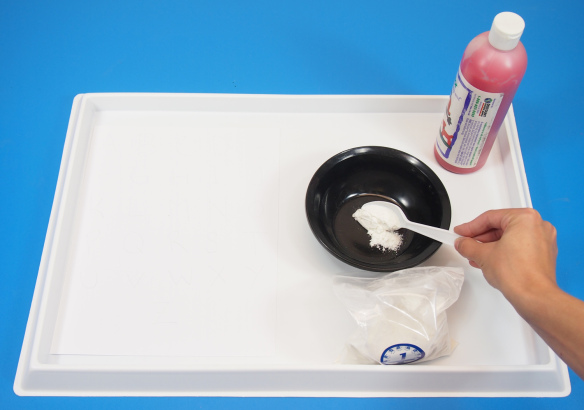
P8190184I’ll start with each of the additives. Once again, they are 100% safe for students to use, which is the best part, as kids will love feeling the different textures on their fingers! The 1st additive is called “Fine Grit.” This will make the paint feel gritty to kids’ fingers.
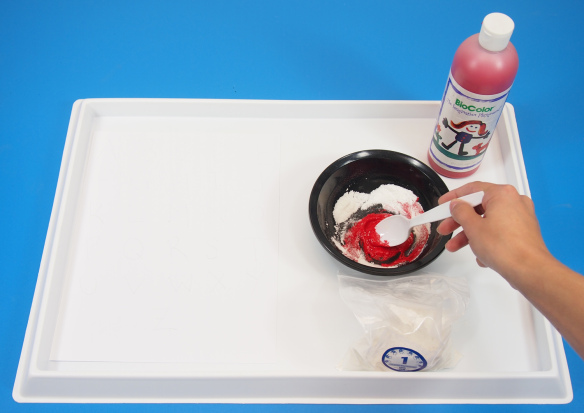
P8190188Mix 1 teaspoon of Fine Grit Additive #1 to a few squirts of paint.
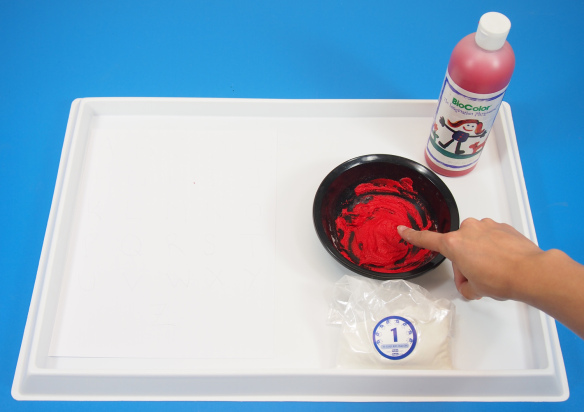
P8190191Show children how to dip their “painting” finger into the textured fingerpaint.
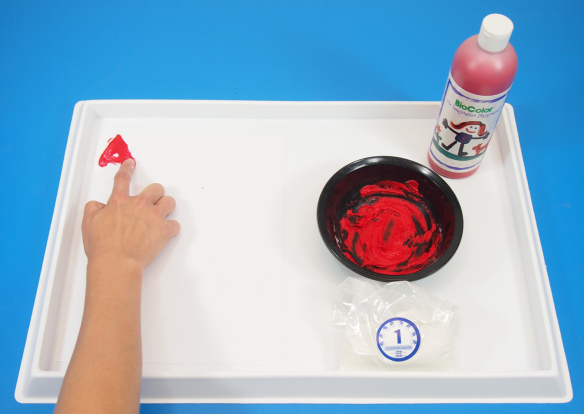
P8190194Locate your first letter and trace the pencil marking with your finger. This is a great way to reinforce the shape of the letter while giving your students a different texture to feel!
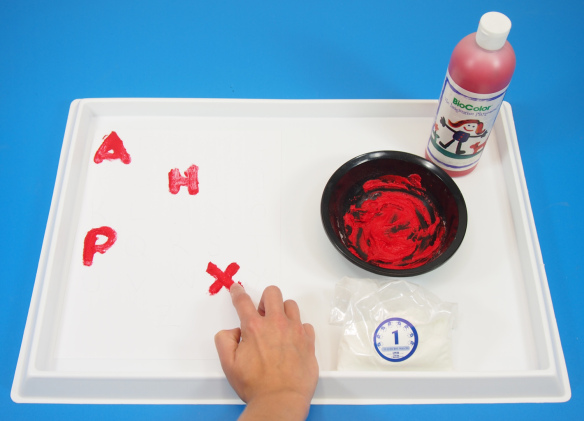
P8190197I’ve decided to mix up the colors, so I’m going through them randomly. You can follow one row of letters or make your own combination of colorful, textured letters!
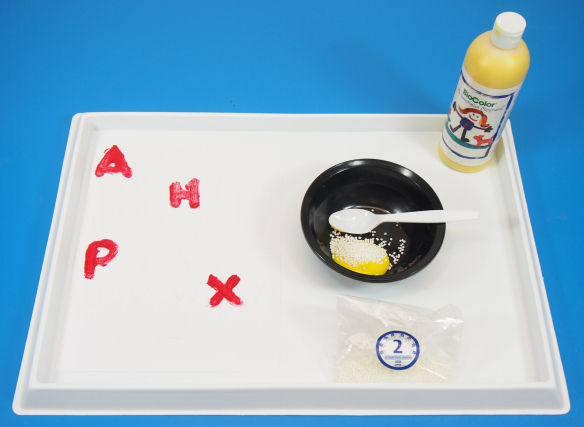
P8190203Additive #2 is known as “Frictionless” which adds small decorative balls to the paint.
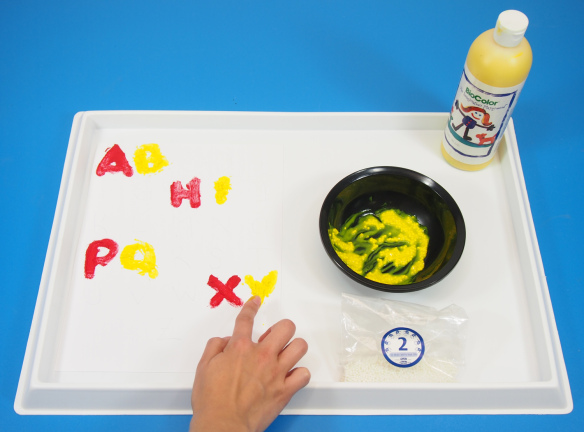
P8190209Mix 1 teaspoon of Additive #2 to another color of paint. I’ve added another letter beside each previous letter.

P8190211The next additive is #3. This one is called “Soft.”
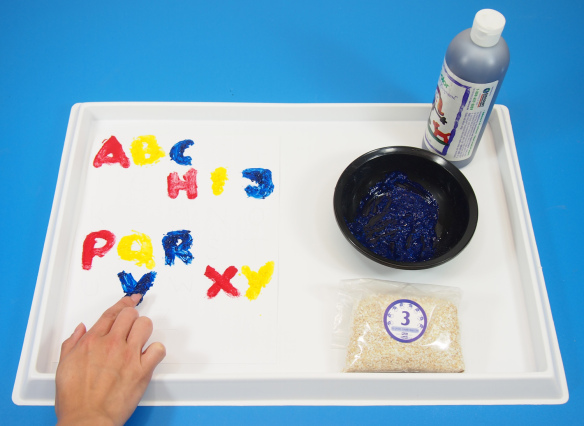
P8190215Add more letters to the alphabet poster!
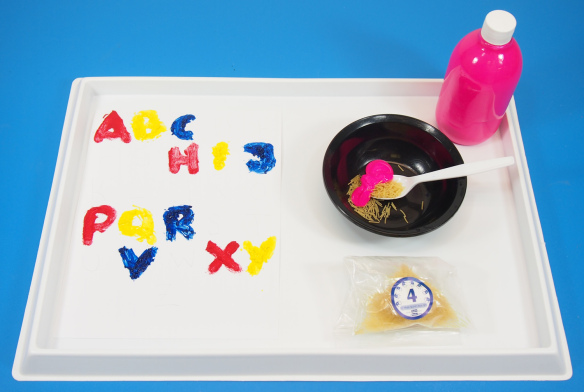
P8190218Additive #4 is called “Slippery.” Remember, you can add more of the additive to the paint to increase the textured effect!
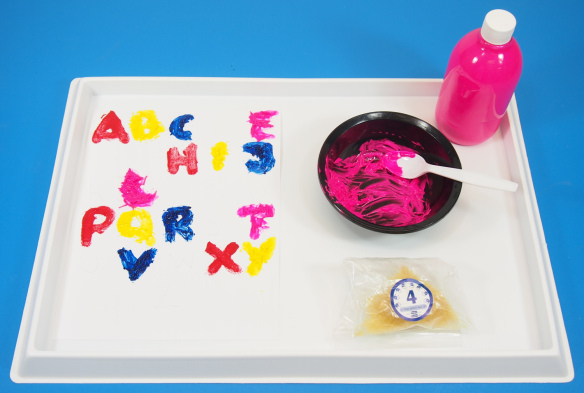
P8190222This one is a little difficult to handle, so choose letters that are simple to fingerpaint.
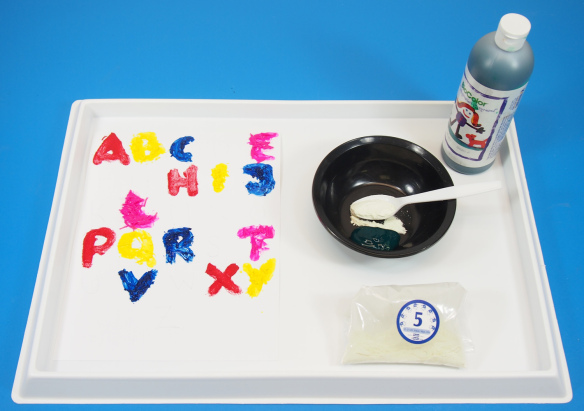
P8190225Additive #5 is known as “Gooey.” This additive turns the paint sticky and slimy!
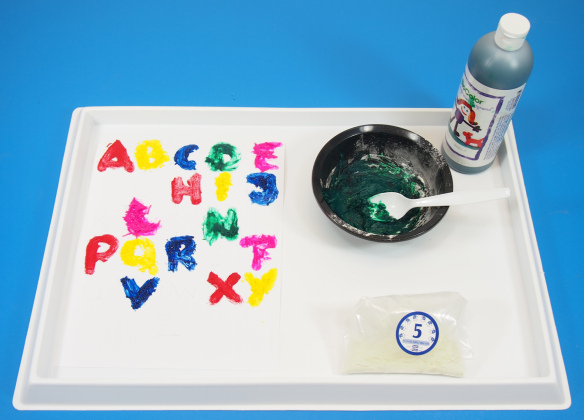
P8190228Here I’ve just painted 2 additional letters to make room for the rest!
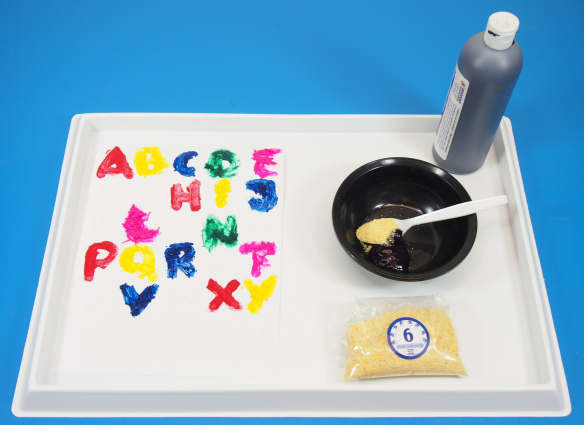
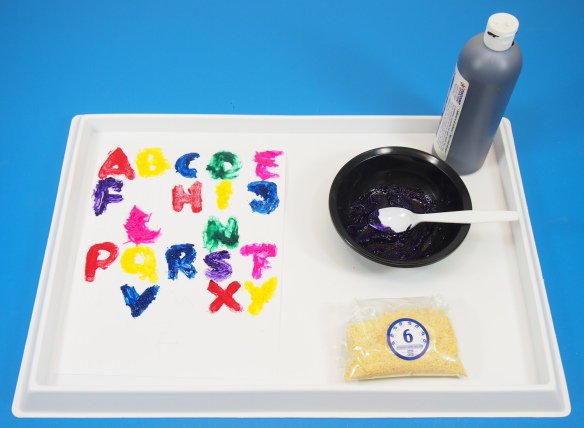
P8190231Additive #6 is known as “Coarse Grit.”

P8190235Add in a few more letters. We’re almost done!
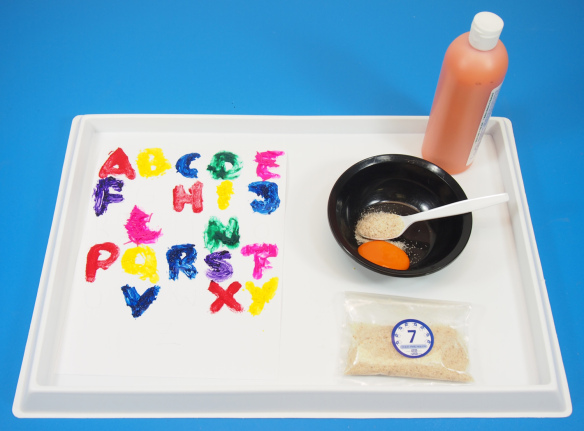
P8190238Additive #7 is called “Goopy.” The ingredients clump together to make a goopy substance.
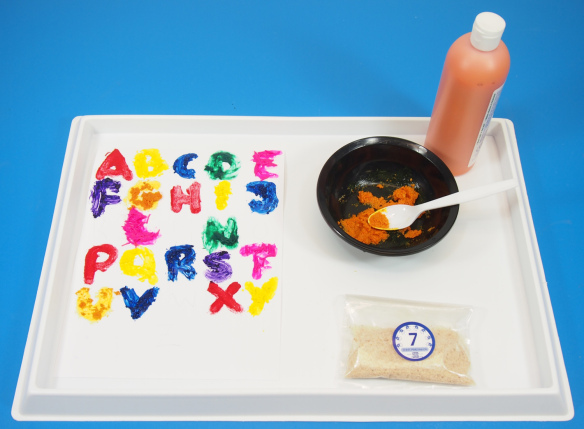
P8190241You can see just how goopy it is!

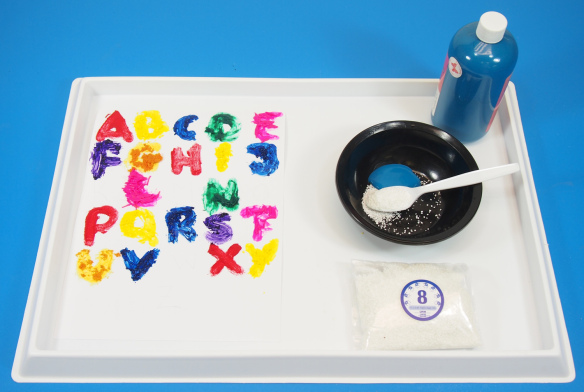
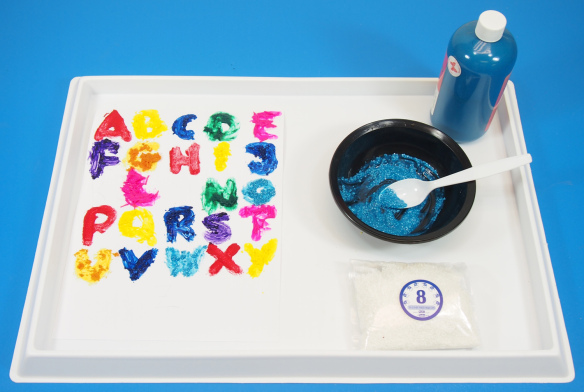
P8190244Additive #8 is known as “Rolly Polly.”

P8190246I’ve added two more letters.

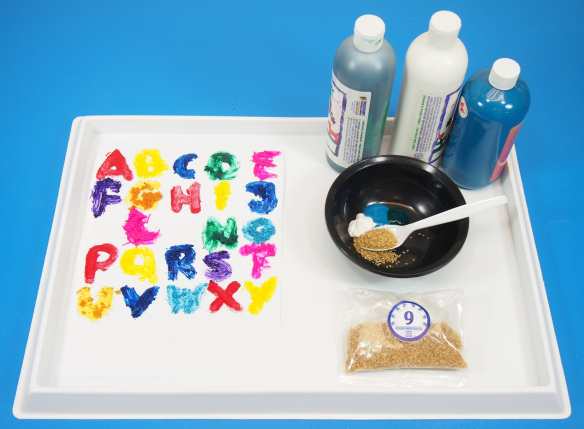
P8190249This next additive is called “Super Grit.”
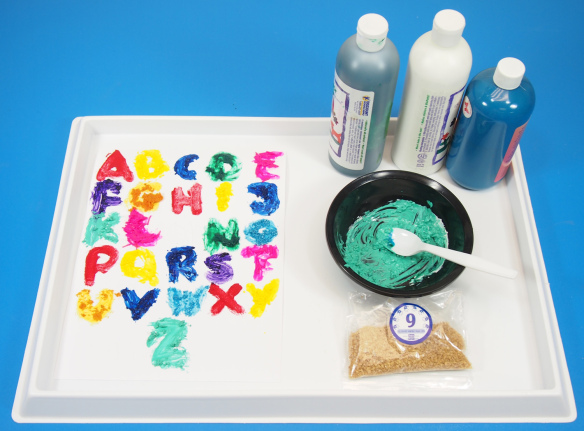
P8190252I’ve mixed several colors to add more interest to our alphabet poster.
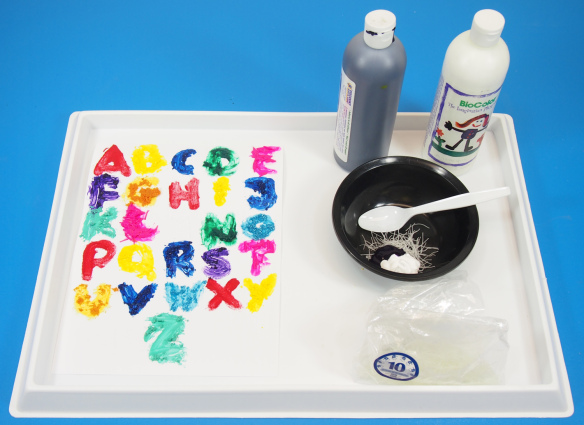
P8190256The last additive, #10, is called “Stringy.”
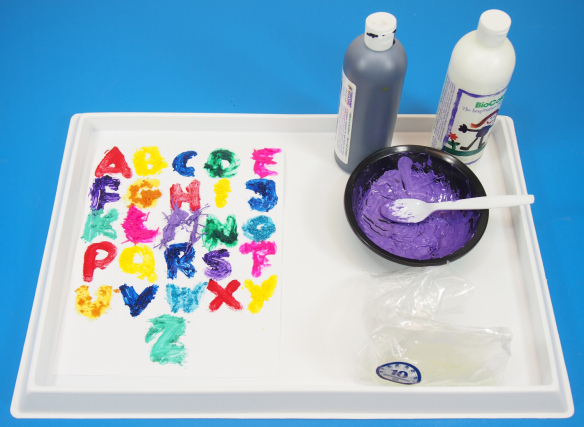
P8190258I’ve lightened the purple and positioned the stringy additives to make a textured “M.”
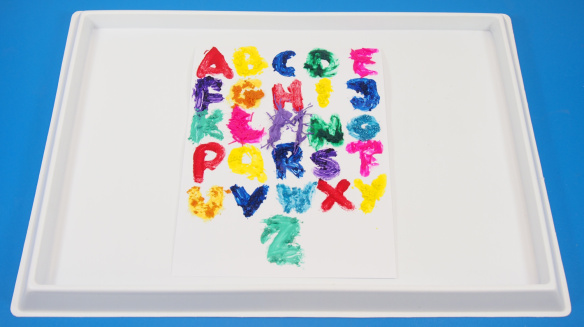
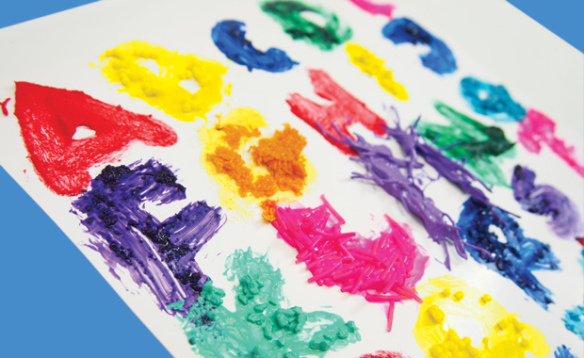
P8190259Here’s the final look. Wait for the paint to dry before letting students feel their fingers over the letters. What kinds of textures can they feel on the paper? Let them describe the textures to you while they learn about the letters!

Line-05Like us on FacebookShare this post with your friends, or Subscribe to this blog today to receive original craft project updates every Monday, Wednesday and Friday!

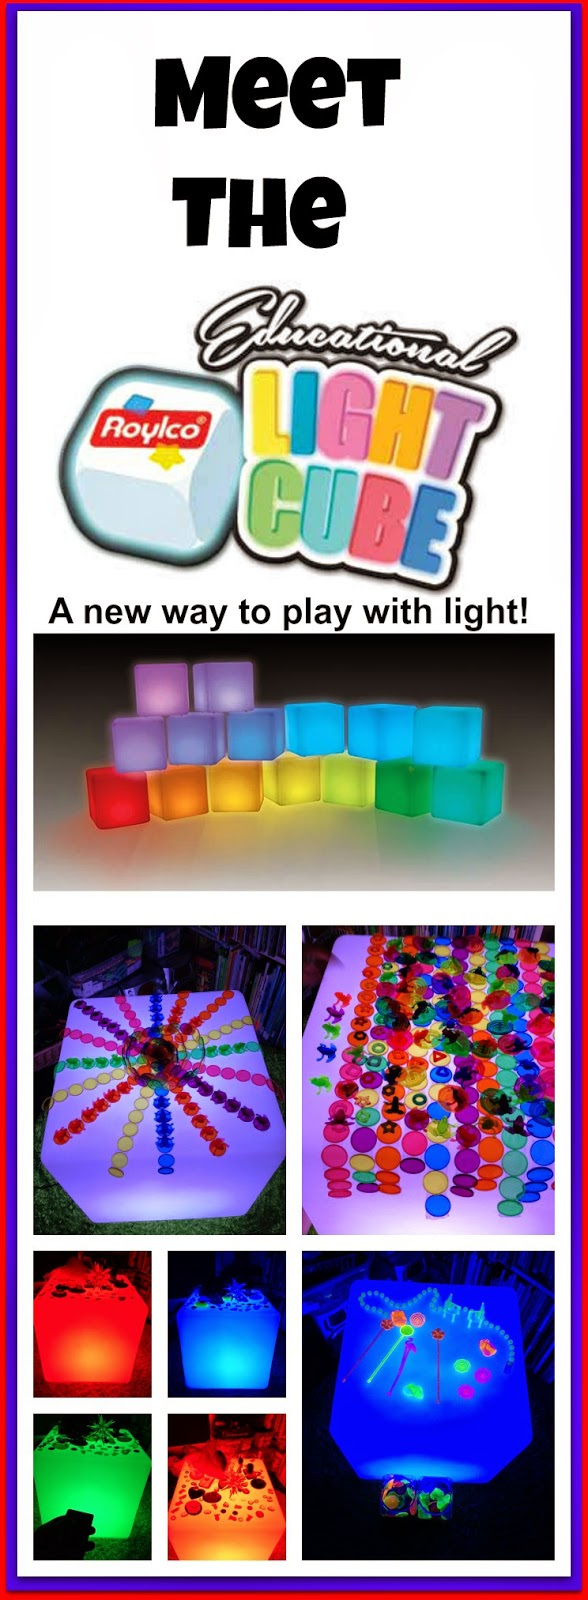
Caution! Twins at Play Introduces our Colorful Educational Light Cube!

For several years, the Caution! Twins at Play blog has garnered huge following for their experimental light table play. With the release of our newest Educational Light Cube, Kristen and her twins couldn’t wait to try it out for themselves! See what their preview post featured at the link here!!

This post was made on the Caution! Twins at Play blog which can be reached here. This blog is a huge educational resource for newcomers to light table play as well as a source of ideas for light table play veterans.

The benefits of light table play are varied and vast:

• Develop fine motor skills.

Explore sensory play.

• Integrate special needs learning.

• Count, sort, describe, experiment, combine and mix materials together to create gorgeous light effects.

• Engage children with learning disabilities.

• Versatile usage.

• …and so much more!

Kristen shares more of her experiences with the Light Cube here and will be updating her blog with more upcoming Light Cube activities.

Here’s a quote from the blog post:

Not only is it compact and portable but has a surprising amount of surface to play on. What’s great about the light cube is that you can play on the sides of it too! You can drape play silks over the side, or whatever else you can come up with.

lightcubeplay

The possibilities are endless for learning and play. The fact that you can move it around or take it with you somewhere makes it a really great item for any teacher, homeschooler, or any parent!

lightcubeplay2

We can’t wait to see what’s in store!! We will even be featuring Caution! Twins at Play as a future guest poster so stay tuned for more light-play filled posts!

The new Educational Light Cube will be a feature of our special upcoming series on Light Table play. Check back in September for a new blog post day every Thursday on Light Table Play!

Thanks to Kristen from Caution! Twins at Play for her wonderful post!

Original photography and text © Caution! Twins at Play

Line-03

Like us on Facebook and subscribe to our blog today for more original craft updates every Monday, Wednesday and Friday! 

Craft Spotlight: Masterpiece Fingerpaint Frames

Feature-Image-mpfingerpaintframes

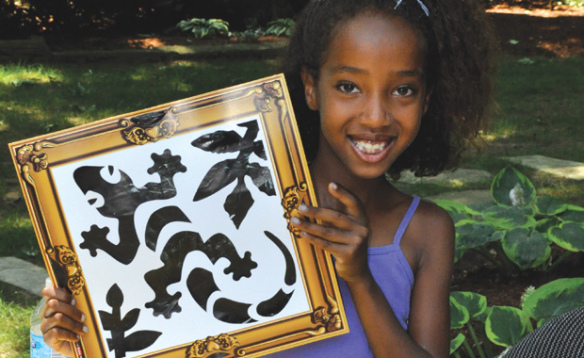
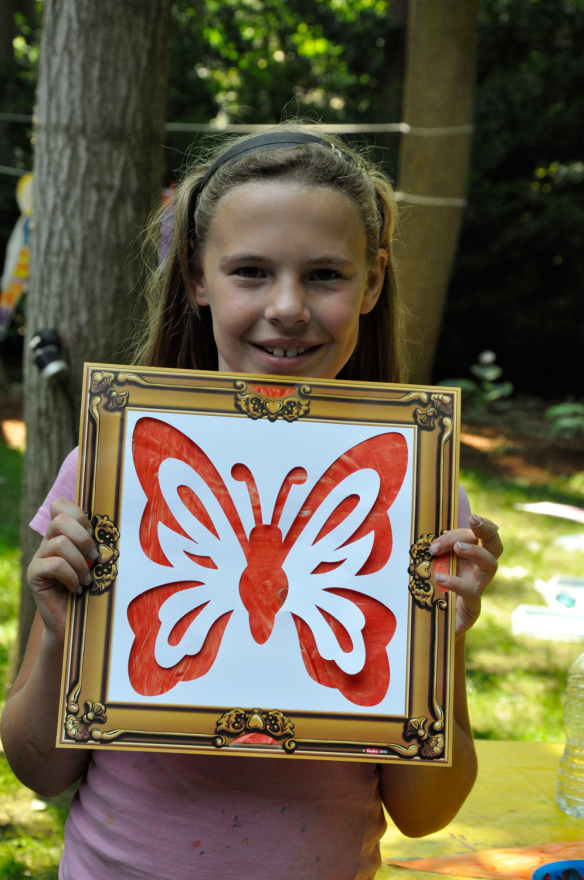
Make a work of art out of every fingerpainting session! Simply slip students’ fingerpaint artwork underneath any one of our R75421 Masterpiece Fingerpainting Frames

Each of the Masterpiece Fingerpainting Frame packages comes with special fingerpaint paper that slips perfectly into each of the frames. Use regular fingerpaint on the paper.

IMG_7486

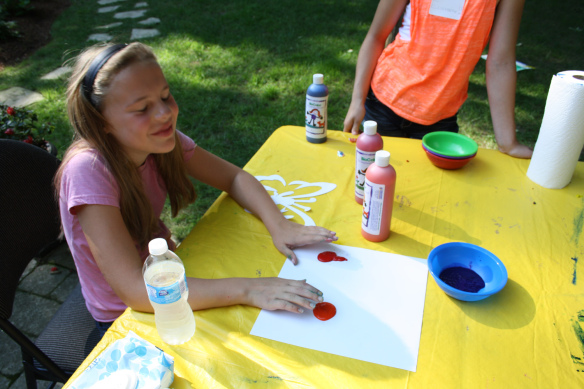
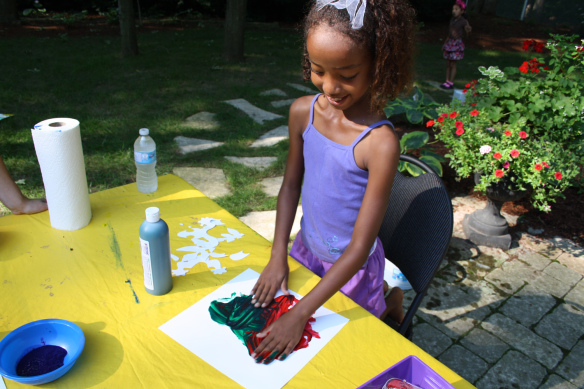
To enhance students’ sensory awareness, we asked the art campers to close their eyes as they fingerpainted. Many of the campers loved the freedom they experienced with fingerpainting. Instead of painting a specific image, students could simply blend colors together and take delight in getting ‘messy’ without much clean-up needed.

IMG_7484

To make their fingerpainted backgrounds even more intriguing, we dripped a blob of one paint color onto one side of the paper, then took another color and repeated the same for the opposite side.

IMG_7488

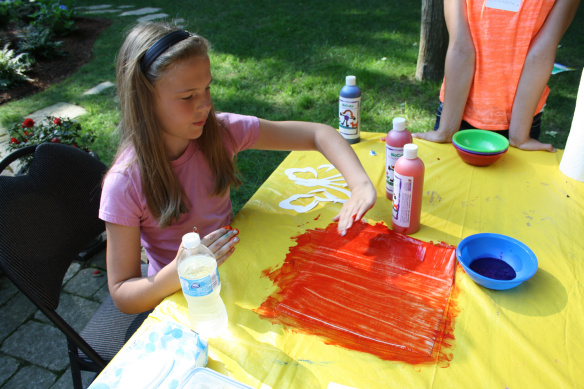
This art camper blended similar colors together: Red and orange. To make her painting more distinguishable, she decided to create patterns in the paint with her fingers.

IMG_7483

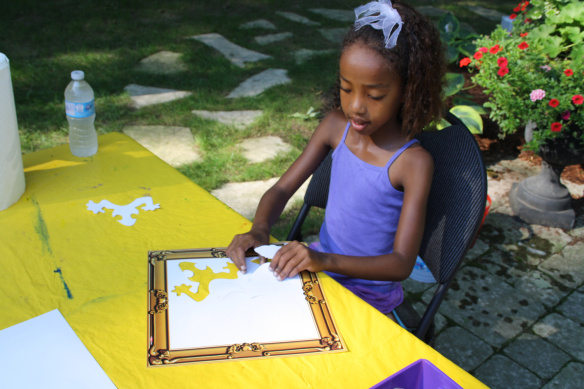
The frames are die-cut into 6 beautiful designs. Choose from a gecko, butterfly, fish, frog, turtle or bird. The colors your students choose in their fingerpainting artwork will show through the stylized designs. Pop out the die-cut pieces from the rest of the frame. 

To slip the fingerpainted background into the Masterpiece Fingerpaint Frames, locate the tabs on the sides of the frame. Lift the tabs up and slip the edge of the fingerpaint paper in. Secure the paper on all four sides of the frame.

_DSC0259

Try out a variety of different fingerpainted backgrounds! Change up the background to give your masterpiece a new look.

R75421

Line-09

Thanks for stopping by! If you have any comments or suggestions, or you would like us to publish a post on your work, drop us a line at subscriber@roylco.ca!