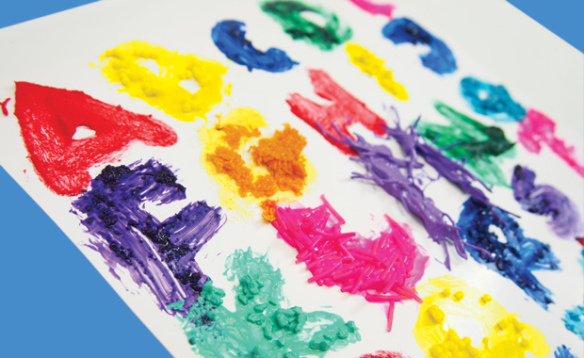
 It’s almost time for Back to School! …And that means getting to know new students through their names. In order to spell their names correctly, students will need to begin their literacy lessons. It just so happens that September is filled with various literacy weeks, so this week’s craft is the perfect start to learning some letters through sensory fingerpainting!
Age: 3+
Duration: 15-20 minutes
Learning Objectives: Use fingers to paint. Develop fine motor skills while stimulating tactile senses. Learn letters of the alphabet for Back to School and for literacy lessons.
You’ll Need:
• R75415 Finger Paint Sensations Kit
• R7512 Fingerpaint “No Mess” Trays
• R5519 Paint Bowls
• Paint
• Mixing spoon
• Card paper
• Pencil

Add a touch of sensory appeal to your students’ literacy lessons with our Fingerpaint Sensations kit! Designed to enhance students’ tactile skills, the fingerpaint kit features 10 safe, special additives that can be combined with paint to turn fingerpainting into a cool experience.
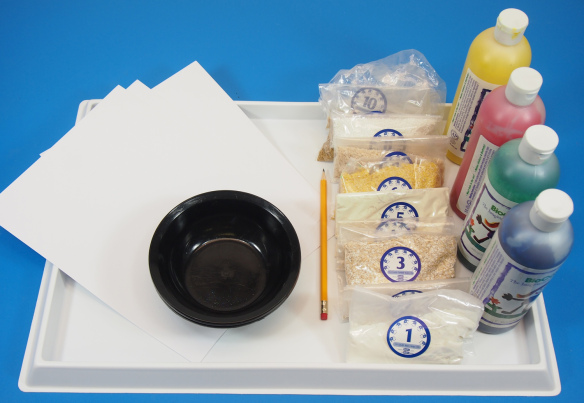 In the photograph, you can see all 10 additives in labeled bags. Select your favorite colors and mix with different additives to engage your students’ fingerpainting experiences.
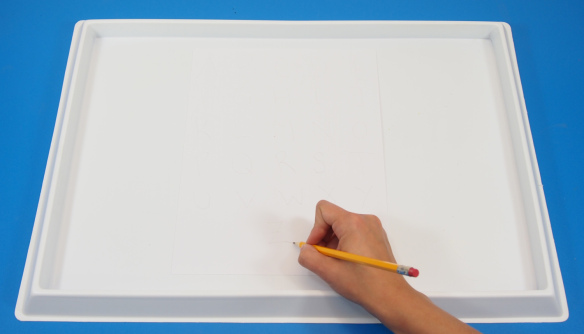
Place your card paper onto the paint tray. Write all the letters of the alphabet onto the card paper. I wrote 5 rows of 5 letters each with the last letter ‘Z’ written at the bottom.
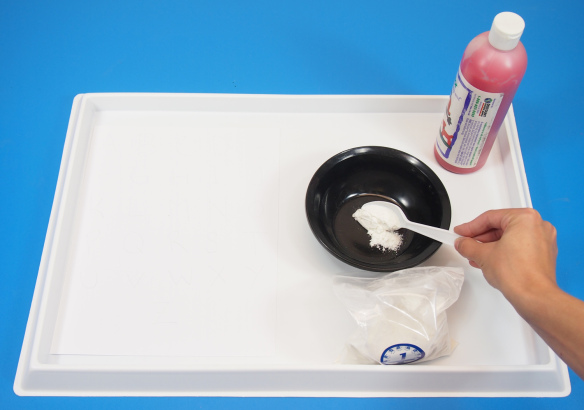 I’ll start with each of the additives. Once again, they are 100% safe for students to use, which is the best part, as kids will love feeling the different textures on their fingers! The 1st additive is called “Fine Grit.” This will make the paint feel gritty to kids’ fingers.
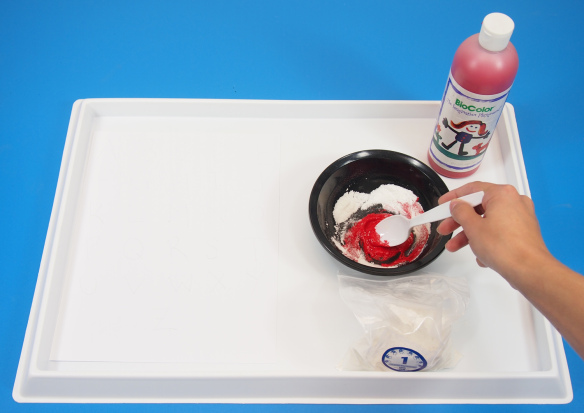 Mix 1 teaspoon of Fine Grit Additive #1 to a few squirts of paint.
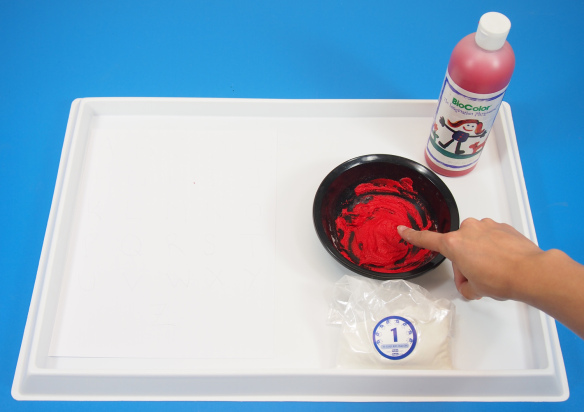 Show children how to dip their “painting” finger into the textured fingerpaint.
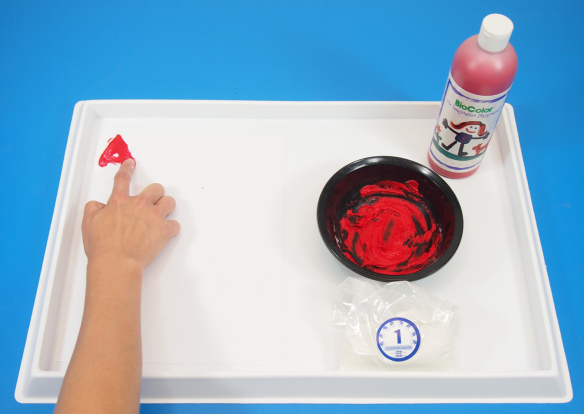 Locate your first letter and trace the pencil marking with your finger. This is a great way to reinforce the shape of the letter while giving your students a different texture to feel!
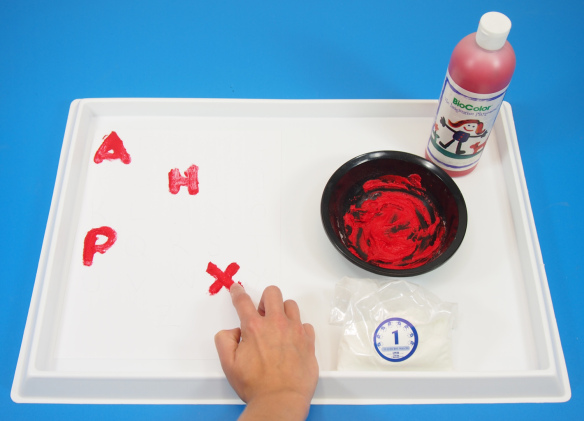 I’ve decided to mix up the colors, so I’m going through them randomly. You can follow one row of letters or make your own combination of colorful, textured letters!
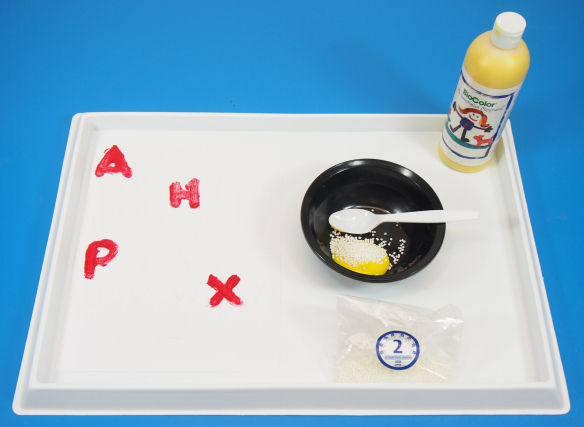 Additive #2 is known as “Frictionless” which adds small decorative balls to the paint.
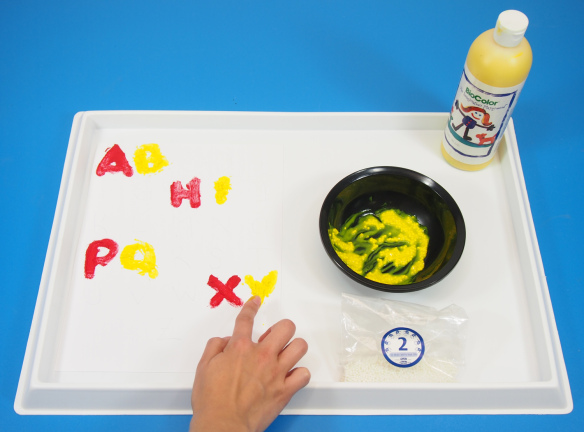 Mix 1 teaspoon of Additive #2 to another color of paint. I’ve added another letter beside each previous letter.
 The next additive is #3. This one is called “Soft.”
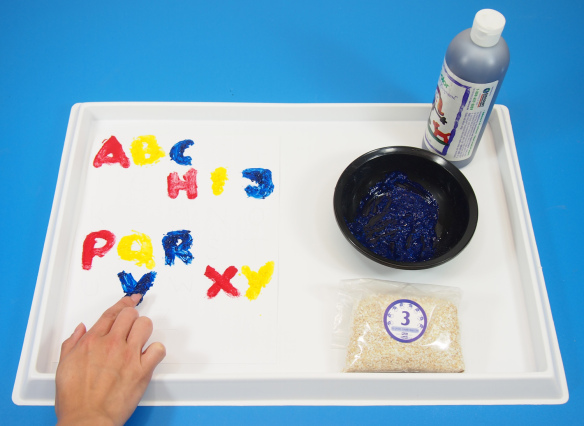 Add more letters to the alphabet poster!
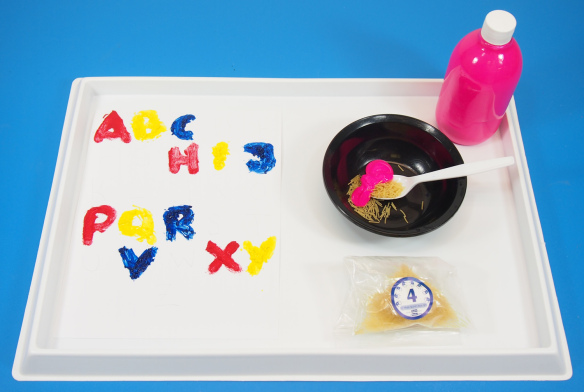 Additive #4 is called “Slippery.” Remember, you can add more of the additive to the paint to increase the textured effect!
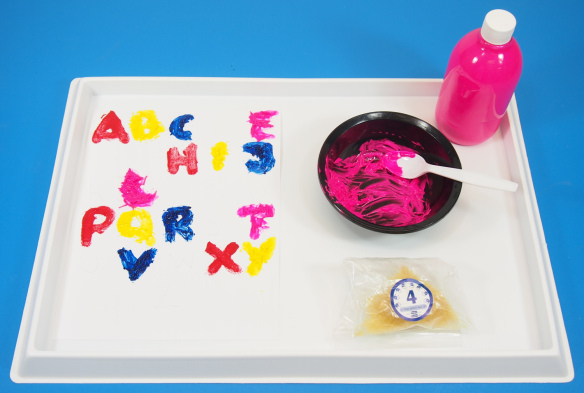 This one is a little difficult to handle, so choose letters that are simple to fingerpaint.
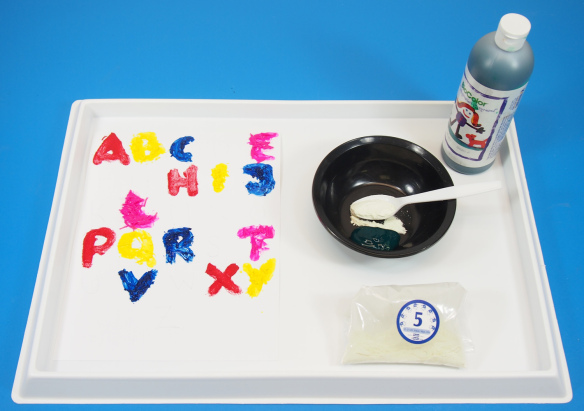 Additive #5 is known as “Gooey.” This additive turns the paint sticky and slimy!
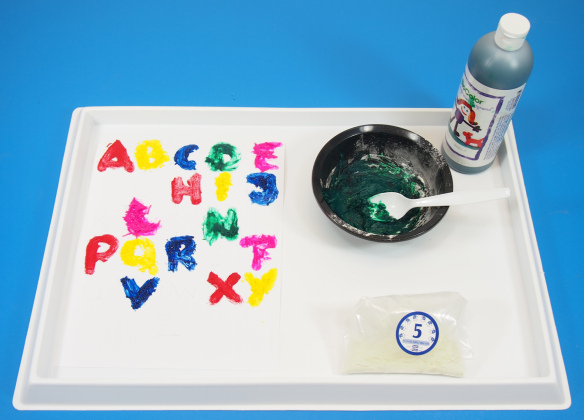 Here I’ve just painted 2 additional letters to make room for the rest!
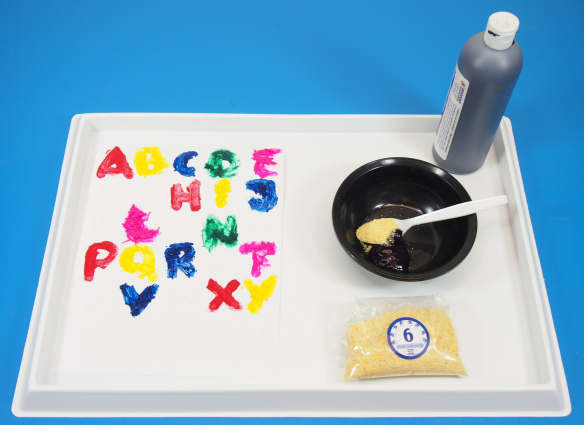 Additive #6 is known as “Coarse Grit.”
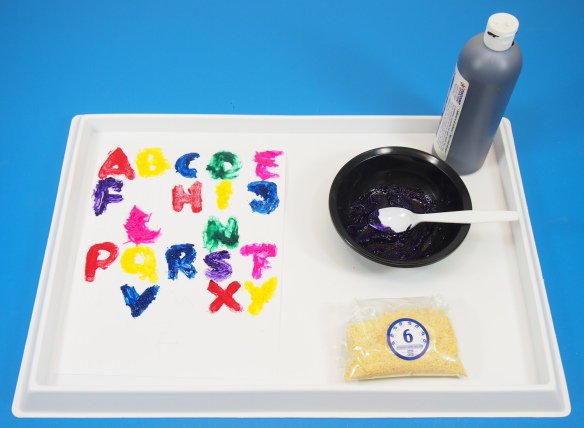 Add in a few more letters. We’re almost done!
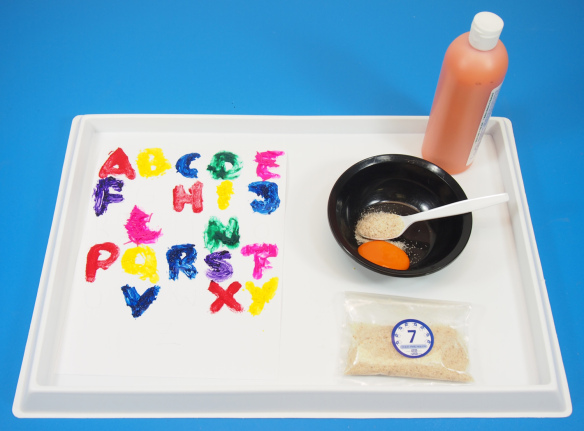 Additive #7 is called “Goopy.” The ingredients clump together to make a goopy substance.
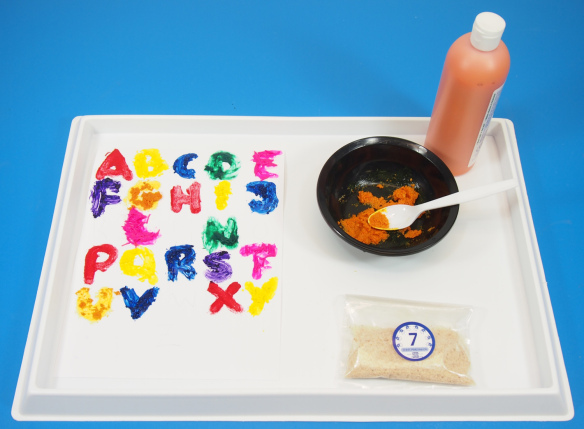 You can see just how goopy it is!
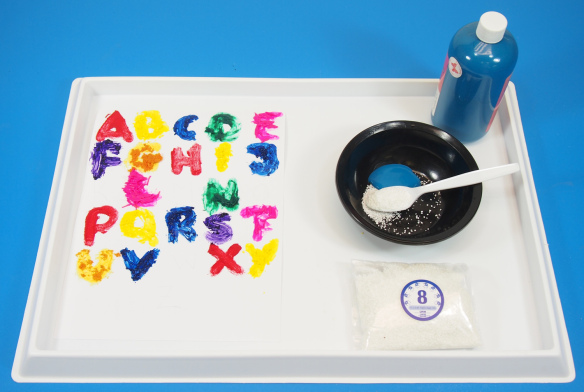 Additive #8 is known as “Rolly Polly.”
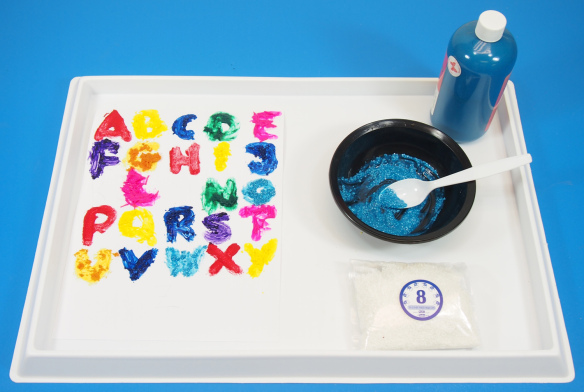 I’ve added two more letters.
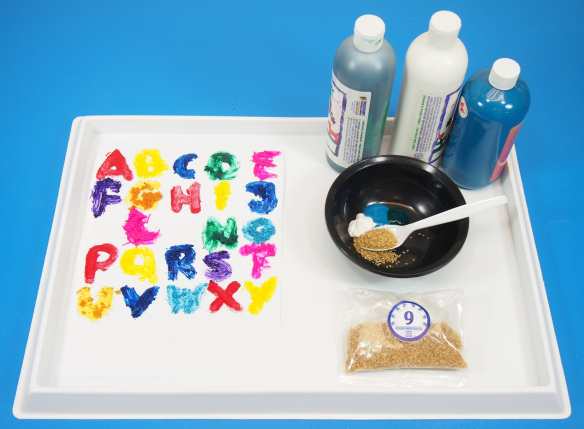 This next additive is called “Super Grit.”
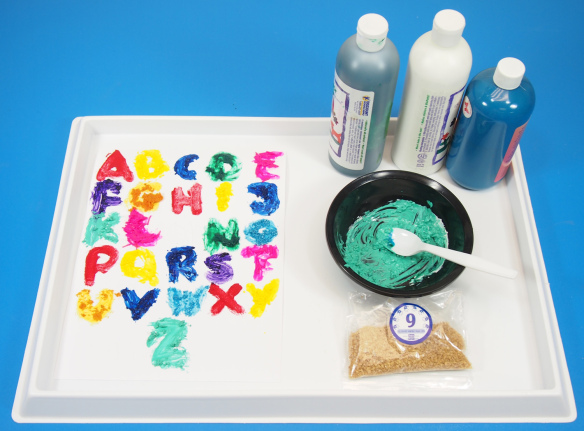 I’ve mixed several colors to add more interest to our alphabet poster.
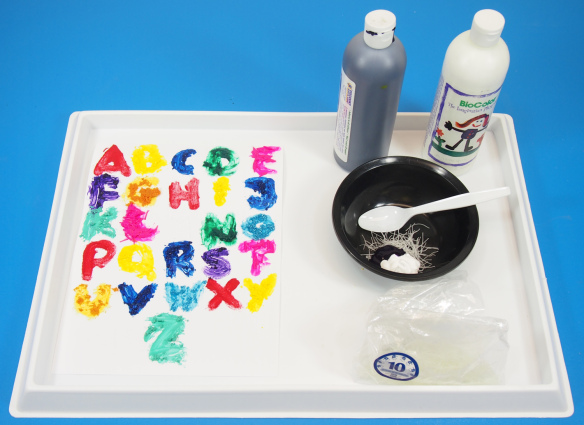 The last additive, #10, is called “Stringy.”
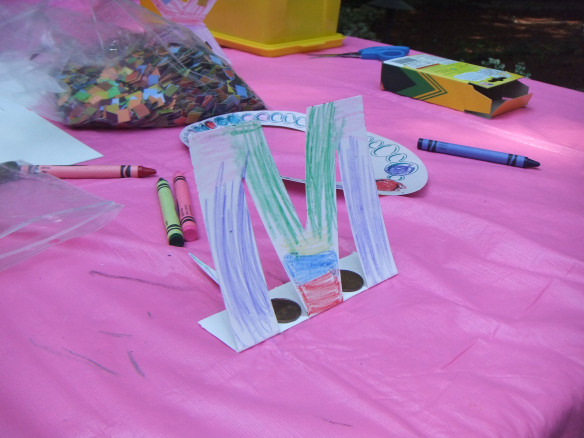
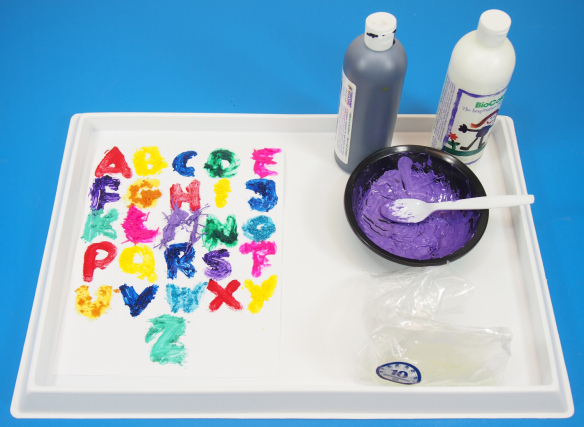 I’ve lightened the purple and positioned the stringy additives to make a textured “M.”
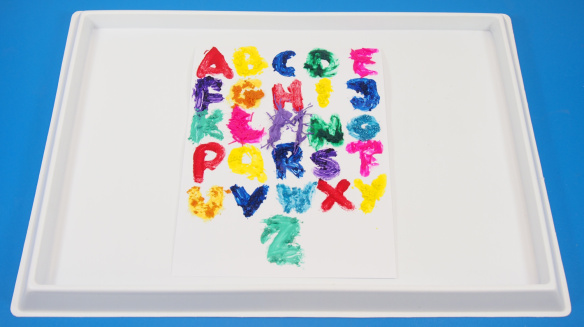 Here’s the final look. Wait for the paint to dry before letting students feel their fingers over the letters. What kinds of textures can they feel on the paper? Let them describe the textures to you while they learn about the letters!
 Like us on Facebook, Share this post with your friends, or Subscribe to this blog today to receive original craft project updates every Monday, Wednesday and Friday!


