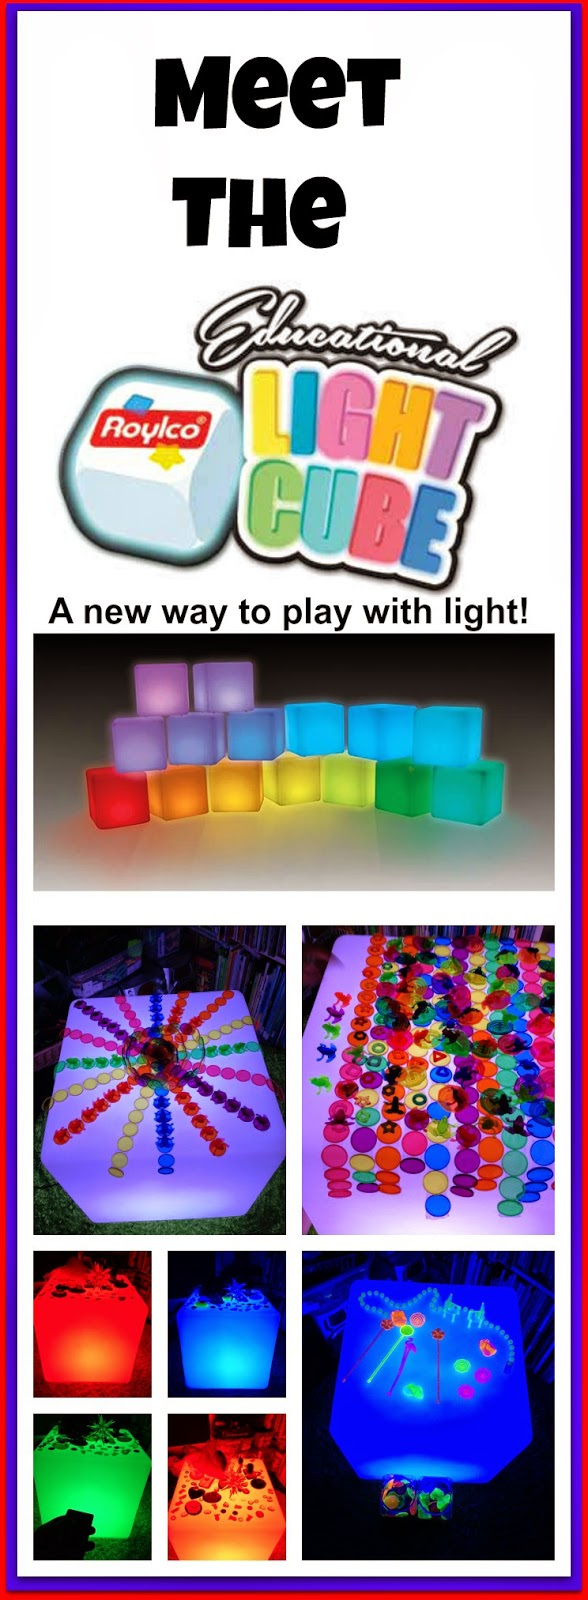
Caution! Twins at Play Introduces our Colorful Educational Light Cube!

For several years, the Caution! Twins at Play blog has garnered huge following for their experimental light table play. With the release of our newest Educational Light Cube, Kristen and her twins couldn’t wait to try it out for themselves! See what their preview post featured at the link here!!

This post was made on the Caution! Twins at Play blog which can be reached here. This blog is a huge educational resource for newcomers to light table play as well as a source of ideas for light table play veterans.

The benefits of light table play are varied and vast:

• Develop fine motor skills.

Explore sensory play.

• Integrate special needs learning.

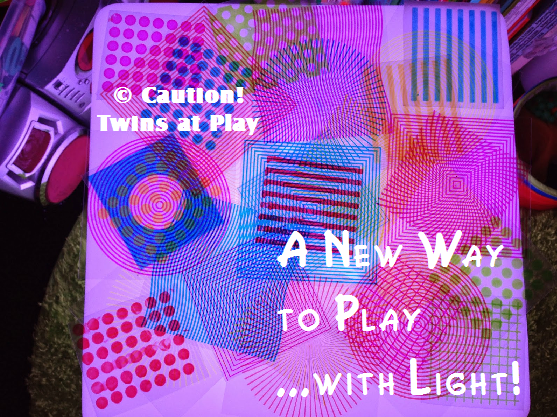
• Count, sort, describe, experiment, combine and mix materials together to create gorgeous light effects.

• Engage children with learning disabilities.

• Versatile usage.

• …and so much more!

Kristen shares more of her experiences with the Light Cube here and will be updating her blog with more upcoming Light Cube activities.

Here’s a quote from the blog post:

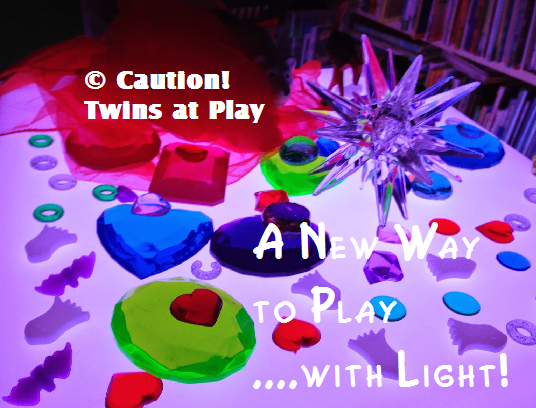
Not only is it compact and portable but has a surprising amount of surface to play on. What’s great about the light cube is that you can play on the sides of it too! You can drape play silks over the side, or whatever else you can come up with.

lightcubeplay

The possibilities are endless for learning and play. The fact that you can move it around or take it with you somewhere makes it a really great item for any teacher, homeschooler, or any parent!

lightcubeplay2

We can’t wait to see what’s in store!! We will even be featuring Caution! Twins at Play as a future guest poster so stay tuned for more light-play filled posts!

The new Educational Light Cube will be a feature of our special upcoming series on Light Table play. Check back in September for a new blog post day every Thursday on Light Table Play!

Thanks to Kristen from Caution! Twins at Play for her wonderful post!

Original photography and text © Caution! Twins at Play

Line-03

Like us on Facebook and subscribe to our blog today for more original craft updates every Monday, Wednesday and Friday! 

Craft Spotlight: Fingerpaint Sensations Kit

Feature-Image-FingerPaintSense

Our safe-to-use additives provide a pop of sensation to your painting projects! A great way to encourage fine motor play in special needs classrooms. Simply pop in one additive to one color of paint and let the fun begin!

Each additive is packaged separately so you can control how much of each you want to use in your painting. Simply insert the additives into your favorite paints and stir around. It’s a good idea to place each color into separate bowls. Let sit for a bit to help the additives soak into the paint.

R75415

The kit includes ten sensational additives: Fine grit, funny fibers, coarse grit, squishy, soft, frictionless, dissolving, roly-poly, stringy and goopy!

The video below demonstrates how these additives work with paint on paper. Try it out for yourself!

Get your students to dip their fingers into the paint and describe the textures they feel. Which textures do they like the best? The video below shows one of our friends Ryan trying out the Fingerpaint Sensations paints for the first time!

Children can paint scenes or pictures of things they like.

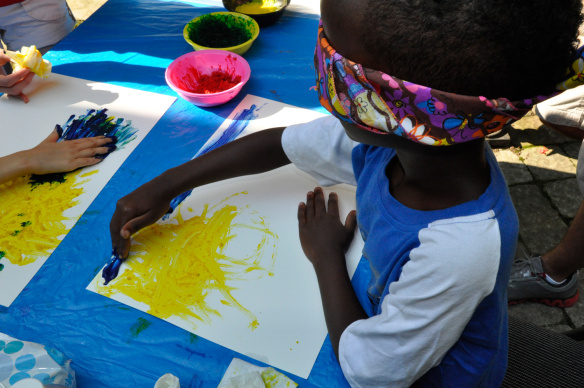
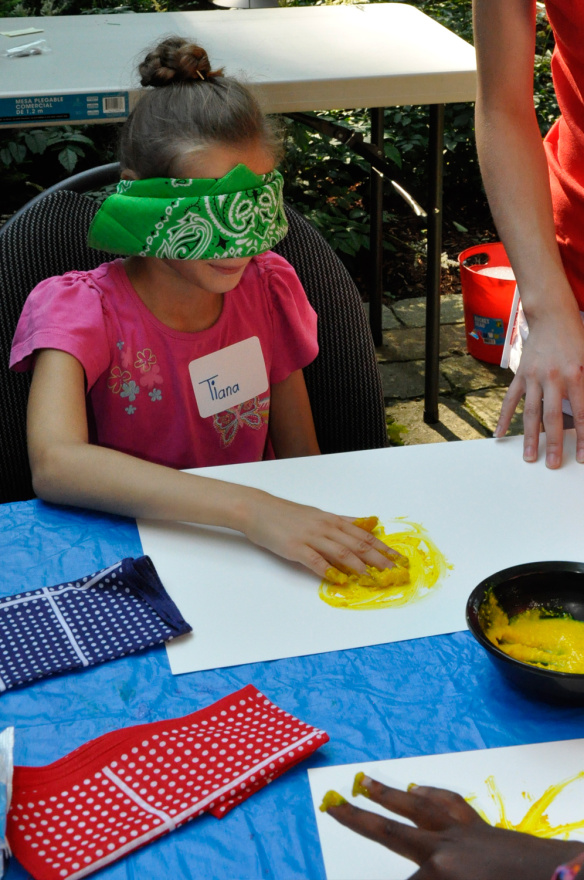
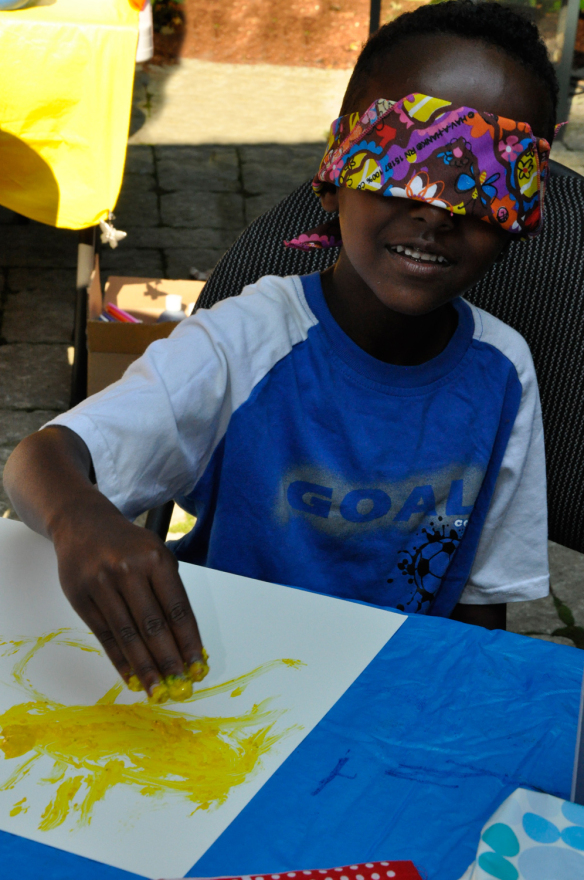
_DSC0026To help your students focus on the sensations of the fingerpaint, wrap a bandanna around their eyes so they can’t see their work. Ask them to “feel” their painting. Our Art Campers were talked through their paintings. For instance, we would help them dip their hands into a color of paint and told them to feel the texture and imagine what it could represent in their painting. Once they provided their descriptions, we placed their hands over their painting paper and asked them to draw the the rays of the sun using gritty yellow paint. 

_DSC0019

Once that was complete, the students moved on to paint their gooey blue sky. It was great fun to hear their reactions when they put the different elements of the painting together. Despite not being able to see, many students could clearly visualize how they wanted their painting to appear.

_DSC0021It was a good lesson in getting students to focus on their fine motor movements rather than just relying on their vision to create their art pieces.

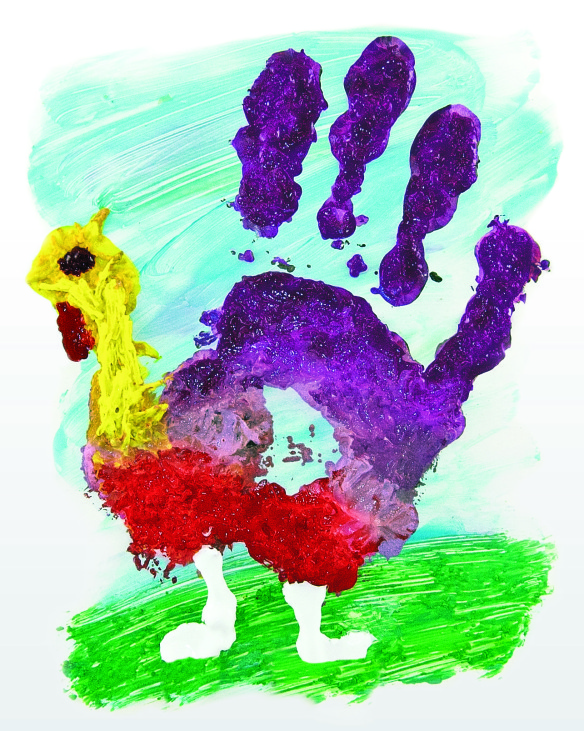
If you are going for more results-based artwork, try out a project like the one below!

75415 Fingerpaint Sensations_Image Sample1

Here’s an example of something your students can make. Cover various parts of your hands and fingers with different sensational paint colors. Press your hand onto a piece of paper. Add in details later.

Line-20We hope you’ve enjoyed this post! If you have thoughts to share or would like us to post up photos of your students’ work, send us an email to subscriber@roylco.ca!