 Make brilliant designs on Color Diffusing Paper using clear glue! Incorporate windsocks into a national holiday craft or use to cheer on your favorite team.
Age: 5+
Duration: 20 minutes
Learning Objectives: Create product art with an emphasis on using fine motor skills. Trace designs onto paper or draw freehand using references. Encourage scissor skills development. Incorporate windsock designs with themes learnt through social studies subjects or in observation of upcoming national events. Talk about significance of wind patterns and weather changes.
You’ll Need:
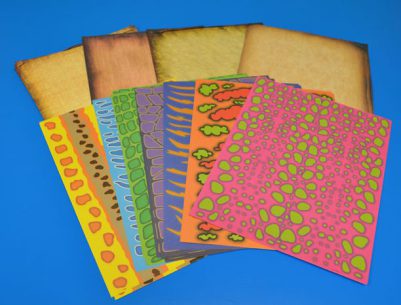
• R15212 Color Diffusing Paper 12 x 18″
• Watercolor paint
• Plastic paint trays
• R54460 Squiggle Pipettes OR paintbrushes
• Scissors
• Hole punch
• Yarn
• Tape
• Clear glue (preferrably with applicator tip)
 This activity is perfect for making a take-home craft that kids will love. You can decide to have kids draw their flag designs freehand, or print out a large flag design in black and white line-art that kids can use as a template beneath their Color Diffusing Paper sheet. In this activity, I’ve used both techniques.
Click on any of the links below to skip to a portion of this tutorial:
1. Designing your windsock
2. Making streamers
3. Assembling your windsock
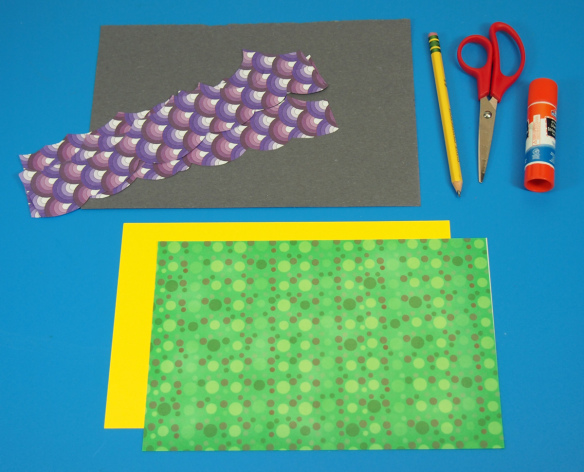
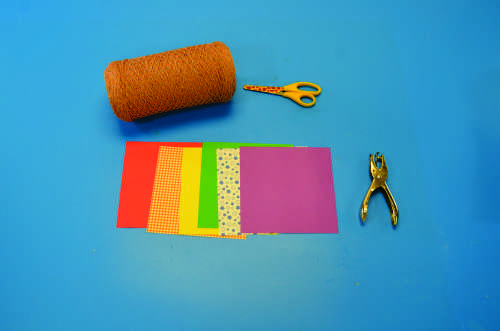
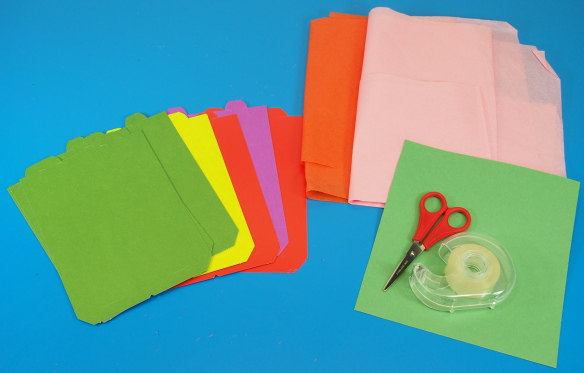
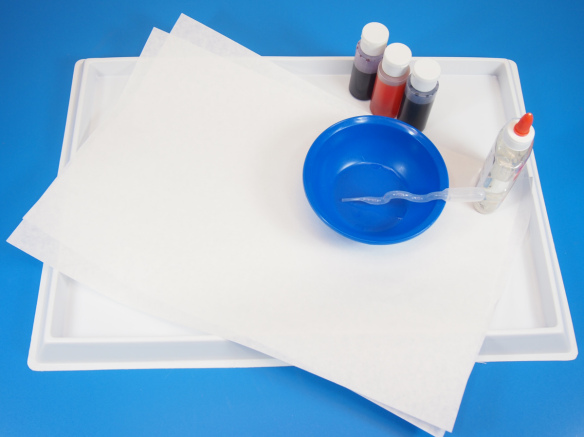 Here, you can see all the materials I’ve assembled. Using bowls to contain the watercolor paint makes it easy for kids to keep their work-spaces clean. Pipettes are a great way to get children with developing finger muscles to experiment with different squeezing techniques.
Alternatively, use paintbrushes to apply the watercolor to the Color Diffusing sheets.
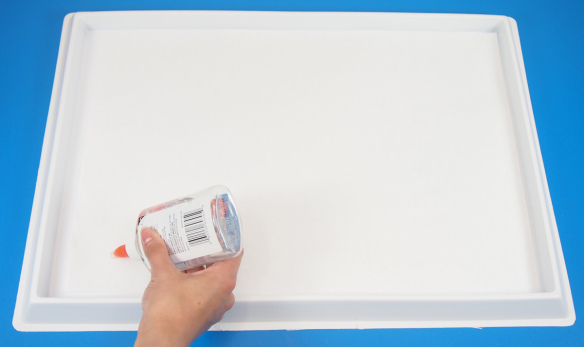 First, decide on your design. If you decide to get students to freehand the design, it’s a good idea to print out a reference for students to look at. They can lightly pencil in their design if they’d prefer, then go over top of the design with the clear glue.
It’s ideal if the clear glue dispenser has a pointed applicator that kids can use like the point of a marker or pencil. Gently press the glue down onto the Color Diffusing Paper on top of your penciled design.
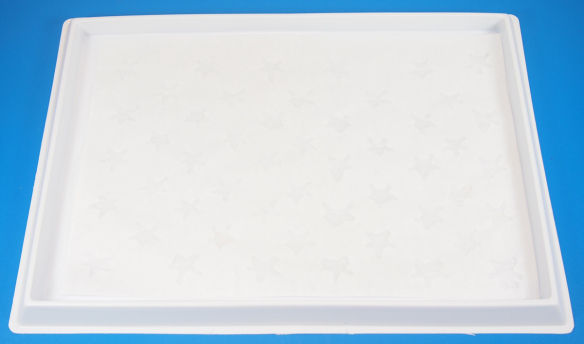 The photo above won’t clearly show the image, but I’ve “drawn” 50 stars with the clear glue in a stacked sequence. Can you guess the flag I’m making?
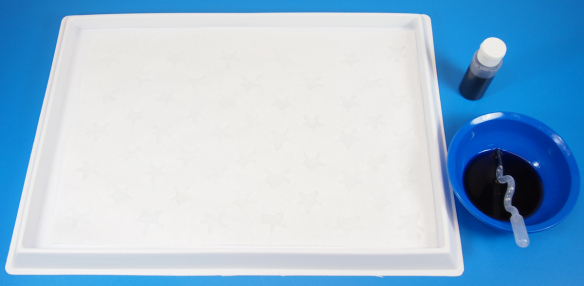 Wait until the glue is completely dry! This usually doesn’t take too long, but if you are worried about time, be sure to do the glue “drawing” on a day before your painting class. You can speed up by the process by leaving the drying artwork under an oscillating fan. Once you are ready to paint, place the Color Diffusing Paper into a plastic paint tray.
For this particular project, I’ve grabbed blue watercolor. Notice how nicely the Squiggle Pipette fits into the colorful paint bowl. You can place the bowl in the center of a group of students and have them all grab their paint from that one location.
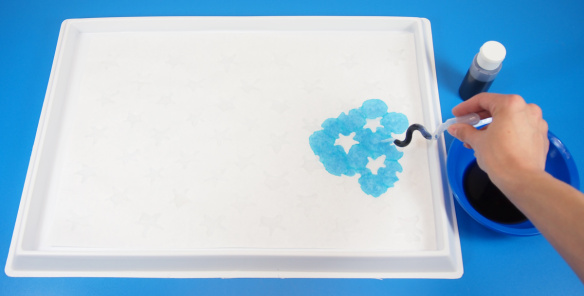 This is my favorite part!! As I release the blue watercolor paint from the Squiggle Pipette, the paint carefully avoids any place where I’ve “drawn” in the glue. This is because the glue has seeped completely through the paper and acts as a barrier to the oncoming ink.
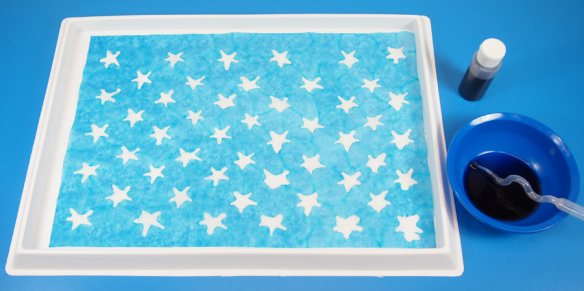 It will take a few squirts from the Squiggle Pipettes to fill the entire canvas, but it’s well worth it for the colorful effect and design popping through!
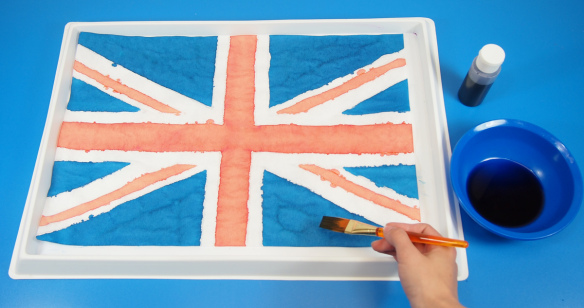 For a project like the Union Jack flag, I placed a line-art print of the flag design beneath the Color Diffusing Paper and traced out all the lines with the clear glue. Once the glue was dry, I used a paintbrush to apply the paint. This helped maintain an even layer of paint throughout the design.
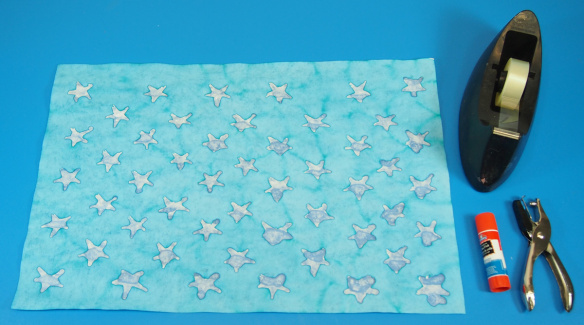 Take your main windsock design and prepare it for lift-off!
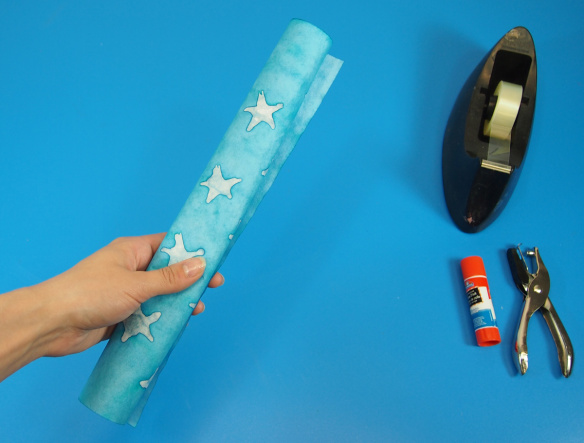 First, roll the windsock into a tight tube. This will help it retain a cylinder shape once you string it up.
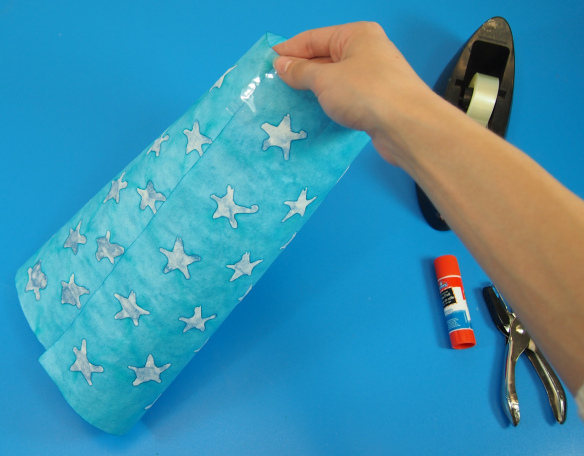 Unwind the tube until the ends are overlapping by 2″ on both sides. Tape the edges together.
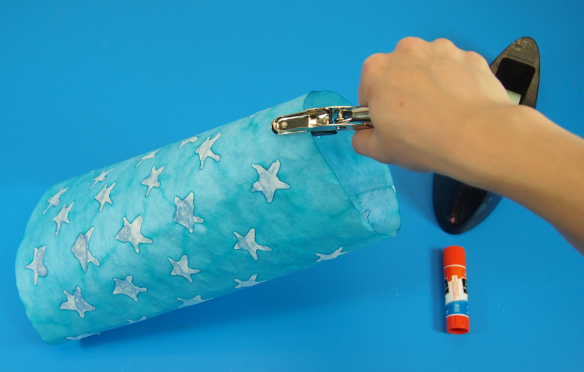 Next, make four holes at equal intervals along the top edge of your flag windsock.
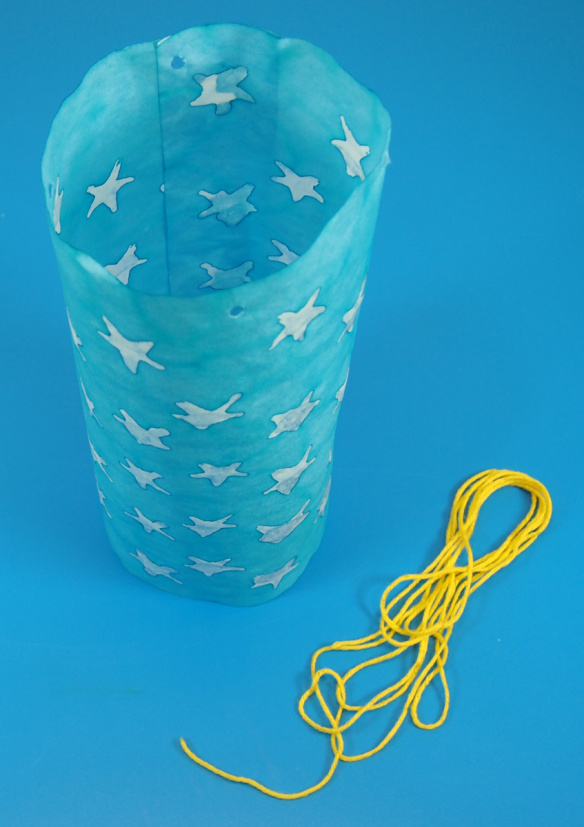 Grab a large run of yarn, about 2 yards (1.8 m) in length.
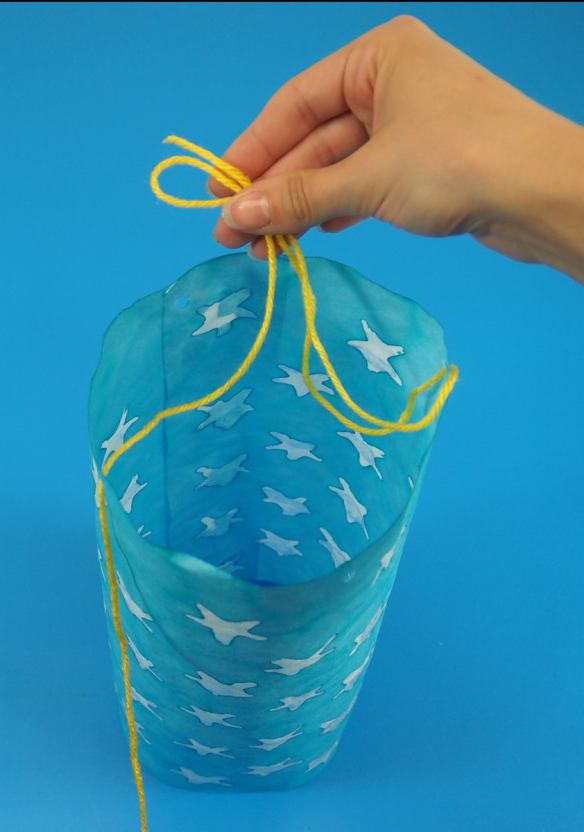 Loop one end through a hole and hold. Make a second loop with the other end of the yarn and hold that along with the first strand. Use the remaining yarn to pass through a second hole.
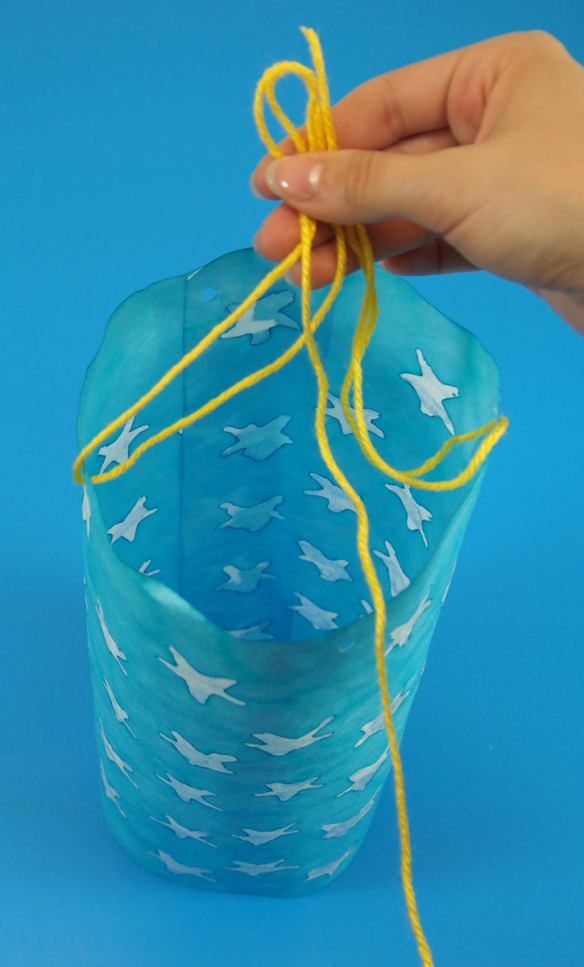 Loop back up and hold the loop in your hand along with the rest of the previous loops. Pass the end of the yarn through a third hole.
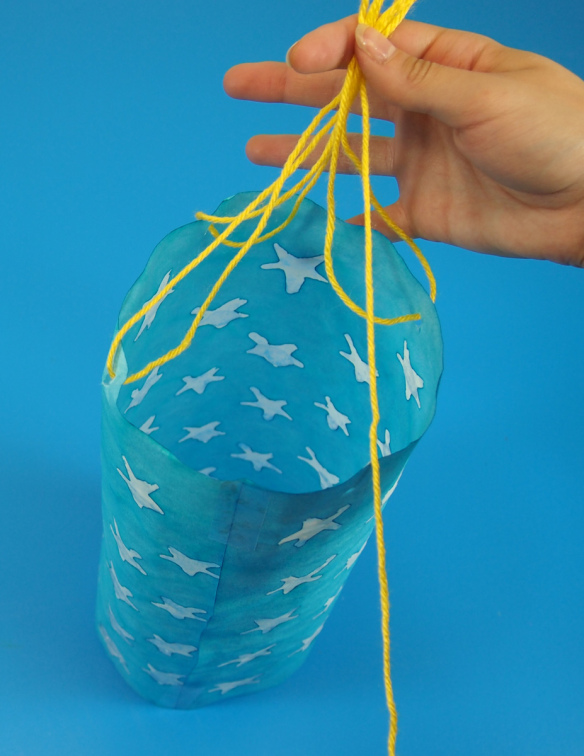 Loop back up through the hole and hold the loop in your hand with the rest. Thread the final stretch of yarn through the fourth hole.
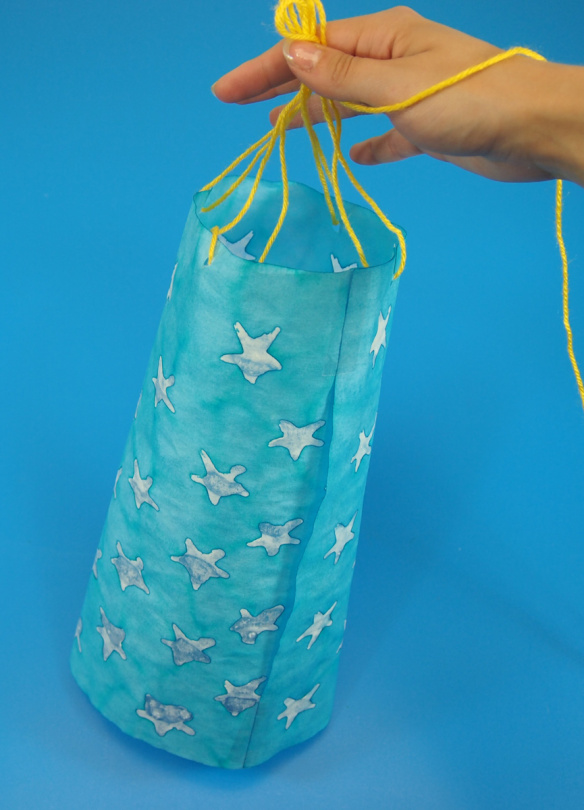 Then loop back up and hold this loop in your hand with the remaining loops. There should be some leftover length of yarn to use as the string from which you’ll hang the windsock. Twist all the loops together, as one, into a tight knot.
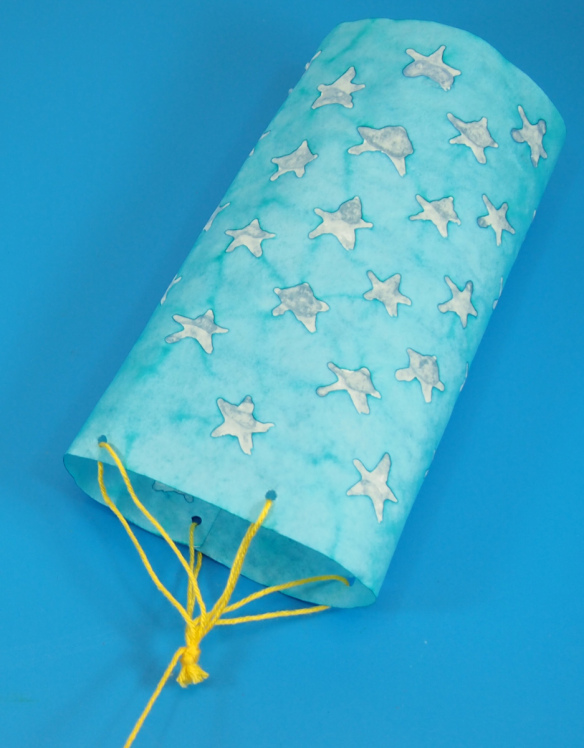 You can trim some of the excess loops above the knot part. Just make sure not to snip the long piece of string! The first part of the windsock should look something like this.
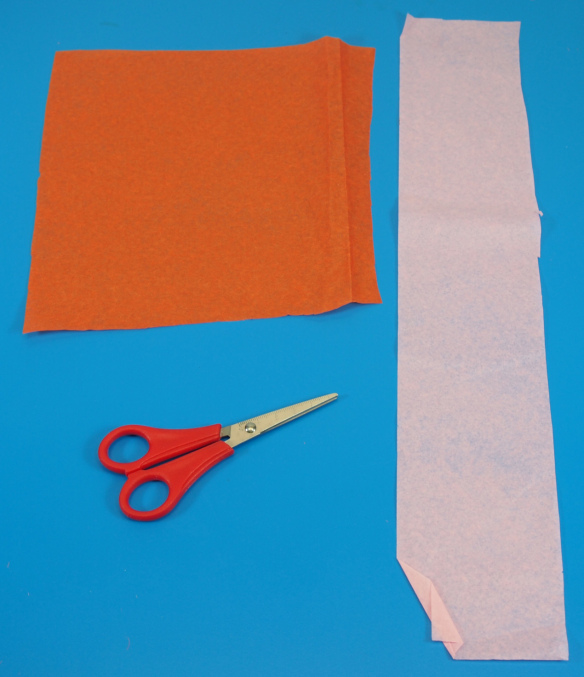
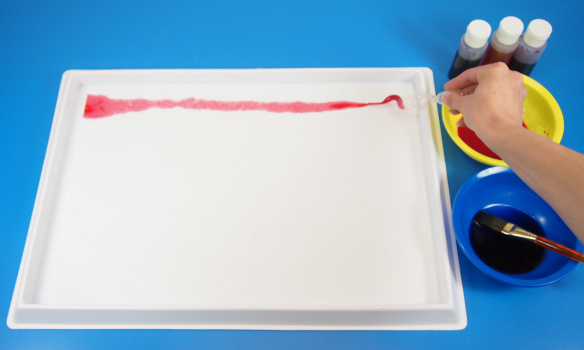 Now it’s time to make the streaming ends for the windsocks. Place the Color Diffusing paper lengthwise, then spread the paint any which way you’d like. Make lines, spots, color entire strips of paper or intertwine the colors together.
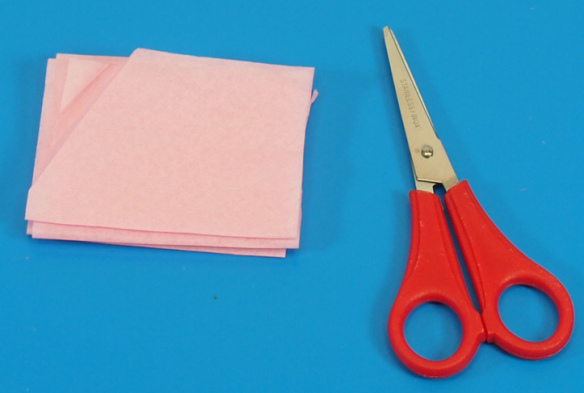
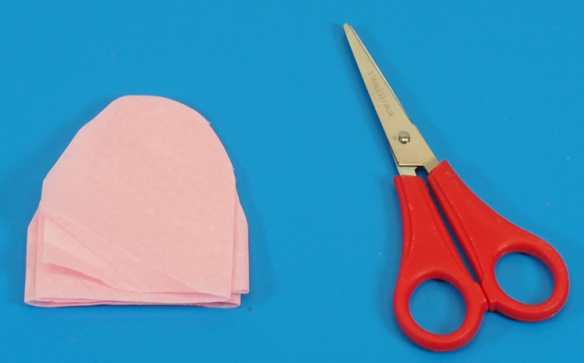
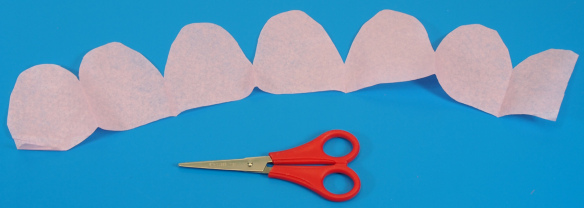
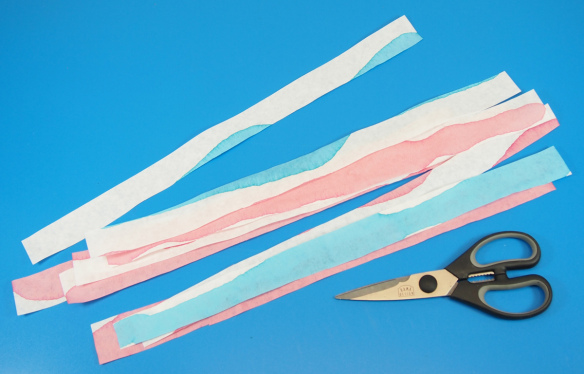 When this particular sheet of paper has dried, cut it into strips lengthwise.
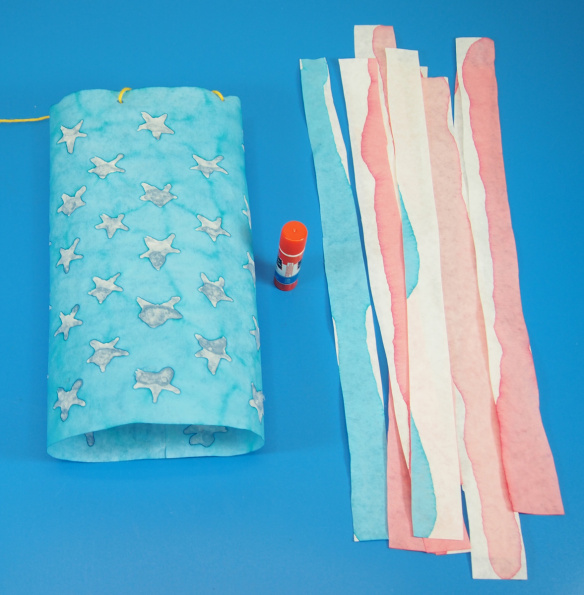 Now grab some glue! We’re ready to attach the final portion of the windsock.
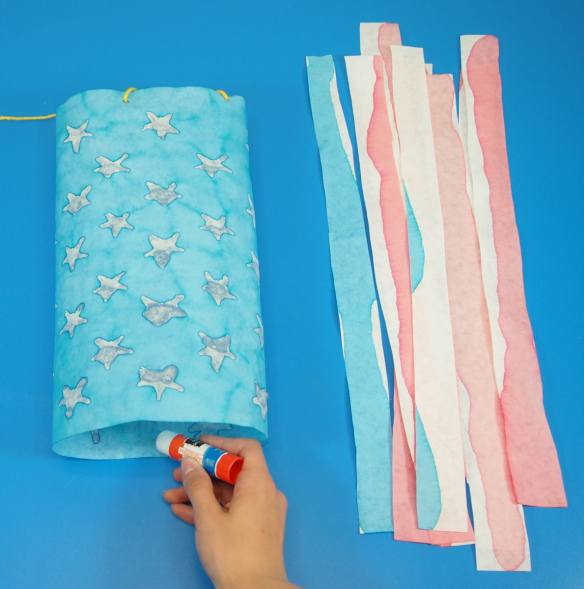 Put a bit of glue on the inside of the windsock’s bottom edge.
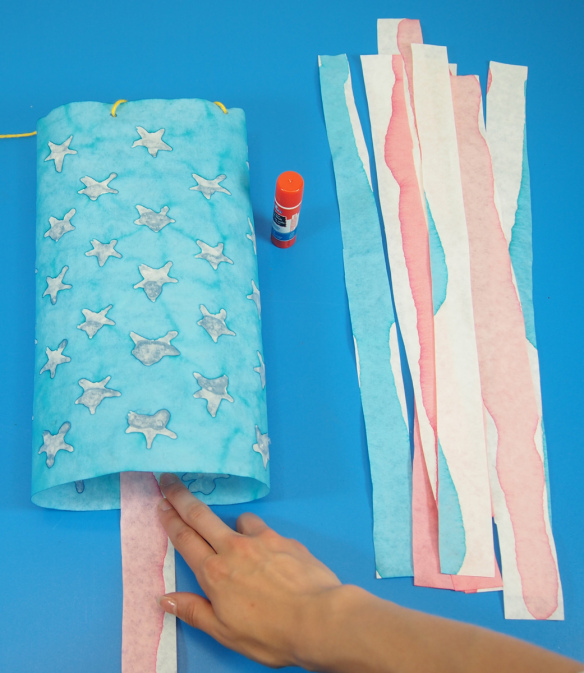 Press a streamer down onto the glued portion. Space out your streamers into equal intervals and continue all the way around the bottom of the windsock.
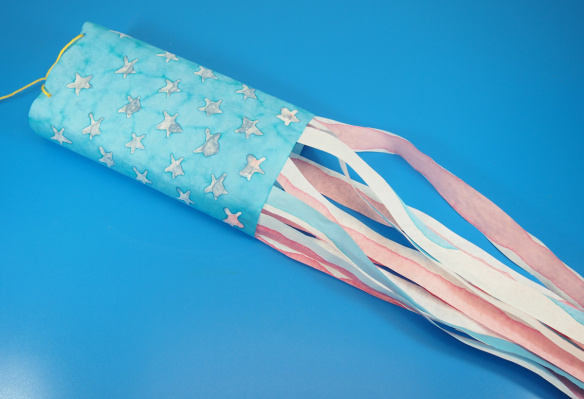 Here’s a look at our windsock! Isn’t it a beaut!
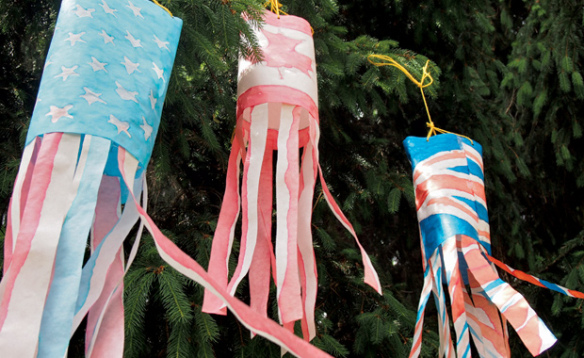
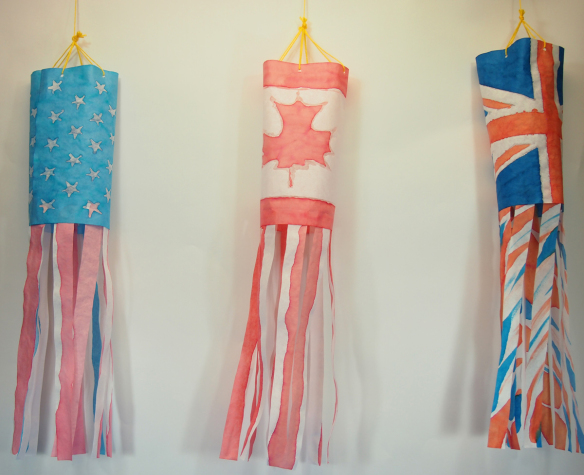 You can see further completed designs here, including the American flag, Canadian flag, and the Union Jack!
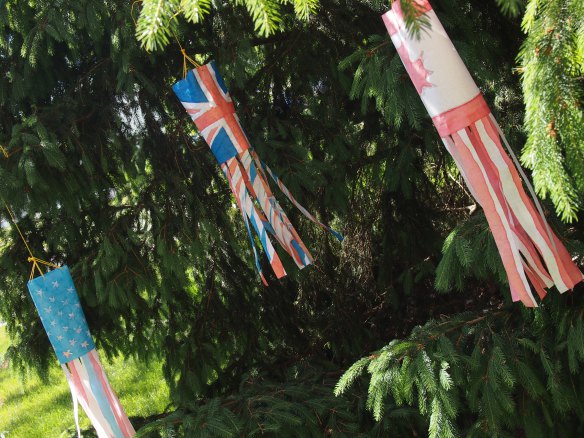 Here’s a shot of our windsocks fluttering outside from our local pine trees!
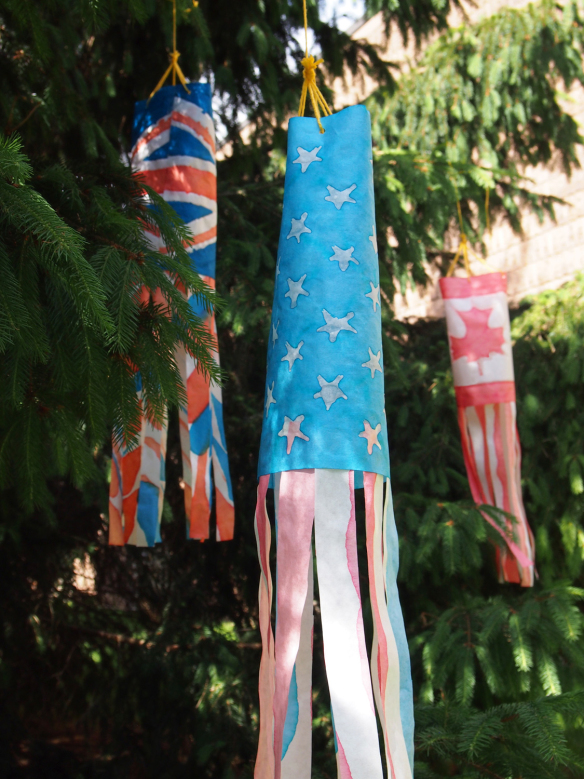 Another gorgeous look at our lovely flag designs! Watch how they flutter animatedly in the breeze!
  Thanks for checking out this post! Like us on Facebook, Share this post with your friends, or Subscribe to this blog today to receive original craft project updates every Monday, Wednesday and Friday!


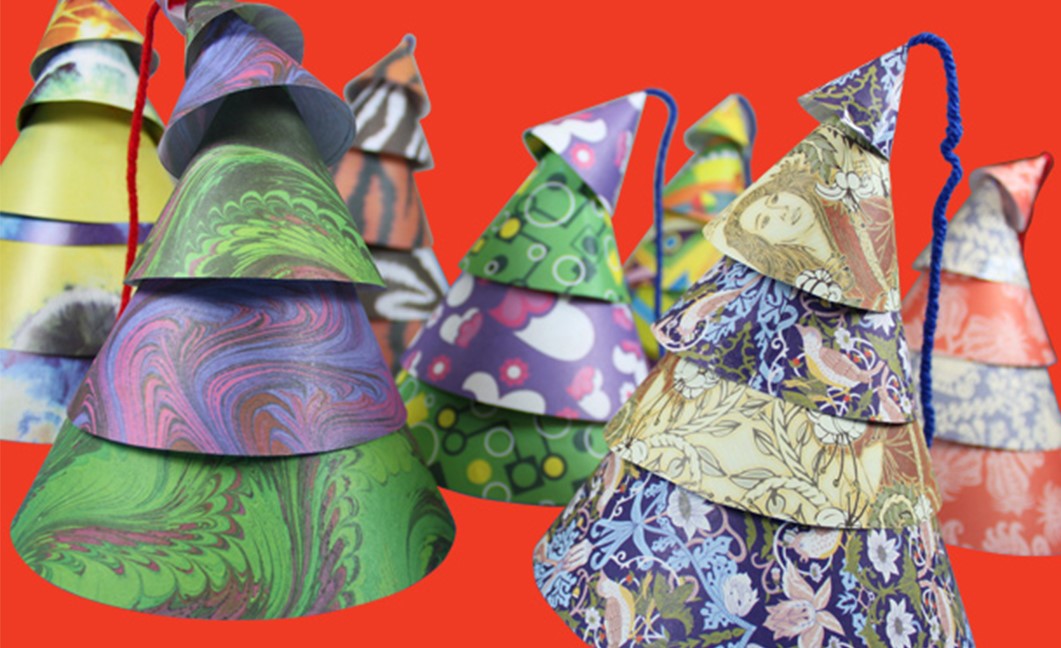
 This would be a great opportunity to introduce children on how to use a protractor to make angles. For this activity, children will use protractors to make different sizes of semi-circles for the cone shapes.
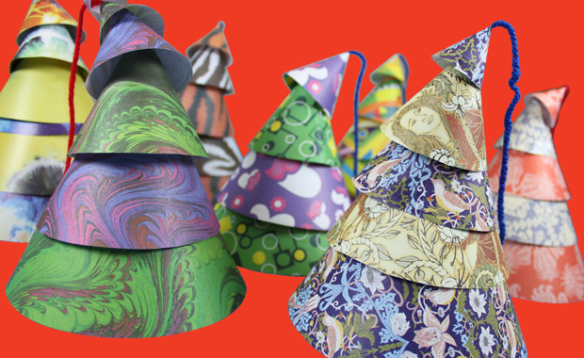
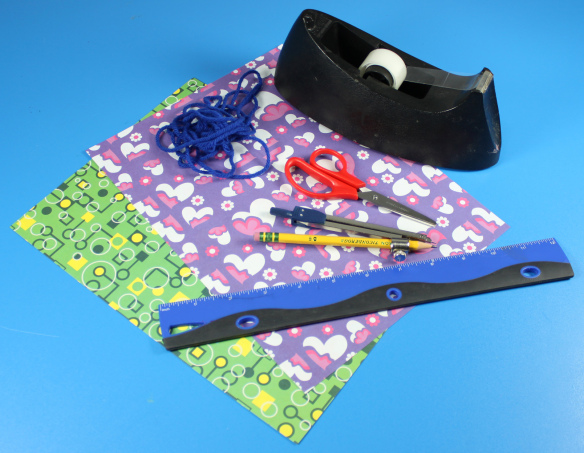 Select the different types of paper you would like to use in your Christmas tree ornament. Our trees have 4-5 tiers to them. If you would like to make the trees smaller, simply leave out the two interior tiers.
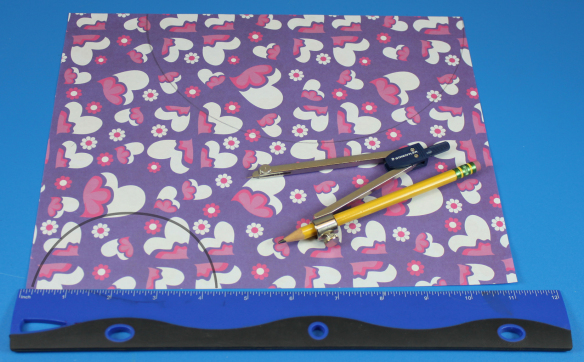
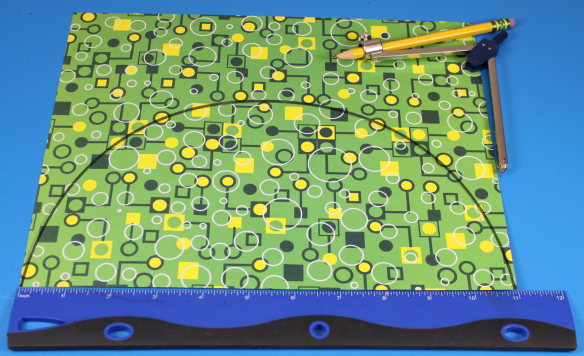 Lay the ruler horizontally across the length of the paper. For the largest and last tier, place the first point at the middle of the ruler. Draw a semi-circle from one corner of the page to the opposite corner.
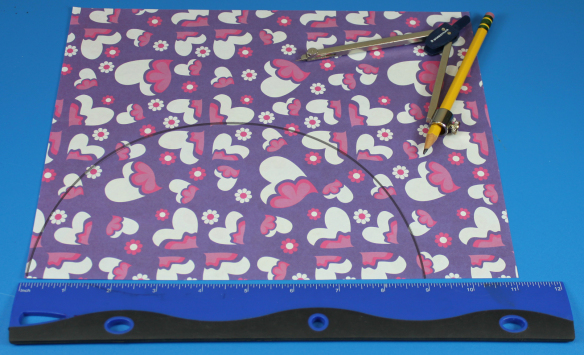 The second tier should feature a semi-circle that is about 9″ in width.
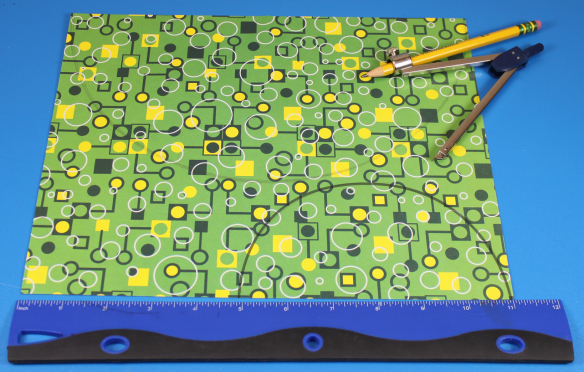 The third tier should feature a semi-circle that is 6″ in width.
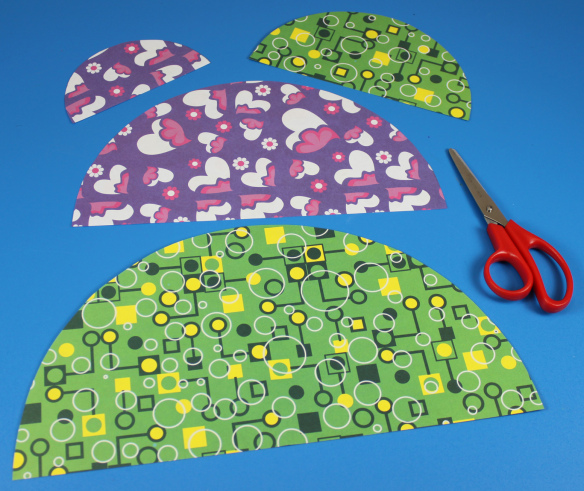 Cut out each of the semi-circles.
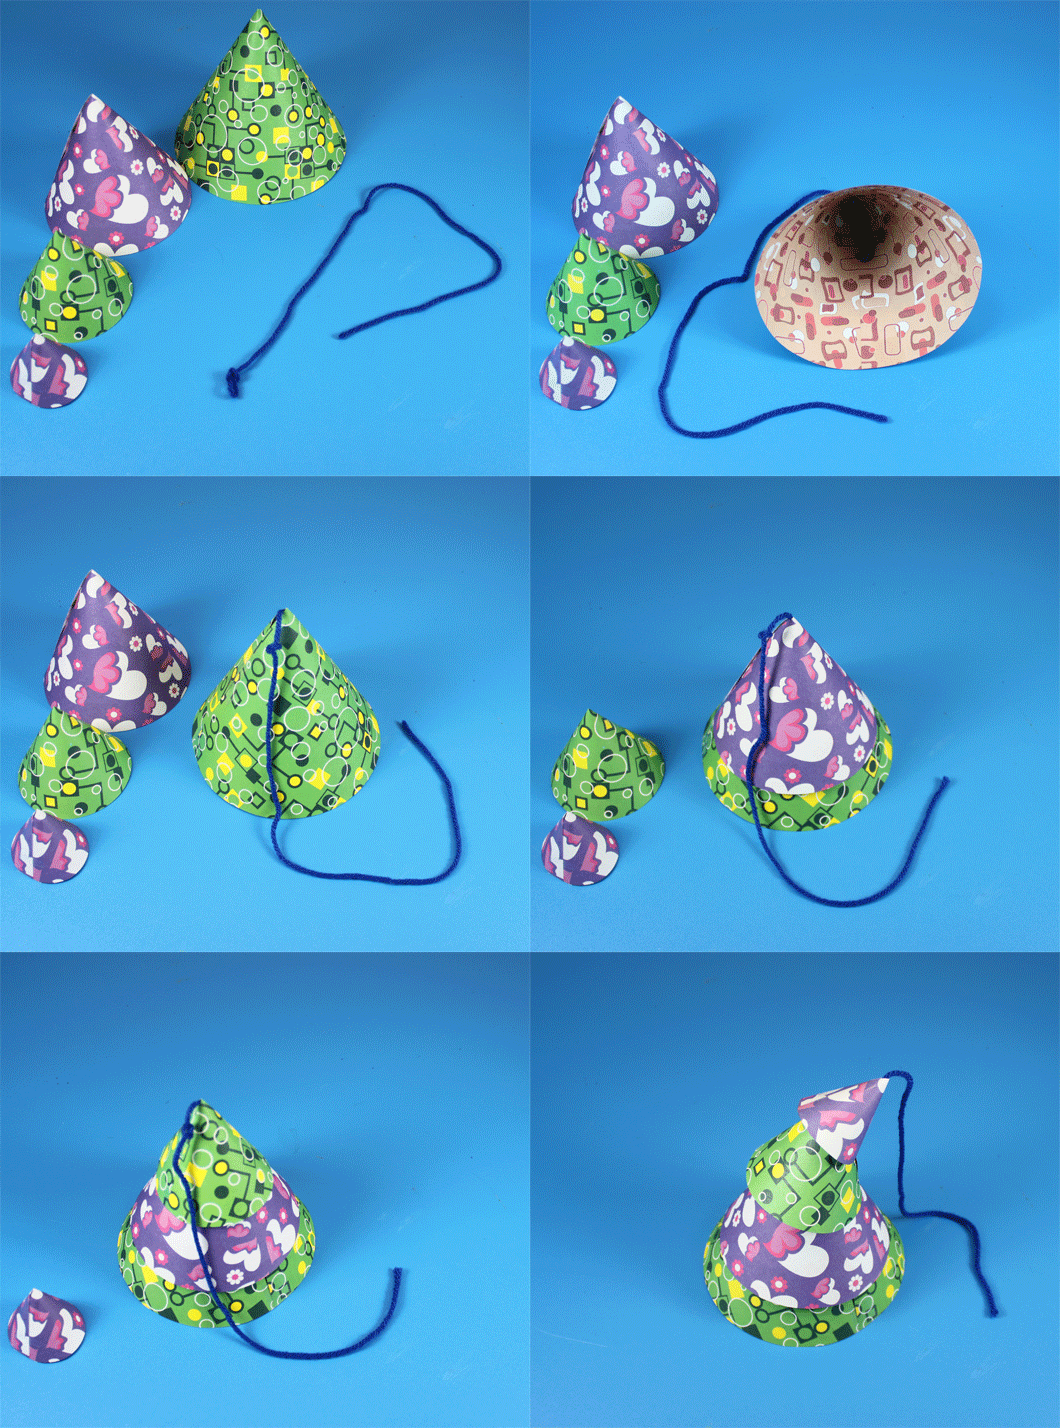
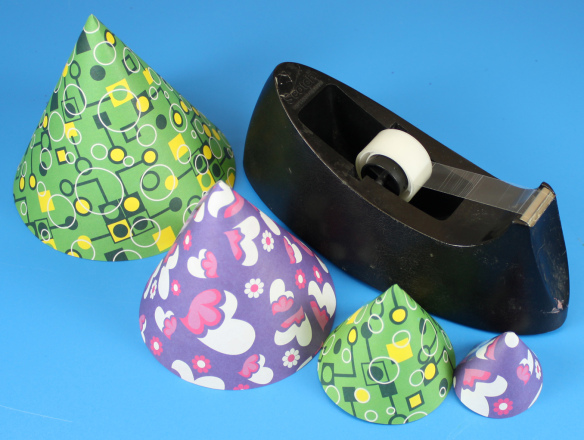 Roll the semi-circles into cones and secure the edges together with tape. Note: When you roll up the cones, be sure to leave a bit of an opening at the top. You’ll need the opening to thread string through.
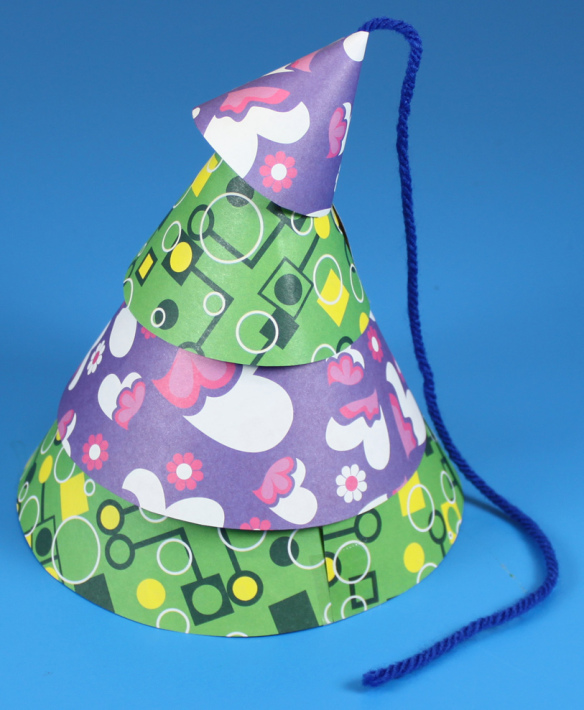 Simply make a loop from the yarn and place onto a tree branch or hang in a window.
