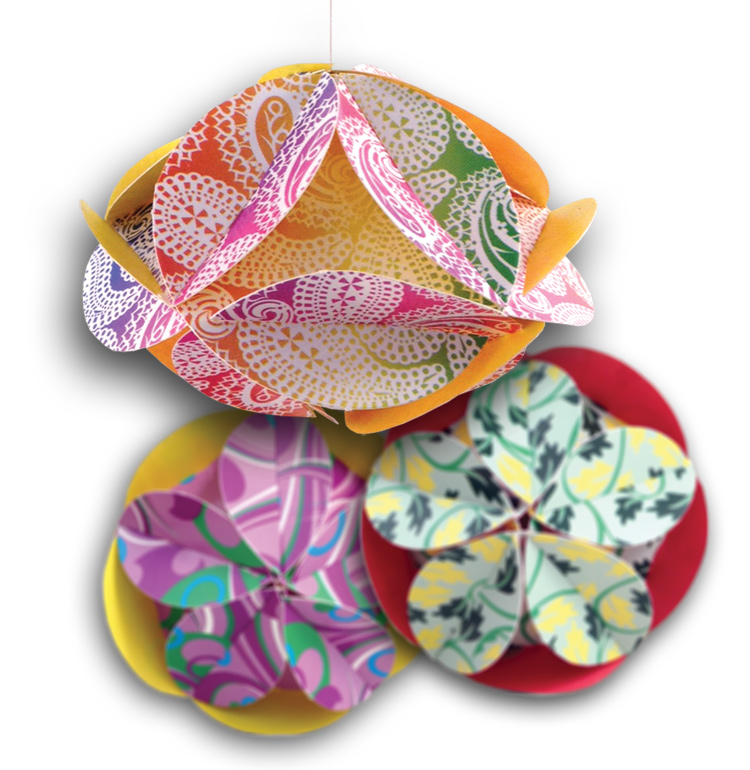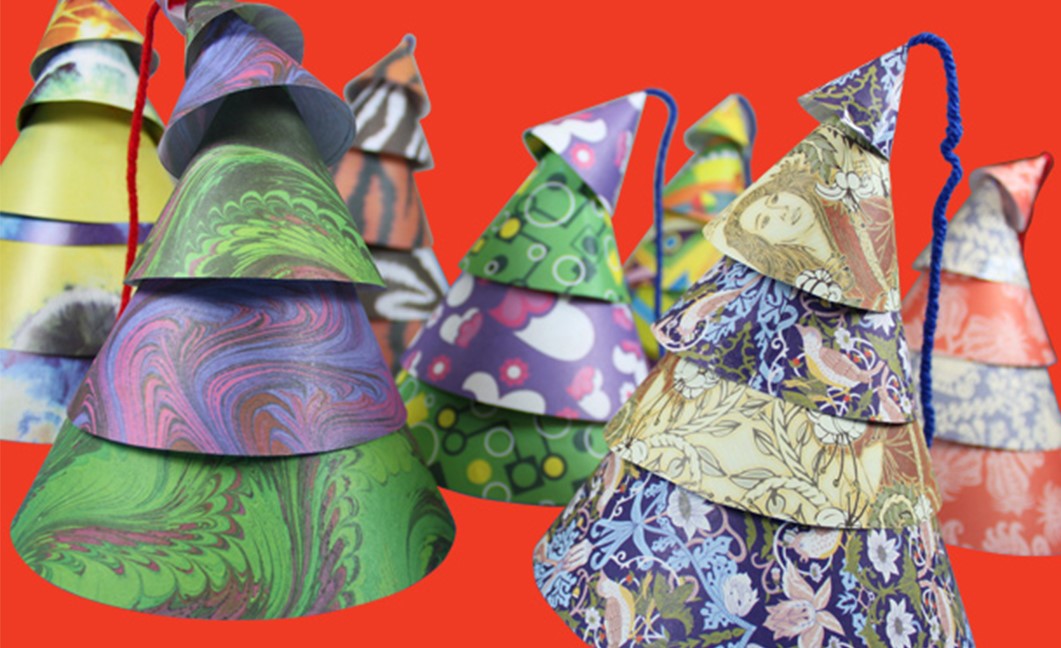

Add a personal touch to your decorations this holiday season with a beautiful and surprisingly simple craft ornament. It requires nothing more than some decorative paper and a few yards of yarn!
Age: 4+
Duration: 15 minutes
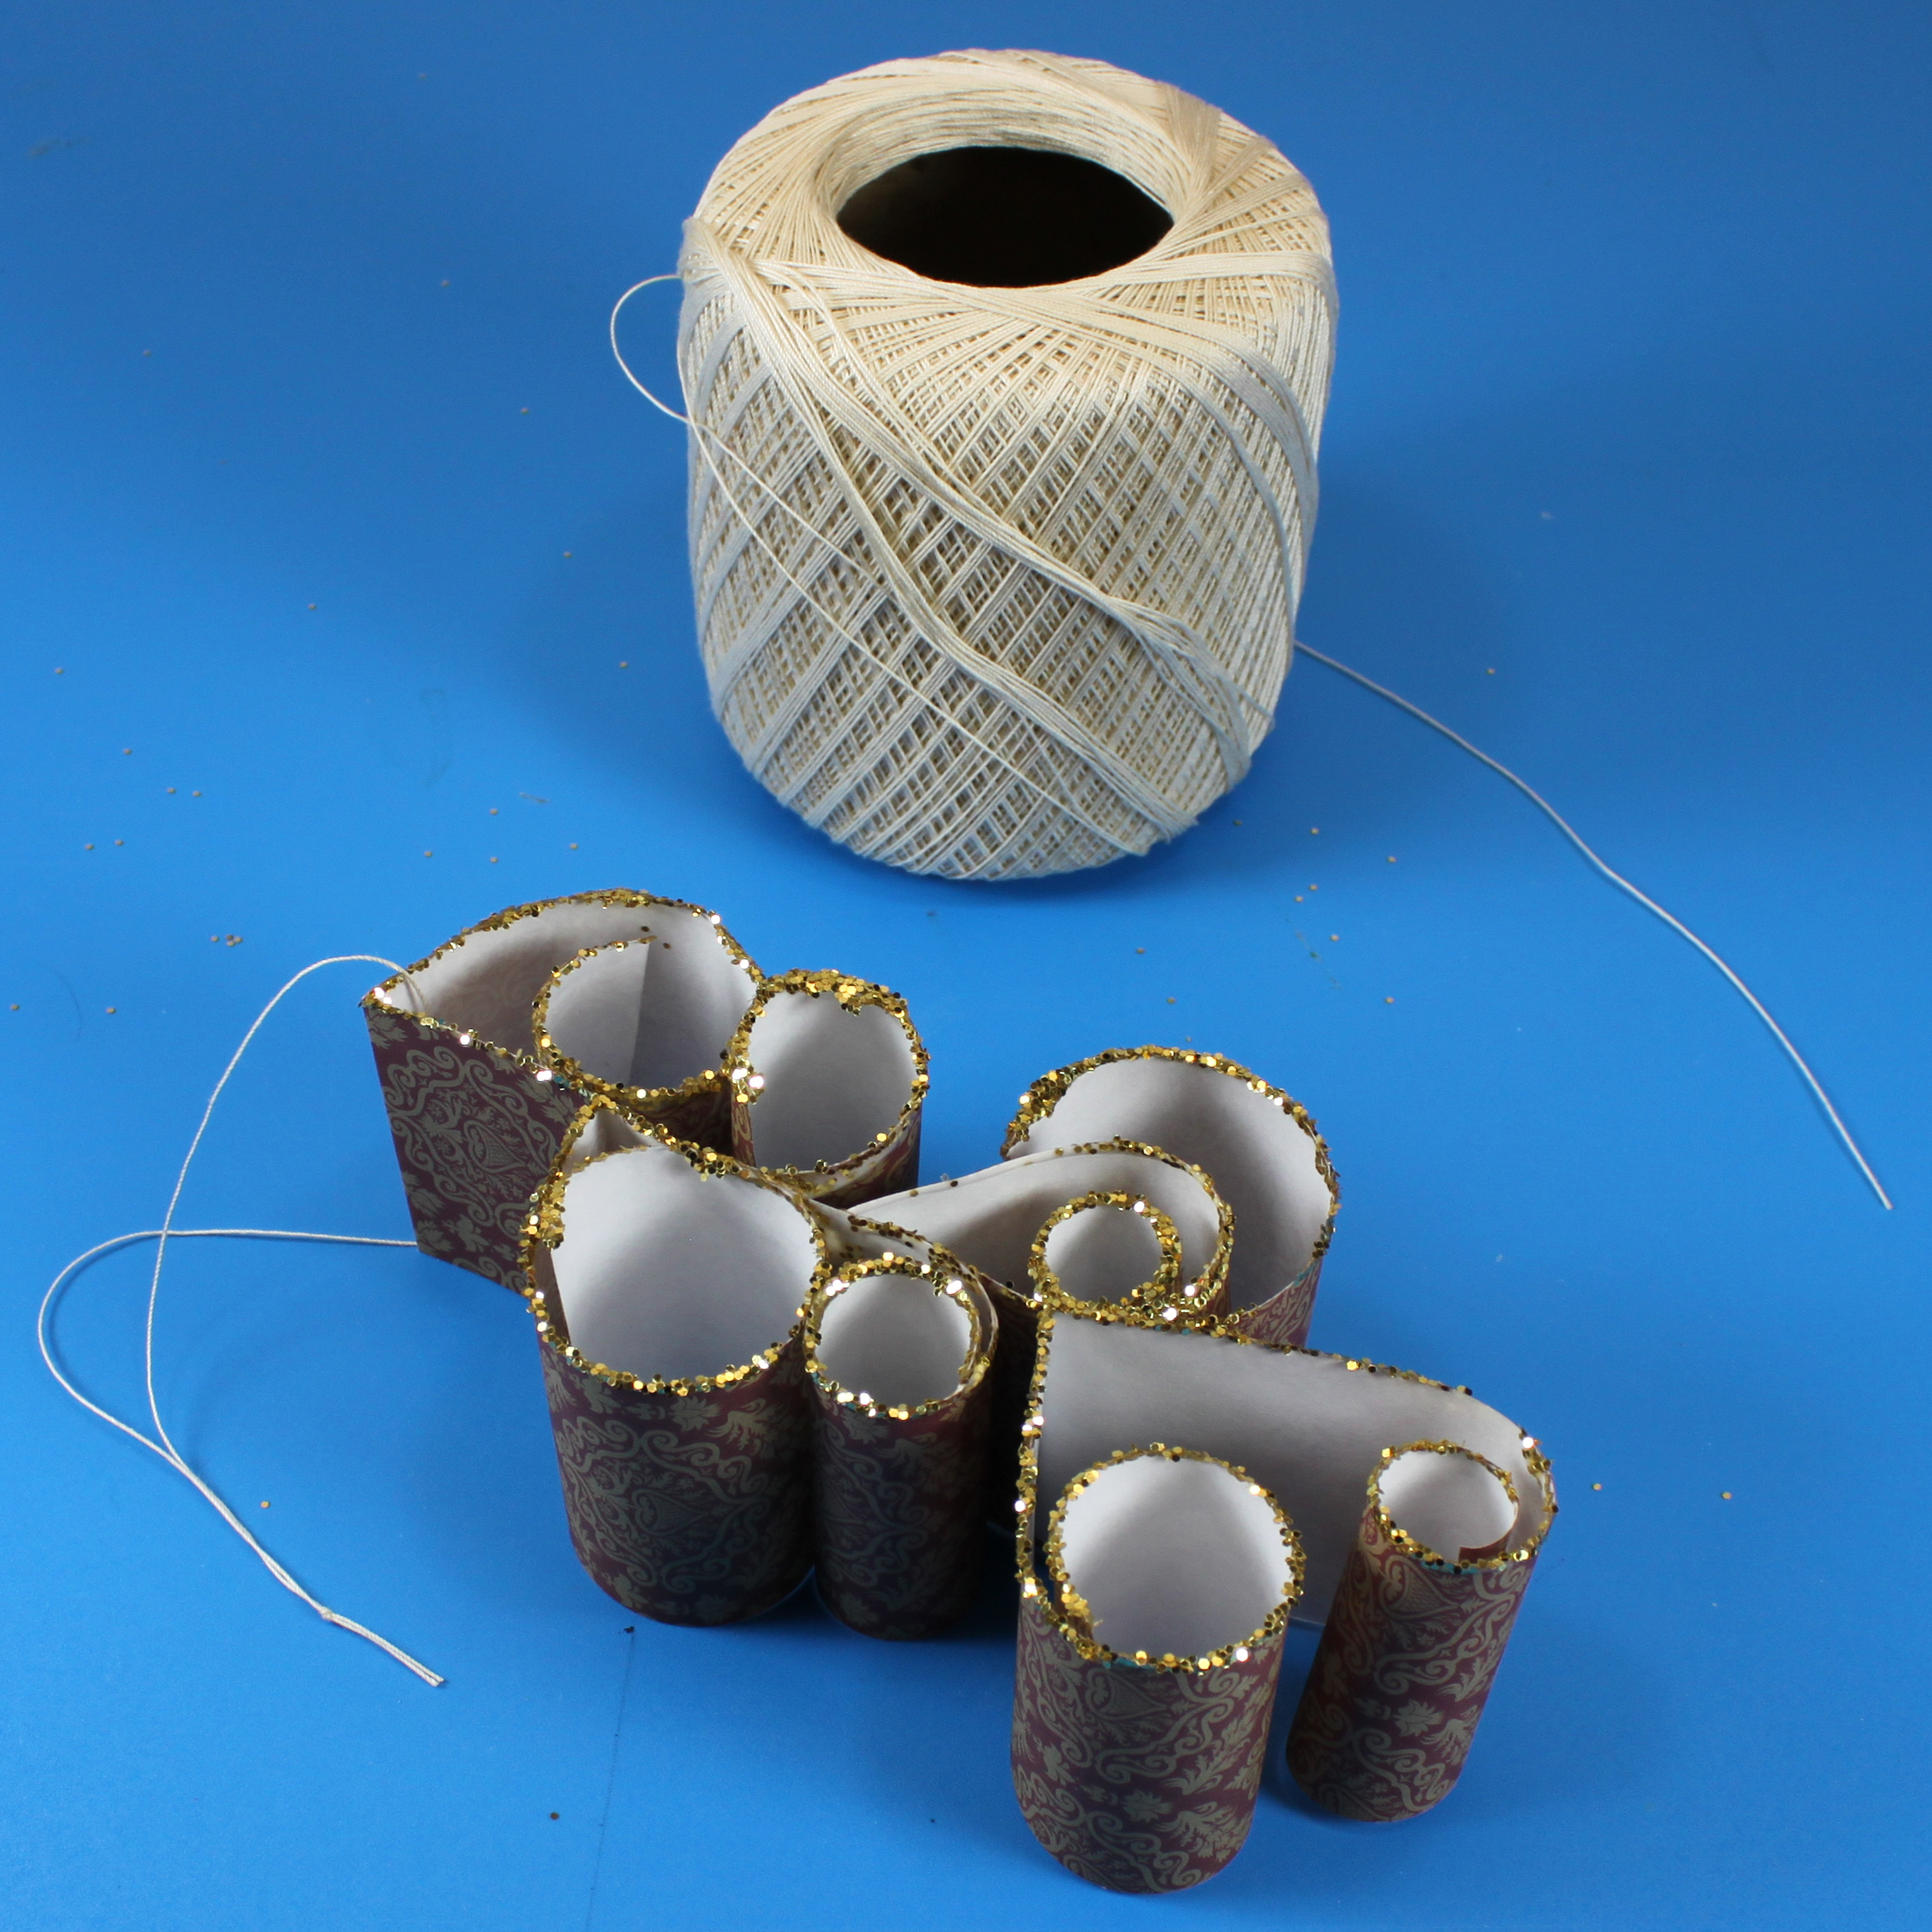
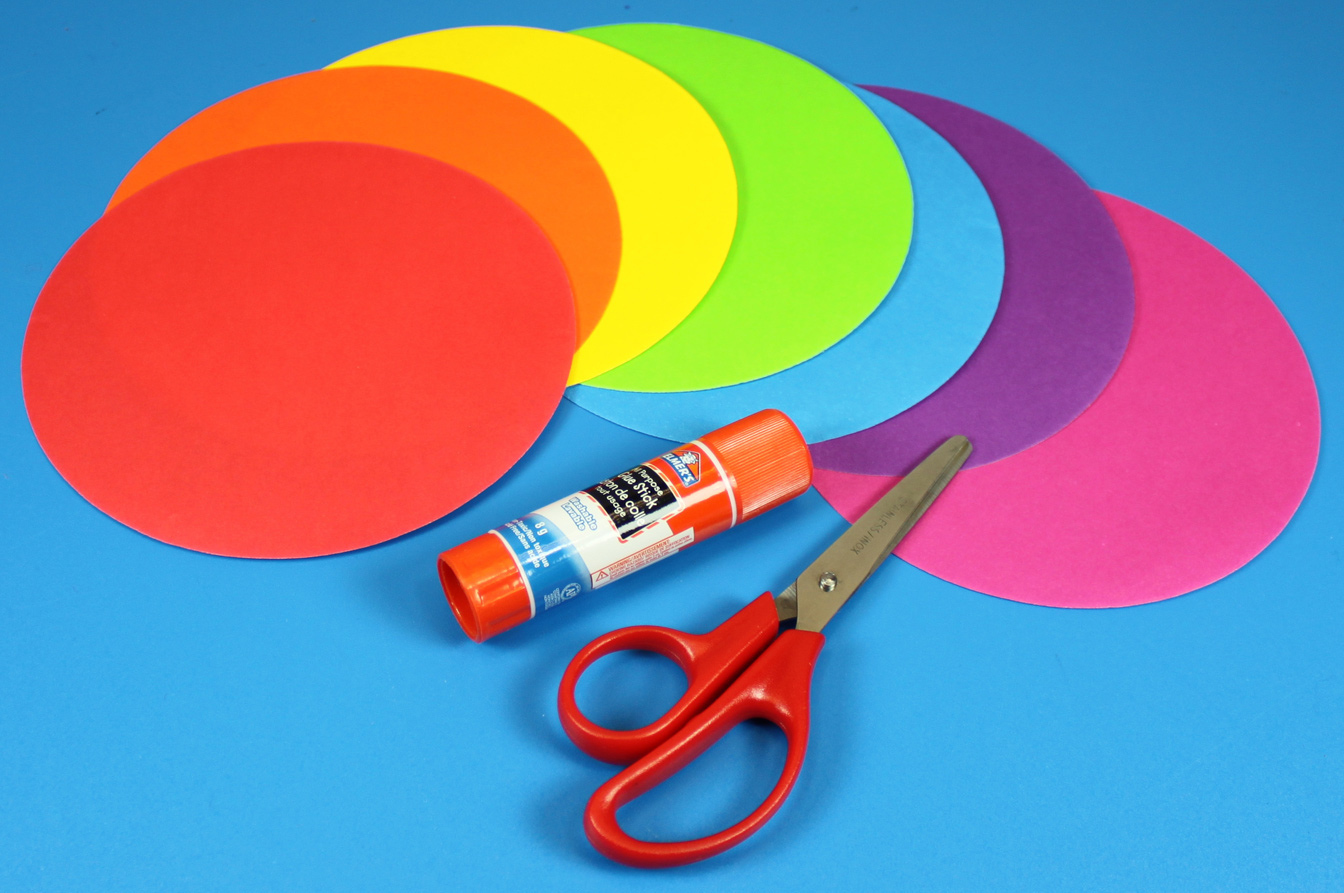
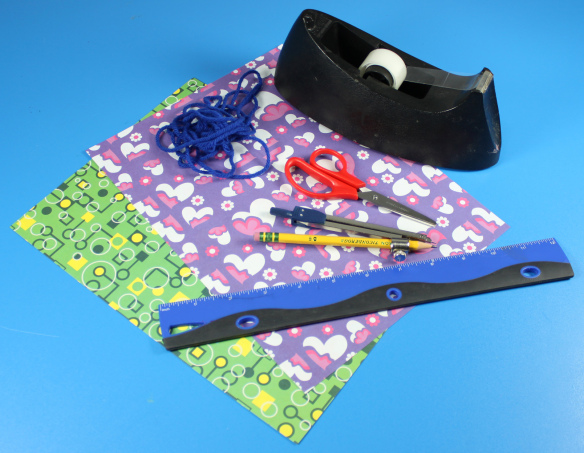
You’ll Need:
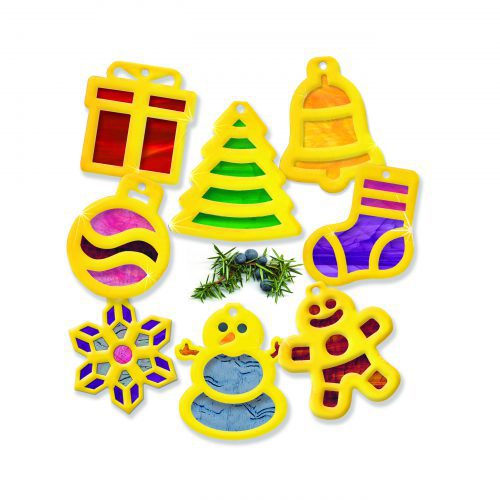
• R15420 Black and White Paper/ R15200 Patterned Paper Classpack / R15203 Decorative Hues Paper / R15421 Double -Sided Rainbow Paper / R15409 Economy Metallic Paper / R15289 All Kinds of Fabric Paper/ R15256 Amazing Animal Paper / R15263 Tie-Dry Craft Paper/ R15303 Retro Pop Paper
• Yarn
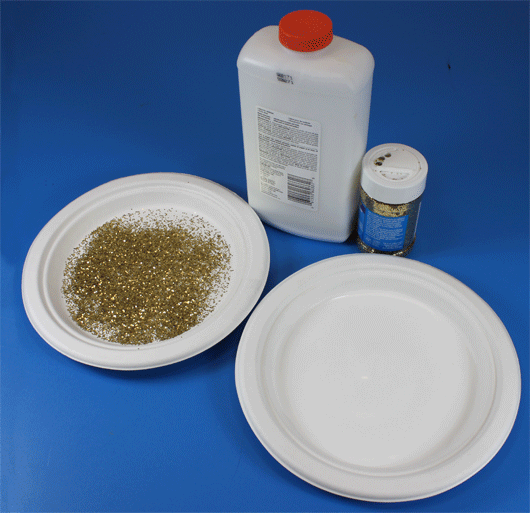
• Scissors
• Tape
• Ruler
• Protractor
 This would be a great opportunity to introduce children on how to use a protractor to make angles. For this activity, children will use protractors to make different sizes of semi-circles for the cone shapes.
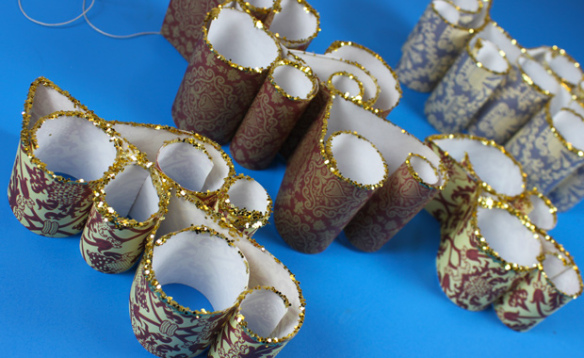
 Select the different types of paper you would like to use in your Christmas tree ornament. Our trees have 4-5 tiers to them. If you would like to make the trees smaller, simply leave out the two interior tiers.
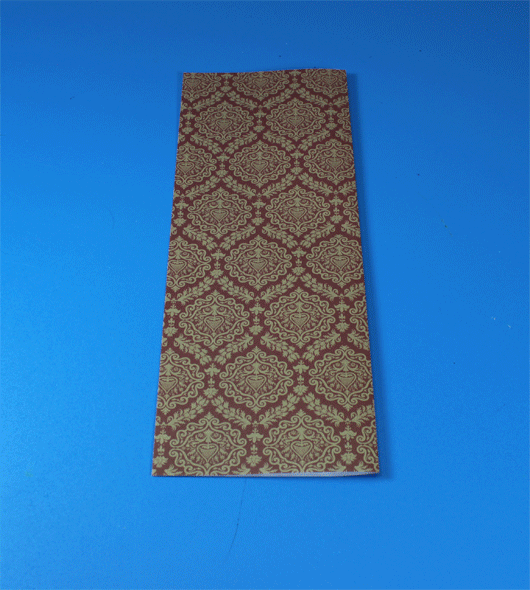
 Lay the ruler horizontally across the length of the paper. For the largest and last tier, place the first point at the middle of the ruler. Draw a semi-circle from one corner of the page to the opposite corner.
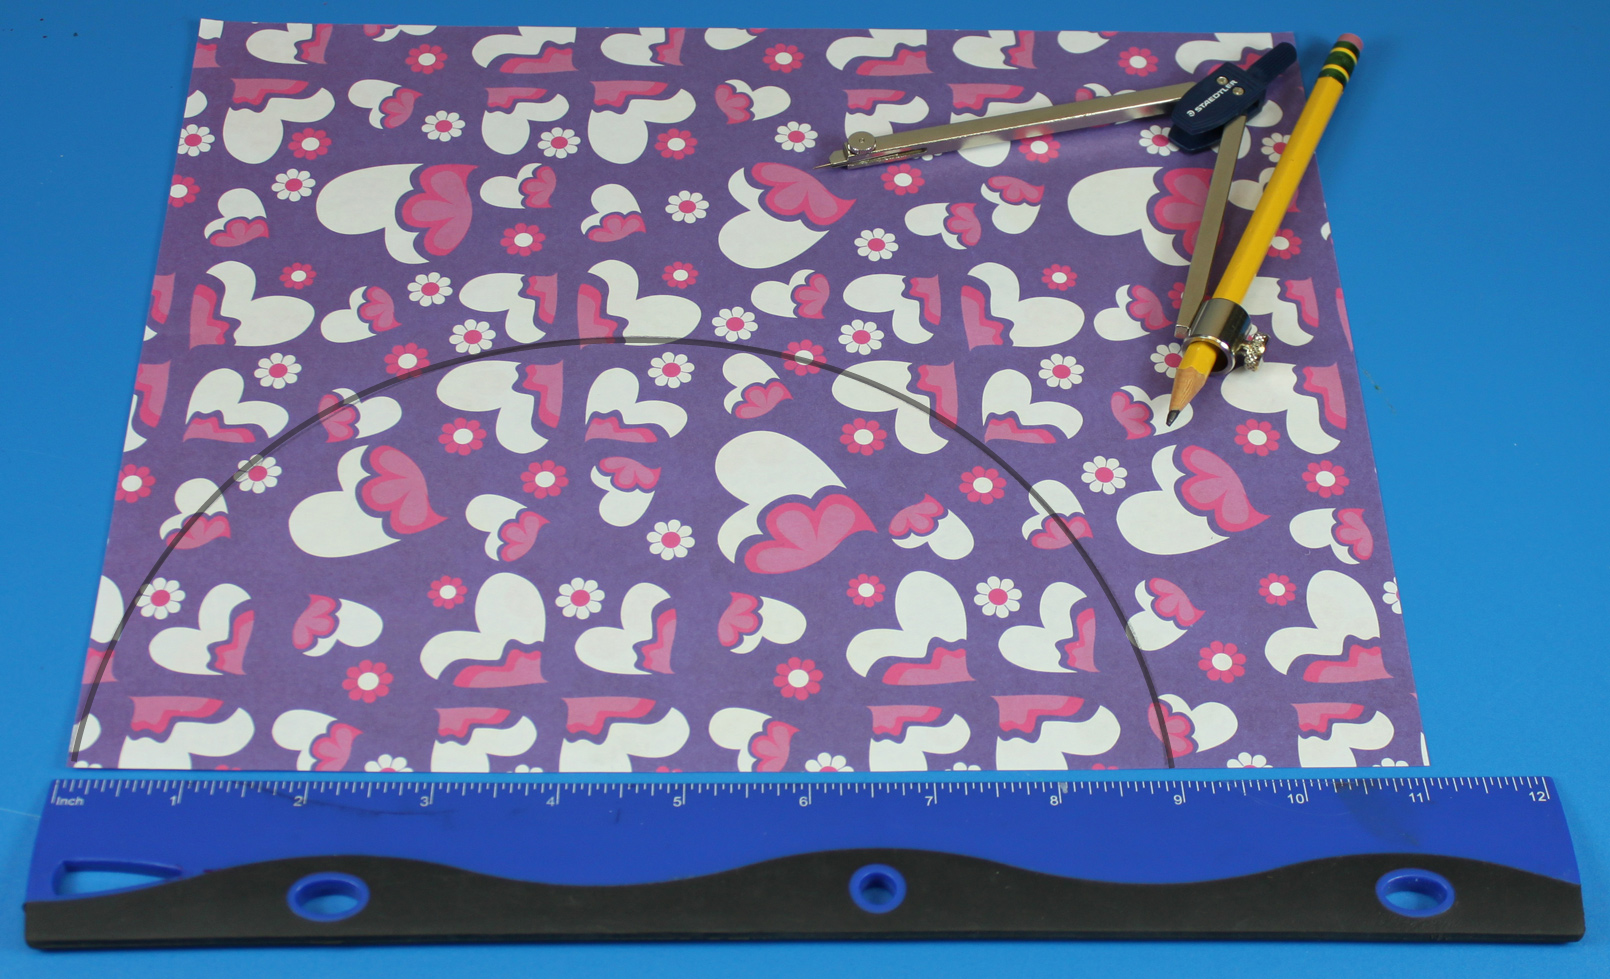 The second tier should feature a semi-circle that is about 9″ in width.
 The third tier should feature a semi-circle that is 6″ in width.

The last tier should feature a semi-circle that is about 4½” in width.
 Cut out each of the semi-circles.
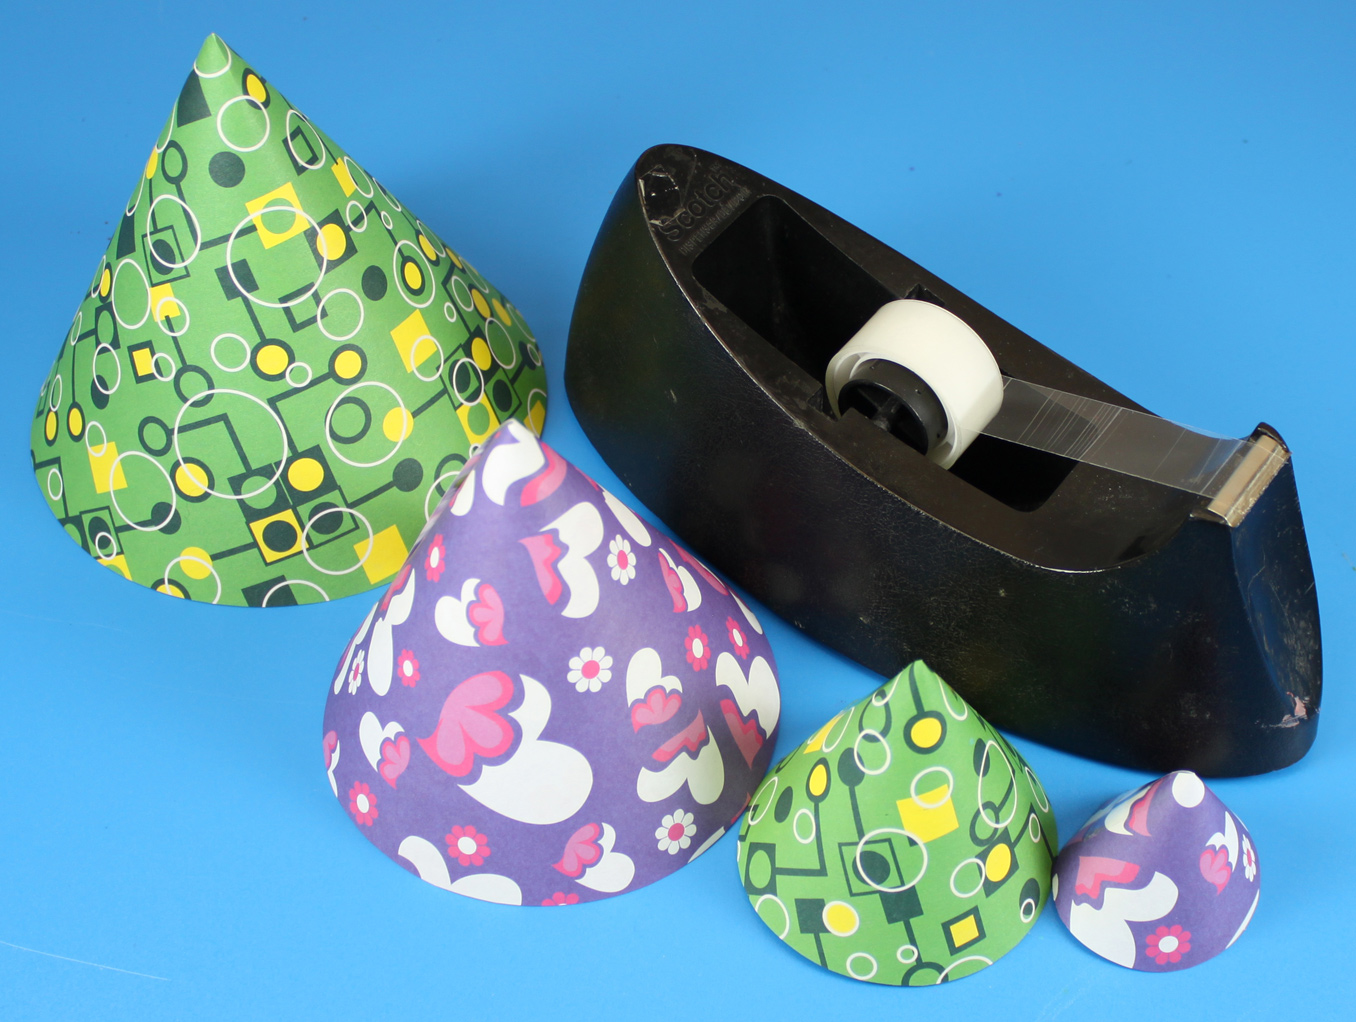 Roll the semi-circles into cones and secure the edges together with tape. Note: When you roll up the cones, be sure to leave a bit of an opening at the top. You’ll need the opening to thread string through.

Tie a knot at the bottom of the yarn. String the rest of the yarn through the opening in the top of the cone. Continue to thread the yarn through the rest of the cones.
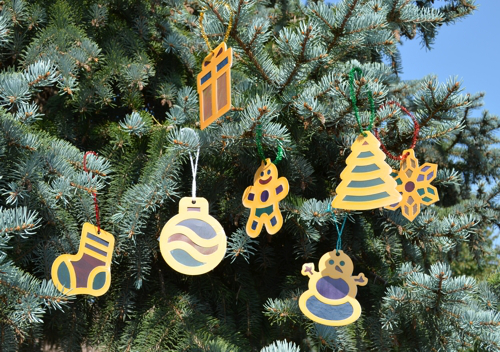
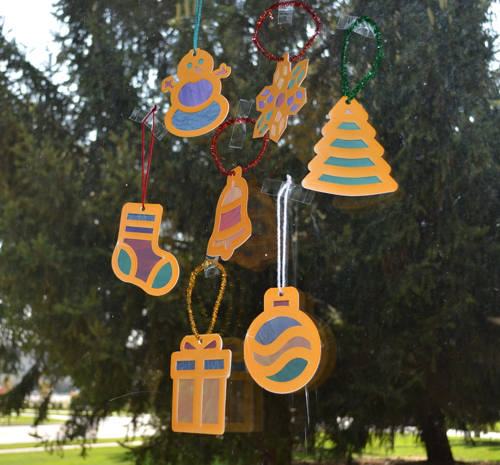
 Simply make a loop from the yarn and place onto a tree branch or hang in a window.
How are you decorating your classroom for the winter holidays? Send us photos of your inventive craft decorations to subscriber@roylco.ca!

![]()