Stained Glass Christmas Ornaments

Stained Glass Christmas Ornaments

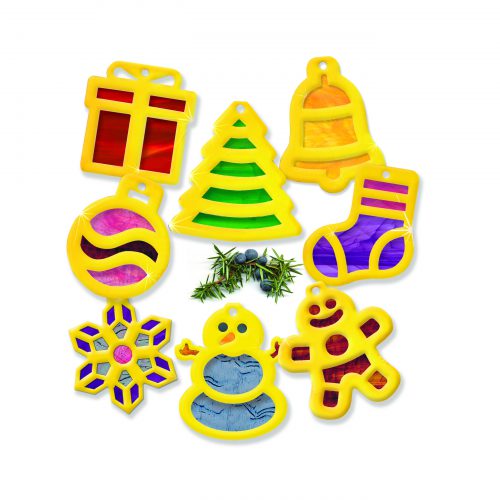
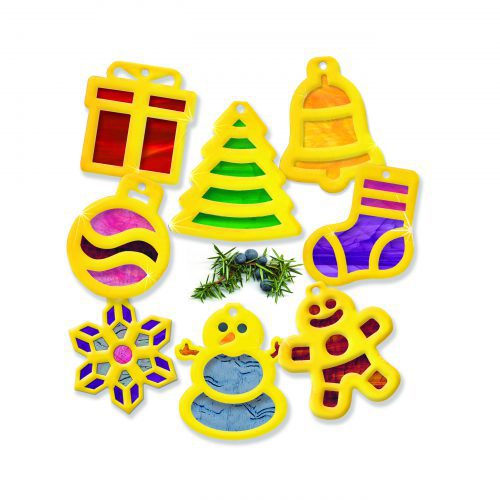
31100 Stainglass Ornaments Collection

Need a fast and fabulous Christmas craft? These beautiful ornaments are the perfect project to spread holiday cheer!

Age: 4+

Duration: 10 minutes

Learning Outcomes: Explore the symbolism behind common Christmas emblems. Create beautiful take-home art that can be given as a gift. Exercise fine motor skills.

You’ll Need: 

Line-20

These ornaments are quick and simple to put together. Start by simply popping out the die-cut frames. Next, pop out the internal pieces, and set the frames aside.

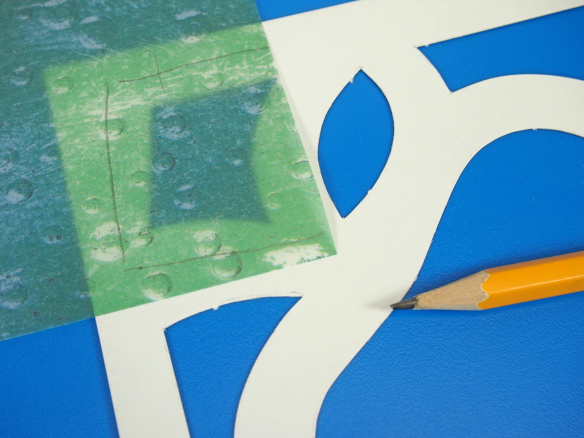
Lay the internal pop-out on the stained glass paper and use a pencil to draw around the internal pop out. Make sure that you leave at least 1/4″ of space around the internal pop out so you have enough space to tape the stained glass paper into the frame. Cut out your stained glass pieces, and tape them to the inside (the white side) of the frames. Make sure to leave the small round hole at the top open!

Once your stained glass pieces are taped in place, fold the frame over and tape closed.

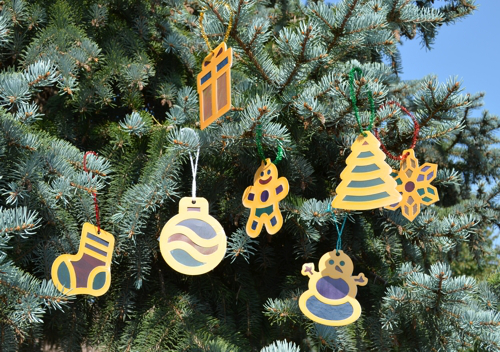
To finish off your stained glass ornament, cut a 6″ piece of yarn. Thread the yarn through the small round hole at the top of your ornament, and knot the loose ends into a circle. This will allow you to hang your ornament on your Christmas tree!

ornaments on tree.jpg

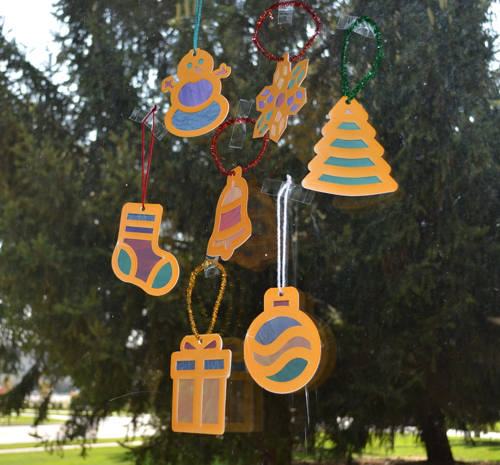
Have family members who don’t celebrate Christmas? Gift them the snowman or snowflake ornament and suggest they hang it in a window! Sunlight streams through the stained glass paper beautifully, and adds cheer to winter months.

ornaments on window.jpg

Line-21

Like us on FacebookShare this post with your friends, or Subscribe to this blog today to receive original craft project updates every week!

Tropical Fish Stained Glass Frames

tropical fish stained glass frames

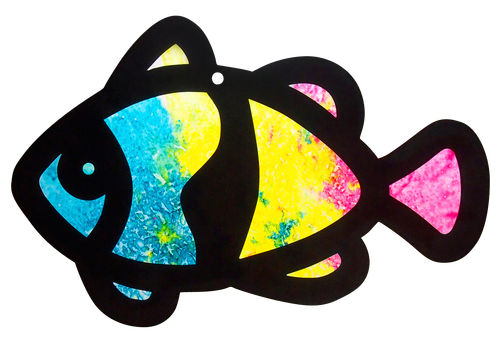
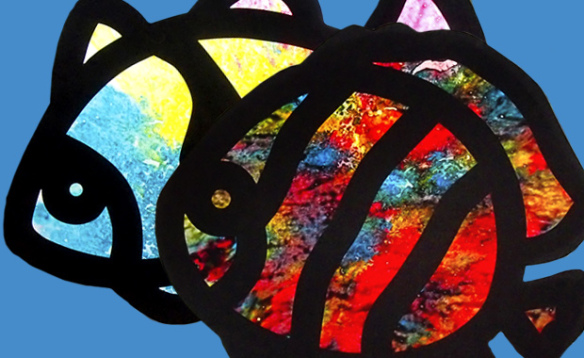
Tropical Stained Glass Fish are perfect little activities for students to exercise their fine motor development while building knowledge of colors, shapes and light!

Our set of tropical fish is ideal for introducing fish to your students. Each design is based on a real fish. Show students the frame and then discuss the actual fish, what it is called and where it lives.

Start by popping out the frame from the backer sheet. Throw away scraps and remove the interior pieces. Note: There are two designs for each fish: One faces left and one faces right.

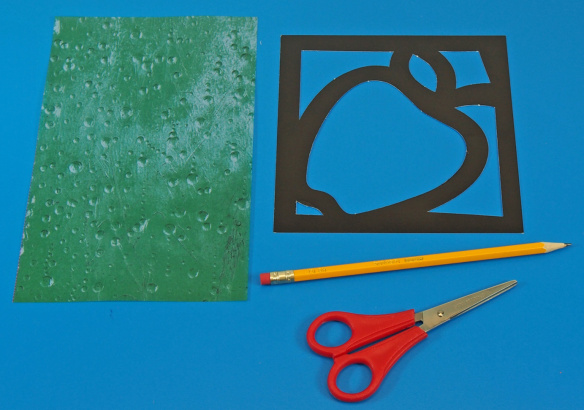
Use colored tissue paper or Roylco’s R15257 Stained Glass Paper to decorate the frames. Start by laying the frame over the paper and lightly tracing each of the interior spaces of the frame with pencil onto the paper. Remove the frame and redraw the outline of the shape with a large border around it. Cut out the new, larger shape and glue or tape onto the white side (back) of the frame. Repeat with the rest of the shapes within the frame. Once complete, you can glue the “mirror-image” frame onto the back of the frame and sandwich the pieces of colored paper between the two frames or leave the white side exposed.

52087 Tropical Fish

Once the frames are finished, hang them up. The finished artwork looks great in a window. Alternatively, hang them from the classroom ceiling. Add some crepe paper seaweed to finish off your ceiling ocean scene.

Make an aquarium classroom mural! Arrange the Stained Glass Frames on a bulletin board. Draw, cut out and add other sea animals and vegetation. Cover the whole board with crunched up cellophane (available at gift stores where they sell gift basket wrap). The cellophane will give an artistic water look to your mural.

Make your own Stained Glass Frames! Start with a sheet of black construction paper. Draw a simple design on the paper using large, simple shapes. Poke the tip of a pair of scissors in each shape and using that as a starting point, cut out the shapes. Fill with colored tissue paper or Stained Glass Paper.

52087 Tropical Fish Stained Glass boy

Watch a video below to learn more about making your Stained Glass Tropical Fish come to life!

Line-20

Like us on FacebookShare this post with your friends, or Subscribe to this blog today to receive original craft project updates every week!

Striped Stained Glass Frames

striped stained glass frames

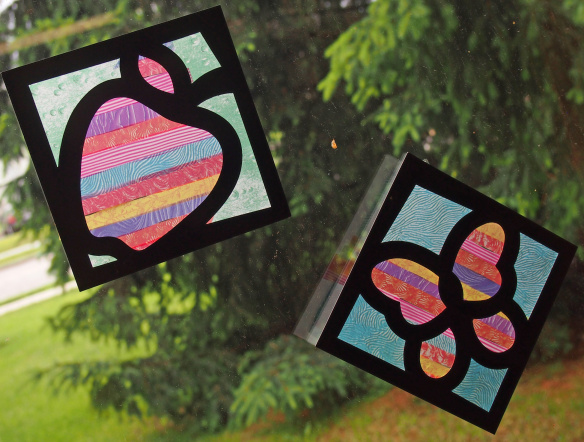
Take your stained glass images to a whole new level! Instead of cutting out larger pieces of transparent paper, use a more economical approach that helps students develop their fine motor skills.

Age: 5+

Duration: 15-20 minutes

Learning Objectives: 

You’ll Need: 

R52074 Junior Stained Glass Frames

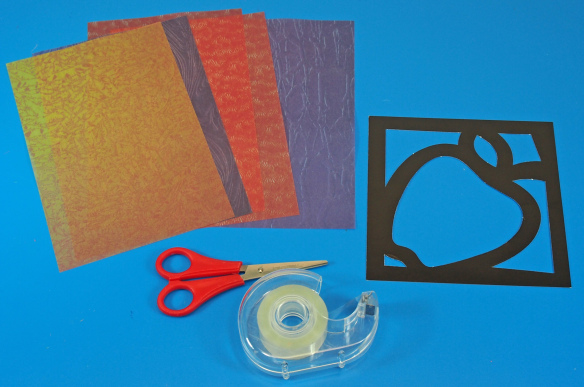
R15257 Stained Glass Paper

• Scissors

• Glue

• Pencil

• Ruler

Line-07

striped stained glass frames

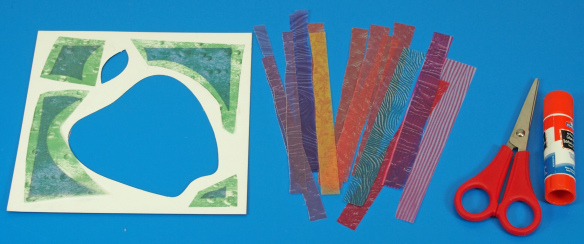
You can choose any stained glass frames from our collection, but the Junior Frames have larger surfaces to cover, making this striped technique much more effective.

striped stained glass frames

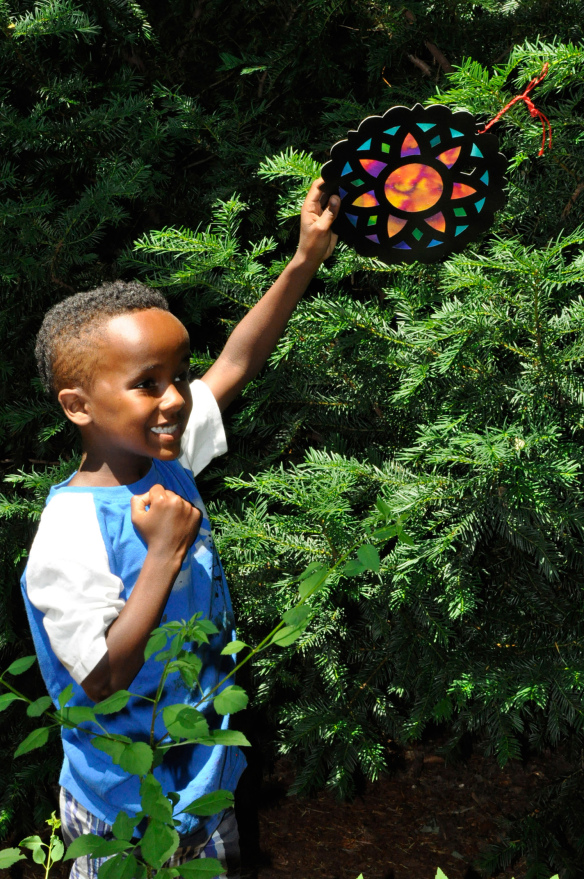
Choose a sheet of transparency paper. Our Stained Glass Paper is designed to illuminate its colors when near a light source. Normally, stained glass frames are hung on windows so that sunlight can illuminate the colors in the artwork.

striped stained glass frames

Our Junior Stained Glass Frames feature a bit of background space around the sides of the subject. To fill up the space, flip the Stained Glass Frames upside down. Cover one of the openings with a sheet of transparency paper (flip the frame over to double-check the appearance of the sheet), then trace around the opening, leaving a bit of a space to allow you to glue it down.

striped stained glass frames

Cut out and glue down the background sheets. Next, take a few assorted sheets of transparency paper and cut them into strips that run along the longer side of the sheets. You can mix and match as many sheets as you like. This is a great exercise for building scissor skills as students have to exercise patience and carefulness as they cut out each of the strips. You can even get them to draw ruler guidelines so they can visualize where they need to cut along.

striped stained glass frames

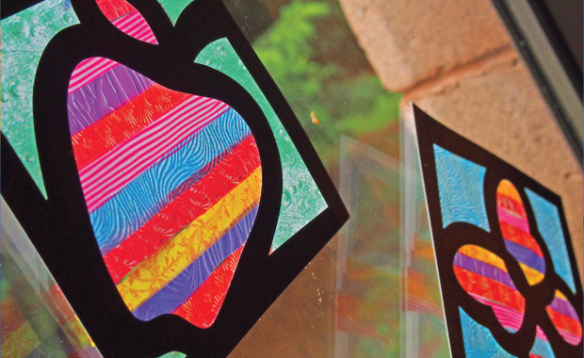
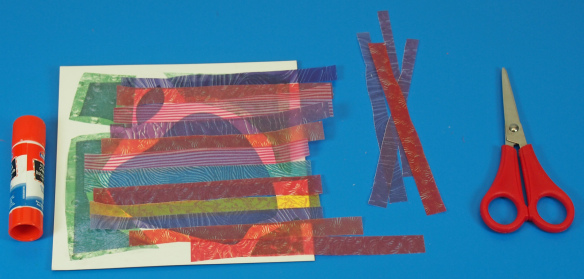
Rub a bit of glue around the border of the stained glass image. Lay the strips of transparency paper across the frame, pressing down to adhere the strips to the glue. You can position the strips horizontally, vertically or diagonally. Just be sure to follow the same pattern all the way through the entire frame.

striped stained glass frames

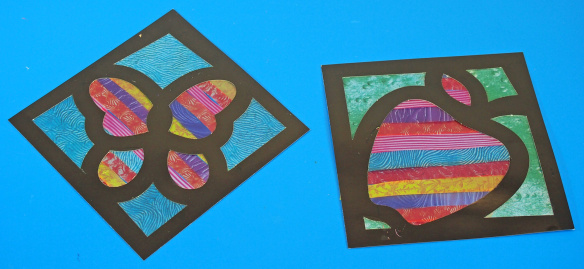
To finish your designs, cut off any excess strips that overlap with other parts of the stained glass frame. When you flip the Stained Glass Frames right side up, you will see that the main parts of the frame have been striped, while the background is a solid color. This produces a neat effect that students will love to see!

striped stained glass frames

Check it out! Although this exercise is a little complex, it gives students the chance to see how an alternative technique to regular stained glass projects produces a really cool end result!

Line-04

Like us on FacebookShare this post with your friends, or Subscribe to this blog today to receive original craft project updates every Monday, Wednesday and Thursday!

United Art & Education uses our Color Diffusing Circles!

colordiffusingpapercircles

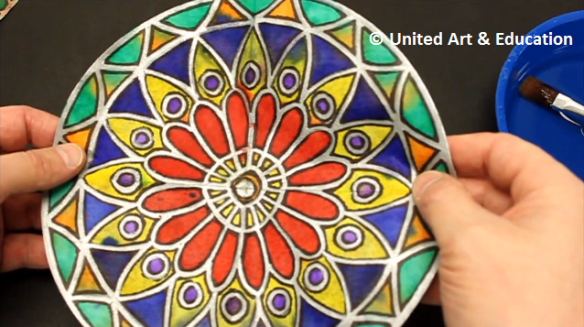
United Art & Education uses our R24908 Color Diffusing Circles to make rose-window style stained glass images! 

The process is very simple and can be applied to most other Color Diffusing Circle projects. First, the R24908 Color Diffusing Circles were folded in half twice. A pencil was used to sketch in a rose-window like design on the portioned part. Later, the artist applied watercolor markers to add color and definition to the sketch. 

The final step used a paintbrush to dab water onto the colored parts. This distributes the color through all the underlying layers.

When the paint is dry, unfold the entire Color Diffusing Circle to reveal the complete art underneath!

Check out the full step by step process and final artwork in the video below! Be sure to leave them a positive comment!

Line-14

Thanks for dropping by! If you have a Roylco project you would like to share with us, please email the details to subscriber@roylco.ca. We would love to hear from you!

Crayon Shaving Stained Glass Paper

Feature-Image-crayonglass

Last year, one of our most popular crafts used a technique with shaved crayon bits to make authentic-looking stained glass images. Try it out for yourself! The stained glass effect can be applied to any of our black-frame designs. 

Age: 5+ (Adult Supervision Required)

Duration: 20-30 minutes

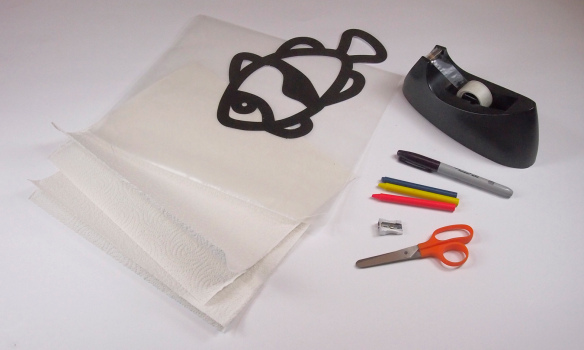
You’ll Need:

• R52087 Tropical Fish Stained Glass Frames R52070 Stained Glass Frames /R52074 Junior Stained Glass Frames / R52093 Stained Glass Lantern

• Unlabeled crayon sticks

• Pencil sharpener

• Black marker

• Wax paper

• Paper towel

• Iron (CAUTION: Use adult supervision!)

• Scissors

• Glue

Line-15

Stack the sheets of wax paper and staple them together if they aren’t already attached. Place several sheets of the paper towel on top of and below the wax paper sheets to minimize mess. Lift the top sheet up and crease along the spine to hold it in place above the second sheet of wax paper. This second sheet of wax paper will be your workspace.
_B072118

Place the wax paper on an iron-safe surface, preferrably a craft table.

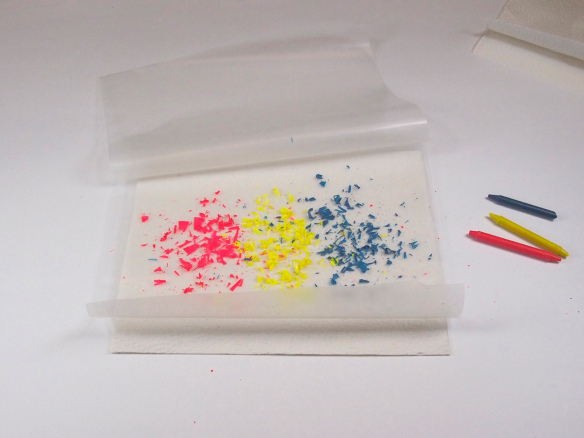
Use the pencil sharpener to sharpen the ends of the crayon. Hold the pencil sharpener and the crayon stick above the workspace so that the shavings fall onto the wax paper. Keep sharpening the crayon ends until you have just about covered the workspace area. Tip: Use different colors to make the best crayon shavings mix. In the next step after this one, I found that using fluorescent-colored crayons produced the best results. The colors were so bright and beautiful. If you never had a real use for fluorescent crayons (as the colors don’t show up so well on regular paper), save them instead for this project!
_B072122

Once you have just about covered the sheet of wax paper, replace the first sheet of wax paper over top to cover. Make sure that the top and bottom of the wax paper sandwich is covered with paper towel. This is crucial for this next step. CAUTION: Using an iron requires adult supervision. Make sure you do not use any hot appliances without proper protection (oven mitts, for instance!).
_B072128

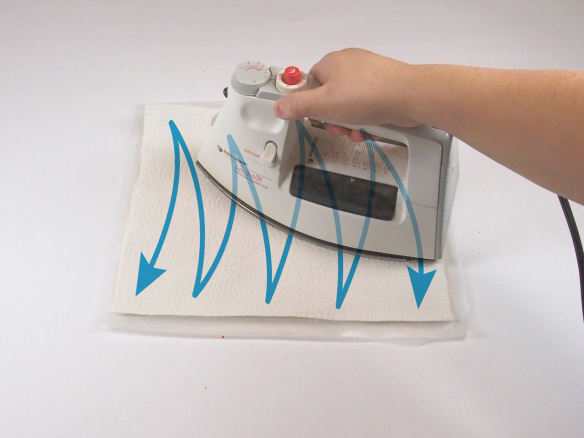
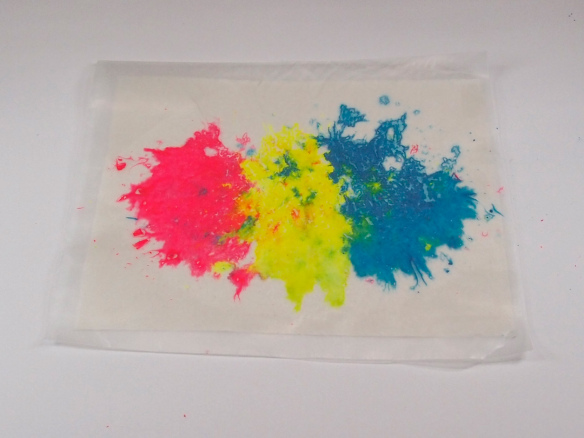
Set the iron between the LOW and MEDIUM settings. Place the iron on top of the paper towel. Gradually push the iron across the paper towel in a zig-zagging motion. This will help to heat up the crayon wax to a liquid. While you push the iron across the sheet of paper, the crayon colors will converge and blend to create a wonderful stained glass look.
_B072134

When you have run the iron several times over the sheet of paper, remove the iron and have a look between the layers of wax paper to see how the crayon melt is forming. If it looks like it needs a little more work, fold the wax paper down and cover with the paper towel, then run over it with the iron.
_B072135

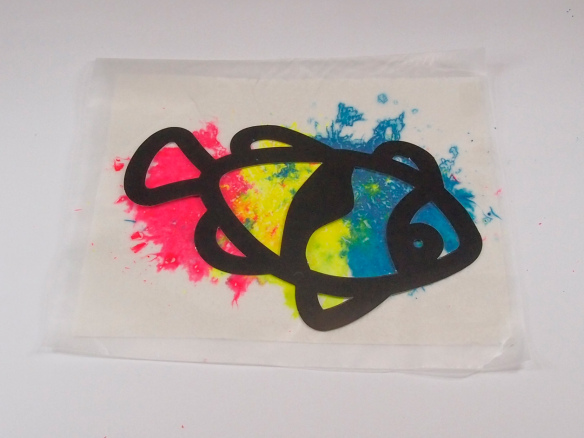
Place the stained glass design onto the crayon wax paper and adjust so that all the gaps are mostly covered by the color underneath. Use a black marker to trace around the outside edge of the stained glass design. This is a step that students will enjoy trying out for themselves as they can get to see how their finished art piece will look like.
_B072140

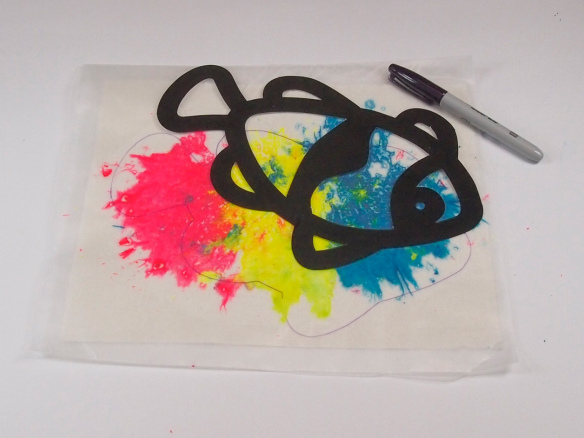
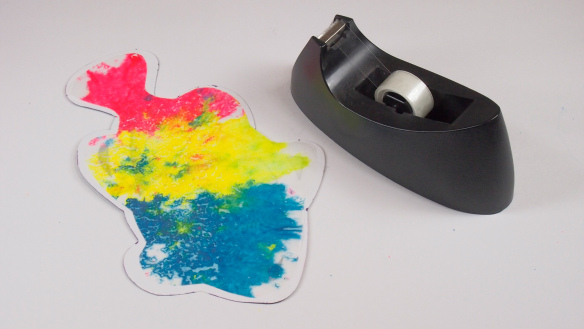
When you have finished tracing, cut out the crayon wax melt from the resulting outline. Hint: Make sure you keep track of what side of the stained glass design goes on top of the crayon wax melt. Use tape to secure the edges of the crayon wax melt and the stained glass design together.
_B072147

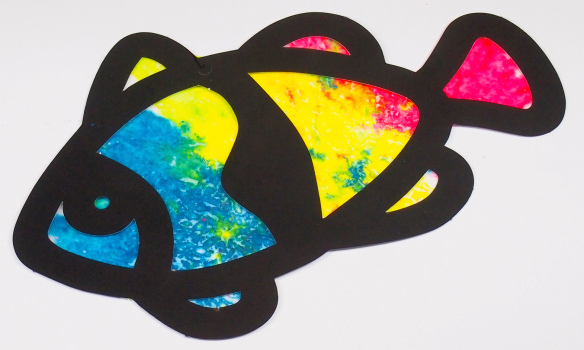
Flip the design over to make sure none of the wax paper shows outside of the edges. Trim any excess off with your scissors or reapply and tape the wax melt onto the stained glass design.
_B072148

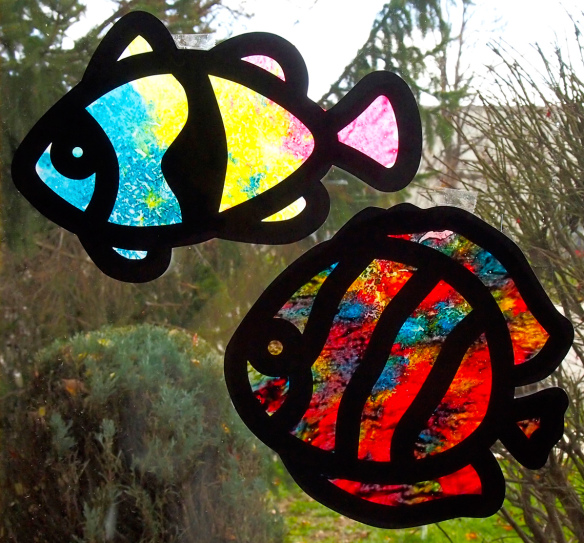
Experiment with different colors and our other stained glass designs (the product numbers are available above in the materials list). The colors really are gorgeous! Hang the stained glass designs against a window to catch the light. When sunlight shines through the wax, the color will bounce off and reflect into the room. Enjoy the view. Talk to your students about the properties of light and color while creating the stained glass designs.
_B072156

If you have a large window in your classroom, make an entire theme of stained glass designs to hang up! The view looks great both inside and out!

Line-15

Thanks for stopping by! Give us your input or send us photos of your own projects to subscriber@roylco.ca. We’d love to hear from you!

Craft Spotlight: Stained Glass Paper

Feature-Image-StainedGlassPaperVibrant colors and intriguing designs bring a pop of authenticity to your students’ stained glass designs! Our post features a video as well as a sneak peek at our new My Garden Stained Glass Frames!

Stained Glass Paper can be easily cut into shapes that fit underneath black border stained glass images. Cut bits of Stained Glass Paper and add to your scrapbooking pages, too!

Have a look through our PDF guide for more details on projects using the Stained Glass Paper HERE!

The video below shows techniques on how to measure and cut the Stained Glass Paper into sections. Apply a bit of glue around the inside edges of the frame, then stick the Stained Glass Paper piece on. When you flip over the stained glass frame, the piece will add color and vibrancy to your project!


We used some of the Stained Glass Paper to put together our newest My Garden Stained Glass Frames.

_DSC0312

Above is a sneak peek preview of the Stained Glass Frames our art campers put together this past summer. Notice how brilliantly the colors of the Stained Glass Paper stand out!

Line-15Thanks for viewing this post! If you would like to have your projects featured on one of our posts, please send photos of your work to subscriber@roylco.ca and we will write up something in the near future!