Sensory Collage Easter Egg Art Project

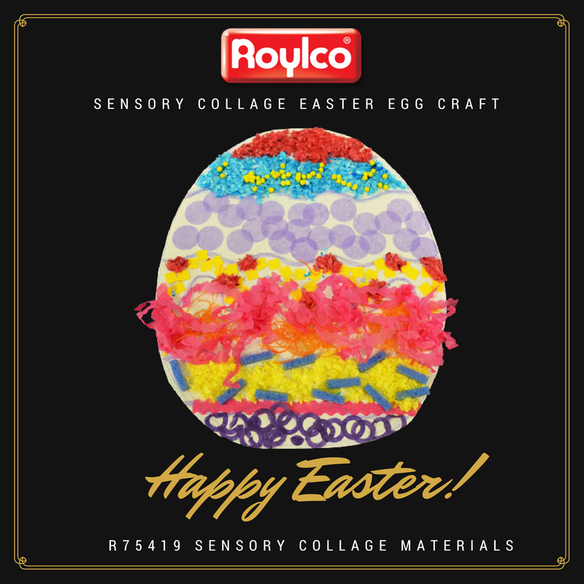
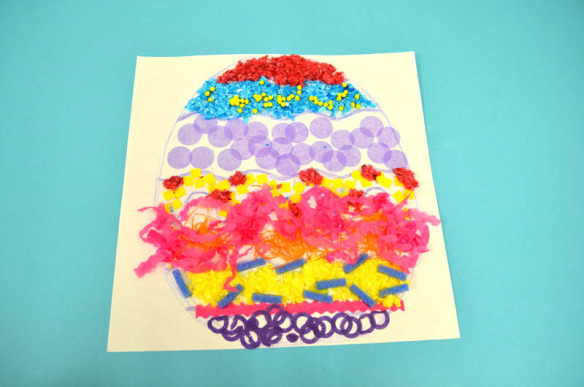
Are you looking for Easter egg ideas? The sensory collage Easter egg art project is great for your classroom activities. It introduces children to the important senses of the human body with Roylco’s Sensory Collage Kit. It’s also great for working on fine motor skills.

Age: 5+

Duration: 15 minutes

Learning Outcomes: Exercise fine motor skills. Practice sorting materials by color and texture. Learn about collage art. Develop sensory awareness.

You’ll Need: 

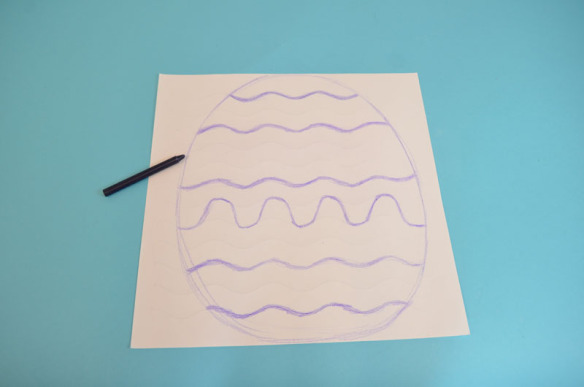
Pull out a wavy sheet from the R15413 Sensory Paper package, choose your favorite pastel color, and draw an outline of an egg. Encourage kids to slowly move their palms and fingertips over the paper to feel the small raised patterns. Some kids may want to follow the patterns on the paper to create their designs, while others may want to create their own designs. You can color the wavy lines on the paper and it will divide the egg into different sections. You can make these lines as bold as you like.

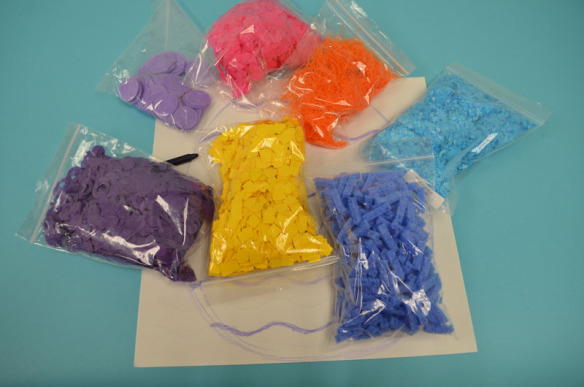
Next, plan and place the sensory art materials you like on your egg. The Sensory Collage Kit contains 20 different sensory art packs to use in creating unique illustrations.

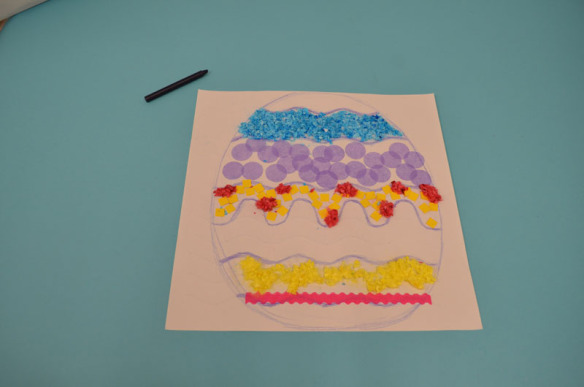
Before gluing the sensory art materials onto the artwork, you can play with the colors and the different textures. Think about which sensory art materials would best represent your Easter egg artwork.

Encourage children to talk about the color and the texture they use on the artwork and discuss what they feel. Is the color a warm color or a cool color? Is the material rough, hard, scratchy, smooth or bubbly? After exploring the materials, children can start to glue the sensory materials onto the artwork.

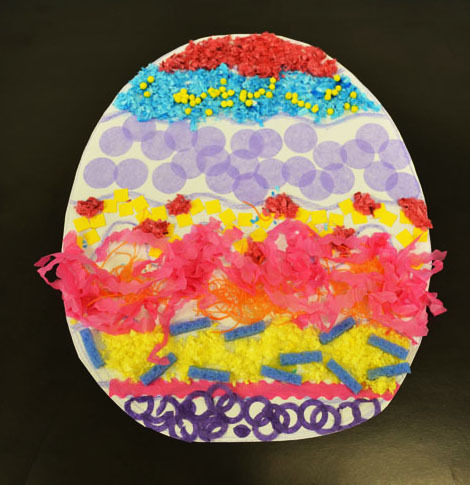
The artwork is almost finished. Have the children cut out the egg and glue it on to the  cardstock. Here is our sensory collage Easter egg artwork. Write your name on the artwork and take it home for your Easter celebration!
For more information please visit https://roylcostore.com/products/sensory-collage-kit 


Bundle Savings

Get all the Roylco items used
in this project and save 15%!

$47.58 USD
bundled price
Add Bundle
to Cart


Color Diffusing Easter Egg Artwork

Make beautiful color diffusing Easter Egg Artwork by using Roylco’s R15213 Color Diffusing Paper™!

Age: 3+

Duration: 5 minutes for painting and assembling, couple of hour for drying.

Learning Objectives: Use fine motor skills to squeeze paint from pipettes onto paper. Learn about the process of diffusion with beautiful Color Diffusing™ technology.

You’ll Need:

• R15213 Color Diffusing Paper™

• R54470 Junior Heart Paint Pipettes

• Watercolor paint

• Paint tray

• A Cup of water

• Cardstock

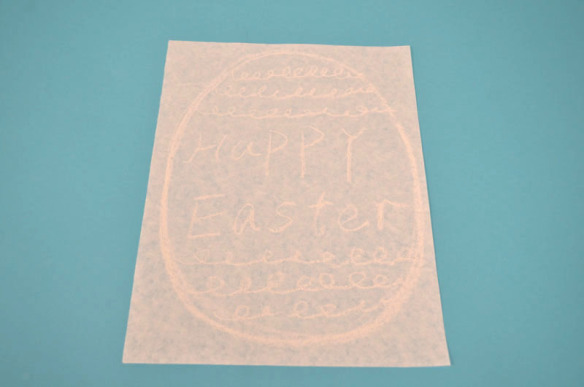
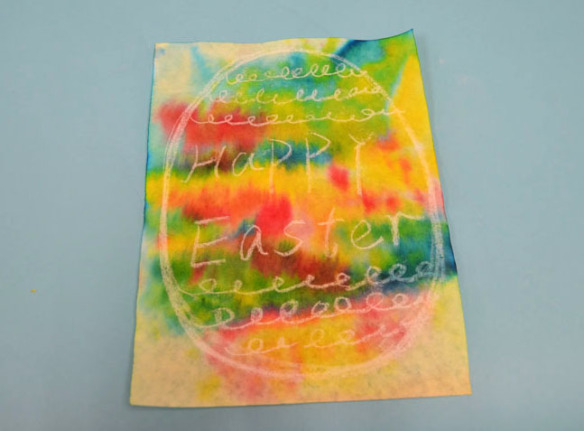
Use white chalk to draw an outline of an egg on to Roylco’s R15213 Color Diffusing Paper™ . Then create some patterns to design your egg. I also wrote ” Happy Easter” in the middle of the egg. Encourage children to use their imagination to create their own designs.  

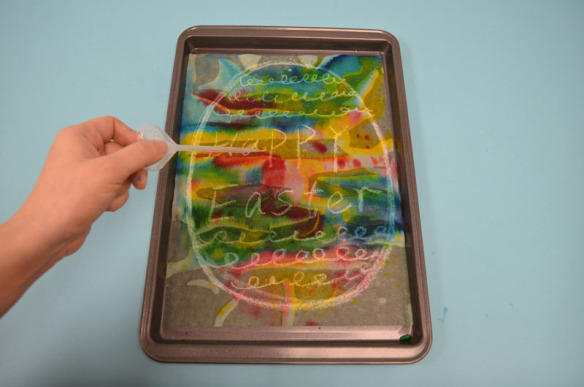
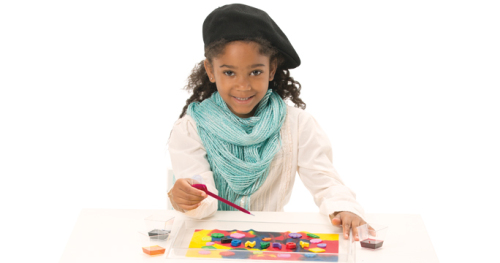
Next, place the paper in the paint tray. Wet the R15213 Color Diffusing Paper™, and use Roylco’s R54470 Junior Heart Paint Pipettes to drip liquid watercolor paint over top of the wet surface. Encourage children to experiment with different color palettes. It’s lots of fun for children to play with different colors and watch the colors flow and blend to create spectacular patterns and effects.. This is a great time for children to learn about color mixing, ask the children to discuss the effects of color mixing.

Let the artwork dry in the paint tray for couple of hours.  You can also use a blow dryer to dry the artwork. You can see the result is unexpected and beautiful.

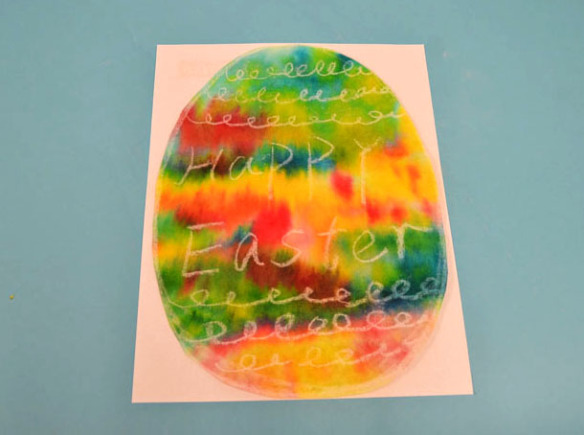
The color diffusing Easter egg artwork is almost ready. Once the paint is dry, you can cut the egg out and glue it on to the cardstock.

For more information please visit https://roylcostore.com/products/color-diffusing-paper-9×12

Bundle Savings

Get all the Roylco items used
in this project and save 15%!

$15.62 USD
bundled price
Add Bundle
to Cart

A Pot Of Gold for St. Patrick’s Day

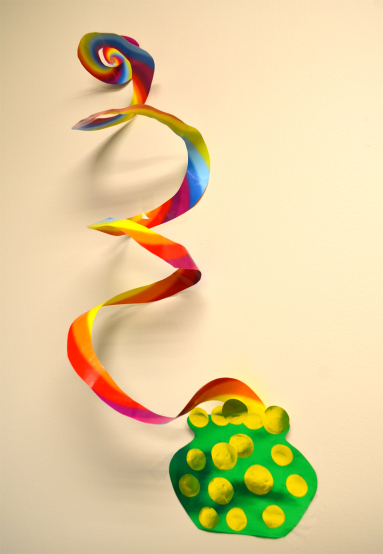
Are you looking for craft ideas for St. Patrick’s Day? Create some decorations to make the house and classroom more festive. Lets make a spiral rainbow and pot of gold.

Age: 4+

Duration: 5 minutes

Learning Outcomes: Exercise fine motor skills. holiday activities. Makes a perfect take-home craft.

You’ll Need:

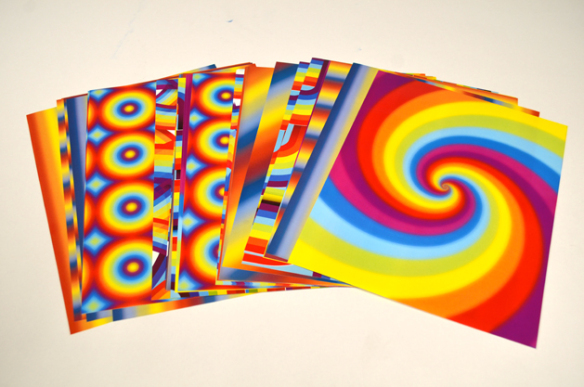
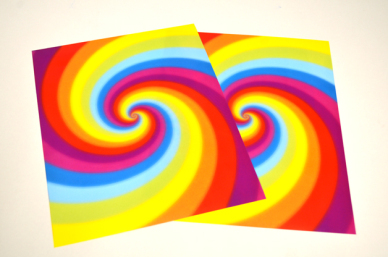
Choose your favorite pattern from Roylco’s R15295 Rainbow Paper Pack.

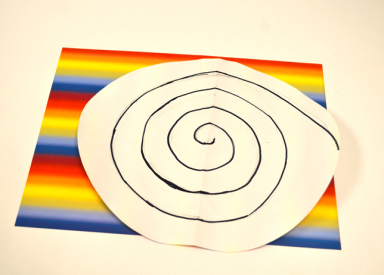
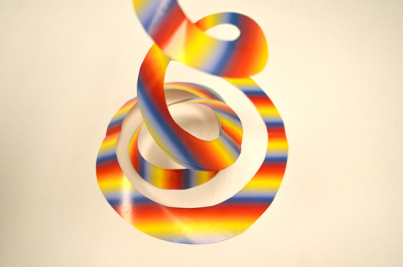
Draw a spiral at the back of the paper.

You can also glue two pieces of rainbow paper together to create a double-sided sprital.


Use scissors to cut from the end of the outline toward the center to make a spiral.


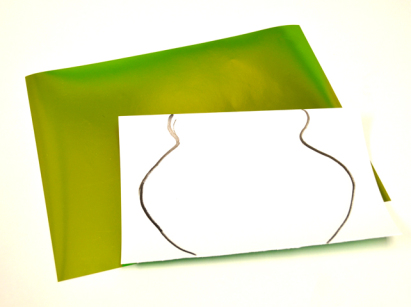
Take two pieces of metallic paper from Roylco’s R15409 Economy Metallic Paper Pack.

I choose dark green paper to make the pot, and the gold colored paper for the golden coins. Draw the shape of a pot at the back of the green paper, and cut it out. Make the coins by cutting out some circle shapes from the gold paper. Then glue the golden coins on to the green pot.

After you finish making a pot of gold, you can glue it to the end of the rainbow.  Once complete, hang from ceilings, on bulletin boards or anywhere that could use some extra color.


You are the pot of gold at the end of my rainbow!

Bundle Savings

Get all the Roylco items used
in this project and save 15%!

$19.19 USD
bundled price
Add Bundle
to Cart

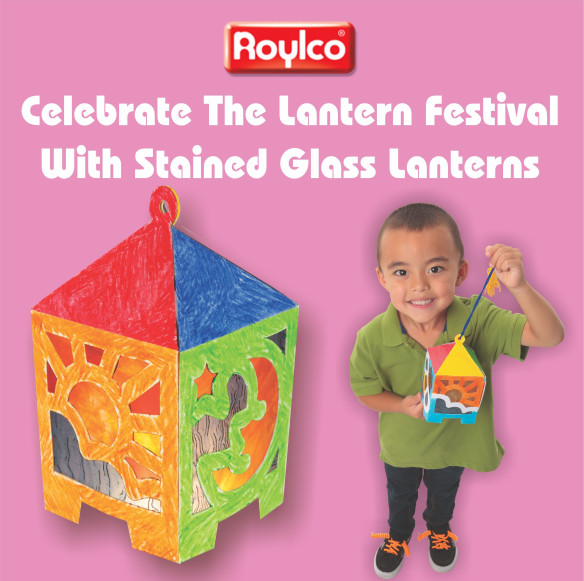
Celebrate The Lantern Festival with Stained Glass Lanterns

Create luminous lanterns to string up in your classroom or send home as great gifts! The 3D lanterns are cleverly designed to make assembly easy for little hands. Lanterns are a wonderful example of a cultural and historical artifact that you can discuss
in your next social studies class.

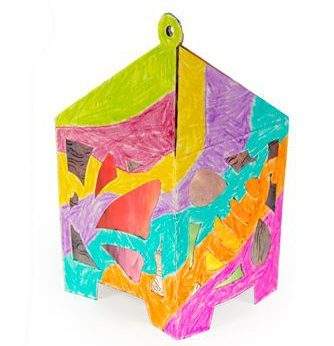
Our stained glass lanterns look a lot like the Andon and Crystal Magic lanterns used in Japan and China, respectively. Your students can be creative and can color in the lanterns any way they like. Adding stained glass to a lantern is a recent trend of turning a practical or useful lamp into a pretty and decorative piece of art.

Age: 4+

Duration: 10 -13 minutes

Learning Outcomes: • Develop fine motor skills • Explore creativity
• Discover lantern and stained glass history   • Use basic design techniques to develop ideas • Learn about Chinese and Japanese lanterns • Combine social studies with arts and crafts  • Use multiple media to create a multi-use craft

You’ll Need:

  1. Each of the lanterns features 4 sky-themed designs. Each design is made to look like a stained glass window. The illustrations include a sun, moon, butterfly and bee. Cut out sections of colored tissue paper or R15275 Stained Glass Paper to glue under the designs.
  2. You can use different colors for parts of one illustration. For instance, paste white tissue paper pieces over the bee’s wings. Alternate and paste yellow and black tissue paper pieces across the separate sections of the bee’s body.
  3. Fold in the lantern along the pre-scored creases to make the lantern three dimensional.
  4. You’ll notice that its side edges are slightly smaller than the rest of the tab. These side tabs will help hook the tab in place when you insert it into the slot. Gently open the slot to loosen it up. Insert the tab into the slot by edging in first one side of the tab then the other.
  5. Finally, fold in all four tabs on the sides of the triangular roof flaps.
  6. Pass a length of fishing line, yarn or string through the holes of all four
    roof tabs and tie a knot at the top to secure.

Now you can hang your lantern along a length of string with other lanterns in sequence or you can hang the lantern directly from the ceiling.

Celebrate Chinese New Year or the start of spring by stringing up the lanterns. You can also send the beautiful lanterns home as Mother’s Day gifts or for any other special event.

Please visit https://roylco.com/shop/r52093-stained-glass-lantern/ for more information.

Bundle Savings

Get all the Roylco items used
in this project and save 15%!

$16.64 USD
bundled price
Add Bundle
to Cart

Make Chinese Lanterns for Chinese New Year

The Chinese Lantern Festival is a Chinese festival celebrated on the fifteenth day of the first month in the lunisolar Chinese calendar. It marks the final day of the traditional Chinese New Year celebrations, and it falls on March 2nd for 2018.During the Lantern Festival, children carry paper lanterns and go out at night. People also go to temples to solve riddles on the lanterns.

Age: 5+

Duration: 8-10 minutes

Learning Outcomes: Explore cultural assumptions and symbols. Practice folding and taping. Exercise Fine motor skills. Create a cute take-home craft.

You’ll Need:

Ideas:

  • Use your own imagination and add some decorations to the lanterns.

Bundle with Textured Rubbing Plates

Bundle Savings

Get all the Roylco items used
in this project and save 15%!

$25.06 USD
bundled price
Add Bundle
to Cart

Bundle with Optical Illusion Rubbing Plates

Bundle Savings

Get all the Roylco items used
in this project and save 15%!

$25.06 USD
bundled price
Add Bundle
to Cart

Junior Heart Paint Pipettes

R54470-A

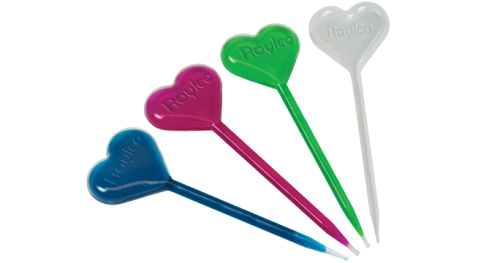
Use our Junior Heart Paint Pipettes and love your art! The pipettes have heart-shaped bulbs at the top that will encourage children to practice flexing and squeezing their fingers.

Mix a few drops of concentrated watercolor paint or food coloring with about 2 cups of warm water. Squeeze the bulb to expel all the air from the inside and then dip the nozzle into a bowl of watercolor paint. Release the bulb. The inner chamber will fill with paint.

Squeeze the bulb to press out the paint.

R54470-B

Here are some ideas on how to use the Paint Pipettes!

  • Make interesting splatter art.
  • Mix up watercolor paint with a dash of glitter. Pipette the mixture onto a sheet of Color Diffusing Paper. Let dry overnight, then in the morning, get a look at your fantastic glitter painting!
  • Make a gel heart! Mix up ¼ cup cold water to 1 packet of Knox® Gelatine. Add ¼ cup boiling water and stir until dissolved. Use the pipette to draw in some of the mixture. Let set at room temperature or place in the fridge for faster setting times. Once the gel is set, use a pair of scissors to cut the pipette open. Peel away the sides to reveal your gel heart! Tip: Add in a bit of food coloring to the mixture before you let it set.

Looking for more ideas? Check out our YouTube page for more Roylco videos!

Line-09

Like us on FacebookShare this post with your friends, or Subscribe to this blog today to receive original craft project updates every week!

Sockles

22004 Sockles Sock Pile web

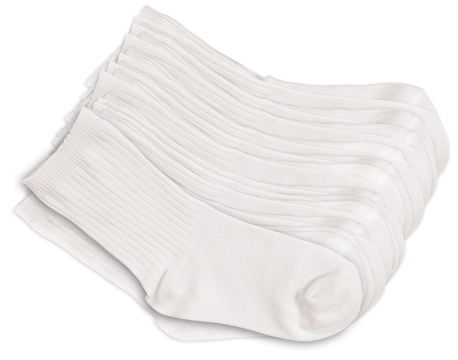
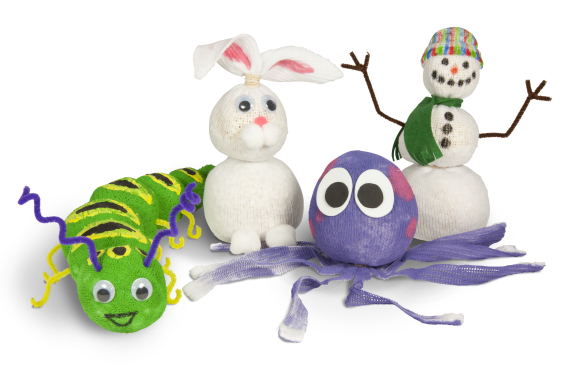
Specially designed socks are bundles of fun and the perfect size for easy yet wonderful craft projects. Learn how to make a sock puppet puppy, a cuddly octopus, a cool snowman, a plush bunny, a caterpillar, animal track slippers, a warming bean bag and colorful fish in our future blog posts on Sockles! Use the guide to help students pick a favorite activity and create their own unique sock project.

Sock projects are perfect for engaging students’ creativity and inspiring new project ideas! Hand out a variety of collage materials that you have available in your craft closet. Provide the materials in plastic bowls to make it easier for students to gather and apply the materials to their sock projects.

22004 Sockles Craft Group web

Before you decorate your Sockles with collage materials, decide if you want to paint them. Make your Sockles colorful! Tip: Paint your Sockles with thicker paint such as tempera. Note: Watercolor paint does not color as well as thick paint. To paint the Sockles evenly, clip one end of the Sockles tight to cardboard and paint the rest of the Sockles with a paint brush or foam brush. Turn the Sockles over and paint the second side. Wait one day for the Sockles to dry. Once the paint is dry, use glitter glue to draw swirls, dots, lines and other decorative elements onto the Sockles.

Alternatively, use markers to make details on the Sockles. Draw faces or patterned details onto the Sockle plush toys! Fill the inside with rice, beans or sand about halfway to three-quarters inside the Sockles. Tie off the open end of the Sockles with an elastic band or sew the opening shut with a safe sewing needle and thread.

22004 Sockles girl web

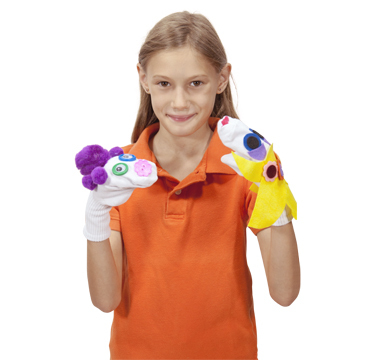
Follow the detailed instructional guide to make puppets, animals, hand covers, plush toys and more! The project ideas can be adapted with whatever collage materials you have in your craft closet.

Combine project ideas together with innovative materials to make creative craft projects! Stay tuned for a series of projects coming up that use our Sockles…

Line-09

Like us on FacebookShare this post with your friends, or Subscribe to this blog today to receive original craft project updates every week!

Tessellations Mosaics

Print

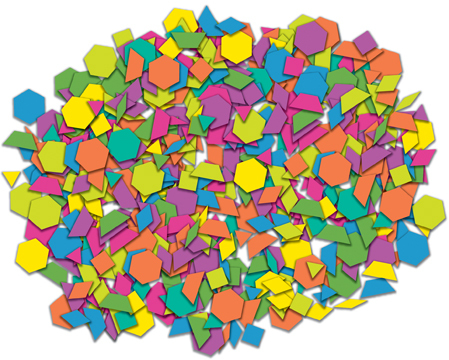
Inspired by Pattern Blocks, we’ve created 6 shapes that can be used to make wonderful tessellation patterns. Shapes are: equilateral triangle, rhombus, trapezoid, hexagon, square and small rhombus. Each shape is carefully crafted to match the sides and angles of the other shapes allowing your students to use the shapes to create seamless tessellations or to design animals, people, vehicles, structures and patterns!

Unlike Pattern Blocks, which have specific colors for specific shapes, our tessellations mosaics come in a range of 12 bright, glossy, double-sided colors. Your students can make patterns with similar colors or challenge themselves by creating patterns in different colors. Get students acquainted with the different shapes and talk about their characteristics by giving each group a bowlful of the Tessellations Mosaics. Ask students to sort the mosaics only according to color. They must choose one color and find all the shapes in that color. Note: Make sure to point out that the mosaics are double-sided!
Once all the shapes are found, ask students to describe each shape to you.

Print

What do the shapes look like? For instance, some children may say the trapezoid reminds them of a roof. Once your students get a chance to share their opinions on the shapes, discuss the characteristics of the shapes. We’ve included a short description of each of
the shapes later on in this guide. Now comes the fun part—putting the Tessellations Mosaics together! Pull out the provided pattern sheets and photocopy each set. Keep the
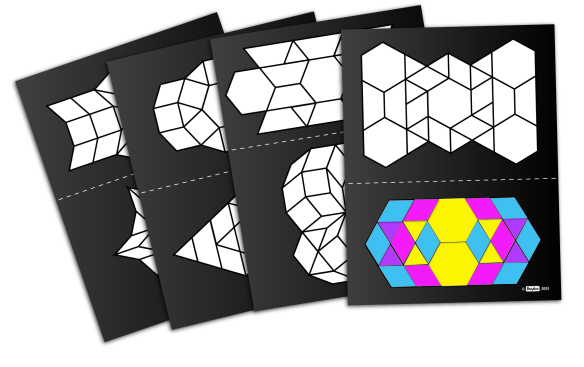
original sheets safe for future use. There are 2 patterns on each sheet. Print as many sheets as required for your class. You can provide the entire sheet with both patterns to students or cut the sheets and hand out one pattern each.

Fill in the puzzles with the shapes shown in the outlines. Before students fill in their patterns with the mosaics, encourage them to experiment with colors. For their first pattern, students can make the shapes match all in one color. Once they get comfortable with arranging the Tessellations Mosaics onto the pattern sheet, they
can switch out different colors for the same shapes. For instance, instead of filling a pattern sheet with Tessellations Mosaics all in red, students can switch out some of the red shapes for the same shapes in blue.

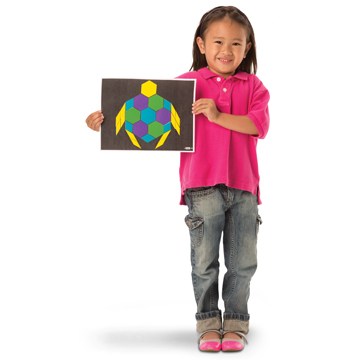
15664 Tessellations Mosaics girl web

Make new patterns with these color arrangements! After all the students have arranged and glued down their mosaics, compare the patterns to see how different color combinations change how the patterns look. These patterns are intended to teach students how to put the mosaics together. They are meant as a guide to understand how the edges and angles of the shapes can be matched. Some of the patterns can be replicated to make regular tessellations. These patterns can be tiled together to make even larger and more impressive patterns. Ask children to cut their patterns and arrange one big tessellation on a bulletin board.

To add more value to your Tessellations Mosaics pack, go online to download our amazing patterns featuring kaleidoscope-like designs and fun animals! Click on the ‘Artwork’ link to access the resources in printable PDFs. You can access the artwork directly here. Fill in the designs with the Tessellations Mosaics! Draw thematic backgrounds, such as an ocean, the plains or a jungle onto the animal puzzle cards!

Line-11

Like us on FacebookShare this post with your friends, or Subscribe to this blog today to receive original craft project updates every week!

Tube Crafts: Sunny the Snake

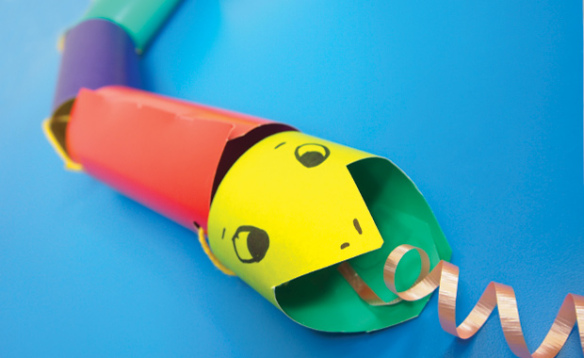
tube snake paper roll Sssssssss! Here’s a great project you can adapt for larger groups of students–make an awesome tube snake. This is one of the many projects we’ve got lined up this year for Tube Crafts! Age: 4+

Duration: 15-20 minutes

Learning Objectives: Use fine motor skills to roll up colorful tubes. Great group activity! Multiple groups can contribute to building the snake.

tube snake paper roll

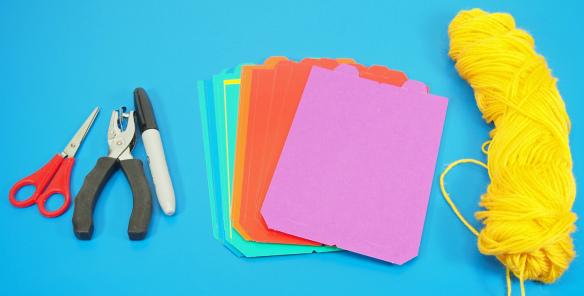
You’ll Need:

R39301 Tube Crafts

• Hole punch

• Permanent marker

• Ribbon

• Scissors

Line-10 tube snake paper roll

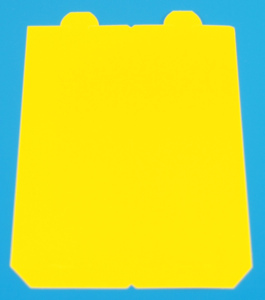
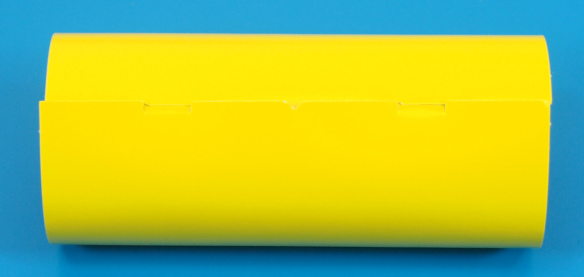
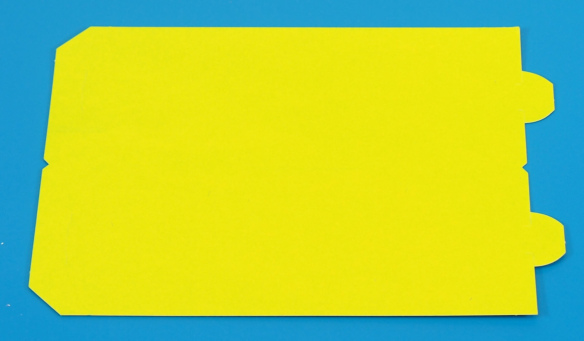
A full classpack of Tube Crafts is great for a variety of different projects. The flat sheets are printed with a color on each side. One one edge, the Tube Craft sheet features two tabs that fit into the slots on the other edge.

tube snake paper roll

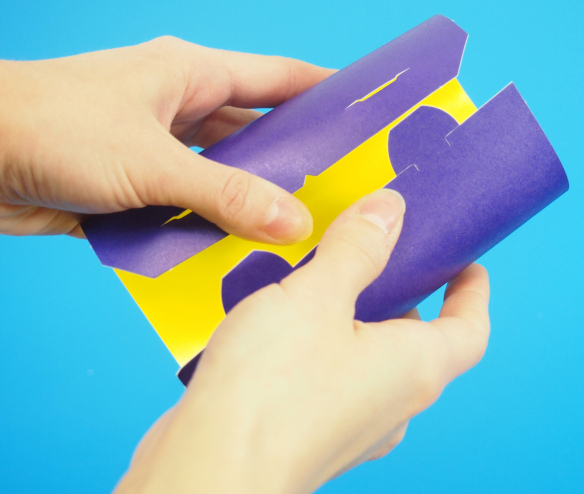
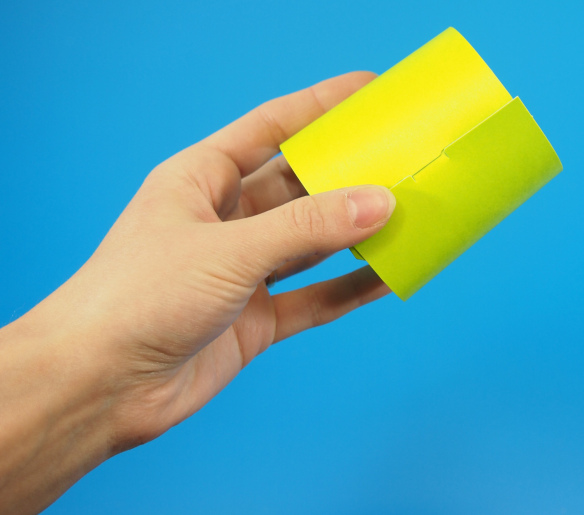
Roll the flat sheet into a tube and push the tabs into the slots.

tube snake paper roll

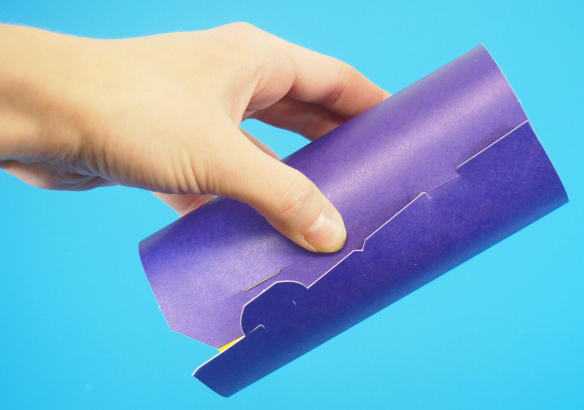
You can see how I’ve left the bottom tab out so you can see where it fits into the slot. To make it easier to work with, you can try to press one side of the tab into the slot, then press the opposite side in.

tube snake paper roll

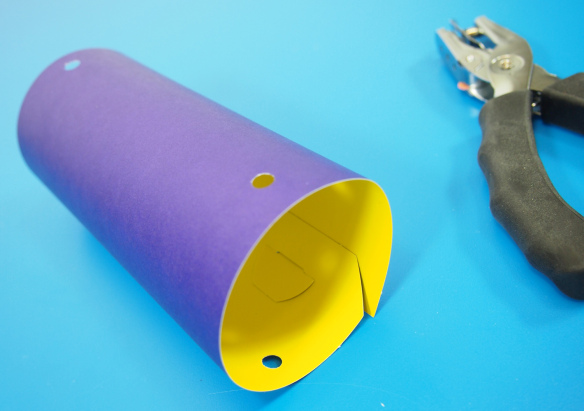
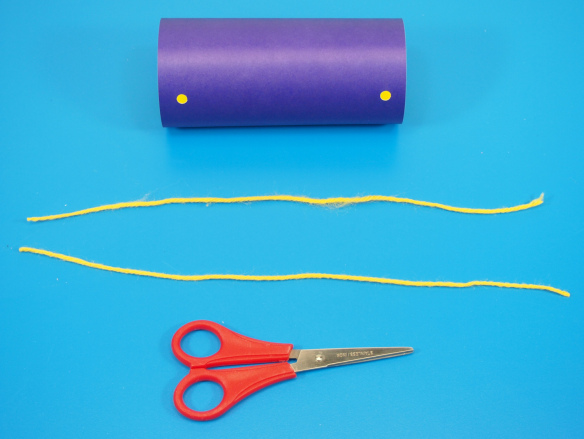
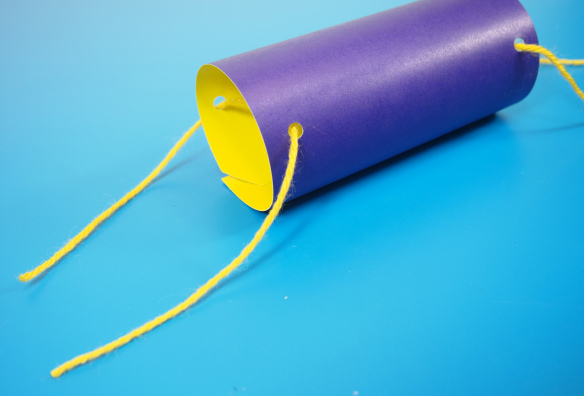
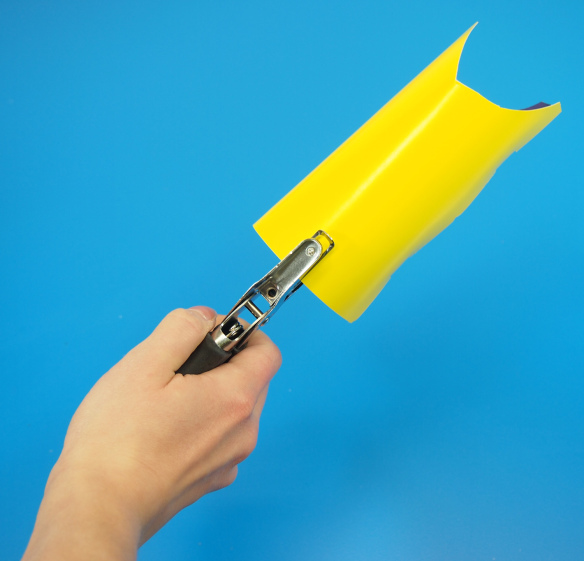
Once you have made a tube, punch two holes across from each other on either end. This will allow you to connect the different tubes together.

tube snake paper roll

Cut two lengths of yarn.

tube snake paper roll

Thread a length of yarn through each of the holes in the tube.

tube snake paper roll

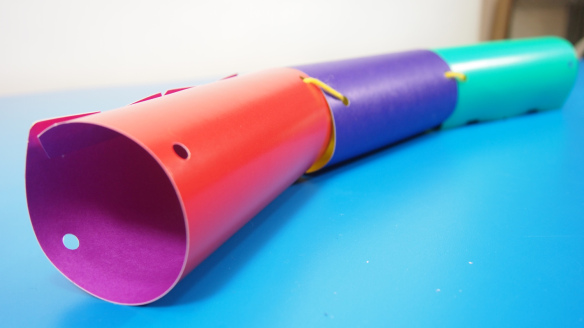
Thread the ends of the yarn to adjoining tubes. Secure the tubes together with a knot at each end.

tube snake paper roll

To make the tail for the snake, make a tube.

tube snake paper roll

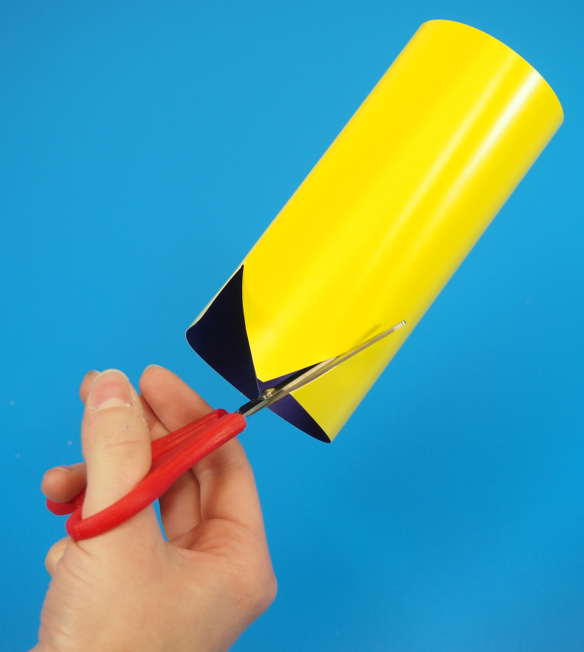
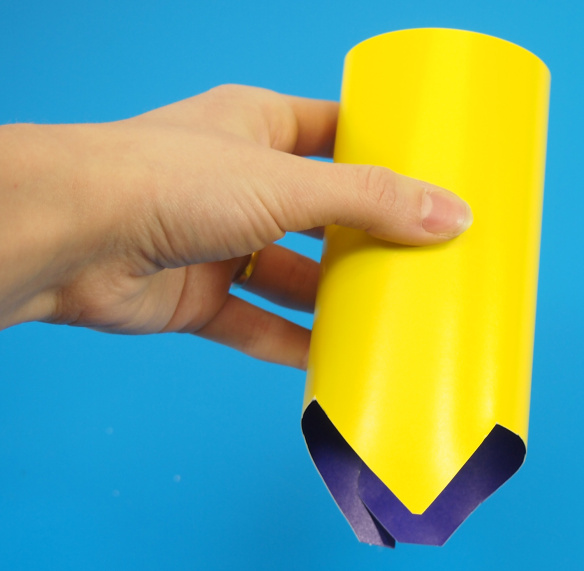
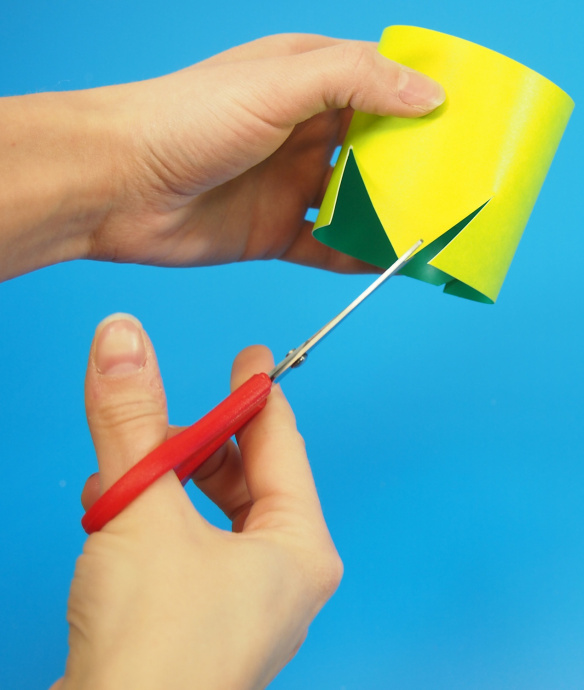
At one end of the tube, start out by cutting a V-shape.

tube snake paper roll

Continue cutting out along the side of the tube until you reach the opposite side.

tube snake paper roll

Hole punch the opposite sides of the tube.

tube snake paper roll

Start with another flat sheet from the Tube Crafts kit.

tube snake paper roll

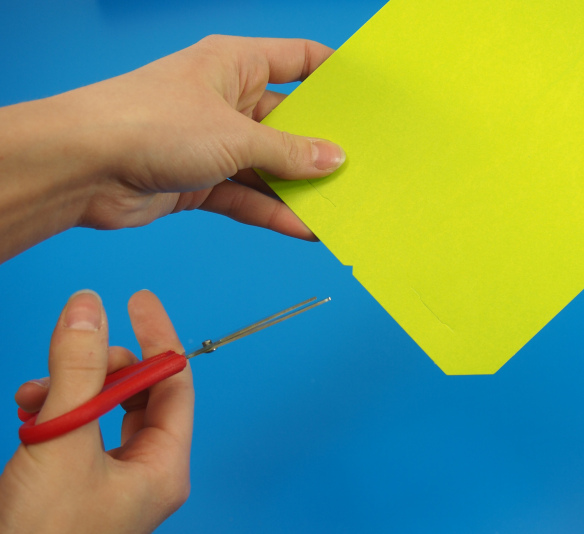
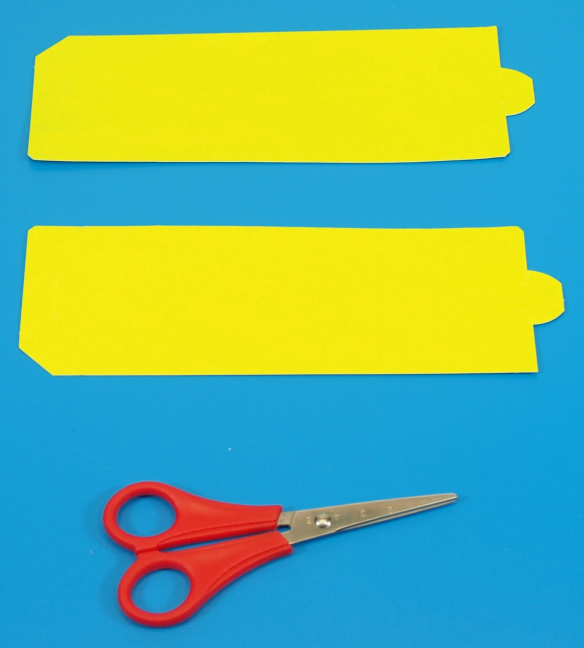
Another great feature of our Tube Crafts is that we’ve added a notch halfway through the edge of the sheet. This allows you to cut the tube in half before assembling. This way you can make smaller tubes! In this next step, we will use the smaller tube to make the snake’s head.

tube snake paper roll

Cut straight across the flat sheet using the notches as a guide.

tube snake paper roll

Roll up and secure the tube with the tab and slot.

tube snake paper roll

Cut the same V-shaped notch out of the small tube, just as you did for the snake’s tail.

tube snake paper roll

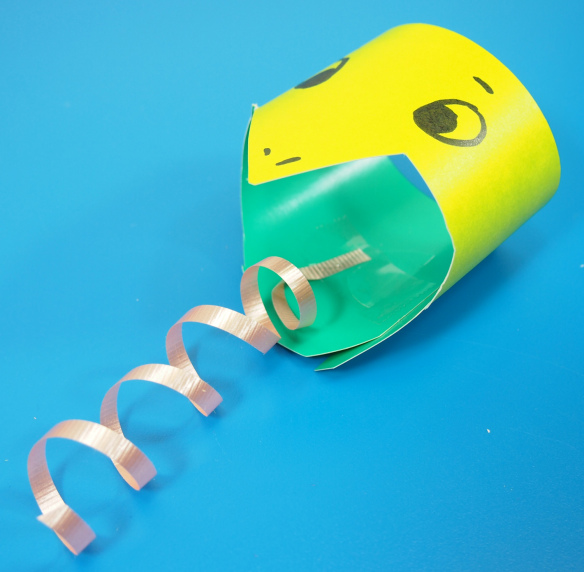
Once you are finished making the head, use permanent marker to add details such as the eyes and nostril to the snake’s head. You can’t forget about the tongue! To make the tongue, tape on a length of pink ribbon! Drag the edge of a pair of scissors across the ribbon to curl it into a spiral. Alternatively, use a strip of felt and cut out a V from the bottom to make it a forked tongue.

tube snake paper roll

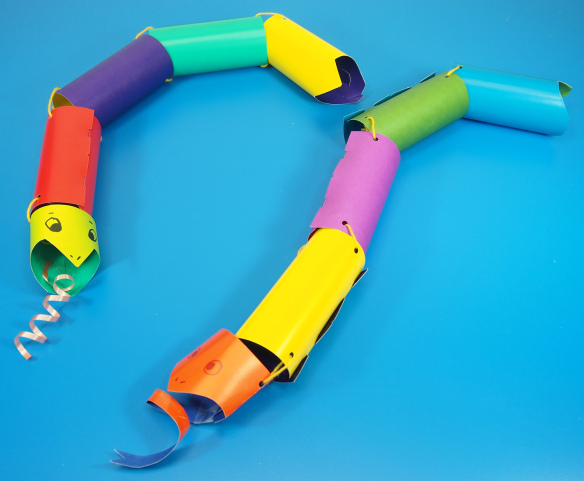
Here’s a look at what the finished snakes look like. You can give one snake project to each group of students in your classroom or encourage everyone to contribute to one giant snake project!

Line-18

Like us on FacebookShare this post with your friends, or Subscribe to this blog today to receive original craft project updates every Monday, Wednesday and Thursday!