Craft Spotlight: Sensory Collage Kit

Feature-Image-SensoryCollageWELCOME BACK TO 2014! We are ecstatic to begin the New Year with a plethora of craft ideas, guest posts and so much more! To start off, I’ve decided to post on our Sensory Collage Kit–filled with a variety of colorful materials to add brilliance, texture and fun to your students’ collage projects!

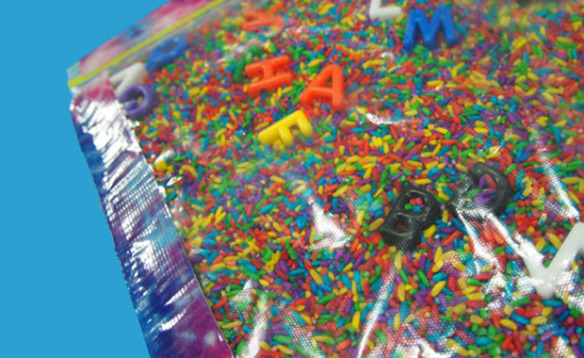
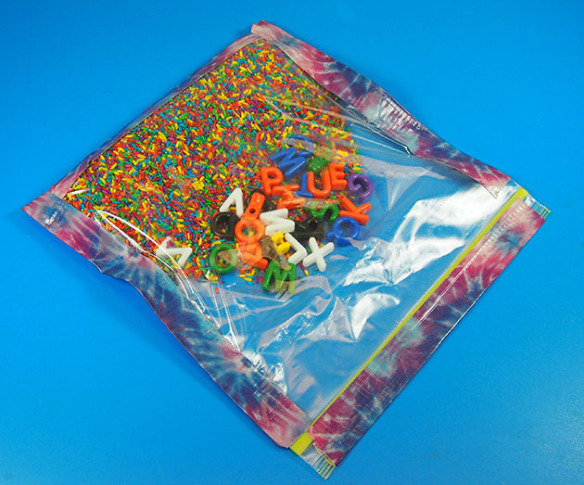
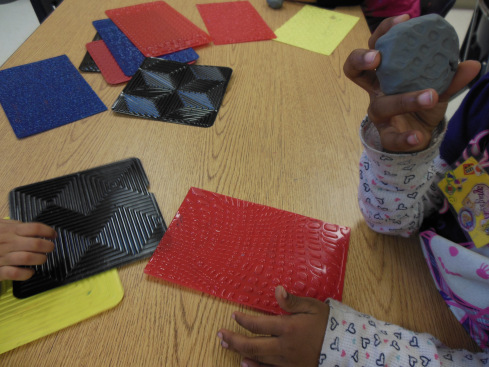
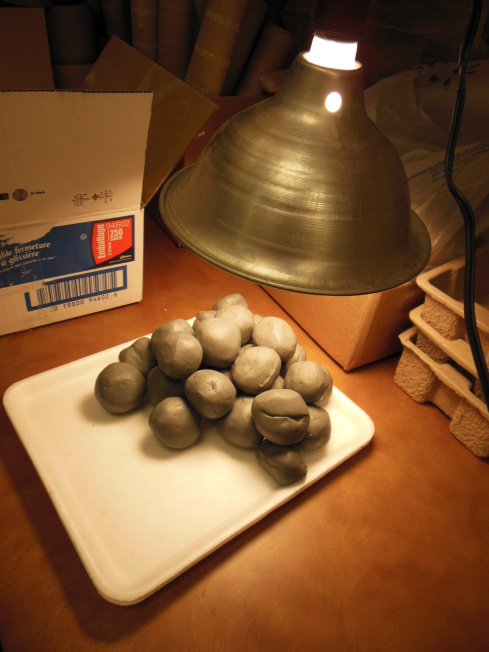
The Sensory Collage Kit features 20 sensory art packs with a variety of different textures to explore. Some materials are soft and pliable while others are bumpy or rough. Sort the materials by texture type or color.

R75419

In the video below, Cathy shows you how to put together a simple illustration of a shooting star using the collage materials.

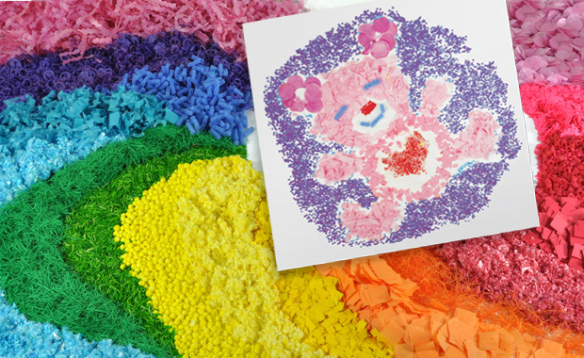
One tip for using the collage materials is to dip our R5725 Goo Spreaders into a bowl of glue and have the students ‘draw’ out their illustration using the glue. Note: Use colorful glue (such as glitter glue or craft store colored glue) so that students can see their illustration. Draw one section at a time, then drop a handful of collage material on top. Shake off the excess and voila! You have started your first sensory collage illustration!

View the complete guide HERE! View the pdf to discover project ideas, material descriptions and more.

To build sensory awareness and develop fine motor skills, ask your students to describe the various textures while covering their eyes. Get them to think about the type of texture they are feeling. What would the material best represent? For example, the scratchy, thin green material could be used as grass while the fluffy blue material could be used for the sky. There are endless possibilities with the Sensory Collage Kit that you can discover for yourself NOW!

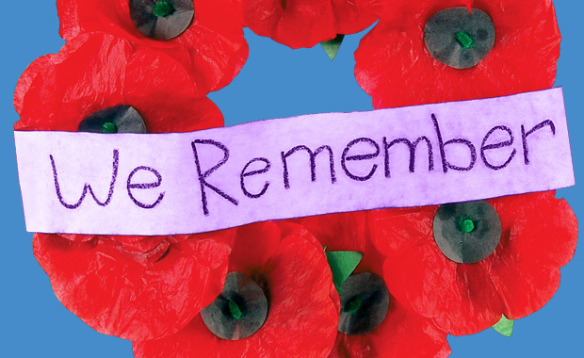
Our tip is to first draw the illustration in clear lines using black marker. Once this is done, your students can fill in the individual sections with the collage materials as they see fit.

DSCF7141

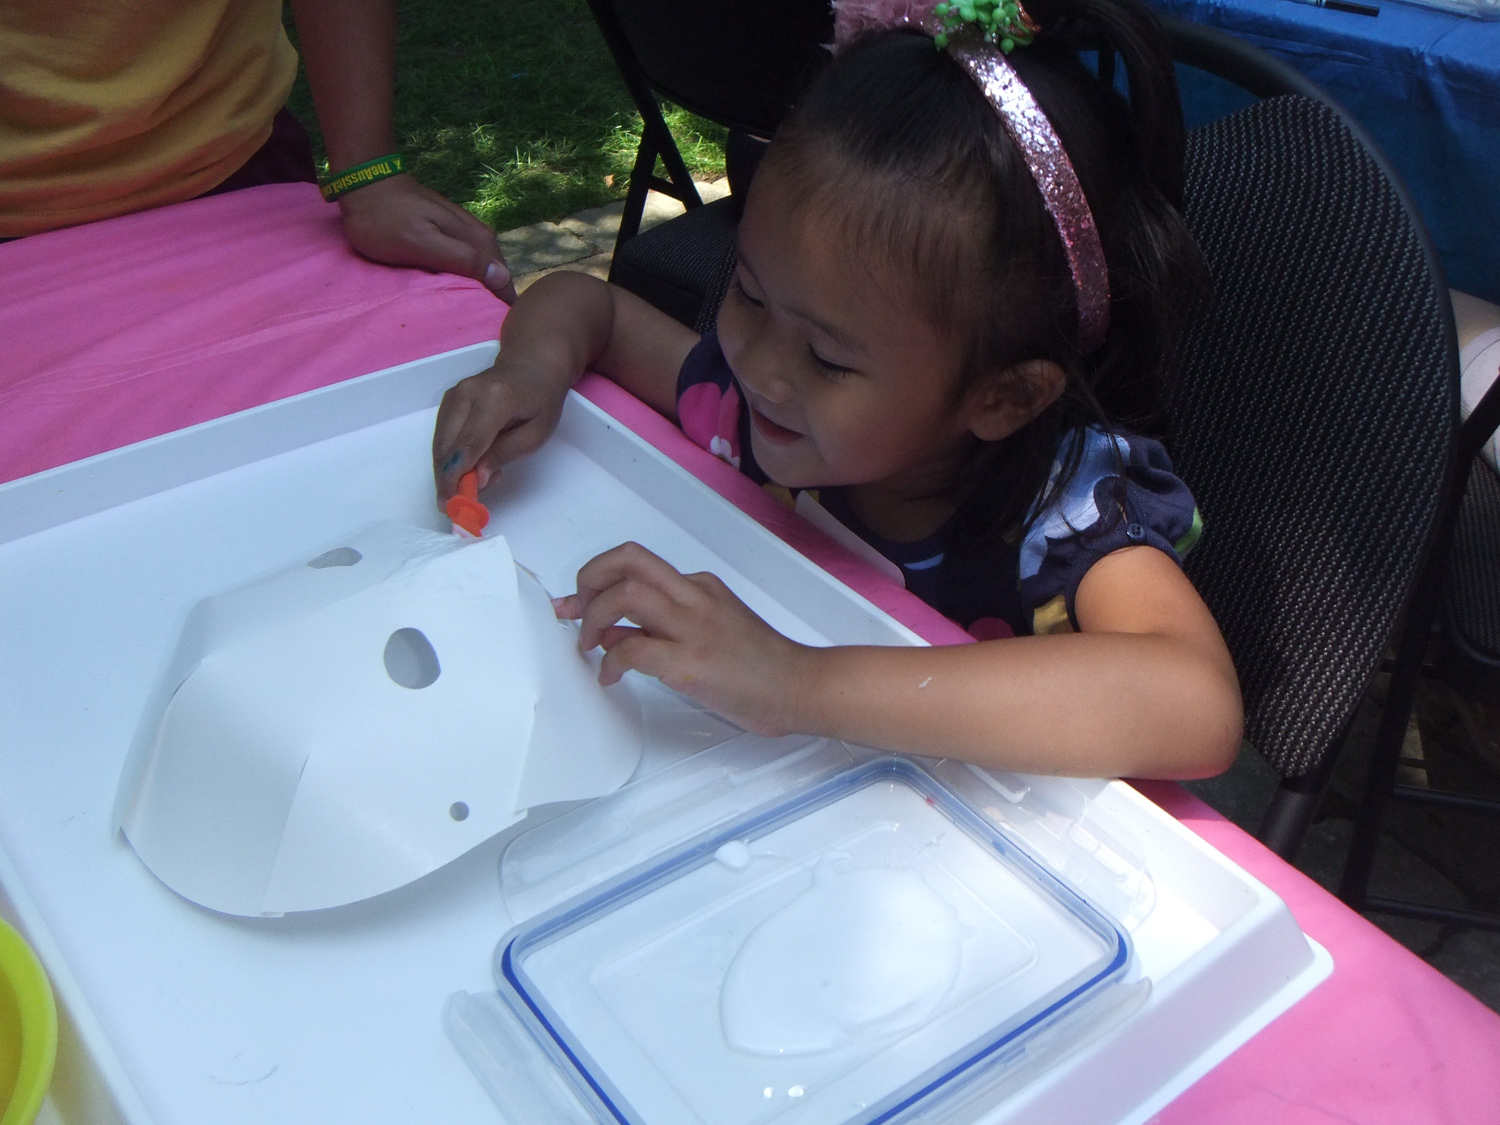
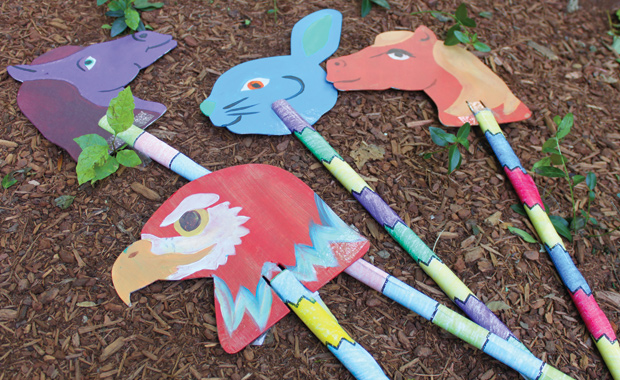
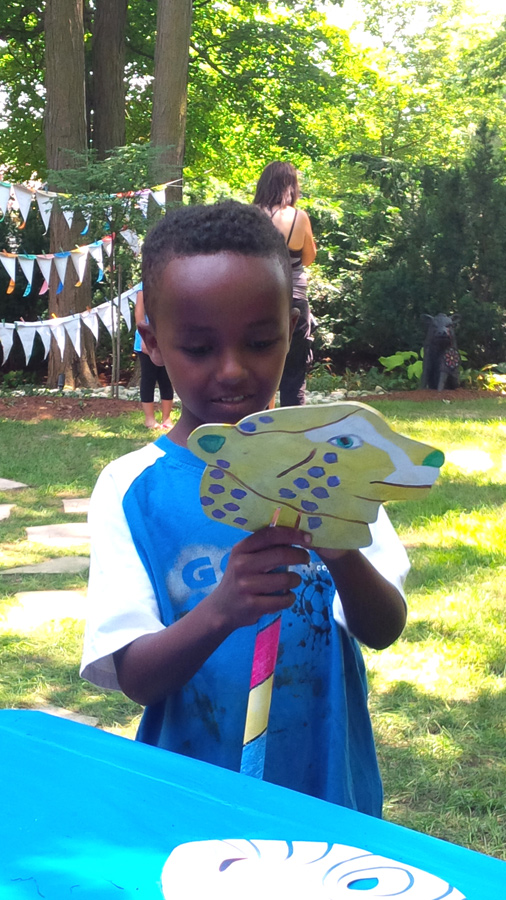
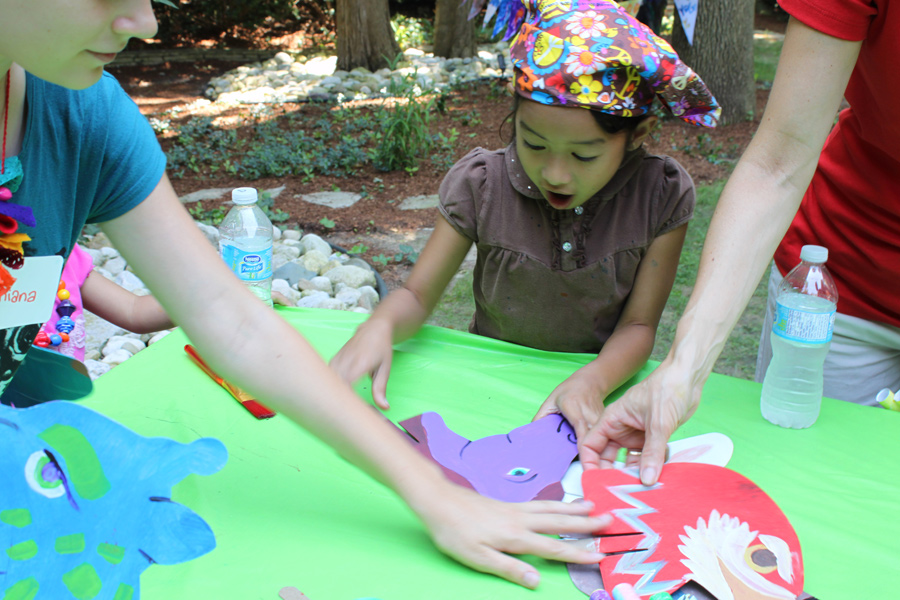
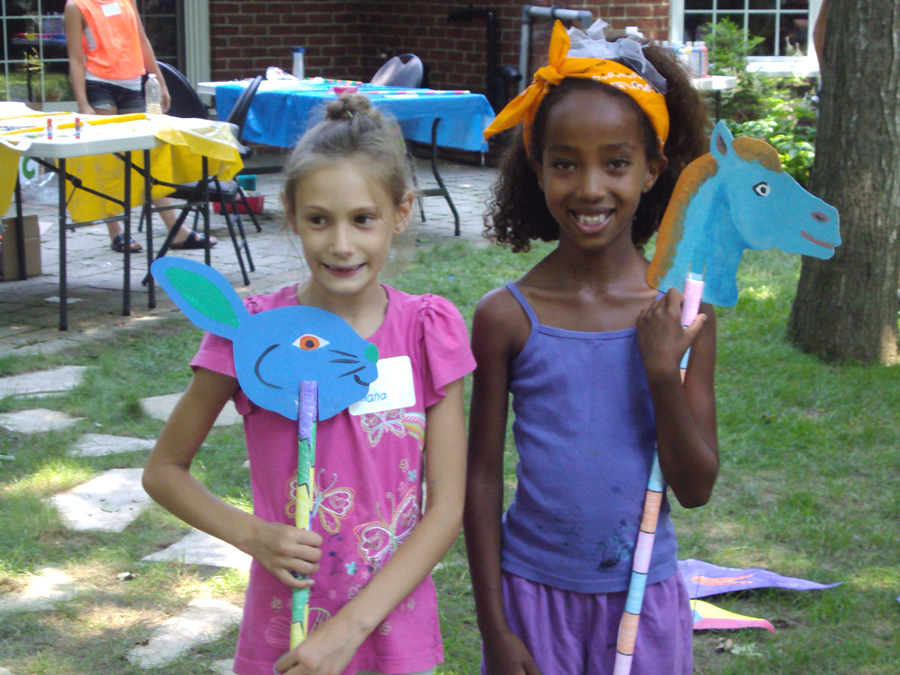
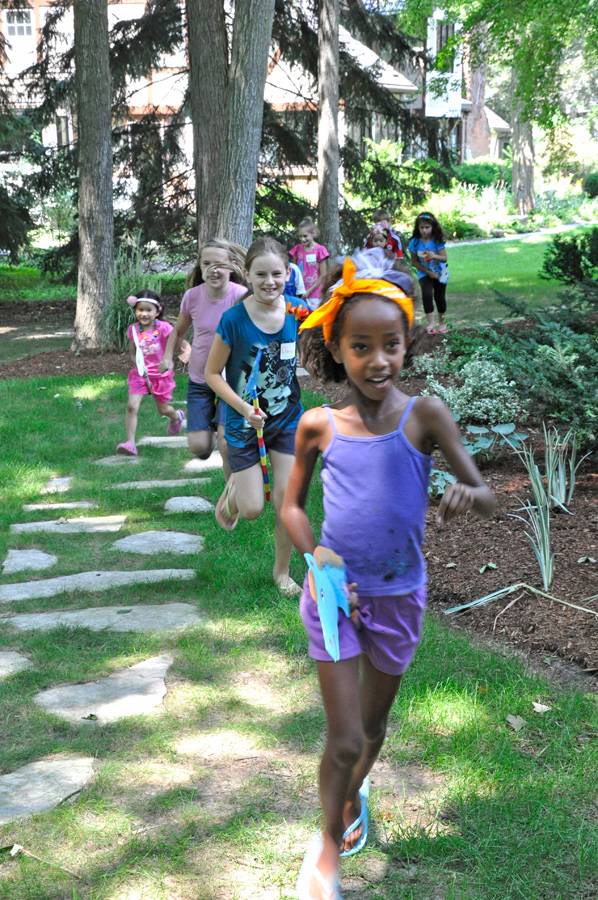
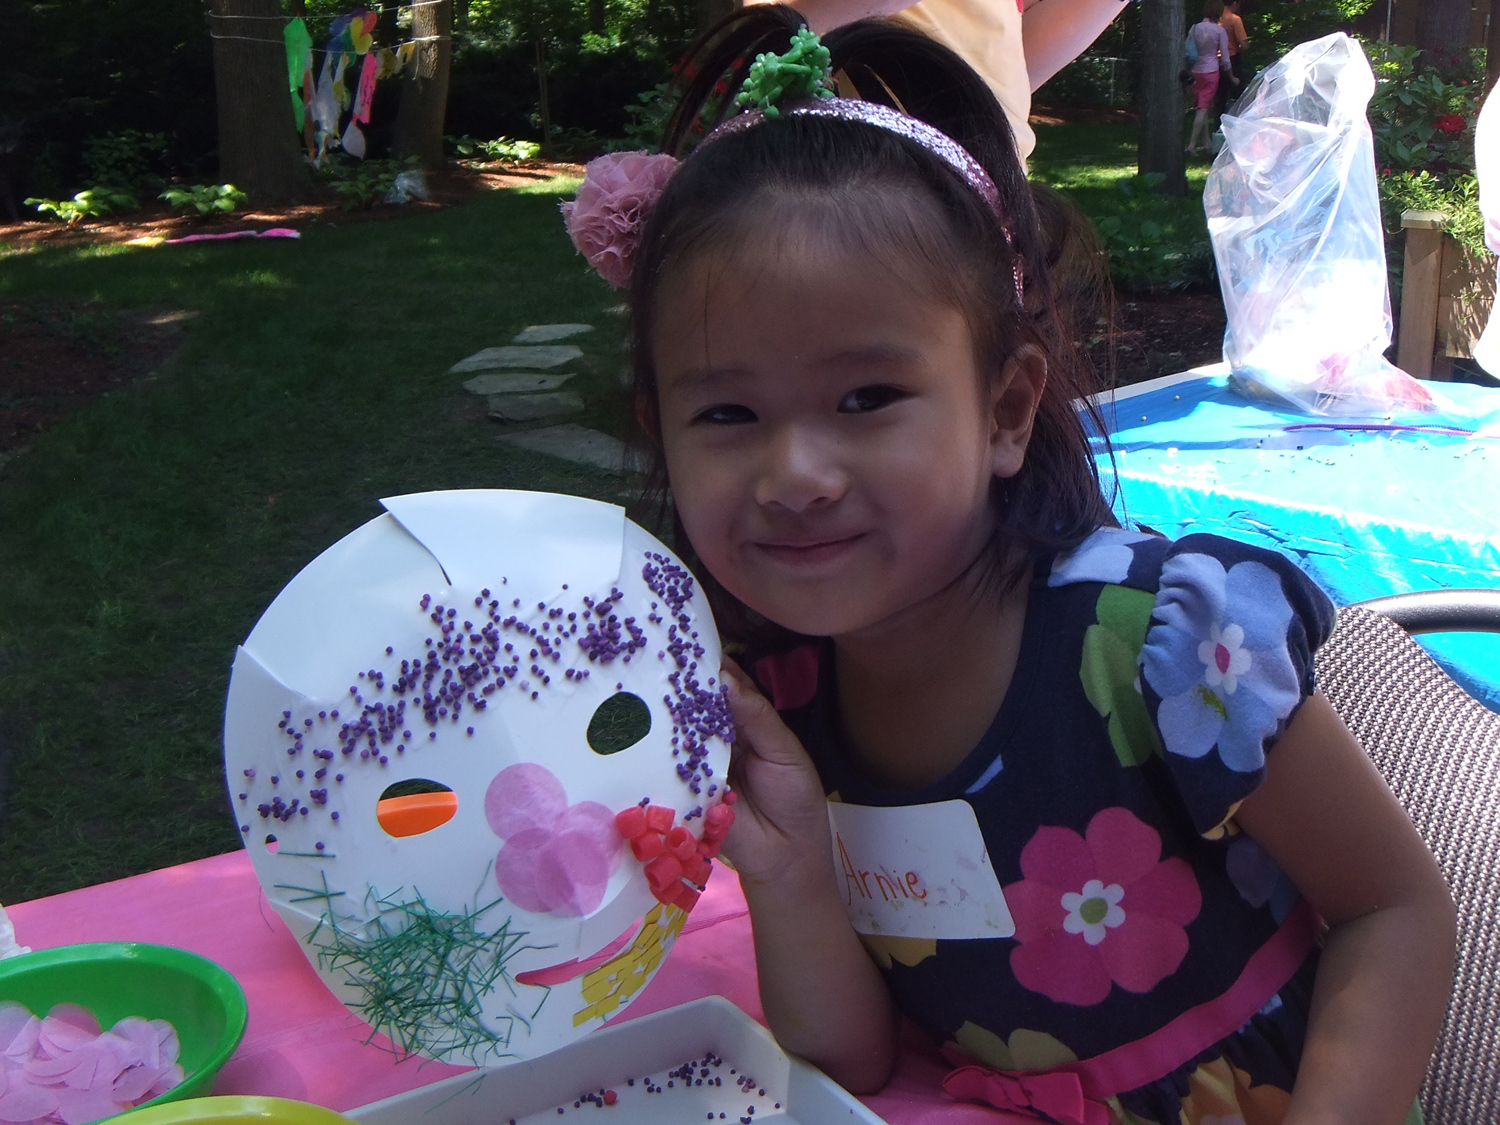
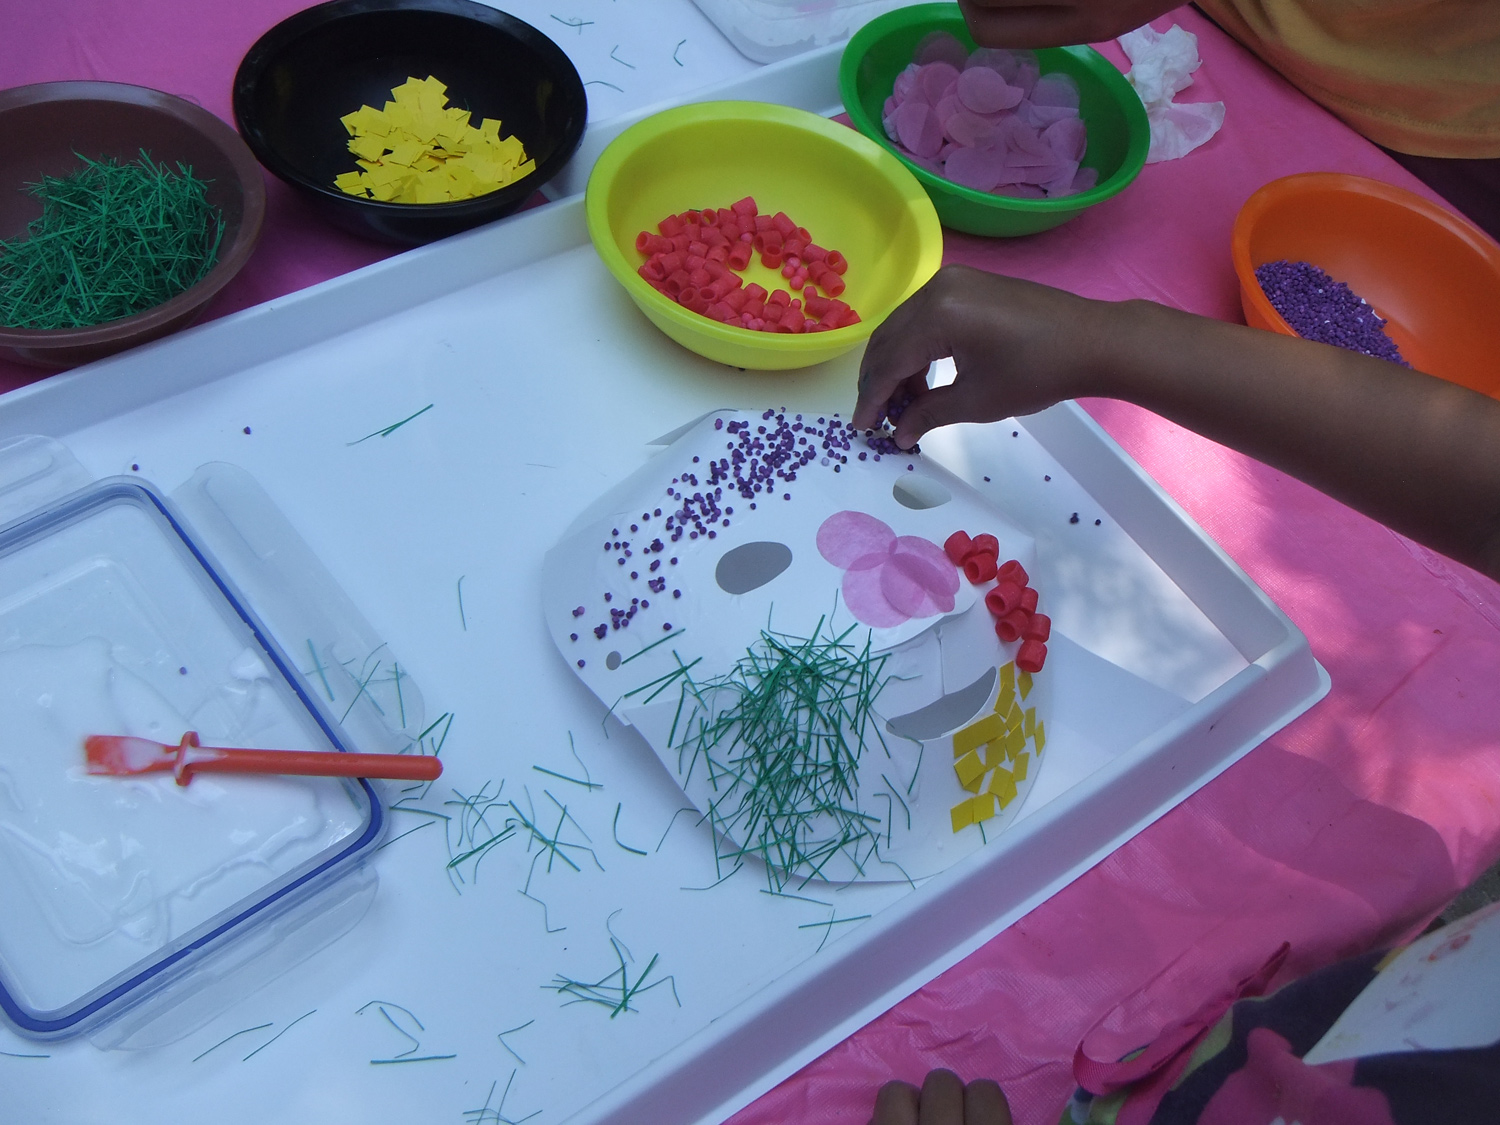
Our Art Campers took their sensory collage experience one step further and applied the materials to our R52076 Folding Fun Masks! With Goo Spreaders, a bit of glue and a lot of imagination, these little artists created a series of decorative masks for fun drama play!

DSCF7169While making their masks, the art campers were asked to describe their favorite textures and why they used these particular textures on the masks.

DSCF7162Some of the responses had to do with the colors chosen mostly, but others responded with what they were reminded of when holding and handling the materials. Some art campers described one of the materials as ‘bead-like’ while others identified others as ‘grassy’ or ‘fluffy.’

DSCF7165Line-19Thanks for stopping by! We wish you all a Happy New Year here at Roylco and look forward to working with teachers, educators and parents in the coming weeks to improve our commitment to early childhood education with our products. Contact us for more information if you are interested in working with us, or would like to showcase your own craft projects. Email us at subscriber@roylco.ca!

Christmas Tree Flourish Ornaments

Feature-Image-CurlDecorationsAdd a fancy touch to your Christmas tree or include it in your holiday classroom decorations. The glitter can be a bit messy to work with, but in this craft, your students won’t have to get their hands in it! Super simple and stunning–that’s what we like!

Age: 5+

Duration: 15-20 minutes

You’ll Need:

R15305 Renaissance Era Paper

• Glitter

• Scissors

• Glue

• Paper plates

• Ruler

Line-07

You can use any one of our decorative papers to customize your own flourish ornament. When you’re done making the ornaments, send us a picture of how they look like on your Christmas tree!

IMG_7925Paper plates will come in handy when adding glitter to your flourish ornament!

CurlDecoFoldCut-AnimationFirst, fold your paper lengthwise in half, then fold once again. Unfold your paper, to reveal three fold lines in total. Cut along the fold lines to separate the paper into four equal strips.

IMG_7933To make the curls on your flourish ornament, fold one strip of paper in half. Press the edge of a ruler to the underside (unprinted part) of one half of the paper strip. Stabilize the top of the paper with your thumb and pull the ruler with your thumb over the remaining length of the paper strip. This will curl the paper inwards.

Repeat for the opposite side of the paper strip.

IMG_7934Do the same for the remainder of the paper strips.

CurlDecoGluing-AnimationNext, glue the edges of your paper curls together. Join the edges together and fan the curls outwards from the center.

CurlDecoGlitter-AnimationFill the bottom of one paper plate with glue. Fill the bottom of a second paper plate with glitter. Dip one side of the flourish ornament in the glue. Lift, then dip the same side down into the glitter. Remove and set aside to dry.

IMG_7948Thread a length of string through the top of the flourish ornament and tie a knot at the opposite end. Now it’s ready to hang!

Line-07

Thanks for checking out our Christmas countdown posts for this week! Stay tuned next week for more crafty holiday projects! Email us your projects to subscriber@roylco.ca. Looking forward to hearing from you!

Christmas Paper Chains

Feature-Image-ChristmasPaperChainsEveryone can add to this beautiful decorative chain! This post is a part of our special week series of Christmas/Winter crafts that you can use in the classroom. Stay tuned for more posts upcoming this week and the next!


Age: 5+

Duration: 15 minutes

You’ll Need:

15351 Cut & Fold Circles

• Scissors

• Glue

Line-05

This craft is very similar to yesterday’s craft: you’ll need to fold the paper and make several cuts with scissors. The final step requires you to glue all the pieces together to make a decorative paper chain.

IMG_7827The Cut & Fold Circles pack comes in a variety of colors. Alternate colors or use all the colors of the rainbow!

FoldingCircleAnimationFold a Cut & Fold Circle in half 3 times.

IMG_7834

You should be left with a pie-slice shape. Cut three lines from the fold line. Cut up to just below the edge on the other side of the pie-slice.

IMG_7836Repeat the same from the opposite fold line. Cut these three lines in between the first three lines, so you make a zig-zag lightning shape with the lines. Remember not to cut all the way through the pie-slice!

IMG_7837Unfold the pie-slice back into a circle. This is what your line cuts should look like.

GluingCircleAnimationTo glue the circles together, first lay a circle with the colorful side facing down. Carefully dab the glue onto 4 points of the circle. Next, place a second circle, with the colorful side facing up on top of the first circle. Align the edges together so that the cuts exactly overlap each other. Put a bit of glue in the center of the colored circle and press the next circle (color side facing down) onto the previous circle.

Repeat these steps with all of the remaining circles.

IMG_7851

Wait for the glue to dry!

Feature-Image-ChristmasPaperChains

Grab both ends of the paper chain and gently spread apart.

Now you can hang up the paper chain wherever you like! Time to decorate your classroom for the winter holidays.

Line-05

Send us photos of your paper chains to subscriber@roylco.ca! We’d love to see your classroom decorations!

Special Feature this week:

We’ll be updating every day of this week and next week with fantastic holiday crafts you can use in your classroom!

Please note:

LittleFingersBigArt won’t be posting anything between December 18th, 2013 and January 6th, 2014! Have a wonderful winter vacation!

Mrs. Knight uses our Retro Pop Paper!

blogger-image--2079829474 scsMrs. Knight shows us her beautiful classroom with her detailed photo gallery! One of the photographs shows Mrs. Knight’s take on table numbers!

Mrs. Knight published “Inspiration to Fruition… Thank you!” on August 9, 2013 where she talks about her various inspirations for her classroom.

The table numbers she made were made from our R15303 Retro Pop Paper. Cover a metal table clamp with a folded sheet of Retro Pop Paper! Tape the edges of the paper together to secure. Decorate the front and back of the Retro Pop Paper with black marker–write a letter or a number to organize your students into groups!

blogger-image--2079829474Thanks to Mrs. Knight for her post!

Images and original post © Mrs. Knight’s Smartest Artists.

This post was not sponsored for a review. At LittleFingersBigArt, our mission is to present to our readers and viewers the newest and most creative craft ideas that fans of Roylco have made on their own. Our goal is to allow you and other educators and parents to reuse our products in fun ways so that children always get the best educational experience from them!

We’d love to see more ideas like this one! If you’ve got a brilliant craft idea or have made a version of one of our crafts that you would like to share with us, send an email to subscriber@roylco.ca with photos, descriptions or a link to your work. We will create a feature post and link back to you with full credit. We’d love to hear from you!

Line-14

Craft Spotlight: Remembrance Day Poppies

Image of Roylco Poppy Wreath

Feature-Image-remempoppywreath

As November 11 is fast-approaching, we recognize the importance of remembering and the bravery of veteran heroes around the world on Remembrance Day. Show your classroom’s appreciation with a beautiful classroom wreath!

The R42005 Remembrance Day Wreath provides you with enough materials for every student to make at least 1 poppy. The kit features pre-cut red tissue paper poppies, and black centers that can be overlain to make the poppies. Tip: Use red marker to draw radiating lines out from the center of the tissue paper poppies. This will give the poppy a realistic appearance when assembled.

To further add dimension, soak the poppies with a light mist of water and drape over an upside-down cup to dry. The dried poppies will appear crinkled like real petals and take the shape of a flower.

Secure the tissue papers with the provided green chenille stem and attach die-cut green paper poppy leaves to complete the look. 

Combine all the poppies together to make this wreath a decorative tribute to those who have sacrificed so much. Talk about the deep history of Remembrance Day and research the significance of the poppy. You can read John McCrae’s famous poem, “In Flanders Fields” and encourage students to write their own poems on the significance of Remembrance Day. 

Watch the instructional video below to show you how to put together the wreath!

To construct the wreath, fold a card sheet in half and cut out a large half circle above the fold line. Cut out a smaller half circle from the fold line to make the center. Unfold the card sheet to reveal a circle with the center cut out.

Paste all the poppies around the wreath. You can make one large wreath or several smaller wreaths to decorate the classroom.

Line-20

Show us your Remembrance Day spirit by sending us photos of your class wreaths to subscriber@roylco.ca! We will feature the photos in one of our upcoming posts!

Feely Bag Find-It Letters

Feature-Image-eyespygame

Can you find all the letters of the alphabet? Check out our tutorial below for an easy-to-make game students will love playing with during rainy days! This project uses our R2184 Manuscript Letter Beads which help students feel for the shape of each letter as they search for them! 

Age: 4-7

Duration: 15 minutes

You’ll Need:

• R2184 Manuscript Letter Beads

• R2114 Colored Rice

• Ziploc® bag

• Tuck tape or duct tape

Line-12

The objective of the Feely Bag Find-It game is to locate and find all the letters or numbers placed into the bag using touch. Students can “feel” and look for various kinds of letters or numbers, for example, letters that are vowels, consonants, uppercase or lowercase. These different rules help students reinforce different linguistic concepts while playing with the Feely Find It Bags!

OLYMPUS DIGITAL CAMERA

This is a pretty easy project that most young students can help out with. You can make multiple kinds of Feely Bags–for uppercase and lowercase letters, numbers or even miniature action figures! Note: Be careful when handling Colored Rice as it can spill everywhere if not properly siphoned into the bags. Use a measuring cup or spoon to transfer the Colored Rice from its container to the Feely Bag.

OLYMPUS DIGITAL CAMERA

First seal up all three sides of the Ziploc® bag with colorful or decorative duct tape. This helps to ensure that the Colored Rice won’t seep out in case there is a rip in any of the edges.

OLYMPUS DIGITAL CAMERA

Fill the Ziploc® bag with the Colored Rice.

OLYMPUS DIGITAL CAMERA

Next, place in the Manuscript Letter Beads or Math Beads.

OLYMPUS DIGITAL CAMERA

Close the opening in the Ziploc® bag and seal with another strip of duct tape. Note: Gently press out all of the air from the bag through the opening before closing it up.

OLYMPUS DIGITAL CAMERA

Shake the bag to mix all the contents together and hide all the visible beads in the mass of Colored Rice.

Give students a time frame to find all their beads or have students sit in a circle and pass the Feelie Find-It Bag around so that each student can locate one assigned letter or number bead.

Line-12

Tell us how today’s project went by sending us an email to subscriber@roylco.ca! Send us photos of your students’ work and we will write up a feature post highlighting your classroom crafting adventures!

Craft Spotlight: Exercise Animals!

Feature-Image-exerciseanimals

Exercise Animals get children up and moving! First decorate the animals with paint, and color in the printed paper with crayons or markers. Assemble the animals in three easy steps. Watch a video below to see how it’s done, then check out our Art Campers taking off in an animal stampede!

Try out various fun activities with the R62030 Exercise Animals. Use our guide and the ideas provided to help get your students’ bodies moving and hearts pumping!

R62030 Exercise Animals are a great way to segue between different educational subjects, such as science, art AND physical education!

IMG_00000711

The Exercise Animals feature 10 different animal designs. Choose from a cheetah, horse, lion, kangaroo, bunny, eagle, monkey, elephant, bear and giraffe! Talk about the different types of animals as students paint in the details of their Exercise Animals.

IMG_2500

Our campers loved picking out their favorite animals! Here, one of our campers finds herself a rare one–a purple horse!

DSC05458

Once students have finished painting their animals, color in the printed paper sheets. The sheets come with two small tubes that can each be pasted onto either end of the sheet as reinforcements. Roll up the sheet with the tubes inside and secure with tape. Finally, join either end of the barber pole with the tab at the bottom of the Exercise Animal head.

_DSC0328

Go on an animal stampede outside your school building!

Line-19

Let us know how your students’ animals turned out by sending photos to subscriber@roylco.ca! We’d love to see your classroom artwork!

Loralee Lewis uses our Paper Doll Pads!

nofussfabulous_gathertogethergarland-300x210

Loralee Lewis makes beautiful stationery for sale at her website here. Loralee’s experience with paper makes this Paper Doll Pad project an innovative craft for Thanksgiving! Celebrate diversity with fun paper doll characters for your Thanksgiving table!

Loralee Lewis posted her craft on November 22, 2008, entitled: “Gathering Together Activity and Thanksgiving Kids’ Table.” She notes that Thanksgiving is a time to celebrate diversity, and what better way to do so than through customizable paper dolls?

clipbacking-300x225

The Paper Doll Pads come in a variety of skin tones! Use construction paper for the clothes and decorate the faces with black marker. To stand the paper dolls up, glue on clothespins to the paper backing! Loralee shows you how at her blog post.

nofussfabulous_gathertogethertable2-225x300

Tape the hands together to represent the importance of community! Tip: Decorate characters to look like historical figures.

Thanks to Loralee for this post!

Images and original post © Loralee Lewis.

This post was not sponsored for a review. At LittleFingersBigArt, our mission is to present to our readers and viewers the newest and most creative craft ideas that fans of Roylco have made on their own. Our goal is to allow you and other educators and parents to reuse our products in fun ways so that children always get the best educational experience from them!

We’d love to see more ideas like this one! If you’ve got a brilliant craft idea or have made a version of one of our crafts that you would like to share with us, send an email to subscriber@roylco.ca with photos, descriptions or a link to your work. We will create a feature post and link back to you with full credit. We’d love to hear from you!

Line-22

Art With Ms. K uses our Fossil Rubbing Plates!

017

Ms. Katzin of Art with Ms. K used several of our rubbing plates, including R5870 Linear Rubbing Plates and R5817 Animal Skins Rubbing Plates, as texture mats for clay sculptures. She explores a variety of textures and materials and guides her students to make gorgeous clay pendants!

Ms. Katzin published her post, entitled “Kindergarten Fossils,” on January 17, 2013. She used regular clay to bring out the best textures.

0141

Our rubbing plates are great for introducing texture to pre-K art classes. For this activity, Ms. K got her students to press rolls of clay onto the textured rubbing plates. Once they removed the clay, they could shape the sides of the clay rolls into pendants.

To use the texture rubbing plates for making clay sculptures such as bowls, place a sheet of parchment paper below the clay. Roll out the clay into a flat 1/4″ thick slab. Next, choose your favorite textured rubbing plate. This next step will allow you to transfer the texture onto the clay piece.

Simply press the rubbing plates onto the clay slab and lift off. Gently loosen the parchment paper from the textured clay by peeling off the paper from the corners. When you are finished removing the clay, manipulate the textured clay slab into a curved face for a bowl or a cup. For the most adventurous, shape the clay slab into a dynamic sculpture, like an animal!

I love to see what new project Ms. Katzin comes up with–she IS the definition of art teacher in all aspects. Thanks again, Mollie!

Images and original post © Art with Ms. K.

This post was not sponsored for a review. At LittleFingersBigArt, our mission is to present to our readers and viewers the newest and most creative craft ideas that fans of Roylco have made on their own. Our goal is to allow you and other educators and parents to reuse our products in fun ways so that children always get the best educational experience from them!

We’d love to see more ideas like this one! If you’ve got a brilliant craft idea or have made a version of one of our crafts that you would like to share with us, send an email to subscriber@roylco.ca with photos, descriptions or a link to your work. We will create a feature post and link back to you with full credit. We’d love to hear from you!

Line-11