Sockles

22004 Sockles Sock Pile web

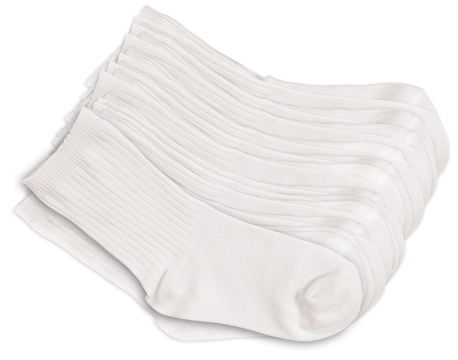
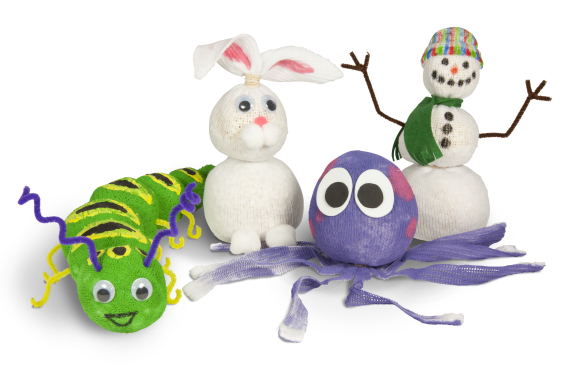
Specially designed socks are bundles of fun and the perfect size for easy yet wonderful craft projects. Learn how to make a sock puppet puppy, a cuddly octopus, a cool snowman, a plush bunny, a caterpillar, animal track slippers, a warming bean bag and colorful fish in our future blog posts on Sockles! Use the guide to help students pick a favorite activity and create their own unique sock project.

Sock projects are perfect for engaging students’ creativity and inspiring new project ideas! Hand out a variety of collage materials that you have available in your craft closet. Provide the materials in plastic bowls to make it easier for students to gather and apply the materials to their sock projects.
22004 Sockles Craft Group web

Before you decorate your Sockles with collage materials, decide if you want to paint them. Make your Sockles colorful! Tip: Paint your Sockles with thicker paint such as tempera. Note: Watercolor paint does not color as well as thick paint. To paint the Sockles evenly, clip one end of the Sockles tight to cardboard and paint the rest of the Sockles with a paint brush or foam brush. Turn the Sockles over and paint the second side. Wait one day for the Sockles to dry. Once the paint is dry, use glitter glue to draw swirls, dots, lines and other decorative elements onto the Sockles.

Alternatively, use markers to make details on the Sockles. Draw faces or patterned details onto the Sockle plush toys! Fill the inside with rice, beans or sand about halfway to three-quarters inside the Sockles. Tie off the open end of the Sockles with an elastic band or sew the opening shut with a safe sewing needle and thread.
22004 Sockles girl web

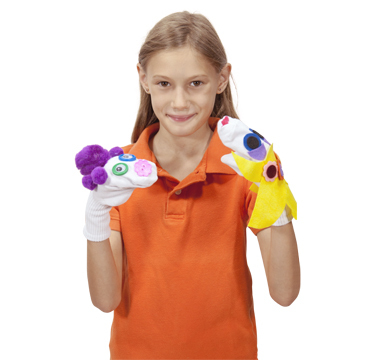
Follow the detailed instructional guide to make puppets, animals, hand covers, plush toys and more! The project ideas can be adapted with whatever collage materials you have in your craft closet.

Combine project ideas together with innovative materials to make creative craft projects! Stay tuned for a series of projects coming up that use our Sockles…

Line-09

Like us on FacebookShare this post with your friends, or Subscribe to this blog today to receive original craft project updates every week!

Bug Rubbing Plates

2014-07-28-FeatureImage

Find out how we used our Bug Rubbing Plates to make stunning suncatchers! The raised edges on our rubbing plates make it easy to develop impressions of the assorted designs. Create beautiful prints using simple materials!

Age: 5+

Duration: 5-10 minutes

Lesson Objectives: Exercise fine motor skills. Use one hand to hold designs down, while coloring with crayon using the other hand. Create art project with different mediums. Develop art project using process-based applications, while achieving visually pleasing results. Use main imagery of rubbing plates to discuss animal biology and ecology.

You’ll Need:

R5843 Bug Rubbing Plates

• Crayons

• Clear plastic page covers

• Rubber grip mat

Optional:

• Tape

Line-06

The rubbing plates come in a wide variety of designs, and are great for exploring thematic subjects while developing fine motor skills. Our Insect Rubbing Plates, very similar to our Bug Rubbing Plates, were memorably used in a textile printmaking process, featured in a guest post. The plastic plates are made specifically for small hands to work with, so your students will appreciate how easy it is to work with the plates.

The process is quite simple: Place a rubbing plate underneath a canvas. Rub a crayon across the canvas to produce the rubbing plate pattern line-for-line! It’s a great way to make multiple prints while experimenting with different crayon colors or materials.

IMG_2381

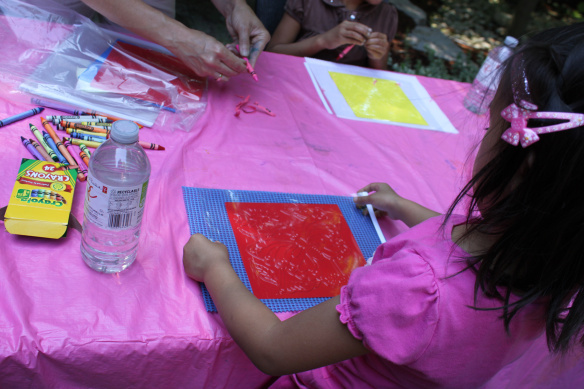
Grab the materials you’ll need for this activity. It’s a good idea to cover your workspaces with a craft tablecloth that will catch any crayon shavings from your students’ projects.

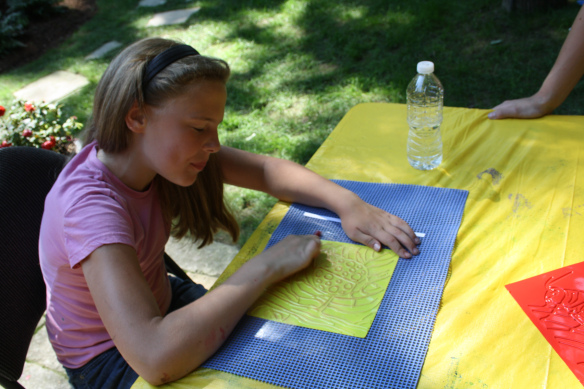
IMG_2385Place the rubber grip mat onto the tablecloth. This type of material can be find at most dollar variety stores. This will eliminate the need for taping anything to the actual tablecloth, however, if you feel you need a better hold on the canvas, tape is another option.

Center the rubbing plate on top of the rubber grip mat.

The plastic page cover can be located at office supply stores. Place that on top of the rubbing plate.

IMG_2414

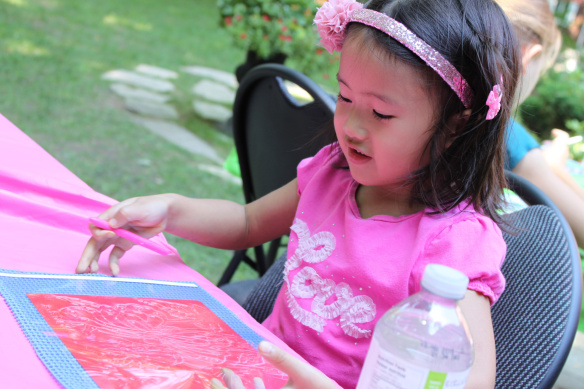
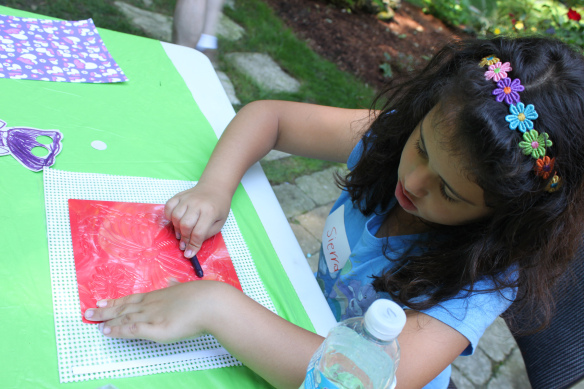
Choose darker crayon colors for this activity. Some of our art campers used lighter colors, but you can add defining lines with a layer of darker crayon. Unwrap the crayon from its paper wrapping and use the long side of the crayon to rub across the plastic sheet. Rub primarily over the rubbing plate’s raised design to get the best effect.

IMG_7508Depending on how light the crayon color, students might not get to see their designs until they are finished. This is a good way to get students guessing what their final pieces might look like.

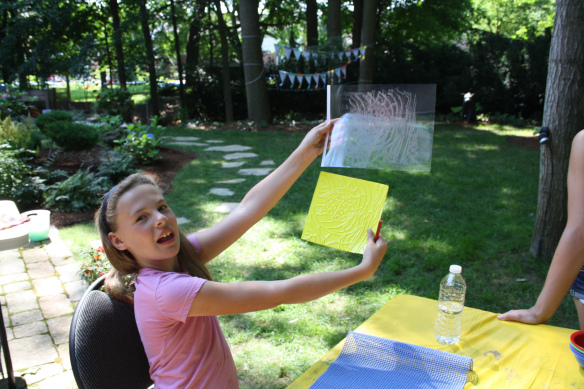
IMG_7510Once you are finished, lift up the plastic page cover from the rubbing plate to reveal the design!

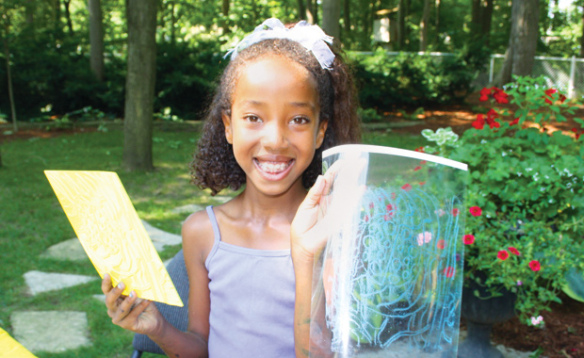
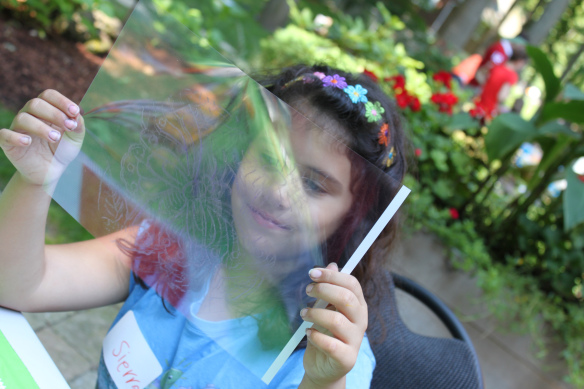
IMG_2417You can cut the design out from the plastic page cover and punch a hole at the top. Hang the designs on a window!

_DSC0117

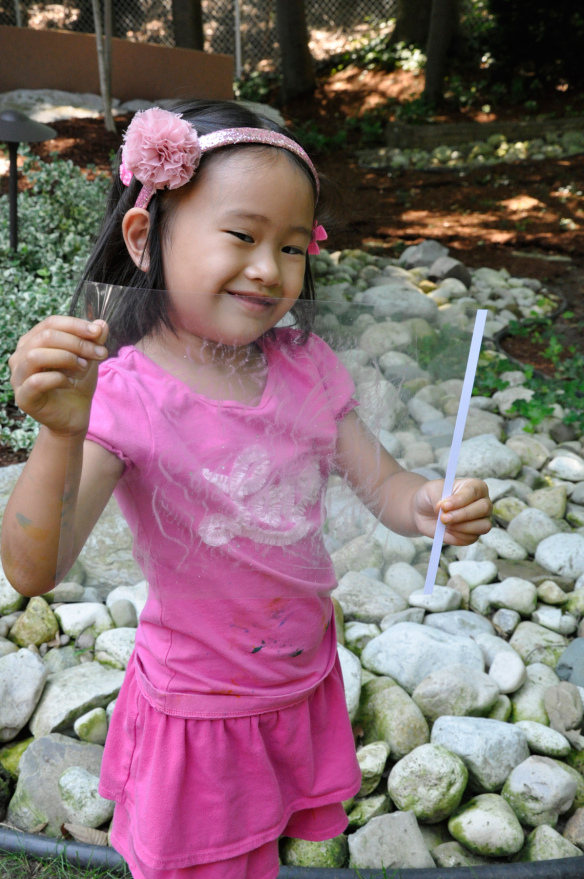
Thanks to our creative crafters for starring in this craft post!

Line-06Thanks for checking out this post! Like us on FacebookShare this post with your friends, or Subscribe to this blog today to receive original craft project updates every Monday, Wednesday and Friday!