Find out how we used our Bug Rubbing Plates to make stunning suncatchers! The raised edges on our rubbing plates make it easy to develop impressions of the assorted designs. Create beautiful prints using simple materials!
Age: 5+
Duration: 5-10 minutes
Lesson Objectives: Exercise fine motor skills. Use one hand to hold designs down, while coloring with crayon using the other hand. Create art project with different mediums. Develop art project using process-based applications, while achieving visually pleasing results. Use main imagery of rubbing plates to discuss animal biology and ecology.
You’ll Need:
• Crayons
• Clear plastic page covers
• Rubber grip mat
Optional:
• Tape

The rubbing plates come in a wide variety of designs, and are great for exploring thematic subjects while developing fine motor skills. Our Insect Rubbing Plates, very similar to our Bug Rubbing Plates, were memorably used in a textile printmaking process, featured in a guest post. The plastic plates are made specifically for small hands to work with, so your students will appreciate how easy it is to work with the plates.
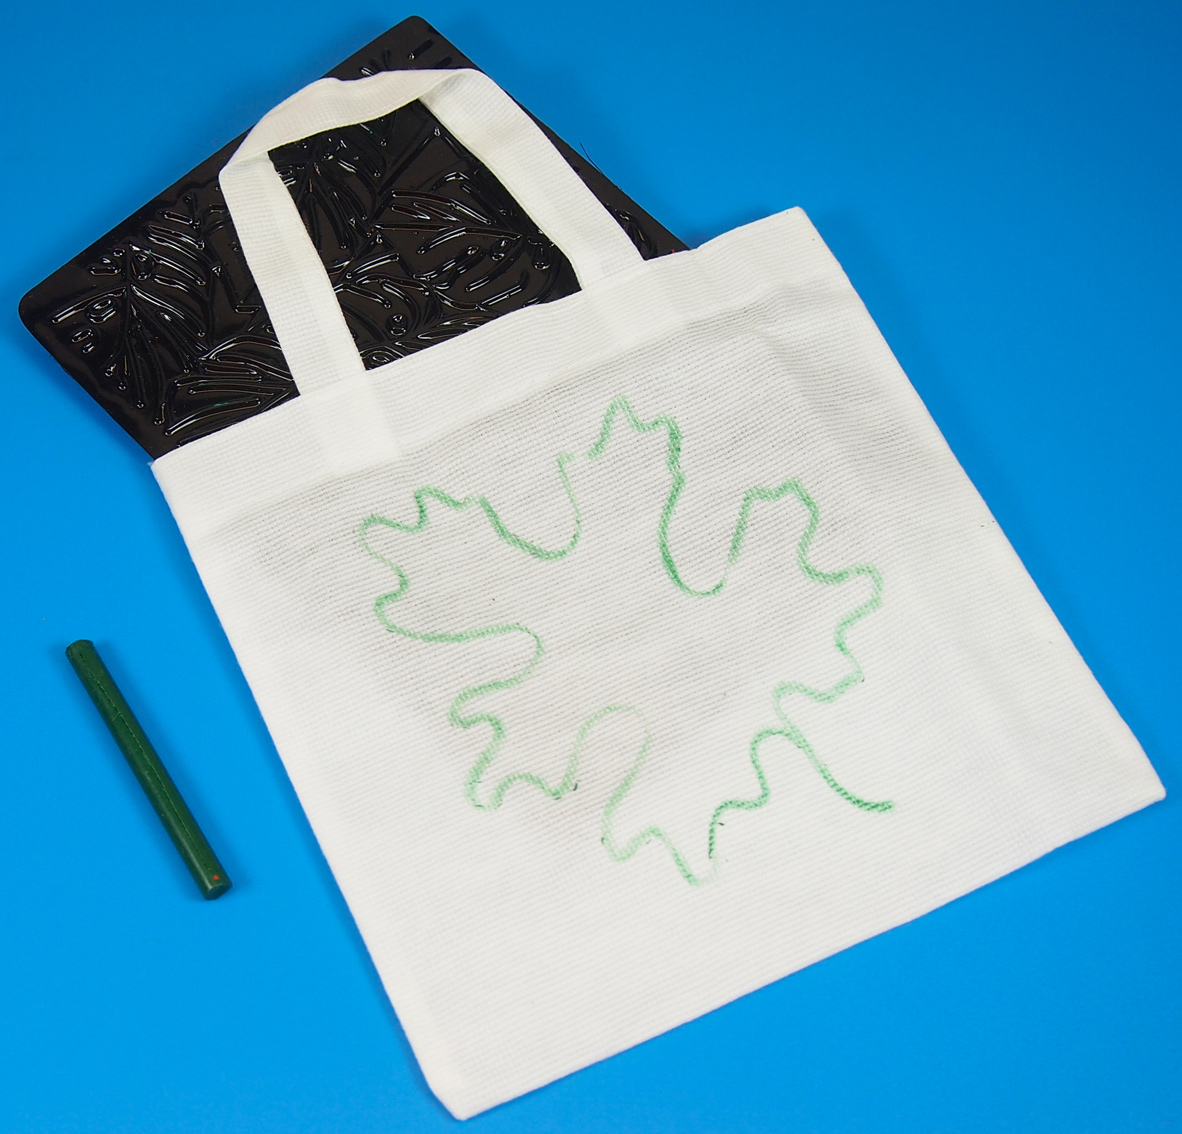
The process is quite simple: Place a rubbing plate underneath a canvas. Rub a crayon across the canvas to produce the rubbing plate pattern line-for-line! It’s a great way to make multiple prints while experimenting with different crayon colors or materials.

Grab the materials you’ll need for this activity. It’s a good idea to cover your workspaces with a craft tablecloth that will catch any crayon shavings from your students’ projects.
 Place the rubber grip mat onto the tablecloth. This type of material can be find at most dollar variety stores. This will eliminate the need for taping anything to the actual tablecloth, however, if you feel you need a better hold on the canvas, tape is another option.
Center the rubbing plate on top of the rubber grip mat.
The plastic page cover can be located at office supply stores. Place that on top of the rubbing plate.

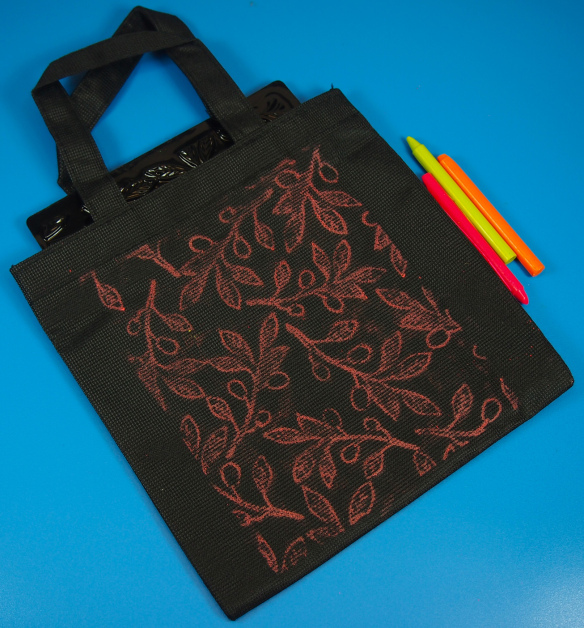
Choose darker crayon colors for this activity. Some of our art campers used lighter colors, but you can add defining lines with a layer of darker crayon. Unwrap the crayon from its paper wrapping and use the long side of the crayon to rub across the plastic sheet. Rub primarily over the rubbing plate’s raised design to get the best effect.
 Depending on how light the crayon color, students might not get to see their designs until they are finished. This is a good way to get students guessing what their final pieces might look like.
 Once you are finished, lift up the plastic page cover from the rubbing plate to reveal the design!
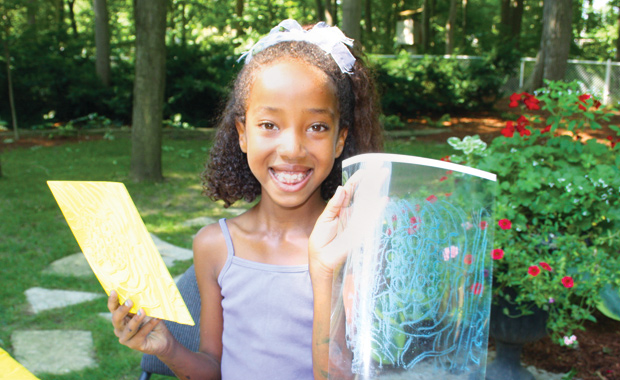
 You can cut the design out from the plastic page cover and punch a hole at the top. Hang the designs on a window!

Thanks to our creative crafters for starring in this craft post!
Thanks for checking out this post! Like us on Facebook, Share this post with your friends, or Subscribe to this blog today to receive original craft project updates every Monday, Wednesday and Friday!

![]()