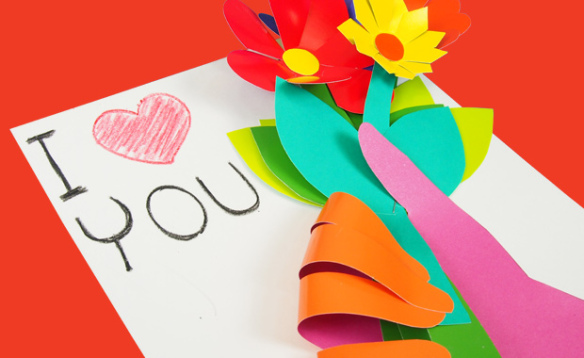
 Give your Valentine’s Day wishes a personal touch with R22052 Double Color Card Sheets! We’ll show you how to make your card pop out in a meaningful way!
Age: 5+
Duration: 10-15 minutes
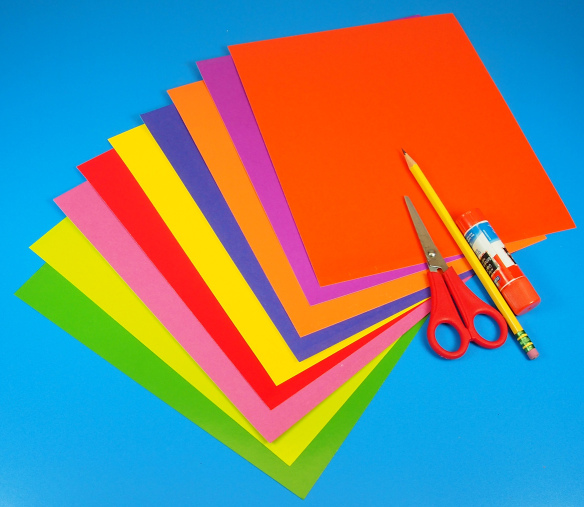
You’ll Need:
• R22052 Double Color Card Sheets
• White paper 8.5 x 11″
• Staple
• Pencil
• Pencil Crayon
• Scissors

 Assemble all the materials you’ll need. Start choosing colors for the hands, flowers, flower stems and flower petal centers.
 Trace the outline of your hand onto the matte side of a Double Color Card.
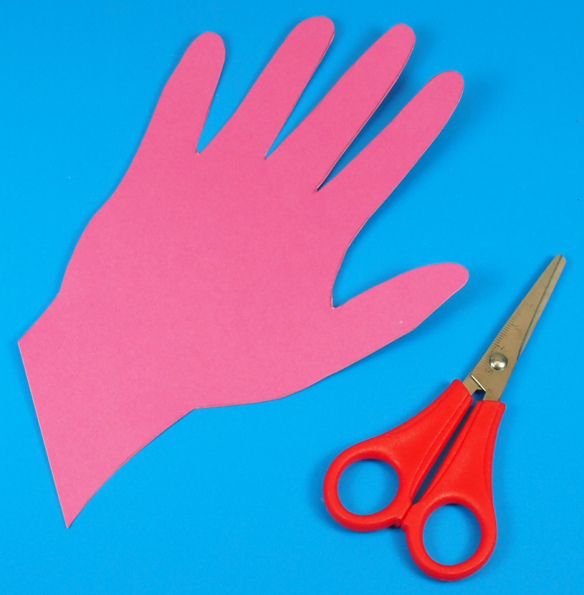 Now, cut it out!
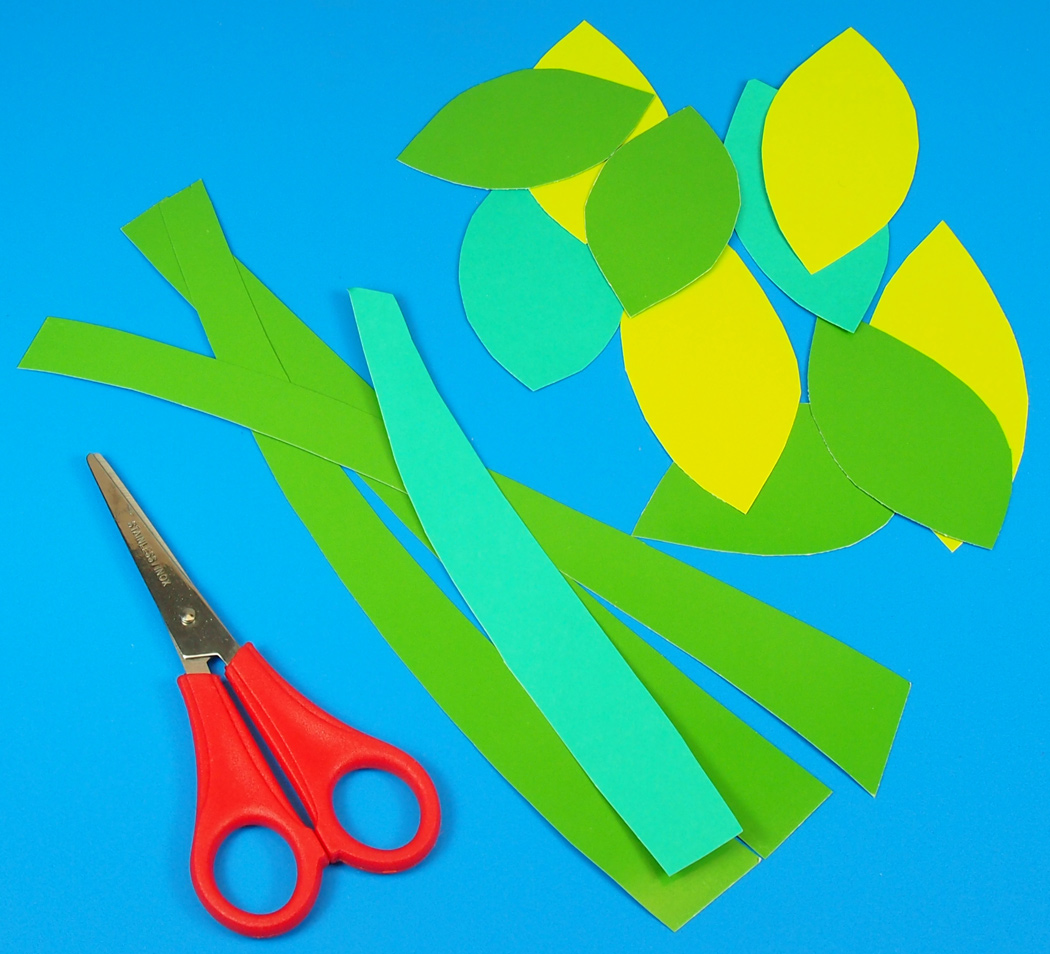
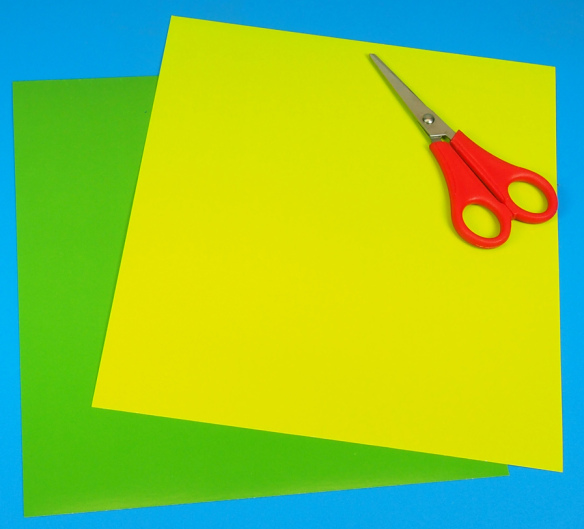 Select the colors for the flower stems and leaves.
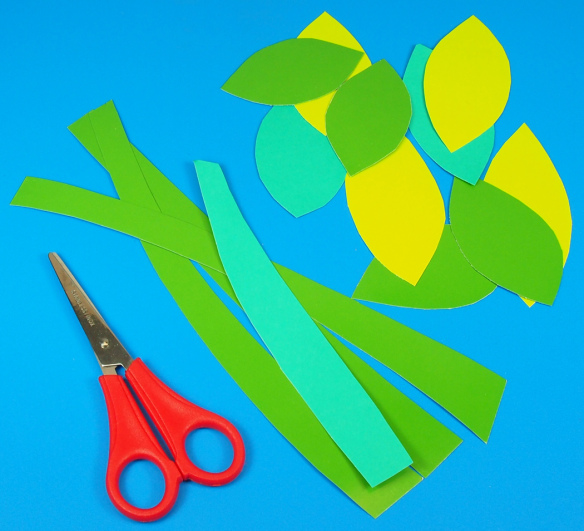 Cut out basic stem and leaf shapes. Make as many as you wish! There’s no need to make the leaves or stems perfect; as long as you can cut long thin, tapered rectangles, and elongated teardrop shapes, you’ll have what you need to decorate the Valentine’s flowers.
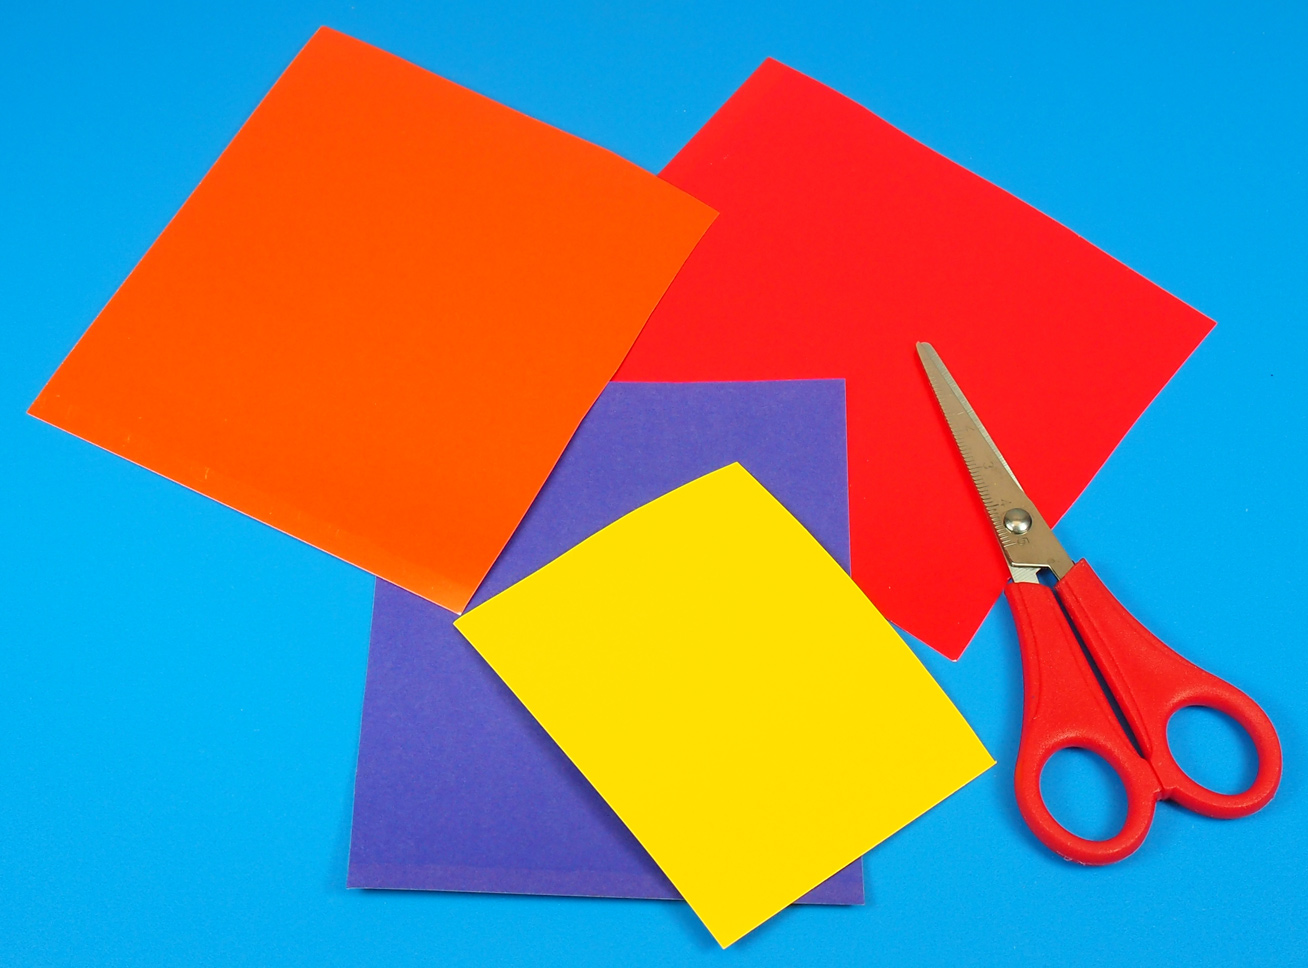
 Next, choose your flower colors! Once you’ve made your decision, randomly cut up the Double Color Card sheets into big or small square sections.
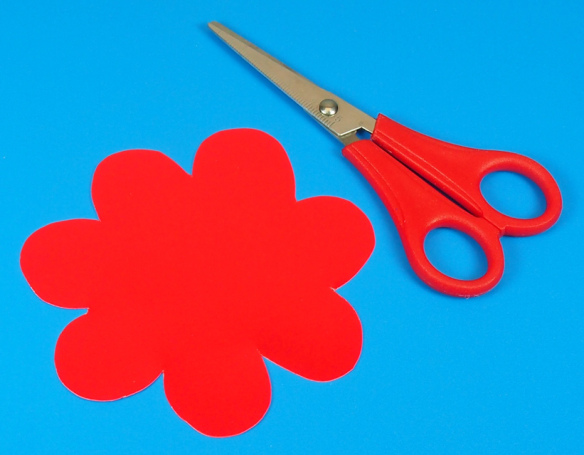
Give the random square sizes to students so they can make different sizes of flowers. Let them draw the petals of the flowers any way they like! Cut out the flowers once they are all drawn. I recommend making about 3-5 flowers per bouquet.
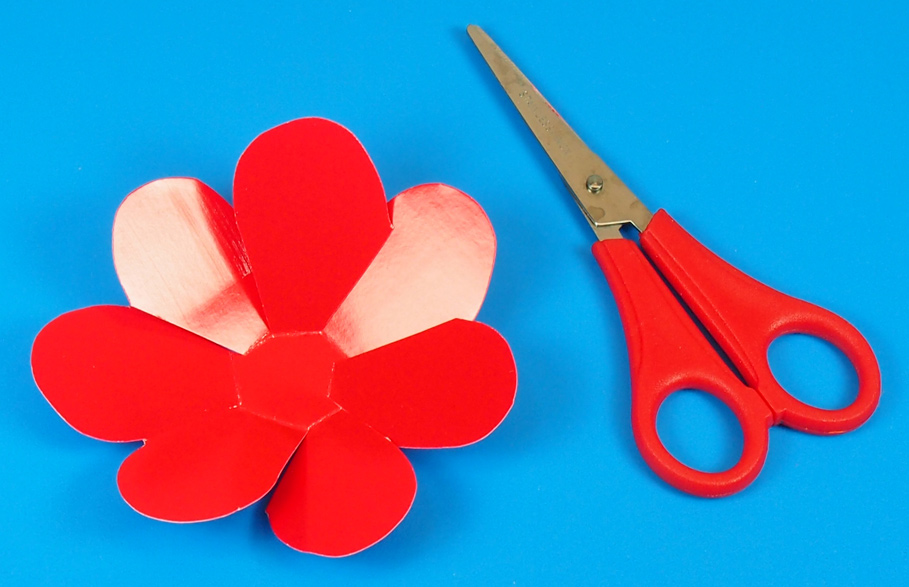
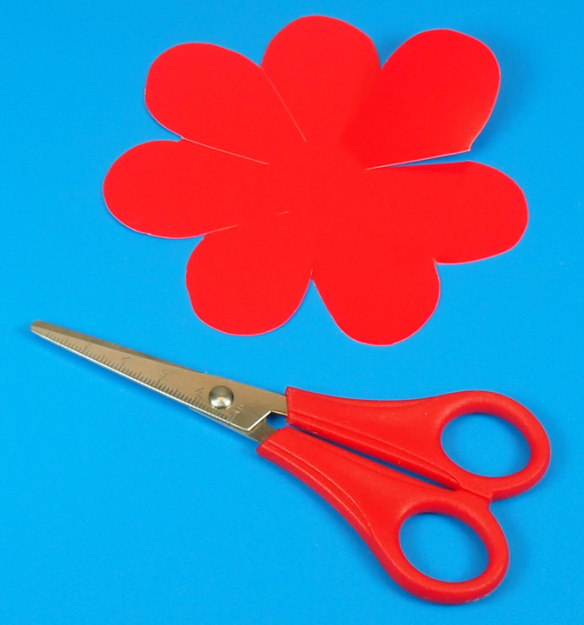 Find the spot between each flower petal. Cut a straight line into the flower, stopping about ½” to 1″ away from the center.

These cuts will be important for making the flower “pop!” Fold the petals up from the center of the flower. Pull some petals in front of others to make the flower look a bit dimensional.

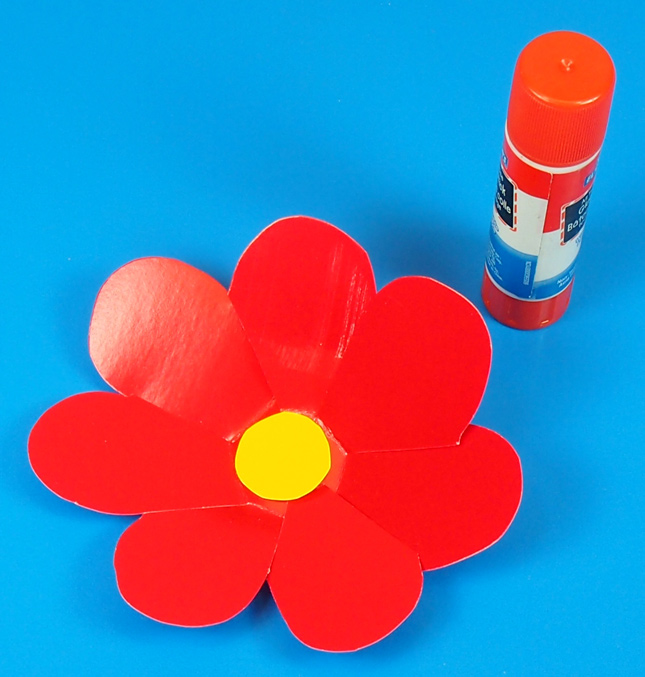
Glue a small circle into the center of each flower.
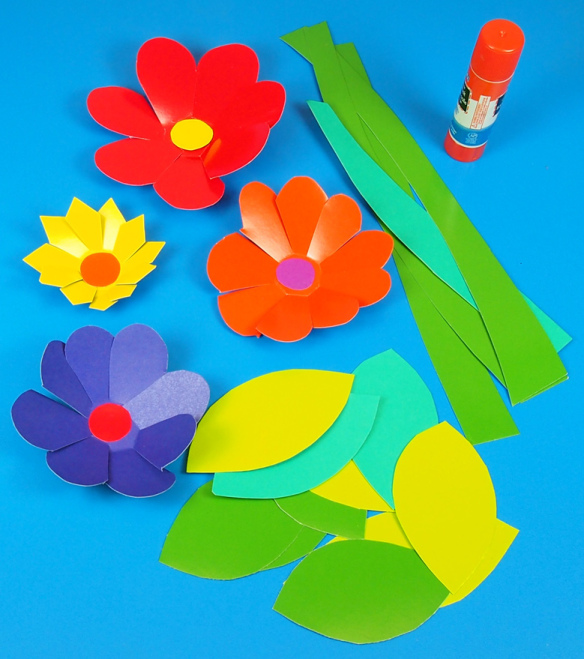 Here are some other flower ideas! You can see how the flowers are all made into different sizes. I decided to make the petals on the yellow flower different from the rest. Your students can experiment in the same way. Use scrapbook scissors to make a variety of decorative fringes on the edges of the flower petals.
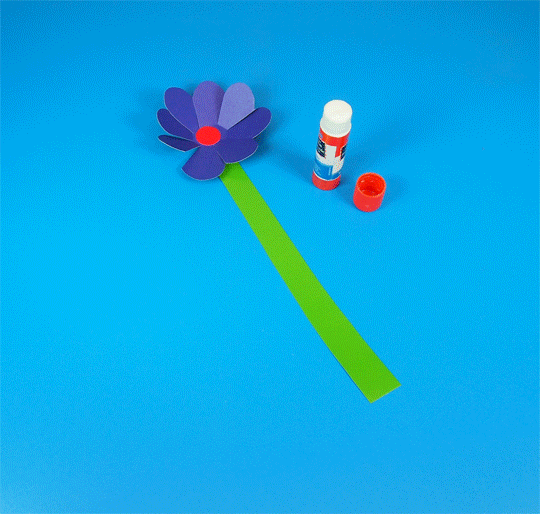
Glue each flower to the top of each flower stem. About halfway down the stem, glue on the petals.
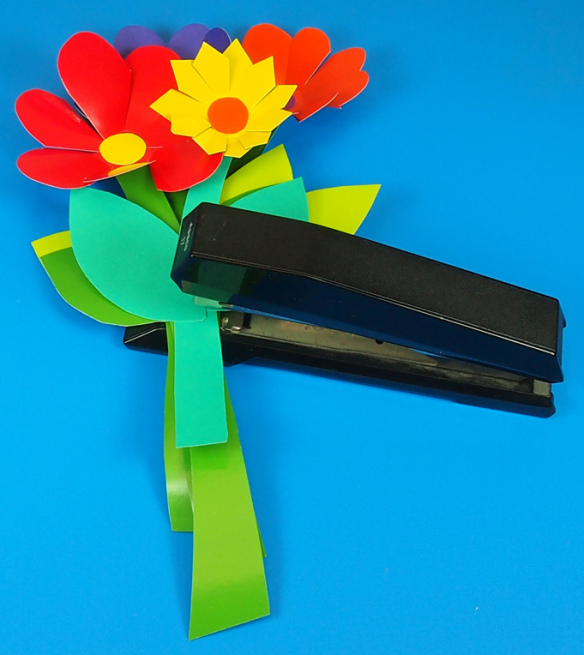
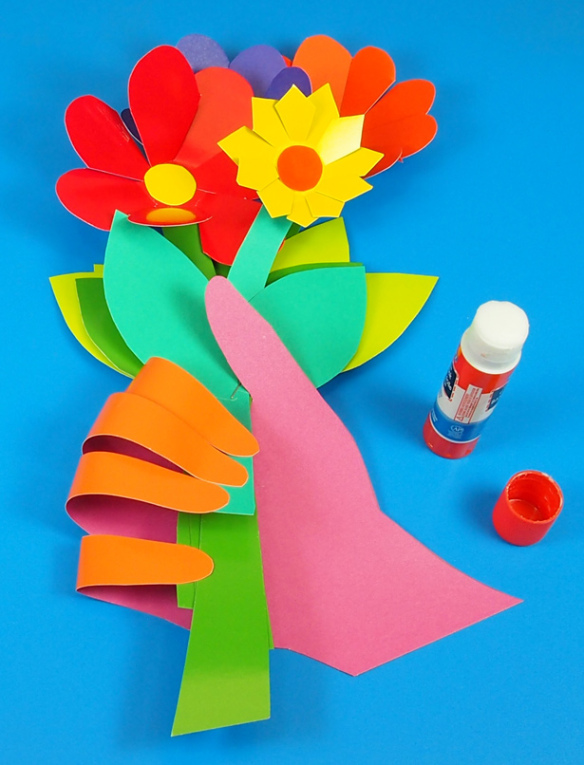
Loosely bunch the flower stems together. Spread a few of the flowers apart while keeping their stems together to make the combination look like a real bouquet. Once you are satisfied with the position of the flowers, staple the centers together.
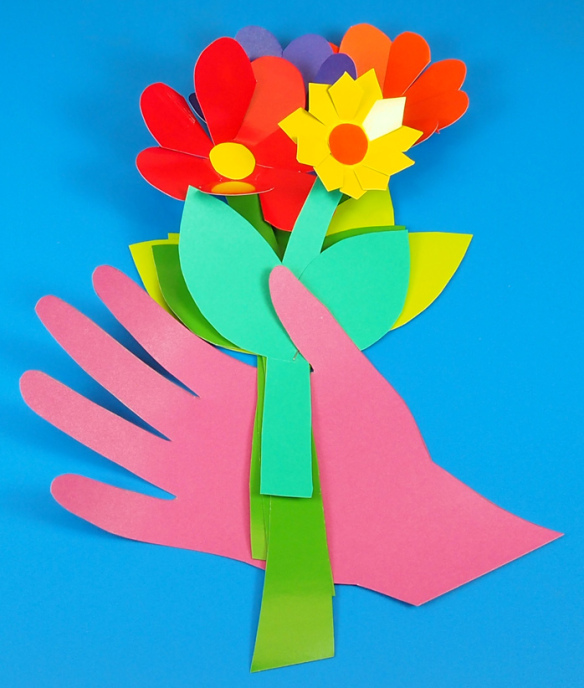
Place the stems between the forefinger and thumb of your handprint cutout.
 Next, carefully bend or curve the four upright fingers over the flower stems. Dab glue to the underside of the fingertips. Press the fingertips onto the flower stems.
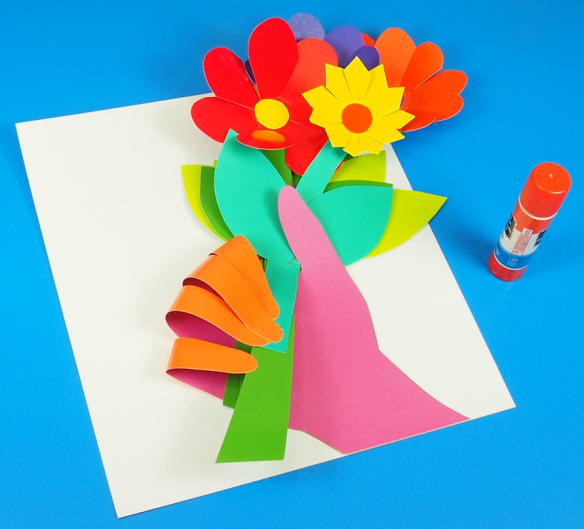
Spread a bit of glue onto your white paper card. Paste the hand cutout onto the card.
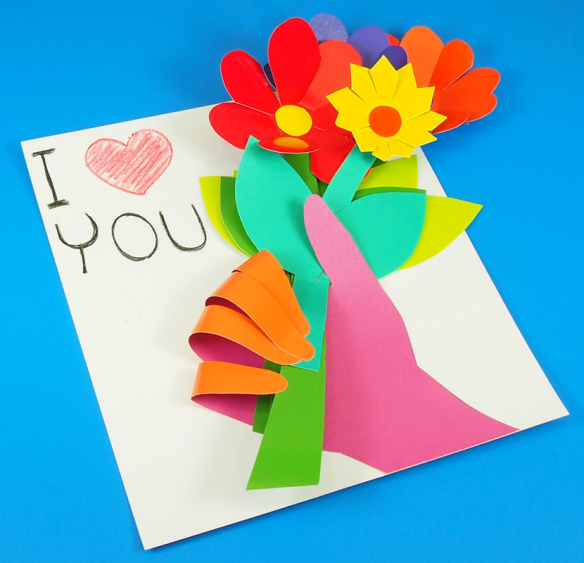
Finally, write in your personal message to your special someone!
If you made a related project, send photos of what you or your students made to subscriber@roylco.ca! We’d love to hear from you!


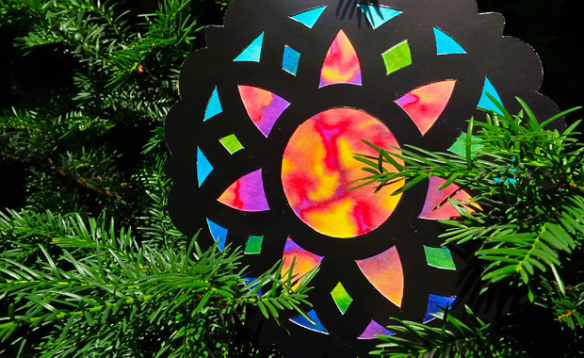 Beautiful stained glass frames can be made by cutting out bits of 15257 Stained Glass Paper to fill in the gaps of the frame design. We got some great shots of the Art Campers hanging up the 52089 My Garden Stained Glass Frames in the garden!