Product Spotlight: Holiday Color Diffusing Shapes

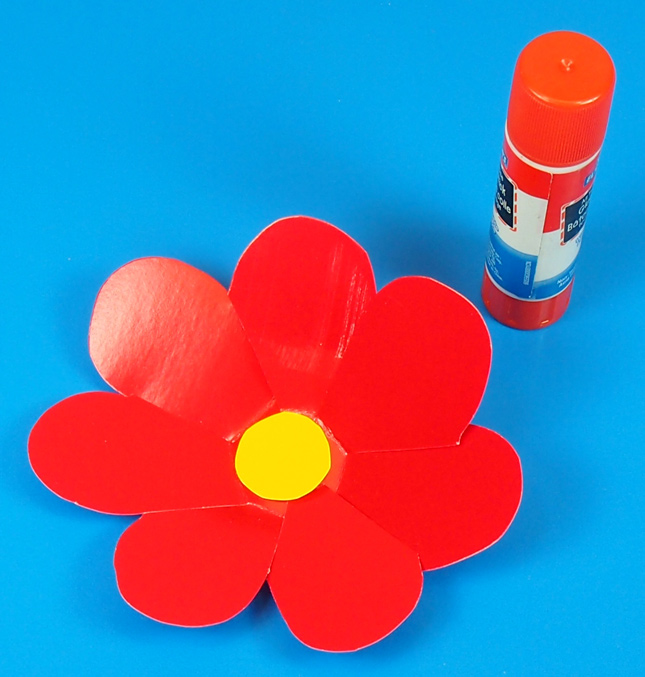
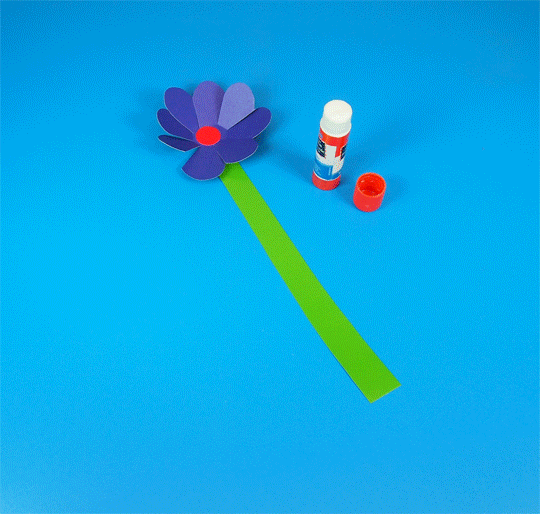
This month, we’re featuring two of our NEW products:

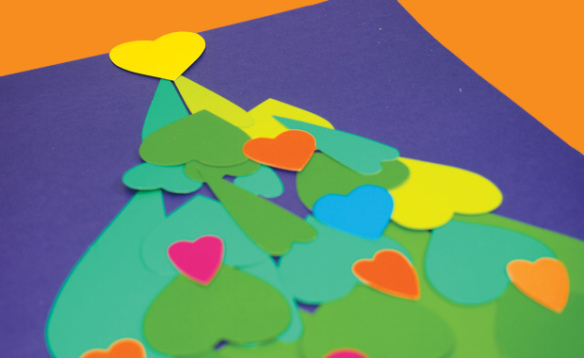
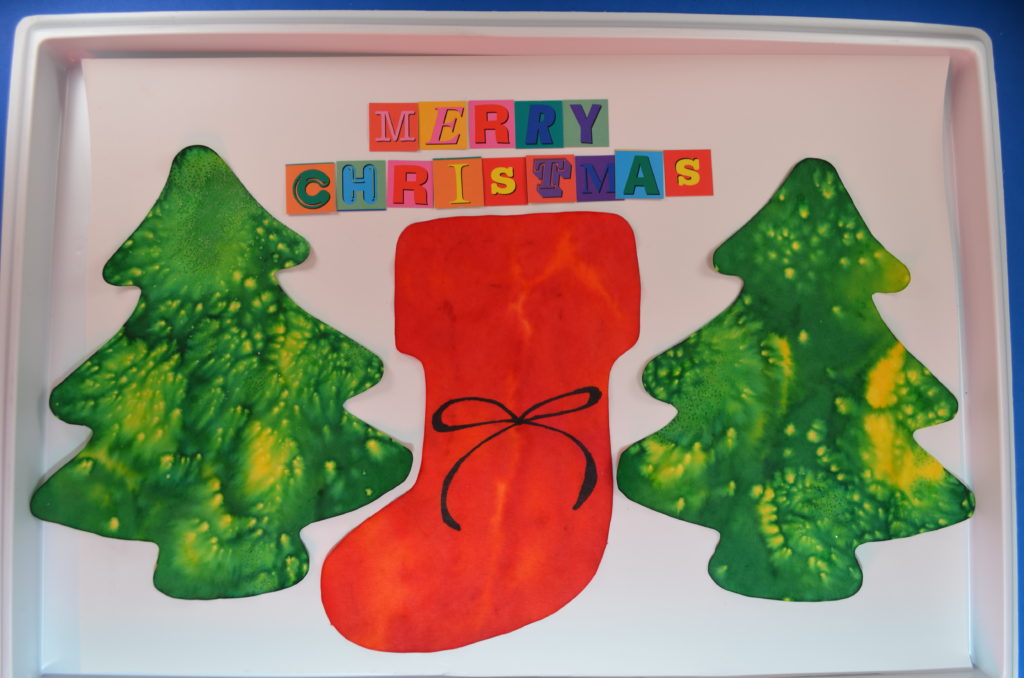
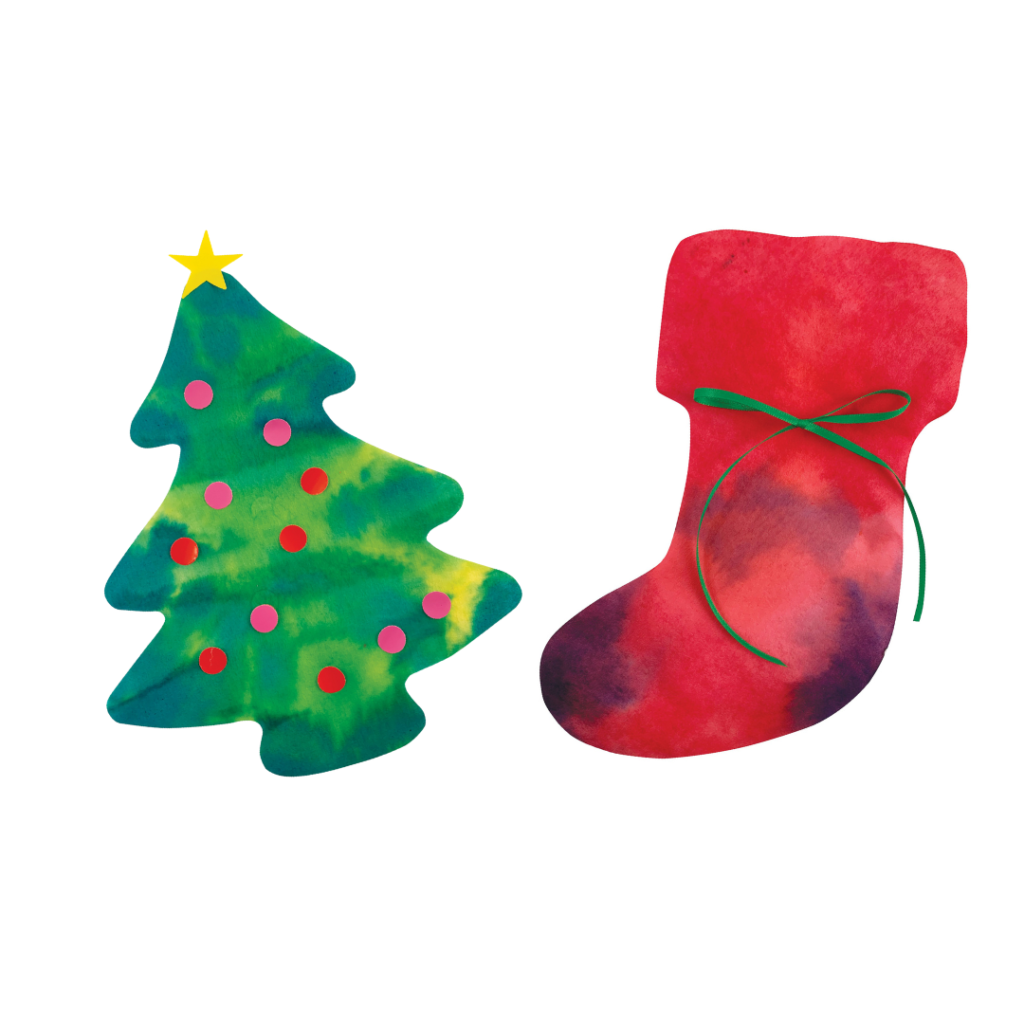
These color diffusing shapes help us get in the holiday spirit while simultaneously developing a deeper understanding of color. There are 3 easy ways to transform these shapes from A to B:

A. Plain Color Diffusing shapes–functional but still waiting for the magic to happen
B. Color Diffusing magic transformed the shapes into these beautiful works of art!

Method 1: Washable Marker & Water

This is the easiest method and the mess-free method. Simply use any washable marker to color the shape, and don’t worry about filling in all the white spaces! When you’re done, spray water on the shape and watch the colors diffuse and create secondary or even tertiary colors.

If you need a spray bottle for the water, we recommend Junior Paint Spritzers–they are perfect for small hands.

Method 2: Watercolor

Break out your trusty watercolor set and go to town! Because of the water used with the watercolor paint, the colors will diffuse throughout the paper as you paint. You can always add some extra water at the end and watch the colors diffuse even more. This is especially helpful if you’d like to make light or pastel designs.

Method 3: Liquid Watercolor & Water

This method creates the most impressive designs, IMHO. You can find liquid watercolors online or at your local craft store. Be careful because these paints can be POTENT! It takes quite a few washes to remove the paint from hands, but that is also what makes the designs so beautiful on Color Diffusing paper.

Simply use a spray bottle with the liquid watercolor to add splashes of color to your Color Diffusing shapes. Once you’re happy, spray the shapes with water and watch the colors blend!

If you need a spray bottle for the color or water, we recommend Junior Paint Spritzers–they are perfect for small hands.

Pro tip: Stick to primary colors! It’s easy to get carried away with color, but once they start diffusing, they have a tendency to blend into one, amorphous brown color if you get too complicated!


Try all 3 and let us know your favorite method!

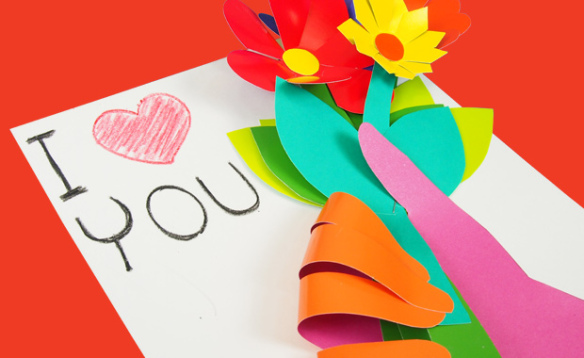
If you like this, you’ll like Blots of Ornaments too! These ornaments have the added benefits of being cut out of extra thick, high-quality color diffusing paper so that they can be used as real ornaments on a tree or windowsill!

Christmas Tree Heart Mosaics

2014-11-26-FeatureImage

Christmas is a month away, but what better way to get into the holiday spirit than to build your own tree on paper using our R15367 Heart Mosaics!

Age: 4+

Duration: 10 minutes

Learning Objectives: Layer multiple pieces together. Identify biggest to smallest and coordinate similar colors. Make associations between the shapes in order to create a larger picture. Develop fine motor skills through sorting, placing and gluing the pieces. Discuss triangles as a geometric shape and use

You’ll Need:

R15367 Heart Mosaics

R22052 Double Color Card Sheets

• Glue

Line-06

This is an easy project to do, but makes a great activity for students as they are waiting to transition between class periods or as a thematic holiday art project.

P1015794

This activity requires very little preparation; all you need are materials that you may already have in your classroom! Give each group of students a pile of Heart Mosaics to sort through. Although we’ve chosen a purple background for our Christmas tree, you can use any color from the Double Color Card Sheets set as a backing to your designs.

P1015796

This step allows you to talk a little bit about the basic structure of a Christmas tree. It isn’t just lights and decorations. The shape of the tree is important. Traditionally, most Christmas trees should have the basic shape of a triangle, which is what we are going to make first with our Heart Mosaics.

Ask your students to separate their Heart Mosaics into like colors of green. We have several different colors of green to choose from, so all students will get a chance to make trees.

P1015800

Start with the largest Heart Mosaic pieces first. Locate the largest pieces and place them upside down at the bottom of the card sheet. Make a wide base.

P1015801

Add a few more upside-down pieces to the base, moving upward. Angle the ends of the Heart Mosaics inwards so that the shape of the overall tree takes on a triangular form.

P1015805

Keep adding and angling the smaller Heart Mosaics inwards as you progress to the top. Choose two small and skinny Heart Mosaics to form the peak of the tree.

P1015807

Now it’s time to decorate. Select several smaller Heart Mosaics to form the ornaments as pops of color. Turn the Heart Mosaics right side up and place them on top of the green tree.

P1015812

Decorate the tree just as you would at home! Space out the ornaments in an even, balanced way.

P1015813

Finally, top your Christmas tree with a bright yellow Heart Mosaic. Glue down all the pieces. Students can take their Christmas trees home or tack them up on a board as part of a Christmas display!

Check out another great project with Heart Mosaics:

Make a beautiful tree of hearts for Valentine’s Day cards, for a birthday or just to show someone how much you love them!

Line-06

Like us on FacebookShare this post with your friends, or Subscribe to this blog today to receive original craft project updates every Monday, Wednesday and Friday!

Craft Spotlight: Color-In Chinese Lanterns

2014-02-10-FeatureImageWe combined two of our products into one project with the Chinese Lantern craft posted on Wednesday. Learn more about this colorful craft using our video and description below!

The Color-In Lanterns can be used with our rubbing plates to decorate the various pieces. Simply slide any of our available patterned rubbing plates underneath the lantern pieces. Rub the side of a crayon onto the top of the lantern piece and watch as the patterns pop through! Combining colors together is half the fun with this project. While rubbing the pattern onto the lantern pieces with one crayon color, switch into a different color to create new effects!

The interior lantern tube can be embellished with stickers or other rubbing plate designs.

Hang your students’ lanterns together on a length of string. Tie the string across a classroom wall.

To see some of these ideas in action, view the video below!

Line-17Thanks for stopping by! We’d love to hear your input or receive photos of your work! Drop us a line at subscriber@roylco.ca.

Valentine’s Day Pop Up Cards

2014-02-05-FeatureImageGive your Valentine’s Day wishes a personal touch with R22052 Double Color Card Sheets! We’ll show you how to make your card pop out in a meaningful way!

Age: 5+

Duration: 10-15 minutes

You’ll Need:

R22052 Double Color Card Sheets

• White paper 8.5 x 11″

• Staple

• Pencil

• Pencil Crayon

• Scissors

Line-14

2014-02-05-Step01Assemble all the materials you’ll need. Start choosing colors for the hands, flowers, flower stems and flower petal centers.

2014-02-05-Step02Trace the outline of your hand onto the matte side of a Double Color Card.

2014-02-05-Step03Now, cut it out!

2014-02-05-Step04Select the colors for the flower stems and leaves.

2014-02-05-Step05Cut out basic stem and leaf shapes. Make as many as you wish! There’s no need to make the leaves or stems perfect; as long as you can cut long thin, tapered rectangles, and elongated teardrop shapes, you’ll have what you need to decorate the Valentine’s flowers.

2014-02-05-Step07Next, choose your flower colors! Once you’ve made your decision, randomly cut up the Double Color Card sheets into big or small square sections.

2014-02-05-Step08

Give the random square sizes to students so they can make different sizes of flowers. Let them draw the petals of the flowers any way they like! Cut out the flowers once they are all drawn. I recommend making about 3-5 flowers per bouquet.

2014-02-05-Step09Find the spot between each flower petal. Cut a straight line into the flower, stopping about ½” to 1″ away from the center.

2014-02-05-Step10

These cuts will be important for making the flower “pop!” Fold the petals up from the center of the flower. Pull some petals in front of others to make the flower look a bit dimensional.

2014-02-05-Step11

Glue a small circle into the center of each flower.

2014-02-05-Step12Here are some other flower ideas! You can see how the flowers are all made into different sizes. I decided to make the petals on the yellow flower different from the rest. Your students can experiment in the same way. Use scrapbook scissors to make a variety of decorative fringes on the edges of the flower petals.

2014-02-05-Flower-Animation

Glue each flower to the top of each flower stem. About halfway down the stem, glue on the petals.

2014-02-05-Step13

Loosely bunch the flower stems together. Spread a few of the flowers apart while keeping their stems together to make the combination look like a real bouquet. Once you are satisfied with the position of the flowers, staple the centers together.

2014-02-05-Step14

Place the stems between the forefinger and thumb of your handprint cutout.

2014-02-05-Step15Next, carefully bend or curve the four upright fingers over the flower stems. Dab glue to the underside of the fingertips. Press the fingertips onto the flower stems.

2014-02-05-Step16

Spread a bit of glue onto your white paper card. Paste the hand cutout onto the card.

2014-02-05-Step17

Finally, write in your personal message to your special someone!

Line-14

If you made a related project, send photos of what you or your students made to subscriber@roylco.ca! We’d love to hear from you!