Christmas is a month away, but what better way to get into the holiday spirit than to build your own tree on paper using our R15367 Heart Mosaics!
Age: 4+
Duration: 10 minutes
Learning Objectives: Layer multiple pieces together. Identify biggest to smallest and coordinate similar colors. Make associations between the shapes in order to create a larger picture. Develop fine motor skills through sorting, placing and gluing the pieces. Discuss triangles as a geometric shape and use
You’ll Need:
• R22052 Double Color Card Sheets
• Glue
This is an easy project to do, but makes a great activity for students as they are waiting to transition between class periods or as a thematic holiday art project.
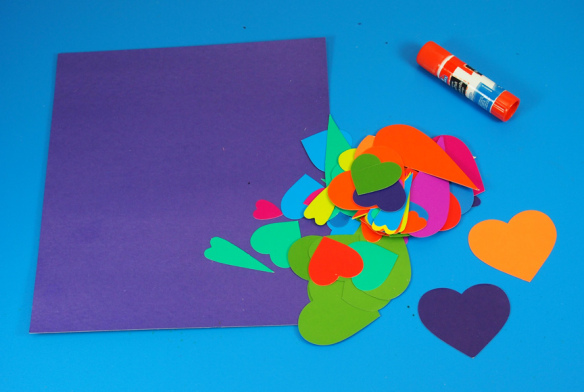
This activity requires very little preparation; all you need are materials that you may already have in your classroom! Give each group of students a pile of Heart Mosaics to sort through. Although we’ve chosen a purple background for our Christmas tree, you can use any color from the Double Color Card Sheets set as a backing to your designs.
This step allows you to talk a little bit about the basic structure of a Christmas tree. It isn’t just lights and decorations. The shape of the tree is important. Traditionally, most Christmas trees should have the basic shape of a triangle, which is what we are going to make first with our Heart Mosaics.
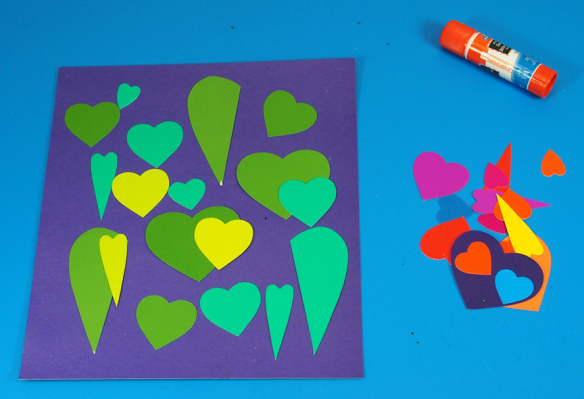
Ask your students to separate their Heart Mosaics into like colors of green. We have several different colors of green to choose from, so all students will get a chance to make trees.
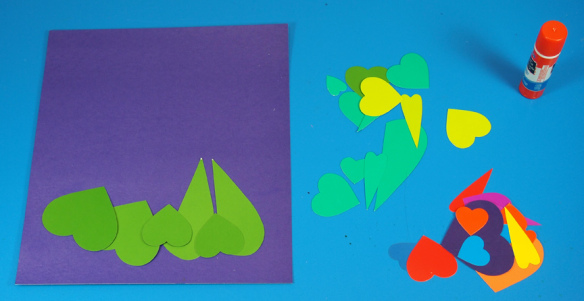
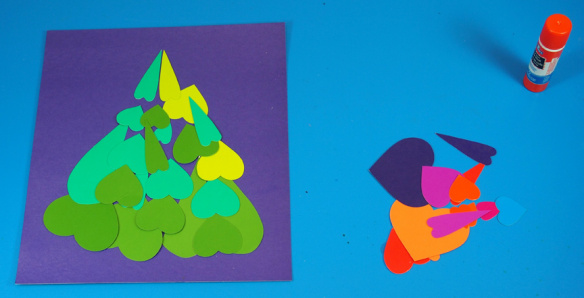
Start with the largest Heart Mosaic pieces first. Locate the largest pieces and place them upside down at the bottom of the card sheet. Make a wide base.
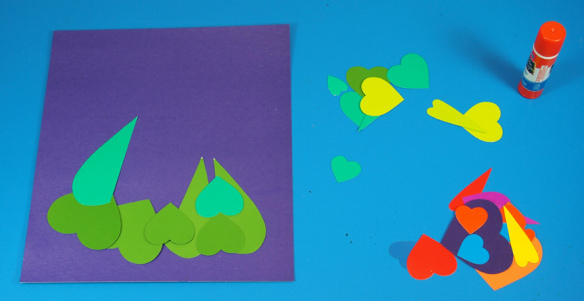
Add a few more upside-down pieces to the base, moving upward. Angle the ends of the Heart Mosaics inwards so that the shape of the overall tree takes on a triangular form.
Keep adding and angling the smaller Heart Mosaics inwards as you progress to the top. Choose two small and skinny Heart Mosaics to form the peak of the tree.
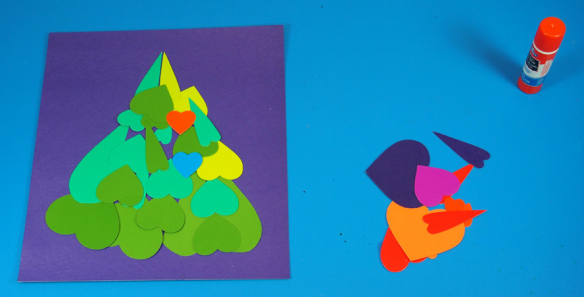
Now it’s time to decorate. Select several smaller Heart Mosaics to form the ornaments as pops of color. Turn the Heart Mosaics right side up and place them on top of the green tree.
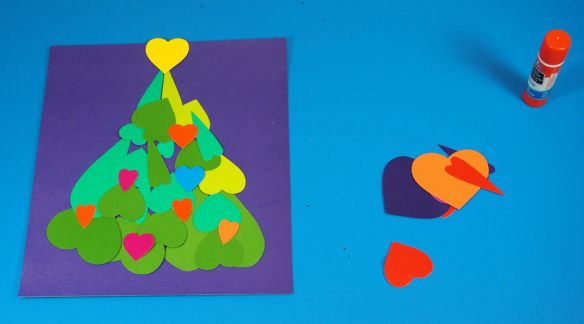
Decorate the tree just as you would at home! Space out the ornaments in an even, balanced way.
Finally, top your Christmas tree with a bright yellow Heart Mosaic. Glue down all the pieces. Students can take their Christmas trees home or tack them up on a board as part of a Christmas display!
Check out another great project with Heart Mosaics:
• Make a beautiful tree of hearts for Valentine’s Day cards, for a birthday or just to show someone how much you love them!
Like us on Facebook, Share this post with your friends, or Subscribe to this blog today to receive original craft project updates every Monday, Wednesday and Friday!

