3D Ocean Scenes

3D Ocean Scene Hero Shot

2014-06-09-FeatureImage

Following our ocean theme for this week, I’ve put together a little craft that incorporates our decorative papers into a fun and vivid cut and paste activity! Find out how to make your own ocean scenes below!

Age: 6+

Duration: 15-20 minutes

Learning Objectives: Exercise fine motor skills through cutting wave shapes. Focus scissor skills while cutting out fine details in various shapes. Turn 2D shapes into 3D images. Combine a flat base color with decorative paper to simulate the appearance of ocean waves. Combine colors together. Learn how to space elements apart to express dimension.
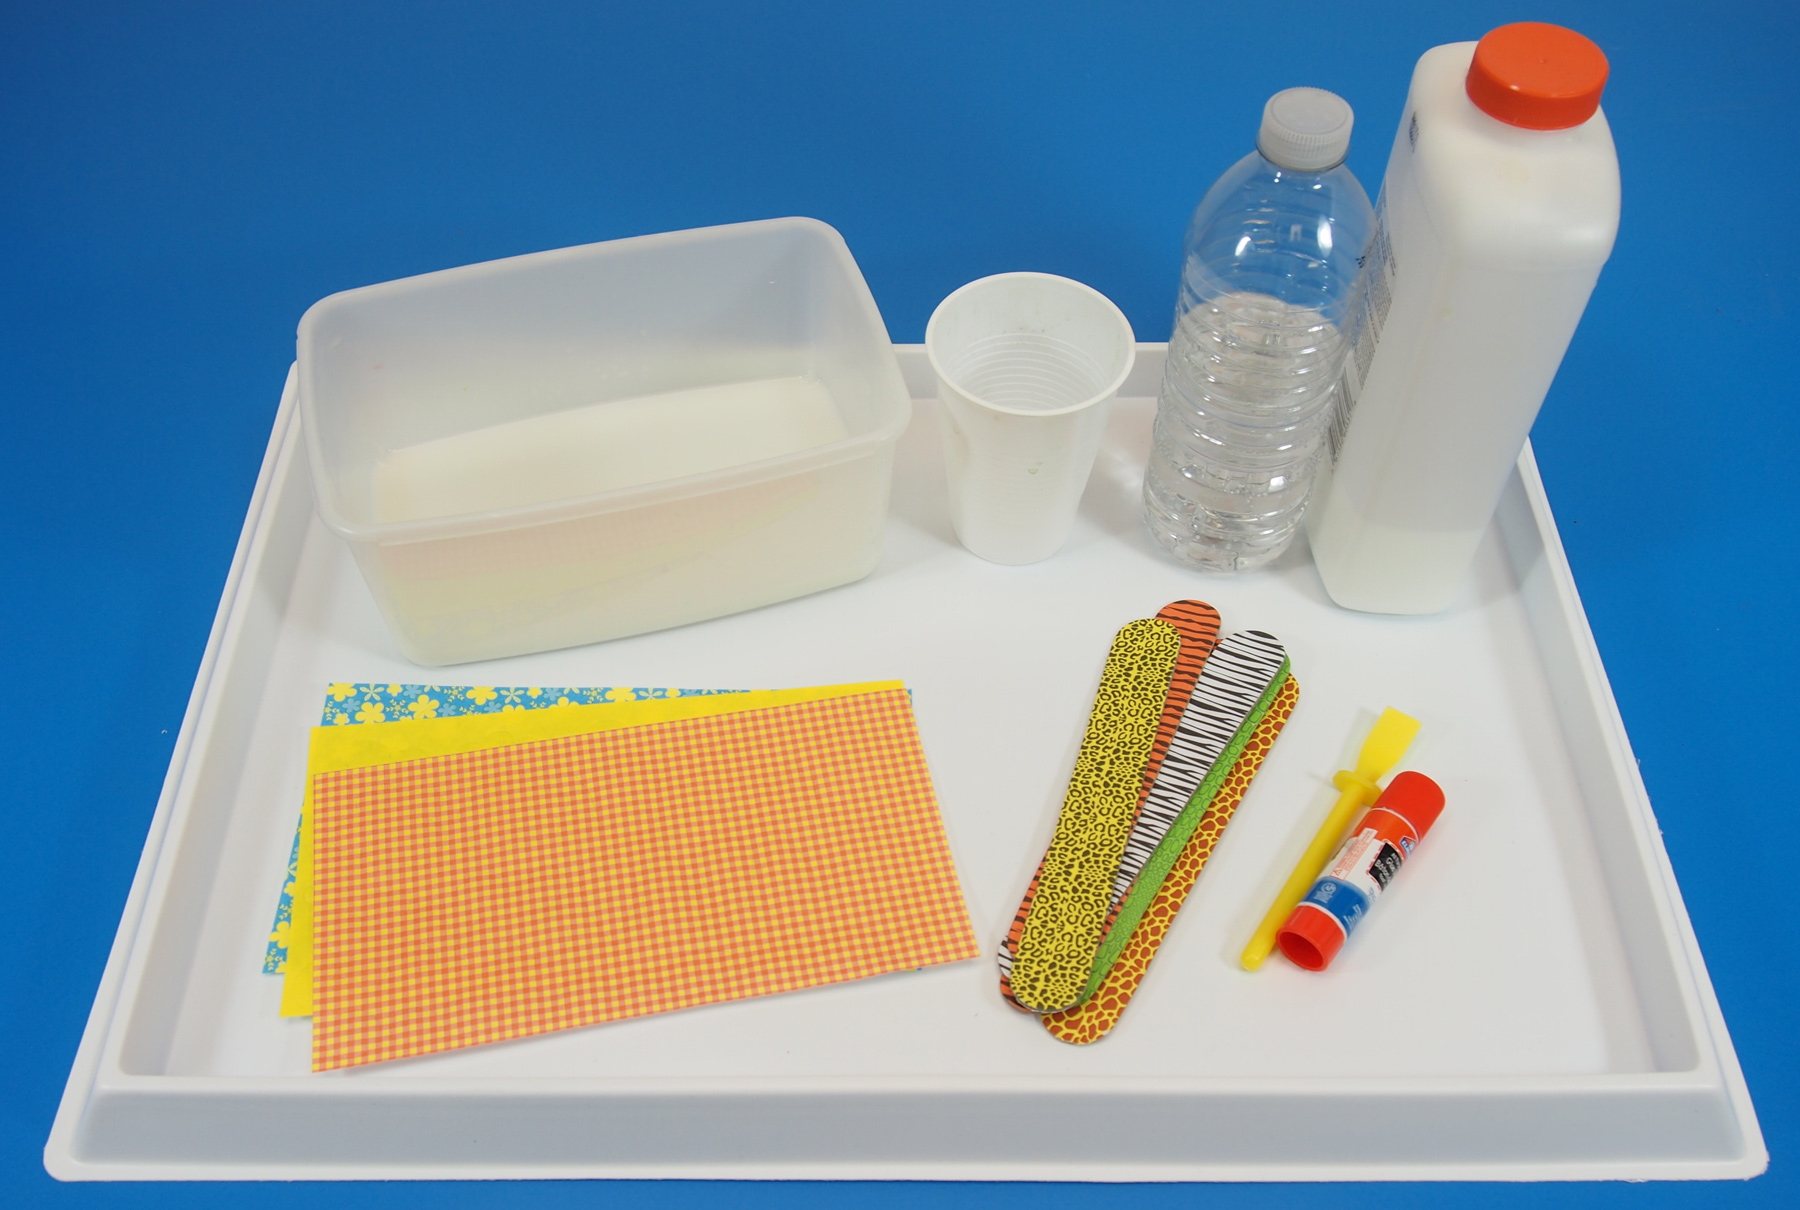
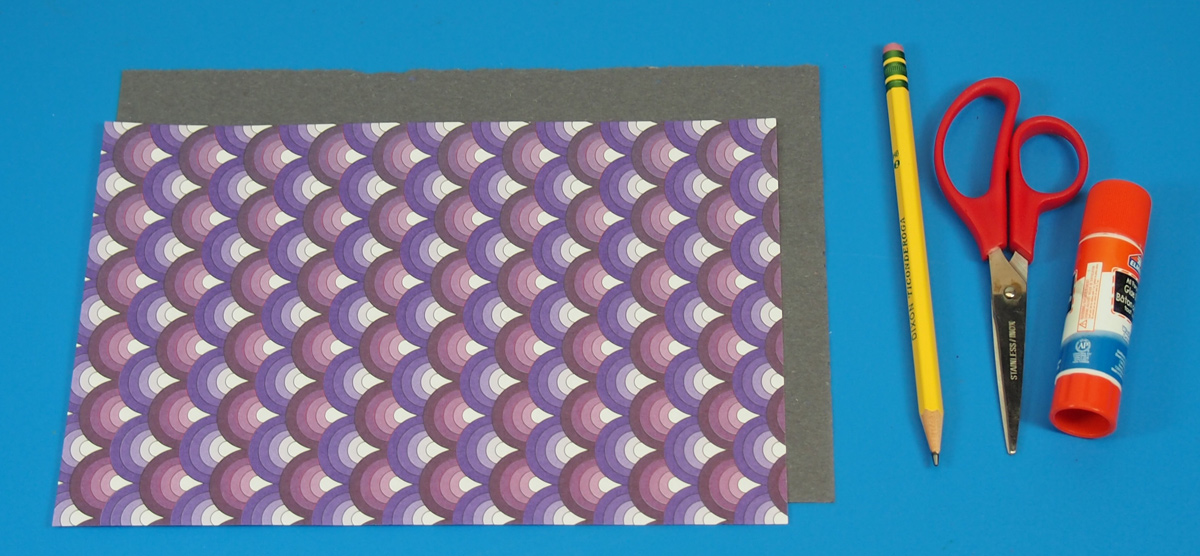
You’ll Need:

R15203 Decorative Hues Paper

• Construction paper, 9 x 12″

• Glue

• Scissors

• Pencil

Line-08

This craft is definitely one of our easier ones. There are less materials to use in this activity, so the final product is simple but effective. Kids will love playing around with the 3D waves to make their fish characters appear as if they are swimming!

P6099446
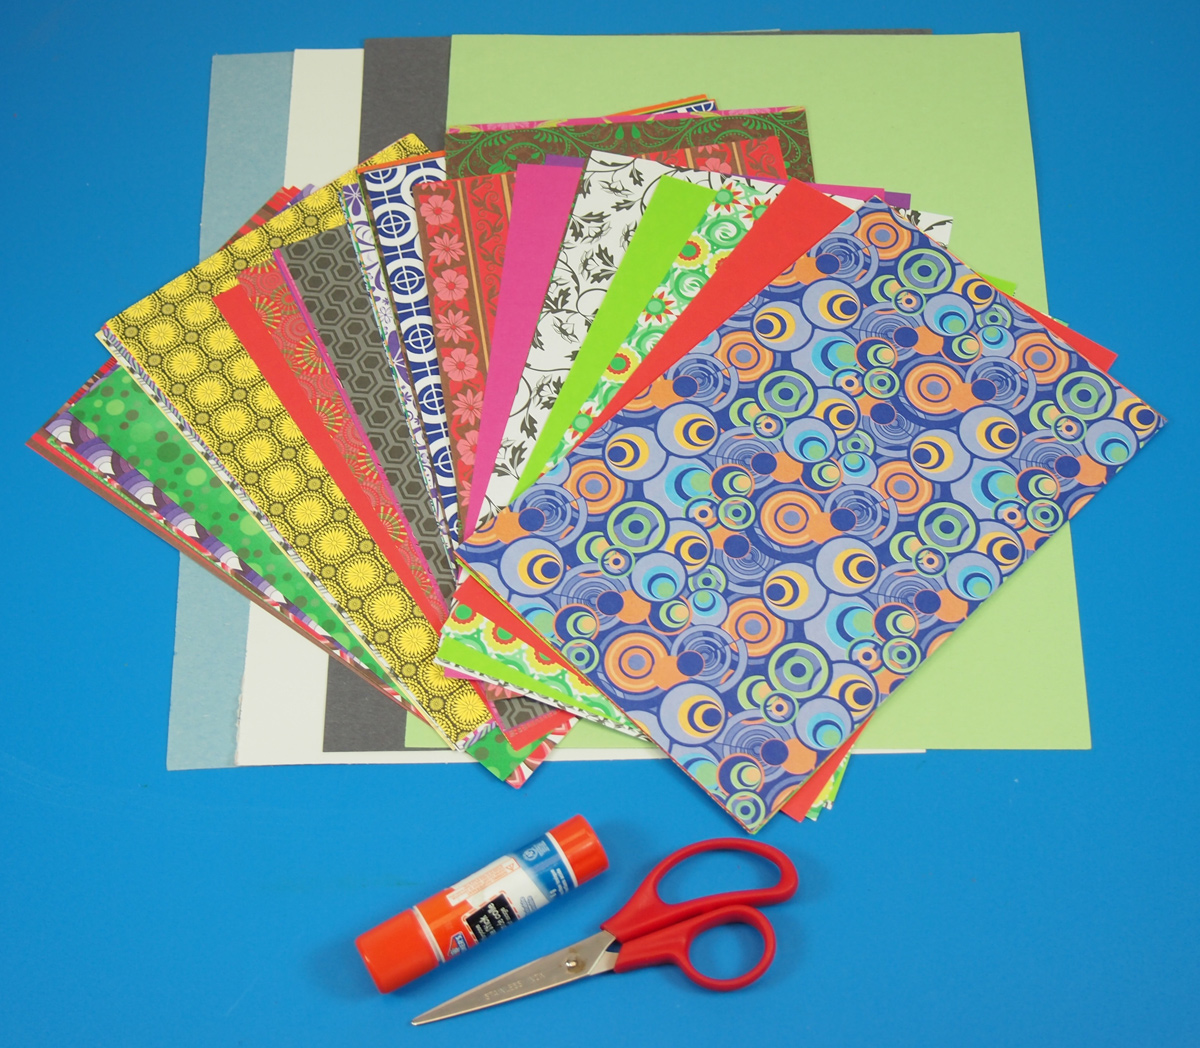
Here’s a selection of the various Decorative Hues Papers you can use, along with some suggested backdrops for your ocean scenes. Blue is definitely a go-to color, but you may not have 30 sheets of blue construction paper easily available.

Other colors to use are: white, black, green, or even (not pictured here) purple! White goes well against light blue or greenish waves. Black can be used to depict a night-time ocean scene. Green works well with blue or white waves. Purple can be used for a deep-sea scene. Grab some references online to see what kinds of color combinations work with different ocean scenes.

P6099449I’m going to show you how a difficult color–such as black–can be incorporated into an ocean scene.

P6099451
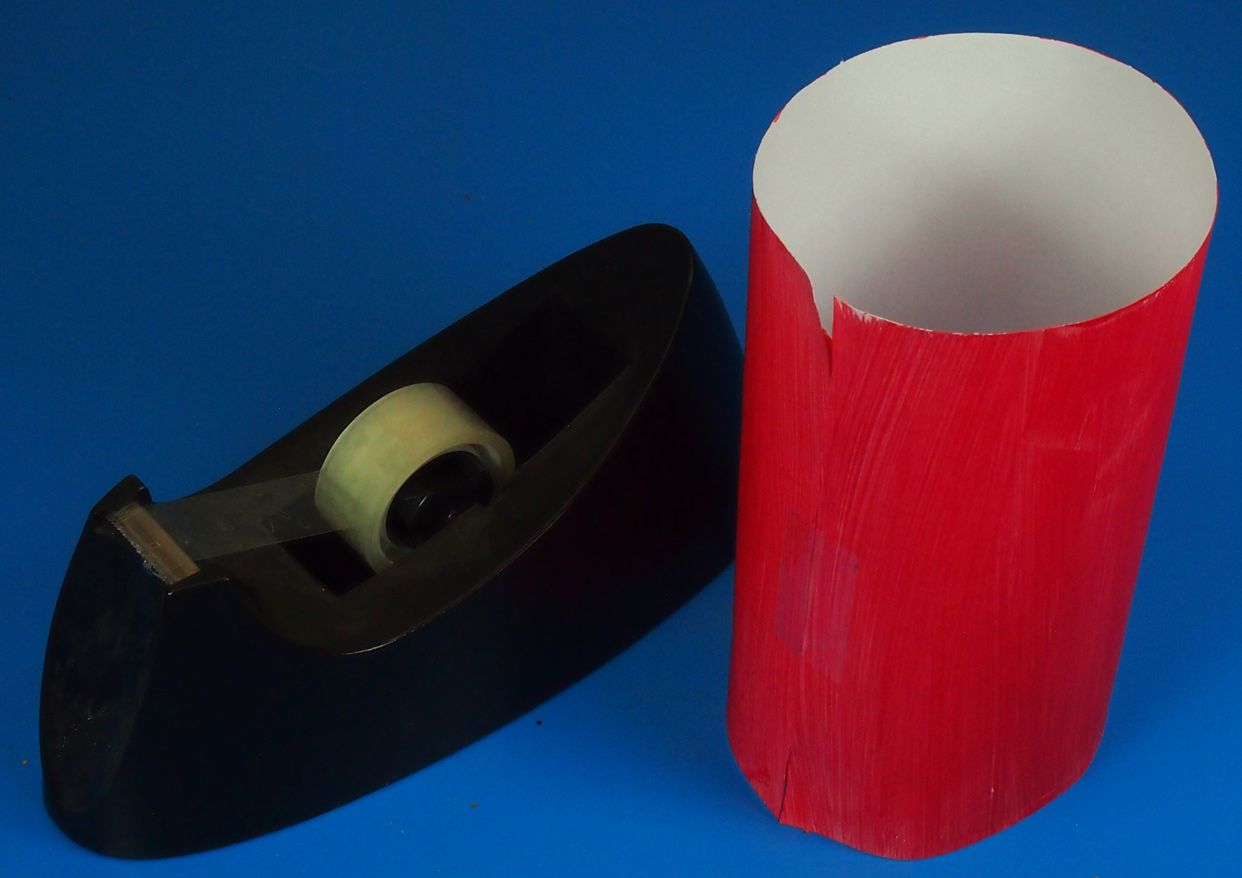
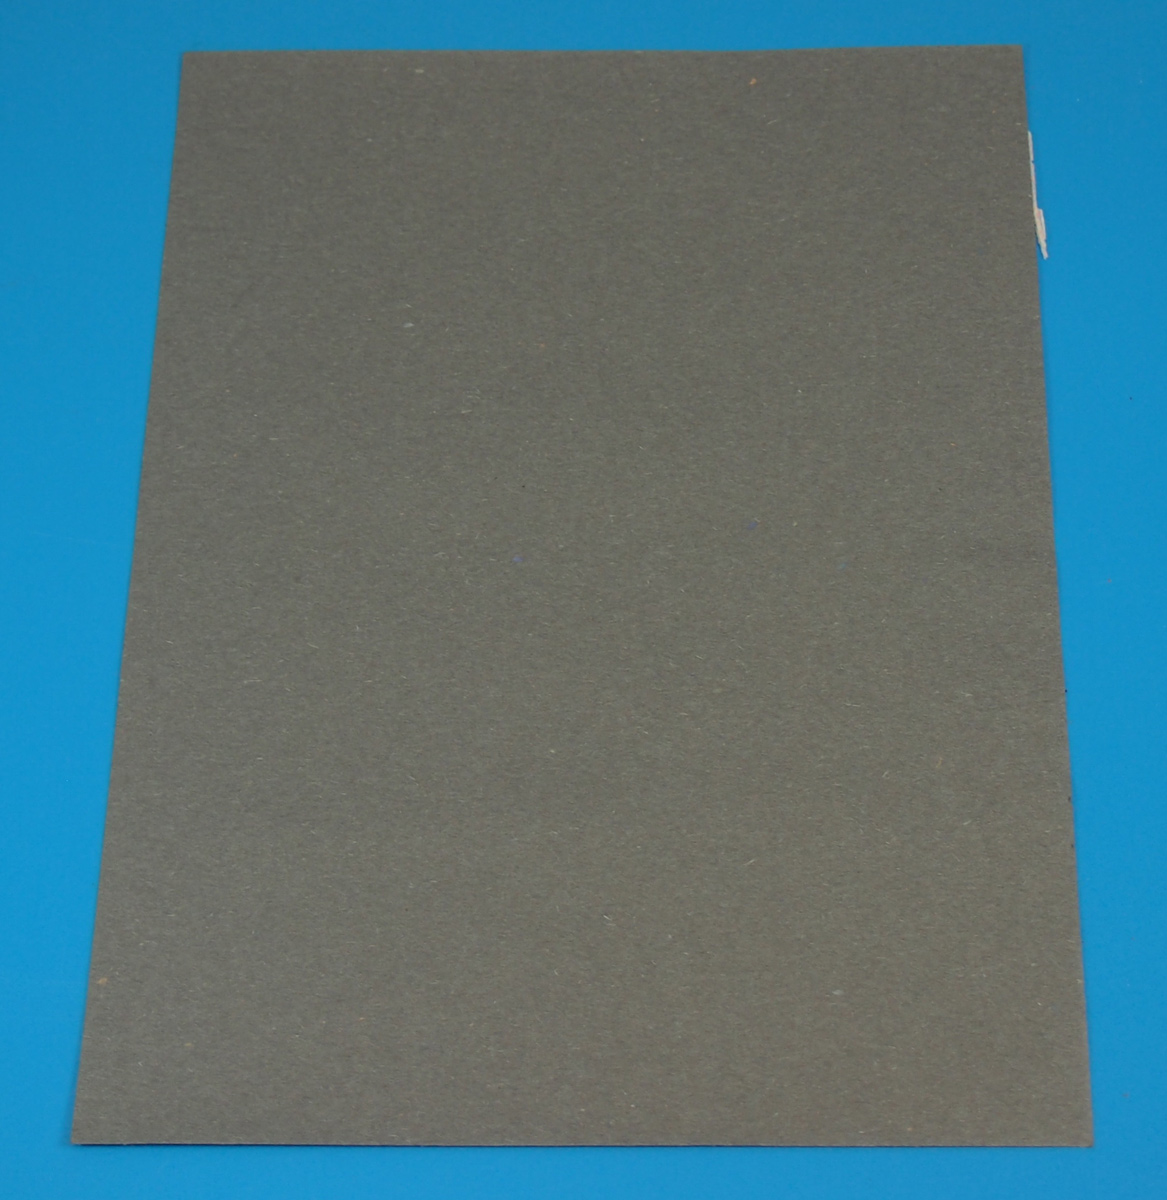
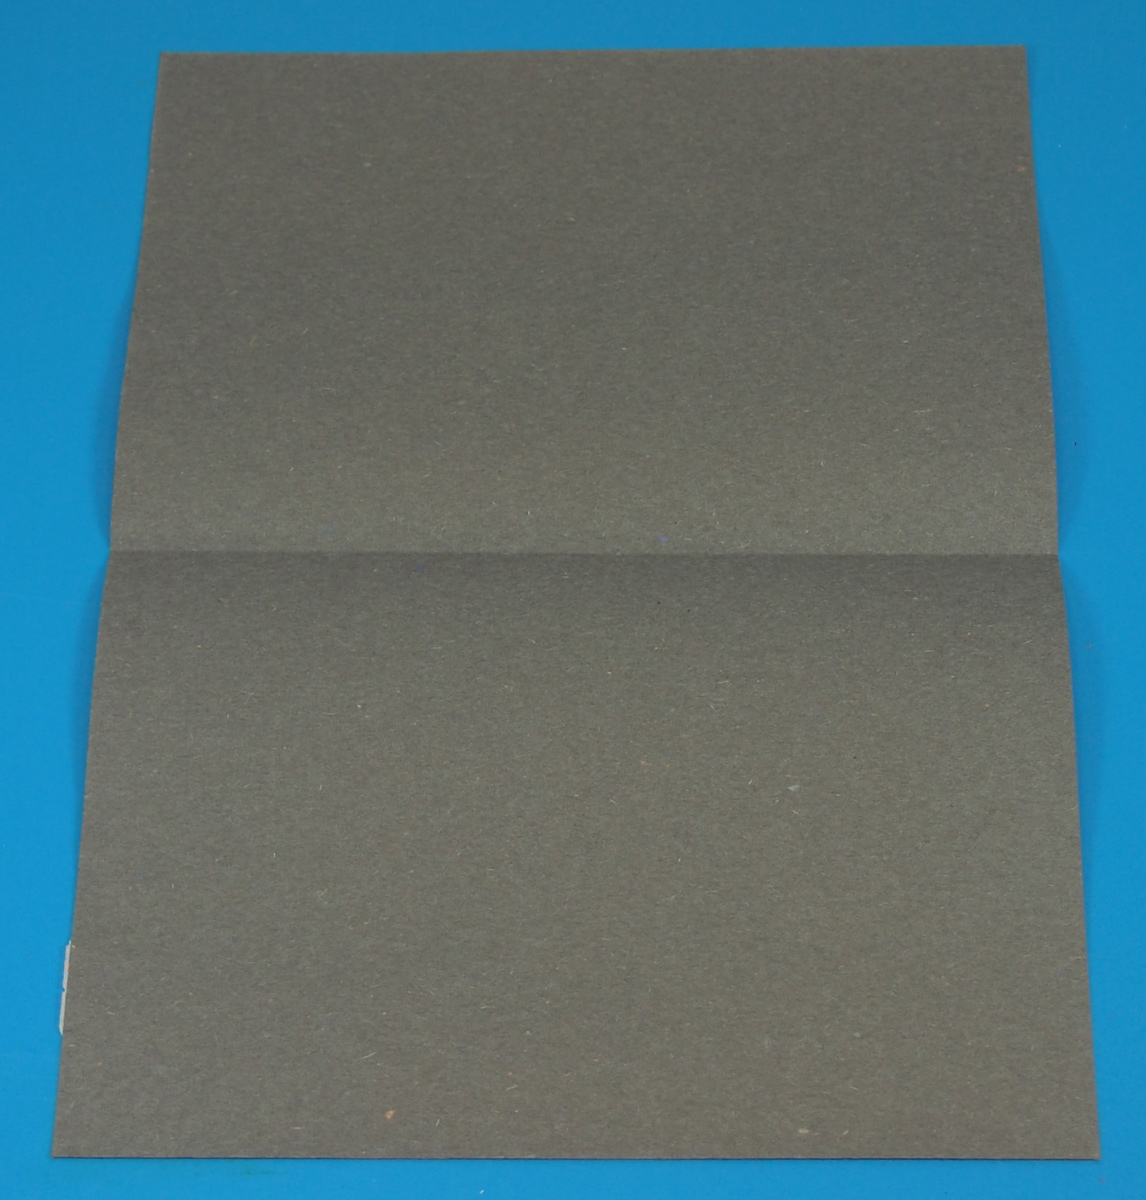
Most construction paper sheets come in 9 x 12″ configurations. For this activity, you will only need half of the sheet, so two students can use one color and create different waves effects. Fold the sheet of paper in half.

P6099452
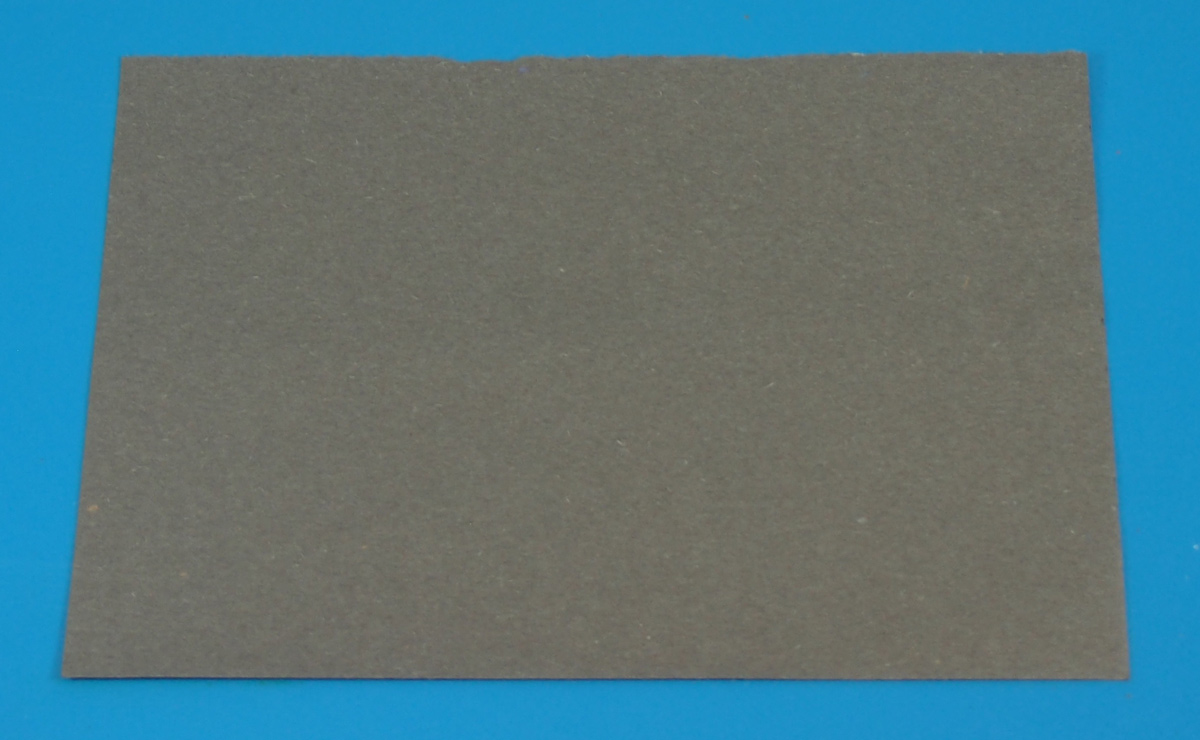
Use the folded line to cut or tear your sheet in half. You should have a sheet size of 9 x 6″.

P6099456
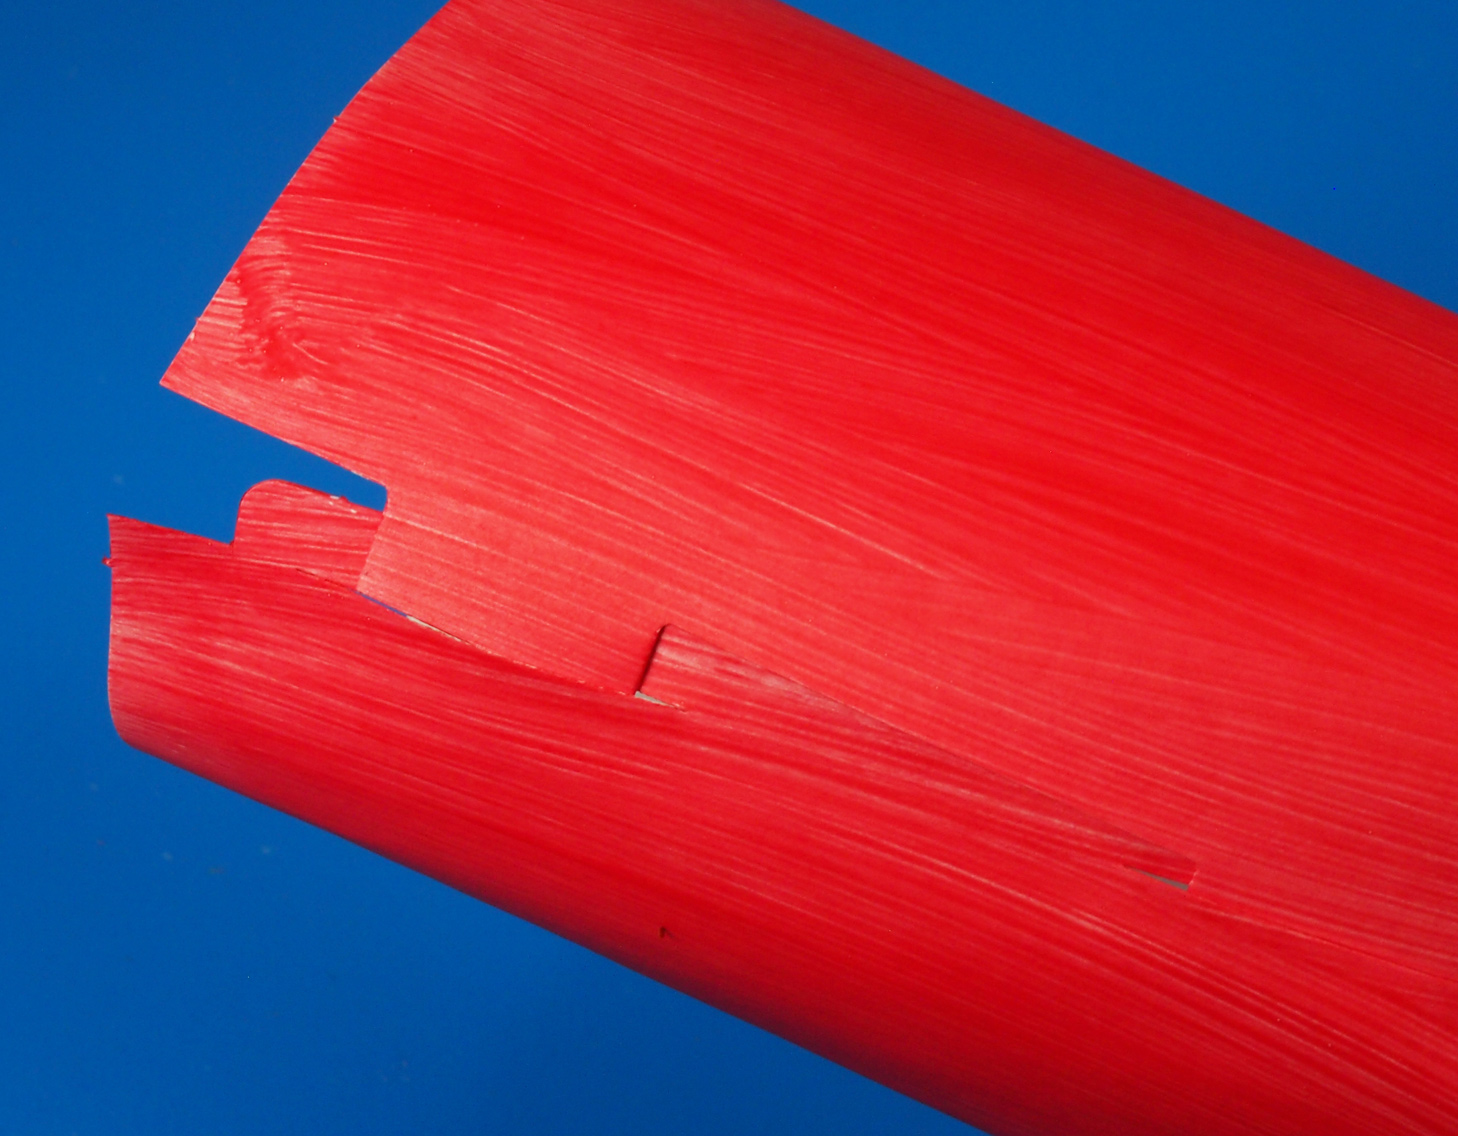
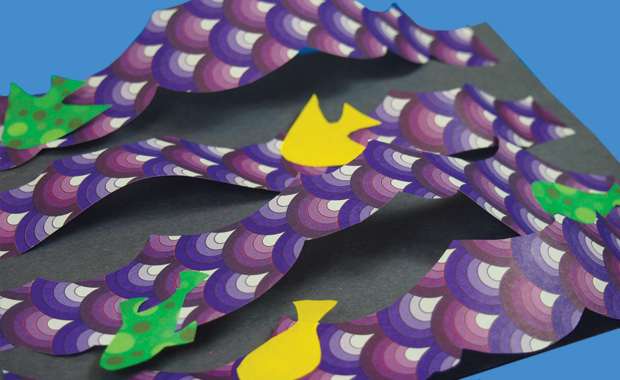
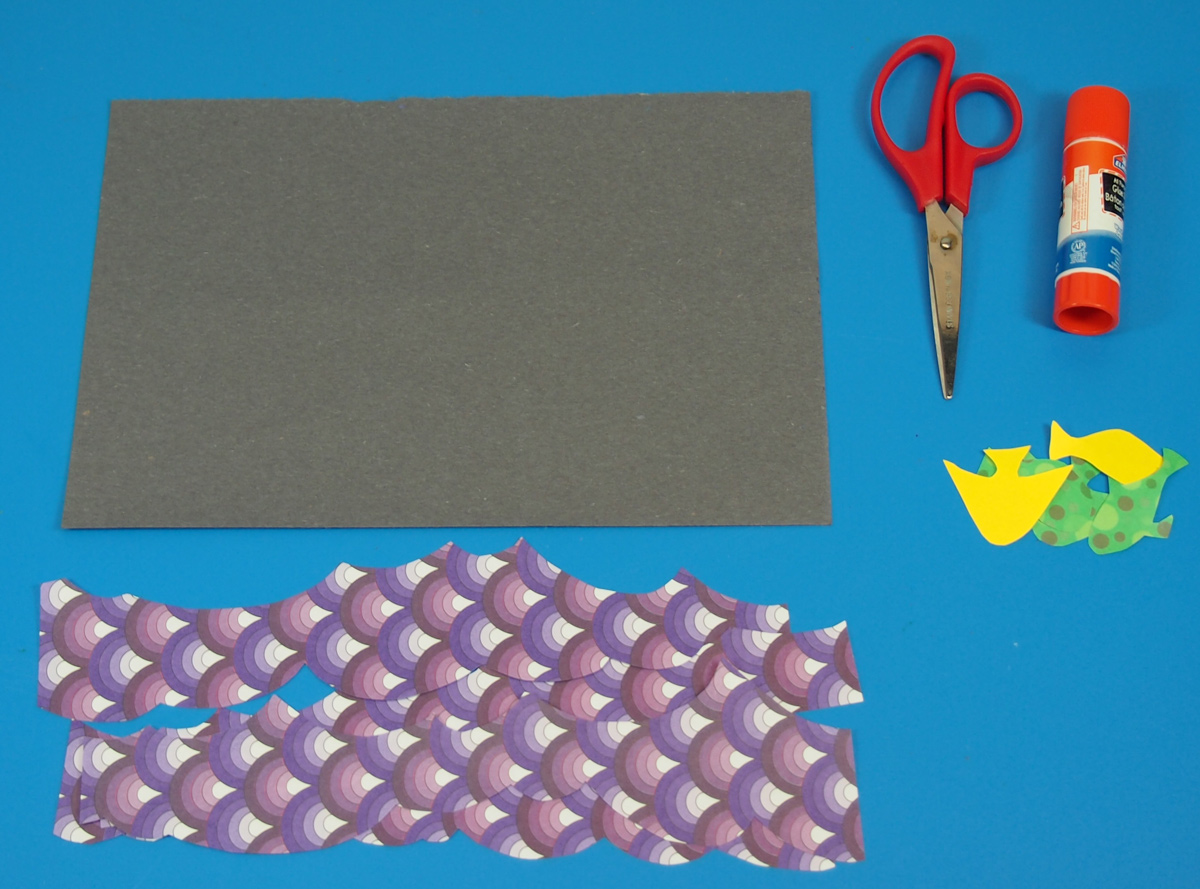
I’ve selected a pretty wave-like pattern from the Decorative Hues paper. Notice I’ve used a sheet that’s predominantly purple. This makes it appear as if the reflection of the water is casting a purplish hue.

P6099458
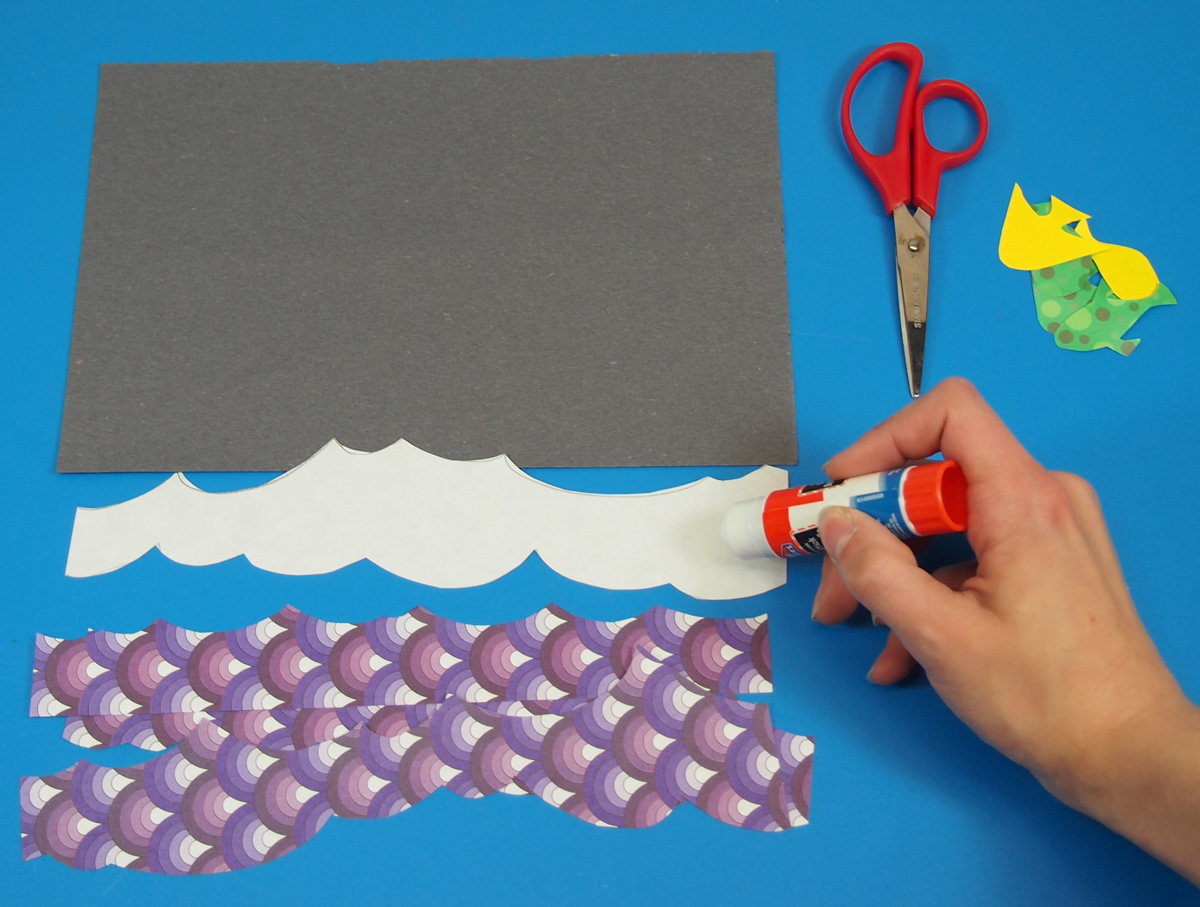
Flip your wave paper over and draw a line with peaks across the length of the sheet. You can get students to practice drawing wave lines on scrap paper before drawing them on the Decorative Hues paper.

P6099460
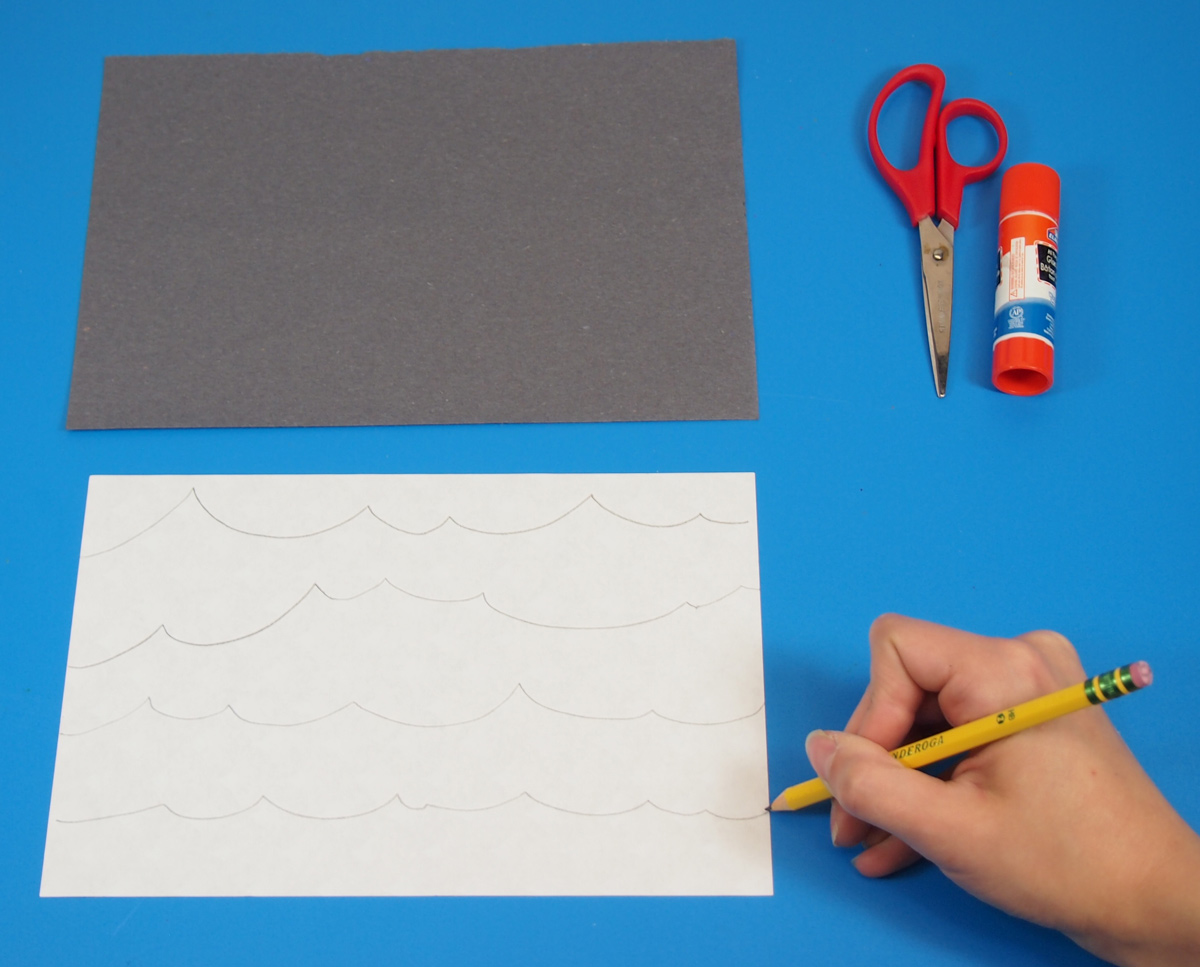
You can fit about 3-4 wave lines on the back of the Decorative Hues sheet. Keep the spacing relatively equal, but you can do thinner lines if you wish.

P6099463

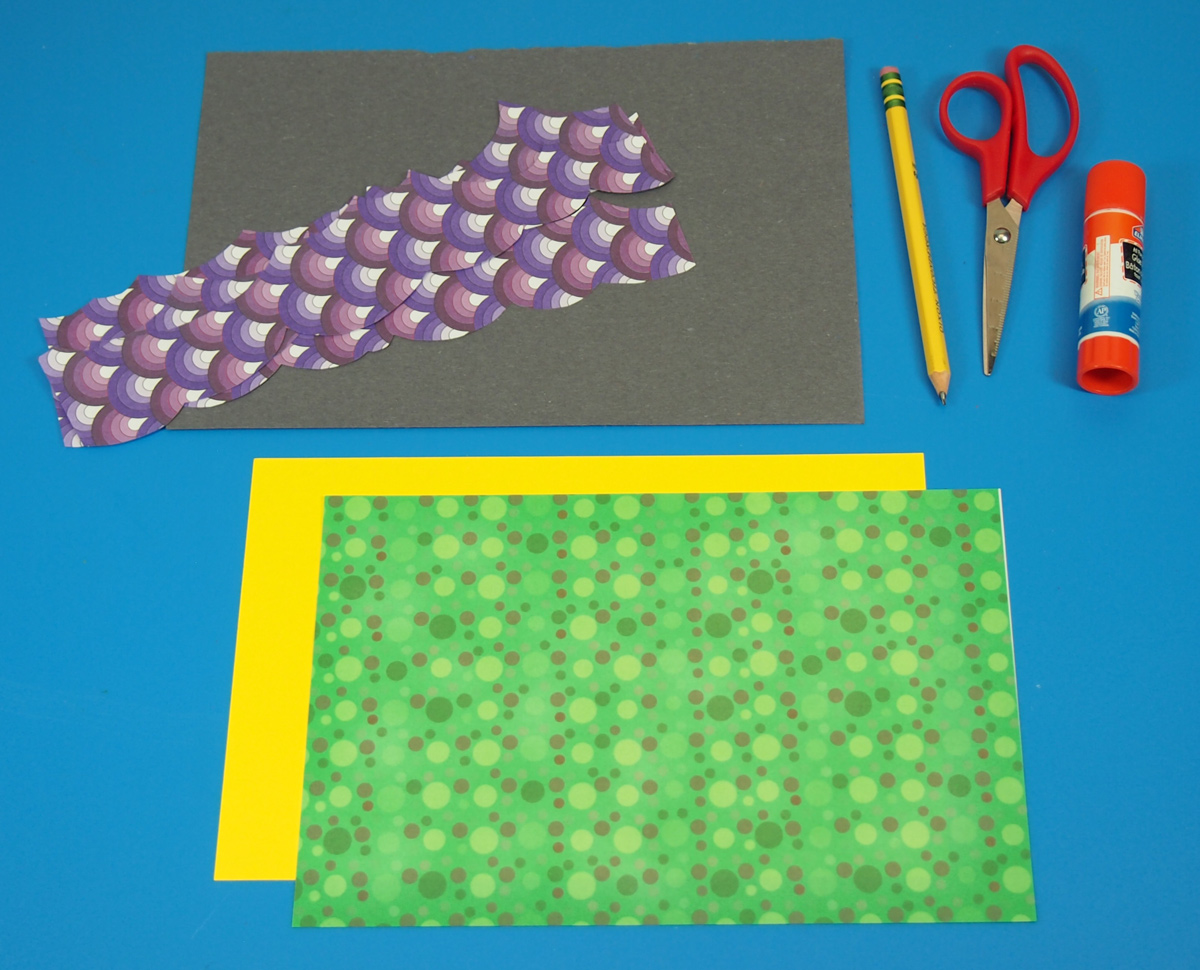
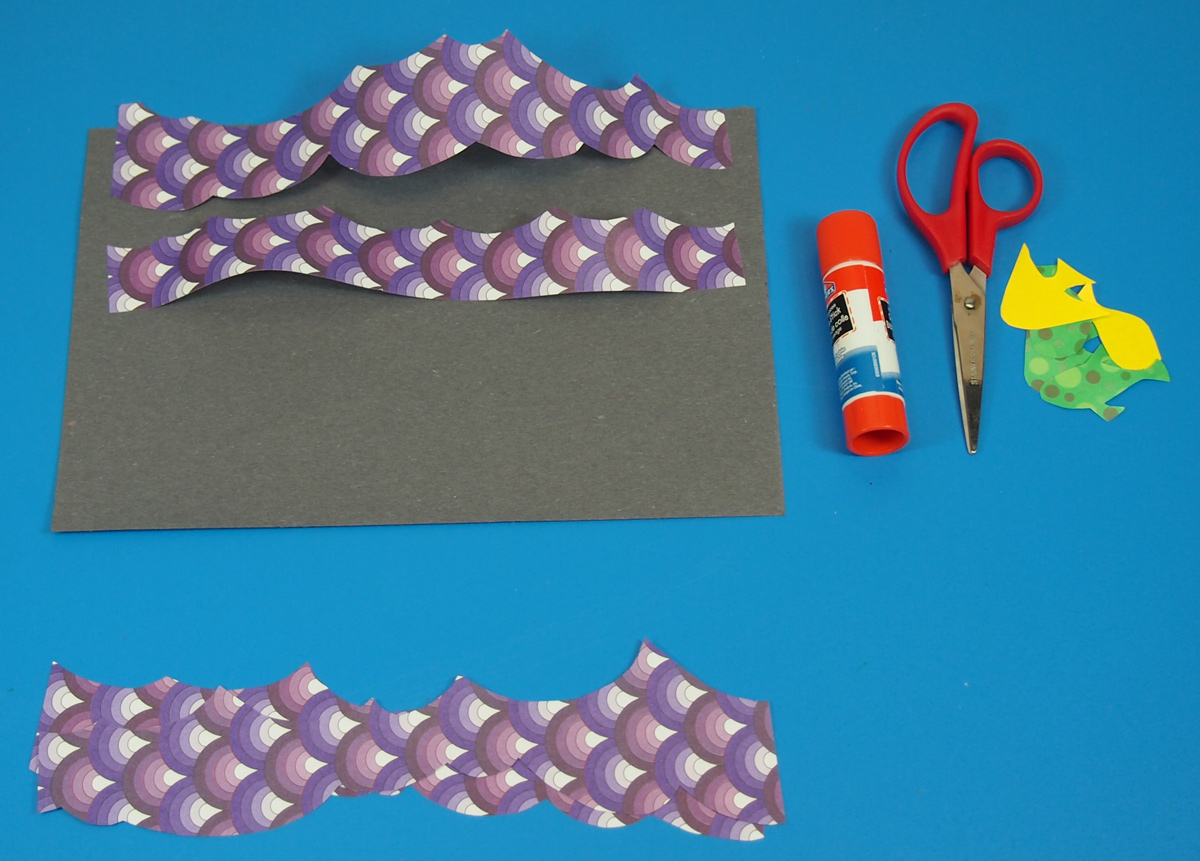
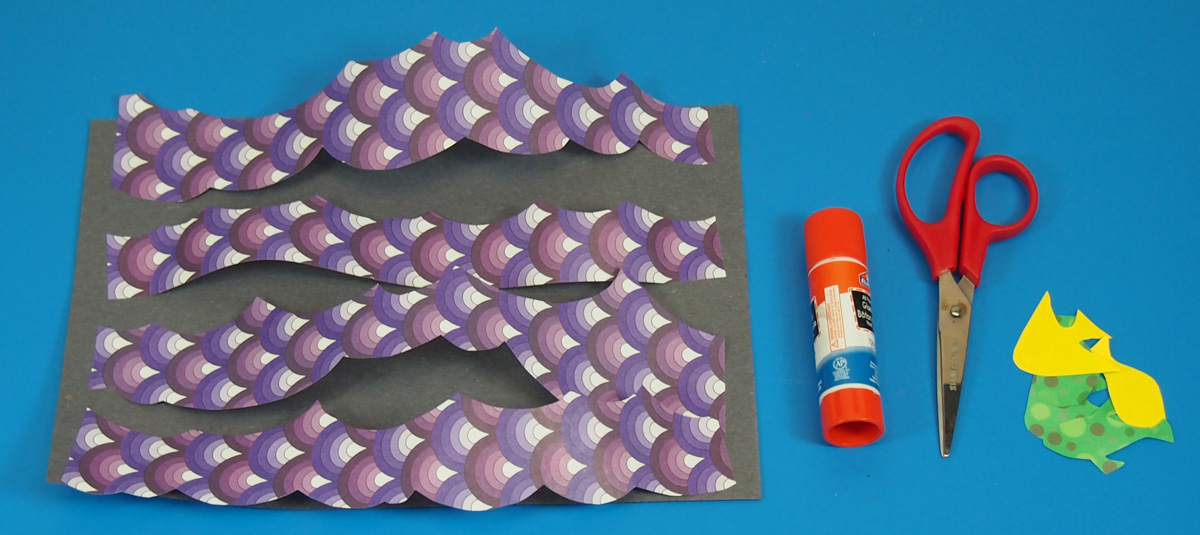
Cut each of the wave lines out from the paper. Discard the part above the first line you drew. Next, select two fun colors for the fish shapes. Fish are relatively small so you can cut the sheets in half and distribute among students.

Fish Drawing Lesson!

Click on any of the following subheadings to learn how to draw:

Basic Fish Shape

Fish Design 2

Fish Design 3

Basic Fish Shape

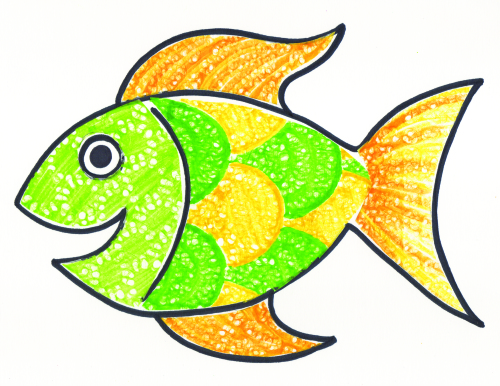
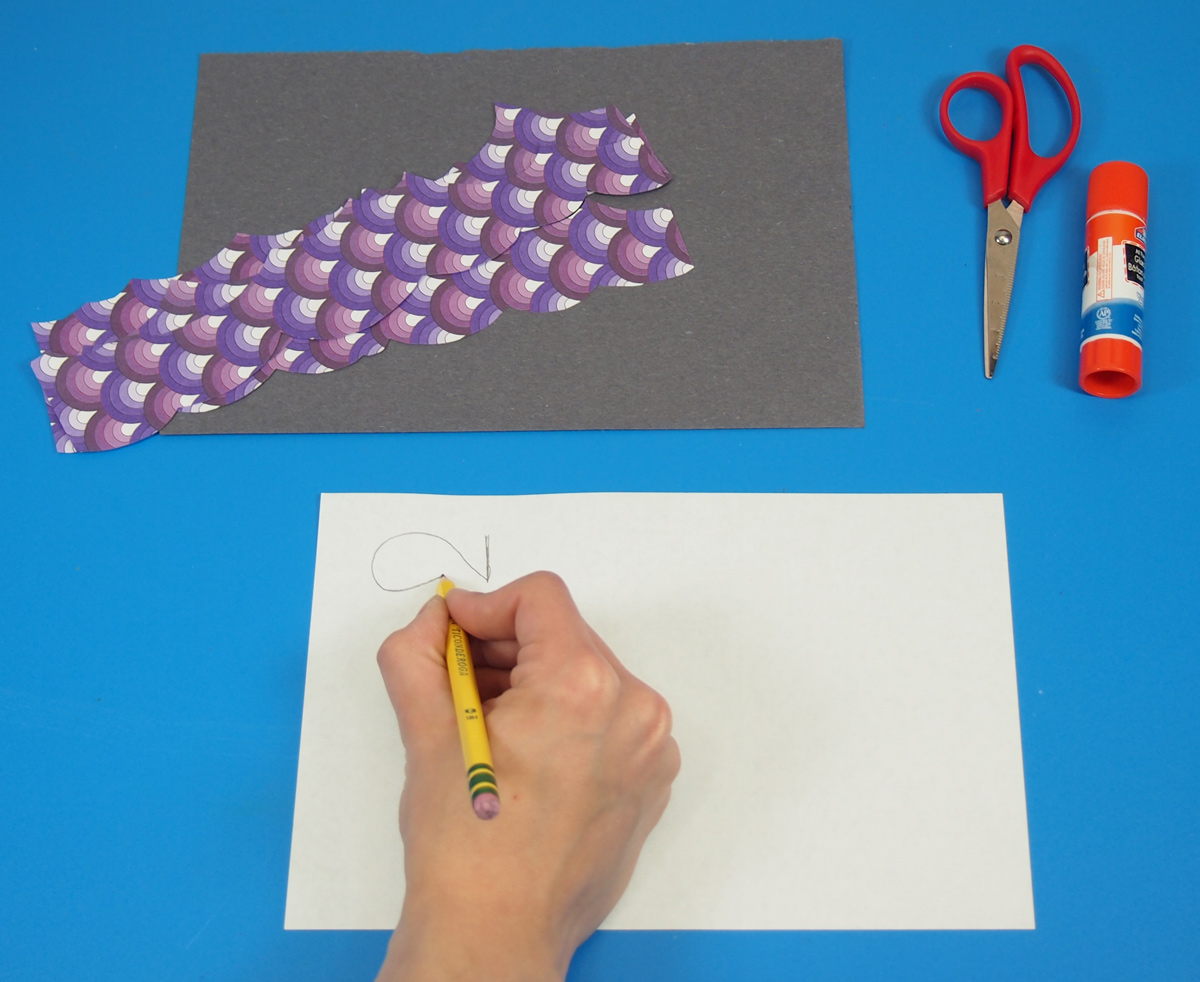
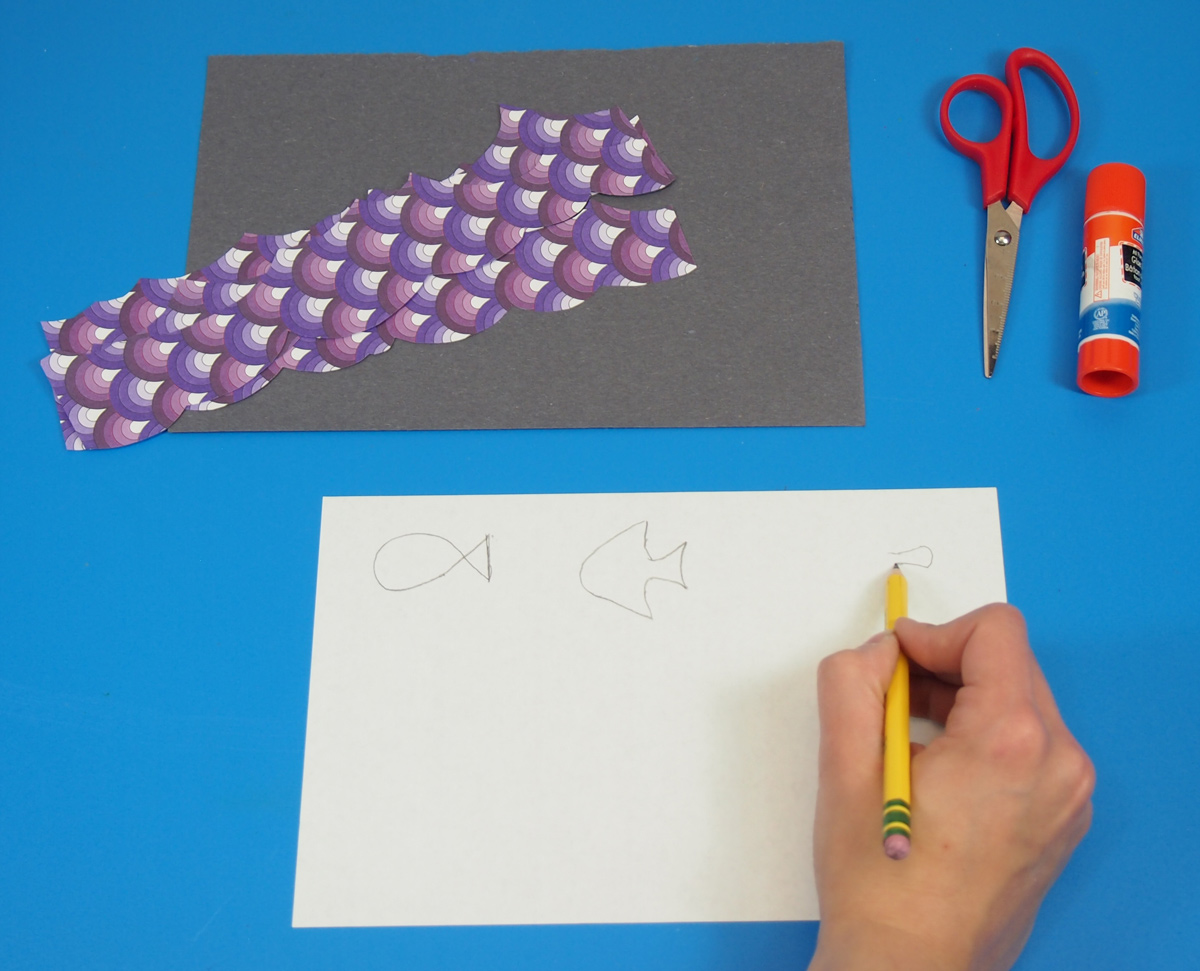
Draw a basic fish shape with two basic shapes: a triangle for the tail and an oval for the body.

P6099464

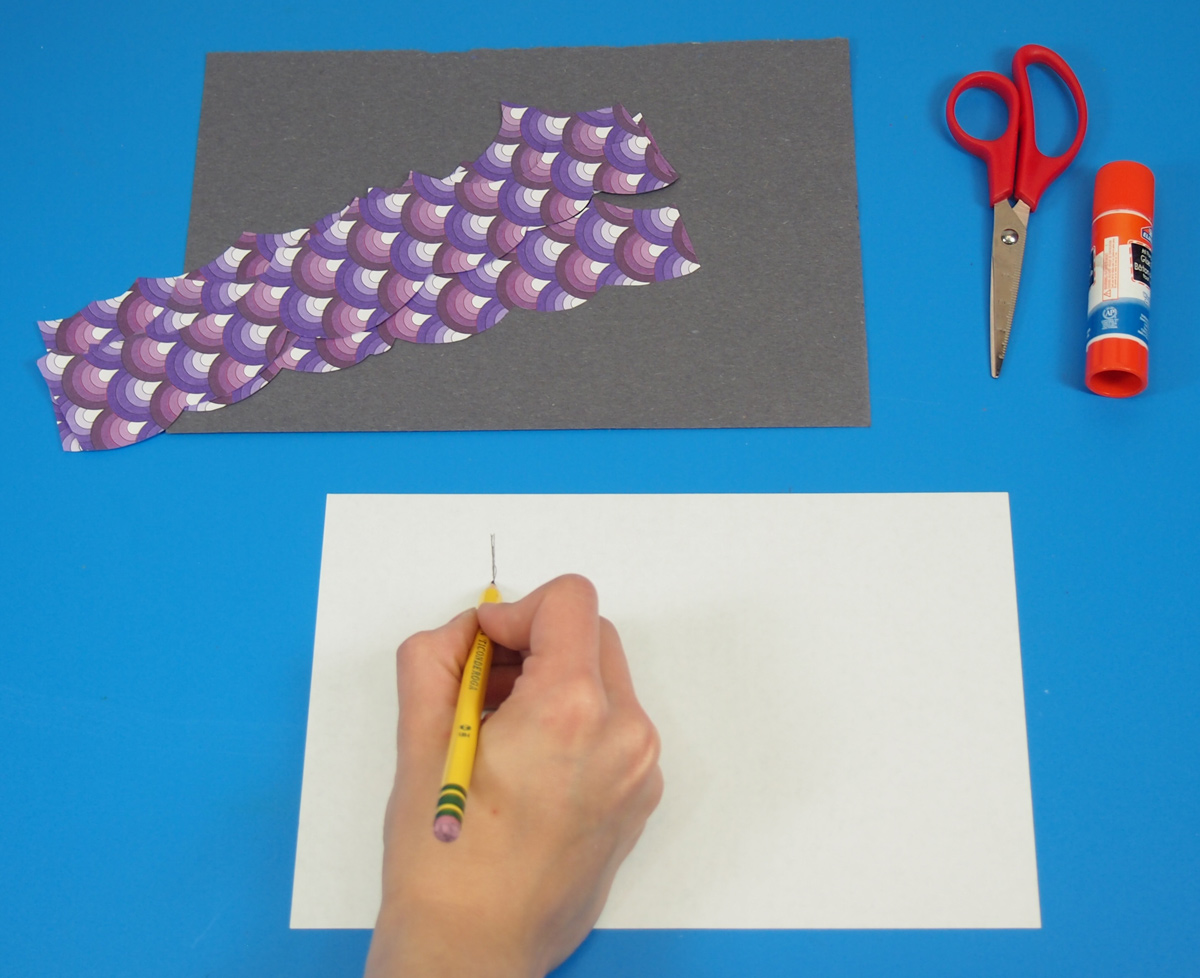
Start by drawing a small line.

P6099465From the bottom of the line, draw a large oval shape.

P6099466
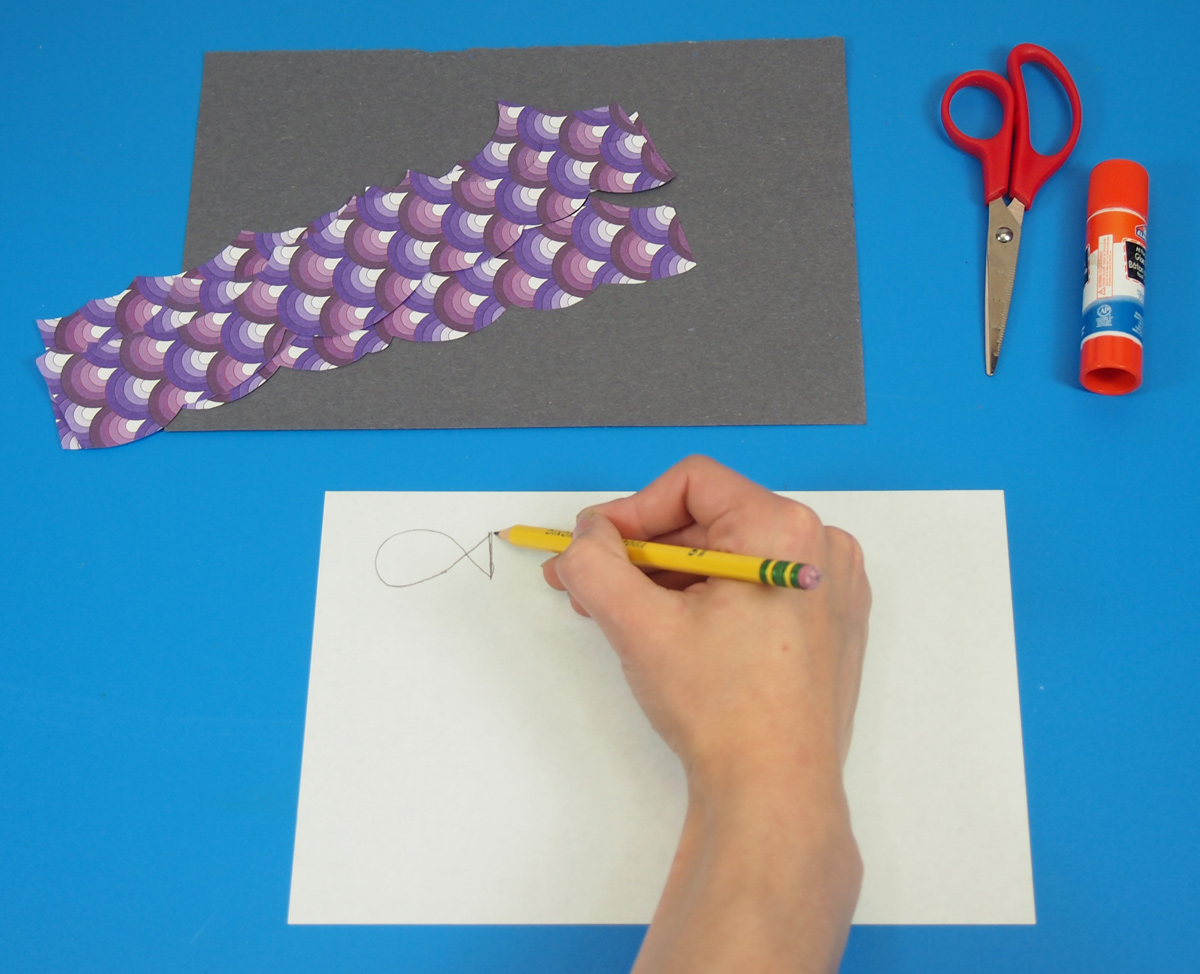
Complete the oval by crossing over and connecting it to the top of the line.

Fish Design 2

This fish look a little more exotic, but is made up of two triangles: a large triangle for the body and a small triangle for the tail.

P6099468

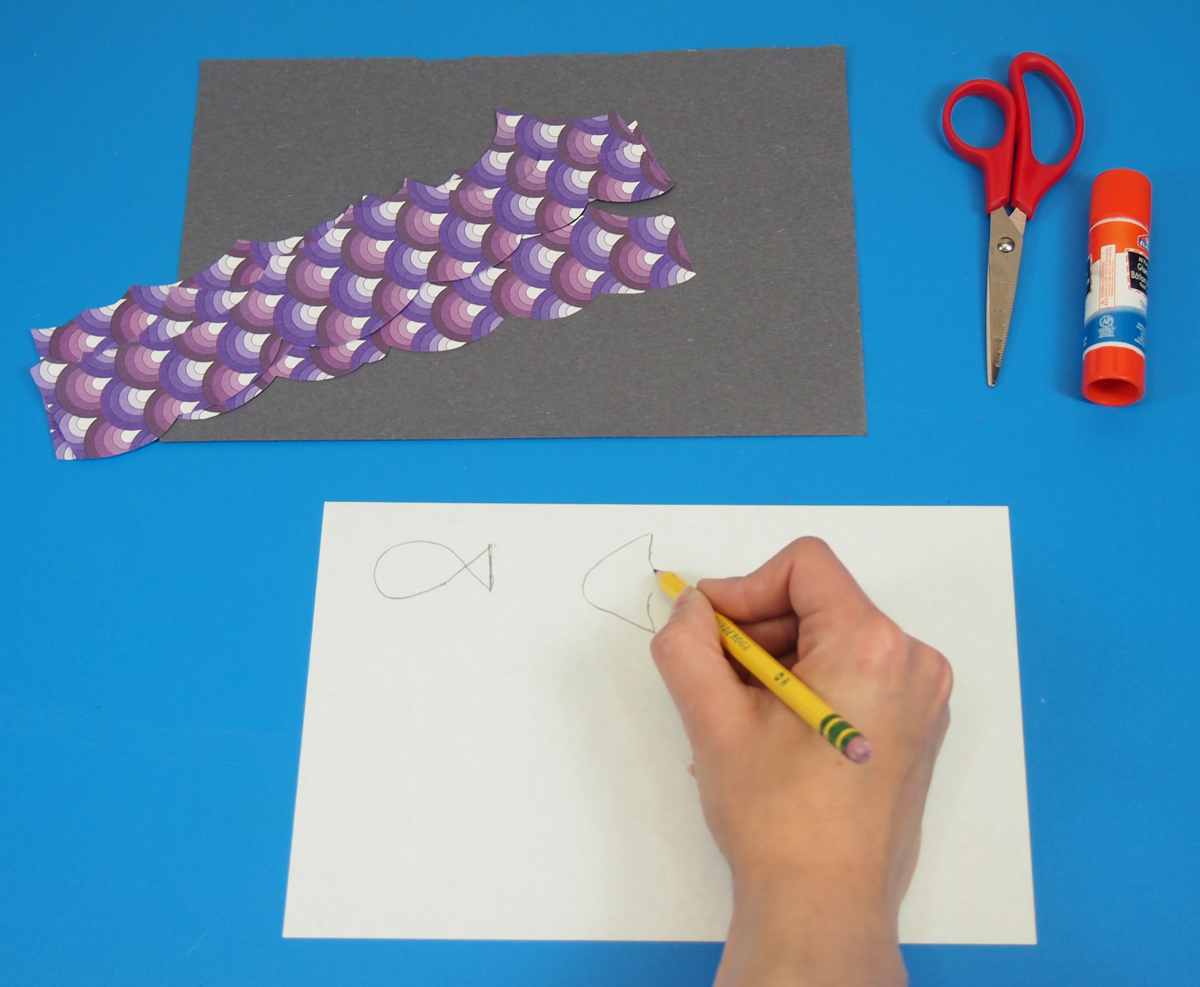
First draw a large rounded triangle shape. Leave the line open so it can connect to the tail.

P6099469

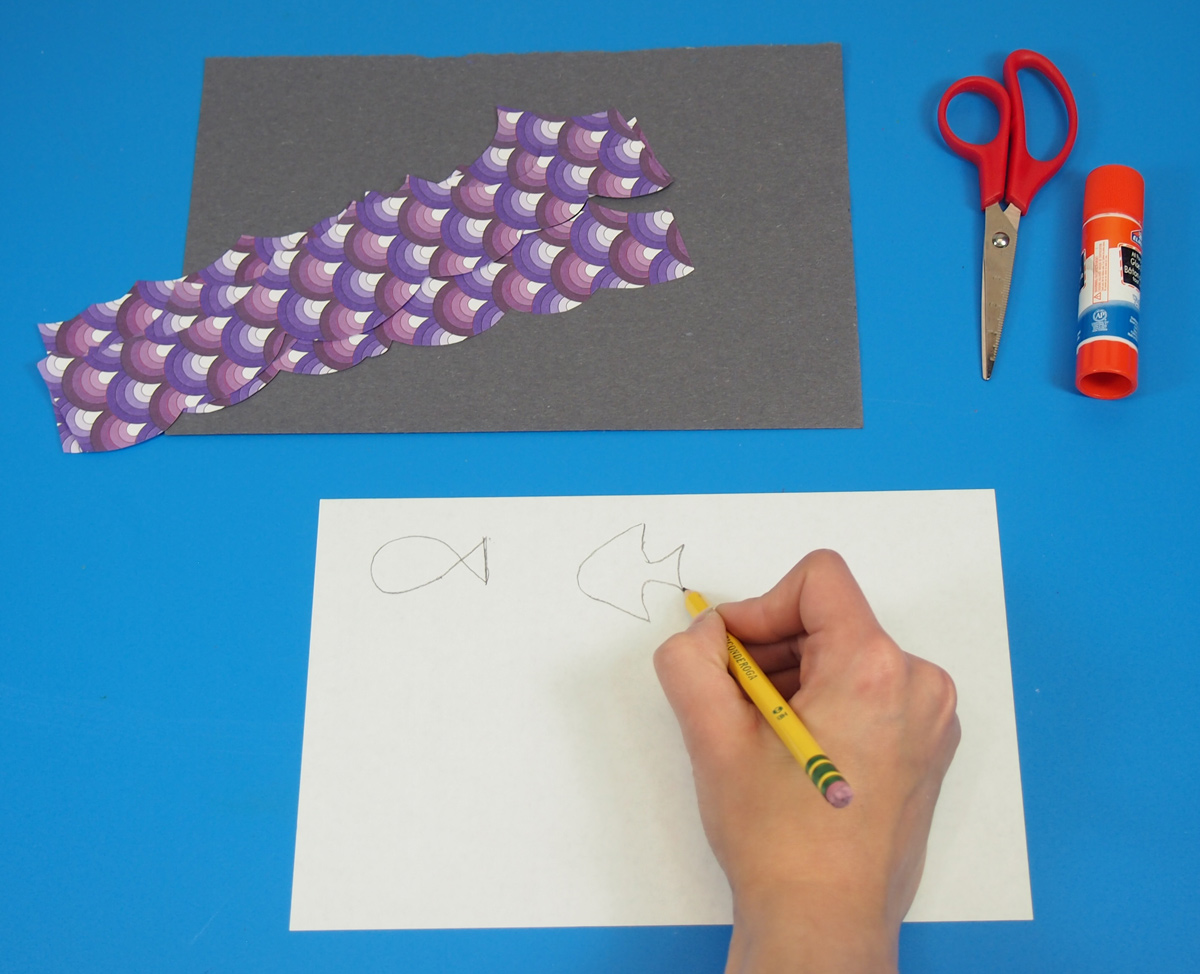
Finish the fish shape off with a smaller triangle for the tail.

Fish Design 3

This fish design is a little more complex. It is based after the top view of a koi fish, so it requires a little more curve to the basic shapes. There are a lot of ovals and rounded triangles used in this fish shape. Older students can use reference drawings of other fish to make their designs.

P6099470Draw a loose tear-drop shape for the tail.

P6099471
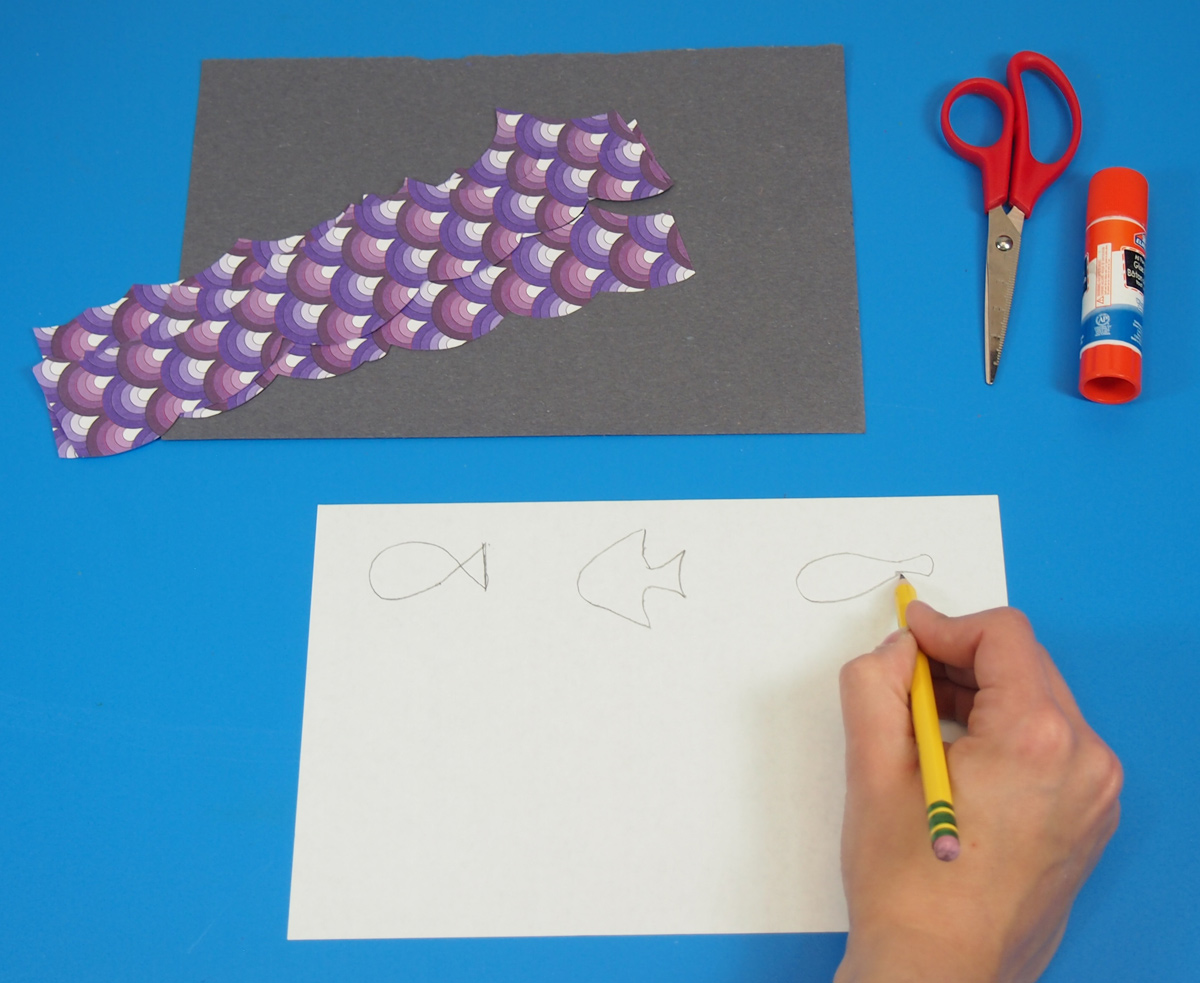
Connect the tail to a large oval body.

P6099472

Add small triangles for fins.

P6099474

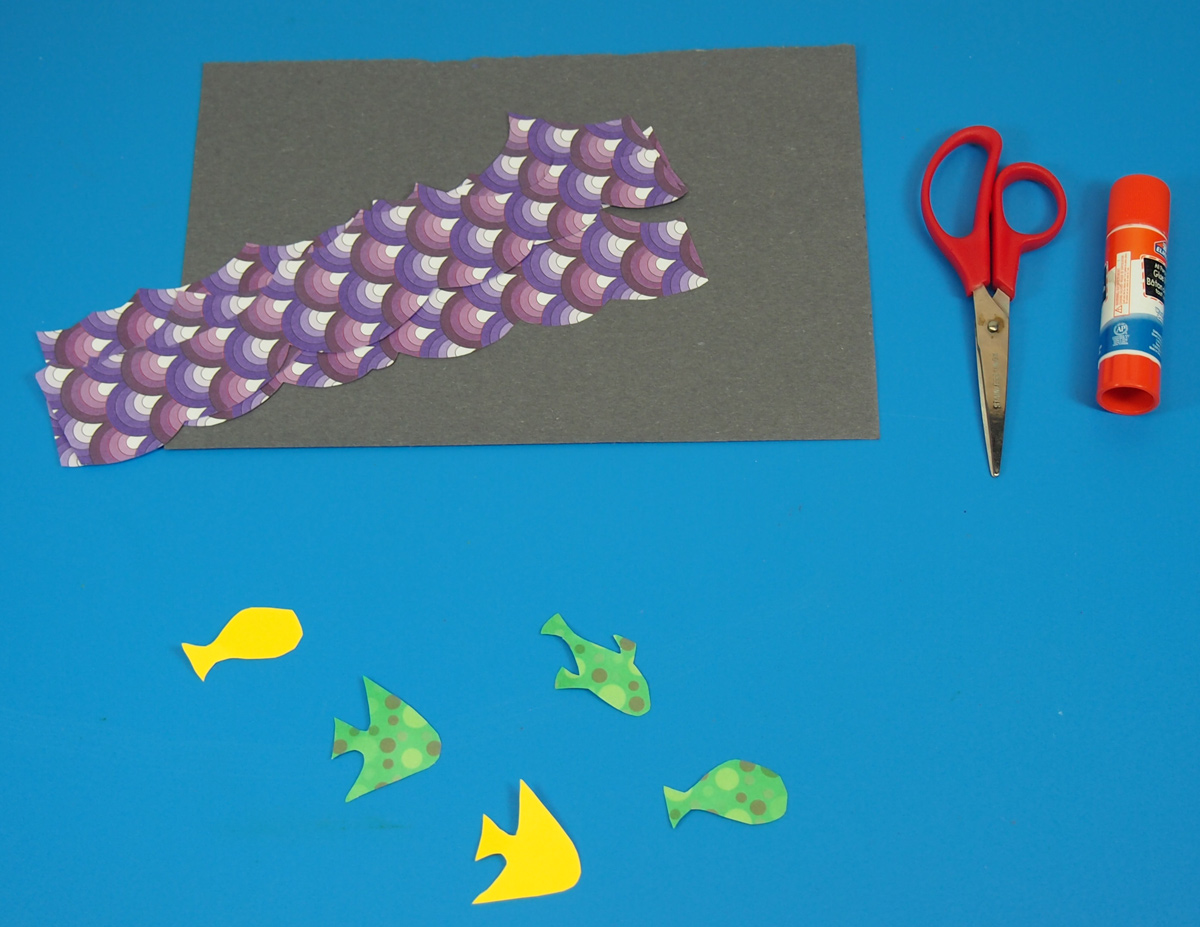
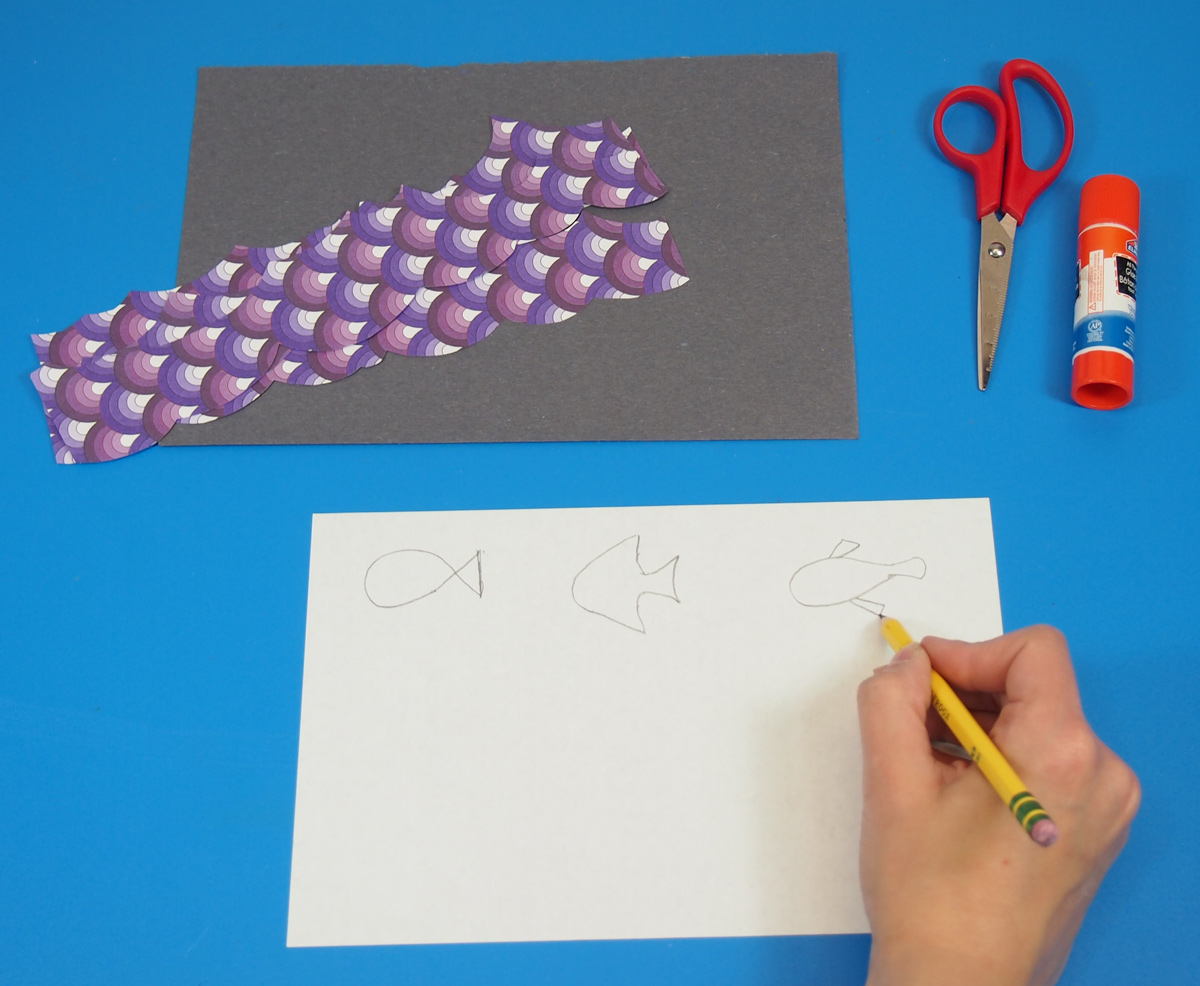
Cut out all the fish shapes. Thanks to the versatile design, it’s easy to flip the fish to face any direction.

P6099475

Now let’s get ready to assemble the 3D ocean scene!

P6099478

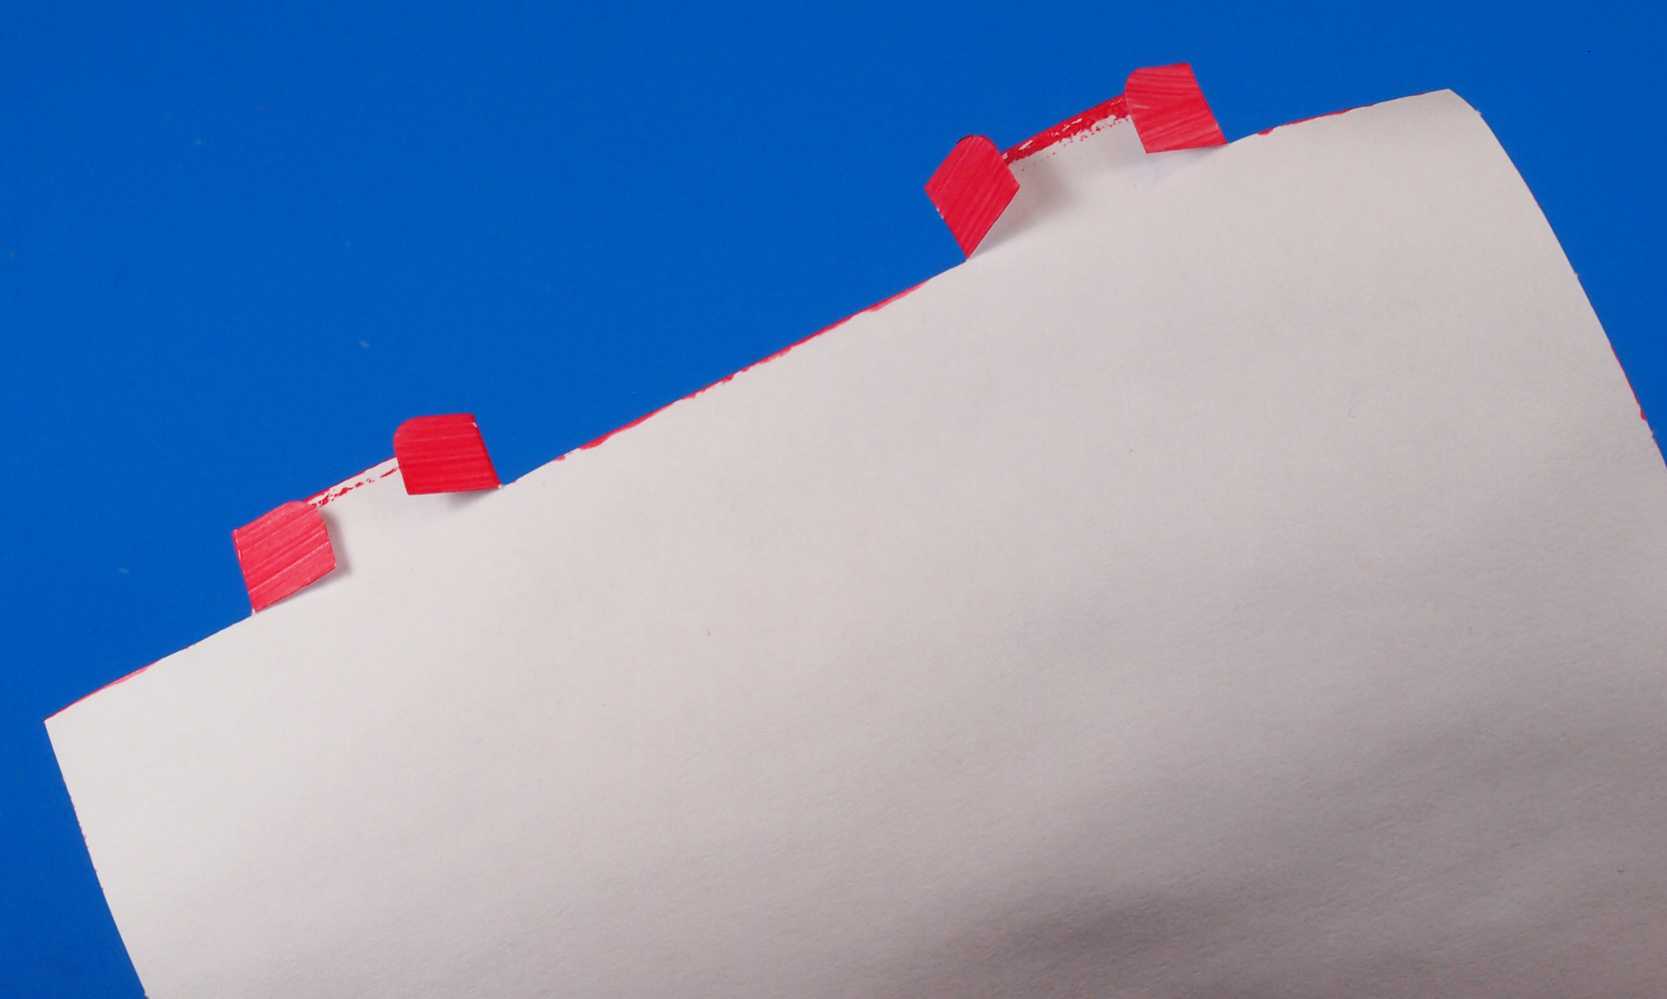
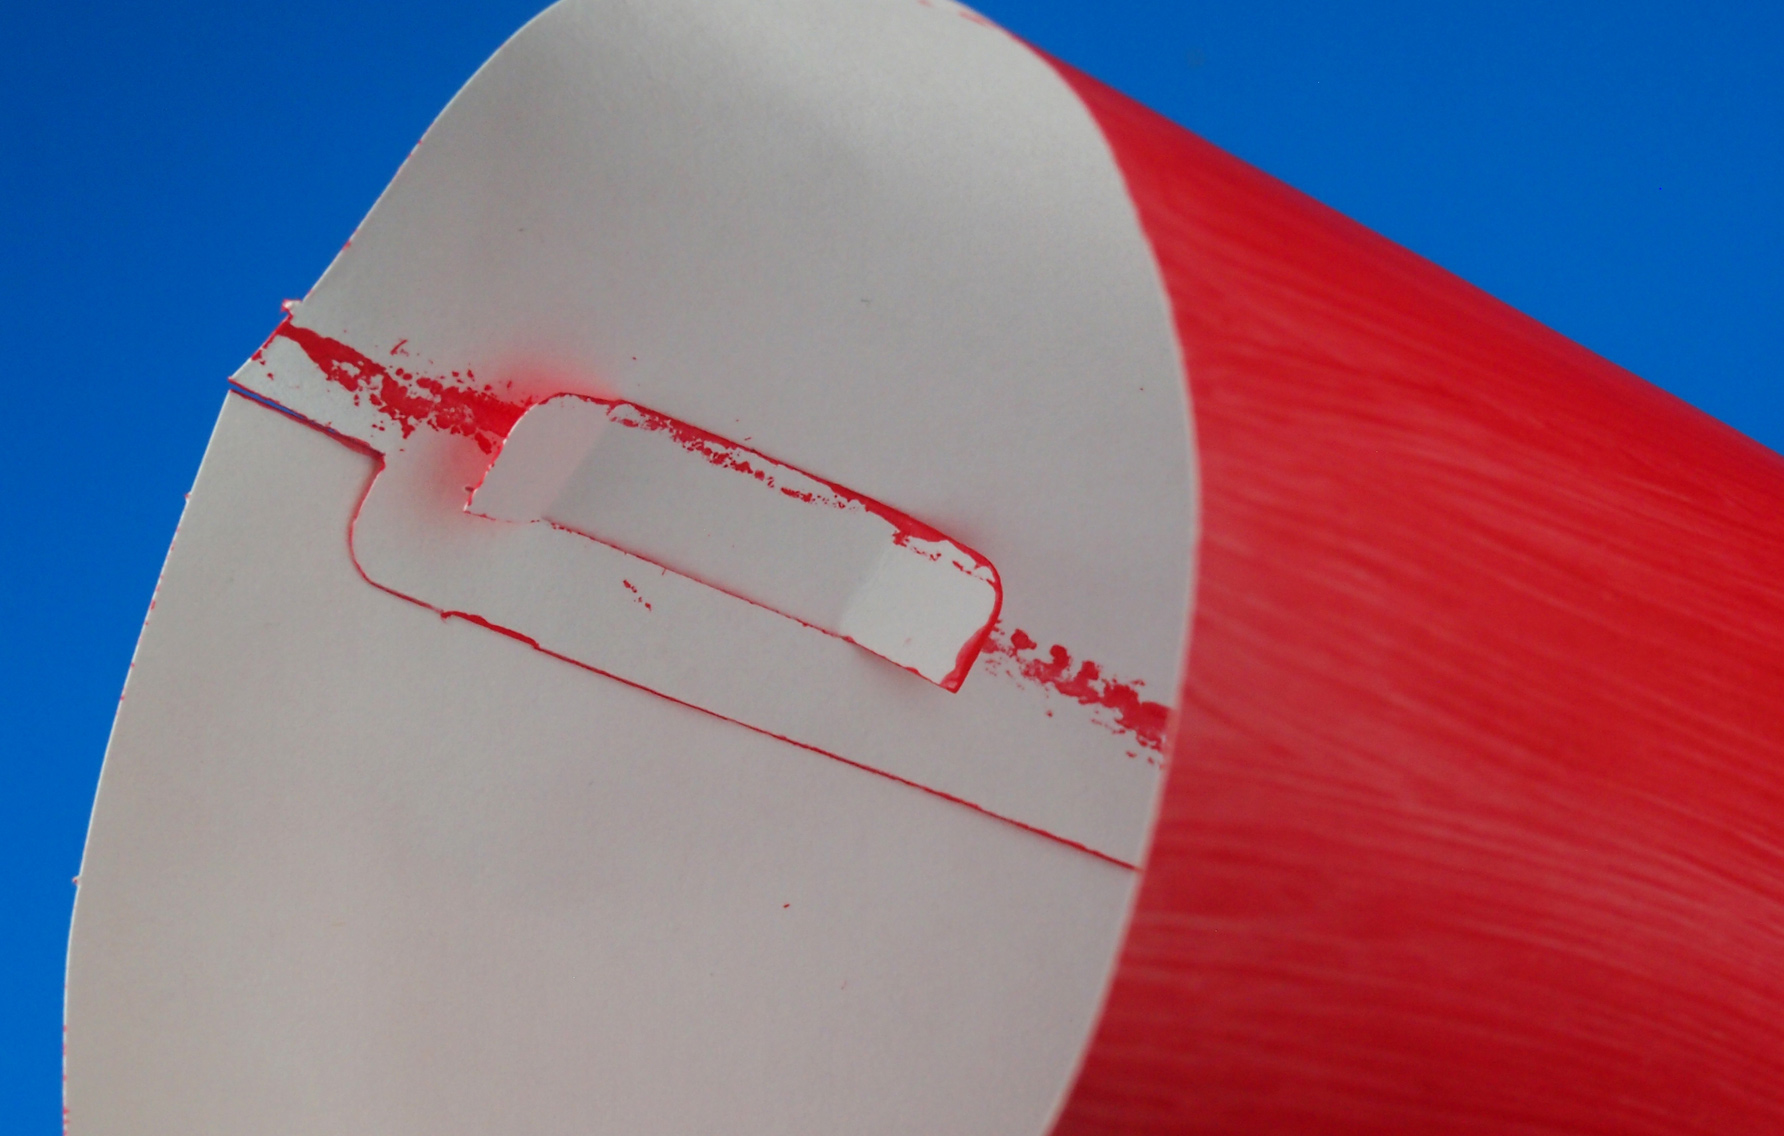
Flip over the first wave pattern you wish to use. Dab a bit of glue on either end of the strip.

P6099479

Slightly curl in the wave strip as you glue it down onto the background. Slide the edges of the wave strip about 1/4″ away from the edge of the background. This will lift up the sheet off the background to create a wave effect. Space each of the wave strips apart as you glue them down.

P6099482

Hang loose and get ready to add in the fish!

P6099484
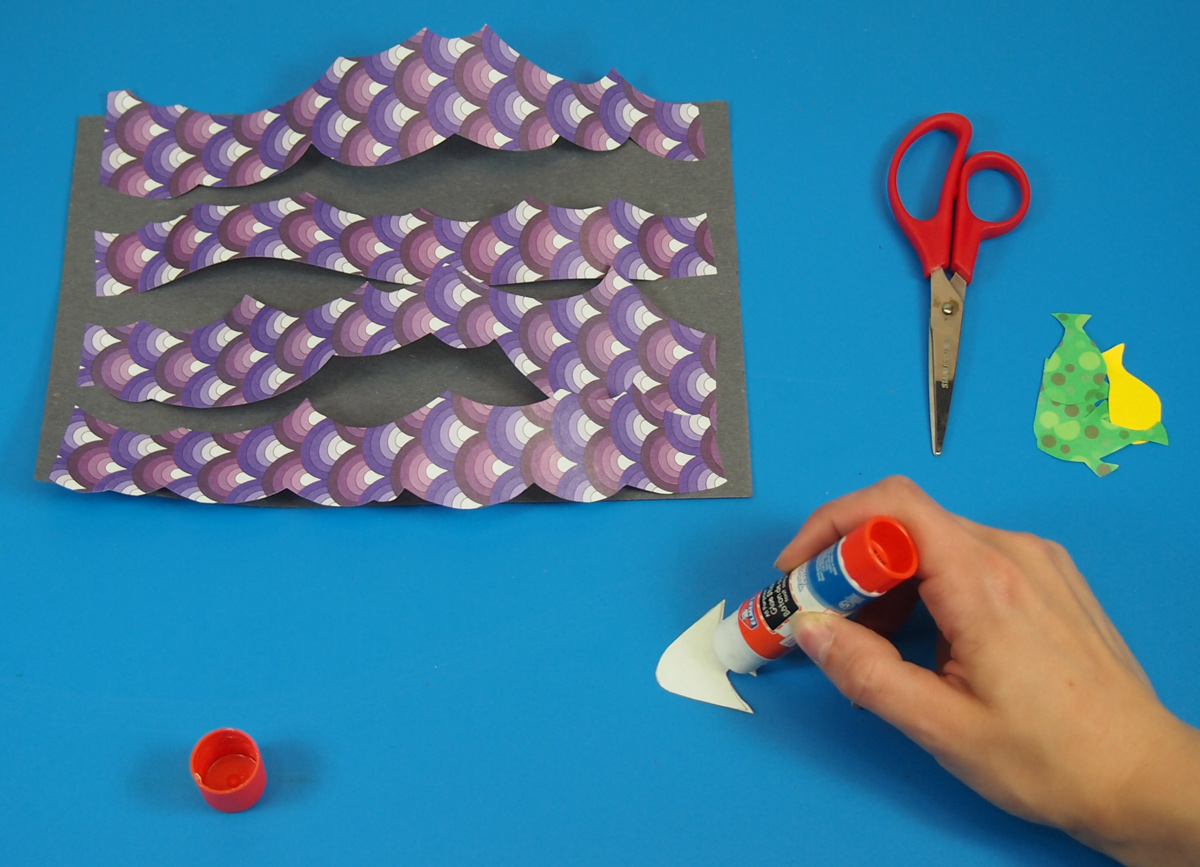
Dab glue onto the back of the fish shape.

P6099485

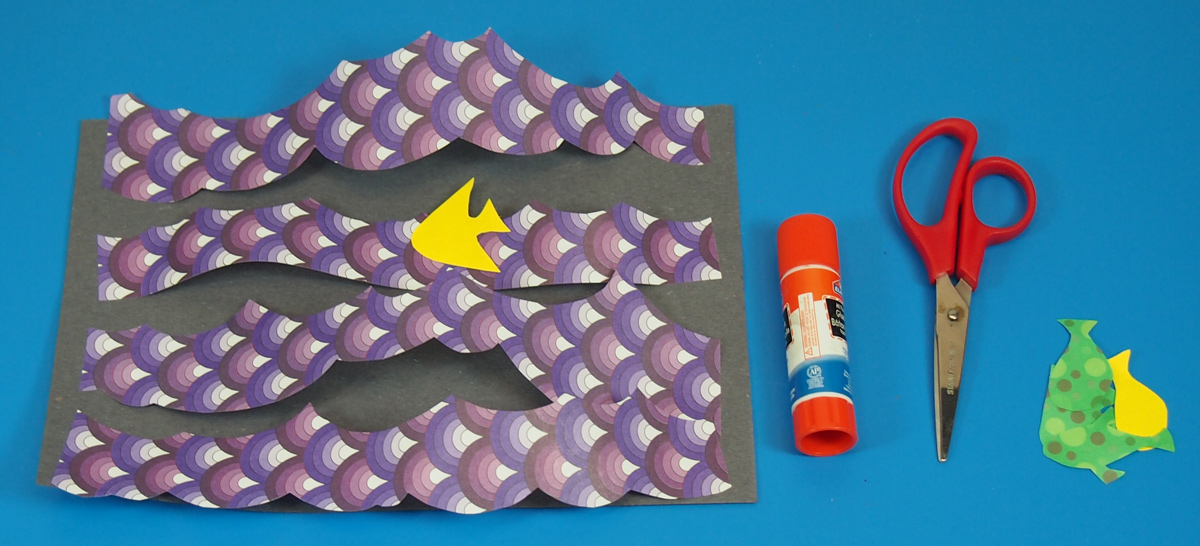
And glue your fish onto one of the wave strips.

P6099486

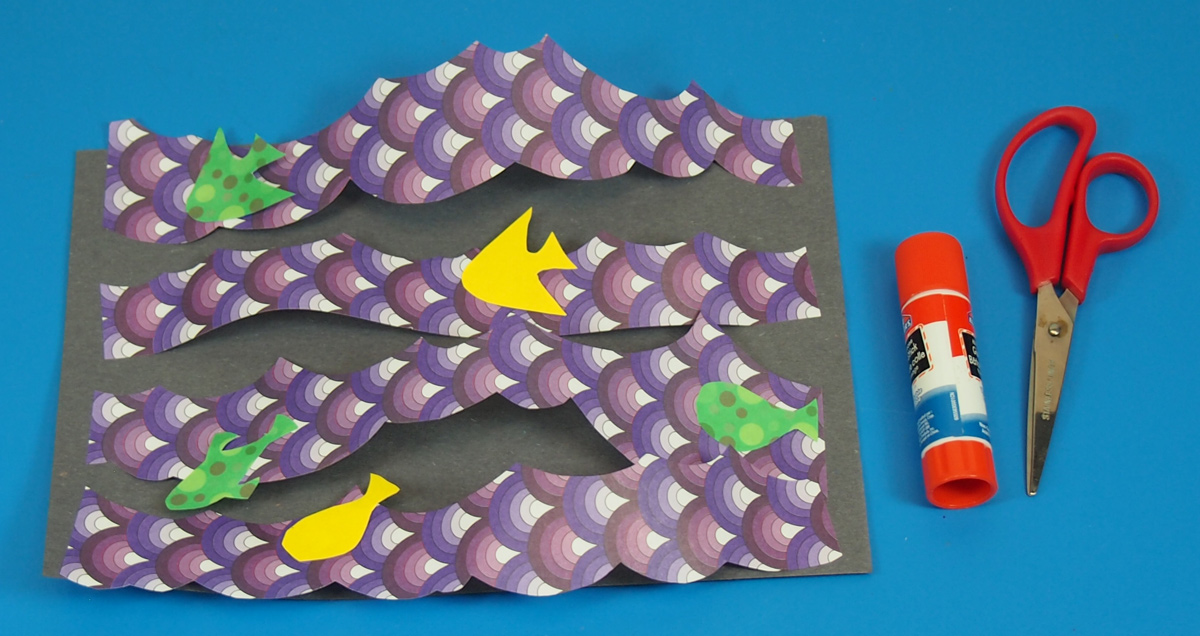
Fill up the entire scene with fish figures! Now they all look like they’re surfing the waves!

P6099491

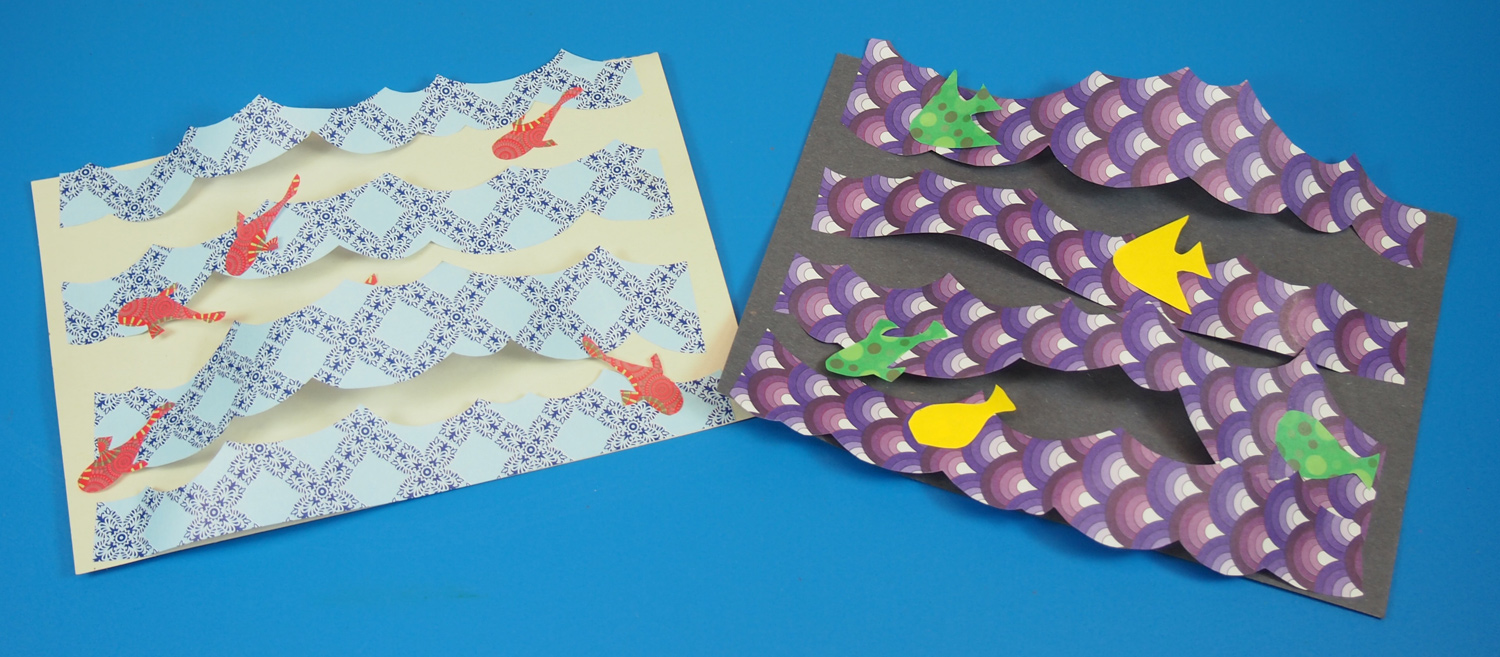
Here’s a look at what else you can do with different combinations of Decorative Hues paper! The scene on the left depicts a series of koi fish on light blue waves. The scene looks like it’s fresh out of a painting!

Line-08Thanks for checking out this post! Like us on FacebookShare this post with your friends, or Subscribe to this blog today to receive original craft project updates every Monday, Wednesday and Friday!

Chinese Lanterns

Color-In Chinese Lanterns Craft

2014-02-12-FeatureImage

Get ready for Chinese New Year!  Learn how to create lanterns can help students work with form and color to create these awesome, decorative projects. We’ll show you the step by step process using our R22021 Color-In Chinese Lanterns and our R55009 Shape Sponges!

Age: 5+

Duration: 20 minutes

You’ll Need:

• R22021 Color-In Chinese Lanterns

• R55009 Shape Sponges

• Paint

• Glue

• Glitter (if desired)

• Paint tray

• Paint bowl

• Paint brush

• String

• Tape

Line-18

2014-02-12-Step01

It’s a good idea to use newspapers to contain glitter!

Each of the Chinese Lantern projects comes with 3 pieces: a large square with lines cut into it, a medium rectangle and a wavy-looking long piece.

2014-02-12-Step03Set each piece inside your paint tray. Paint all 3 pieces in a flat color. If needed, paint on two or three layers. When you are satisfied with the strength of the paint color, set aside to dry.

2014-02-05-Sponge-AnimationOnce the large square piece is completely dry, get ready to decorate it! Fill a plastic bowl with a bit of white glue. Select a favorite sponge shape and dip one side into the glue. Carefully stamp the sponge shape 4-6 times across the square lantern piece.

2014-02-12-Step05Make sure you do this step quickly, before the glue dries! Place the square piece onto newspaper. Sprinkle gold glitter glue completely on top of the stamped glue areas.

2014-02-12-Step06When the glue and glitter have dried, gently lift up one edge of the square piece and shake off the excess. Only the parts where the glitter met the glue will remain on the square piece. This creates a lovely surprise for students! Tip: Try to separate the die-cut lines if they are stuck together from the paint/glue.

2014-02-12-Step09

Now it’s time to switch back to the medium rectangle piece. There are two tabs at the top and of the rectangle piece. On the bottom are two slots. Flip over the piece and locate the tabs. Grab the sides of the tabs and fold them into the center.

2014-02-12-Step10Roll the rectangle piece into a tube. To secure the tube, slide the folded tabs into the slots.

2014-02-12-Step11Reach inside the tube and unfold the tabs to “lock” in place.

2014-02-12-Step12You can reinforce the tube with a bit of tape!

2014-02-12-Step13Now it’s time to attach the handle. That’s what the long wavy piece is for! Locate the two slots along the top edge of the tube and slide the ends of the handle through.

2014-02-12-Step14

This will create a little basket-like project. Lay your glitter-stamped square piece face down so that the unpainted side is facing up. Align the top edge of the basket tube with the top edge of the square piece.

2014-02-12-Step15Wrap the glitter-stamped piece all around the tube and secure the edges together with tape.

2014-02-12-Step16Now, flip the lantern over. To create the bowl effect, you need to match the bottom edge of the square piece with the bottom edge of the inner tube. This will cause the strips to fan out.

2014-02-12-Step17Tape the bottom edges together.

2014-02-12-Step18If needed, separate and fan out the individual strips.

2014-02-12-Step19A beautiful, glittery take-home gift or, use string to hang the lanterns together from the classroom ceiling.

Line-18

Thanks for stopping by to view this post! If you would like to share some of your or your students’ projects, send photos of your work to subscriber@roylco.ca! Thanks for visiting and check back soon!

Lace Paper

22054_Lace Design Paper_Craft Fish


Create, design, decorate and embellish a variety of paper projects with our multipurpose Lace Design Paper! The lightweight material and lacy textures are perfect for a multitude of cut and paste projects. Features 8 beautiful designs ranging from checkered to flowery and ornamental. Our special paper has the look and feel of thick tissue paper with multiple pressed patterns, and can be dyed to any color or pasted onto any surface for a fabric-like feel with paper-like versatility!

Lace Paper comes in 8 assorted intricate designs. Choose a design that will fit your project best. For this initial project, we will be dyeing the Lace Paper in different colors and then cutting it up to use as an embellishment for book-covers, cards and a variety of other projects!

Use a broad-tipped marker and gently add some color onto the Lace Paper. You don’t have to color the entire sheet. Color only a small amount.

Spray a bit of water onto the marker ink and watch as it soaks through the material—just like our Color Diffusing Paper! You can add more marker colors and spray those spots with water or continue spraying with water to simply diffuse the color even more throughout the sheet.


Leave the Lace Paper sheet to dry overnight. For fast results, place the paint tray and Lace Paper outside in direct sunlight or position underneath a desk lamp. Once the paper is dry, use for craft activities!

Here are some suggestions on what to do with your dried and dyed Lace Paper designs! We will go into more detail with each project further into this guide.

  • Paste sections of the material onto a paper mâché mold and create a lacy textured effect.
  • ŸCreate a colorful butterfly using materials from the Dollar Store.
  • Fold the Lace Paper sheet twice to make a cute card for Valentine’s Day.
  • Make little bunting flags!
  • Decorate clothes for a paper doll.
  • Design a stained glass frame with black construction paper and Lace Paper.

Line-09

Like us on FacebookShare this post with your friends, or Subscribe to this blog today to receive original craft project updates every week!

Project Spotlight: Really Big Origami Paper

2014-12-02-FeatureImage

Fold perfect origami ornaments or use as wrapping paper! The R15208 Really Big Origami Paper designs are beautiful and ornate, doubling as festive paper for this holiday season!

The sheets are perfect squares at 12 x 12″ (30 x 30 cm) making them the perfect cut and size for practicing to fold complex origami designs. Don’t work with standard sized paper that needs to be cut and prepared ahead of time. Start immediately folding gorgeous paper sculptures.

Origami-Butterfly

There are 6 different designs that you can use to make your origami sculptures. To learn more about the different designs, visit our origami page on the blog!

Try some of these project ideas with the R15208 Really Big Origami Paper!

You can view each of the folding techniques step-by-step in our exclusive videos below! Simply click on any of the animal origami links to view more:

Origami Fish  

Origami Frog

Origami Boat

Origami Crane

Origami Bird

Origami Butterfly

Once you are finished folding up your origami designs, punch a hole through the top and string through some ribbon to make a loop. Tie off the loop with a knot. Hang the origami ornaments on a crafty Christmas tree!

In addition, make snowflakes with the Origami Paper! We show you how to make beautiful snowflakes with intriguing designs in the R15314 Super Slick Paper video, which you can view here.

Line-16

Like us on FacebookShare this post with your friends, or Subscribe to this blog today to receive original craft project updates every Monday, Wednesday and Friday!

Christmas Tree Heart Mosaics

2014-11-26-FeatureImage

Christmas is a month away, but what better way to get into the holiday spirit than to build your own tree on paper using our R15367 Heart Mosaics!

Age: 4+

Duration: 10 minutes

Learning Objectives: Layer multiple pieces together. Identify biggest to smallest and coordinate similar colors. Make associations between the shapes in order to create a larger picture. Develop fine motor skills through sorting, placing and gluing the pieces. Discuss triangles as a geometric shape and use

You’ll Need:

R15367 Heart Mosaics

R22052 Double Color Card Sheets

• Glue

Line-06

This is an easy project to do, but makes a great activity for students as they are waiting to transition between class periods or as a thematic holiday art project.

P1015794

This activity requires very little preparation; all you need are materials that you may already have in your classroom! Give each group of students a pile of Heart Mosaics to sort through. Although we’ve chosen a purple background for our Christmas tree, you can use any color from the Double Color Card Sheets set as a backing to your designs.

P1015796

This step allows you to talk a little bit about the basic structure of a Christmas tree. It isn’t just lights and decorations. The shape of the tree is important. Traditionally, most Christmas trees should have the basic shape of a triangle, which is what we are going to make first with our Heart Mosaics.

Ask your students to separate their Heart Mosaics into like colors of green. We have several different colors of green to choose from, so all students will get a chance to make trees.

P1015800

Start with the largest Heart Mosaic pieces first. Locate the largest pieces and place them upside down at the bottom of the card sheet. Make a wide base.

P1015801

Add a few more upside-down pieces to the base, moving upward. Angle the ends of the Heart Mosaics inwards so that the shape of the overall tree takes on a triangular form.

P1015805

Keep adding and angling the smaller Heart Mosaics inwards as you progress to the top. Choose two small and skinny Heart Mosaics to form the peak of the tree.

P1015807

Now it’s time to decorate. Select several smaller Heart Mosaics to form the ornaments as pops of color. Turn the Heart Mosaics right side up and place them on top of the green tree.

P1015812

Decorate the tree just as you would at home! Space out the ornaments in an even, balanced way.

P1015813

Finally, top your Christmas tree with a bright yellow Heart Mosaic. Glue down all the pieces. Students can take their Christmas trees home or tack them up on a board as part of a Christmas display!

Check out another great project with Heart Mosaics:

Make a beautiful tree of hearts for Valentine’s Day cards, for a birthday or just to show someone how much you love them!

Line-06

Like us on FacebookShare this post with your friends, or Subscribe to this blog today to receive original craft project updates every Monday, Wednesday and Friday!

Project Spotlight: Super Slick Craft Paper

SuperSlickCraftPaper-FeatureImage

Turn your regular craft paper designs into spectacular projects with R15314 Super Slick Paper! The paper is coated with a gloss to make the colors vibrant and the paper texture smooth and easy to work with. Super Slick Craft Paper is a great material to work with as the range of colors will inspire you to fold, cut and glue a variety of different projects!

To add interest to your projects, cut out basic shapes such as squares, rectangles, triangles and more! Arrange the shapes onto a sheet of construction paper and paste down. Make familiar objects or scenes such as the outdoors, cityscapes, vehicles, robots and more!

The Super Slick Craft Paper is standard 8½ x 11″ so you can fold it from corner to edge and cut off the bottom to make a square. The square can then be used for origami projects.

Our YouTube video below, we show you how to make your own pop art using two sheets of Super Slick Craft Paper. On the first sheet, fold and cut out a snowflake design while retaining the four corners. Paste on top of a separate sheet of colored paper.

Line-16

Like us on FacebookShare this post with your friends, or Subscribe to this blog today to receive original craft project updates every Monday, Wednesday and Friday!

Craft Spotlight: Big Huge Fingerpaint Fish!

2014-10-06-FeatureImageDecorate giant paper fish with fingerpaint, glue and glitter! Our art campers painted and collaged several Big Huge Fingerpaint Fish paper projects. Check out their process below!

_DSC0126The R75402 Fingerpaint Fish is 3 feet long and about 2 feet at its widest point, making it a great canvas for group art projects!

_DSC0127First we painted the Fingerpaint Fish fully on one side as a base for the next layer of art collage material. Use thick tempera paint or fingerpaint to saturate one side of the painting shape.

DSCF7054

Next, we provided the campers with a container of glue. Use regular dollar store containers to keep glue intact between groups of students. You can place the lid back onto the container to keep the glue from drying out.

DSC05290We used R5725 Goo Spreaders to scoop up the glue and spread it across the Fingerpaint Fish.

DSCF7037We asked our art campers to imagine they were drawing on fish scales or body patterns with the glue. Why would we paint the fish with glue? Good question!

DSCF7053So we could add glitter!

DSCF7058Using glitter, the fish scales become bright and colorful!

IMG_7321After we doused the fish with glitter, we helped each other tilt the fish sideways to help the excess glitter slide off.

DSCF7063Next, we hung up the fish to dry.

DSCF7065What a great art project! Not only did the art campers get to work on their art cooperatively, but they explored new patterns and fun techniques to decorate their fish projects.

Line-10

Like us on FacebookShare this post with your friends, or Subscribe to this blog today to receive original craft project updates every Monday, Wednesday and Friday!

Craft Stick Bracelets

2014-06-04B-FeatureImage

Make beautiful bracelets using our R39100 Wild Animal Craft Sticks! An ingenious process creates a curved shape in the craft stick that you can use as a bracelet!

Age: 4+

Duration: 10 minutes. Project dries overnight.

Learning Objectives: Combine craft stick designs with flower pieces to make beautiful combinations. Observe the effects of glue and water on manipulating the shapes of craft sticks. Use simple techniques to create an effective, visually appealing product.

You’ll Need:

R39100 Wild Animal Craft Sticks

R15657 Wild Flower Paper Bits

• Small plastic disposable cups

• White glue

• Glue stick

• Water

• Paint tray

• Container

• Paper towels

Line-09

It’s a good idea to protect your work surface as you will be working with glue and water. Children can share one container of water and glue between each other, but that will inevitably lead to some messes!

P1019186

Set up all of the supplies you’ll need. The craft sticks are patterned in 5 different designs, but you can experiment with different designs using the Wild Flower Paper Bits.

P1019192First, mix 1 part water with 1 1/2 parts glue. You want to have more glue than water, as this will help the bracelet retain its shape. I suggest mixing the glue and water together in a bottle. Cap it off, then shake to get the two ingredients fully mixed.

P1019203Pour the mixture into a container that’s long enough to fit the craft sticks inside.

P1019206Dip one craft stick inside the container. Let it sit inside for about 1-2 minutes.

P1019211Once you remove the craft stick, it becomes bendable! Carefully press the craft stick along its length to loosen it up. Grab the ends and gently bend the craft stick inwards.

P1019213Place the craft stick inside the plastic disposable cup along the topmost rim.

P1019216Let sit overnight until it dries. In the morning, remove the bracelet from the cup to reveal a beautiful shape!

P1019221

Now you can decorate your bracelet! Pop out a few of the Wild Flower Paper Bits. Choose several different shapes and patterns.

P1019222Dab a bit of glue into the center of each flower. Layer the flowers.

P1019226Finally, add a lot of glue to the center of the craft stick bracelet and press your flower design down onto it.

P1019228Ready to wear!

P1019235You can try a number of different combinations with just a few sheets of flower bits and a great craft stick design!

Line-09

Thanks for checking out this post! Like us on FacebookShare this post with your friends, or Subscribe to this blog today to receive original craft project updates every Monday, Wednesday and Friday!

Craft Spotlight: Bouquet Paper

Feature-Image-bouquetpaperNo need to pick flowers! Make your own decorative bouquets with our realistic R24560 Bouquet Paper! The ingenious flower designs allow students to overlap the different flower images to make their own three-dimensional flowers!

IMG_00000396Sheets of Bouquet Paper line one of the art tables at our Summer Art Camp. Each of the flower images can be popped out from the backing and combined with other flower images. To see more information on our R24560 Bouquet Paper click the following link!

IMG_00000423

Simply overlap the flower designs. Each flower image is marked with a center hole to allow students to thread a pipe cleaner through and secure the flowers together. The pipe cleaner acts like the flower’s stem! Make sure the flowers all align at the center hole before you secure them with the pipe cleaner.

IMG_2353You can add leaves to the flowers as well. The hole for the pipe cleaner is located at the base of each leaf. Adjust the position of the leaves along the pipe cleaner ‘flower stem.’

IMG_00000432Each of the Bouquet Flower petals and leaves can be carefully folded along the center to add a realistic touch to your designs. Here, one of the Art Campers adjusts her flower bouquet!

IMG_2364The flowers were placed inside of clean and empty water bottles. The inside of the bottles were decorated with our 15203 Decorative Hues Paper located HERE. Students selected their favorite paper design, rolled it up into a tight tube and slipped it through the top of the bottle. Now it looks like a vase!

IMG_2369Perfect for adding a happy touch to your crafting table tops!

Line-11Thanks for stopping by! If you have used this craft in the past, send us photos of your work to subscriber@roylco.ca and we will feature them in an upcoming post!