Tropical Fish Stained Glass Frames

tropical fish stained glass frames

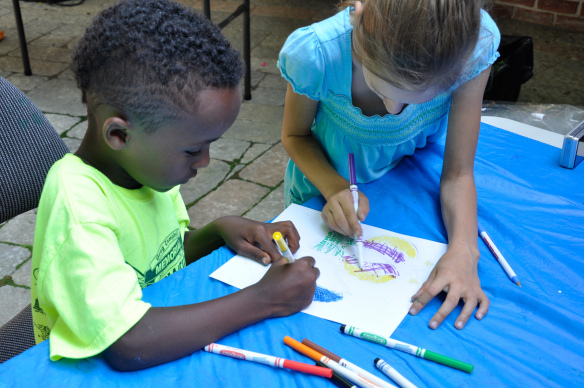
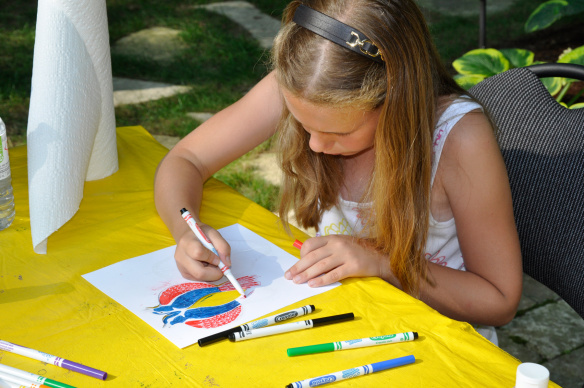
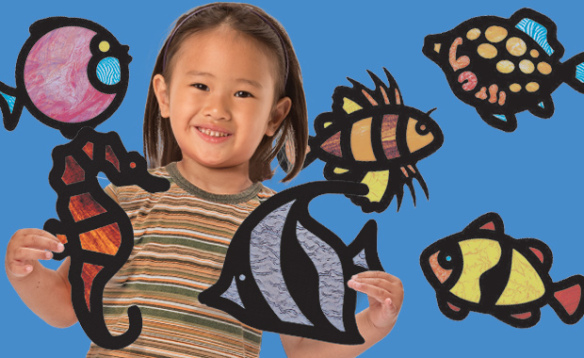
Tropical Stained Glass Fish are perfect little activities for students to exercise their fine motor development while building knowledge of colors, shapes and light!

Our set of tropical fish is ideal for introducing fish to your students. Each design is based on a real fish. Show students the frame and then discuss the actual fish, what it is called and where it lives.

Start by popping out the frame from the backer sheet. Throw away scraps and remove the interior pieces. Note: There are two designs for each fish: One faces left and one faces right.

Use colored tissue paper or Roylco’s R15257 Stained Glass Paper to decorate the frames. Start by laying the frame over the paper and lightly tracing each of the interior spaces of the frame with pencil onto the paper. Remove the frame and redraw the outline of the shape with a large border around it. Cut out the new, larger shape and glue or tape onto the white side (back) of the frame. Repeat with the rest of the shapes within the frame. Once complete, you can glue the “mirror-image” frame onto the back of the frame and sandwich the pieces of colored paper between the two frames or leave the white side exposed.
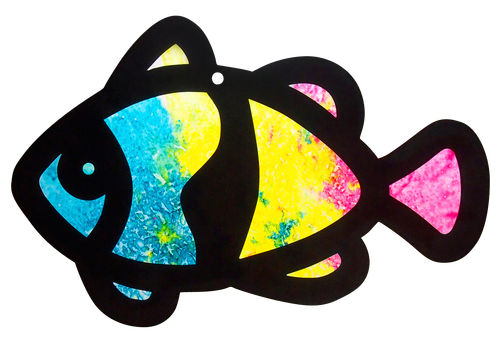
52087 Tropical Fish

Once the frames are finished, hang them up. The finished artwork looks great in a window. Alternatively, hang them from the classroom ceiling. Add some crepe paper seaweed to finish off your ceiling ocean scene.

Make an aquarium classroom mural! Arrange the Stained Glass Frames on a bulletin board. Draw, cut out and add other sea animals and vegetation. Cover the whole board with crunched up cellophane (available at gift stores where they sell gift basket wrap). The cellophane will give an artistic water look to your mural.

Make your own Stained Glass Frames! Start with a sheet of black construction paper. Draw a simple design on the paper using large, simple shapes. Poke the tip of a pair of scissors in each shape and using that as a starting point, cut out the shapes. Fill with colored tissue paper or Stained Glass Paper.

52087 Tropical Fish Stained Glass boy

Watch a video below to learn more about making your Stained Glass Tropical Fish come to life!

Line-20

Like us on FacebookShare this post with your friends, or Subscribe to this blog today to receive original craft project updates every week!

Lace Paper

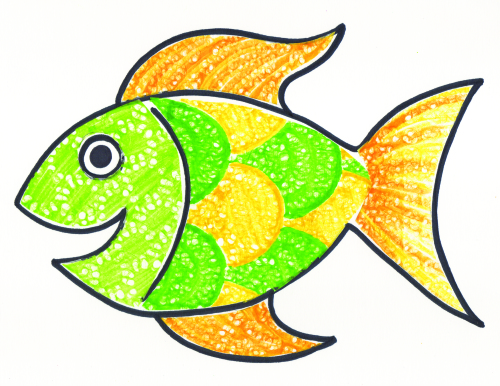
22054_Lace Design Paper_Craft Fish


Create, design, decorate and embellish a variety of paper projects with our multipurpose Lace Design Paper! The lightweight material and lacy textures are perfect for a multitude of cut and paste projects. Features 8 beautiful designs ranging from checkered to flowery and ornamental. Our special paper has the look and feel of thick tissue paper with multiple pressed patterns, and can be dyed to any color or pasted onto any surface for a fabric-like feel with paper-like versatility!

Lace Paper comes in 8 assorted intricate designs. Choose a design that will fit your project best. For this initial project, we will be dyeing the Lace Paper in different colors and then cutting it up to use as an embellishment for book-covers, cards and a variety of other projects!

Use a broad-tipped marker and gently add some color onto the Lace Paper. You don’t have to color the entire sheet. Color only a small amount.

Spray a bit of water onto the marker ink and watch as it soaks through the material—just like our Color Diffusing Paper! You can add more marker colors and spray those spots with water or continue spraying with water to simply diffuse the color even more throughout the sheet.


Leave the Lace Paper sheet to dry overnight. For fast results, place the paint tray and Lace Paper outside in direct sunlight or position underneath a desk lamp. Once the paper is dry, use for craft activities!

Here are some suggestions on what to do with your dried and dyed Lace Paper designs! We will go into more detail with each project further into this guide.

  • Paste sections of the material onto a paper mâché mold and create a lacy textured effect.
  • ŸCreate a colorful butterfly using materials from the Dollar Store.
  • Fold the Lace Paper sheet twice to make a cute card for Valentine’s Day.
  • Make little bunting flags!
  • Decorate clothes for a paper doll.
  • Design a stained glass frame with black construction paper and Lace Paper.

Line-09

Like us on FacebookShare this post with your friends, or Subscribe to this blog today to receive original craft project updates every week!
Craft Spotlight: Peel and Stick Making Faces

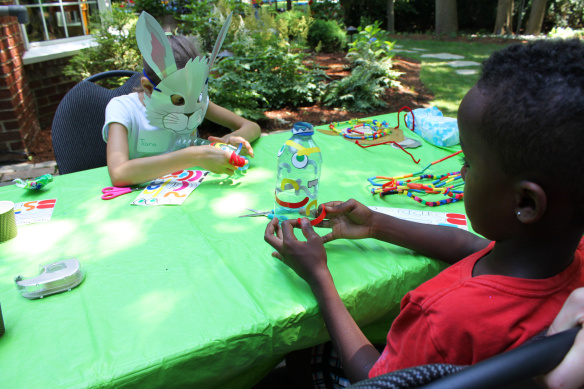
2014-08-14-FeatureImageMake hilarious faces with creative Peel & Stick face stickers! Choose from a wide selection of funky eyes, noses and mouths to decorate any object! This post details how the face stickers were used to decorate homemade maracas for a great sensory experience.

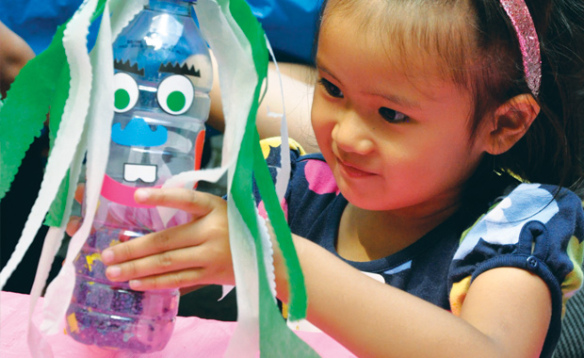
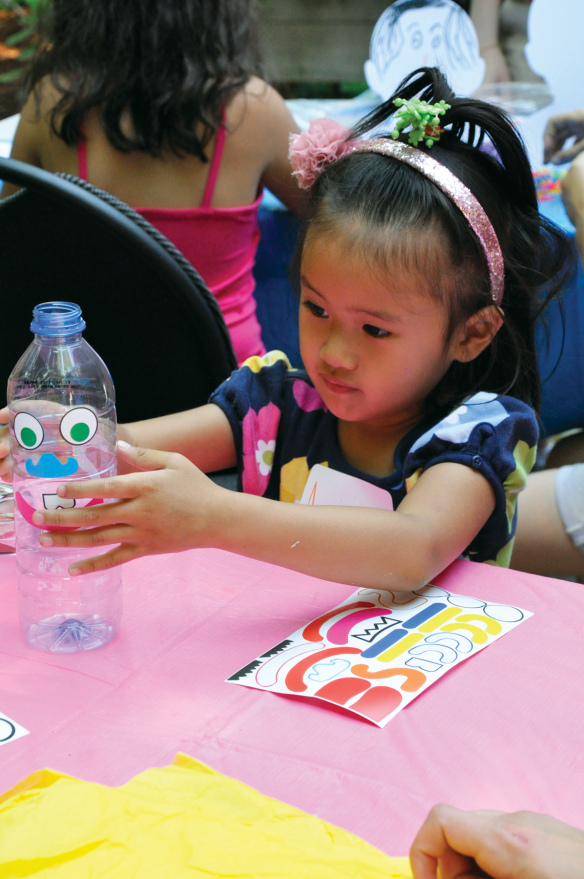
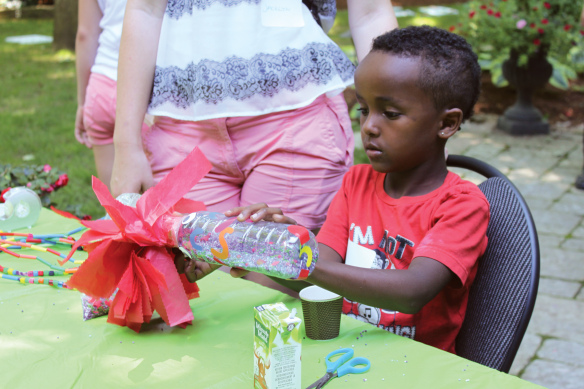
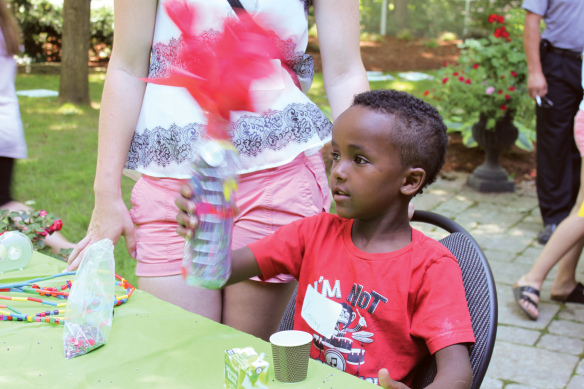
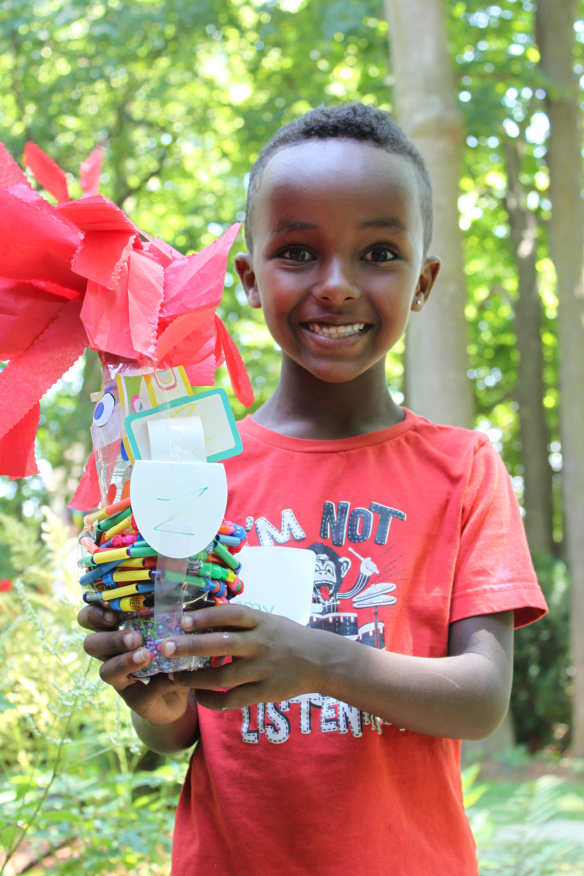
_DSC0361We used the stickers to decorate bottles filled with collage materials. These materials, when shaken, would produce a sound just like a maraca! To help our art campers characterize their individual bottles, we decided to put a fun face on each of them.

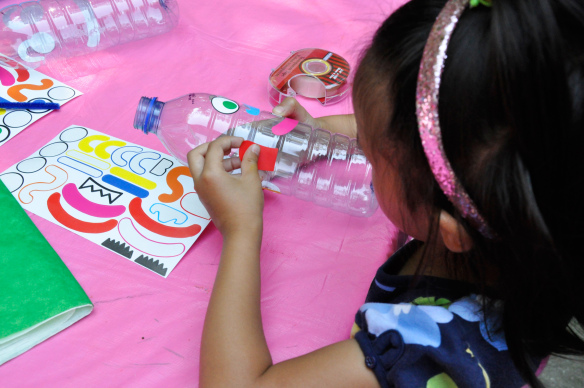
_DSC0362Here’s an art camper applying the stickers onto a bottle. This is a great exercise in facial proportions for your students. Apply two eye stickers side by side at the top of the bottle. Directly above each eye, place an eyebrow.

_DSC0363The best part is that the Peel & Stick face stickers are not specific facial features that should be placed in particular ways, but can be mixed and matched. For example, the shapes that look like mouths can be used as eyebrows! Alternatively, use noses for mouths and so on.

IMG_2292Here’s a look at how the Peel & Stick elements are being used to decorate this art camper’s bottle. The long mouth-like stickers are pasted all over the bottle like an abstract piece.

_DSC0364This art camper decided to put ears on this bottle! This particular piece can be used for a mouth as well, but is vague enough of a shape to give students the flexibility they need in their designs.

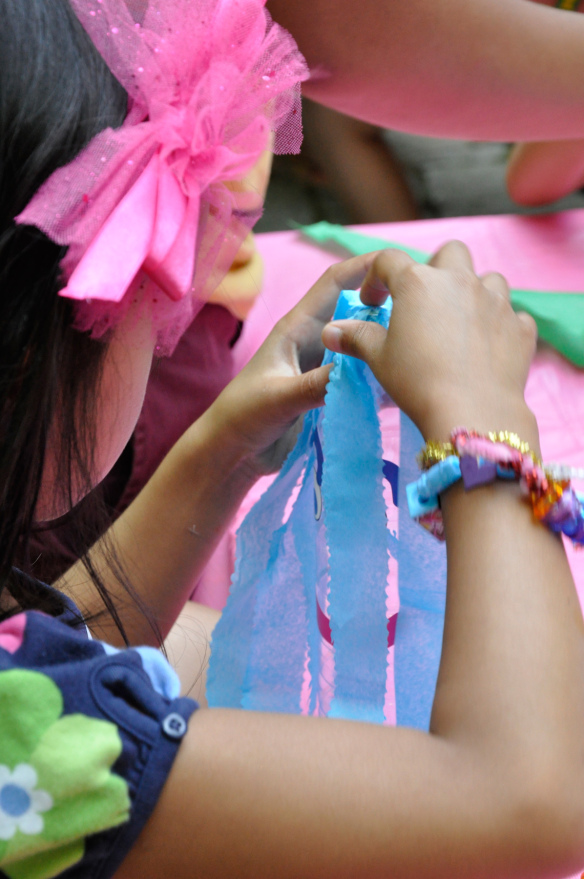
_DSC0366To make hair, we used scrapbook scissors to cut strips of tissue paper.

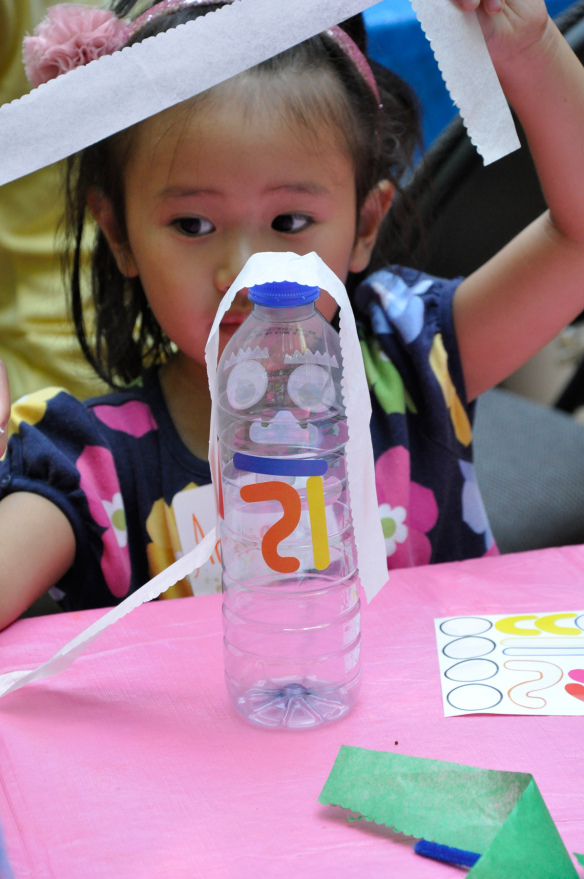
_DSC0367We laid the strips of tissue paper onto the bottle cap and tape them down.

IMG_2301Before capping the bottle, we filled it with beads, rice or some other collage material that will make a cool sound when shaken up.

IMG_2304Give it a try!

_DSC0380

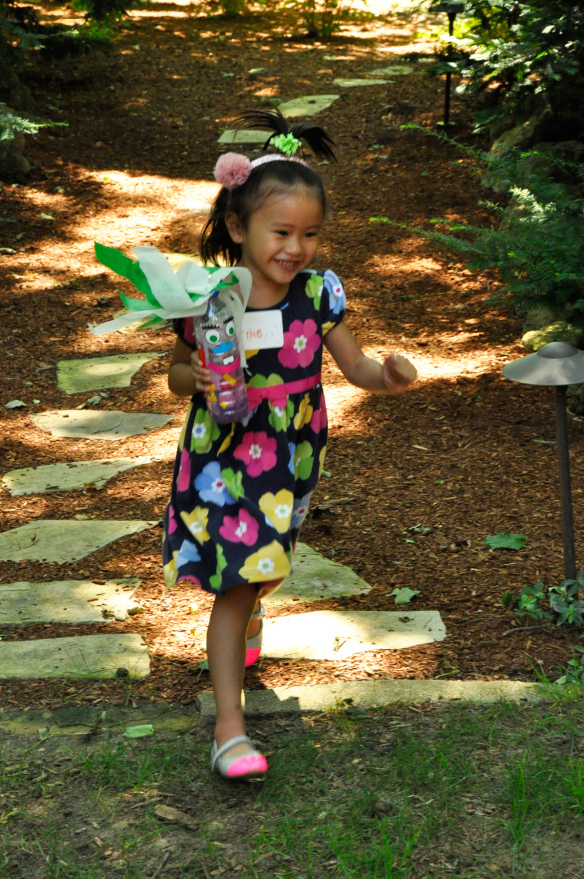
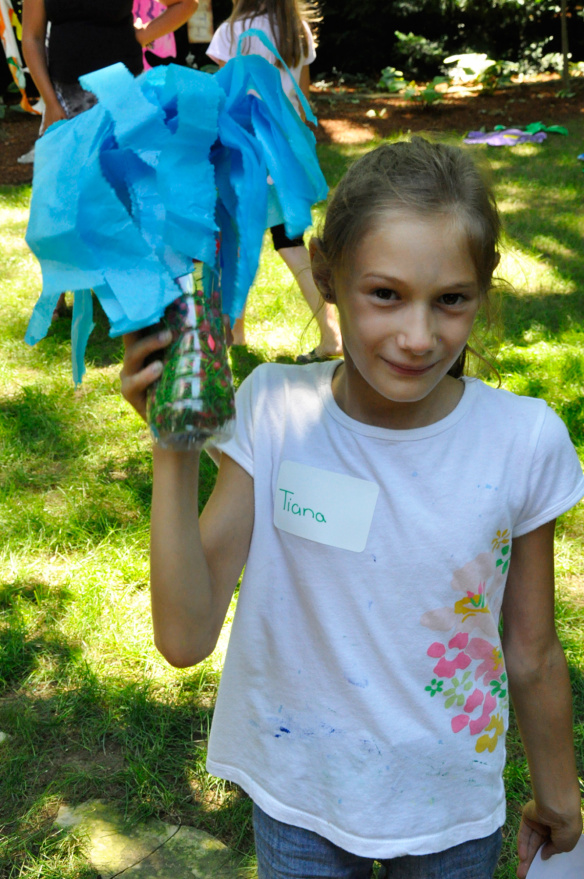
We let the art campers take off with their Peel & Stick Making Faces maracas to make some noise!

_DSC0386Here’s another look at a Peel & Stick Making Faces maraca!

IMG_2319And this one! Thanks for checking out this craft!

Line-17Like us on FacebookShare this post with your friends, or Subscribe to this blog today to receive original craft project updates every Monday, Wednesday and Friday!