Craft Spotlight: Peel and Stick Making Faces

2014-08-14-FeatureImageMake hilarious faces with creative Peel & Stick face stickers! Choose from a wide selection of funky eyes, noses and mouths to decorate any object! This post details how the face stickers were used to decorate homemade maracas for a great sensory experience.
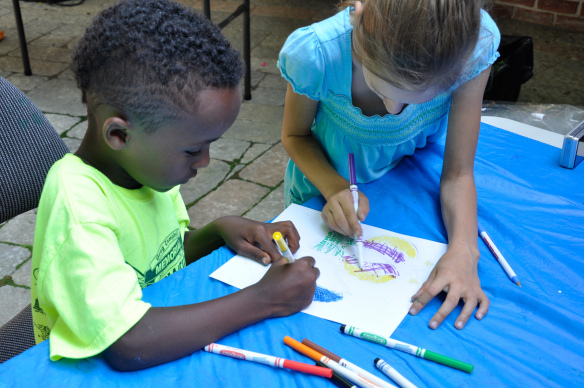
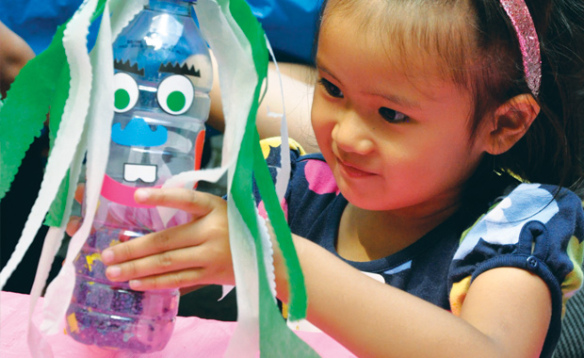
_DSC0361We used the stickers to decorate bottles filled with collage materials. These materials, when shaken, would produce a sound just like a maraca! To help our art campers characterize their individual bottles, we decided to put a fun face on each of them.
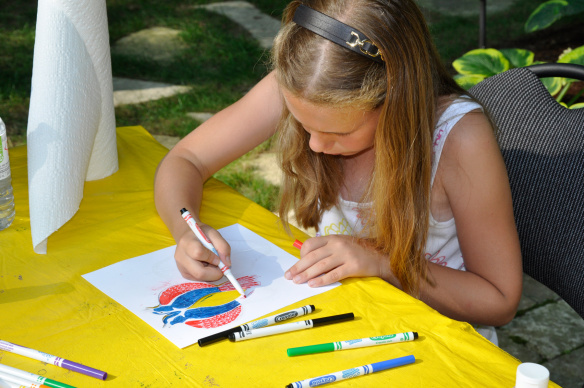
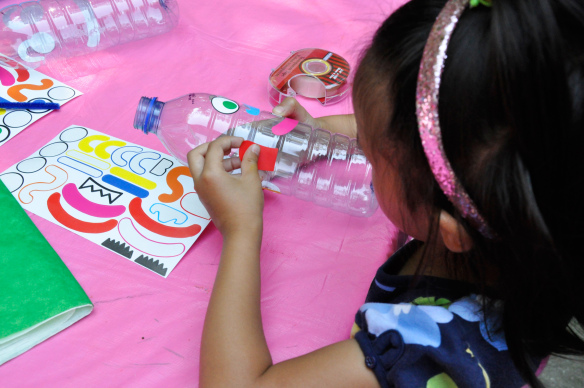
_DSC0362Here’s an art camper applying the stickers onto a bottle. This is a great exercise in facial proportions for your students. Apply two eye stickers side by side at the top of the bottle. Directly above each eye, place an eyebrow.
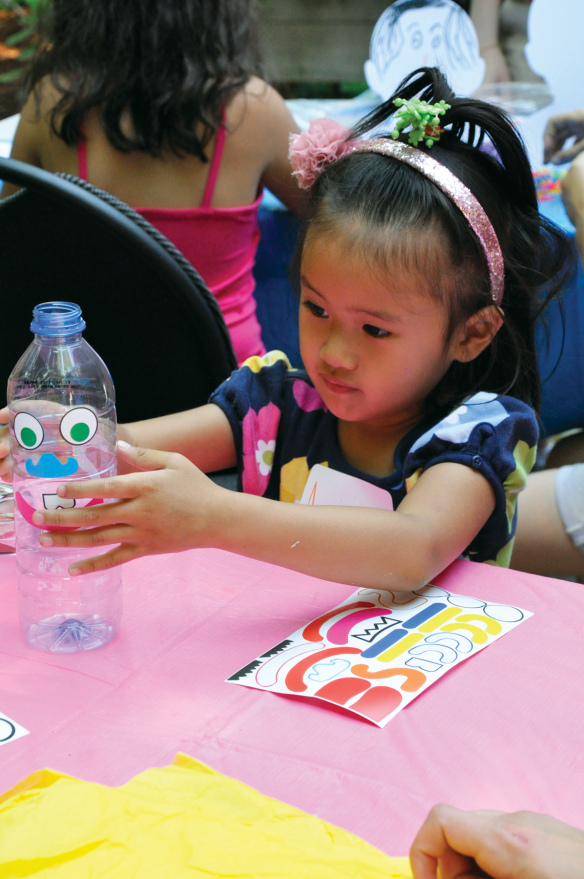
_DSC0363The best part is that the Peel & Stick face stickers are not specific facial features that should be placed in particular ways, but can be mixed and matched. For example, the shapes that look like mouths can be used as eyebrows! Alternatively, use noses for mouths and so on.
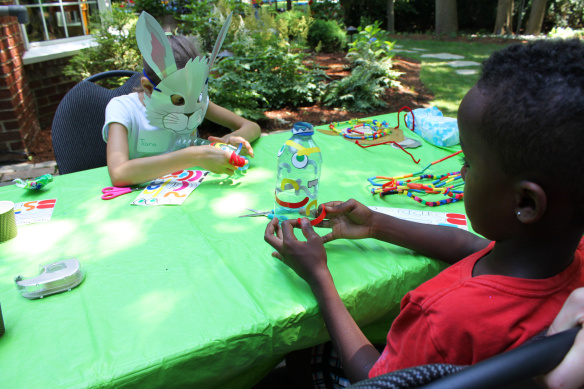
IMG_2292Here’s a look at how the Peel & Stick elements are being used to decorate this art camper’s bottle. The long mouth-like stickers are pasted all over the bottle like an abstract piece.
_DSC0364This art camper decided to put ears on this bottle! This particular piece can be used for a mouth as well, but is vague enough of a shape to give students the flexibility they need in their designs.
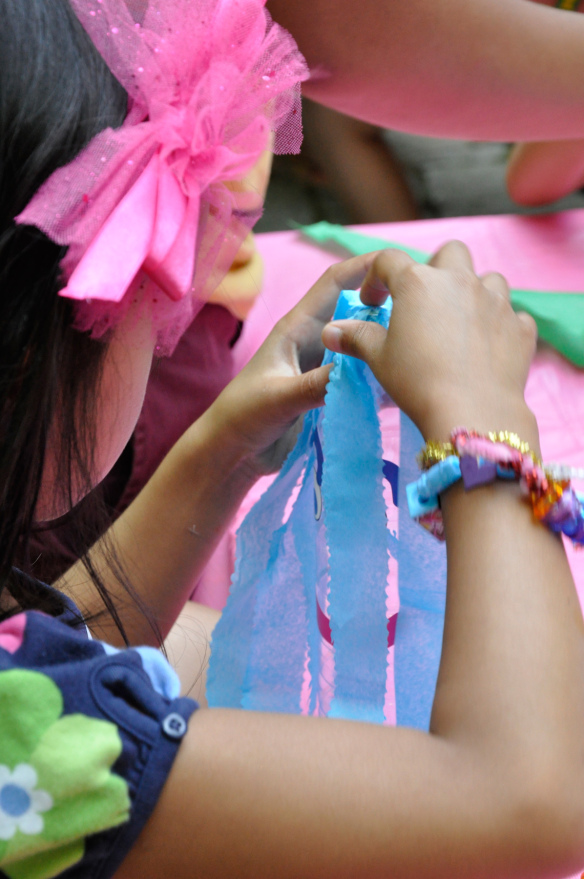
_DSC0366To make hair, we used scrapbook scissors to cut strips of tissue paper.
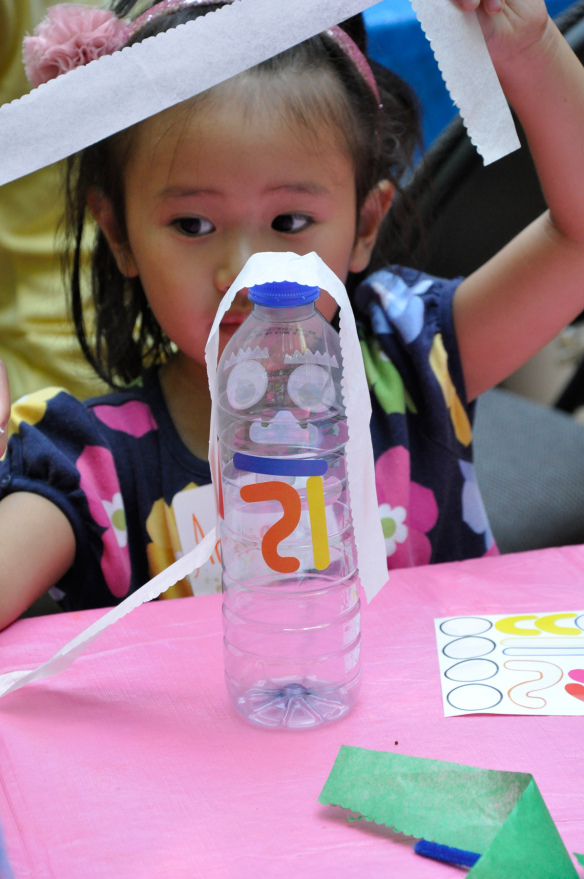
_DSC0367We laid the strips of tissue paper onto the bottle cap and tape them down.
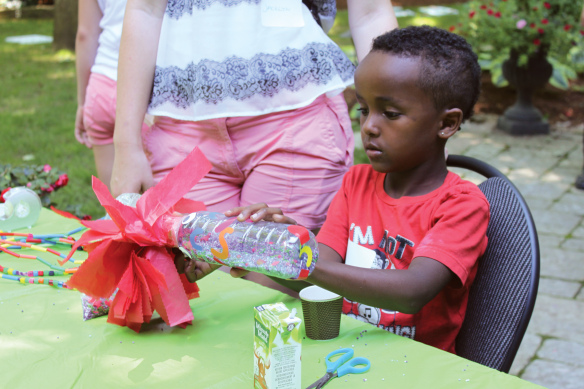
IMG_2301Before capping the bottle, we filled it with beads, rice or some other collage material that will make a cool sound when shaken up.

IMG_2304Give it a try!

_DSC0380

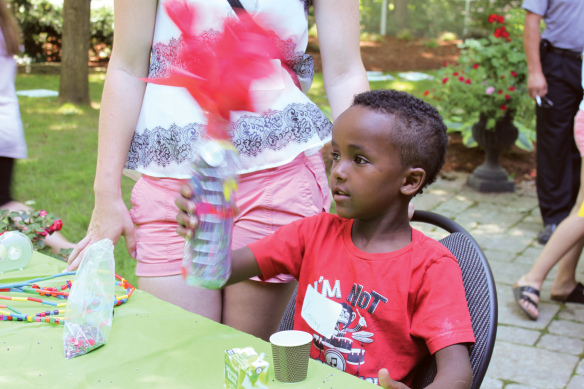
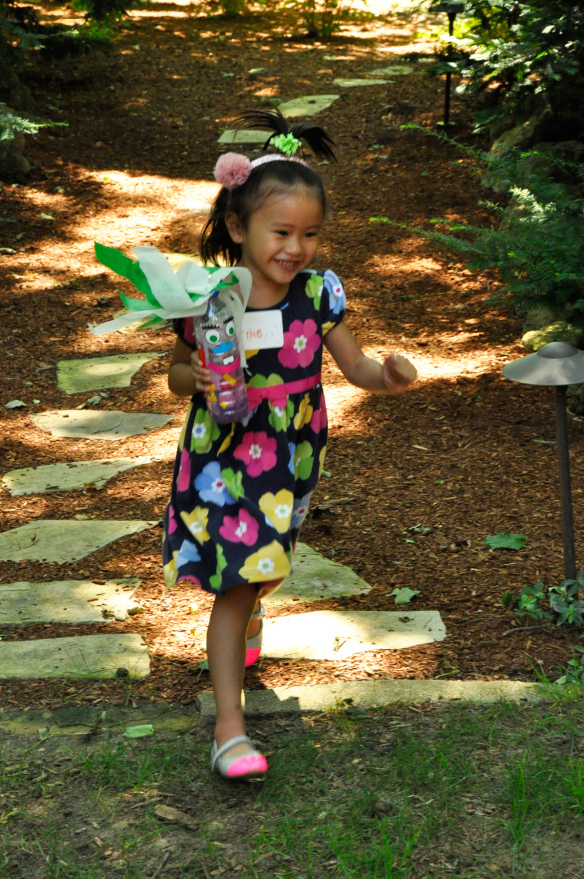
We let the art campers take off with their Peel & Stick Making Faces maracas to make some noise!
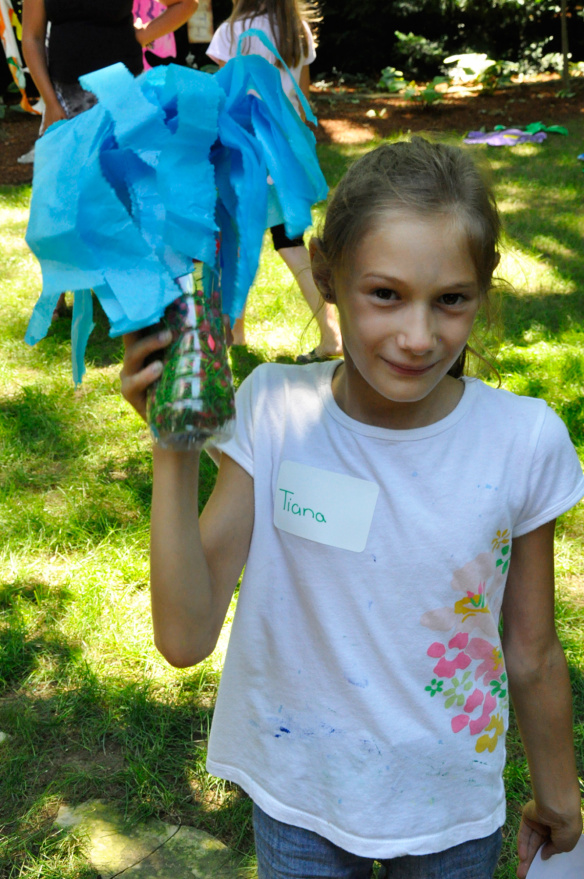
_DSC0386Here’s another look at a Peel & Stick Making Faces maraca!
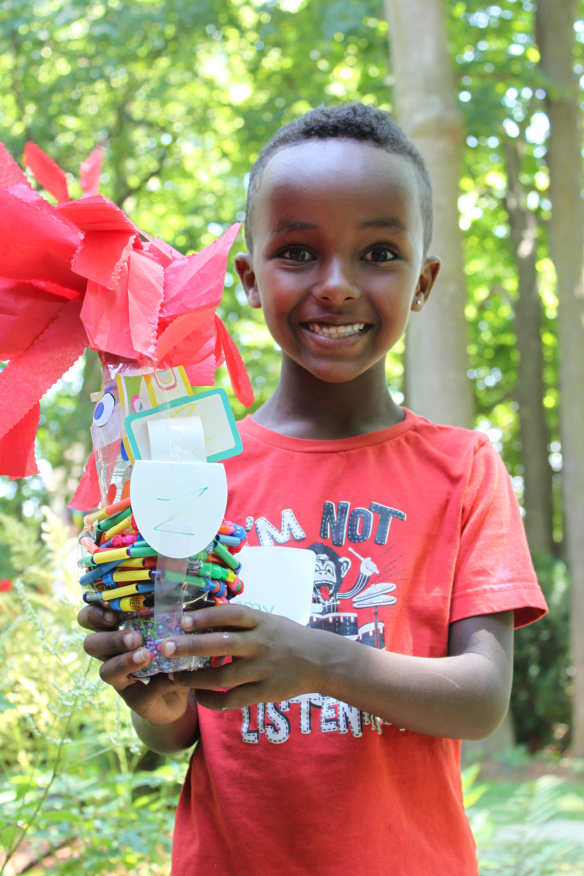
IMG_2319And this one! Thanks for checking out this craft!

Line-17Like us on FacebookShare this post with your friends, or Subscribe to this blog today to receive original craft project updates every Monday, Wednesday and Friday!

Craft Spotlight: Fabric Mosaics

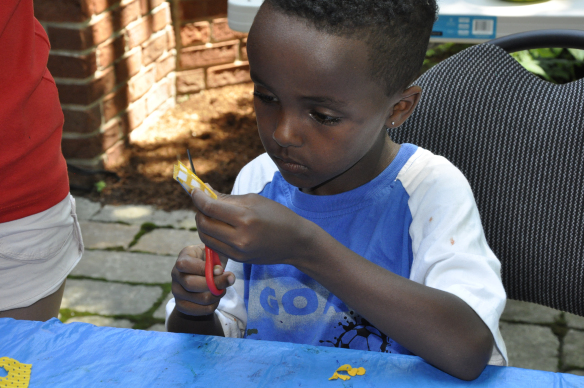
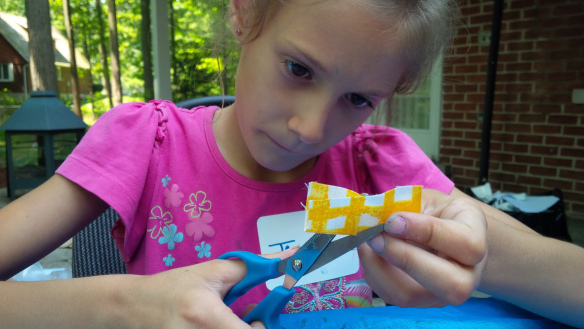
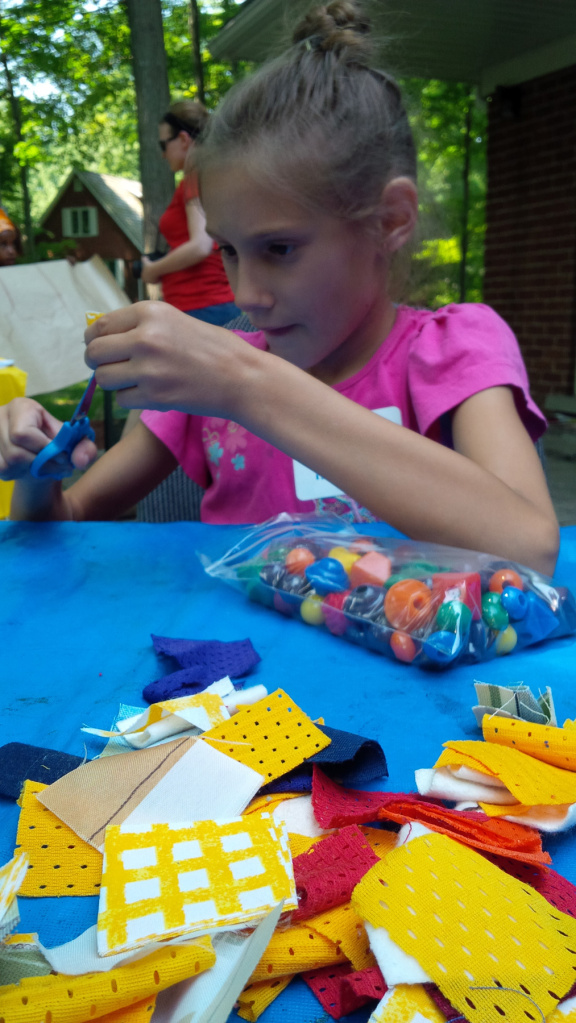
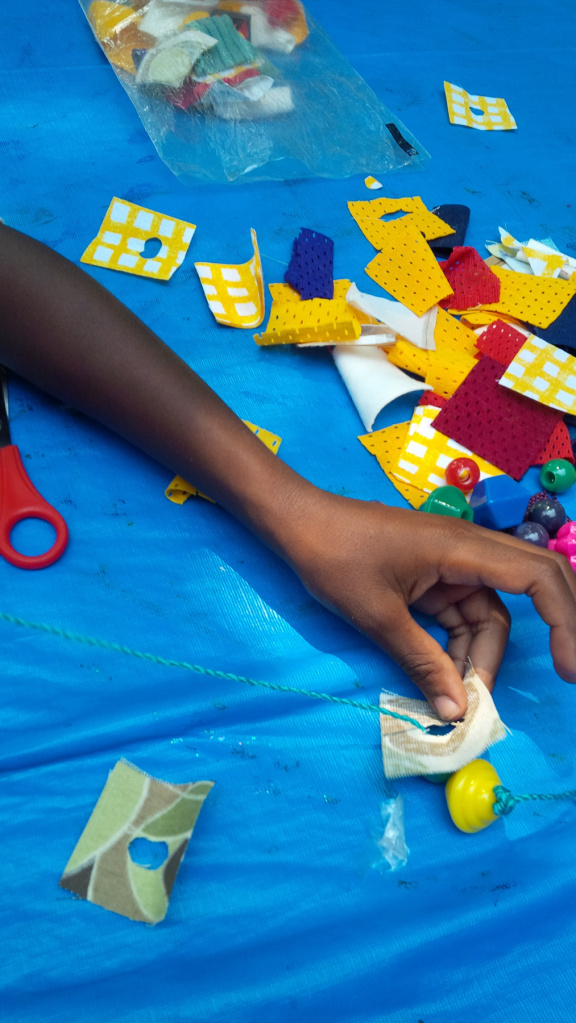
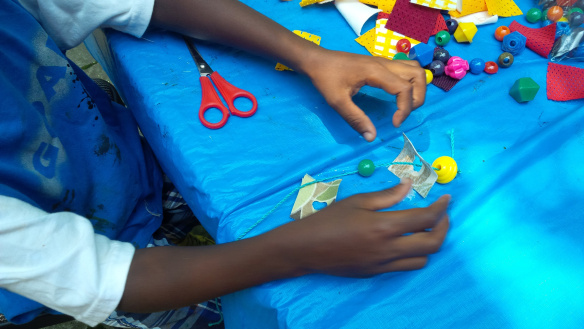
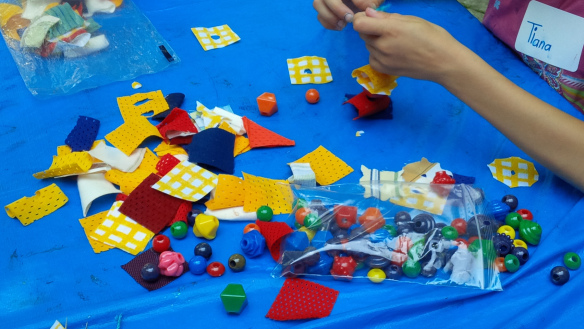
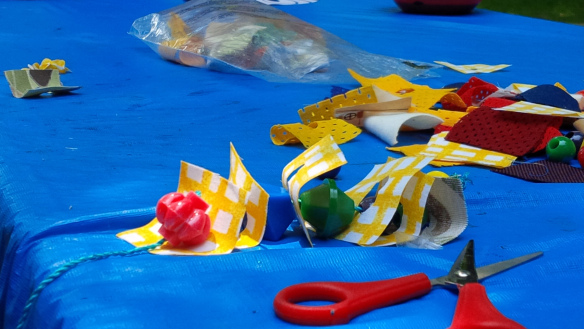
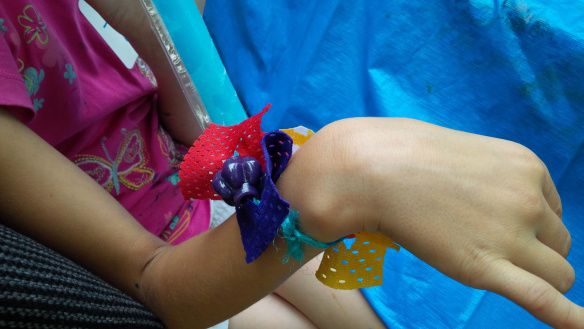
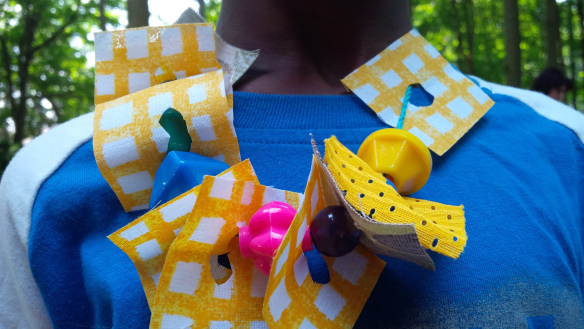
2014-06-30-FeatureImageR15651 Fabric Mosaics are great for tactile activities such as beading and stringing! Who knew! At our art camp, we tried out a technique where we interwove Brilliant Beads with Fabric Mosaics on string to make colorful and unique jewelry!_DSC0303First, we started out by folding the Fabric Mosaics in half and cutting out the center. This made a hole that we could use to string the yarn through. IMG_00000576We made sure the kids cut out the centers very carefully. IMG_00000580Once all the mosaics were cut, we tied a knot at the end of each length of yarn. IMG_00000587We first strung large Brilliant Beads up against the knots. This made sure that none of the Fabric Mosaics could slip out. IMG_00000588 Then we started layering our bead arrangements! IMG_00000596The bright colors in the Fabric Mosaic pack worked so well with our Brilliant Beads! IMG_00000606The combination was simple: alternate a Fabric Mosaic with a Brilliant Bead and back again. Keep going until the whole string is decorated or filled up! IMG_00000610Getting ready to finish up! Now we can loop the beaded string into a bracelet… IMG_00000620…like this one! IMG_00000624Or a necklace! Simple and easy, yet great fun to make! Line-18 Thanks for checking out this post! Like us on FacebookShare this post with your friends, or Subscribe to this blog today to receive original craft project updates every Monday, Wednesday and Friday!

Fancy Stringing Rings Suncatchers

2014-05-28-FeatureImage

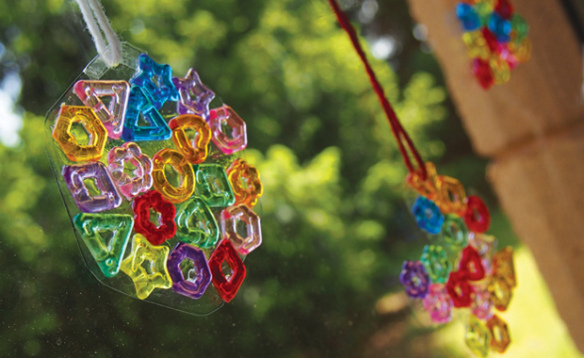
Most beaded suncatcher projects require one of the following: spending a lengthy amount of time to thread the beads into an intricate design, or melting down the beads together in the oven (say NO to plastic fumes)! This suncatcher uses simple materials that are readily available in your classroom!

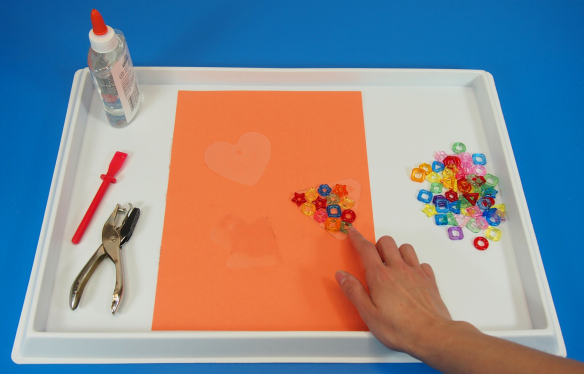
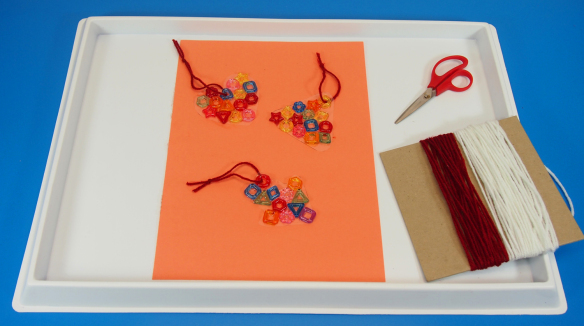
Use fine motor skills to trace the shape onto the transparent sheet. Carefully spread a thick layer of glue with one hand while holding the shape with the other. Use two fingers to hold bead precisely in place while pressing it into the layer of glue.

Age: 3+

Duration: 10 minutes

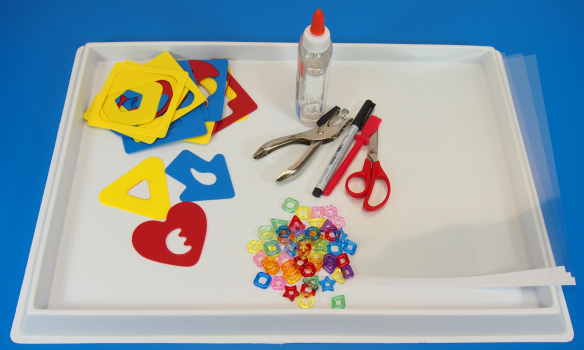
You’ll Need:

R2183 Fancy Stringing Rings

R58620 Fine Motor Skills Silly Stencils

• Transparency sheets

• Scissors

• Clear glue

• Fine point marker or pen

• String

• Tape

Line-11

Although melting beads together produces a beautiful stained glass effect, it is hazardous to attempt as the plastic will emit fumes that aren’t good for you and your kids’ health or the smell in your house! Try an alternative option that still produces a neat suncatcher effect without the smell or the hassle!

P1019099

Transparency sheets can be picked up at any office supply store nearby you. The type I use in this project has a textured side, so that can be used to help the glue stick to the material. Any type of transparency sheet should work, however. Give it a try!

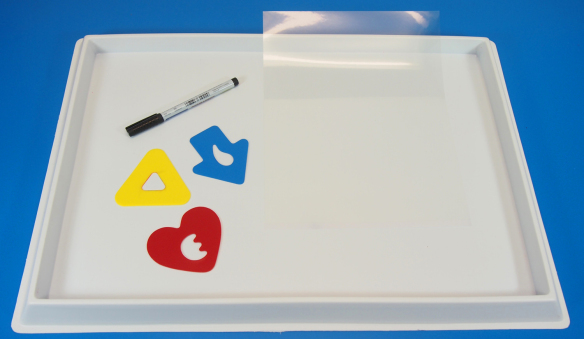
P1019105In order to make your suncatcher shape, you will need a basic shape stencil like some of those available in our stencil set. The stencils pop out of a backing, so you get two stencils from one.

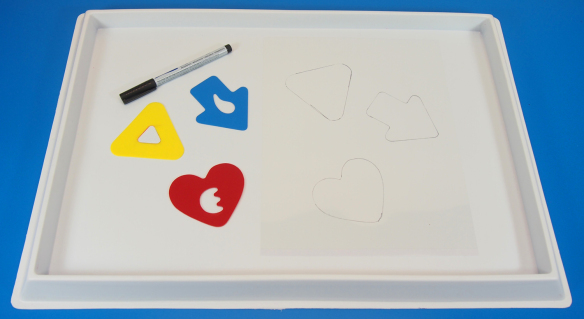
P1019111Trace the stencil shape onto the transparency sheet. Use a fine point marker or pen to keep the lines light, but just noticeable enough that children are able to cut around it.

P1019118

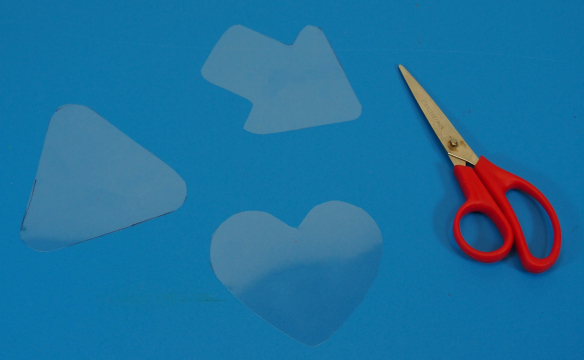
Cut out the shapes.

P1019128

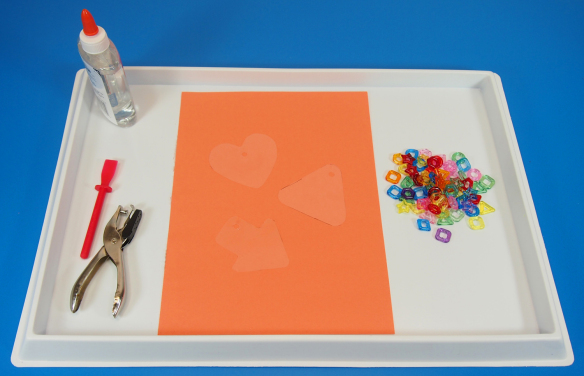
I’ve put a backing behind the shapes so you are able to see them (a bit?) better! Use a hole punch to make a hole at the top of each shape.

P1019130

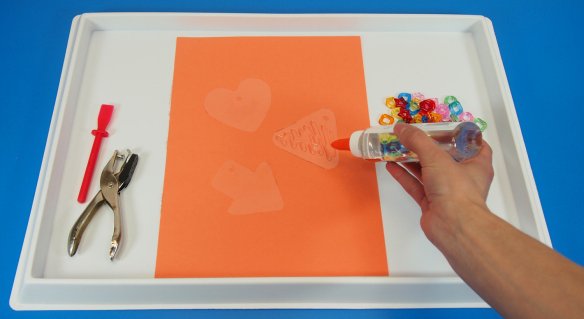
Dab on a generous amount of clear glue.

P1019132

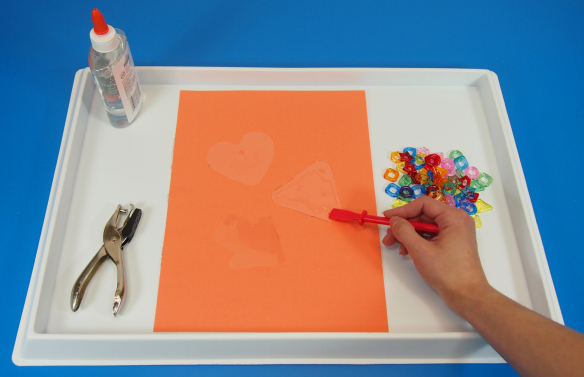
You can spread the glue across the surface of the transparent shape with a Goo Spreader available here or dab on extra glue.

P1019136

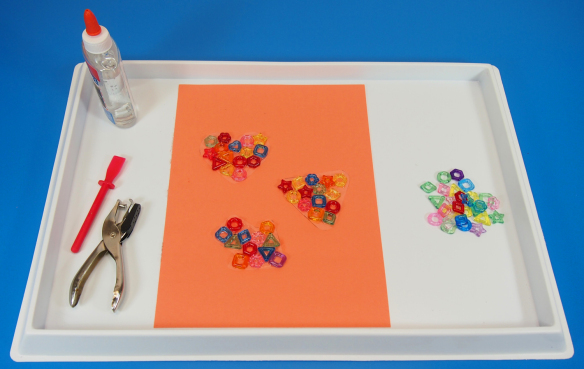
Drop a handful of beads onto the glue layer and spread evenly across. Make sure none of the beads sit on top of each other, but rather, side by side. Fit as many beads as you can on the transparent sheet shape and try not to go over the edge.

P1019138

Ta-Da! Now, let’s prep them up for the window.

P1019142Thread a small amount of yarn or string through the hole and tie the end into a knot.

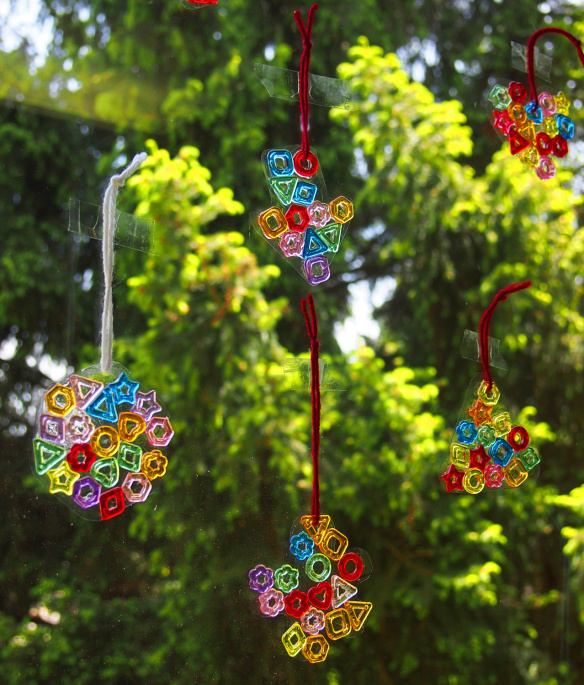
P1019152Use clear tape or a suction cap to hang the suncatchers onto a window. Watch how bright the colors appear when the sun rays hit them!

Line-11

Thanks for checking out this post! Like us on Facebook, Share this post with your friends, or Subscribe to this blog today to receive original craft project updates every Monday, Wednesday and Friday!

Craft Spotlight: Brilliant Beads

2014-05-26-FeatureImage

Following our series of posts about our beading wonders, including the Fancy Stringing Rings last week, today I’m going to showcase a bit about our Brilliant Beads! 

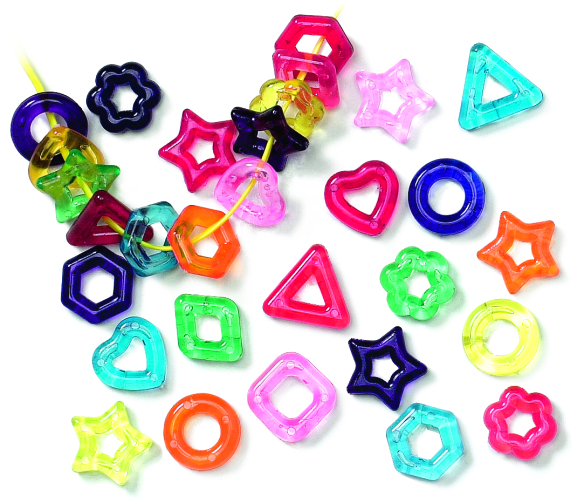
R2170 Brilliant Beads come in a bright assortment of colors and shapes. Besides basic small round beads, there are some that resemble flowers while others look like geometric shapes. You can talk about each of the shapes to your students as they sift through them.

IMG_2404

You can also sort by color. Pick out similar colors and observe the different shapes that make up that color group. Get students to describe the beads with practice vocabulary.

_DSC0164

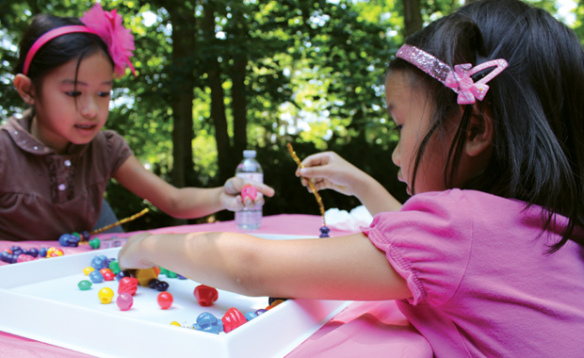
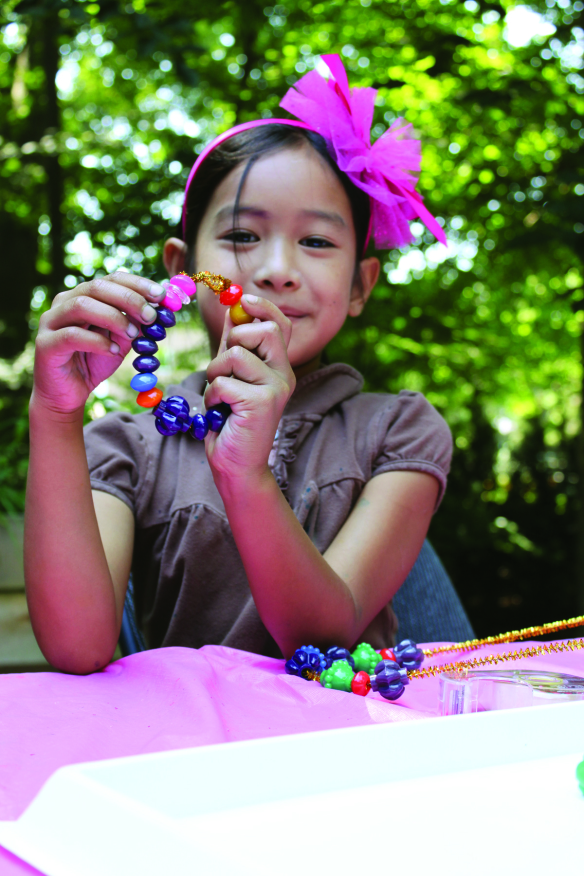
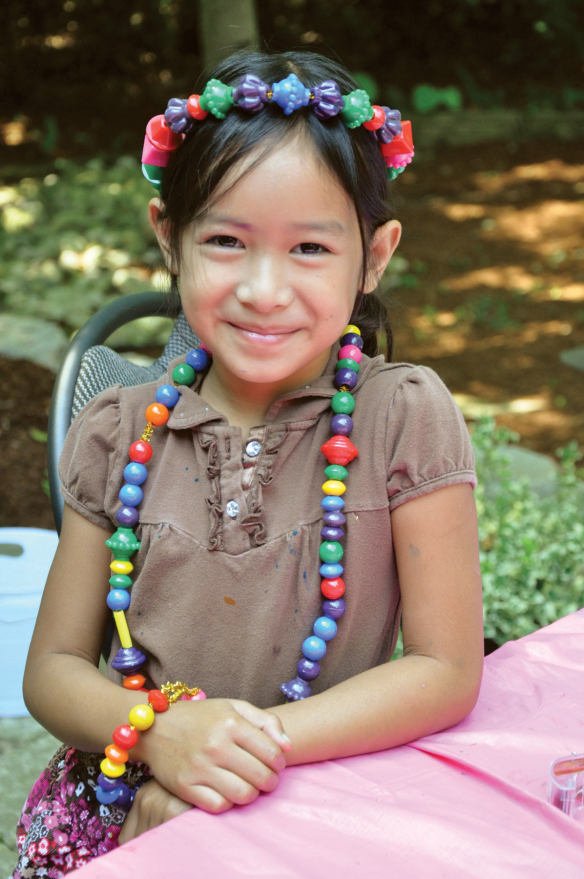
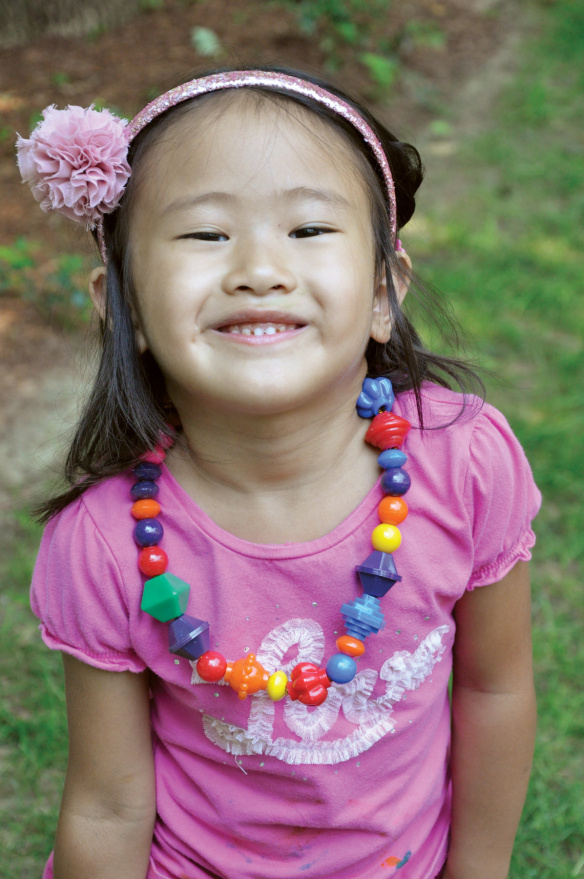
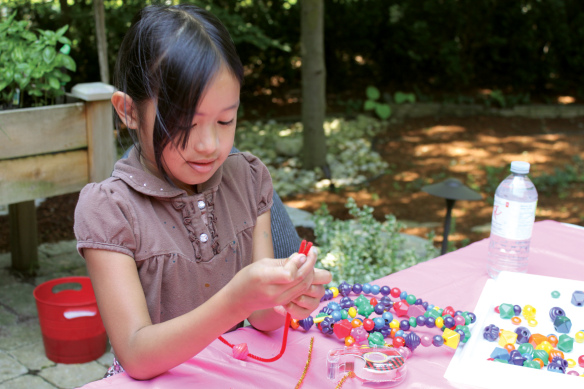
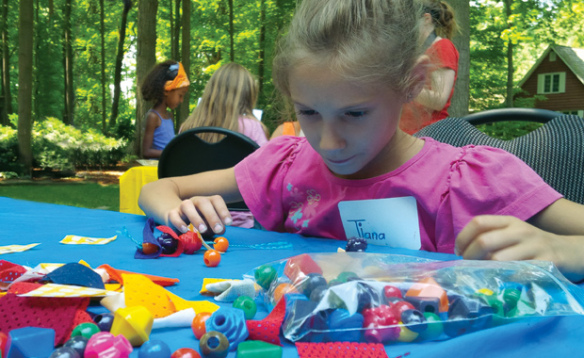
At the Art Camp last year, our campers designed their own super-long necklaces and brilliant bracelets. To prevent groups of beads sticking together, we got the campers to use pipe cleaner as the thread for all the beads.

_DSC0151

Here’s another shot of some lovely jewelry!

IMG_2421

Use Brilliant Beads in a variety of projects, not just for jewelry! Check out the video below that shows you how to make your very own bead-paintbrush. This “paintbrush” will add a provide your students with a new technique for painting!

Line-10

Thanks for viewing this post! Like us on Facebook and subscribe today to our blog for more updates like this every Monday, Wednesday and Friday!
Craft Spotlight: Fancy Stringing Rings

2014-05-19-FeatureImage

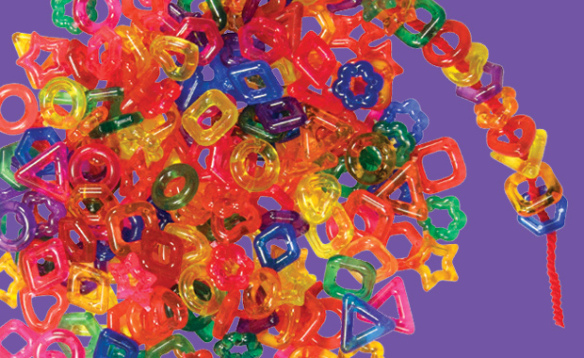
Make your jewelry fancy with Fancy Stringing Rings! Beautiful, bright colors and recognizable designs make these beads a joy to work with. String, sort, play and mix colors together on a light table! 

Beading is a prime fine motor skill activity that’s always a favorite for arts and crafts sessions! The best part about our Stringing Rings is that they are large enough to fit through any size string–even pipe cleaners.

There are a range of different activities you can do with the Fancy Stringing Rings. Stay tuned for this week’s original craft post featuring our Stringing Rings!

In the meantime, enjoy the video below showing how to make simple bracelets using Fancy Stringing Rings and tape! That’s all you need.

Simply lay your beads onto a strip of tape and seal up! It’s that easy!

2183

Line-20

Thanks for viewing this post! Like us on Facebook and subscribe to our blog today for updates every Monday, Wednesday and Friday! 
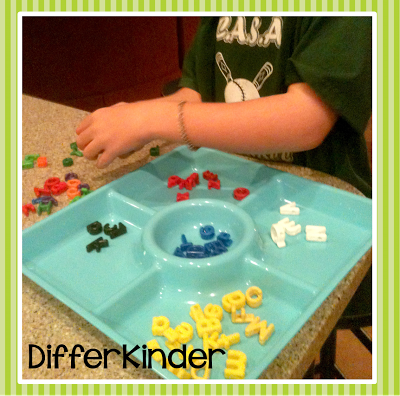
The Differentiated Kindergarten blog uses our Manuscript Letter Beads!
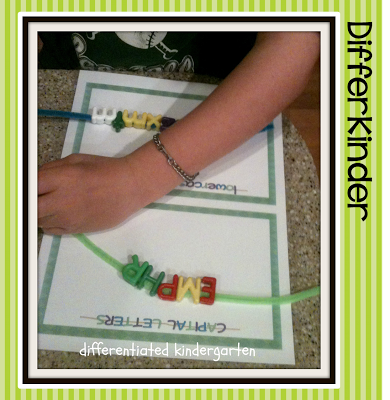
Students will love being able to see their numbers and letters up close! These sturdy, colorful beads can be strung on thread or sorted into trays just like the photo above. Use the beads to teach number and letter recognition using visual and tactile approaches. Like blogger Marsha states, the beads aren’t simply beads, because “the bead IS the letter”! 

Blogger Marsha published her post on July 12, 2013. The post is entitled, “Beads Glorious Beads!!!” Check out the full blog post here!

As the post shows, the Manuscript Letter beads come in two formats: Lowercase and Uppercase.

To order our products, visit our website here or click on the following links to locate our products:

• Manuscript Letters (Uppercase)

• Manuscript Letters (Lowercase)

Number Beads

The Manuscript Letters can be used for a variety of projects or in educational lesson plans. Great for introducing letter and number recognition, the Manuscript Letters and Math Beads come in a variety of bright and fun colors that students will love to work with.

String up the letters to make bracelets or necklaces! Tie a knot in between each new threaded letter to keep them from bunching up, or use pony beads to separate the letters when spelling multiple words.

Use the letters for Bingo games! Play a variation of Bingo called Lingo (Letter + Bingo)! Draw a 4 x 4 square grid and write a random selection of letters on it. Distribute the graph cards among students and provide a handful of letters for the students to use. When a random letter is called out, students must search through their letter supply to find the correct letter. The first person to call out Bingo must have a row of 4 letters with corresponding letter beads!

One of Marsha’s activities involved separating a handful of letter beads into consonants and vowels or lowercase from uppercase. To really increase students’ letter comprehension, you can ask them to make words from the jumbled uppercase or lowercase letters!

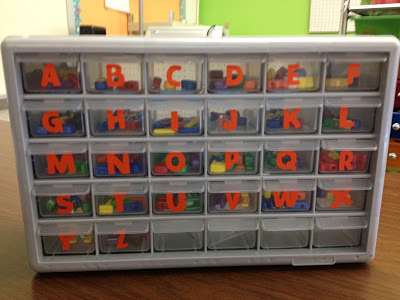
Marsha even designed a lovely little cubby area to store all the letters inside. You can customize the storage area to hold letters as well as numbers or to differentiate between upper and lowercase letters.

Thanks to Marsha for this insightful post!

Images and original post © This Little Class of Mine

This post was not sponsored for a review. At LittleFingersBigArt, our mission is to present to our readers and viewers the newest and most creative craft ideas that fans of Roylco have made on their own. Our goal is to allow you and other educators and parents to reuse our products in fun ways so that children always get the best educational experience from them!

We’d love to see more ideas like this one! If you’ve got a brilliant craft idea or have made a version of one of our crafts that you would like to share with us, send an email to us with photos, descriptions or a link to your work. We will create a feature post and link back to you with full credit. Contact us through the contact form for more details. We’d love to hear from you!

Line-05