Light Cube: Salad Tray Sorting

light cube sorting tray

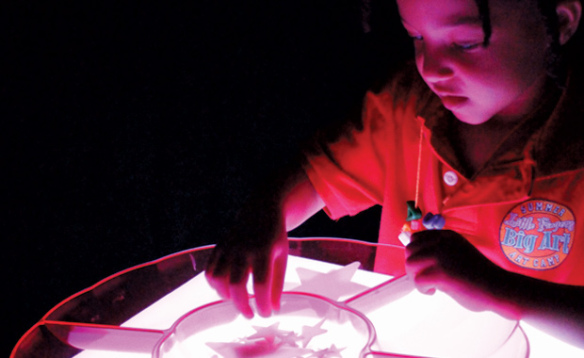
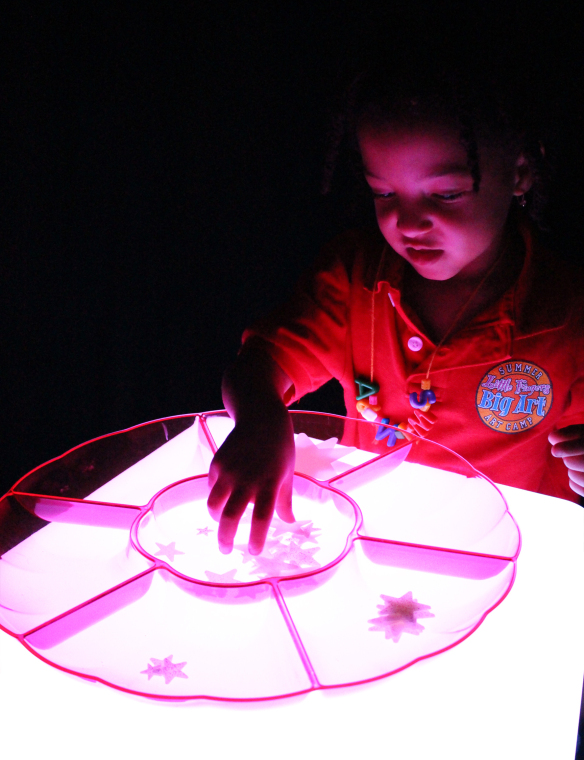
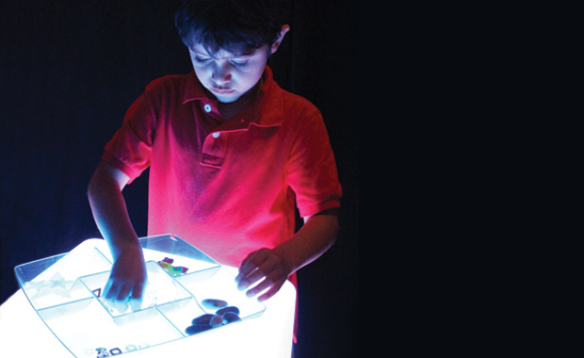
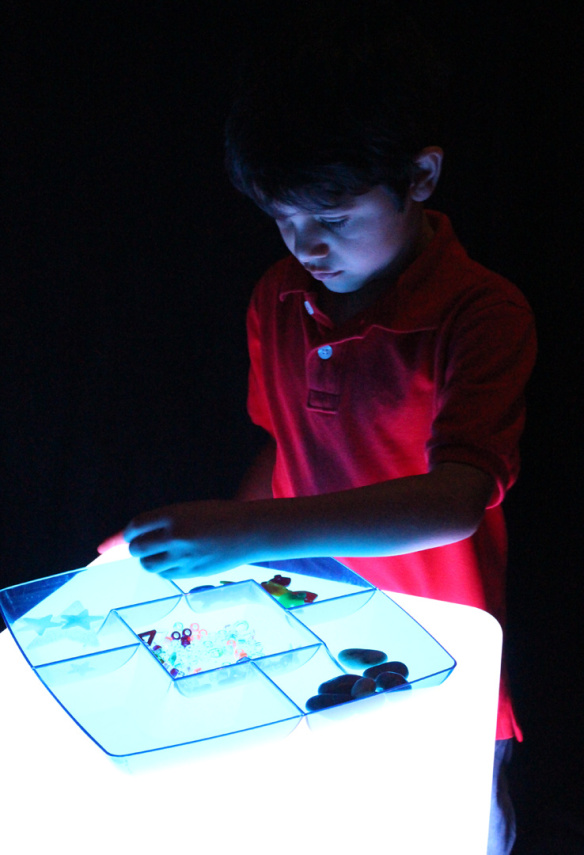
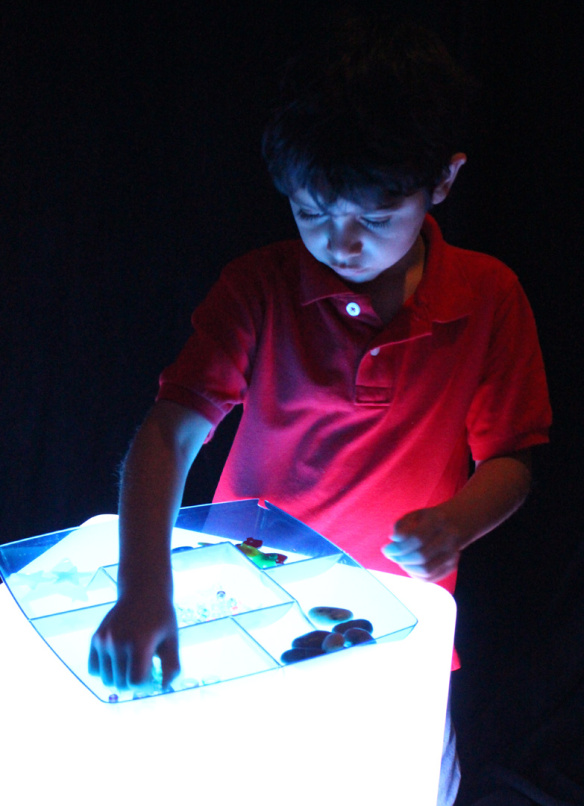
Sorting interesting items in a see-through tray on the Light Cube is a great way to focus students on the task at hand. Instead of being distracted by a surrounding environment, each child will deliberately place the items on the sorting tray, using the glow of the Light Cube as their focal point.

light cube sorting tray

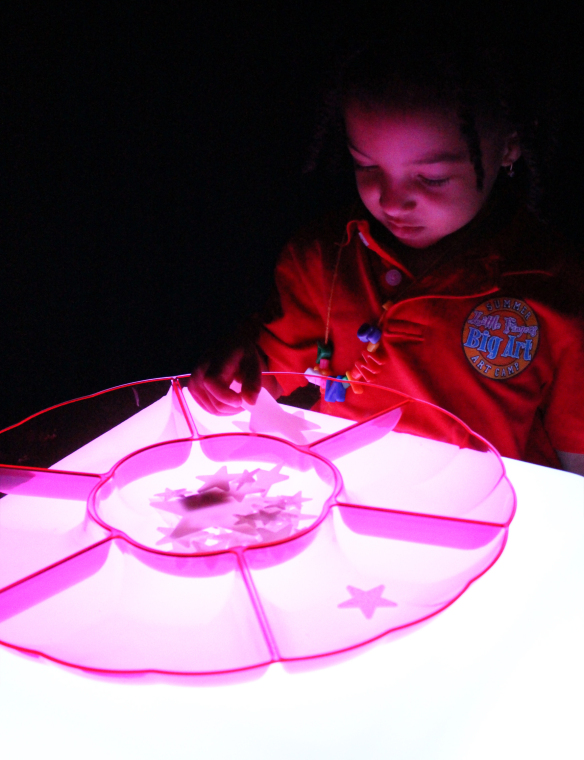
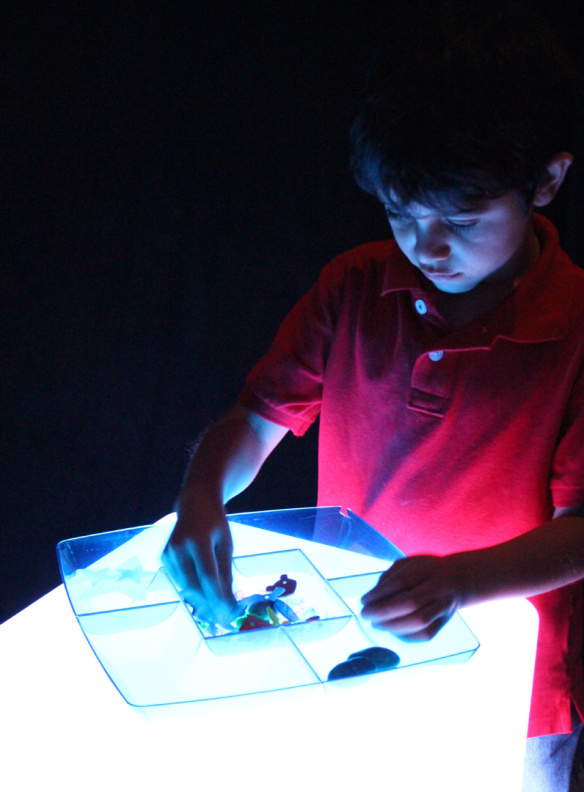
We asked our friend Jasmine to take all the assorted sizes of stars in the center of the tray and organize them into individual groups. We found the tray at our local dollar store, but a similar snack or salad tray can be used as well!

light cube sorting tray

The stars were found at the dollar store too, but you can use anything that is available in different sizes–such as marbles, beads or even toy animals!

light cube sorting tray

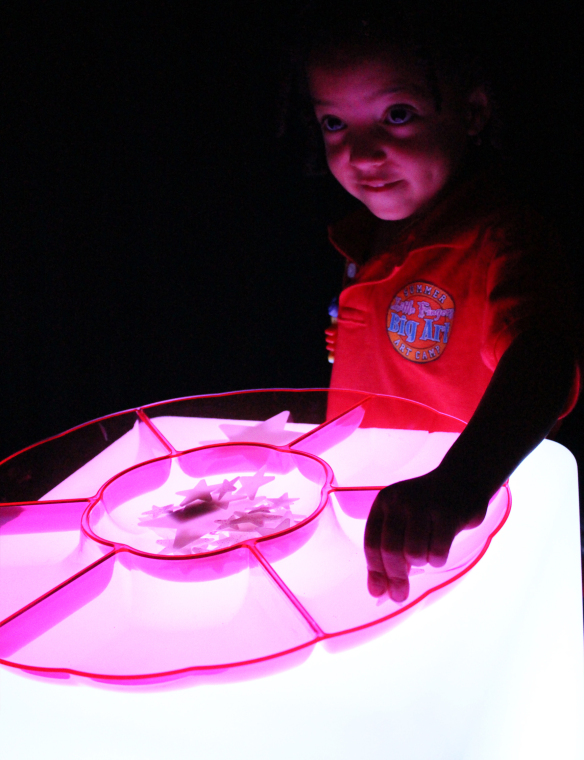
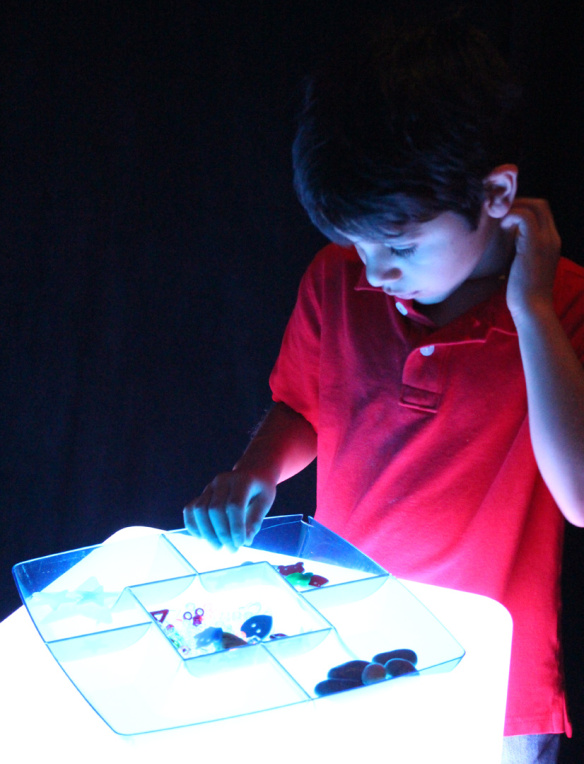
Jazzy had a great time comparing the different star sizes together to see which one was bigger or smaller. She made great use of comparison words in describing the different sizes!

light cube sorting tray

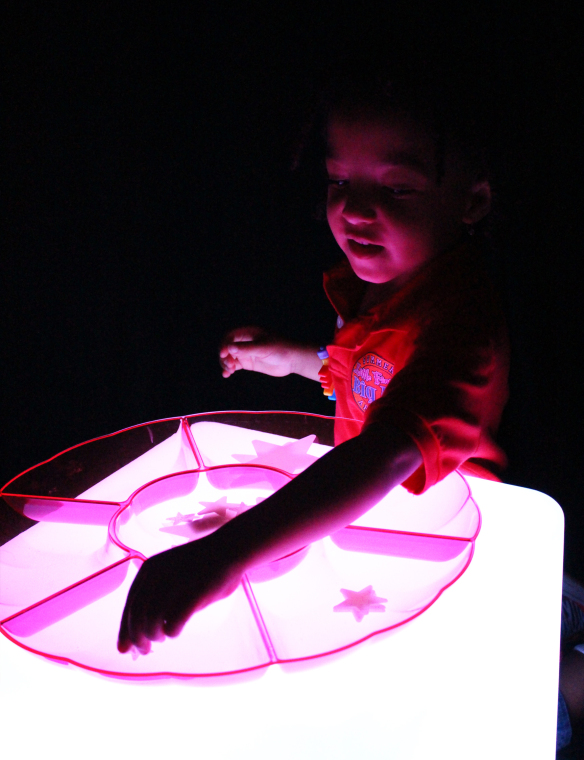
The glow of the Light Cube made this simple activity much more interesting and enjoyable!

Line-19

Like us on FacebookShare this post with your friends, or Subscribe to this blog today to receive original craft project updates every Monday, Wednesday and Thursday!

Guest Post: Straws and Connectors, Autumn Leaves Paper Bits and Dry Erase Classroom Tunics

2014-12-09

Here’s a sneak peek at a few ways our creative crafters used some of our products! All these photos were sent in to us by people who would love to share their ideas. So take a look around, and get acquainted with some projects you could use in your own educational space!

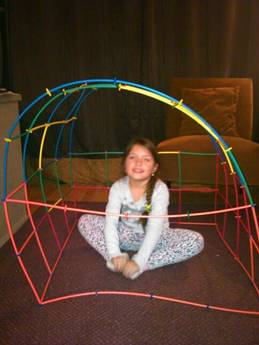
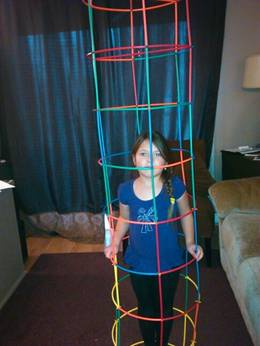
Our first few photos show how the Straws and Connectors were used for building large and tall structures that the kids could climb inside of. We provide each kit of Straws and Connectors with a reference guide for building these kinds of structures and more! Use the diagrams as a basis for designing your own creations.

2014-12-09-2

We used the Straws and Connectors structures as the inner designs for our Color Diffusing buildings. We painted large sheets of Color Diffusing Paper with watercolors. Once the sheets were dry, we wove them in and out of the gaps in the design. Check out the beautiful photos of this project at the link!

2014-10-06

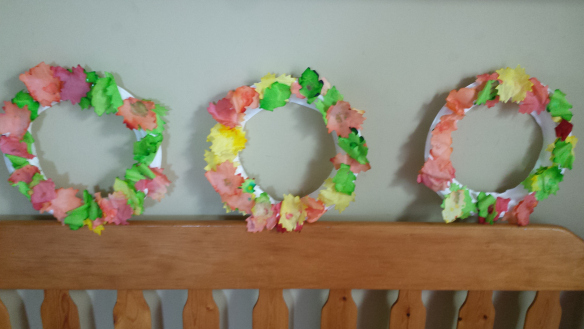
These gorgeous wreaths were made with our Autumn Leaves Paper Bits! The clever design used a card wreath cutout. The crafters then glued the leaves on top. Alternatively, you could use a paper plate and cut out the center to use as the wreath base.

The video below shows a basic project you can try with the Autumn Leaves. This simple craft uses construction paper and the leaves to make a 3D-looking tree.

2014-12-09-05

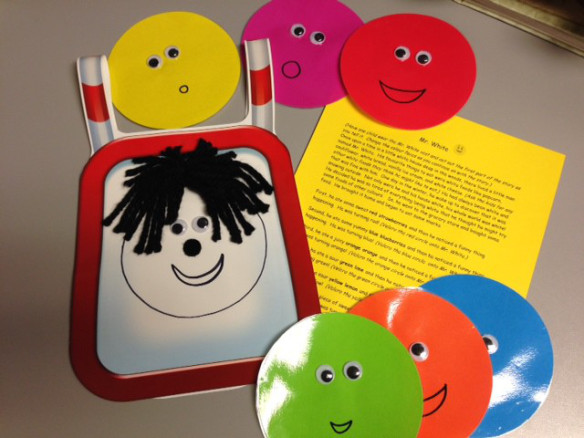
Finally, our last photo reveals what this teacher decided to use her pack of Dry Erase Classroom Tunics for! Although the Classroom Tunics can be used for temporary notation–such as using dry-erase markers to write numbers or letters on them–there are many other uses for them! For instance, this teacher laminated circles in different colors and pasted them onto various Classroom Tunics. Using a story about introducing the colors of the rainbow, she had several of her students act out the storyline while wearing the tunics. It’s a great way to engage the class on multiple levels–learning literacy, colors, order and sequencing, and group collaboration!

Line-13

Thanks to our subscribers for sending us photos of their work! If you would like to send us your photos in order to be featured in our next Guest post, please contact us through the contact form! We’d love to hear from you!

Like us on FacebookShare this post with your friends, or Subscribe to this blog today to receive original craft project updates every Monday, Wednesday and Friday!

Educational Light Cube: Sorting Manipulatives

2014-11-27-FeatureImage

Getting students to sort manipulatives is a double-duty task. While they sort and differentiate between the objects in front of them, students get to exercise their fine motor skills, too!


On the R59601 Educational Light Cube, sorting gets so much more fun to do! Turn on the fading function of the Light Cube to gradually cycle through colors. This produces a calming effect on students, getting them to slow down and focus on their task.

IMG_9559

Our first step was to find a snack platter at the dollar store. Use the snack platter to encourage proficiency in identifying like and unlike objects. Gather a variety of different types of manipulatives. We suggest using items such as buttons (R2131 Bright Buttons), letters or numbers beads (R2185 Math Beads and R2184 Manuscript Letter Beads), mosaics (R15367 Heart Mosaics) and more! Place all the manipulatives in the center of the snack platter.

IMG_9561

Ask students to sort through all the different manipulatives and pick out similar ones. Place similar items in one of the snack platter dividers. Repeat for all other items in the snack platter.

IMG_9562

If you cycle through the colors more rapidly on the Light Cube, it challenges students to notice the differences between objects that are transparent versus those that are opaque.

IMG_9566

It’s a great exercise that students will love to try!

More curriculum-based activities on the Light Cube:

Use readily-available materials for counting and sorting

• Build stacking abilities with dollar store party cups

• Find out just how sturdy the Light Cube is!

Share your stories about the Light Cube! What activities do your students use the Light Cube for?

Line-20

Like us on FacebookShare this post with your friends, or Subscribe to this blog today to receive original craft project updates every Monday, Wednesday and Friday!

The Differentiated Kindergarten blog uses our Manuscript Letter Beads!

Students will love being able to see their numbers and letters up close! These sturdy, colorful beads can be strung on thread or sorted into trays just like the photo above. Use the beads to teach number and letter recognition using visual and tactile approaches. Like blogger Marsha states, the beads aren’t simply beads, because “the bead IS the letter”! 

Blogger Marsha published her post on July 12, 2013. The post is entitled, “Beads Glorious Beads!!!” Check out the full blog post here!

As the post shows, the Manuscript Letter beads come in two formats: Lowercase and Uppercase.

To order our products, visit our website here or click on the following links to locate our products:

• Manuscript Letters (Uppercase)

• Manuscript Letters (Lowercase)

Number Beads

The Manuscript Letters can be used for a variety of projects or in educational lesson plans. Great for introducing letter and number recognition, the Manuscript Letters and Math Beads come in a variety of bright and fun colors that students will love to work with.

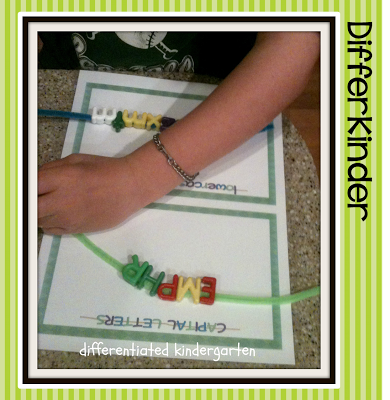
String up the letters to make bracelets or necklaces! Tie a knot in between each new threaded letter to keep them from bunching up, or use pony beads to separate the letters when spelling multiple words.

Use the letters for Bingo games! Play a variation of Bingo called Lingo (Letter + Bingo)! Draw a 4 x 4 square grid and write a random selection of letters on it. Distribute the graph cards among students and provide a handful of letters for the students to use. When a random letter is called out, students must search through their letter supply to find the correct letter. The first person to call out Bingo must have a row of 4 letters with corresponding letter beads!
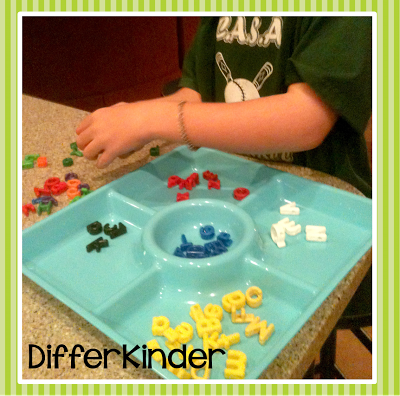
One of Marsha’s activities involved separating a handful of letter beads into consonants and vowels or lowercase from uppercase. To really increase students’ letter comprehension, you can ask them to make words from the jumbled uppercase or lowercase letters!
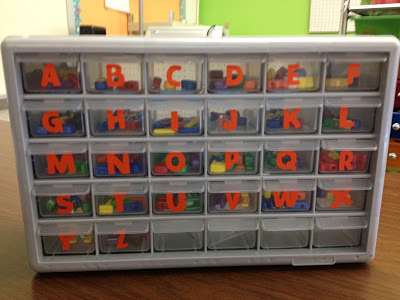
Marsha even designed a lovely little cubby area to store all the letters inside. You can customize the storage area to hold letters as well as numbers or to differentiate between upper and lowercase letters.

Thanks to Marsha for this insightful post!

Images and original post © This Little Class of Mine

This post was not sponsored for a review. At LittleFingersBigArt, our mission is to present to our readers and viewers the newest and most creative craft ideas that fans of Roylco have made on their own. Our goal is to allow you and other educators and parents to reuse our products in fun ways so that children always get the best educational experience from them!

We’d love to see more ideas like this one! If you’ve got a brilliant craft idea or have made a version of one of our crafts that you would like to share with us, send an email to us with photos, descriptions or a link to your work. We will create a feature post and link back to you with full credit. Contact us through the contact form for more details. We’d love to hear from you!

Line-05