Super Slick Craft Paper Wands

OLYMPUS DIGITAL CAMERA

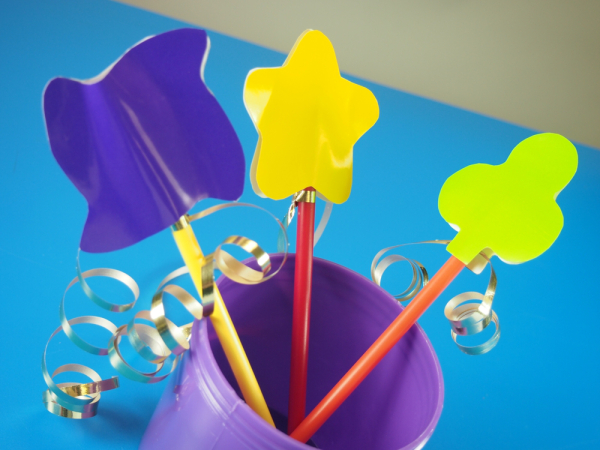
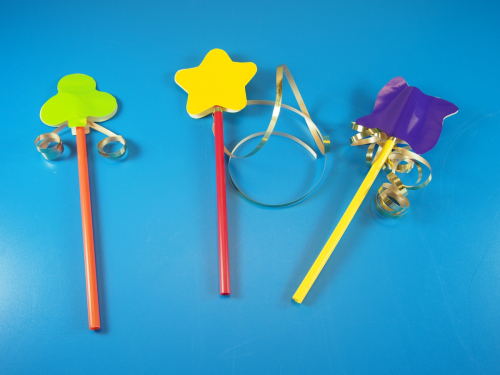
Design beautiful shape wands out of Super Slick Craft Paper for fun events in your classroom! Kids can take the wands home or use them in the classroom to answer questions, as props in drama class or for general fun and games. 

Age: 4+

Duration: 15 minutes

Learning Objectives:  Exercise scissor skills. Develop beautiful wands through planning and design. Use wands for practical purposes in the classroom or as a decoration.
OLYMPUS DIGITAL CAMERA

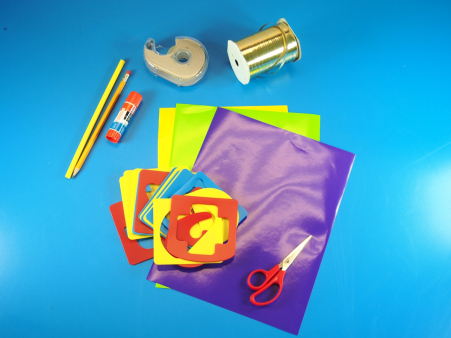
You’ll Need:

Line-05

OLYMPUS DIGITAL CAMERA

Pick out a favorite shape from the Silly Stencils pack. You get double stencils from one as the inside turns into a stencil too! Get a sheet of Super Slick Paper and trace the design onto the back of the paper (the white side).

The Silly Stencils are made to reflect three types of difficulty levels; the yellow colored stencils feature the easiest shapes to trace, the red stencils are medium difficulty, while the blue stencils have the most challenging designs to trace.
OLYMPUS DIGITAL CAMERA

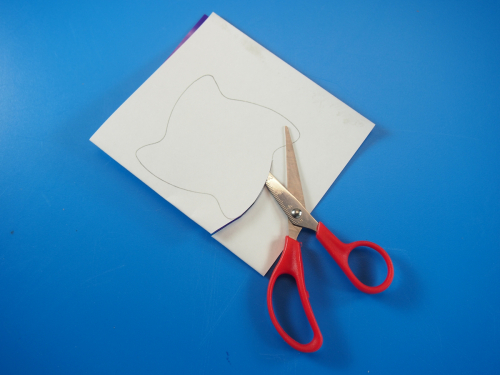
Fold the sheet in half so that you cut out two opposite copies. Cut along your simple design.
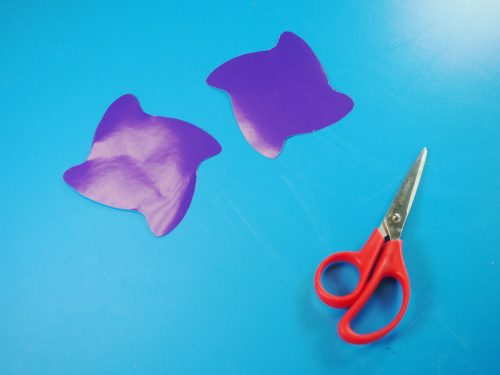
OLYMPUS DIGITAL CAMERA

You will have two shapes of opposite sides. Place the two shapes together so that the white sides are facing inside. Make sure that all the edges line up nicely and trim off any excess.
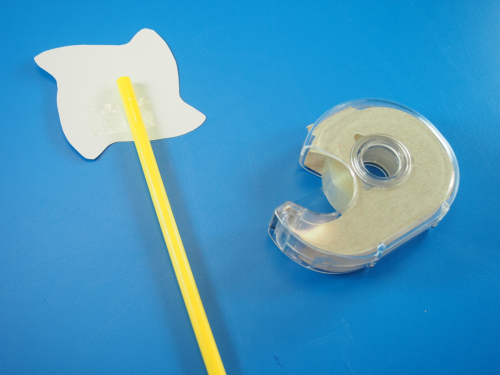
OLYMPUS DIGITAL CAMERA

Tape the top of a drinking straw to the white side of a cutout. To make the straw more rigid, you can use straws from our Straws & Connectors!
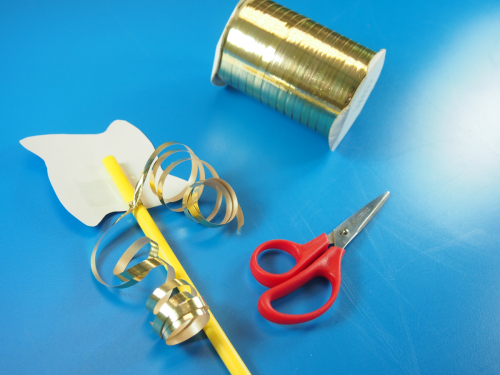
OLYMPUS DIGITAL CAMERA

For a nice addition to the wand, add on a flourish of colorful ribbon! Cut a long length of ribbon and tie it in the middle to the straw. Curl the ends with the blunt edge of a pair of scissors.
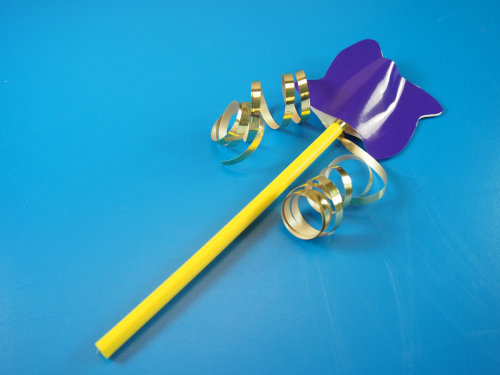
OLYMPUS DIGITAL CAMERA

Tape or glue the second cutout to the opposite side of the wand. This will close up the project nicely!
OLYMPUS DIGITAL CAMERA

You can make a variety of different shapes! Vary the way you choose to curl the ribbon. You can choose to color code your wands for various activities in the classroom or simply allow students to make their individual designs as they wish.

Line-05

Like us on FacebookShare this post with your friends, or Subscribe to this blog today to receive original craft project updates every week!

Straws and Connectors City

Straws Connectors City

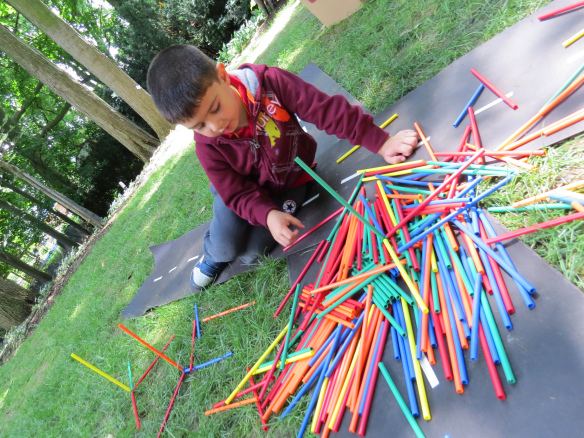
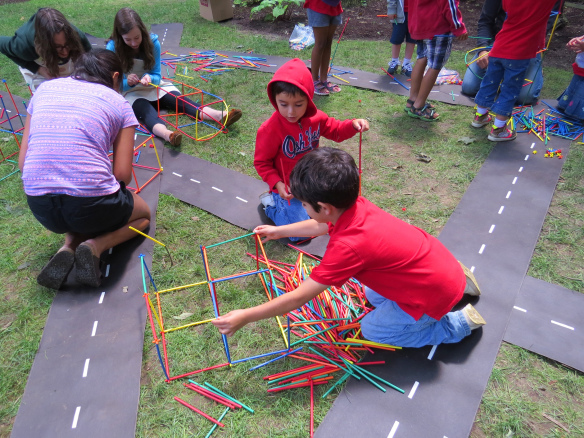
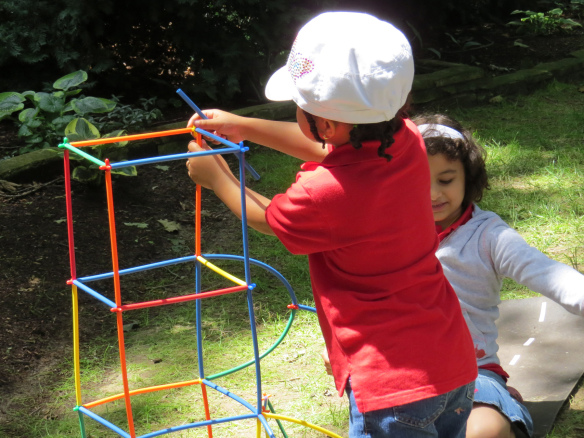
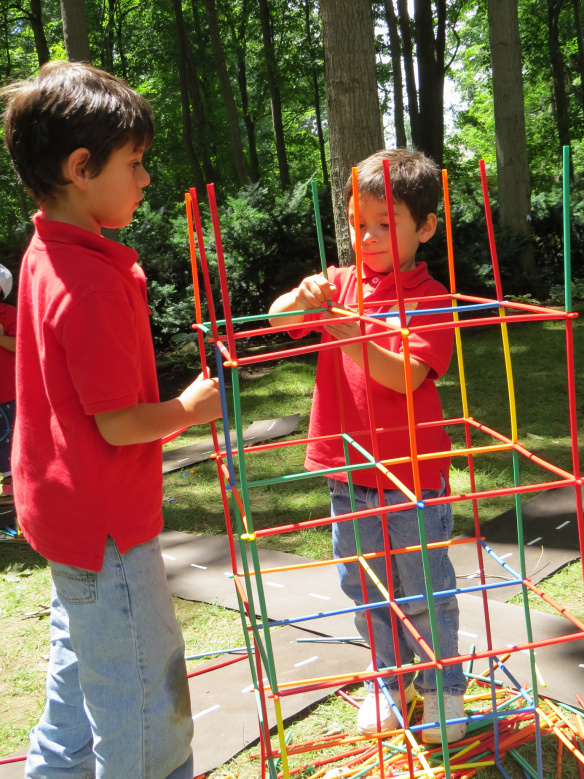
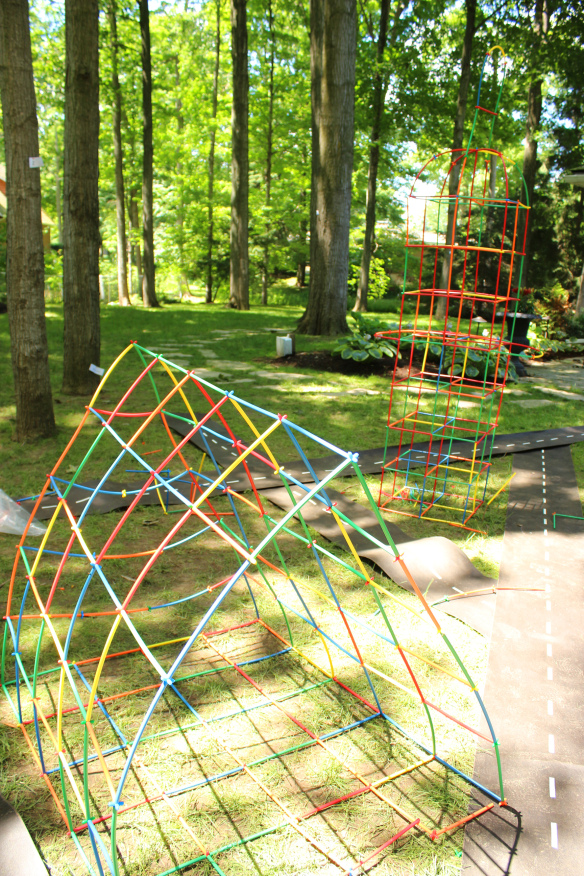
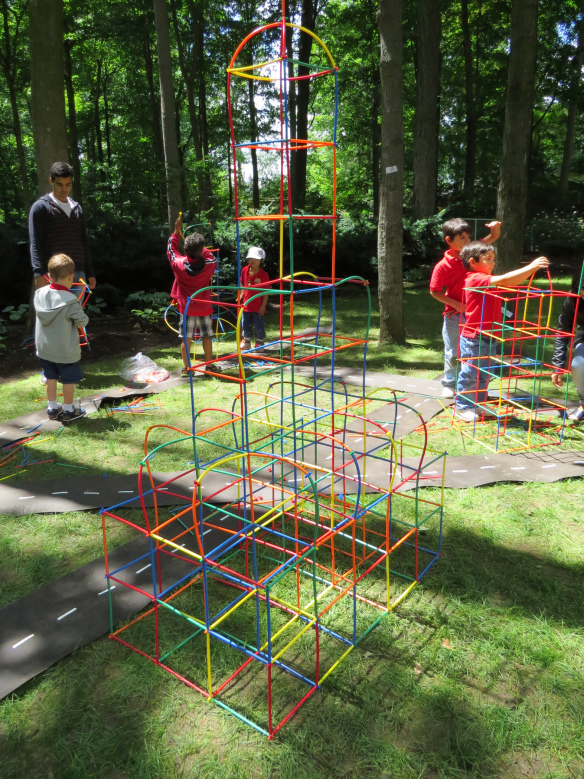
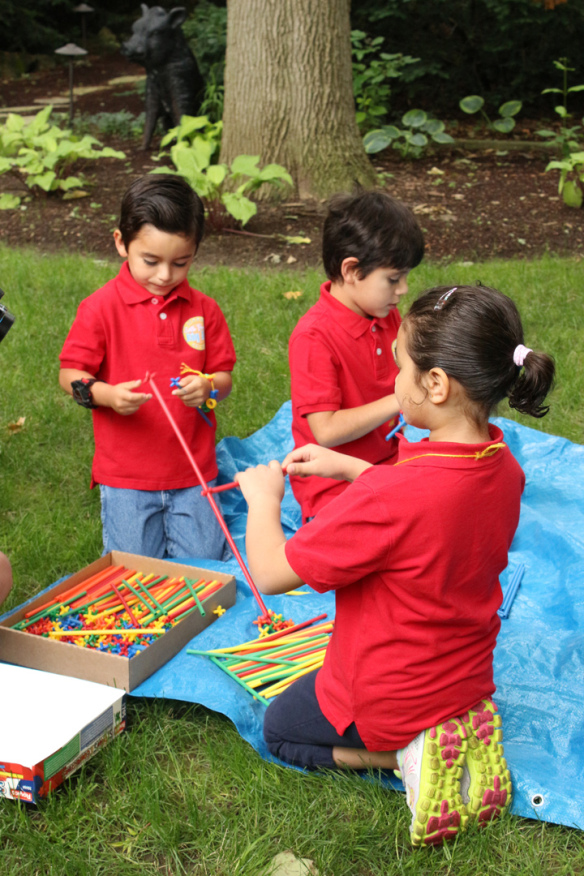
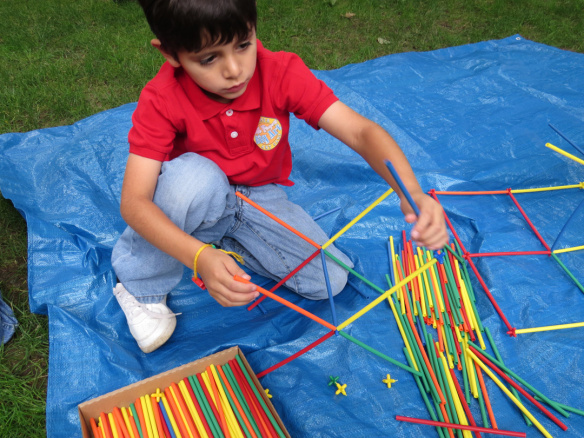
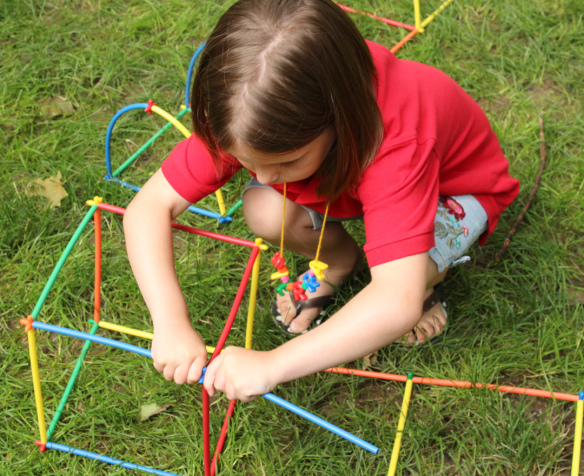
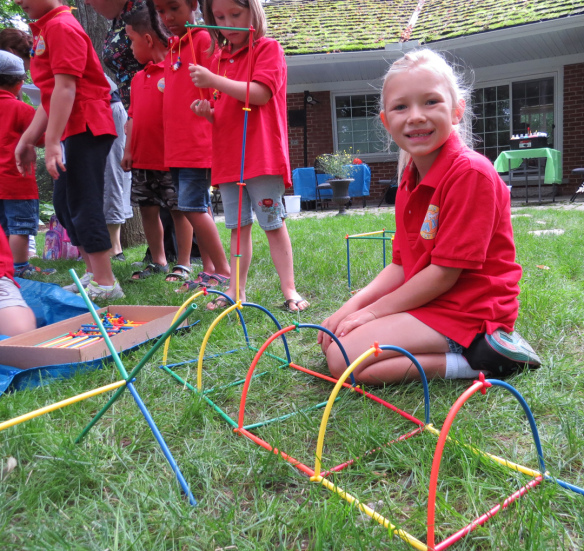
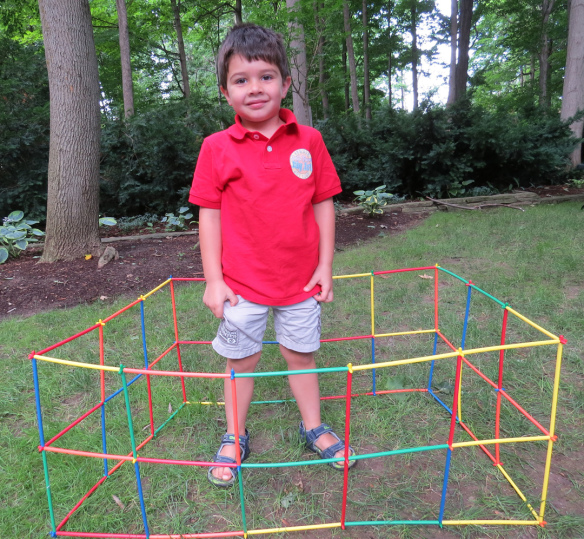
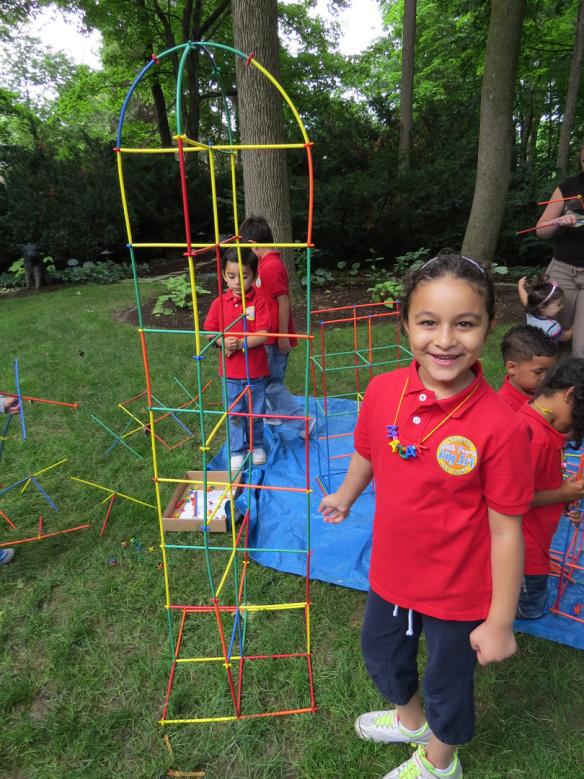
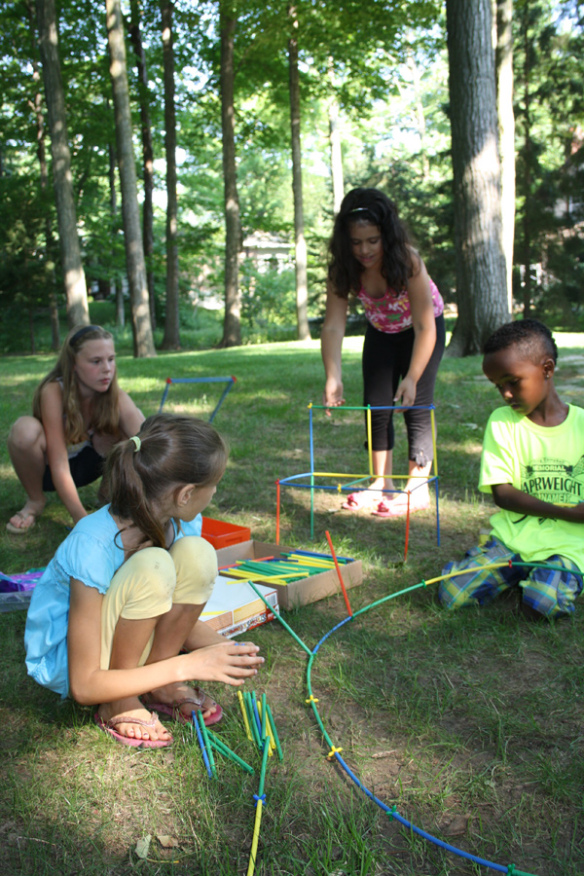
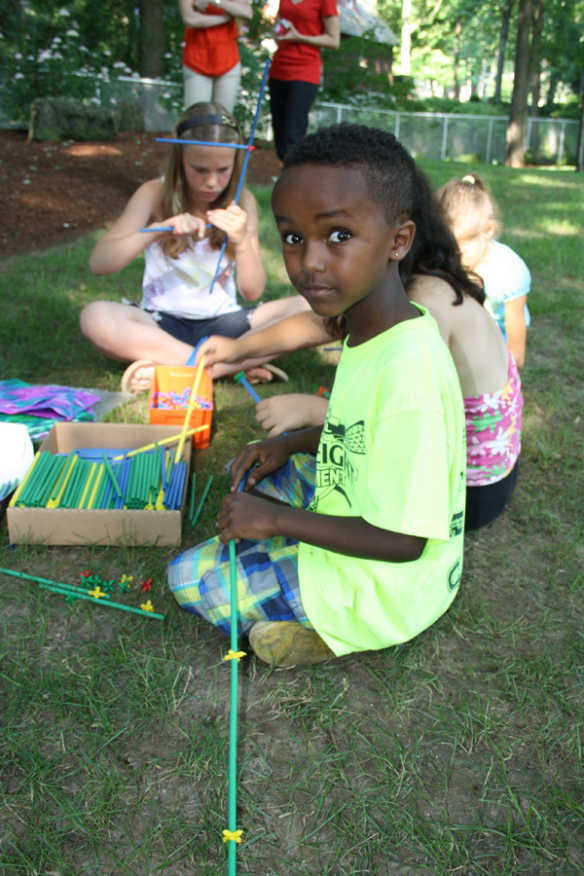
On a nice sunny day, we went outside to build structures as part of our city development and planning lesson! We dropped a TON of Straws and Connectors on the ground and asked the campers to build around the city roads we made from special rolls of tarmac-like paper.

Straws Connectors City

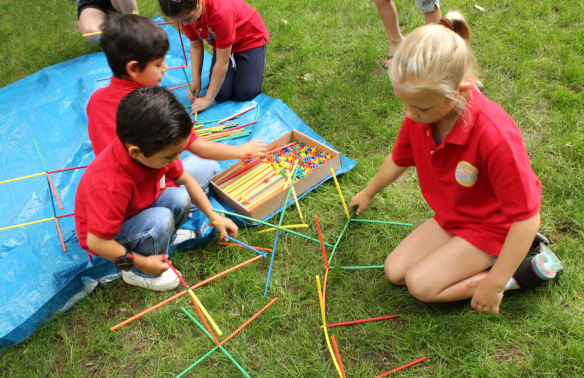
What a mess! Soon to be made into an amazing sculpture with the help of a few creative minds!

Straws Connectors City

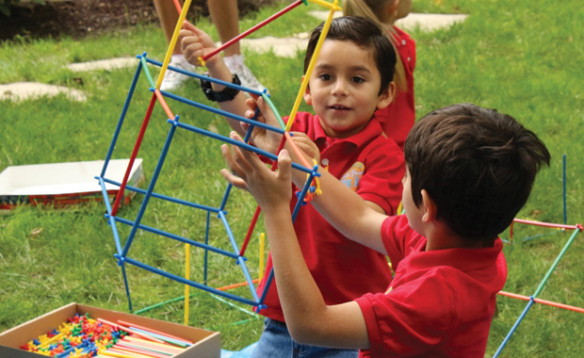
Lots of collaborating took place as some campers built off each other’s sculptures.

Straws Connectors City

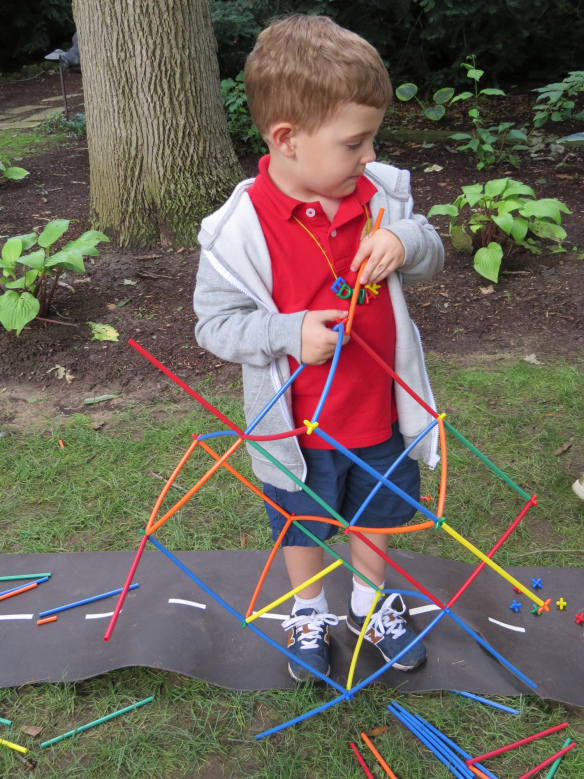
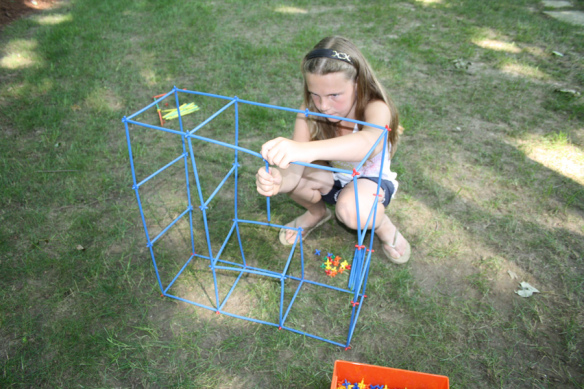
Some structures required a little reworking!

Straws Connectors City

Others knew exactly what they wanted.

Straws Connectors City

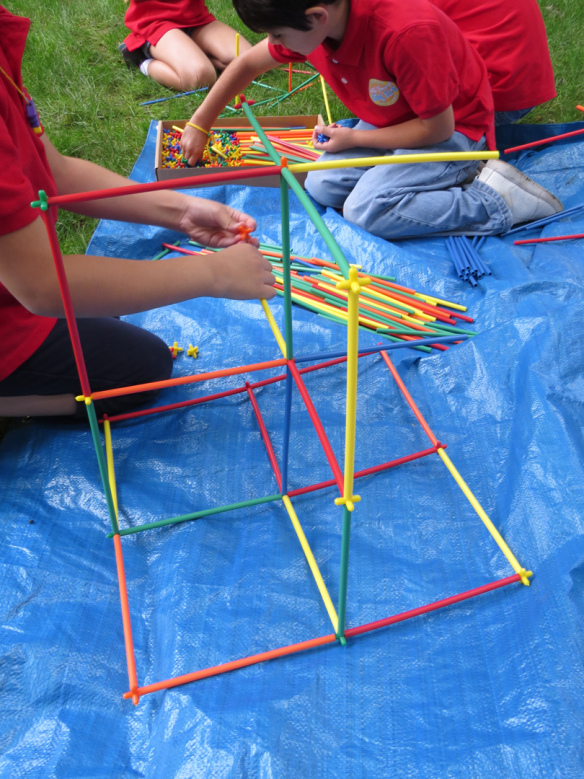
These campers worked together to build a structure of cubes. They added more cubes and then at some point, realized that they needed a bit of variety to their structure…

Straws Connectors City

As soon as one of the camp helpers showed them how to make variations with the straws, the boys were hooked!

Straws Connectors City

These campers also took on the challenge and added more interest to their building design.

Straws Connectors City

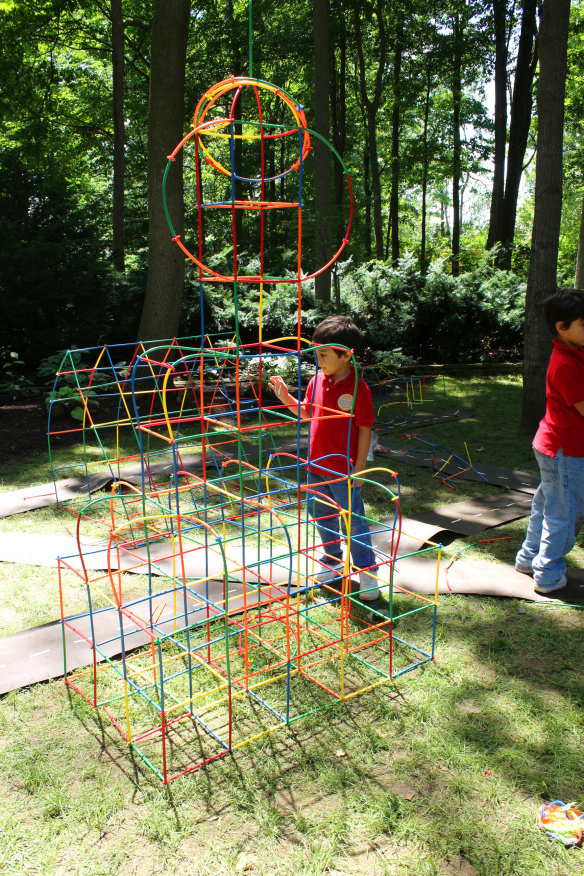
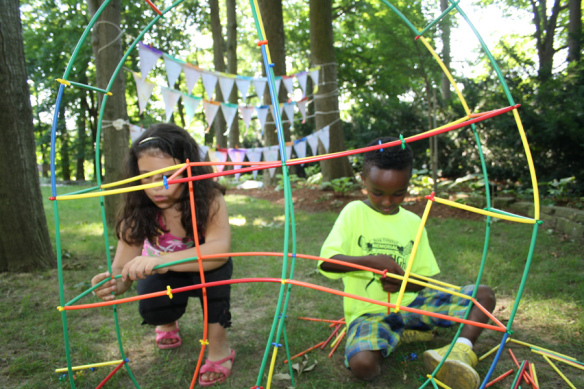
More and more designs popped up in other areas surrounding the “streets.” These designs looked like magnificent building achievements!

Straws Connectors City

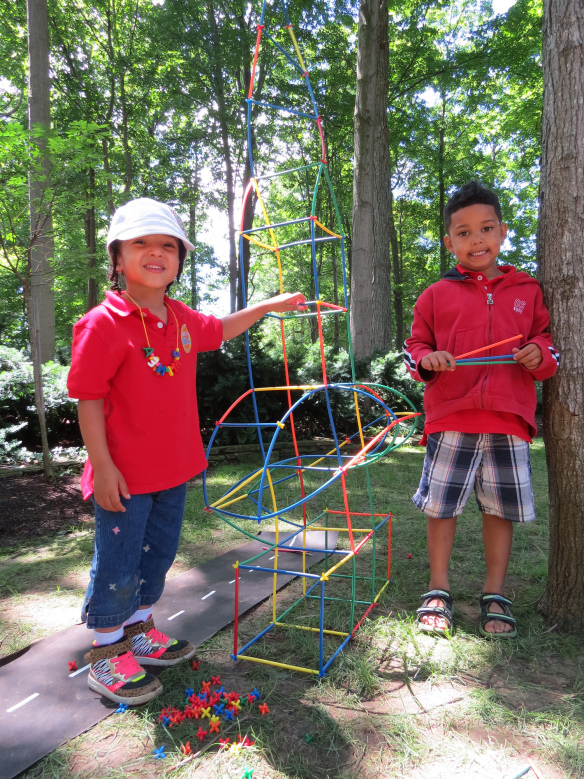
We all worked together to make the best out of our designs, and in the end we built a whole city of color! Later, our campers took a walk throughout the “city” to view all the great architectural designs. This is a fun outdoors activity that will last all day and make the most of your students’ problem-solving, critical thinking and design skills.

Line-17

Like us on FacebookShare this post with your friends, or Subscribe to this blog today to receive original craft project updates every Monday, Wednesday and Thursday!

Straws and Connectors at St Jerome’s Children’s Home, Nakuru, Kenya

straws and connectors kenya

We recently received a heartwarming report about the wonderful creations made with our Straws and Connectors at St. Jerome’s Children’s Home in Nakuru, Kenya! Rebecca Milling shares her experiences at the children’s home below!

Rebecca says:

“We were staying in Nakuru, Kenya’s 4th largest city, north west of Nairobi. Most days, we took the very dusty and bumpy 30 to 60 minute bus journey up to St Jeromes Children’s Home situated near to the village Muronyo.

straws and connectors kenya

My husband, the photographer Peter Dibdin, had been invited by a charity for Humanitarian Architecture, Orkidstudio, to document the building of a house using earth bags. In August 2014, Orkidstudio had designed and built the St Jerome’s Children’s Home building, so Peter also documented this building in use.

straws and connectors kenya

I volunteered myself and our five year-old daughter to go with them to do creative workshops with the children living at St Jeromes. Educational Advantage kindly donated six kits of Roylco Straws and Connectors for us to take with us.

Arriving there was wonderful. We were embraced with a warm welcome and were always made to feel at ease in the happy and relaxed atmosphere where Grace, Phyllis and Gladys live with 31 children, who range in age from 4 to 17 years old.

straws and connectors kenya

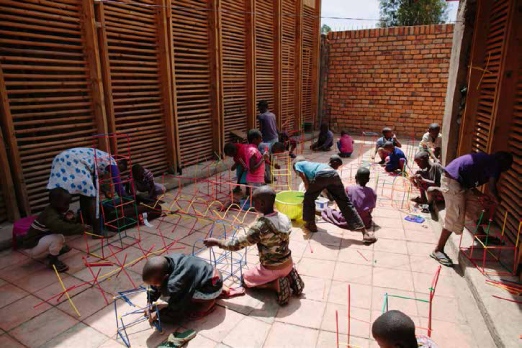
On the first Saturday, when the children were off school, we arrived with the Roylco straws and connectors. I had plans to split them into teams and build structures across the courtyard. However, as soon as the suitcase was opened and I showed the children the very simple act of putting a connector into a straw to connect another straw, I was redundant!

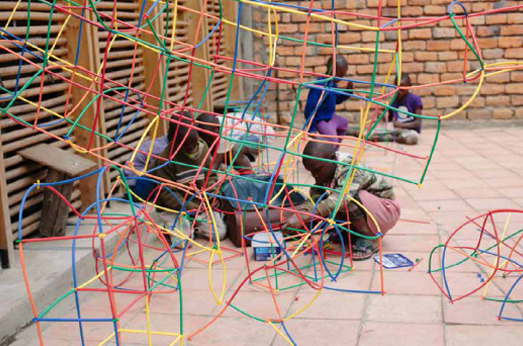
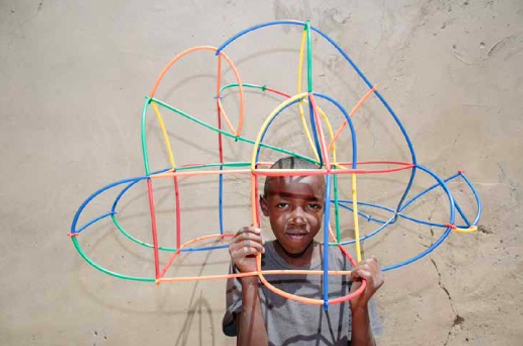
The children swarmed round the straws and immediately started building – in pairs, individually and in groups. There was no stopping them they were so excited at the prospect of designing amazing structures. One girl only used yellow; one boy designed a vehicle to push a football; another created a magnificent piece of engineering that could have been an insect or an aeroplane. I stood back and watched as the air was filled with excitement and enthusiasm for their creations.

straws and connectors kenya

I had brought the straws and connectors in a suitcase without any packaging or images of what could be achieved. This was partly to save space in my luggage but also because I was interested to see what ideas developed from the children’s imaginations and not from what they copied or were inspired by in a picture. It was extraordinary to watch the children’s immediate reaction to the straws and connectors and their strong instinctive desire to build with them.

I later managed to split the children into two teams and we built across the courtyard which was great fun and they had all worked out their own methods of building by then. The children also loved colour coding all the straws when they neatly packed them away into different coloured bundles.

straws and connectors kenya

I did various other art workshops, but there would always be a few children nagging and asking when we could get the straws out again! We often got them out after school and one day, I showed them the diagram of a shelter and they split into two groups. It was raining so we were crammed inside and when they had created a structure as a shelter, I took out the pieces of blue organza material, which had been included in two of the kits. I cannot describe the screeches of delight and excitement that this ignited – to have a tent!

Educational Advantage should feel very proud of their donation of Roylco straws and connectors. Thank you so much for giving the children of St Jeromes such a fabulous tool to be creative with. I didn’t go to the children’s home on Sundays, but I am happy to say that the suitcase of straws was brought out and played with and I am sure it will be again and again.”

– Rebecca Milling, March 2015

straws and connectors kenya slideshows

Thank you, Rebecca and Peter for sharing with us your experiences and beautiful photographs!

If you would like to learn more about the St Jerome’s Children’s Home, or see more of Peter Dibdin and Rebecca Milling’s work, please visit the following links:

https://orkidstudio.co.uk/blog/hellens-house/58/

www.peterdibdin.com

www.rebeccamilling.com

Photographs by Peter Dibdin

Line-07

Like us on FacebookShare this post with your friends, or Subscribe to this blog today to receive original craft project updates every Monday, Wednesday and Thursday!

Squarehead Teachers: Straws and Connectors Giveaway!

connectors-giveaway-2

Head on over to Squarehead Teachers and complete the challenge to win a FREE box set of Straws and Connectors! Contest ends December 16, 2014 at midnight.

The Straws and Connectors set is an awesome gift to give your kids or classroom of students this Christmas! Build and design beautiful structures or new shapes. You can learn more about the Straws and Connectors in our recent post at the link or visit the giveaway on SquareheadTeachers.com for more details!

The giveaway post features a full detailed description about the Straws and Connectors with gorgeous photos of various constructions! Check out the full post for contest details.

Are you stumped on where to find lesson plans for your grade-school classroom? Covering a specific unit and can’t find any ideas for it? Be sure to check out Squarehead Teachers! Besides providing you with a variety of amazing FREE PRINTABLES, you gain access to a wide range of subjects for any occasion. Use the resources for any educational space; learn at home or in the classroom with inspirational ideas.

cropped-blog-header-4-christmas-copy

Thank you to Mindy @ Squarehead Teachers for hosting this giveaway! 

Images © Squarehead Teachers

Line-06

Like us on FacebookShare this post with your friends, or Subscribe to this blog today to receive original craft project updates every Monday, Wednesday and Friday!

Guest Post: Straws and Connectors, Autumn Leaves Paper Bits and Dry Erase Classroom Tunics

2014-12-09

Here’s a sneak peek at a few ways our creative crafters used some of our products! All these photos were sent in to us by people who would love to share their ideas. So take a look around, and get acquainted with some projects you could use in your own educational space!

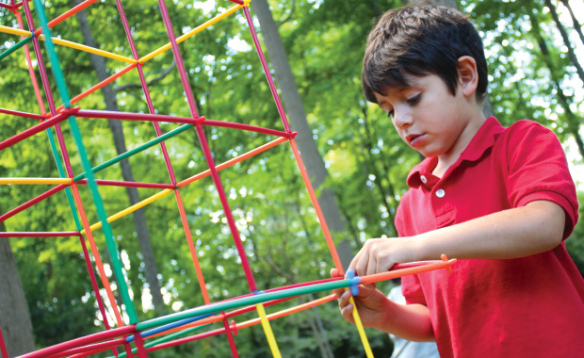
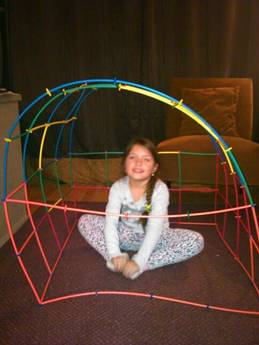
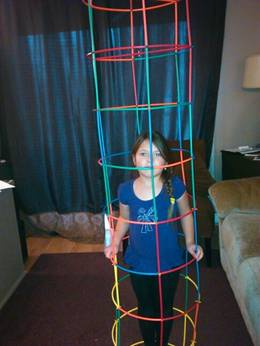
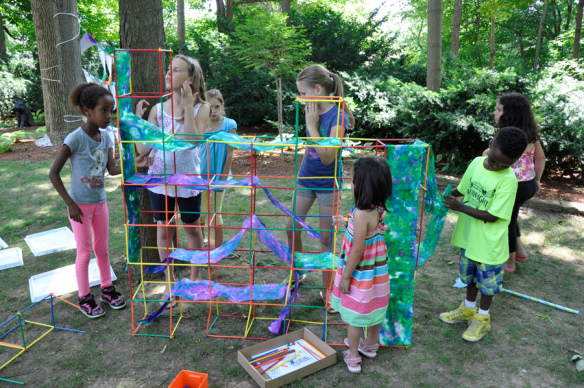
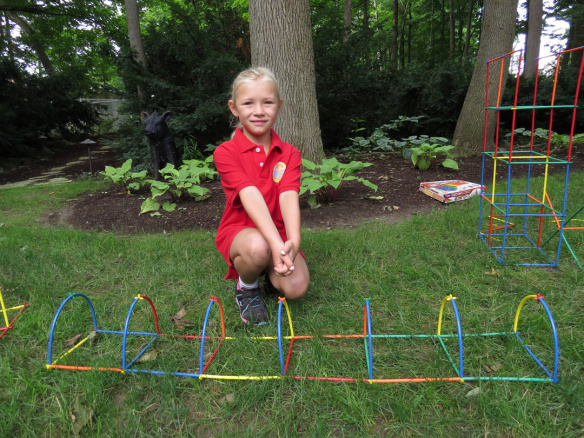
Our first few photos show how the Straws and Connectors were used for building large and tall structures that the kids could climb inside of. We provide each kit of Straws and Connectors with a reference guide for building these kinds of structures and more! Use the diagrams as a basis for designing your own creations.

2014-12-09-2

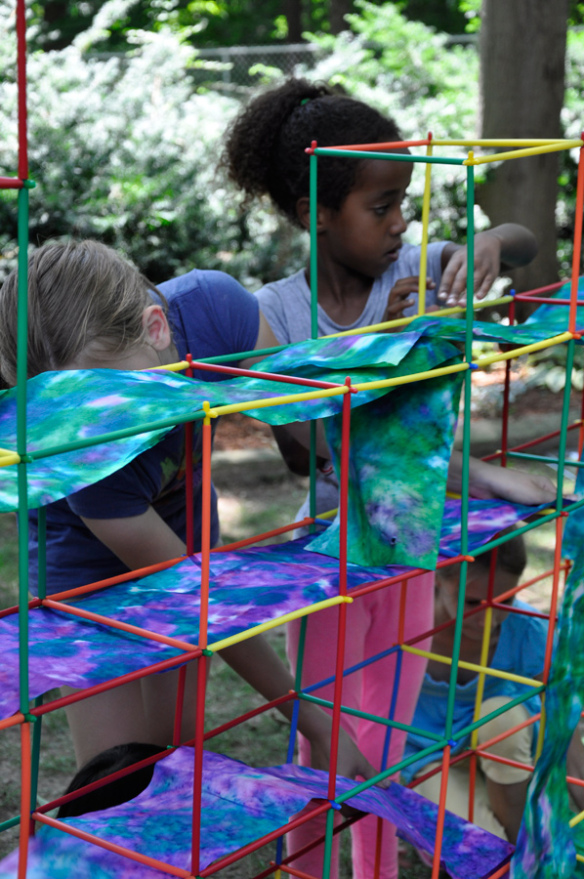
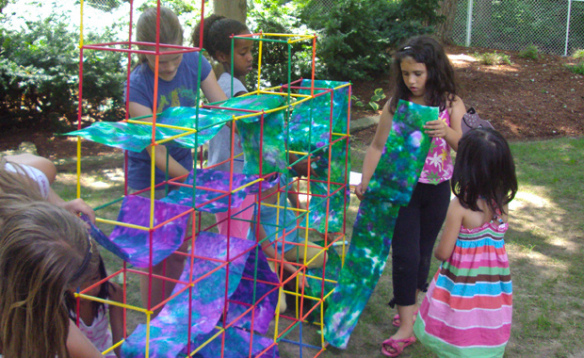
We used the Straws and Connectors structures as the inner designs for our Color Diffusing buildings. We painted large sheets of Color Diffusing Paper with watercolors. Once the sheets were dry, we wove them in and out of the gaps in the design. Check out the beautiful photos of this project at the link!
2014-10-06

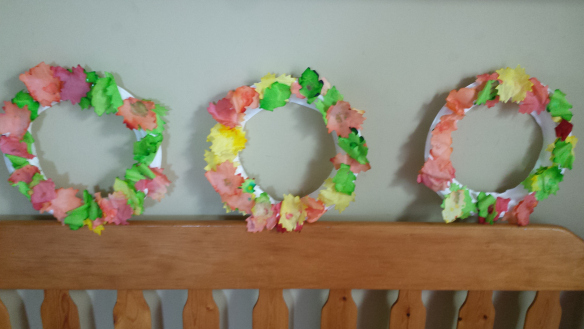
These gorgeous wreaths were made with our Autumn Leaves Paper Bits! The clever design used a card wreath cutout. The crafters then glued the leaves on top. Alternatively, you could use a paper plate and cut out the center to use as the wreath base.
The video below shows a basic project you can try with the Autumn Leaves. This simple craft uses construction paper and the leaves to make a 3D-looking tree.

2014-12-09-05

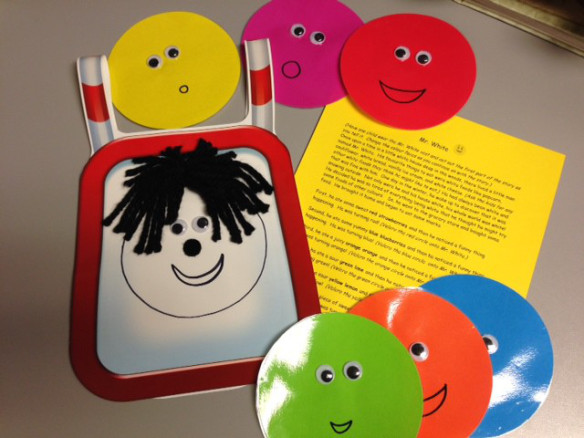
Finally, our last photo reveals what this teacher decided to use her pack of Dry Erase Classroom Tunics for! Although the Classroom Tunics can be used for temporary notation–such as using dry-erase markers to write numbers or letters on them–there are many other uses for them! For instance, this teacher laminated circles in different colors and pasted them onto various Classroom Tunics. Using a story about introducing the colors of the rainbow, she had several of her students act out the storyline while wearing the tunics. It’s a great way to engage the class on multiple levels–learning literacy, colors, order and sequencing, and group collaboration!

Line-13

Thanks to our subscribers for sending us photos of their work! If you would like to send us your photos in order to be featured in our next Guest post, please contact us through the contact form! We’d love to hear from you!

Like us on FacebookShare this post with your friends, or Subscribe to this blog today to receive original craft project updates every Monday, Wednesday and Friday!

Project Spotlight: Straws and Connectors

2014-11-24-FeatureImage

What’s so great about our Straws and Connectors? Besides the colors, the simplicity of combinations, and the potential for lessons about geometric structure? Learn more below!

IMG_8539

There are two simple components in the Straws and Connectors pack: the straws, which come in a variety of bright and fun colors, and the connectors, which feature 6 prongs to position the straws in any direction.

IMG_0155

The most basic shape that students can easily construct is a square using the straws and connectors. Add on more straws and connectors to fill in the structure and turn the square into a cube!

IMG_0162

Explore more three-dimensional shapes and talk about their properties as students build them.

IMG_8551

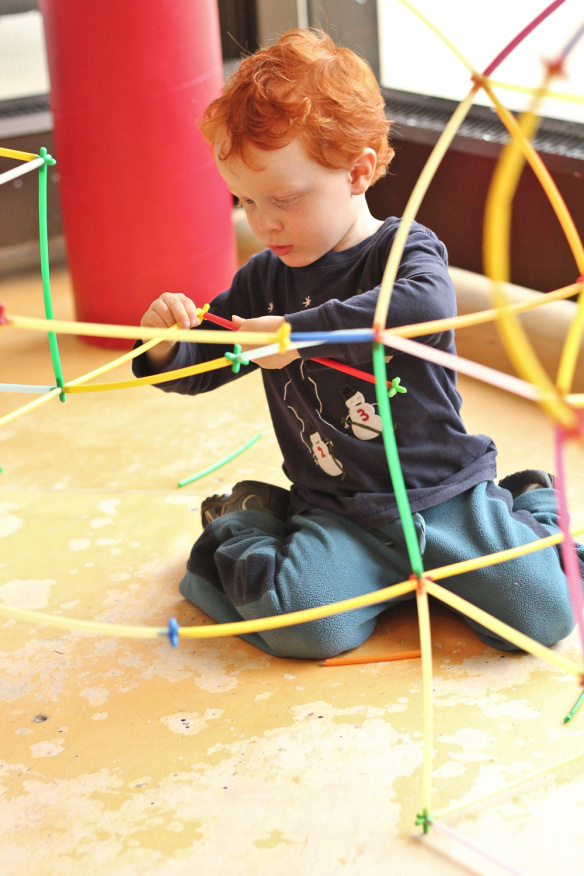
The straws are long enough that they can be bent to make curves in the structure, so you are not simply limited to making square structures. It’s a great cooperative material as well! Students can work on separate pieces and combine them all together to make a larger sculpture. This way, children use their skills in coordination, cooperation and critical thinking to create a finished piece.

IMG_8575

We challenged our students to build their own projects separately from each other. Students first had to brainstorm their ideas and then bring their projects to life. Can you guess what this project will be?

IMG_0192

You can see how this art camper continued creating curves in her structure. This perfectly illustrates just how versatile our Straws and Connectors are!

IMG_0245

This art camper made a boat!

IMG_0225

And this is a rocket!

IMG_0237

Straws and Connectors are a perfect gift to your children this holiday season! Give your students the ability to exercise multiple motor functions while creating sculptures they can truly be proud of!

See more about the R6085 Straws and Connectors here:

What else can you make with the Straws and Connectors?

Do you have a Straws and Connectors pack? If so, what kinds of structures did you make with them? We’d love to read your comments below!

Line-06

Like us on FacebookShare this post with your friends, or Subscribe to this blog today to receive original craft project updates every Monday, Wednesday and Friday!

Craft Spotlight: Straws and Connectors

Feature-Image-strawsconnectors

Looking for a last-minute kids’ Christmas gift? Stimulate your children’s cognitive abilities with this perfect building kit. In this post, we’ll show you some ideas to make from Straws and Connectors!

The Straws and Connectors come in 4 intriguing packages:

 R60901 Straws and Connectors™ Creative Building Set (390 Straws, 315 Connectors)

 R60990 Straws and Connectors™ Structure Pack (100 Straws, 84 Connectors, 1 Big Blue Veil)

 R6085 Straws and Connectors® (230/pkg)

 R6090 Straws and Connectors® (705/pkg)

You can even order replacement straws (R6084 Replacement Straws) to replenish your classroom supply!

IMG_7634

Straws and Connectors come in a brilliant array of colors, so you can use them for sorting projects! Ask children to sort by color and by type–such as separating Straws from Connectors.

You can even introduce angles with the Straws and Connectors! Even though it seems like a tough subject to teach, using actual concrete objects helps to reinforce certain concepts in children’s minds, especially if they can manipulate the object into different possibilities. Attach one of the Straws to a Connector and describe the Connector as the vertex of an angle. Attach another Straw to the opposite side of the Connector to make a 180 degree angle.

IMG_7628

Next, align two Straws with the Connector at a 90 degree angle. Once you have made a 90 degree angle, demonstrate how to make a 45 degree angle by placing another Straw directly in the middle of the L.

IMG_7655

These concepts will help children grasp how to make simple shapes with combinations of Straws and Connectors. Make squares, rectangles and triangles! You can even make circular objects!

IMG_7662

Here, our Art Campers worked together to make their very own sculpture with bends and curves!

_DSC0594

In another group, the Art Campers constructed a rectangular structure from the Straws and Connectors. They used dried painted Color Diffusing Paper that they had made previously with pipettes and watercolor paint to decorate the interior and exterior of the sculpture.

_DSC0591

They consulted with each other how they would cover their sculpture with the Color Diffusing art and worked out a system of ‘waving’ the art through the Straws.

[youtube http://www.youtube.com/watch?v=Ow04SYfL5_E]

Watch the video above to see just why YOU need a box of these versatile construction materials!

Line-10Thanks for sticking around! We love to hear your feedback. If you’ve ever used Straws and Connectors and have photos of your structures, send us your pictures to get published in an upcoming post. Send to subscriber@roylco.ca!

Craft Spotlight: Winter Classroom Mobile

Feature-Image-WinterClassMobileNeed a festive decoration for your classroom? How about a decoration that every student can partake in making? Try the wonderful R51301 Winter Classroom Mobile! Divide your classroom into groups to each decorate their own mobile–then hang it above their desks!

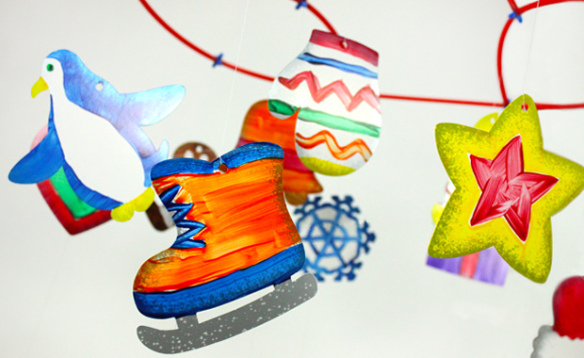
The Winter Mobile features 36 winter-themed ornaments that can be hung from the frame. Use crayons, paint, markers or collage materials to decorate the shapes! There are enough ornaments in the Winter Mobile pack for each student to decorate at least one!
First make the mobile frame. We’ve included a detailed guide with pictures to help you construct the mobile frame. Use the provided Straws and Connectors to assemble the frame. Watch the video below for details!

Decorate the frosted-look ornaments and thread some string through the holes in the top to hang them from the mobile.

R51301

Building a mobile opens up plenty of opportunities to learn some interesting lessons. Talk about the science of air movement (how air particles bounce off the ornaments to always keep them in motion). Encourage teamwork and individual development through decorating and assembling the mobile. You can even incorporate a lesson on learning about multicultural winter celebrations.

Note: The ornaments included in the mobile kit are meant to be universal for all winter celebrations. If children would like to add their own ornaments to the mobile, encourage them to do so!

Line-07Thanks for checking out this Monday post! If you’d like to be featured in one of our posts, send us photos of your students’ work to subscriber@roylco.ca! Looking forward to hearing from you!

Art Propellor uses our Straws and Connectors!

KWFamilySunday-(10-of-21)

One Sunday a month, our local Kitchener-Waterloo Art Gallery hosts a family drop-in night, which brings in a large group of children of all ages! The programs are organized to help children explore a range of art materials and activities. A popular feature of these art programs is our very own Straws and Connectors!

Our local art gallery maintains its own blog at Art Propellor, also a WordPress site. Check out the artistic posts here!

The KWAG is a great place to be–whether you are gallery-viewing or dropping in for one of the many hosted art programs (ranging from audiences of children to adults), the gallery features a variety of inspirational activities.

Our Straws and Connectors made a big impact at the KWAG Family Sundays events. A post was made entitled: “Family Sundays are Back!” which not only highlighted the success of the event, but also featured images of our Straws and Connectors! The post was published on October 22, 2012.

KWFamilySunday-(9-of-21)The Straws and Connectors are versatile enough for a variety of projects. Build sculptures, structures, and more!

KWFamilySunday-(11-of-21)Connect the colorful straws together with 5-pointed connectors to make a variety of three-dimensional shapes.

Thanks to the KWAG for this post!

Images and original post © Propelart – KWAG

This post was not sponsored for a review. At LittleFingersBigArt, our mission is to present to our readers and viewers the newest and most creative craft ideas that fans of Roylco have made on their own. Our goal is to allow you and other educators and parents to reuse our products in fun ways so that children always get the best educational experience from them!

We’d love to see more ideas like this one! If you’ve got a brilliant craft idea or have made a version of one of our crafts that you would like to share with us, send an email to subscriber@roylco.ca with photos, descriptions or a link to your work. We will create a feature post and link back to you with full credit. We’d love to hear from you!

Line-14