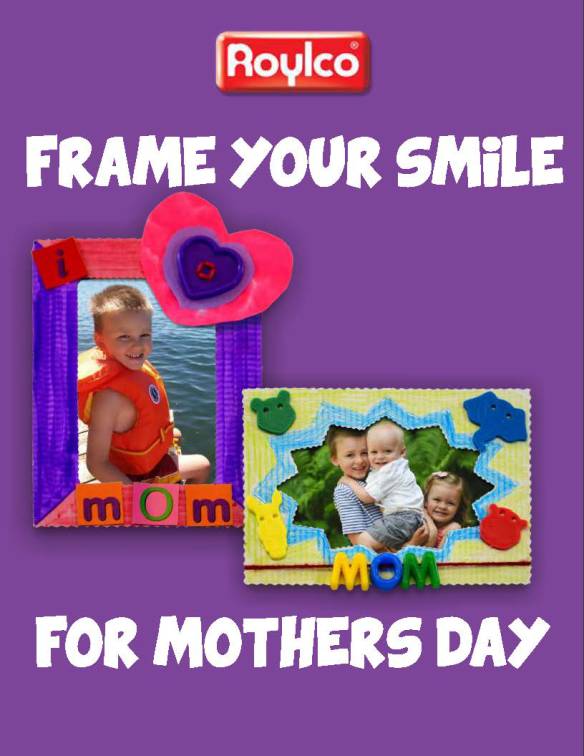
Frame your favorite memory for Mother’s day!
Age: 3+
Duration: 15 minutes (plus drying time)
Learning Objectives: Practice literary skills while spelling out words with letter mosaics. Practice fine motor skills while gluing picture frame elements. Make a beautiful take-home craft.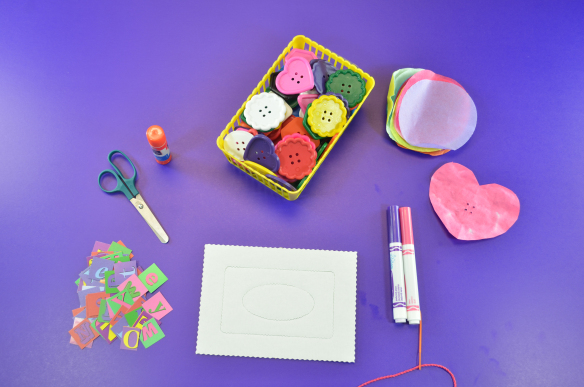
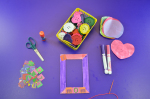
You’ll Need:
- R22441 Economy Fun Frames
- R15632 Alphabet Pasting Piece
- R2143 Really Big Buttons
- R15213 Color Diffusing Paper
- R2172 Tissue Circles
- R5601 Plastic Lacing Needles
- White school glue or glue stick
- Scissors
- Washable markers or crayons
- Yarn
- Mom’s favorite photograph

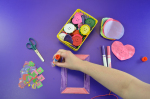
Our economy frames come in lots of fun shapes, so you can match the tone of your favorite memory with a fun shaped frame! As a bonus, the centers of the frames pop out and can be decorated to add an element to your frame design. For this project, I’ll use the plain rectangular frame, but you can adapt this activity to any design in the Economy Fun Frames pack.
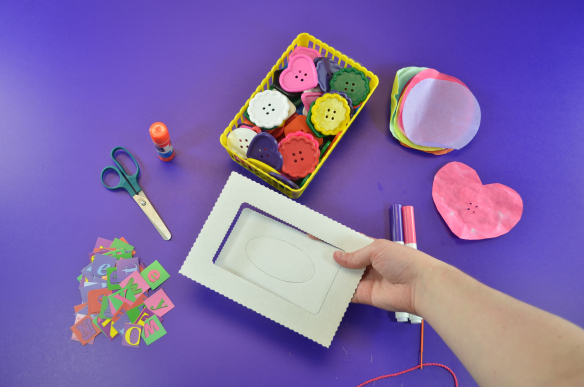
Our cardboard frames are specially designed to nest inside each other, giving you more value! Simply break apart the frames along the perforations. You have a smaller frame inside for another project, and the solid center shape can be used as a decorative component!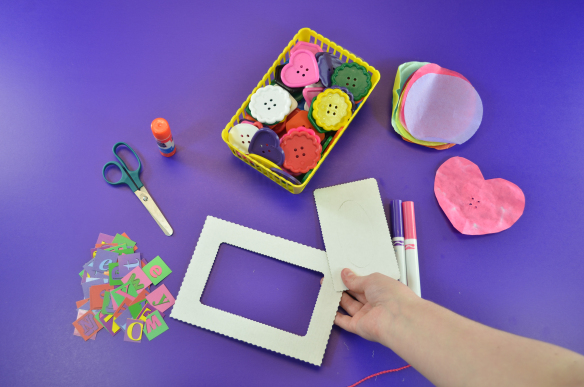
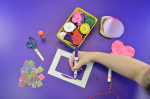
Once you have your frame in front of you, it’s time to decorate! To keep this project fast and neat, I use washable markers to color in the frame, but you can use paint, colored pencils and crayons to decorate your frame.
Once your frame has its base color or colors, grab a pile of Alphabet Pasting Pieces and sort through them. I will need the letters “i,” “m,” and “o” because my frame will spell out “I ♥ Mom.” Feel free to choose your own special message to spell! You can explore different types of lettering styles with interesting colors and designs. Once you have chosen your message, glue the pieces down with a glue stick or white glue.
Now it’s time to create the heart component! I started with a sheet of our color diffusing paper, and cut out a small heart shape. Then I used red liquid watercolor paint to color the heart. Once that was dry, I cut a slightly smaller heart out of a purple tissue circle. Finally, I chose a purple heart button to layer on top of the other two hearts. 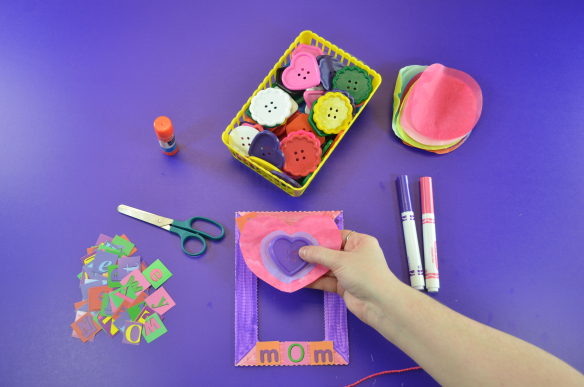
To hold everything together, I used one of our plastic lacing needles and some yarn to stitch the layers together. Our flexible needles are easy to thread and classroom-safe! There shouldn’t be any pricked fingers this Mother’s Day. Tie a knot in the yarn on the back side of your heart to secure it. 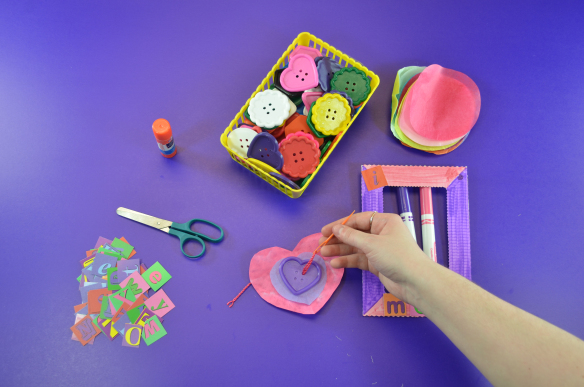
Once the heart component was put together, I glued it to the corner of the frame. 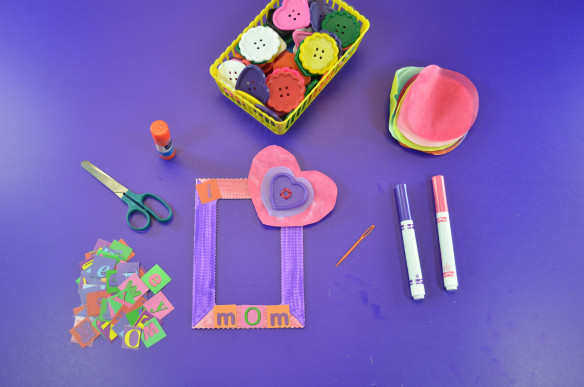
Once your frame is decorated, print out a copy of mom’s favorite photo, cut it slightly larger than the inside edge of the frame, and glue it in place. This makes a fabulous take-home craft for all of your students, and just in time for Mother’s Day!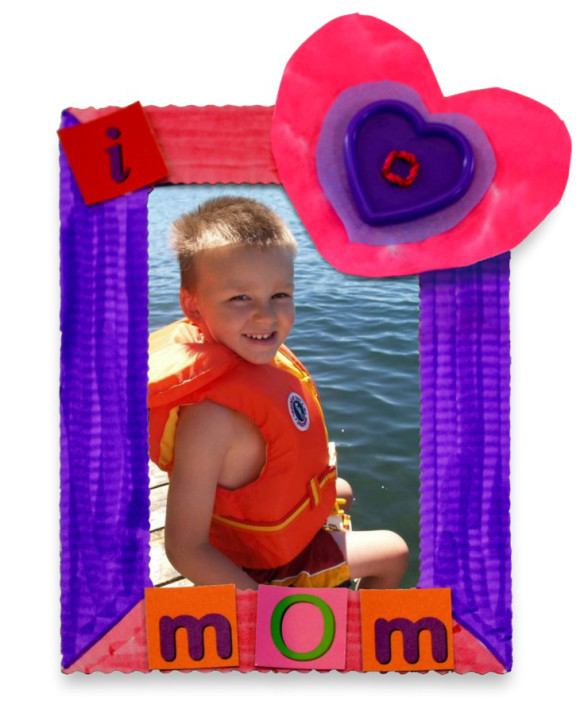

Like us on Facebook, Share this post with your friends, or Subscribe to this blog today to receive original craft project updates every week!

![]()