Spotlight On: Curlicue Rods!

coiled pile.jpg

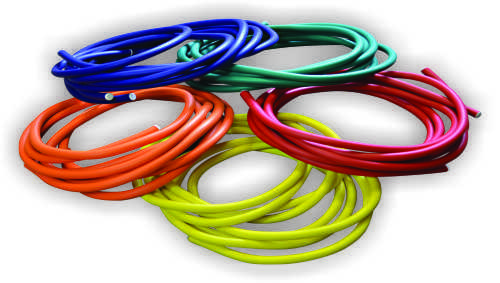
Weave, build and make shapes with these squishy, brightly colored sculpting rods!

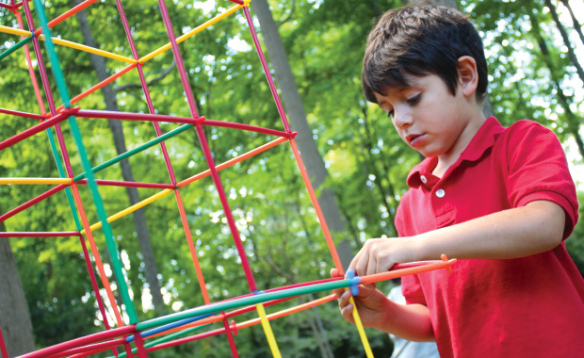
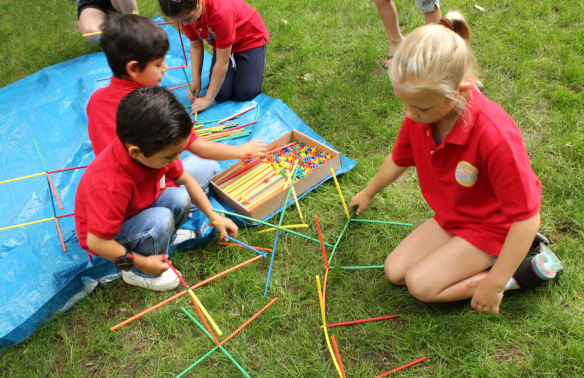
The strands come in five vibrant colors that are perfect for color-coordinating activities.  Use indoors to make giant grids for rainy day math and sorting activities. Take them outside and make mazes, grids and play environments. Use inside to create play spaces! Each squishy strand is 3 meters (almost 10’) long to encourage gross motor development.

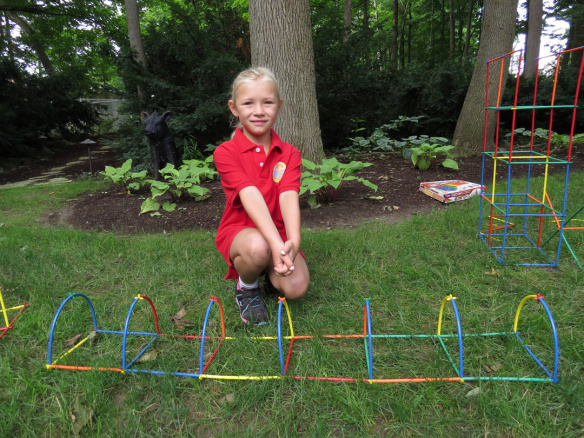
bridge with girl.jpg

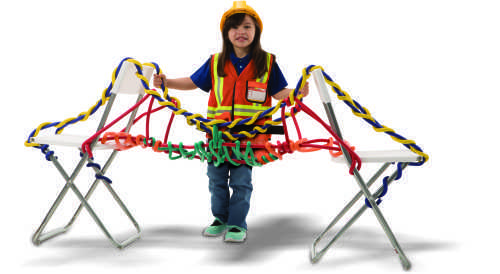
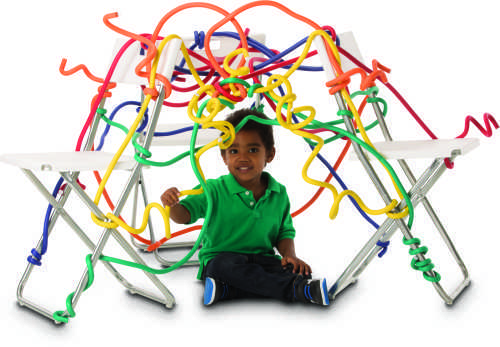
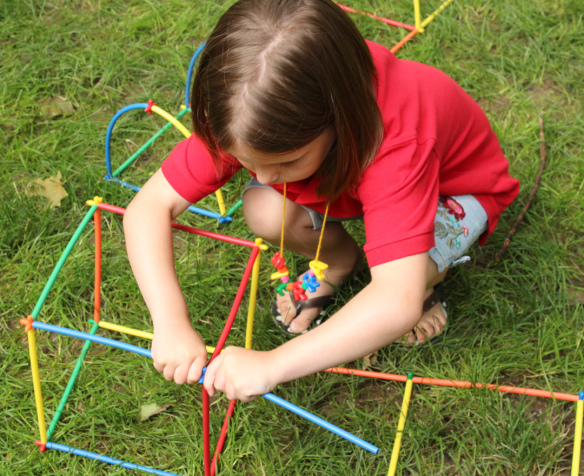
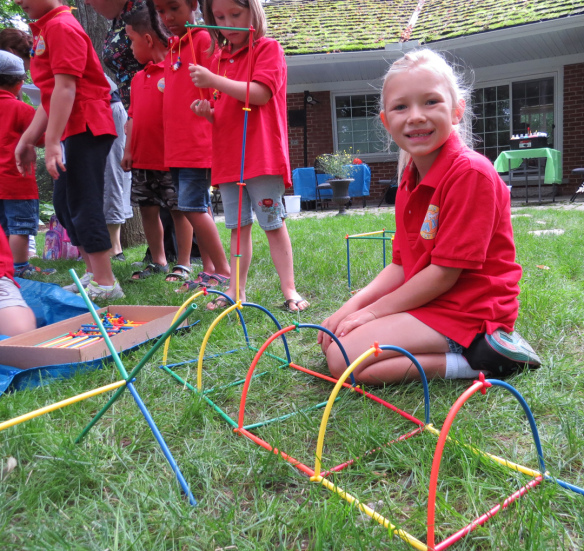
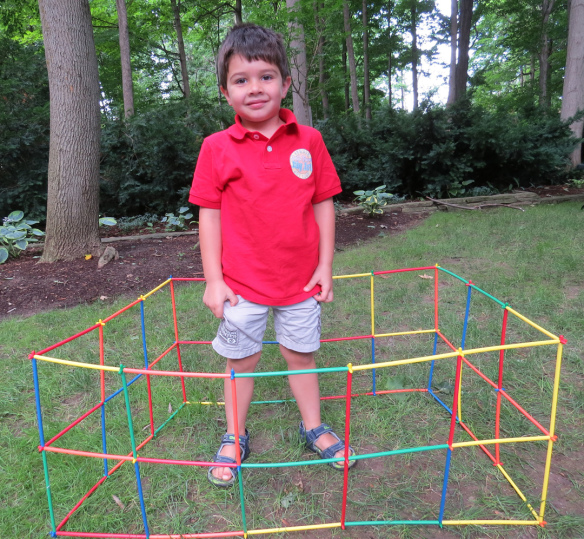
The best part of rainy afternoons is making a fort! The length of these jumbo rods and their flexible cores make them the perfect material to string across chairs or book shelves to make forts. Each strand stays bent in place but pulls off easily. Curl the loose ends around something cylindrical to create adorable curlicue decorations for your fort!

fort with boy.jpg

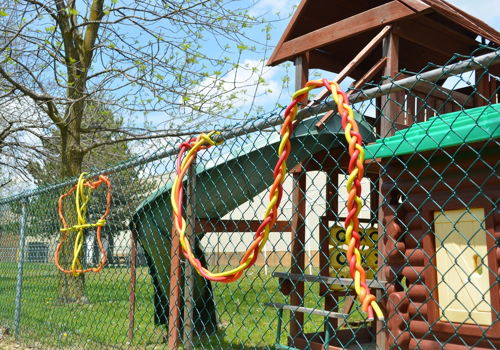
The bright colors of the strands are clearly visible inside and outside! Combine both fine and gross motor skills by challenging kids to weave the strands through a chain-link fence. This activity captivates kids and the results are beautiful!

60551 Curlicue Rods - Outdoors On Fence.jpg

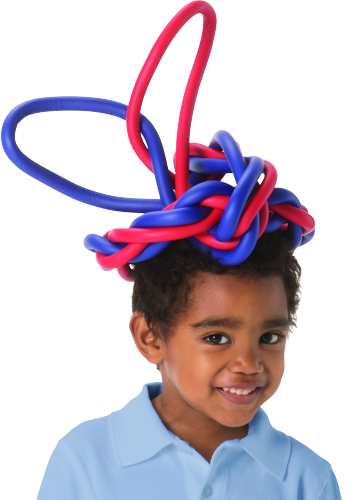
Twist one or two rods around themselves to create a colorful, funky hat!

boy with hat.jpg

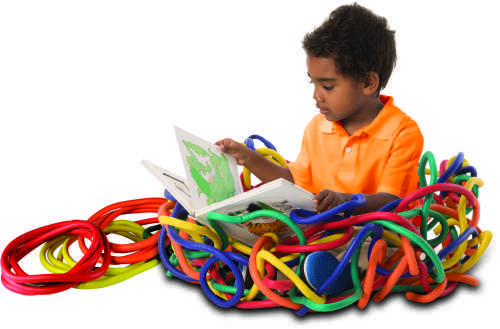
Need a brand-new kind of reading nook in your classroom? Simply twist and weave the long rods together to create a reading nest! Add a blanket or a pillow for comfort, and encourage early literacy.

nest with boy and book 1.jpg

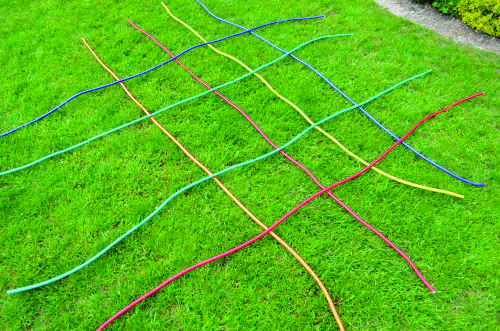
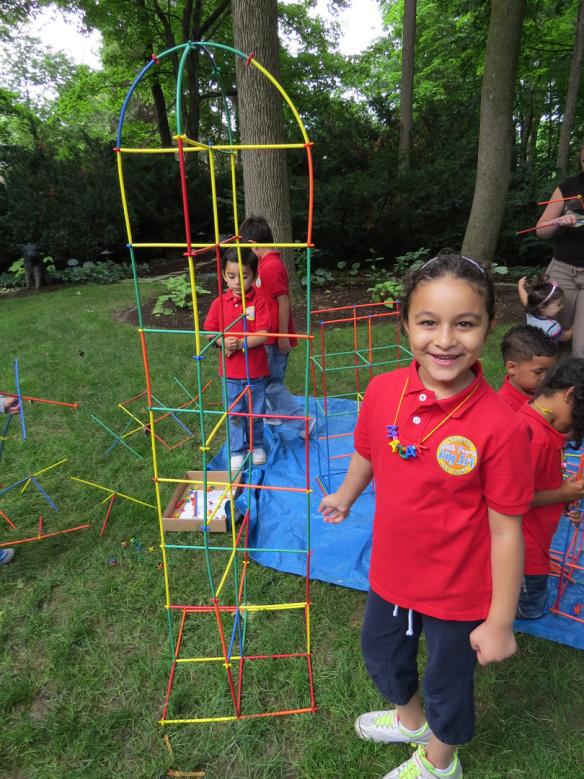
Whether indoor or outdoor these strands make the perfect foundation for big floor grids. Use for games, sorting, patterning and active learning!

grid on grass.jpg

Line-01

Like us on FacebookShare this post with your friends, or Subscribe to this blog today to receive original craft project updates every week!

NAEYC 2015 – A Great Turnout!

naeyc 2015

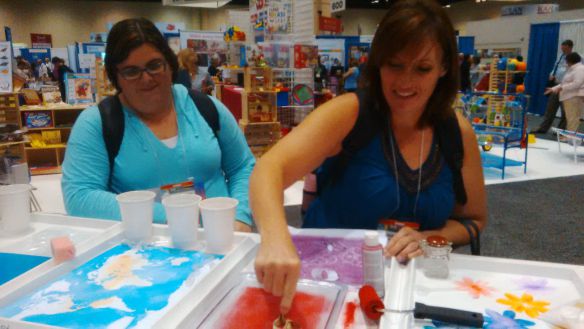
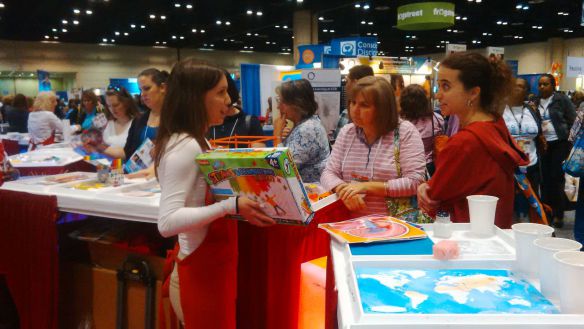
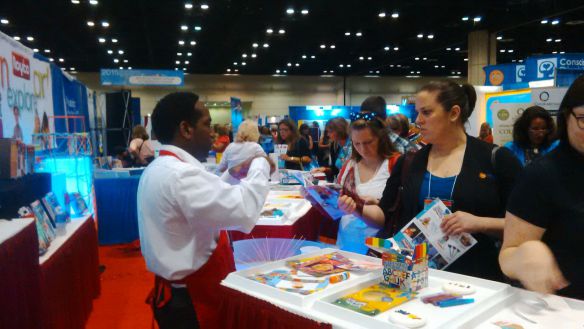
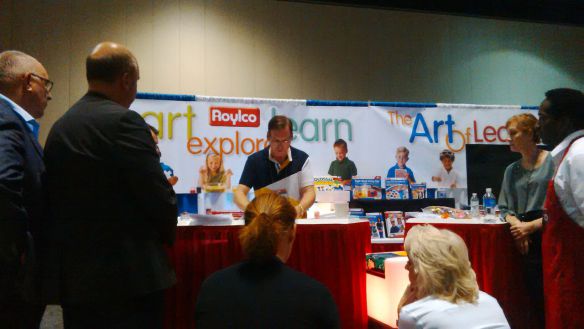
This year, the creative folks at Roylco returned to the Annual NAEYC Conference, which was being held in sunny Orlando, Florida! Check out some of our favorite moments captured on our cameras!

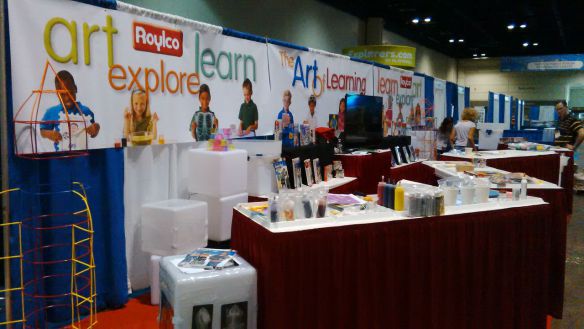
Every year, the National Association for the Education of Young Children hosts a large space for companies who specialize in art education (like us!) to showcase their materials and talk one-on-one with the teachers. We had a prime location nearby the entrance to the hall, and welcomed hundreds of visitors!

naeyc2015

Our booth featured a fantastic array of our products, with 4 tables zig-zagging across the front. This allowed us to demo some of the products to our teacher friends while encouraging a flow of traffic through our booth.

naeyc 2015

We showed off some of our new products too! Look out for some of the following great products coming out next year at your local educational retailers:

R60705 Neon Straws and Connectors

R54490 Chromatography Kit

R48236 Junior Fun Faces Mix and Match Rubbing Plates

R59270 My Body in Action Cards

R49143 All About Me Book

naeyc 2015

We had great fun talking about our published ebooks as well (soon to be available on our website!), including The Art of LearningThe Art of EngineeringThe Human Body: Inside & OutLight Table Magic and Learn Math… Without Knowing It! Each e-book is a gigantic resource for teachers, featuring over 50 ideas for implementing art-based learning through various subjects. The focus is on FUN learning, meaning that we don’t provide any worksheets or practice lessons that students need to learn. Instead, we focus on building quality experiences within the classroom, using those experiences as a strong foundation, and strengthening those experiences with further tie-ins.

naeyc 2015

We love our teachers and strive to make the difference with all our products! Email us at info [at] roylco [dot] com for more information about our 2016 products and e-books!

Line-05

Like us on FacebookShare this post with your friends, or Subscribe to this blog today to receive original craft project updates every week!

Straws and Connectors City

Straws Connectors City

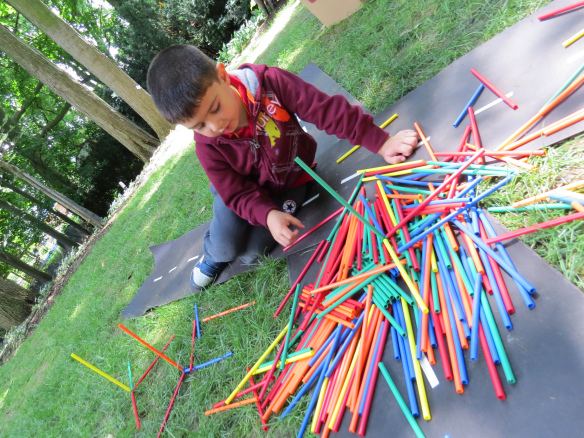
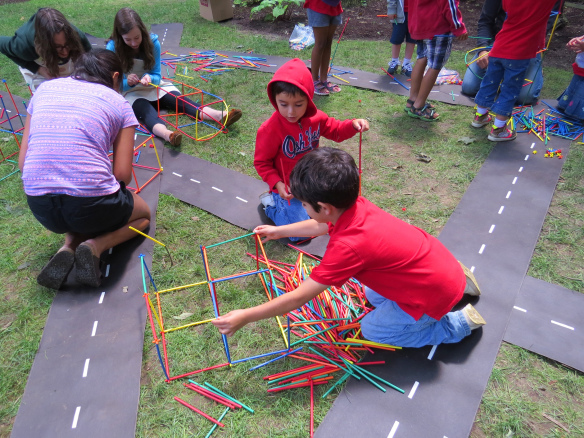
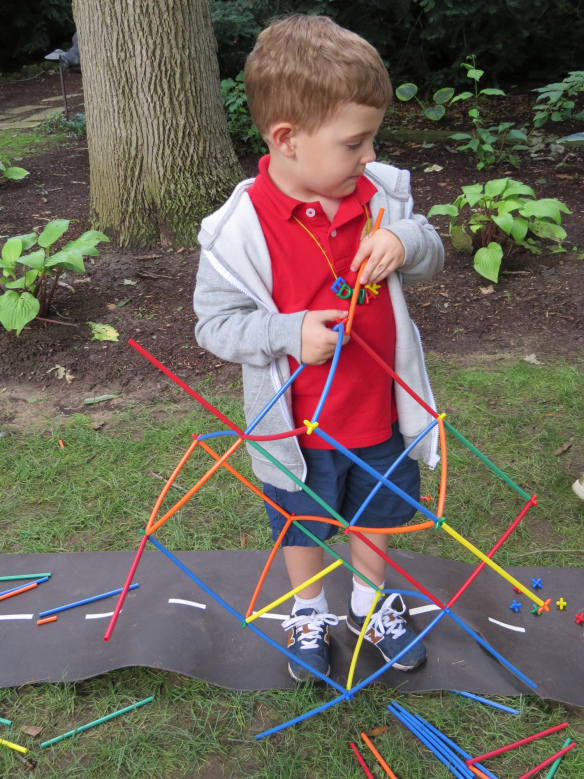
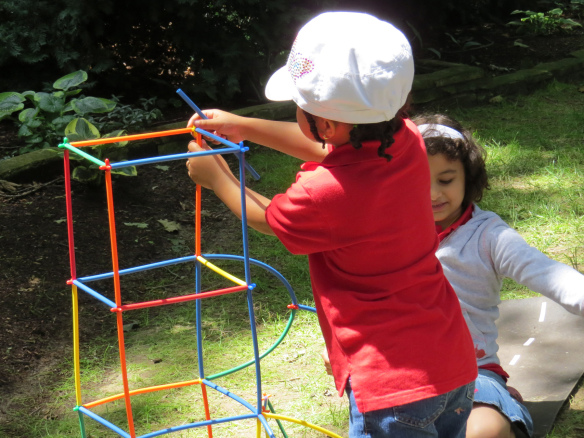
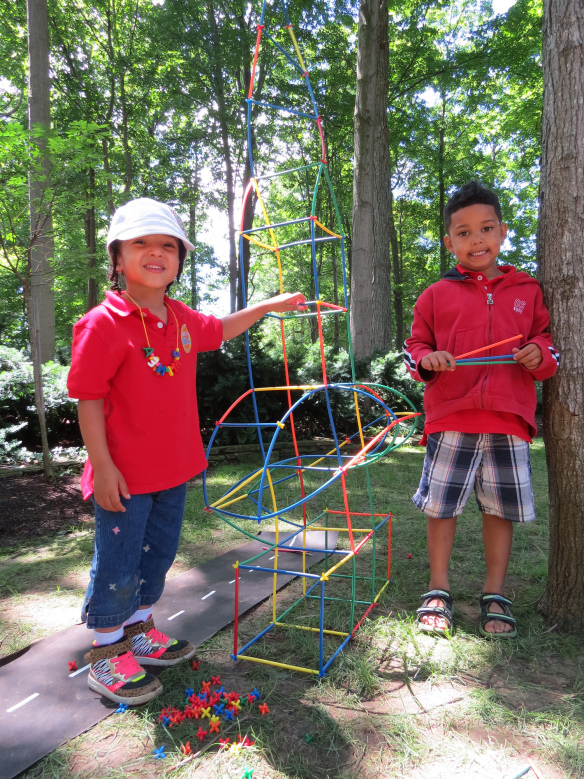
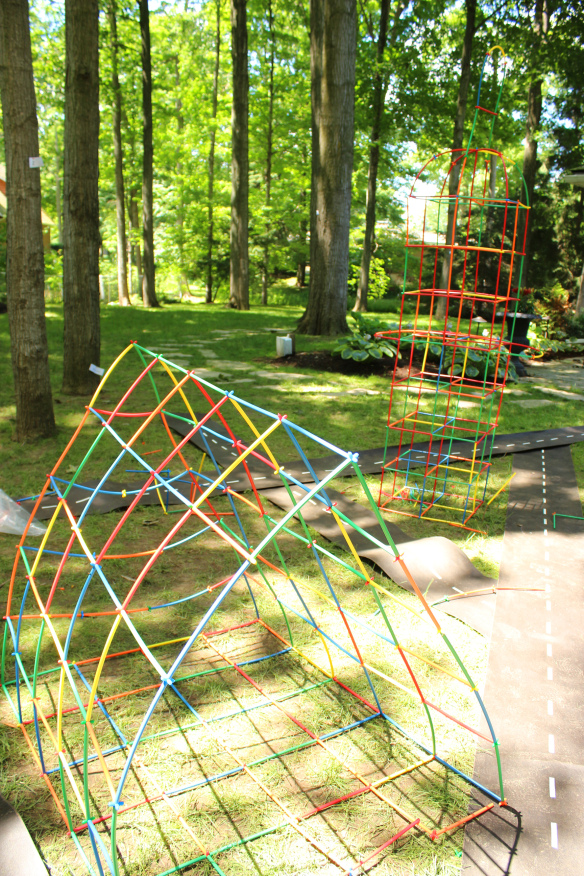
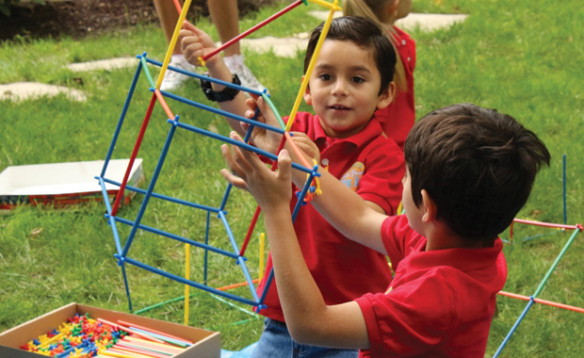
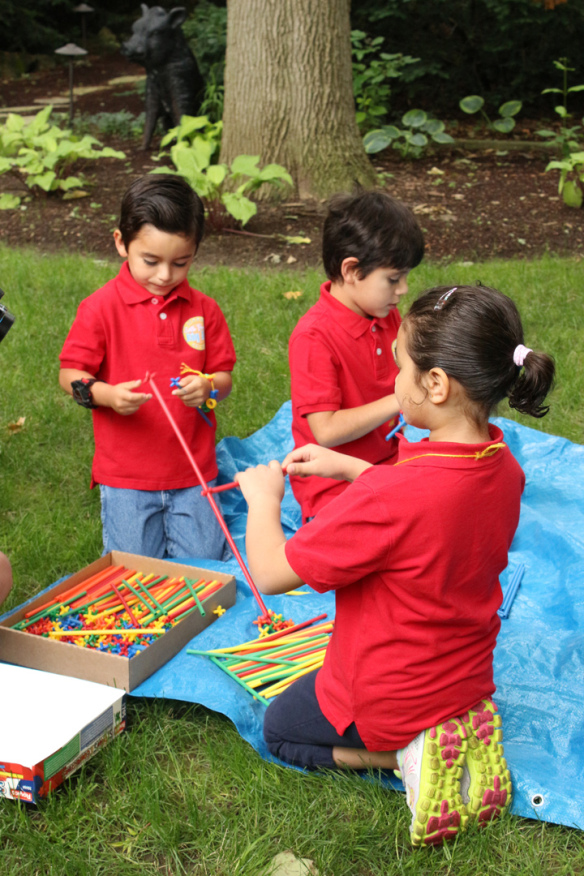
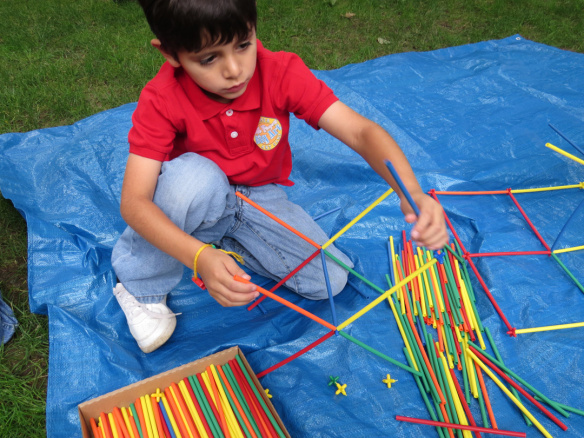
On a nice sunny day, we went outside to build structures as part of our city development and planning lesson! We dropped a TON of Straws and Connectors on the ground and asked the campers to build around the city roads we made from special rolls of tarmac-like paper.

Straws Connectors City

What a mess! Soon to be made into an amazing sculpture with the help of a few creative minds!

Straws Connectors City

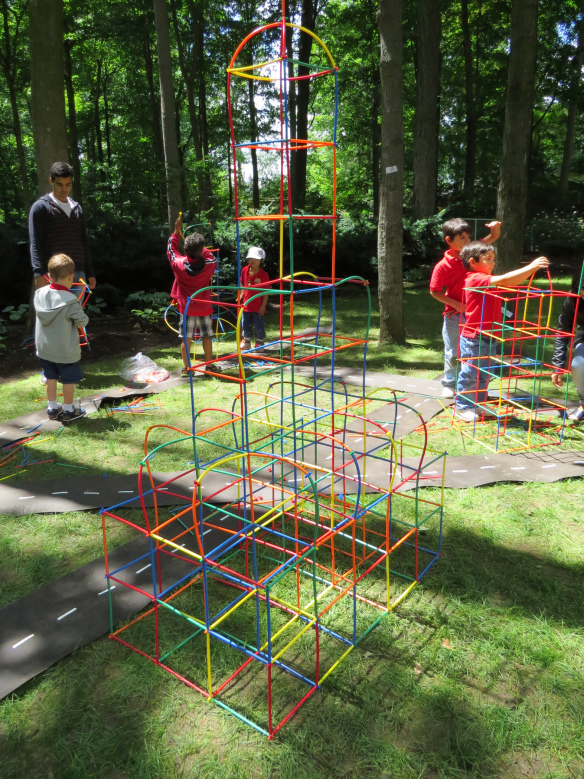
Lots of collaborating took place as some campers built off each other’s sculptures.

Straws Connectors City

Some structures required a little reworking!

Straws Connectors City

Others knew exactly what they wanted.

Straws Connectors City

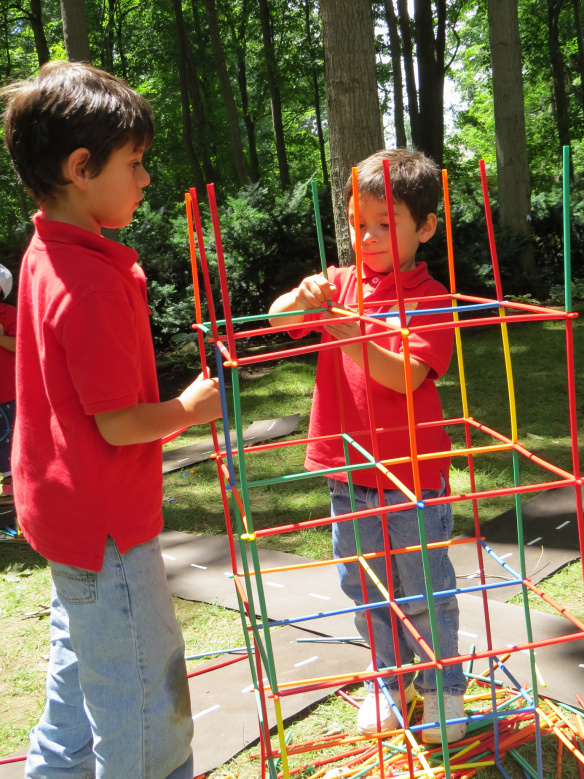
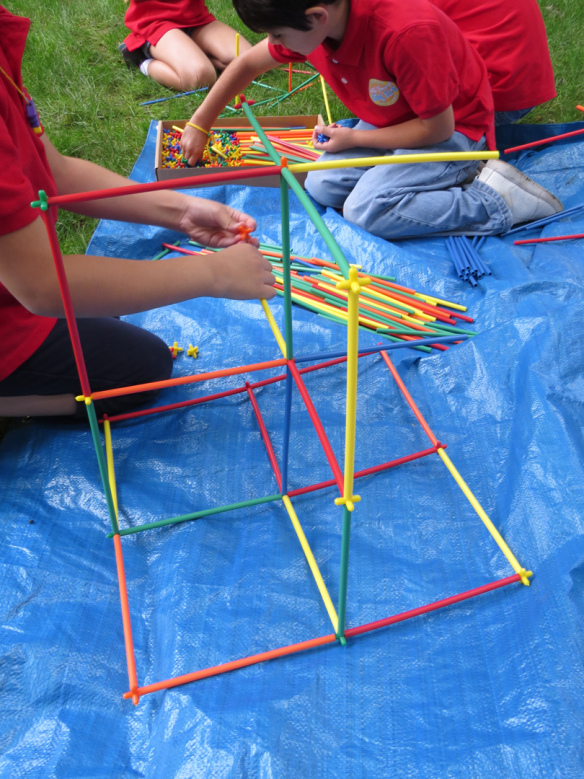
These campers worked together to build a structure of cubes. They added more cubes and then at some point, realized that they needed a bit of variety to their structure…

Straws Connectors City

As soon as one of the camp helpers showed them how to make variations with the straws, the boys were hooked!

Straws Connectors City

These campers also took on the challenge and added more interest to their building design.

Straws Connectors City

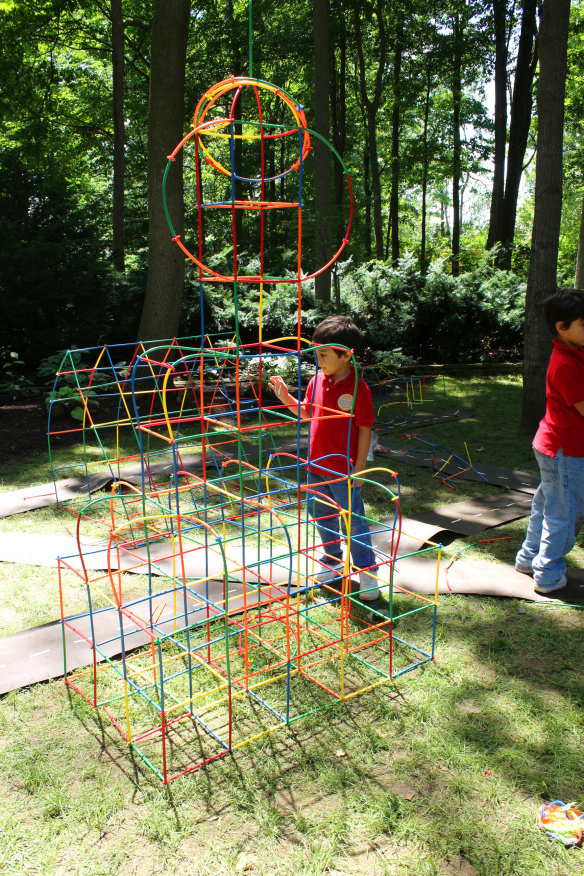
More and more designs popped up in other areas surrounding the “streets.” These designs looked like magnificent building achievements!

Straws Connectors City

We all worked together to make the best out of our designs, and in the end we built a whole city of color! Later, our campers took a walk throughout the “city” to view all the great architectural designs. This is a fun outdoors activity that will last all day and make the most of your students’ problem-solving, critical thinking and design skills.

Line-17

Like us on FacebookShare this post with your friends, or Subscribe to this blog today to receive original craft project updates every Monday, Wednesday and Thursday!

Action Shapes

2015-08-31-FeatureImage

These poseable, personalized action figures are great for setting up easy puppet theatre-style plays or making a stop motion animation movie! Learn more below!

IMG_0252

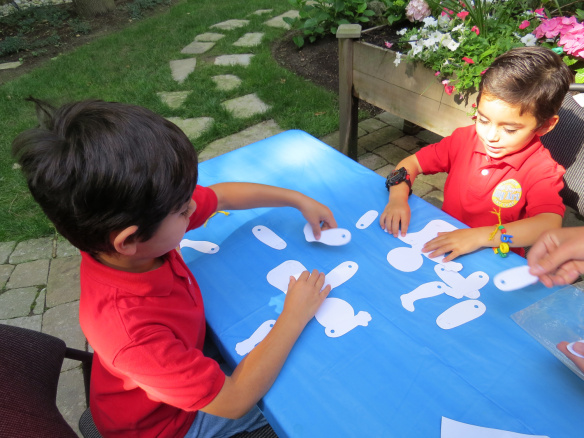
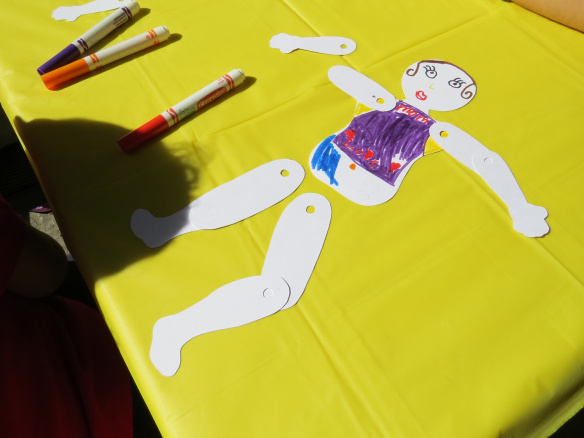
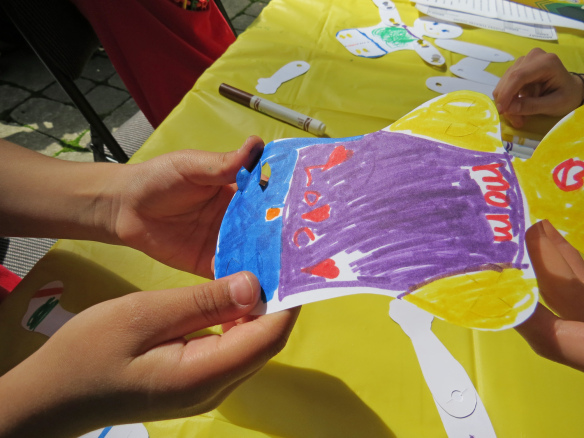
Each Action Shape comes in separate parts laid onto sheets. Before popping out all the pieces, ask students to identify the different parts of the body and label them if possible. That way you can keep track of where each piece attaches. The Action Shapes are great for teaching students about proportions, poses or turning projects into All About Me activities!

IMG_0296

Help students orient their Action Shape person according to proper proportions.

IMG_0304

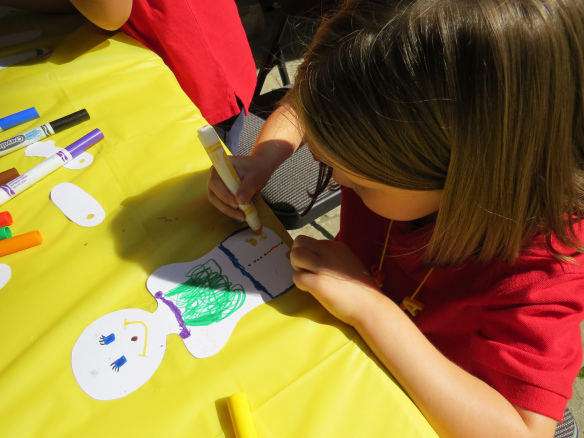
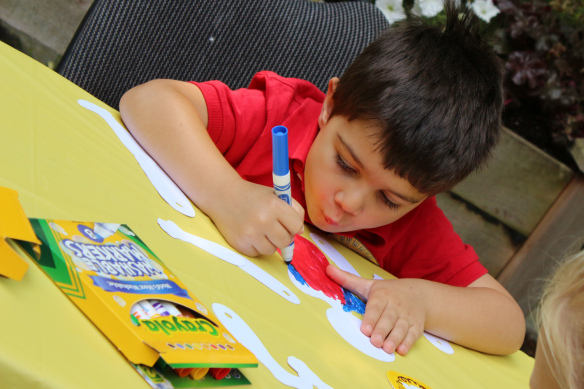
As they are putting their figures together, they can start coloring in details. Use markers, crayons or pencil crayons.

IMG_8638

Make sure to completely cover the Action Shapes body with color!

IMG_0317

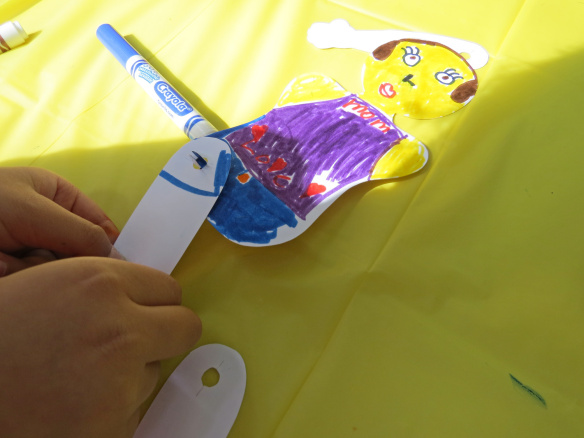
The pieces attach together with small fins and slots to keep the fins in place.

IMG_0318

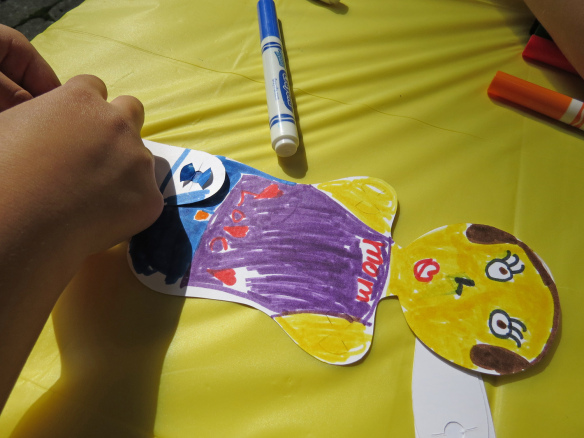
Simply pinch the fins together, and slide them through the slots.

IMG_0320

Fan out the fins to keep the attachments in place.

IMG_0335

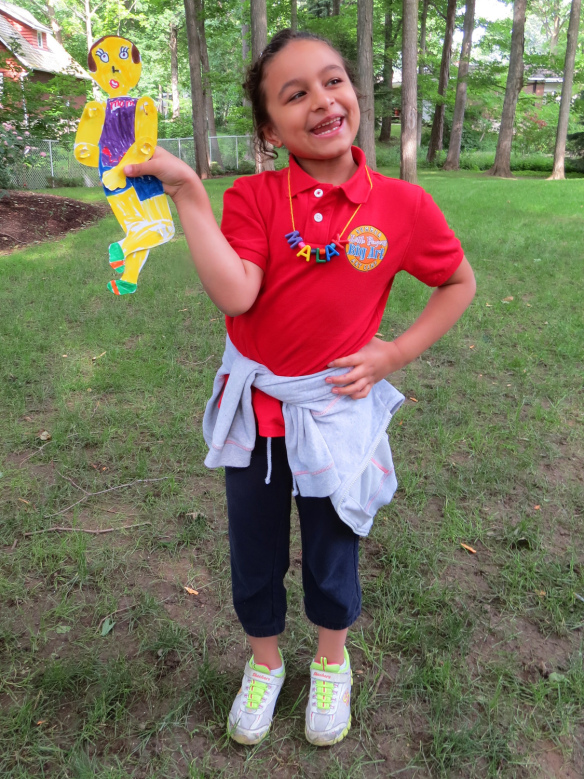
This Action Shape was completely colored in before assembly, so the attachments appear seamless!

IMG_0352

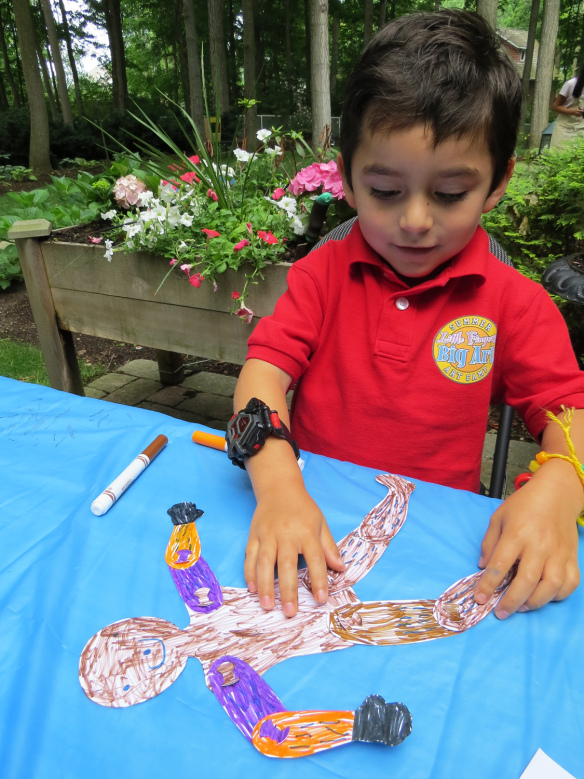
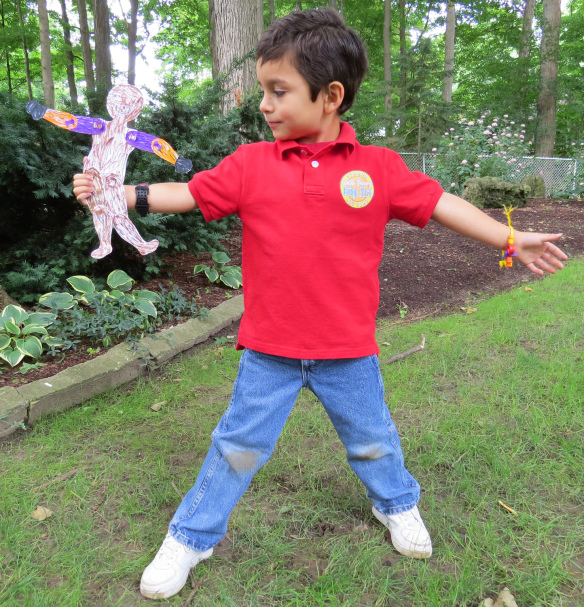
Now strike a pose!

IMG_0360

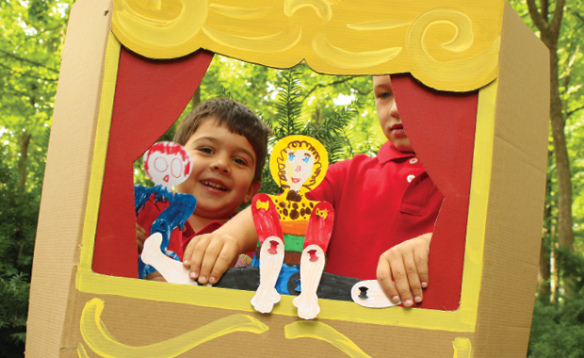
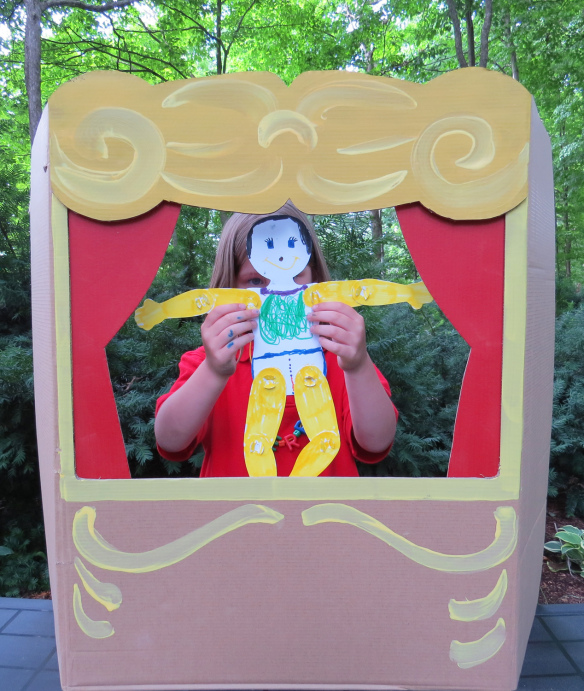
We even had some of the campers pose in our makeshift puppet theatre!

IMG_0371

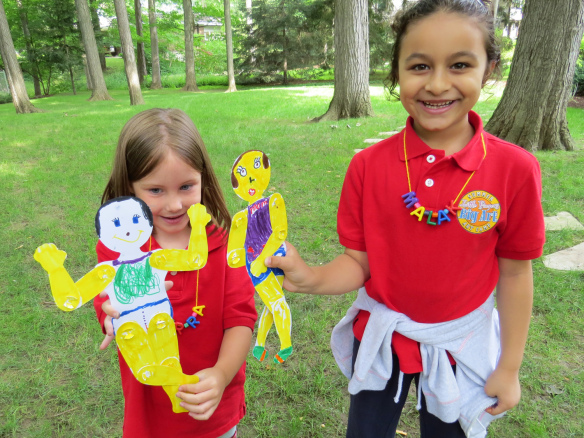
Everyone else got in on the fun too! To make a stop-motion animation, first think about the kind of action you want your character to perform. This is a great chance for you to discuss the different types of action words or verbs with your students. You can have your students pick one action verb to illustrate through their stop motion video.

IMG_0378

Stop motion animation is made up of multiple single frames or “shots.” These shots are strung together to make up a video. The best way to achieve this is to set up any standard camera you own to take a shot every time your students adjust the poses of their Action Shapes people. Once the action is complete, upload your pictures to your computer. Use software that can easily convert your pictures into a GIF animation or equivalent.

Here’s a look at what we made with stop-motion animation!

Animation

She kicks, she scores!

Your students will have lots of fun preparing their own stop-motion animations. For the background, use a large sheet of Bristol board or have your students create their own backgrounds with sheets of paper and markers or crayons!

Line-12

Like us on FacebookShare this post with your friends, or Subscribe to this blog today to receive original craft project updates every Monday, Wednesday and Thursday!

Project Spotlight: Straws and Connectors

2014-11-24-FeatureImage

What’s so great about our Straws and Connectors? Besides the colors, the simplicity of combinations, and the potential for lessons about geometric structure? Learn more below!

IMG_8539

There are two simple components in the Straws and Connectors pack: the straws, which come in a variety of bright and fun colors, and the connectors, which feature 6 prongs to position the straws in any direction.

IMG_0155

The most basic shape that students can easily construct is a square using the straws and connectors. Add on more straws and connectors to fill in the structure and turn the square into a cube!

IMG_0162

Explore more three-dimensional shapes and talk about their properties as students build them.

IMG_8551

The straws are long enough that they can be bent to make curves in the structure, so you are not simply limited to making square structures. It’s a great cooperative material as well! Students can work on separate pieces and combine them all together to make a larger sculpture. This way, children use their skills in coordination, cooperation and critical thinking to create a finished piece.

IMG_8575

We challenged our students to build their own projects separately from each other. Students first had to brainstorm their ideas and then bring their projects to life. Can you guess what this project will be?

IMG_0192

You can see how this art camper continued creating curves in her structure. This perfectly illustrates just how versatile our Straws and Connectors are!

IMG_0245

This art camper made a boat!

IMG_0225

And this is a rocket!

IMG_0237

Straws and Connectors are a perfect gift to your children this holiday season! Give your students the ability to exercise multiple motor functions while creating sculptures they can truly be proud of!

See more about the R6085 Straws and Connectors here:

What else can you make with the Straws and Connectors?

Do you have a Straws and Connectors pack? If so, what kinds of structures did you make with them? We’d love to read your comments below!

Line-06

Like us on FacebookShare this post with your friends, or Subscribe to this blog today to receive original craft project updates every Monday, Wednesday and Friday!

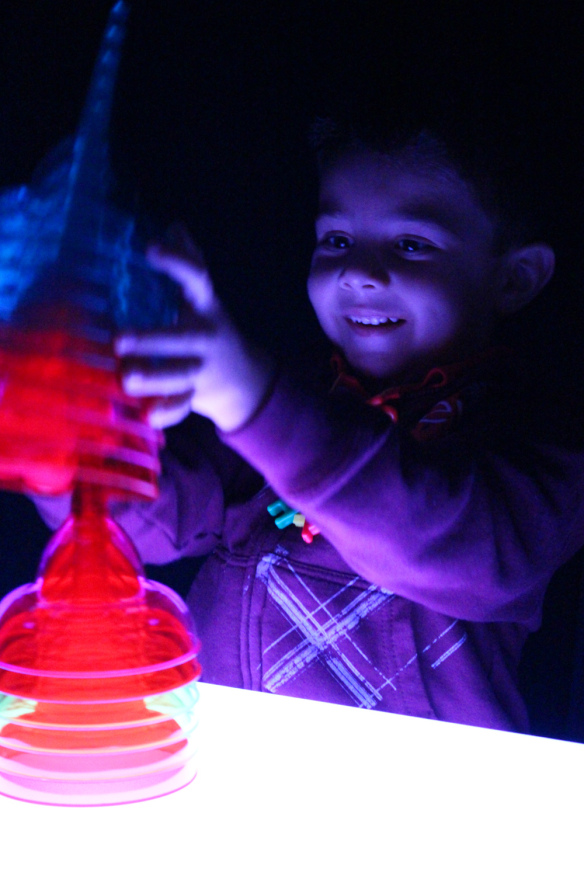
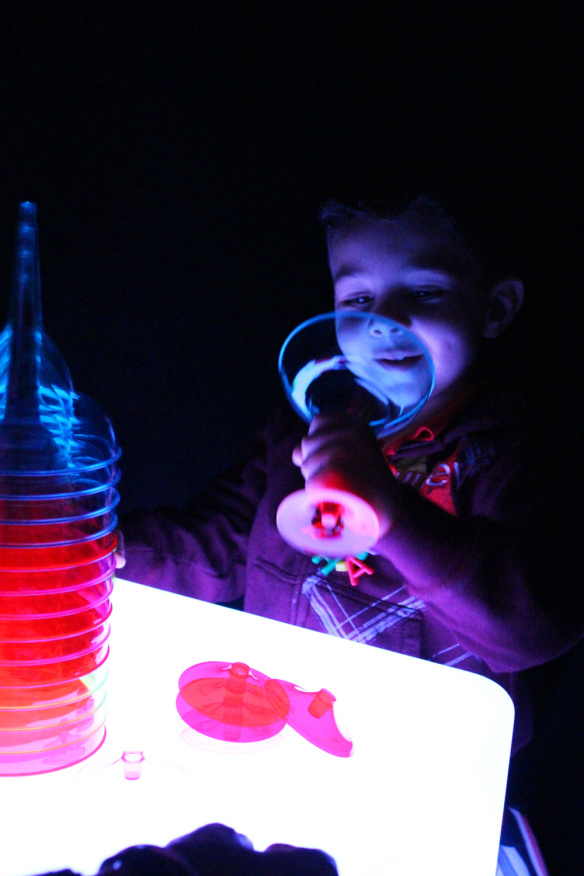
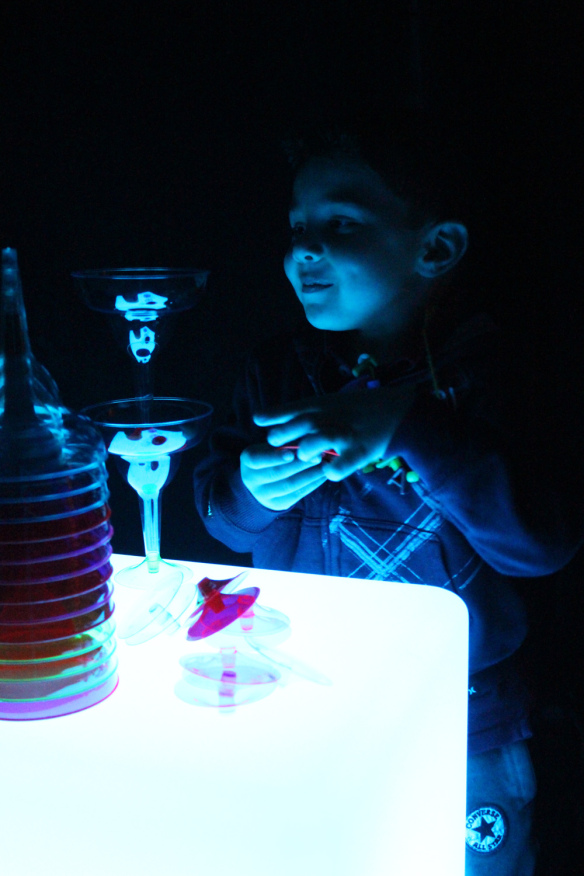
Educational Light Cube: Stacking Colorful Cups


2014-10-09-FeatureImage

View the dazzling effects of color-changing light on the cube with dollar store variety cups and plastic drinking glasses! Develop fine motor skills through arrangements of stackable cups… see more of this exercise below!


IMG_9337

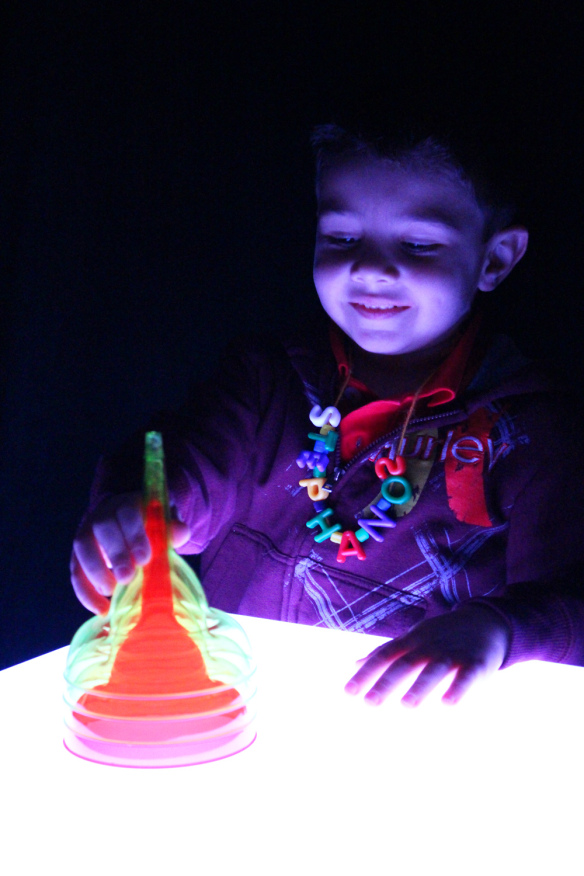
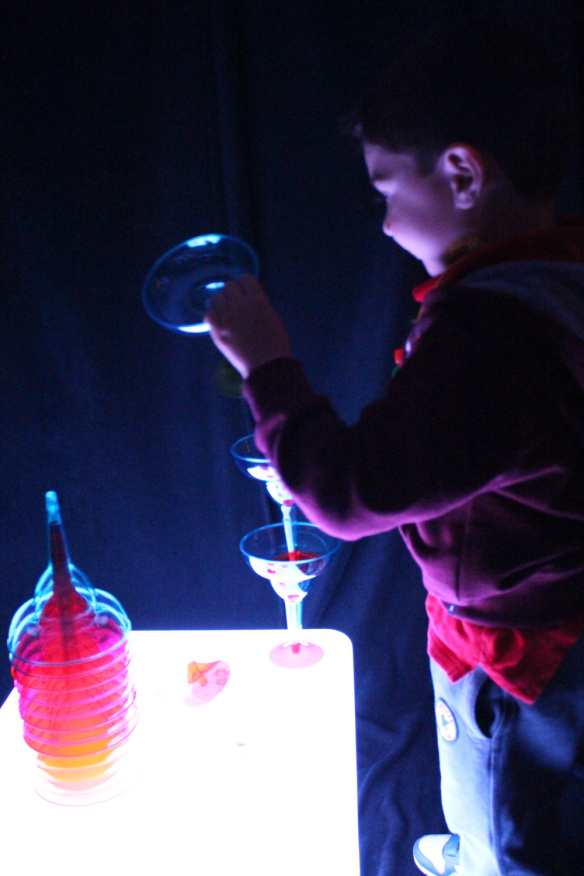
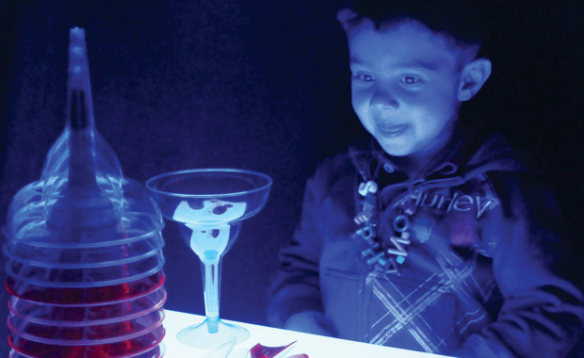
To start the activity, we first turned on the Light Cube to the ‘white’ setting. Next, we placed a stack of clear-color plastic cups we found at the dollar store on top of the cube. The white brings out the brightness of the clear colors and allows kids to see what inside of the various cups look like when they’re stacked together.


IMG_9338

We next asked our art camper Stephano to take the structure apart. He wanted to see how the individual pieces looked like. Without the bases, these regular dollar variety martini glasses appear quite unique!


IMG_9340

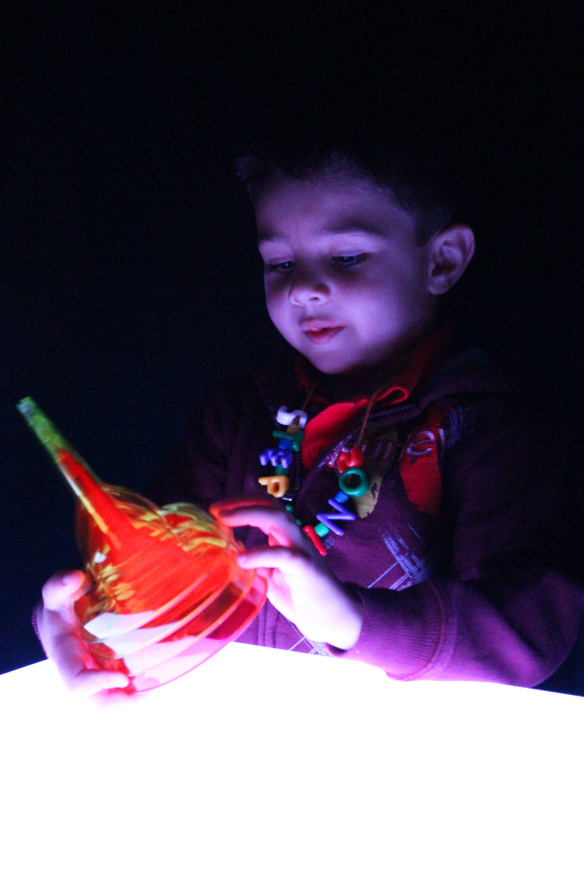
How about we add some more to the mix? Here’s a good look at what happens when you stack multiple cups of the same color together–the colors become extremely saturated, meaning that they are intensified.


IMG_9343

Now let’s add another level of complication to our structure with the bases for the cups.


IMG_9361

Stephano decided to structure the martini glasses in a way that they could easily be stacked together with the bases intact. He decided to place them standing on top of the inside of each cup.


IMG_9362

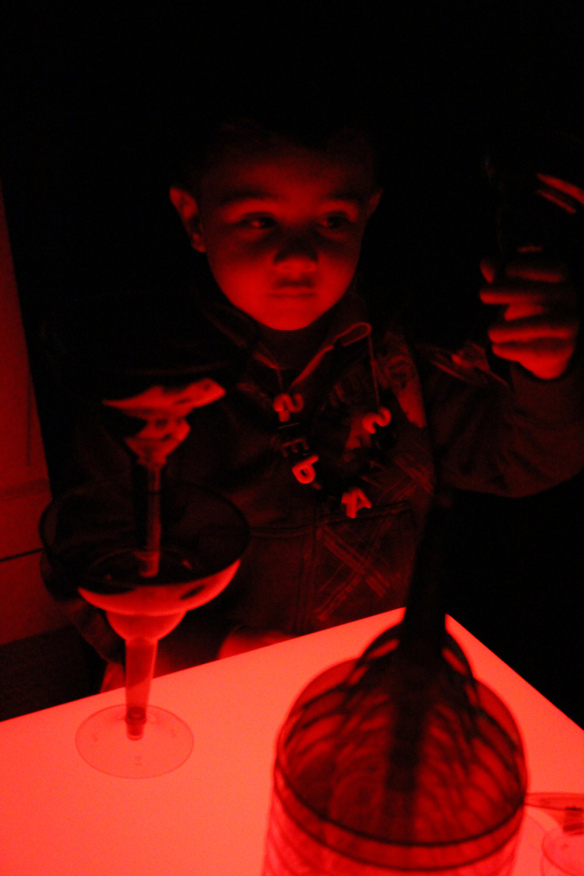
Next, we amplified the colors of the glasses by changing the cube’s color to red. This created a stark glow throughout the room and helped Stephano focus directly on stacking rather than the colors of the cups.


IMG_9364

Once we turned the cube’s color back to white, we got to see how Stephano had randomly chosen differently-colored cups to stack together. Reflecting back on the activity, Stephano noticed that he wasn’t so worried about which colors he used while he was stacking. Instead he could focus directly on stacking the cups together, and then afterwards enjoyed the surprise when he got to see what combinations of colors he used!


Line-12

Like us on FacebookShare this post with your friends, or Subscribe to this blog today to receive original craft project updates every Monday, Wednesday and Friday!


Project Spotlight: MRI Scan

2014-10-14-FeatureImage

Merge the upcoming Halloween celebration with a unit on human anatomy! The R59254 MRI Scan kit is perfect for introducing children to organs and tissues of the body. See how our art campers used critical thinking skills to put the body together! 

IMG_0012

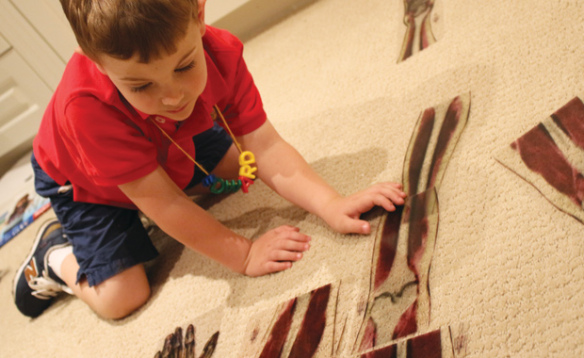
The images are printed on clear plastic mylar sheets that can be placed on top of a lightbox or illuminated with a flashlight. Each piece forms a part of a 5′ (1.5m) MRI scan that can be assembled using the placement guides. The placement guides are miniature images of the full MRI with red markings that indicate where to arrange each piece in the overall scale.

IMG_0049

You can get students to set up the full body MRI while working in teams or individually.

IMG_9835

It may take some time to place the parts in all the correct order, but practice makes perfect! To help your students assemble the pieces properly, ask them to consider how their own bodies look like.

IMG_9842

The MRI pieces each fit perfectly on top of our R5911 True to Life Human X-Rays® which makes it a great resource for figuring out the placement of organs in relation to our large bone sections. You can describe the skeleton as a kind of support for all the organs in our body, and that it helps to hold everything together.

IMG_9857

You can use our additional 2 organ overlays to get a further detailed look at various body systems, such as the circulatory, respiratory and digestive systems.

IMG_9847

Once you have arranged all the pieces correctly, you can talk about muscle mass and how muscles are held together to the bones in our body.

In your learning unit, include a lesson on health and physical education. Talk about the benefit of building bone mass and muscle strength and include a few additions to your morning exercise routines to stimulate your students’ minds and bodies!

Line-14

Like us on FacebookShare this post with your friends, or Subscribe to this blog today to receive original craft project updates every Monday, Wednesday and Friday!

Educational Light Cube: As Furniture?!

2014-09-25-FeatureImage

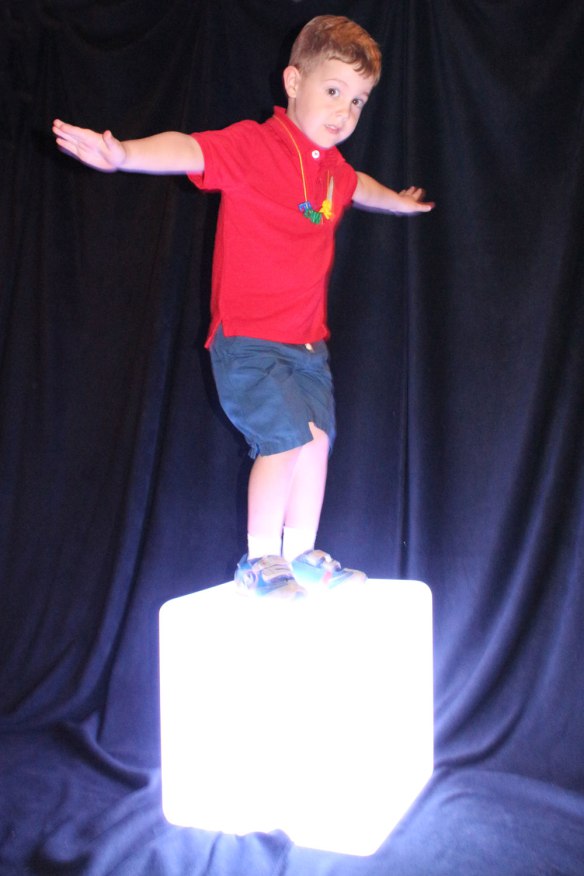
Yes, you heard right! Our R59601 Educational Light Cube can be used as a wonderful furniture addition to your classroom! The sturdy design makes it perfect not only as a table at the play center, but as a stool, a climbing base and more. 

We recommend placing the Educational Light Cube in a ‘quiet’ location, such as a reading area or playtime corner. It’s a good idea to have the cube fully charged before allowing students to use it as a furniture piece. Charge up the cube the night before to ensure that it has enough battery life (3-4 hours) to be used in the main classroom area. This eliminates the need to leave the AC adapter cord lying on the floor–if you have to have the Light Cube plugged in, tape down the cord or place a cord cover on top to prevent it from becoming a trip hazard.

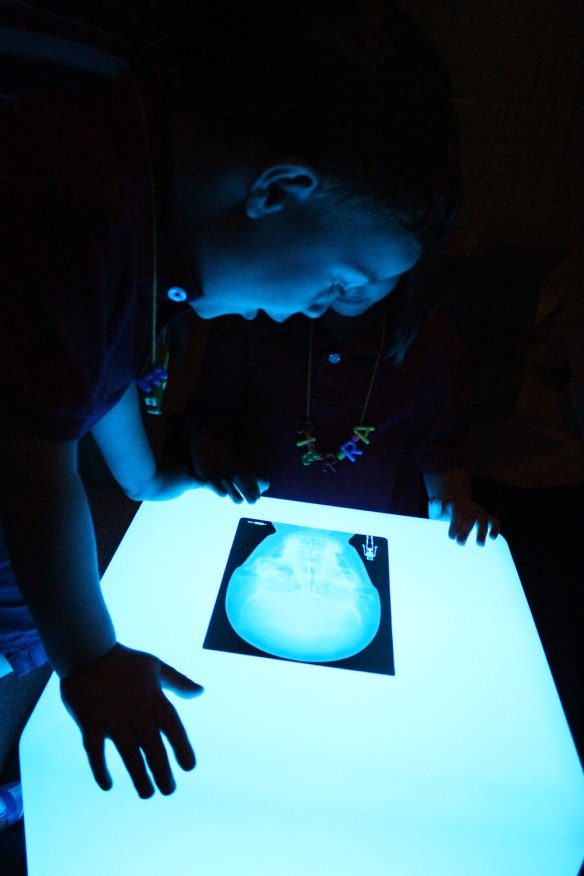
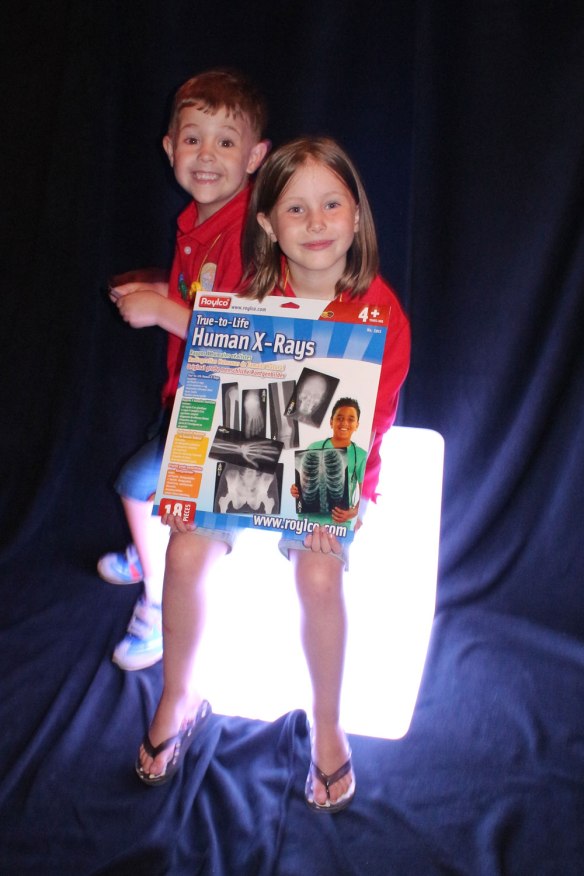
IMG_8738The Light Cube is a great complement to a variety of educational resources such as x-rays, overhead projection sheet activities and much more!

IMG_8745

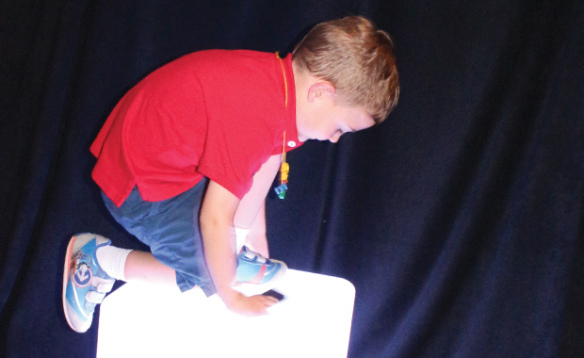
The Light Cube doesn’t stand too far off the ground and is sturdy enough to support the weight of a student on it. As a result, it can be used as a light platform. Plus, it is the perfect height–not too high, and not to low! Students can easily kneel at the Light Cube and get the full benefit of being able to experiment with light as they manipulate the materials on top.

IMG_9826

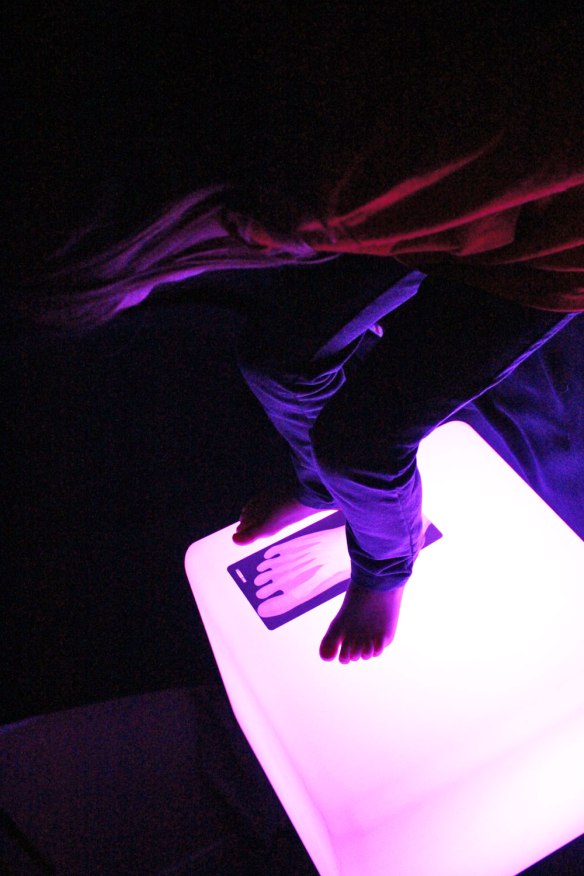
As students become more familiar with the Light Cube, they can extend their learning to incorporate gross motor as well as fine motor skills. Stand or sit up on the Light Cube to measure the size of your feet in comparison to an R5911 True to Life Human X-Ray foot, just like this student did! Or play Light games around the cube! Play memory games and hide various objects under cups, then shuffle them around. There’s tons of things to do on the Light Cube… just using it as a furniture piece alone is lots of fun!

Line-08

Like us on FacebookShare this post with your friends, or Subscribe to this blog today to receive original craft project updates every Monday, Wednesday and Friday!

Welcome to the Light Cube!

2014-10-09-FeatureImage

We at Roylco are excited to launch our new series of posts about our brilliant Educational Light Cube! Check us out every Thursday for a brand new look at our sensory-engaging light box… and all the amazing things you can do with it. Let’s get introduced!
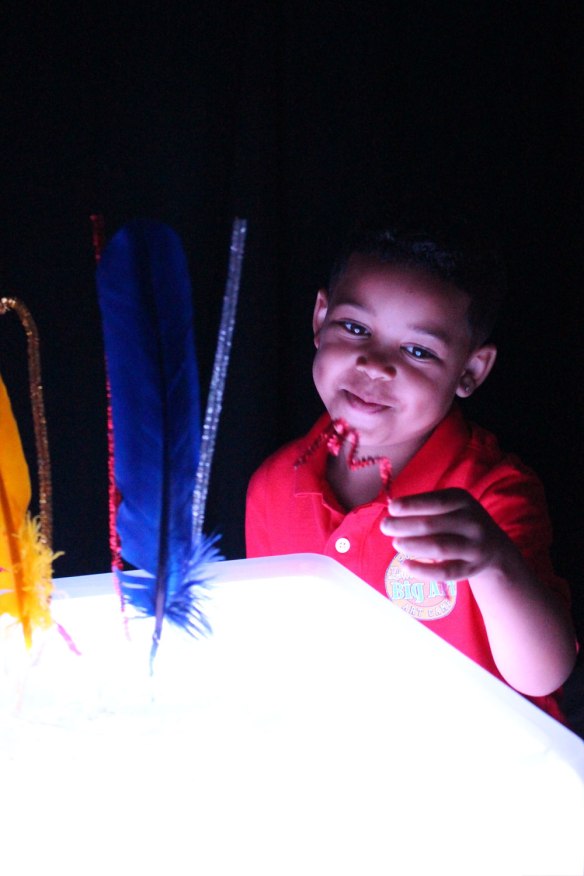
IMG_0123The R59601 Educational Light Cube is a sensory base that can be used for a variety of activities! Place different materials onto the Light Cube and turn the unit on. You will notice a bright, beautiful glow emitting from the Light Cube and illuminating the objects on the cube. This is a great way to engage children who would not normally respond to these materials in normal light conditions.
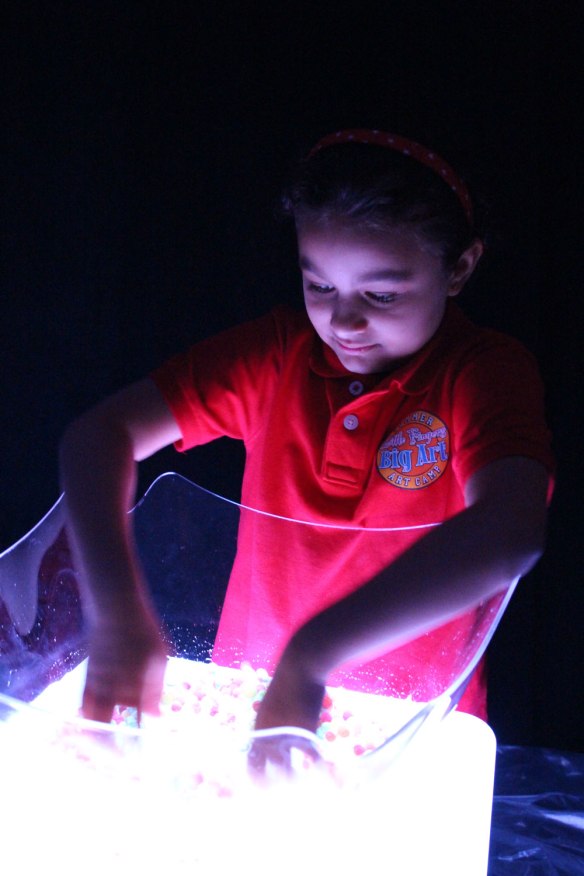
IMG_0247The cube has a water-resistant surface that can easily be cleaned with warm water and soap. This makes it a great base for water-based sensory activities and painting activities.
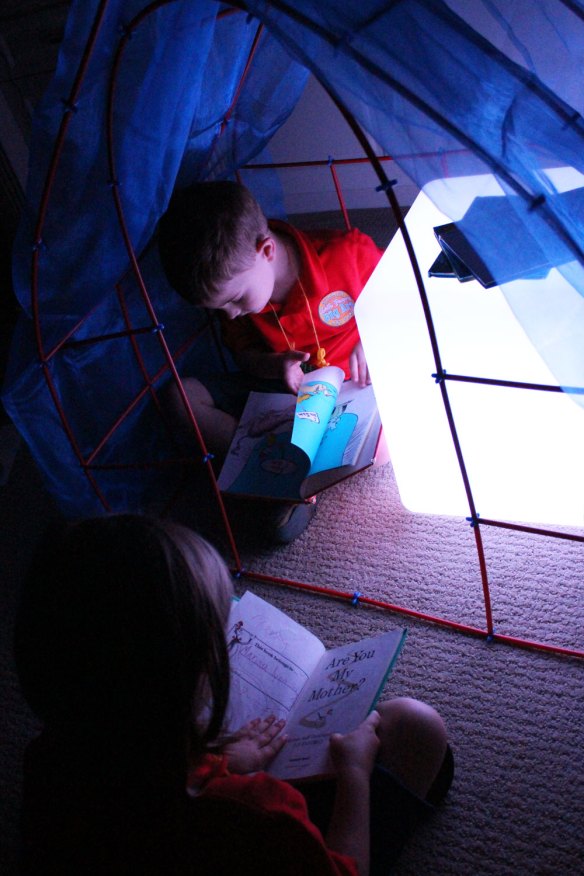
IMG_0385The Light Cube is portable, durable and a great addition to your classroom! Use it as furniture or to illuminate a low-light area, such as a reading fort.
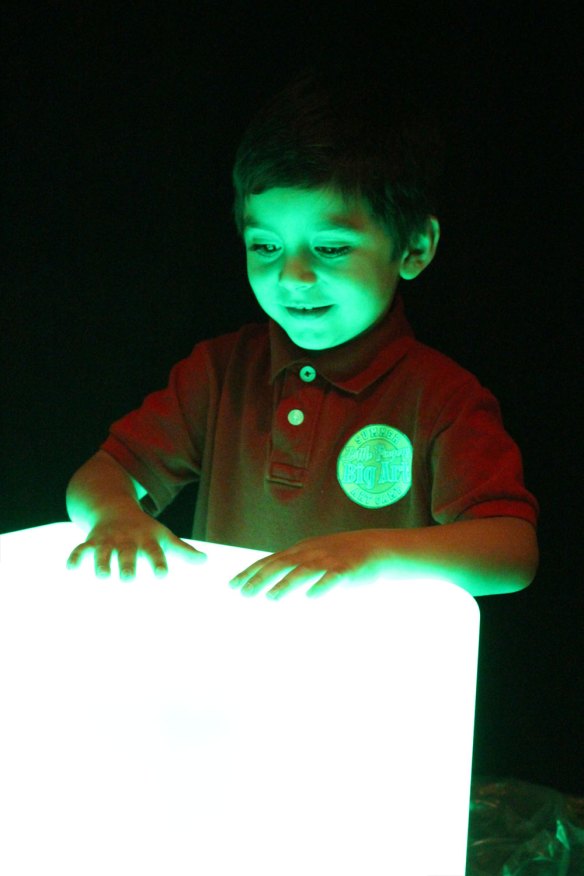
IMG_0409Cycle through multiple light colors using the accompanying remote. There are 16 colors in total. You can make the colors strobe, flash, fade and smoothly transition between each one.
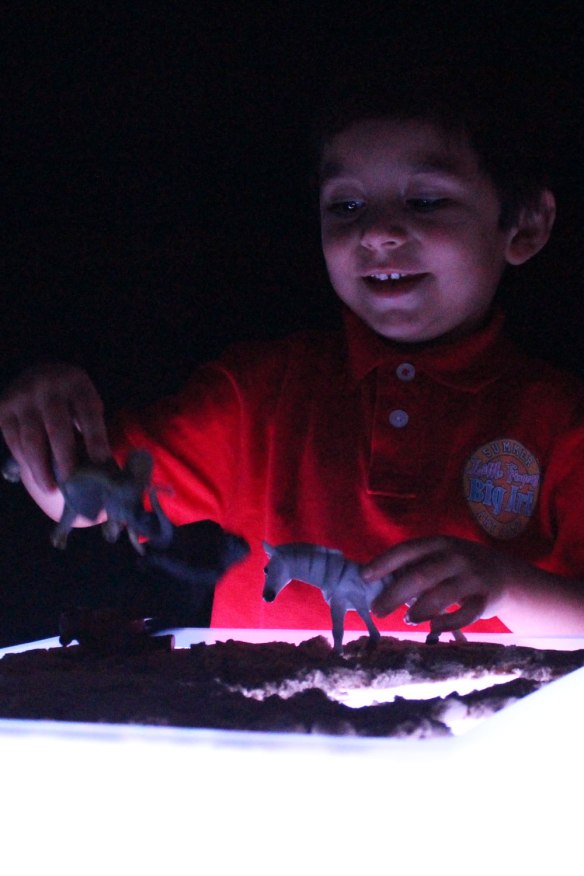
IMG_0463You can use the Light Cube to engage students in virtually any lesson plan using simple materials already in your classroom. Set up environments like this one, with animal figurines and gravel! Kids will love playing with the different sets.
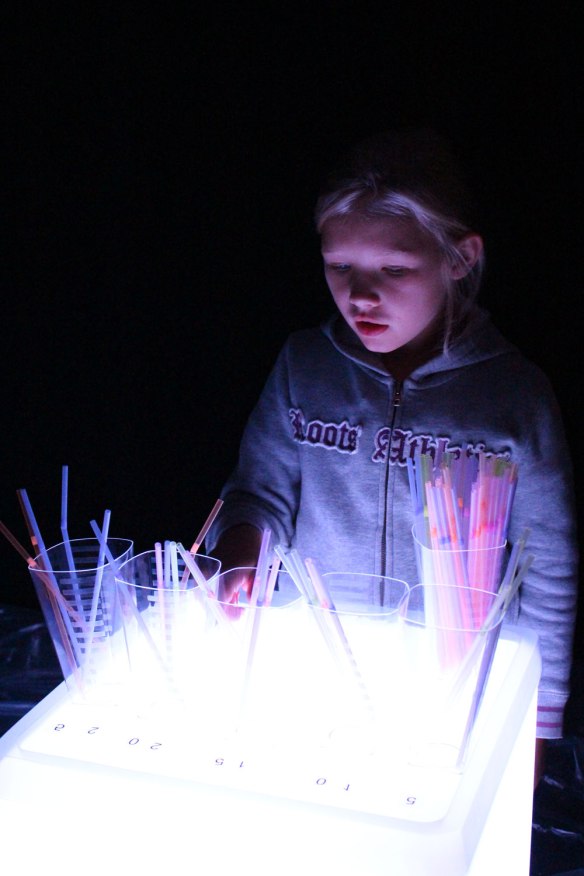
IMG_0595Use the Light Cube to arrange math manipulatives on the surface. Students focus best when their attention is directed on one thing at a time, and the Light Cube does just that with its soft glow.
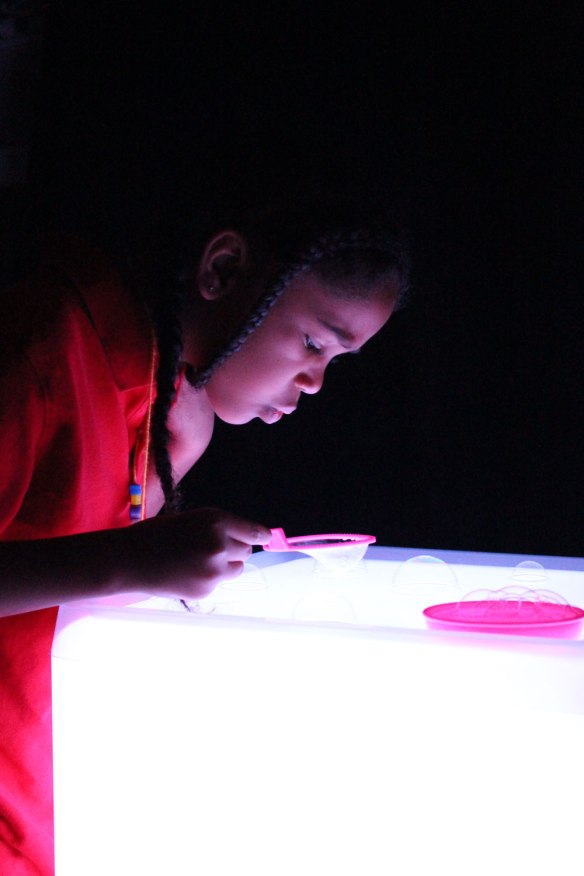
IMG_0632It engages students to experiment with different materials and view the effects of color-changing light!
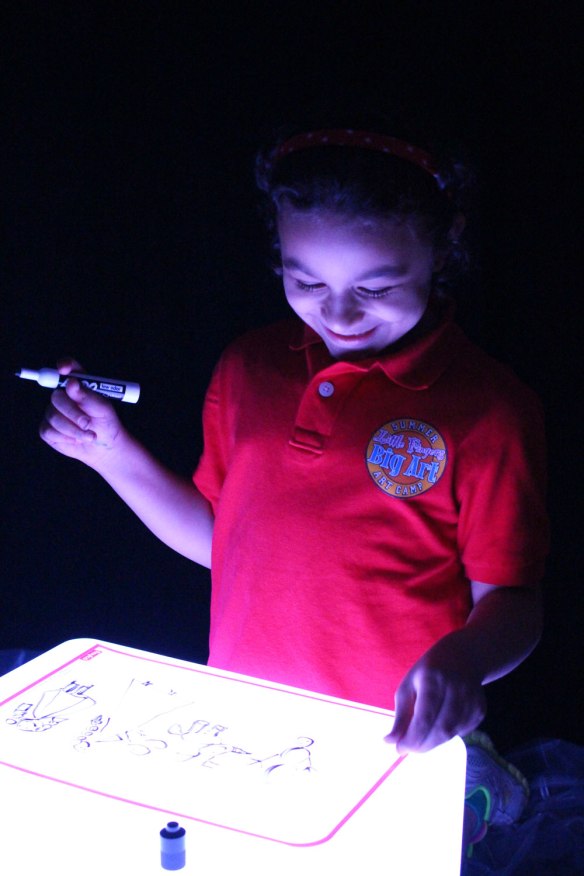
IMG_0730

Practice writing skills!

IMG_8785Observe new concepts on the Light Cube, such as human or animal anatomy using our range of x-ray products!
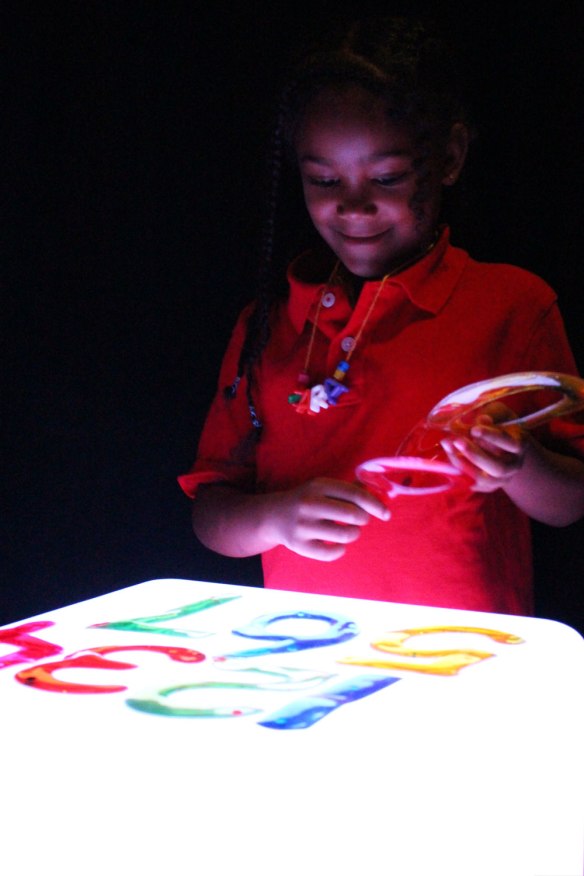
IMG_9303Test out new sensory materials such as gel-stickers! These materials feel great on little fingers, and illuminate well on the Light Cube.
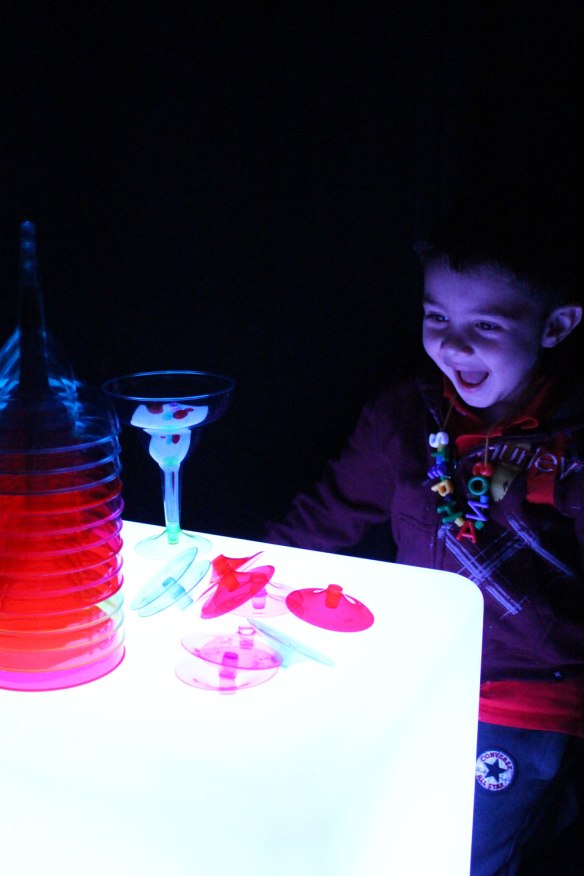
IMG_9355Stack ‘em up and knock ‘em down! Try out a range of building materials, such as clear plastic dollar store cups, to build your tallest colorful towers!

IMG_9484Keep your students engaged in light exploration with soft-glow lighting. Make a small fort for reading, playtime, math activities and more to amplify the effect of the Light Cube.
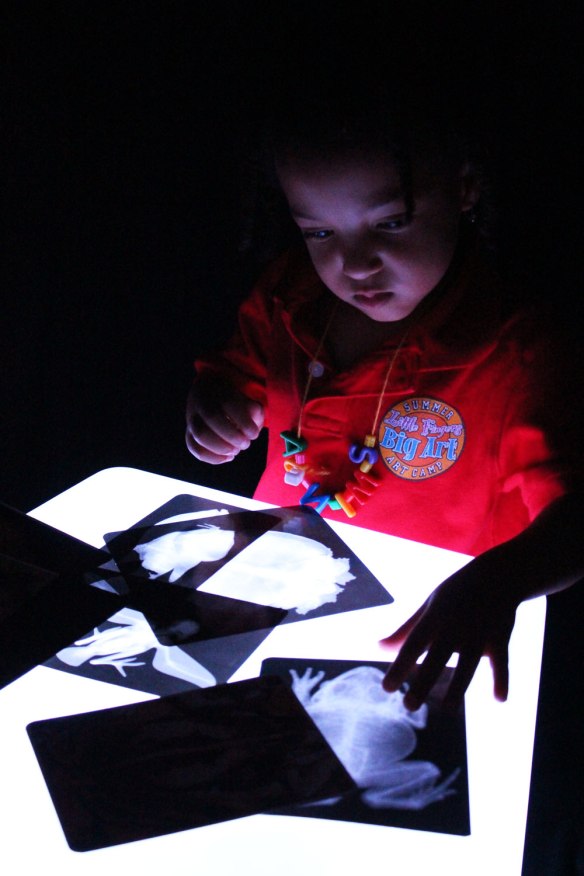
IMG_9508Explore what’s inside unique animal specimens!
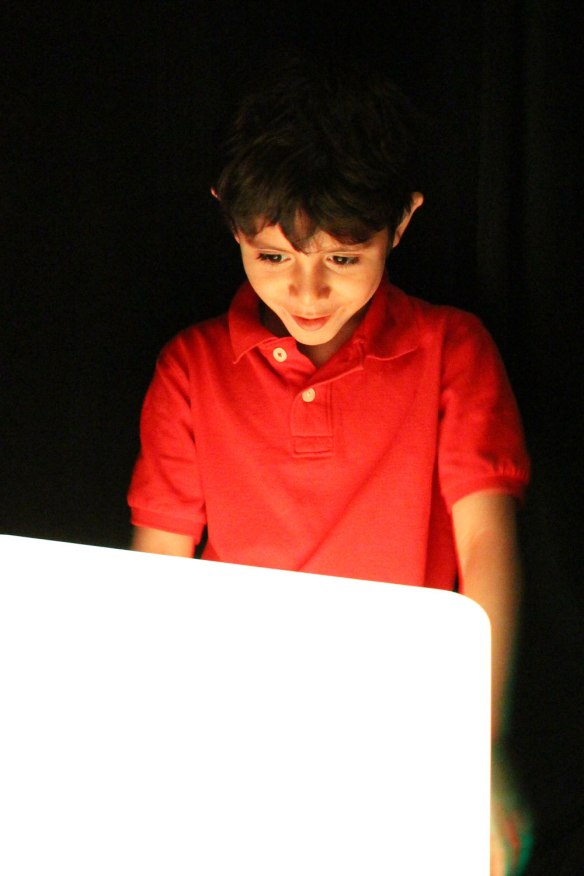
IMG_9549Older students can join in the fun, too! Set up the Light Cube in a darkened area, and give your students tracing paper and pencils to work with. While using the Light Cube as a tracing light box, students can easily check their work and develop their own creative ideas.
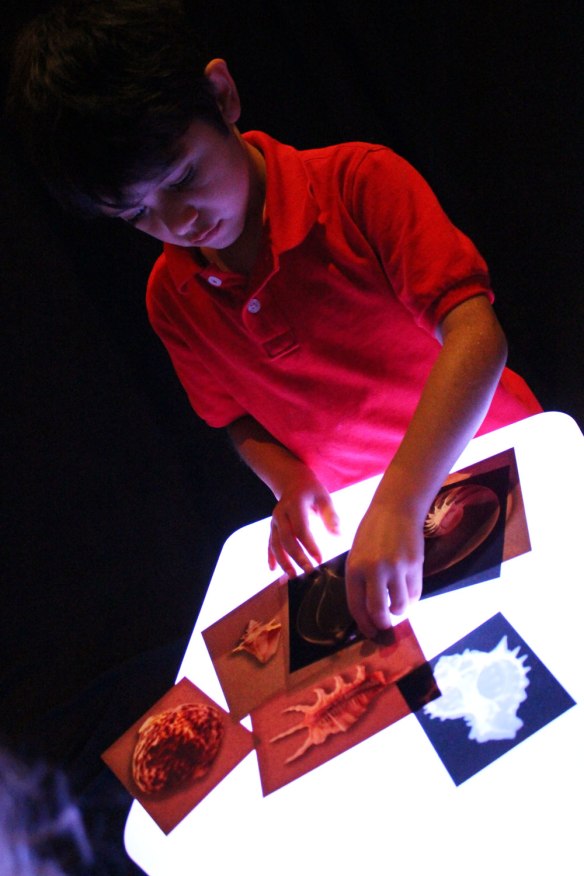
IMG_9615Match up transparent sheets that are printed with various images. Here, we’ve showcased our shell x-rays.
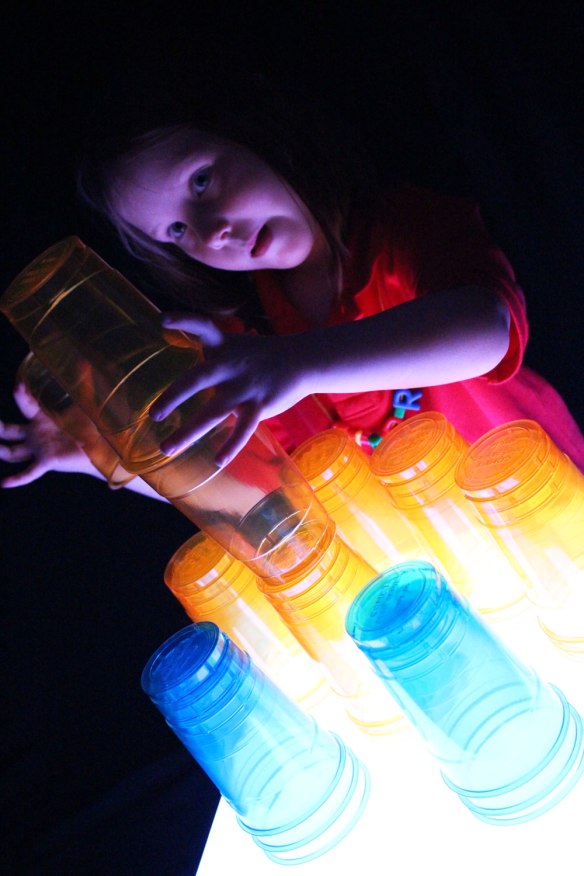
IMG_9745Students will love watching colors leap right off the Light Cube. They can use the materials to build fantastic structures or simply observe the effects of light on color.
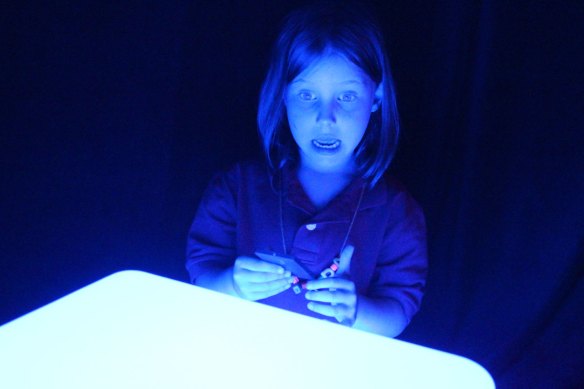
IMG_9813Turn on the strobing lights to get amazing responses like this one!
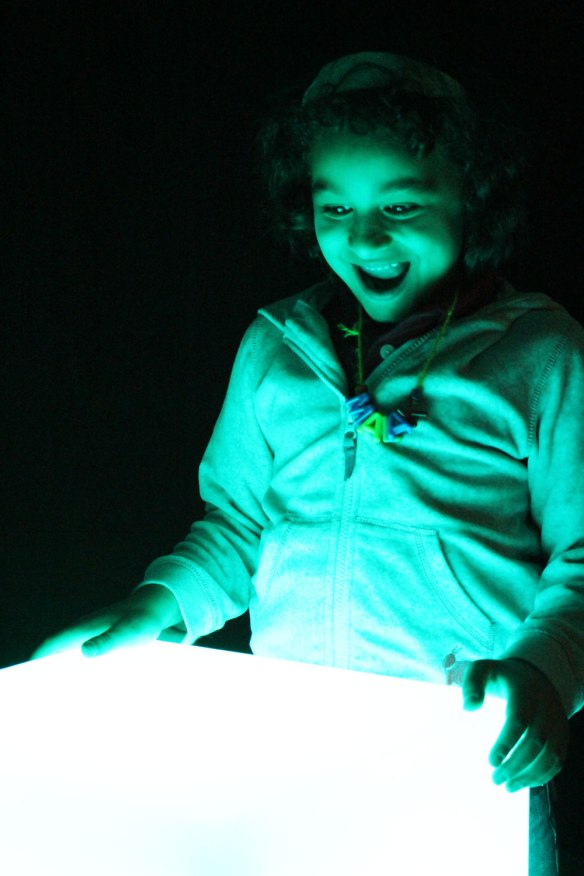
IMG_9915And this one! The Light Cube does it all… delight, entertain, educate and stimulate with its sleek design, bright, colorful lights and durable learning surface.
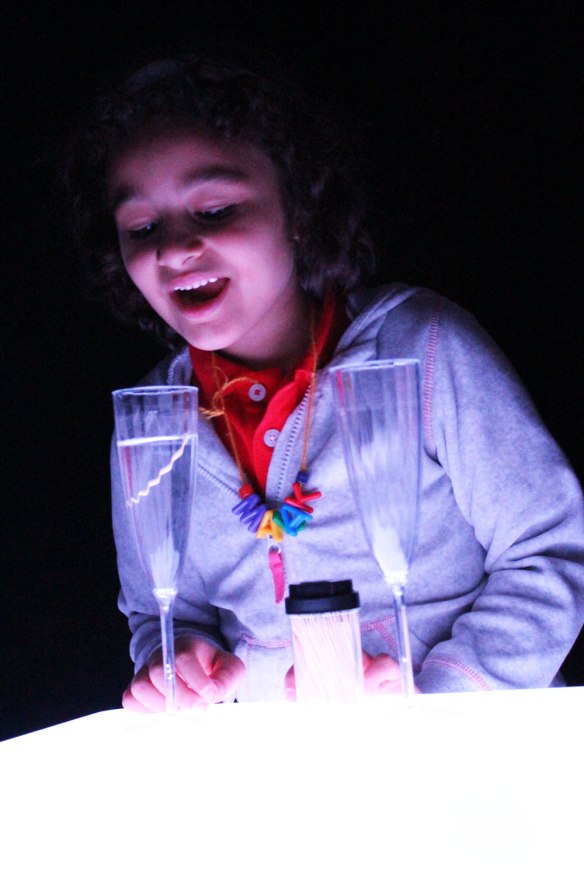
IMG_9931We’re sure you will delight in your very own Light Cube as well! Visit our Roylco Store for more details or contact your local toy/educator retail store to get your Light Cube today!

Line-20

Like us on FacebookShare this post with your friends, or Subscribe to this blog today to receive original craft project updates every Monday, Wednesday and Friday!