Light Cube: Shell X-Rays

2015-04-30-FeatureImage

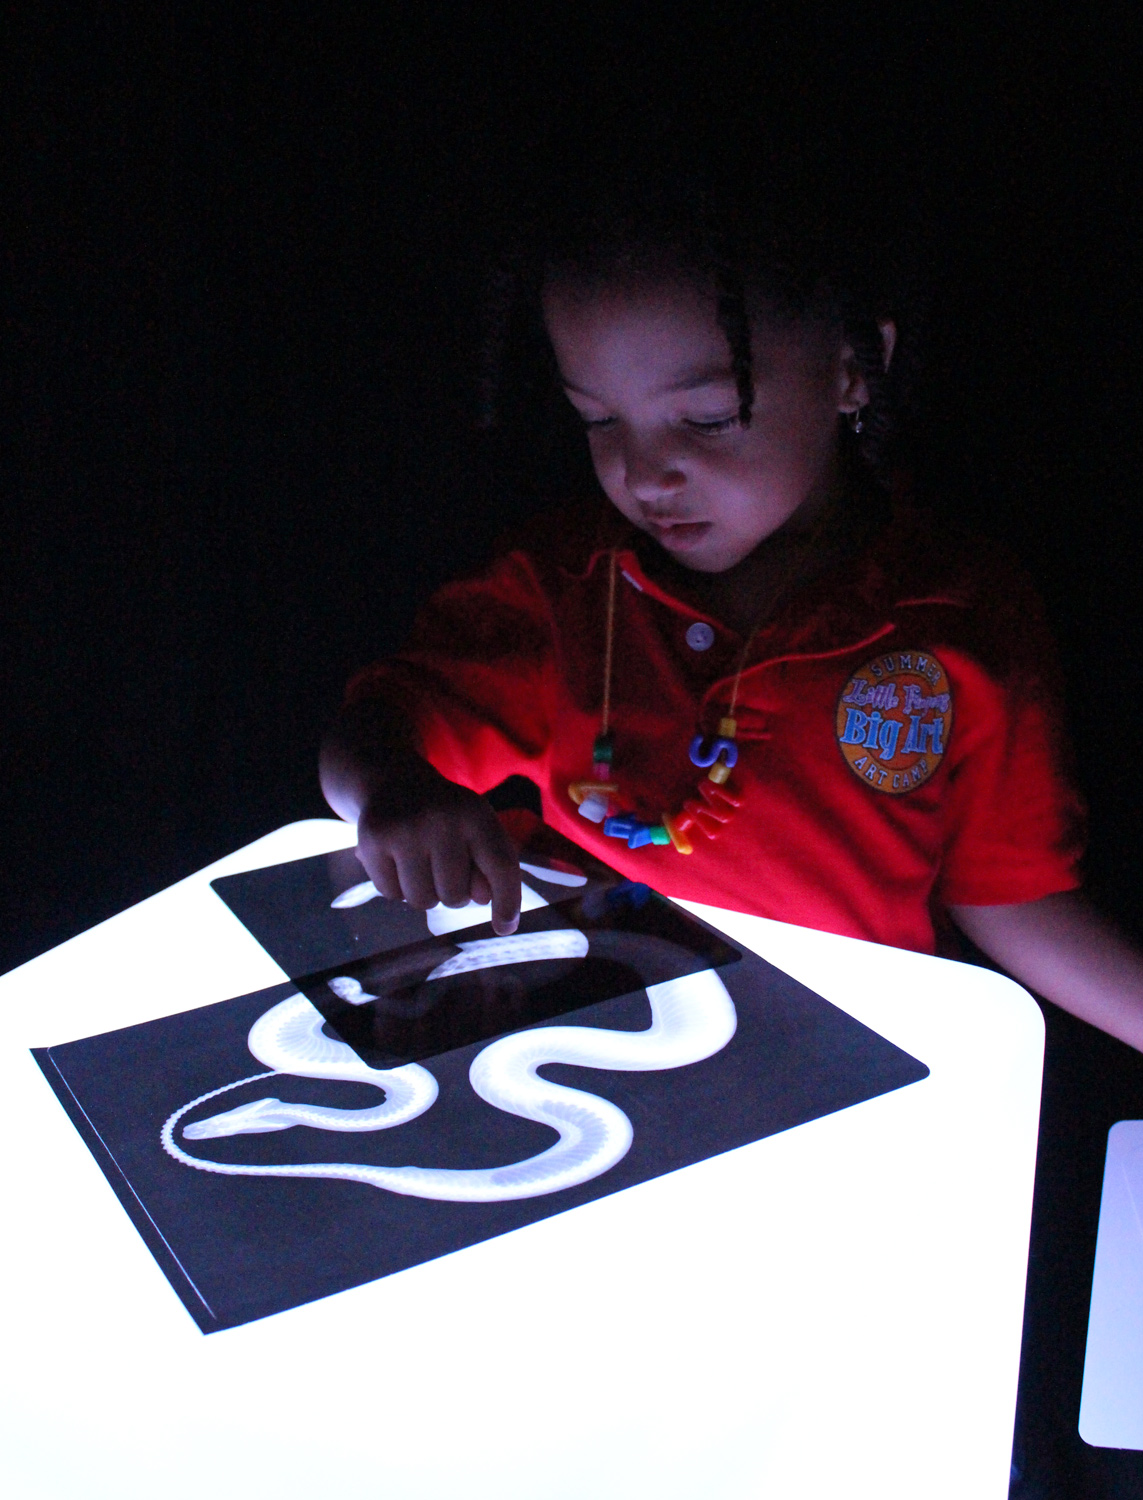
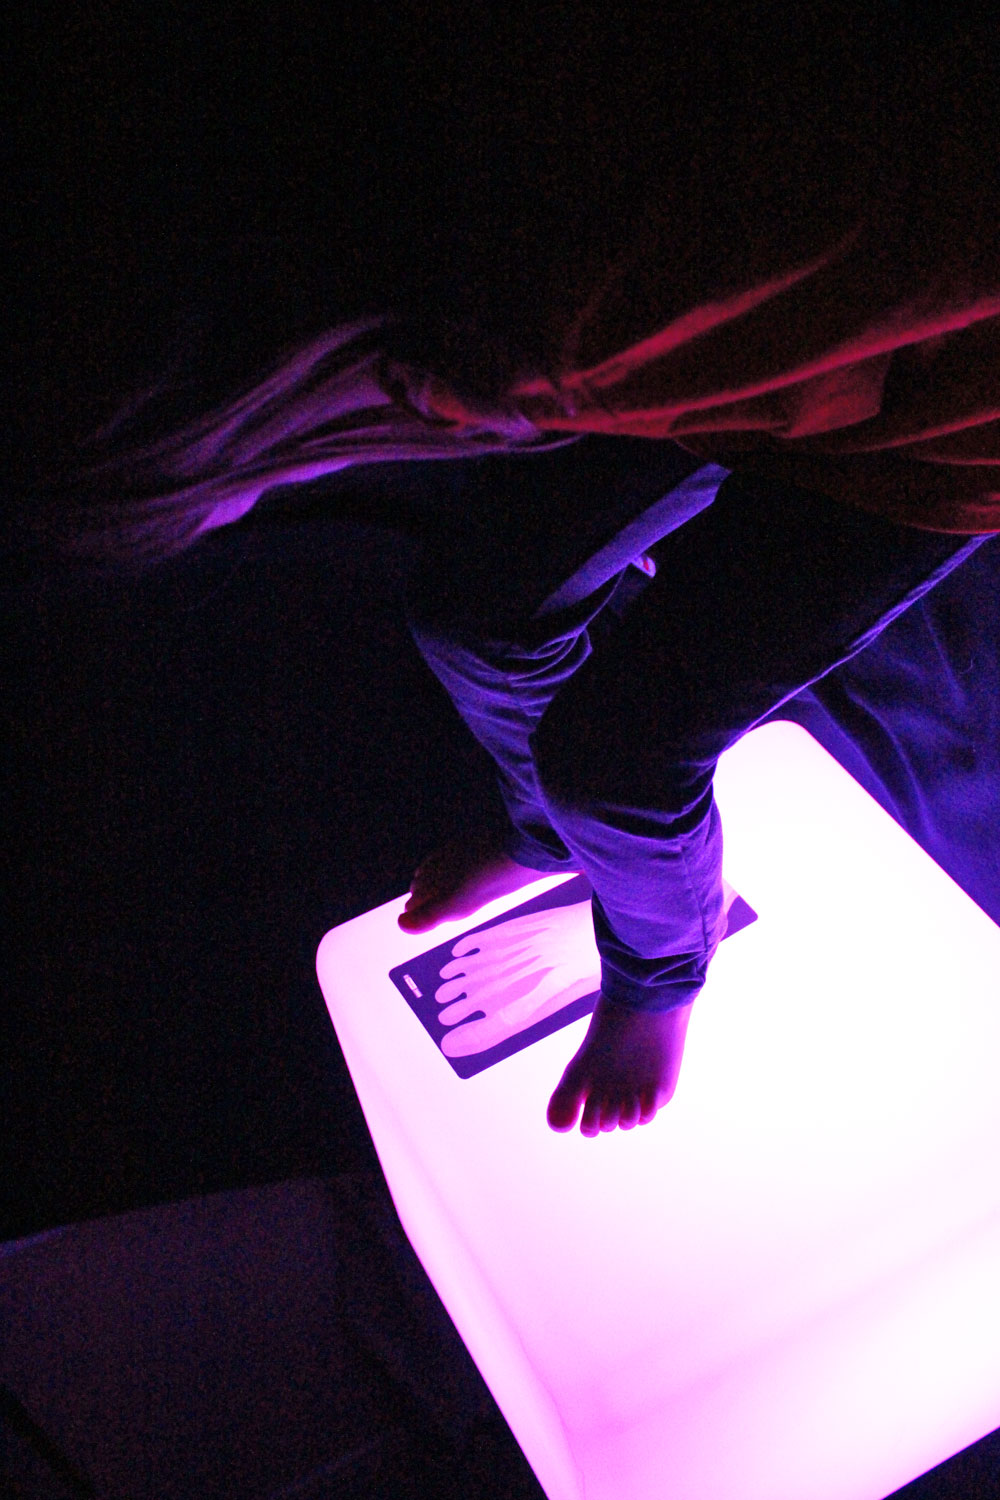
Observe transparencies of x-rays to see cool images! Our R5913 Shell X-Rays & Picture Cards work great with the Educational Light Cube. 

IMG_9609

The Shell X-Rays and Picture Cards give you two cards per shell. One is an x-ray to see the inner details of each shell while the other is a picture card to show the shell in reality. This kit presents great value as it does not solely have to be used with a light table… although it works well with our Light Cube!

IMG_9612

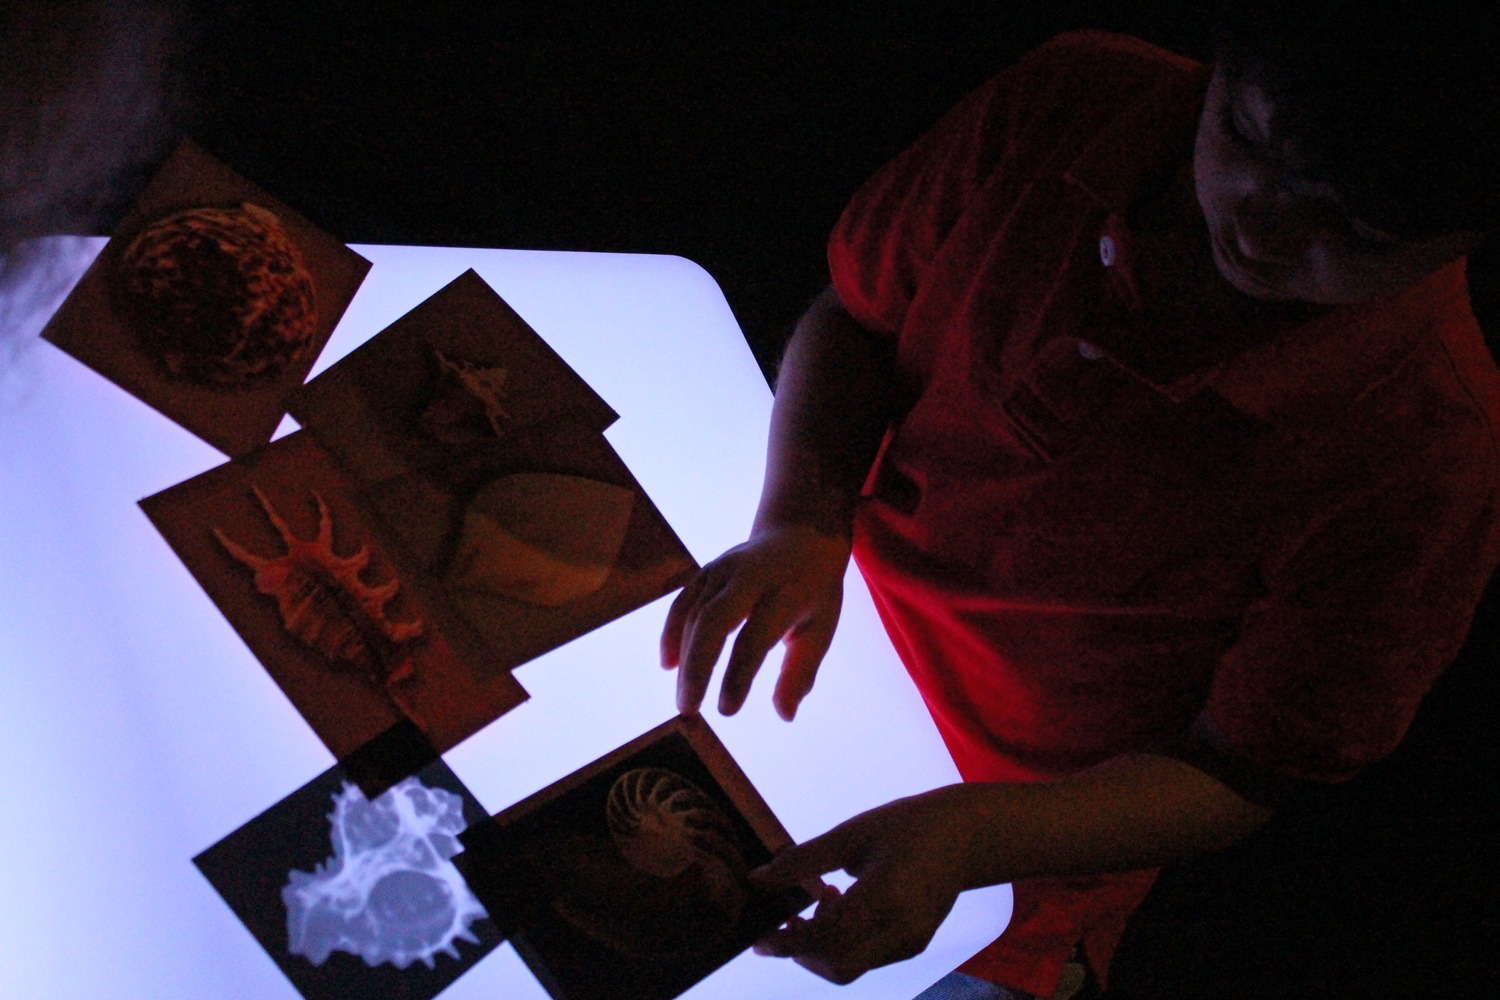
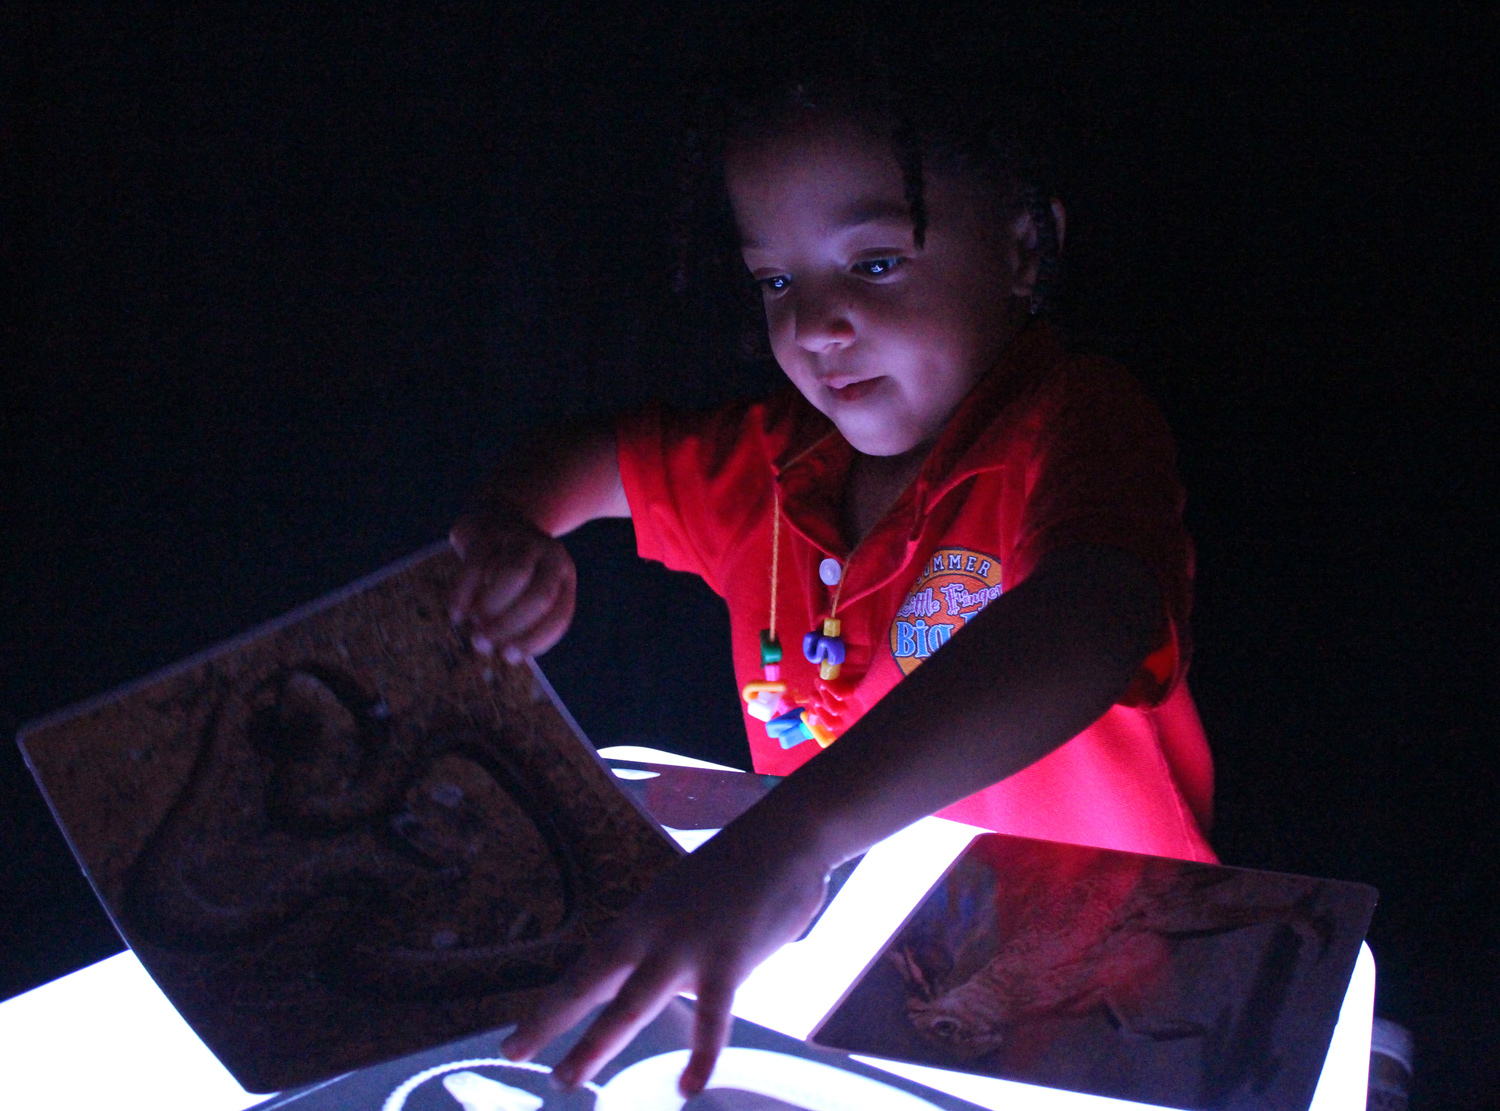
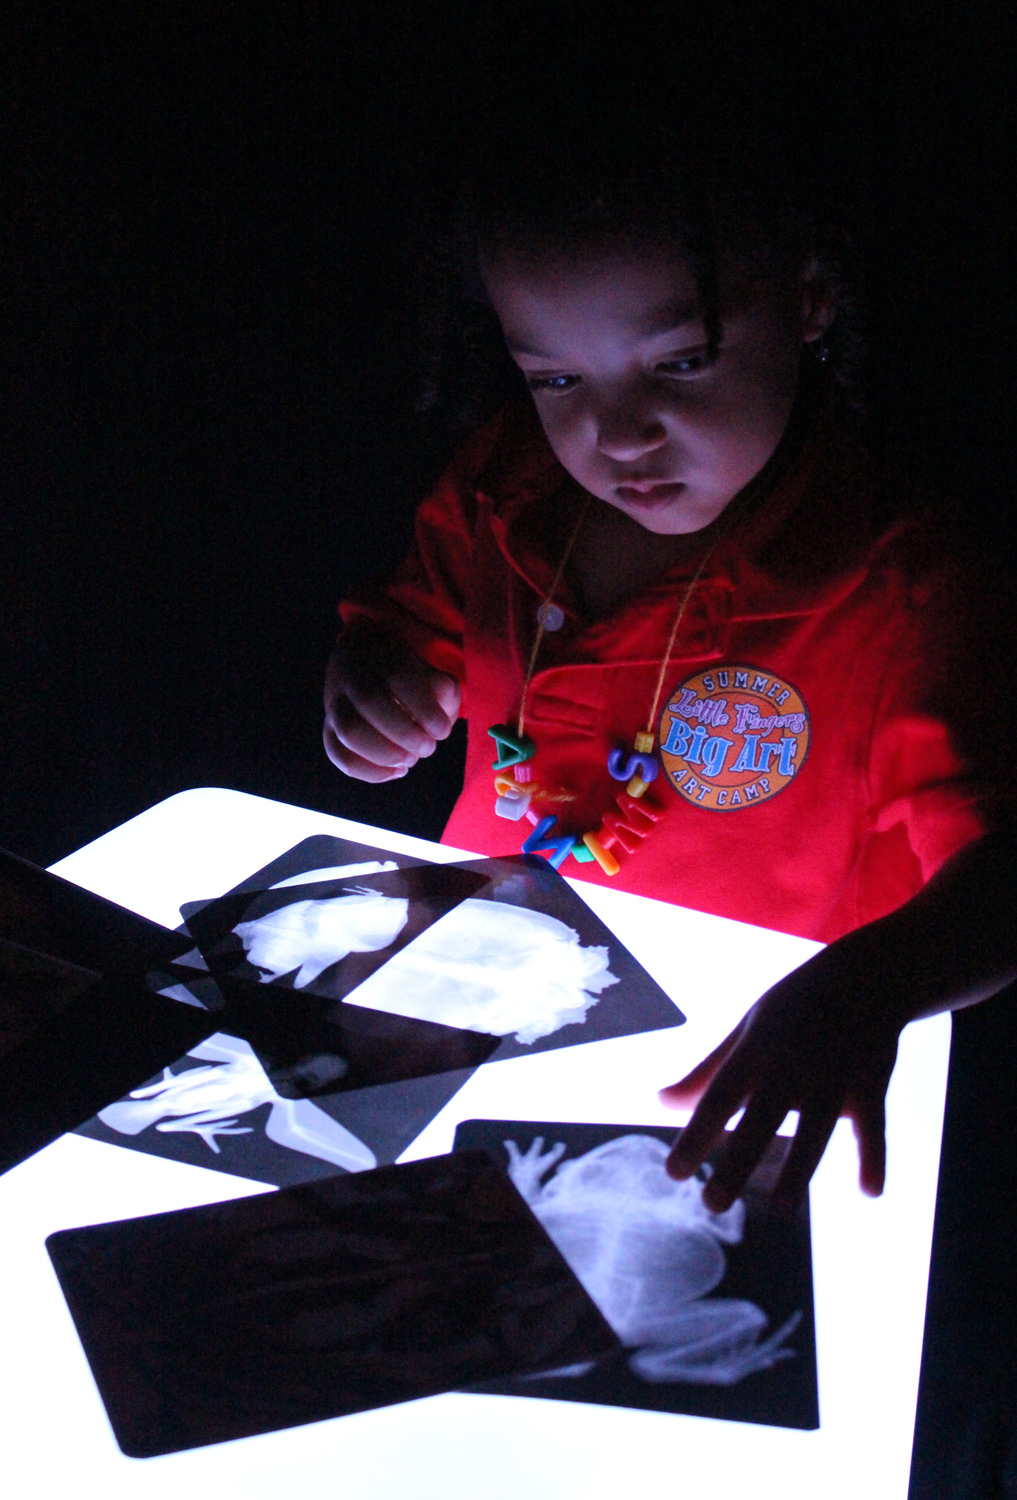
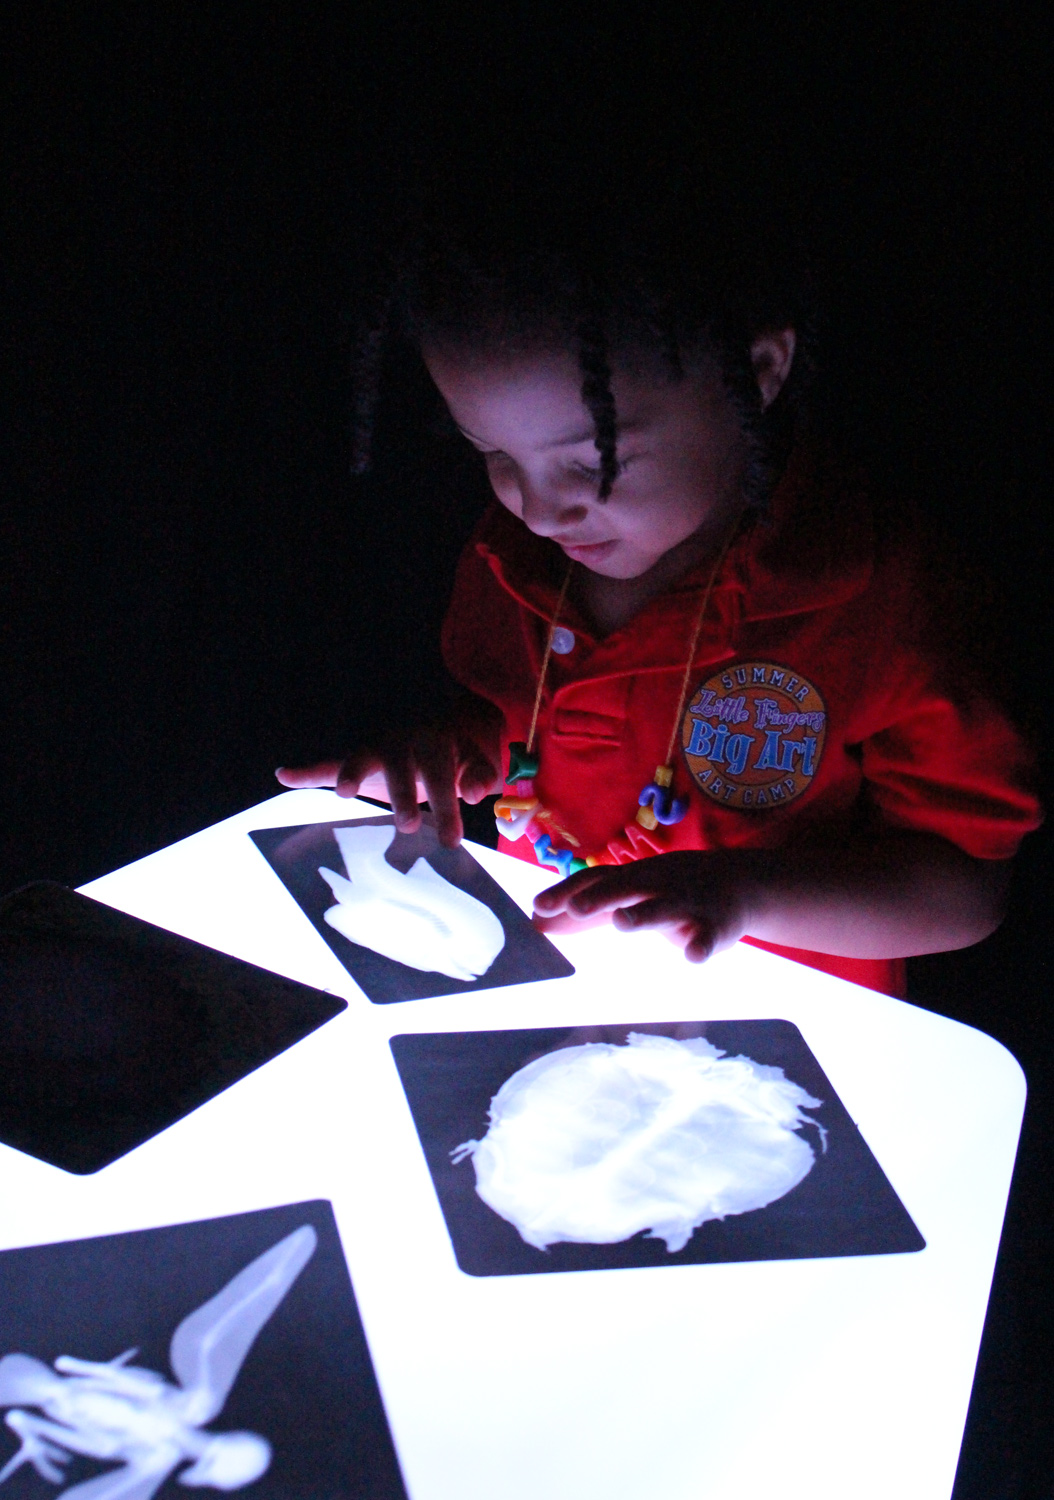
John placed the cards onto the table to see how the insides of the shells look like.

IMG_9613

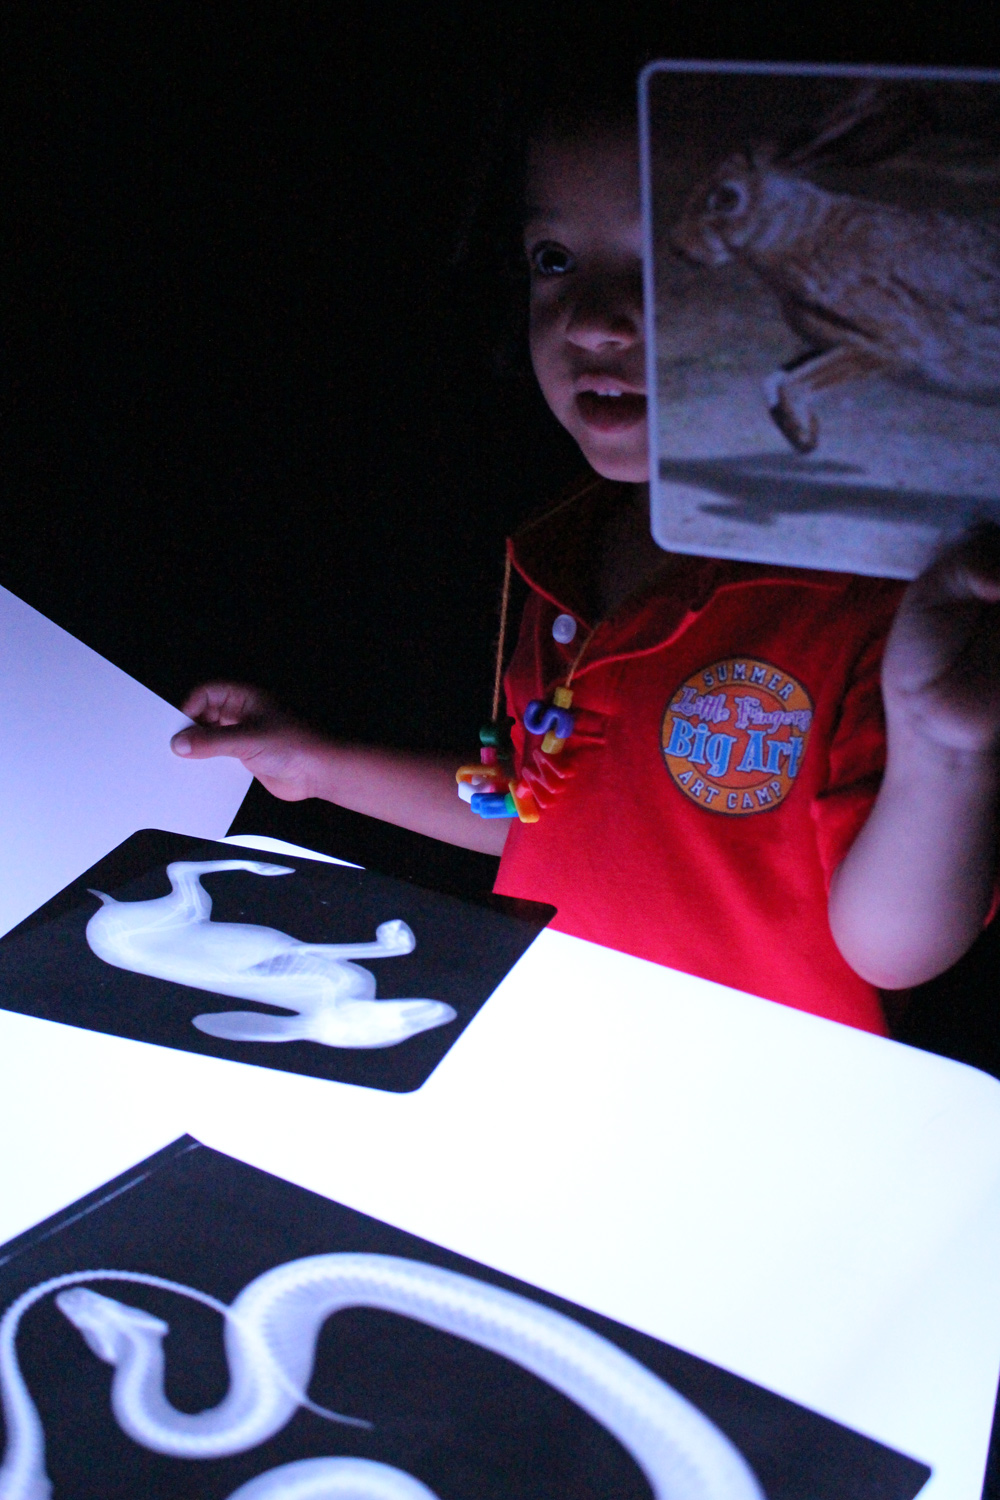
It was a nice exercise to compare and contrast the picture cards with their matching x-rays. We asked John to find the matching pairs, which was a good exercise in making connections with visual cues.

IMG_9614

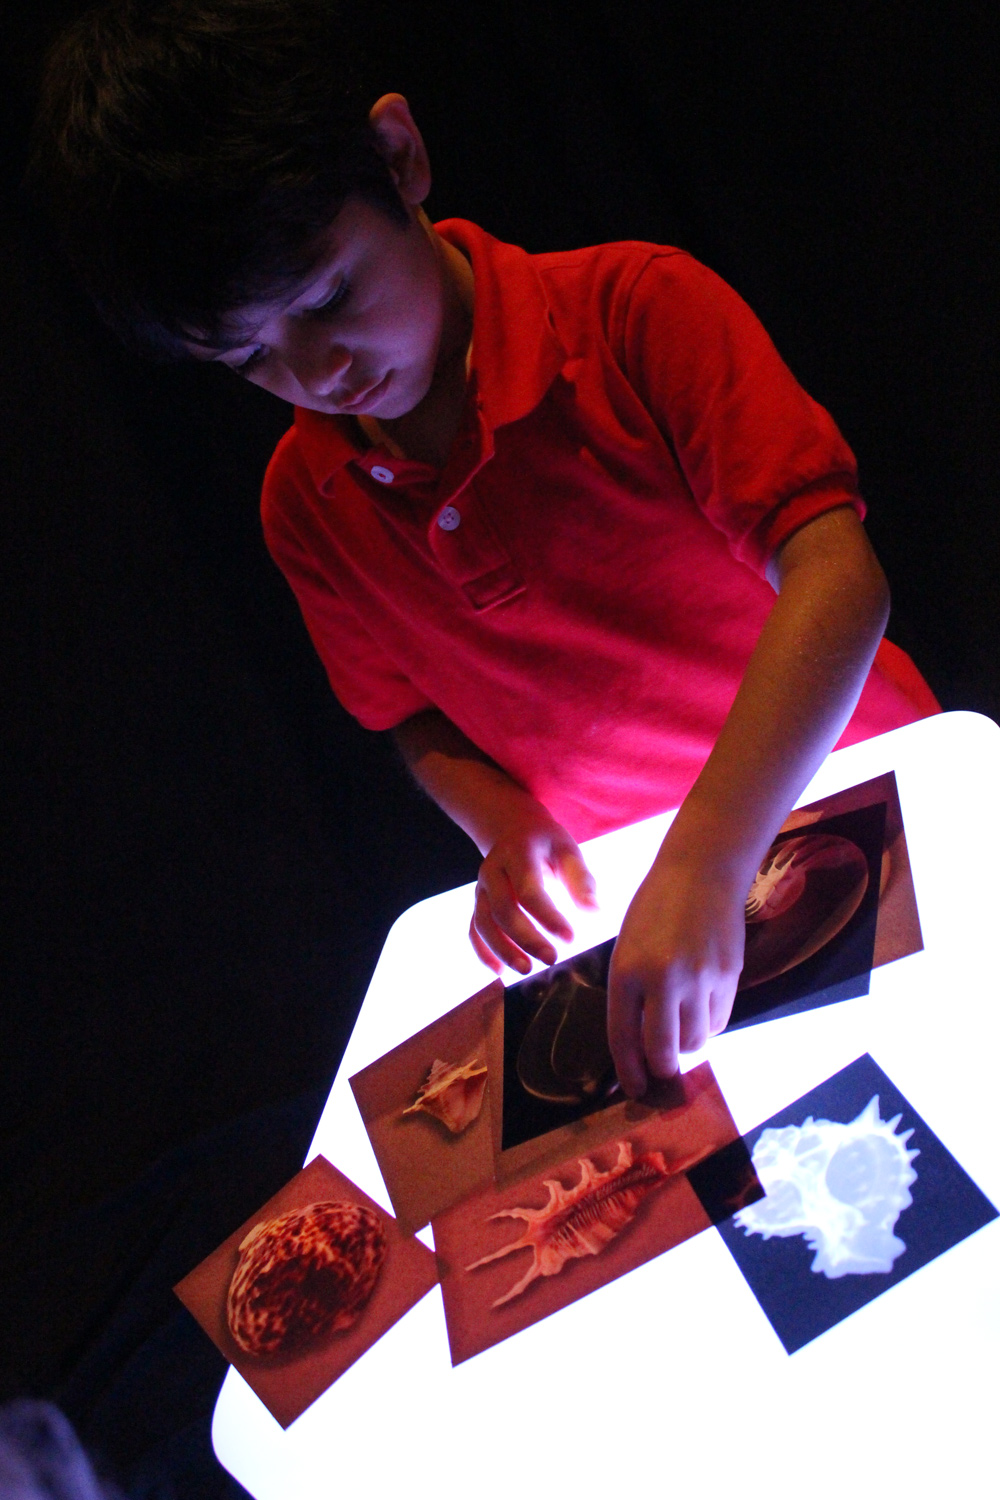
Does that one fit? John used the guide provided with the picture cards to learn more about the type of shell in each card.

IMG_9622

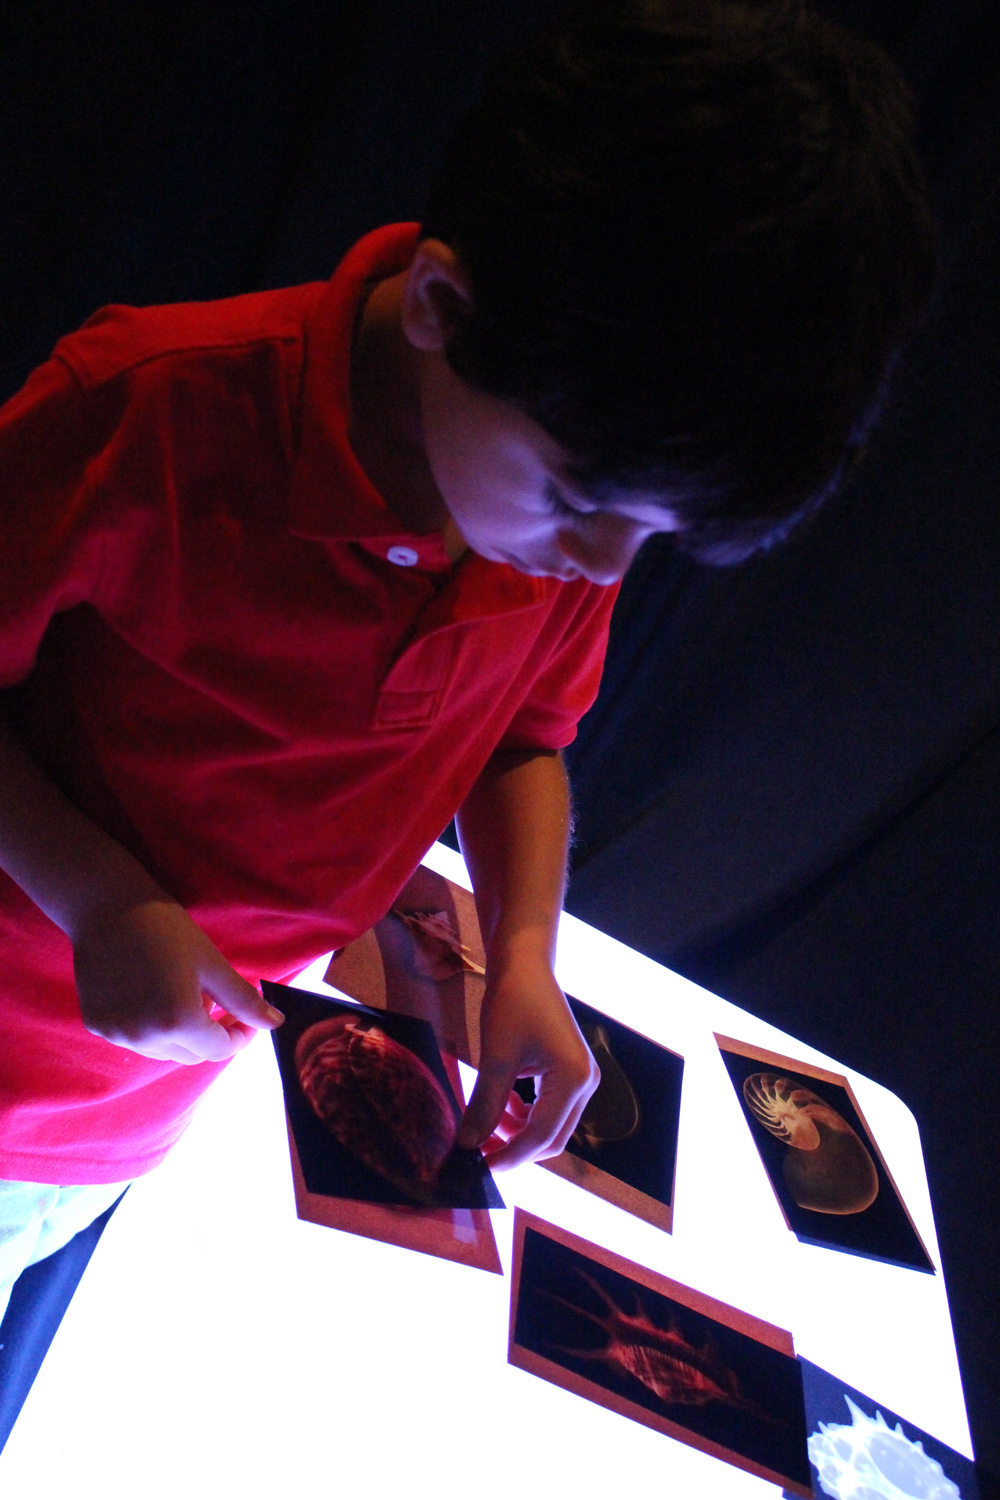
There are 36 cards and x-rays in total and a detailed guide with information about each of the shells. It’s a great resource for enriching your science lessons!

Line-02

Like us on FacebookShare this post with your friends, or Subscribe to this blog today to receive original craft project updates every Monday, Wednesday and Thursday!

Light Cube: Why are x-rays so cool?

2015-03-12-FeatureImage

Our R5910 Animal X-Rays give your students a whole new way to observe the details of animal skeletons… especially when placed on the Light Cube! Turn your Light Cube corner into a vet clinic!

IMG_9515

The R5910 Animal X-Rays are a great way to introduce students to learning about animal anatomy and how it is similar and/or different than human anatomy. We first asked our friend Jasmine to remove the provided image cards from the x-rays to see what types of animals we would be exploring. See everything from a snake to a rabbit, or a fish to a bird in this x-ray set!

IMG_9508

Children are naturally drawn to exploring x-rays because they offer a whole new way to look at animal bodies. Seeing the framework for bones that make up the legs, for instance, helps children to compare to their own bodies and make references to what is similar, and what is different.

IMG_9514

On the Light Cube, x-rays are even better seen. The Light Cube illuminates all the details in the white parts of the x-rays, showing off arrangements of miniature bones and how they all connect together.

IMG_9504

Ask students to compare and contrast the x-rays to their image counterparts. Where do all the parts go and how can you orient the skeleton to fit within the outline of the animal shape? Compare the bone structure to other animals in the Animal X-Ray pack. How do the legs look like? How are the heads shaped differently or similarly to each other?

IMG_9512

To make viewing the x-rays less intimidating for younger children, turn the Light Cube station into a veterinary office! Purchase a kid-friendly pair of stethoscopes and/or some plush animal toys that correspond with the x-rays provided. Ask students to diagnose how the animals are feeling using the stethoscopes and x-rays as veterinarian tools.

How cool is that?!

Tell us what kinds of activities you do with x-ray cards! What kinds of teaching methods do you employ and how do you incorporate fun into your learning activities?

Line-18

Like us on FacebookShare this post with your friends, or Subscribe to this blog today to receive original craft project updates every Monday, Wednesday and Thursday!

Educational Light Cube: As Furniture?!

2014-09-25-FeatureImage

Yes, you heard right! Our R59601 Educational Light Cube can be used as a wonderful furniture addition to your classroom! The sturdy design makes it perfect not only as a table at the play center, but as a stool, a climbing base and more. 

We recommend placing the Educational Light Cube in a ‘quiet’ location, such as a reading area or playtime corner. It’s a good idea to have the cube fully charged before allowing students to use it as a furniture piece. Charge up the cube the night before to ensure that it has enough battery life (3-4 hours) to be used in the main classroom area. This eliminates the need to leave the AC adapter cord lying on the floor–if you have to have the Light Cube plugged in, tape down the cord or place a cord cover on top to prevent it from becoming a trip hazard.

IMG_8738The Light Cube is a great complement to a variety of educational resources such as x-rays, overhead projection sheet activities and much more!

IMG_8745

The Light Cube doesn’t stand too far off the ground and is sturdy enough to support the weight of a student on it. As a result, it can be used as a light platform. Plus, it is the perfect height–not too high, and not to low! Students can easily kneel at the Light Cube and get the full benefit of being able to experiment with light as they manipulate the materials on top.

IMG_9826

As students become more familiar with the Light Cube, they can extend their learning to incorporate gross motor as well as fine motor skills. Stand or sit up on the Light Cube to measure the size of your feet in comparison to an R5911 True to Life Human X-Ray foot, just like this student did! Or play Light games around the cube! Play memory games and hide various objects under cups, then shuffle them around. There’s tons of things to do on the Light Cube… just using it as a furniture piece alone is lots of fun!

Line-08

Like us on FacebookShare this post with your friends, or Subscribe to this blog today to receive original craft project updates every Monday, Wednesday and Friday!