Light Cube: There’s a man on the moon… sand!

light cube sand

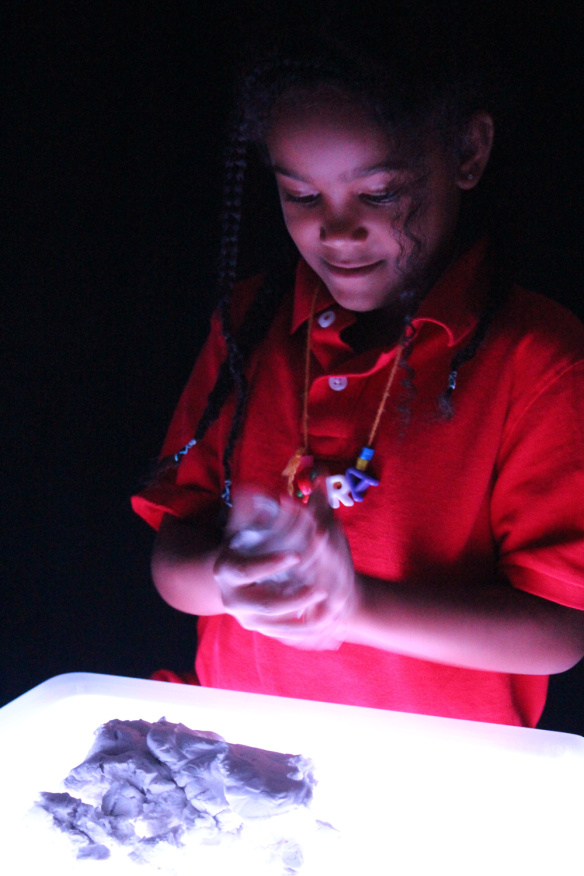
Moon sand is a great tool for playing with on the Light Cube. Place it inside a snugly fitting Light Cube tray to keep it from spilling over the sides.

light cube sand

Moon sand can be made at home with a few simple ingredients such as cornstarch, sand and water. To learn more about how to make your own moon sand, visit the link here!

light cube sand

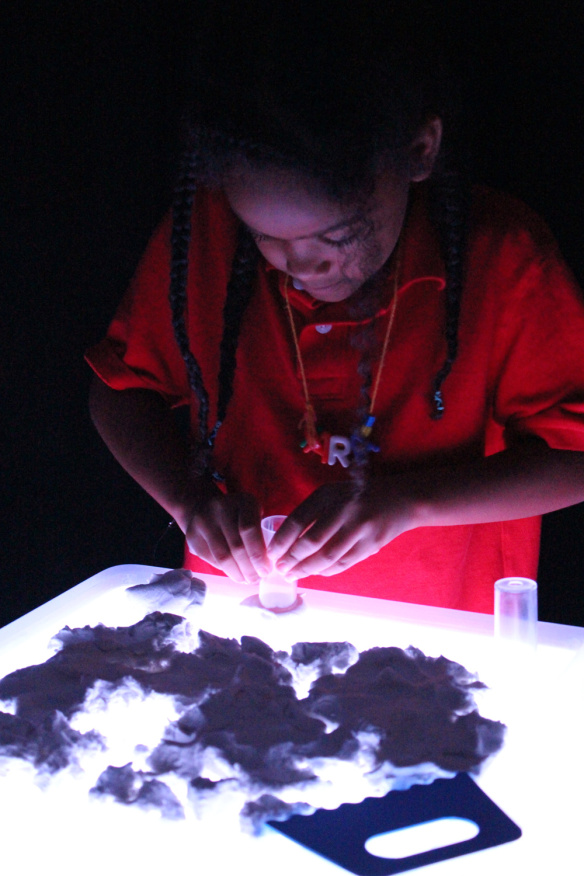
Using our little vials, we asked our friend Ciara to pack the sand into little columns. How long could she get the columns to stand before they slide apart?

light cube sand

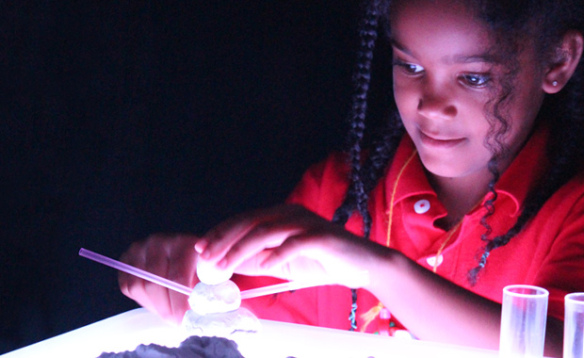
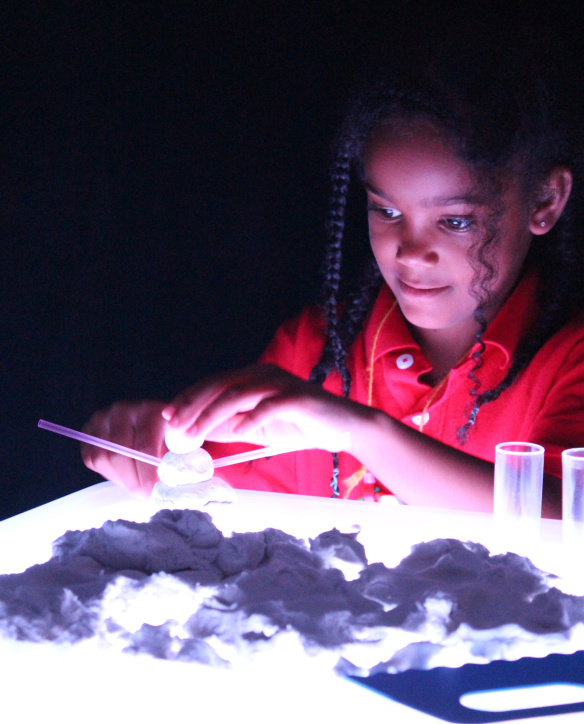
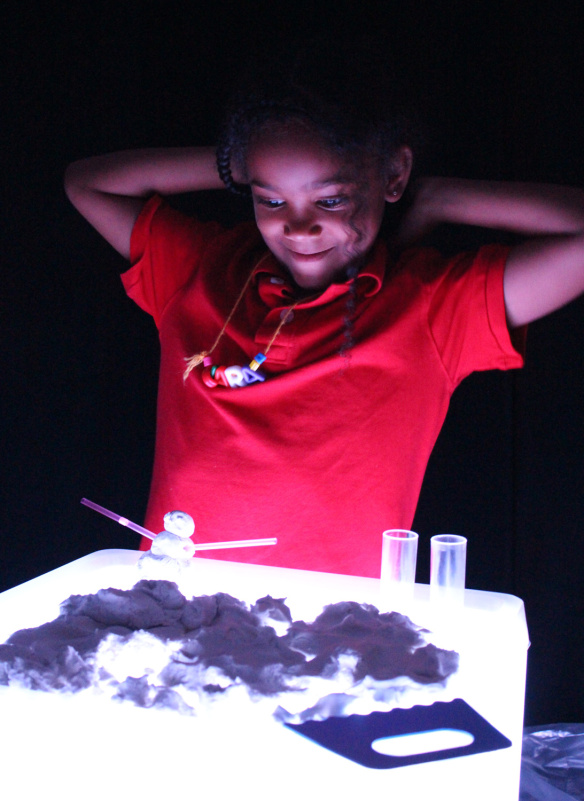
Ciara decided to mold a little snowman out of the moon sand. It actually held really well together, so she added some straws to form the snowman’s arms.

light cube sand

All done and still standing! The rest of the moon sand looked a lot like snow on the ground being illuminated by the Light Cube underneath.

Line-03

Like us on FacebookShare this post with your friends, or Subscribe to this blog today to receive original craft project updates every Monday, Wednesday and Thursday!

Light Cube: Water Beads and Alternatives

2015-01-00F-FeatureImage

Talking about transparent objects is a great way to move into a sensory exploration of water beads! Although you should reserve this activity for older students, we list some alternatives to water beads that you can experiment with yourself.

IMG_9962

Water beads are found at most outdoors or garden stores. The water beads are used to retain excess water–they swell to a larger size and feel squishy to the touch.

IMG_9987

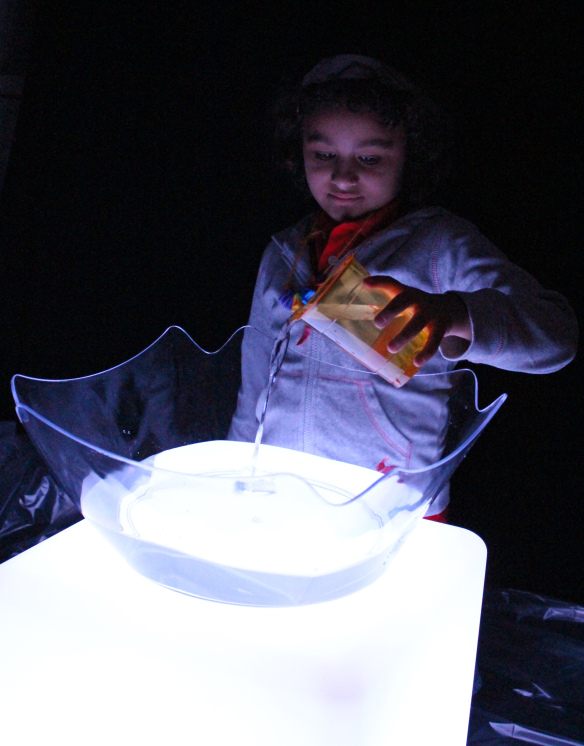
Pour water into a basin and drop in your water beads. The water beads are very tiny at this point. Leave the beads to soak overnight.

IMG_0265

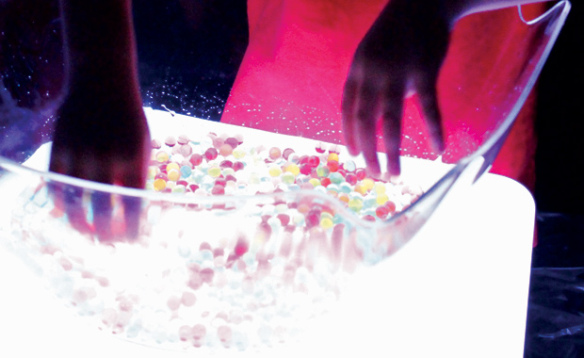
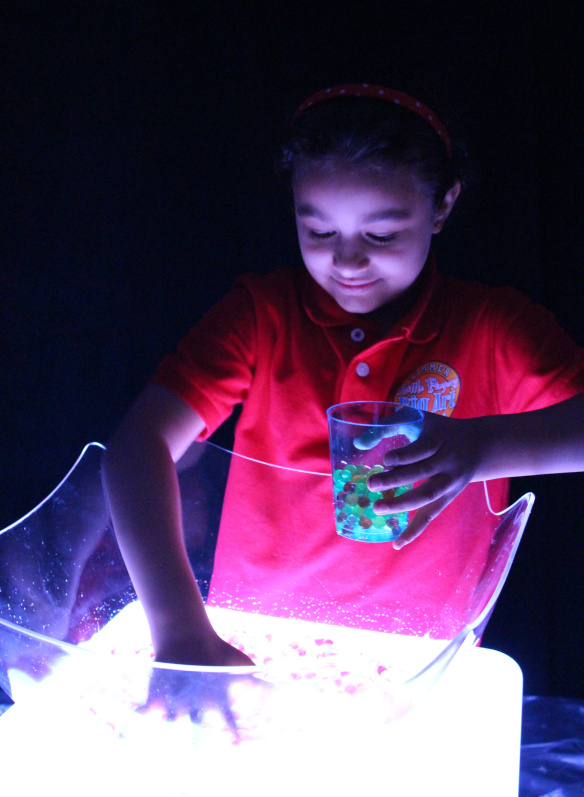
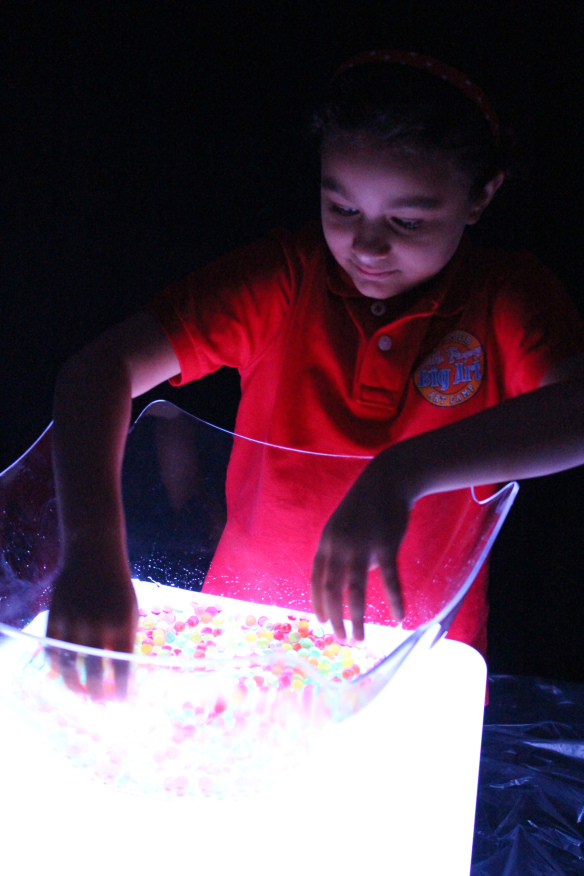
Once the beads have fully soaked, they will look like squishy marbles!

IMG_0243

Since the water beads can pose a hazard to young children, it is best to leave this activity for older students or you can try some of these alternatives:

Use quick cooking bubble tea BOBA! These little tapioca starch balls are used in novelty bubble teas. Use the quick cook kind, or purchase a premade jar of tapioca balls. Let them soak overnight in warm water with a bit of food dye to color them!

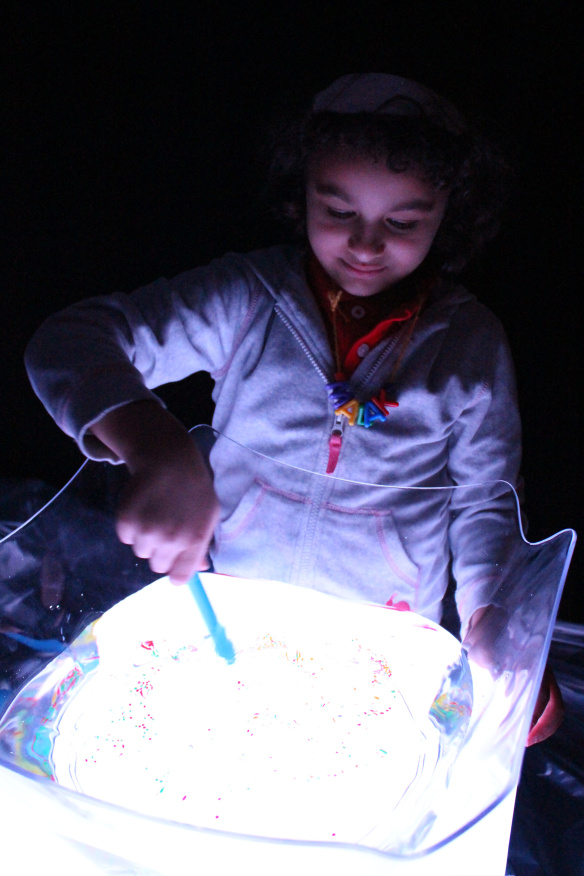
You can also use basil seeds, which swell when stirred into water. Repeat the same process by leaving them to soak in some colorful food dye.

IMG_0235

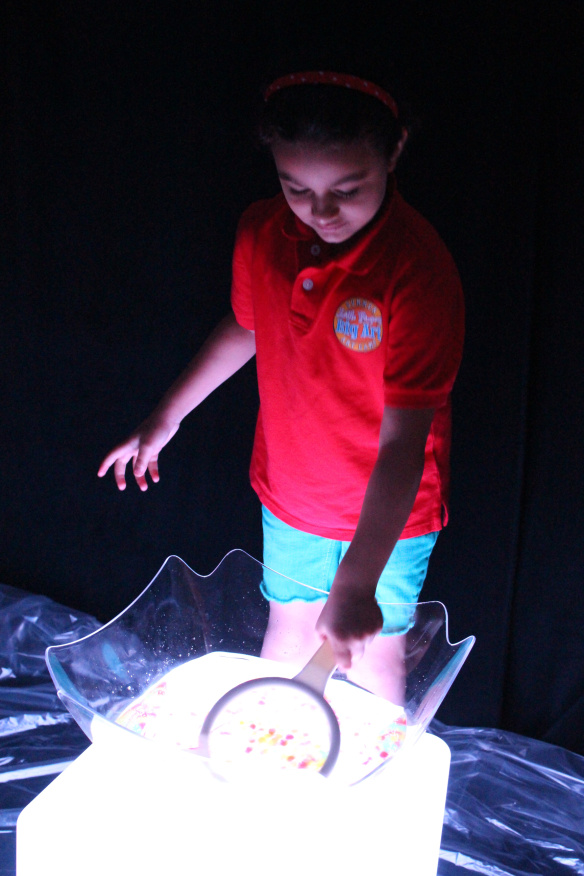
Use sieves, cups and other cooking tools to experiment with the buoyancy of the water beads.

Line-22

Like us on FacebookShare this post with your friends, or Subscribe to this blog today to receive original craft project updates every Monday, Wednesday and Thursday!

Educational Light Cube: Stacking Colorful Cups


2014-10-09-FeatureImage

View the dazzling effects of color-changing light on the cube with dollar store variety cups and plastic drinking glasses! Develop fine motor skills through arrangements of stackable cups… see more of this exercise below!

IMG_9337

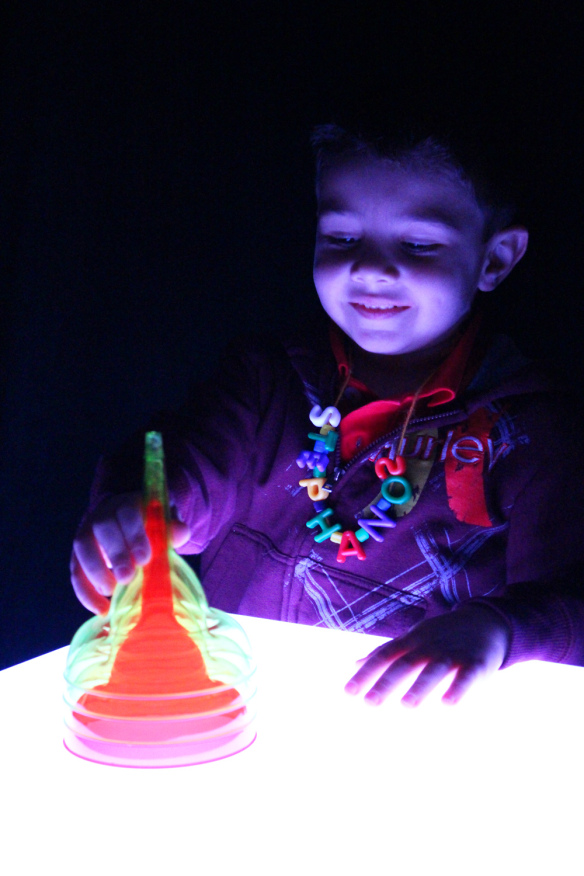
To start the activity, we first turned on the Light Cube to the ‘white’ setting. Next, we placed a stack of clear-color plastic cups we found at the dollar store on top of the cube. The white brings out the brightness of the clear colors and allows kids to see what inside of the various cups look like when they’re stacked together.

IMG_9338

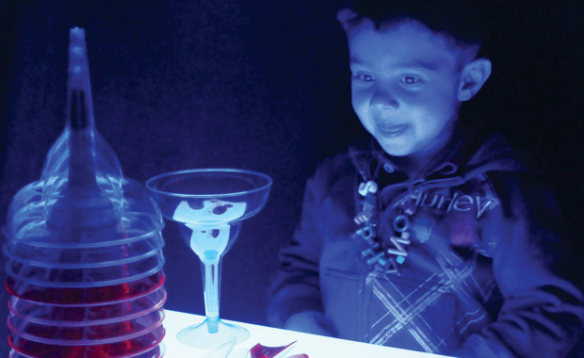
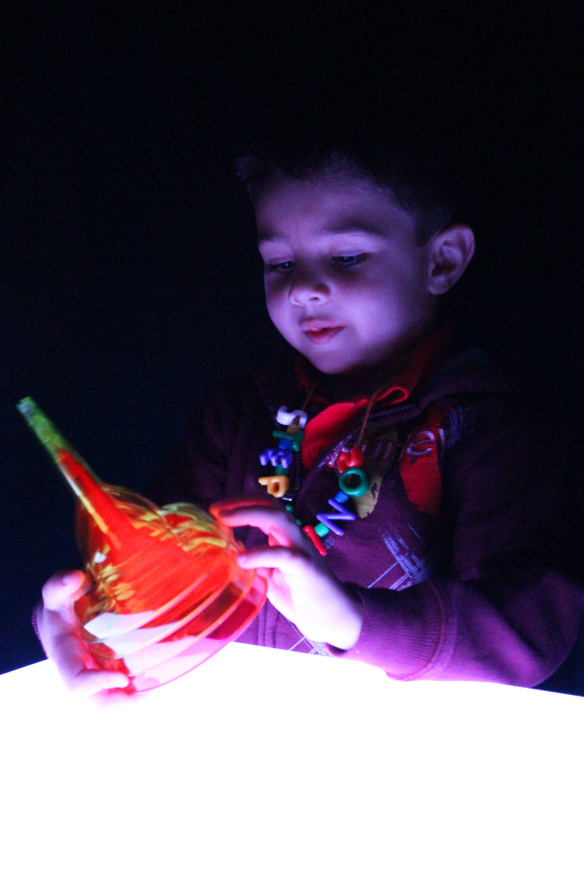
We next asked our art camper Stephano to take the structure apart. He wanted to see how the individual pieces looked like. Without the bases, these regular dollar variety martini glasses appear quite unique!

IMG_9340

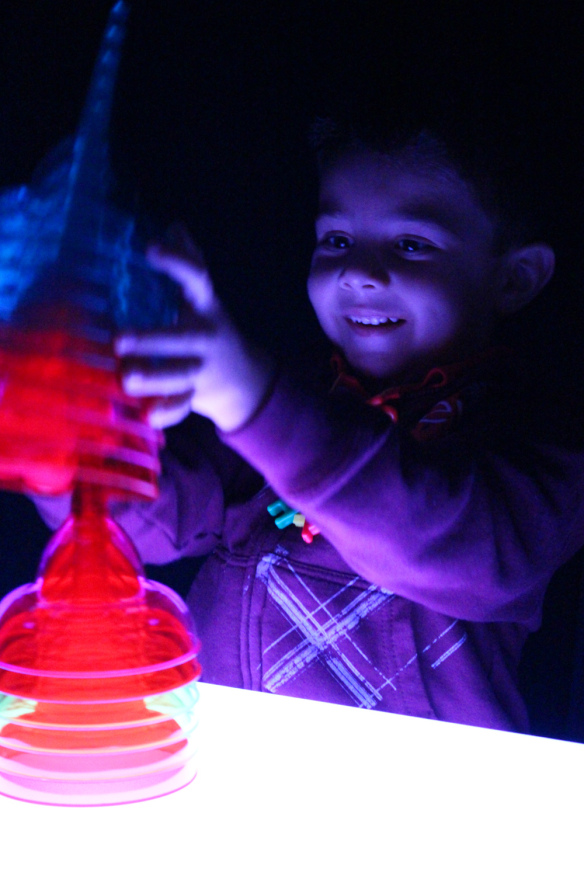
How about we add some more to the mix? Here’s a good look at what happens when you stack multiple cups of the same color together–the colors become extremely saturated, meaning that they are intensified.

IMG_9343

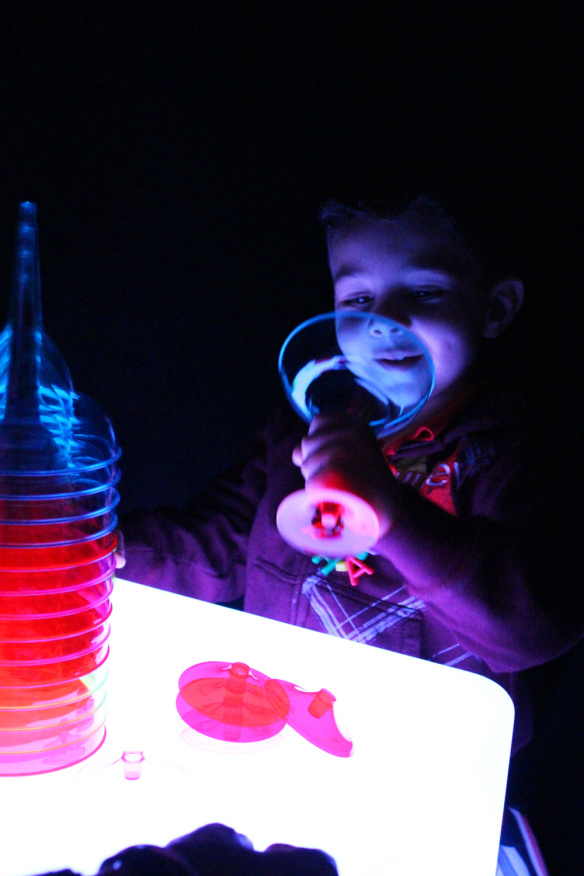
Now let’s add another level of complication to our structure with the bases for the cups.

IMG_9361

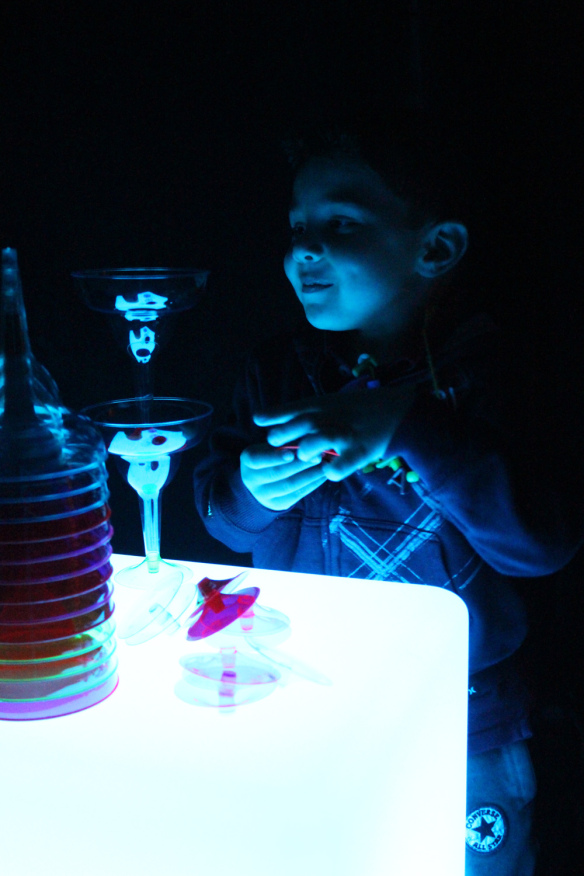
Stephano decided to structure the martini glasses in a way that they could easily be stacked together with the bases intact. He decided to place them standing on top of the inside of each cup.

IMG_9362

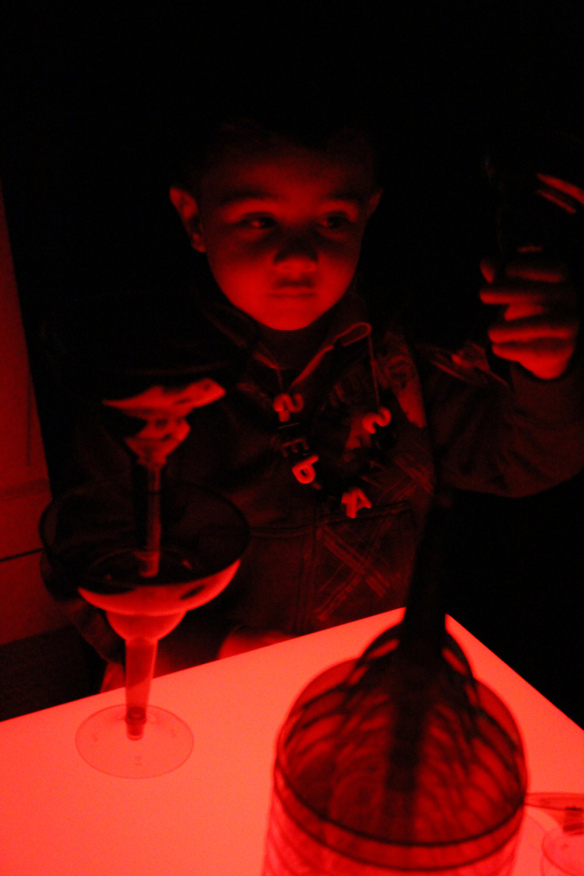
Next, we amplified the colors of the glasses by changing the cube’s color to red. This created a stark glow throughout the room and helped Stephano focus directly on stacking rather than the colors of the cups.

IMG_9364

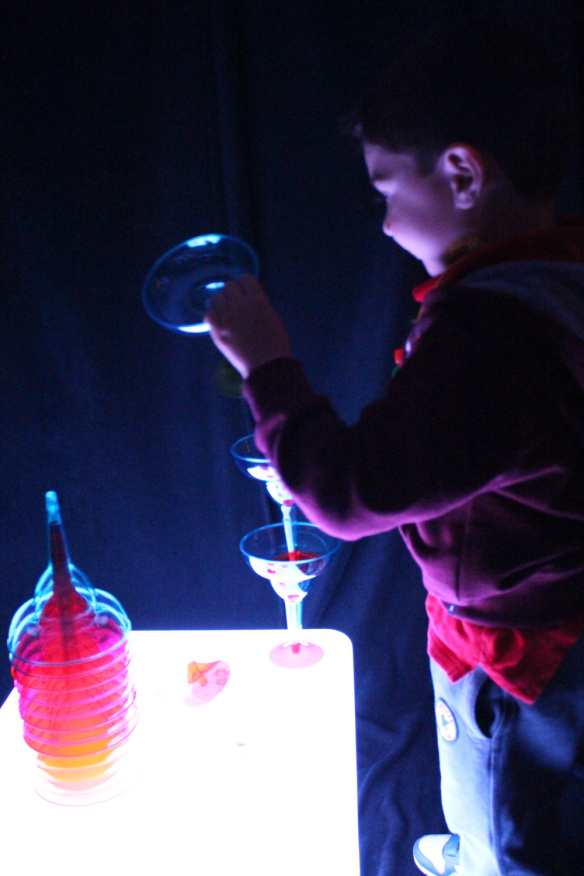
Once we turned the cube’s color back to white, we got to see how Stephano had randomly chosen differently-colored cups to stack together. Reflecting back on the activity, Stephano noticed that he wasn’t so worried about which colors he used while he was stacking. Instead he could focus directly on stacking the cups together, and then afterwards enjoyed the surprise when he got to see what combinations of colors he used!


Line-12

Like us on FacebookShare this post with your friends, or Subscribe to this blog today to receive original craft project updates every Monday, Wednesday and Friday!