Posts Tagged ‘building’
3 Ways to Keep Kids Engaged & Learning Over the Summer

Summer is a time for fun and relaxation, but it’s also a great opportunity to keep kids engaged in learning through hands-on activities. Studies show that children who continue learning over the summer retain more knowledge and build essential skills that prepare them for the next school year. Whether you’re a teacher, homeschooler, or parent,…
Read MoreCrystal Color Stacking Blocks
Discover the beauty of our wonderful R60310 Crystal Color Stacking Blocks! Stack up the clear color blocks to form new colors. Place on top of Roylco’s R59601 Educational Light Cube for even greater light effects! To start, we began by … Continue reading ![]()
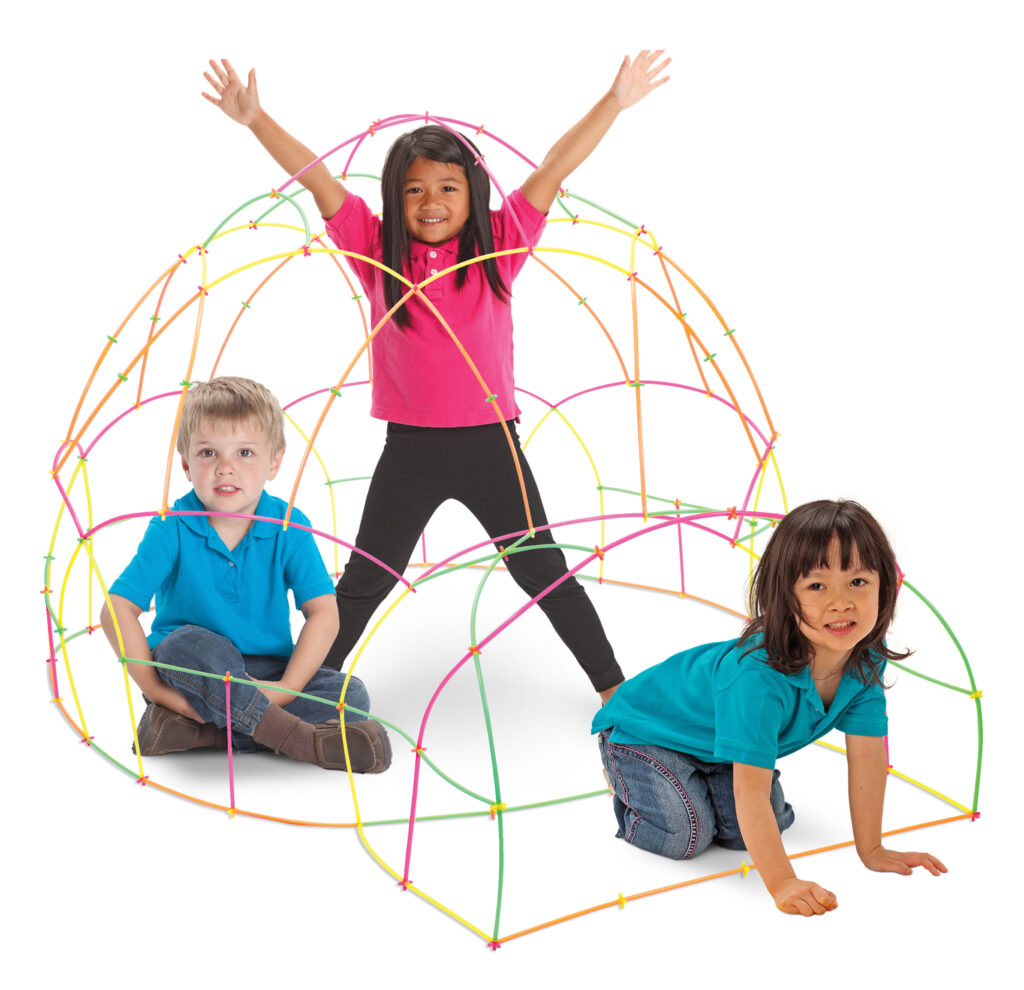
Build an Outdoor Straws and Connectors City: STEM Camp Activity
On a nice sunny day, we went outside to build structures as part of our city development and planning lesson! We dropped a TON of Straws and Connectors on the ground and asked the campers to build around the city … Continue reading ![]()
Spotlight on… Art Deco Paper
Build skyscrapers, cathedrals and city centers with R15308 Art Deco Paper! This paper craft has 8 fantastic patterns and colors fashioned in the art deco style. Art deco was a visual art style that emerged in the early 20th century … Continue reading ![]()
Squarehead Teachers: Straws and Connectors Giveaway!
Head on over to Squarehead Teachers and complete the challenge to win a FREE box set of Straws and Connectors! Contest ends December 16, 2014 at midnight. The Straws and Connectors set is an awesome gift to give your kids or classroom … Continue reading ![]()
Straws and Connectors STEM Building Project for Kids
What’s so great about our Straws and Connectors? Besides the colors, the simplicity of combinations, and the potential for lessons about geometric structure? Learn more below! There are two simple components in the Straws and Connectors pack: the straws, which … Continue reading ![]()
Educational Light Cube: Stacking Colorful Cups
View the dazzling effects of color-changing light on the cube with dollar store variety cups and plastic drinking glasses! Develop fine motor skills through arrangements of stackable cups… see more of this exercise below! To start the activity, we first turned … Continue reading ![]()