Crystal Color Stacking Blocks

crystal color stacking blocks

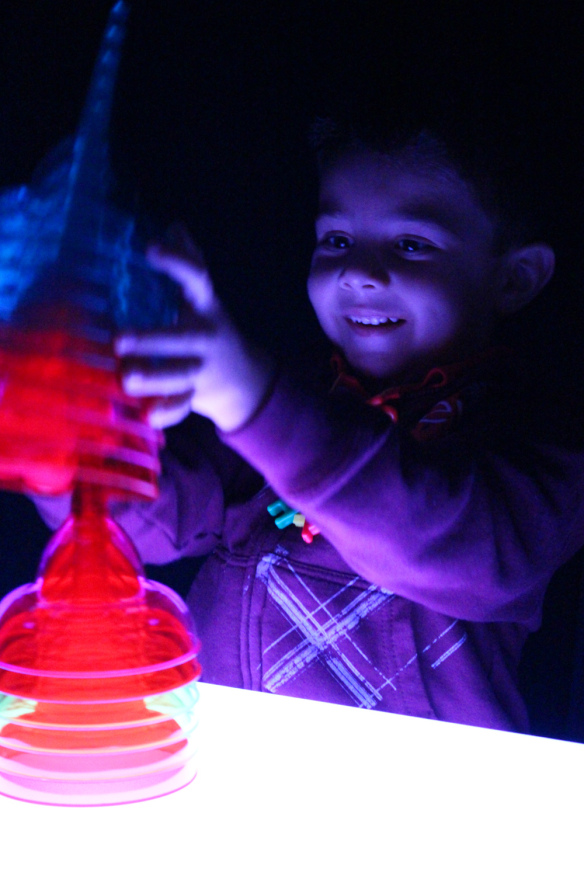
Discover the beauty of our wonderful R60310 Crystal Color Stacking Blocks! Stack up the clear color blocks to form new colors. Place on top of Roylco’s R59601 Educational Light Cube for even greater light effects!

crystal color stacking blocks

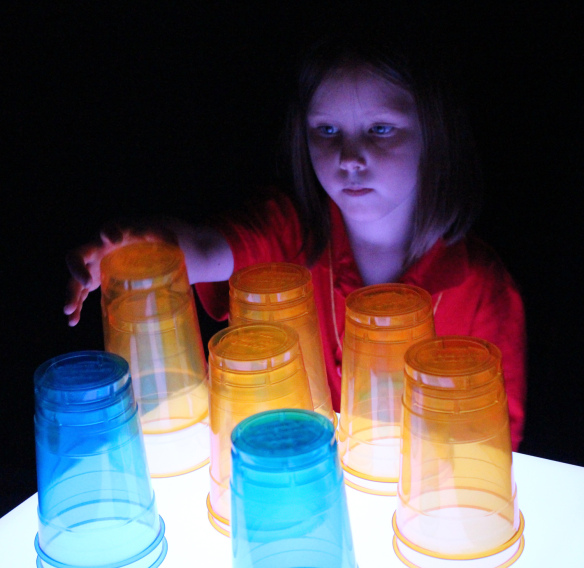
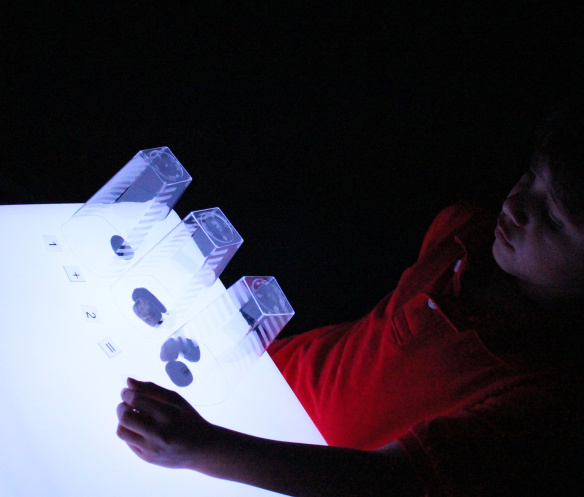
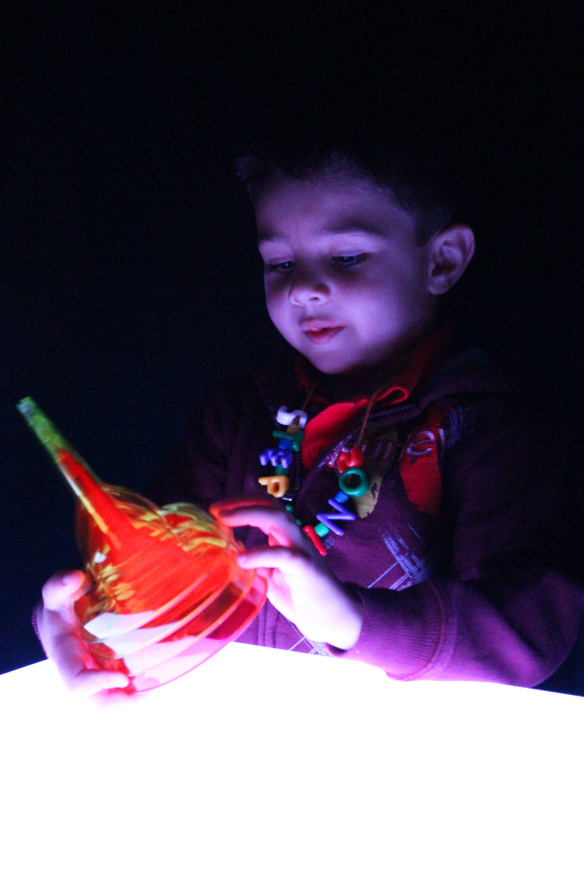
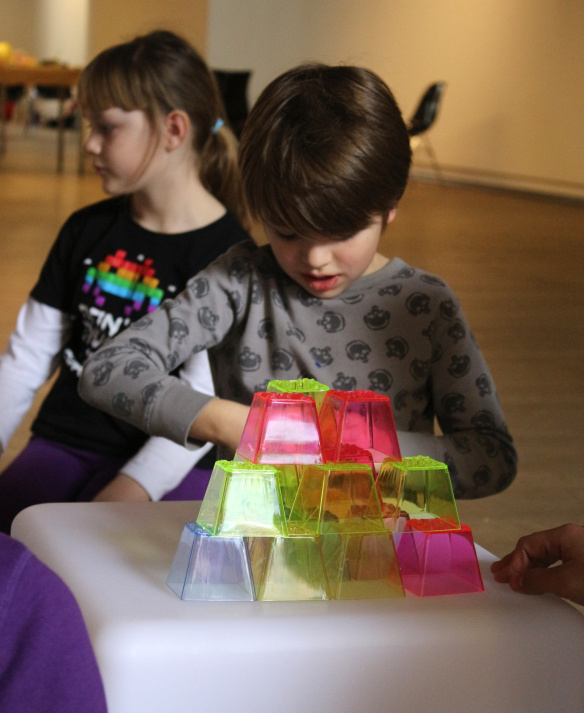
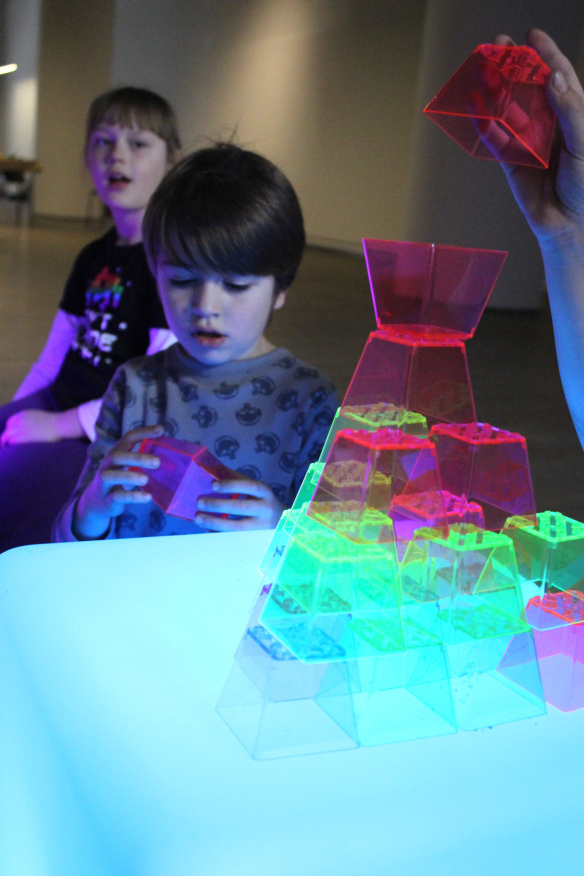
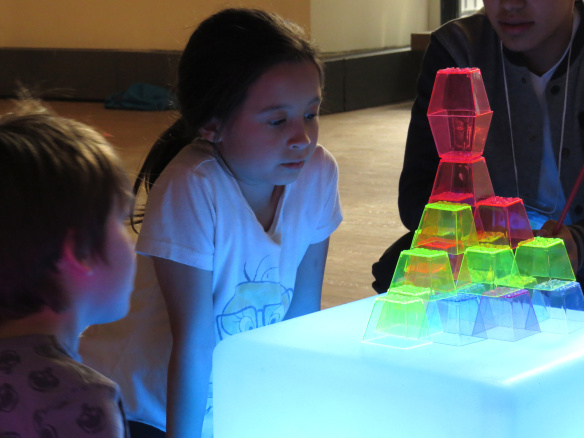
To start, we began by placing the blocks directly onto the R59630 Light Cube with the light turned off. We let the campers explore the blocks on their own first. This was a great exercise for kids as they described the block colors and stacked the blocks according to the grooves on the back.

crystal color stacking blocks

As soon as we turned the Cube on, all eyes were on it!

crystal color stacking blocks

It was absolutely mesmerizing, even for the most active kids.

crystal color stacking blocks

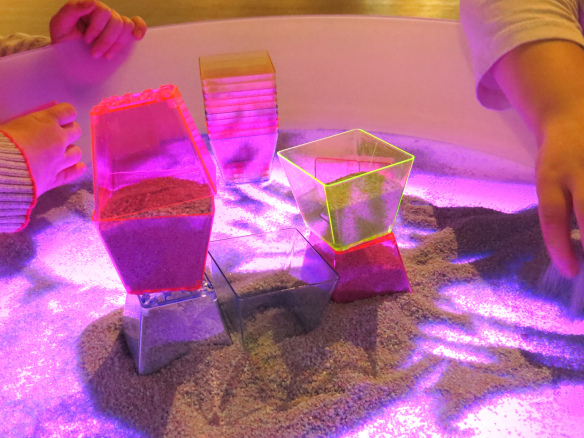
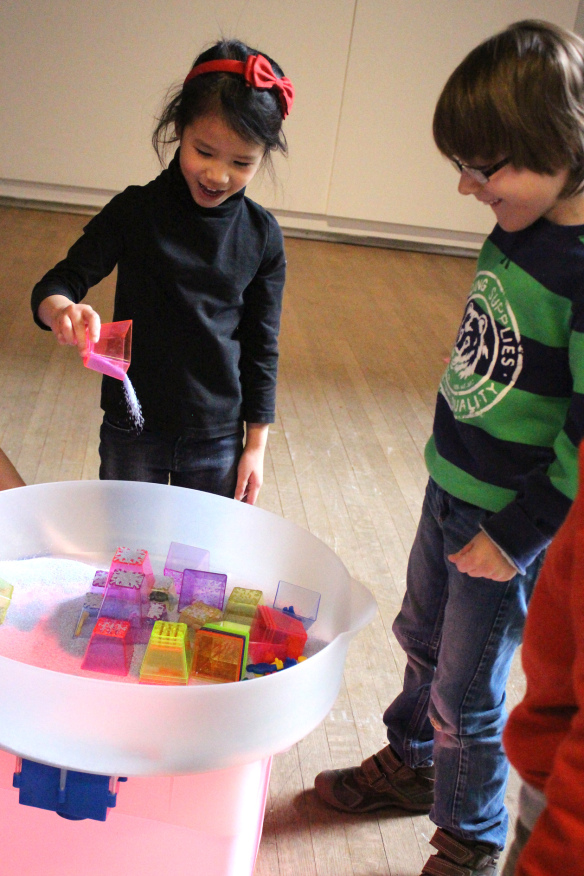
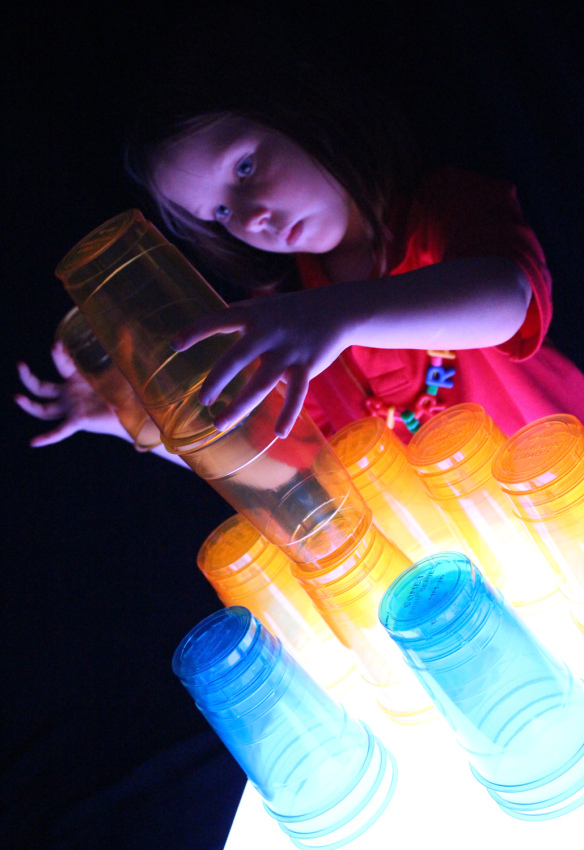
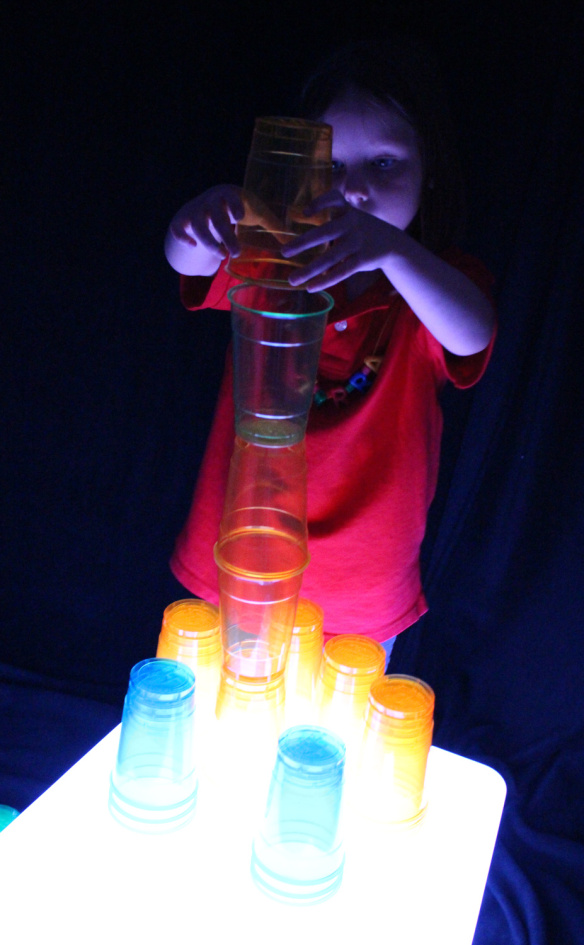
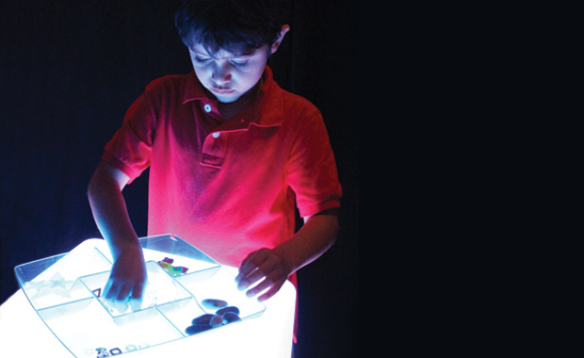
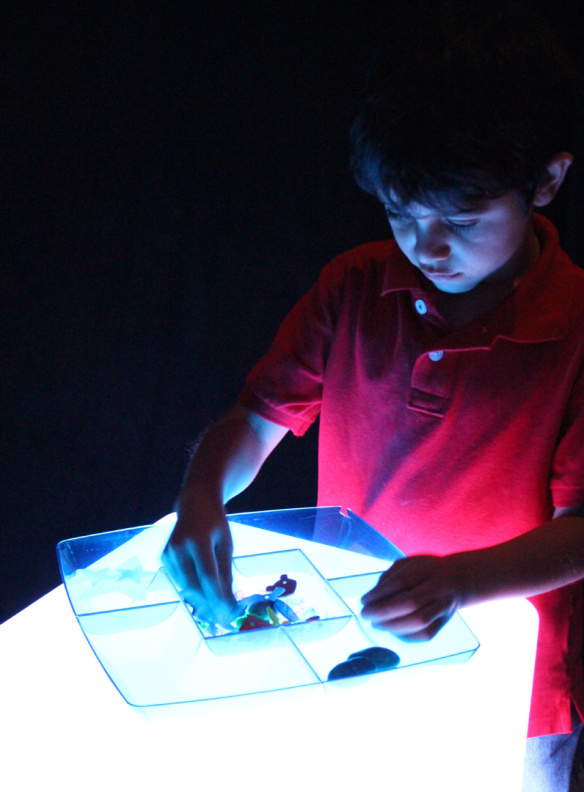
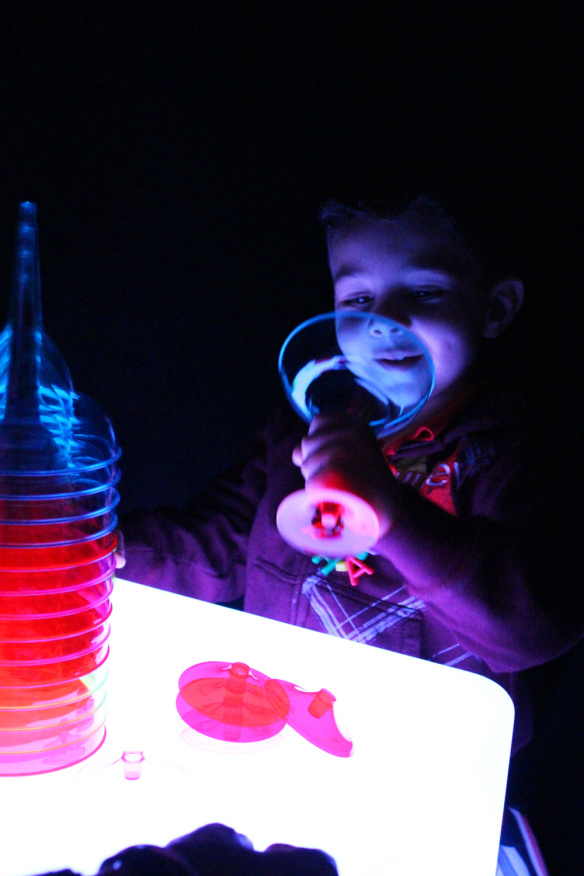
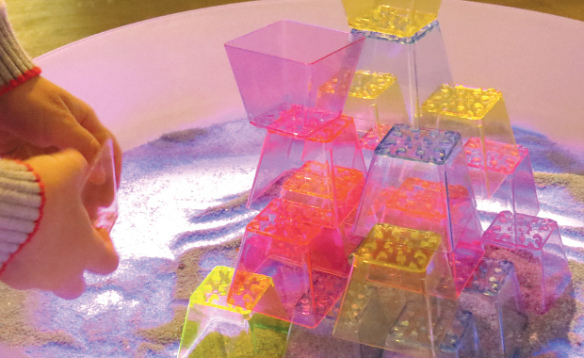
Next we placed the R59630 Sensory Tray onto the Light Cube. As you can see from the photo above, the clear tray allows the bright colorful light of the Light Cube to shine through. We also added a bit of sand to the inside and challenged the young architects to build the strongest tower they could make. The tower had to withstand the vibrations of the Sensory Tray once we turned it on.

crystal color stacking blocks

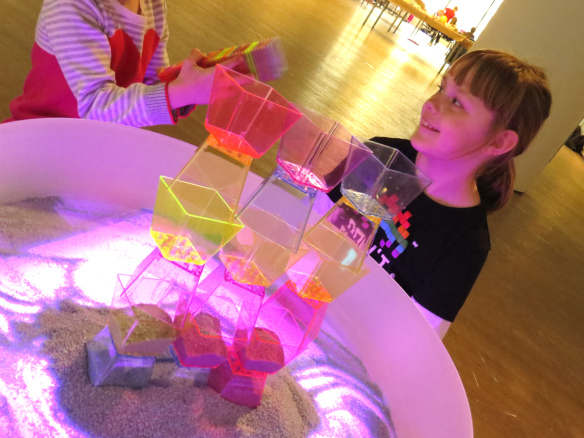
Accepting their challenges, the campers filled the bottom blocks with sand to secure the structure in place.

crystal color stacking blocks

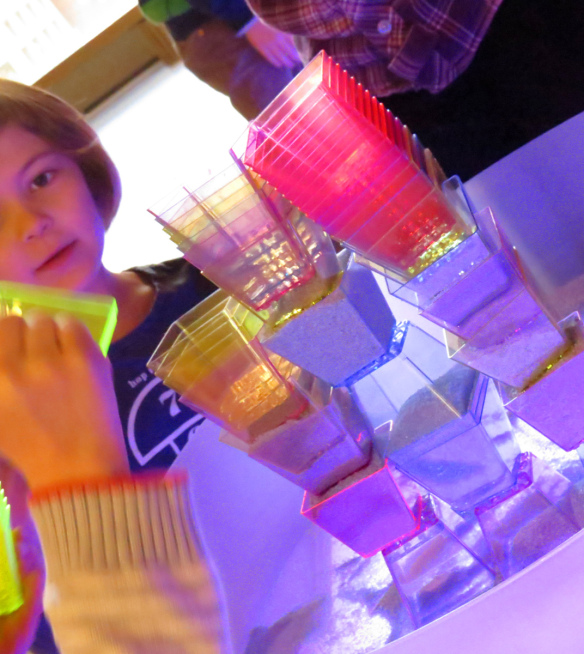
They continued to fill the blocks with sand until they realized it might be too top heavy to withstand the force of the vibrations. We tested it out and sure enough, the whole thing toppled from the top down!

crystal color stacking blocks

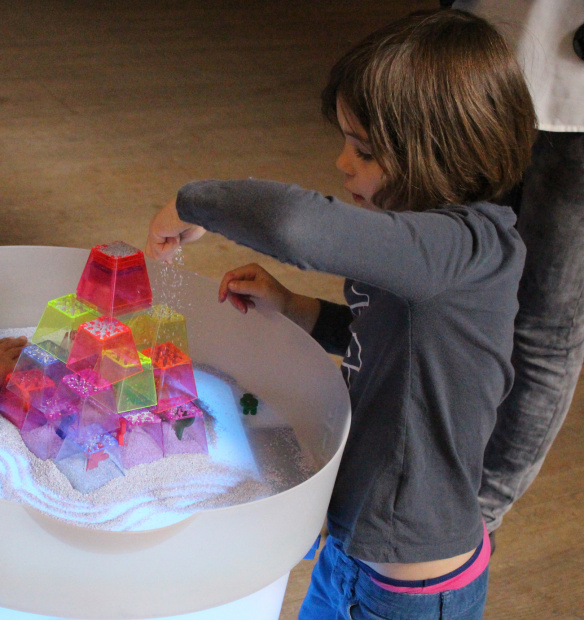
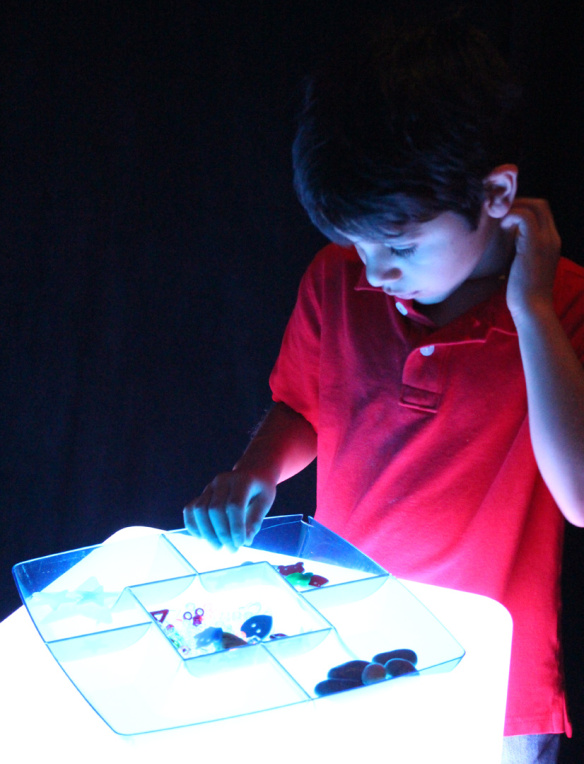
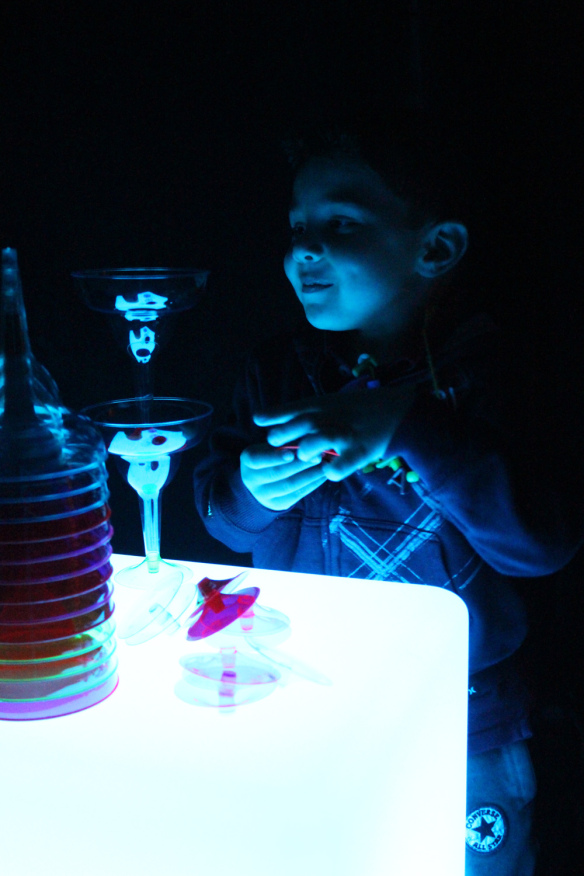
Next, they tried a different formation. They flipped the blocks the correct way and buried the edges into a pile of sand, thinking that this might be the trick to getting the tower to stay upright.

crystal color stacking blocks

The base held together after we turned the Sensory Tray on, but not the top! Since they stacked multiples of the same block together, those parts fell first. It was a great learning experience, and every time we tried to pack up the activity, the kids begged us, “Just give us 5 more minutes! We need to build a stronger tower!”

Line-19

Like us on FacebookShare this post with your friends, or Subscribe to this blog today to receive original craft project updates every Monday, Wednesday and Thursday!

Light Cube: Shell X-Rays

2015-04-30-FeatureImage

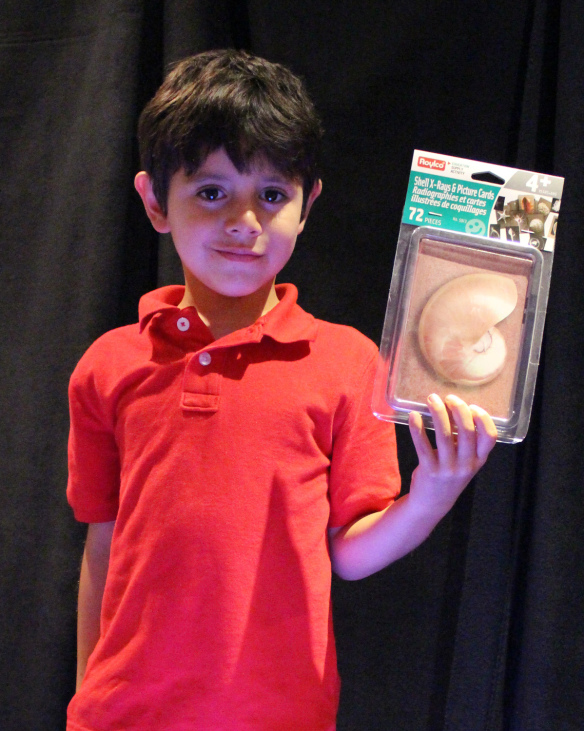
Observe transparencies of x-rays to see cool images! Our R5913 Shell X-Rays & Picture Cards work great with the Educational Light Cube. 

IMG_9609

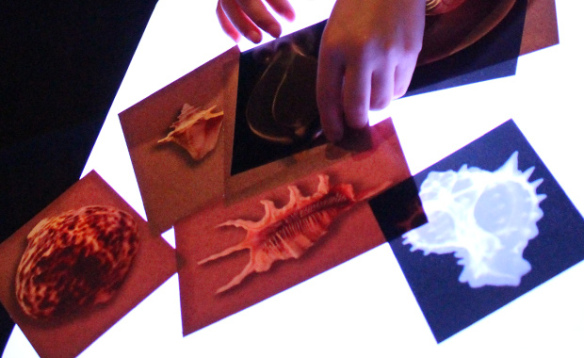
The Shell X-Rays and Picture Cards give you two cards per shell. One is an x-ray to see the inner details of each shell while the other is a picture card to show the shell in reality. This kit presents great value as it does not solely have to be used with a light table… although it works well with our Light Cube!

IMG_9612

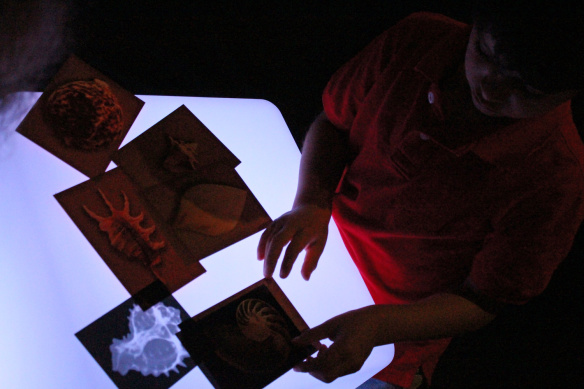
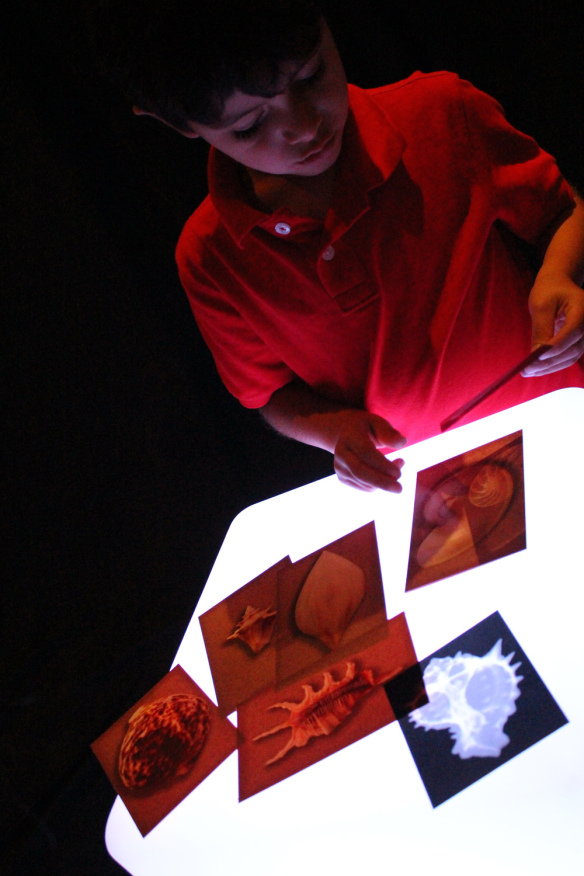
John placed the cards onto the table to see how the insides of the shells look like.

IMG_9613

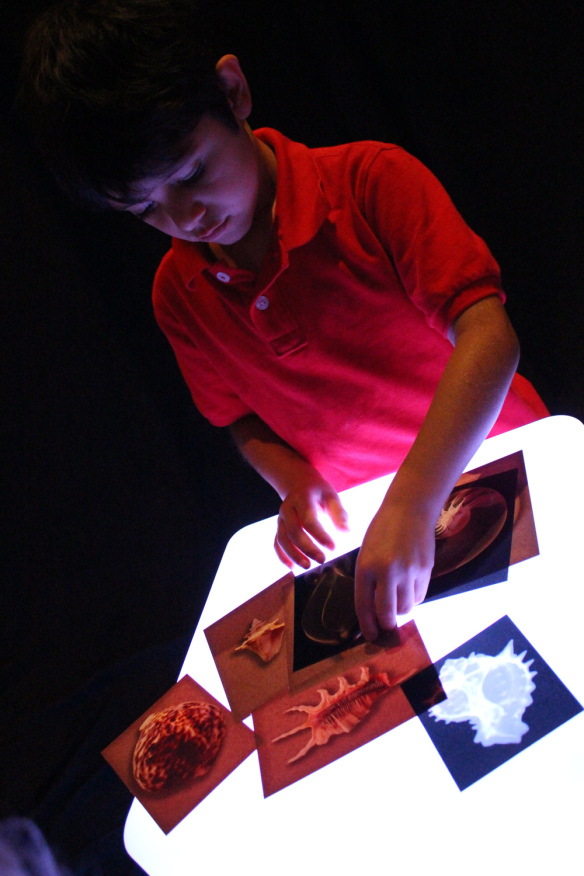
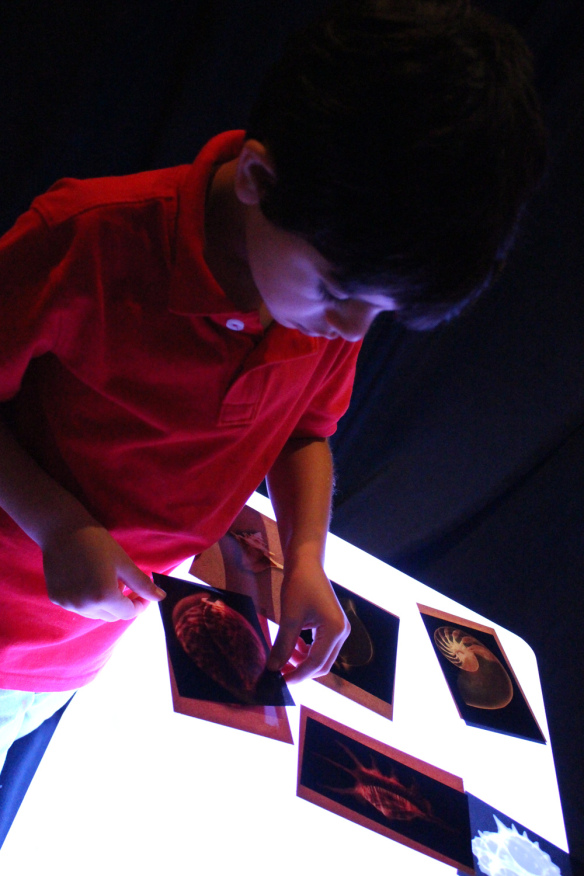
It was a nice exercise to compare and contrast the picture cards with their matching x-rays. We asked John to find the matching pairs, which was a good exercise in making connections with visual cues.

IMG_9614

Does that one fit? John used the guide provided with the picture cards to learn more about the type of shell in each card.

IMG_9622

There are 36 cards and x-rays in total and a detailed guide with information about each of the shells. It’s a great resource for enriching your science lessons!

Line-02

Like us on FacebookShare this post with your friends, or Subscribe to this blog today to receive original craft project updates every Monday, Wednesday and Thursday!
Light Cube: How to make a light show with clear colorful cups!

stacking color cups light cube

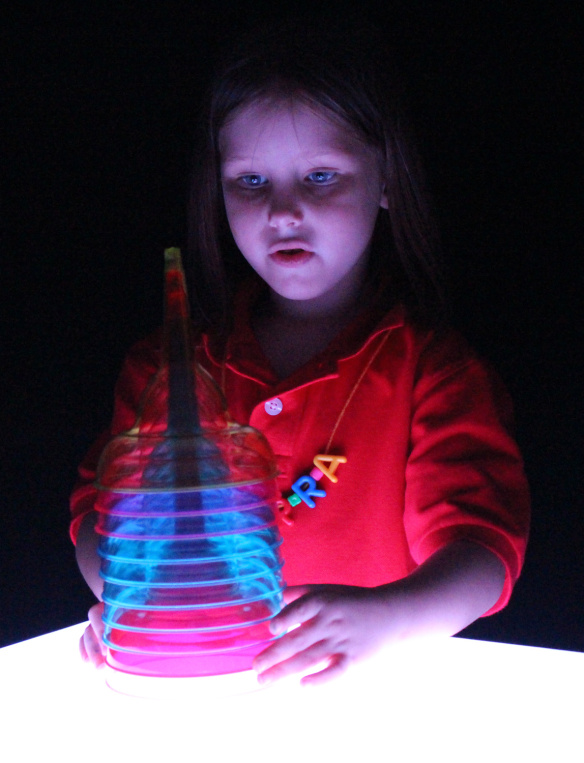
We’ve done a post on stacking colorful cups on top of the Light Cube. But what if you combined a variety of different colorful cups together in all shapes and sizes to create a beautiful sculpture… AND a light show?

stacking color cups light cube

Stacking multiple cups together will intensify their colors on the Light Cube. You can find these cups at your local dollar or department store. Look for discount camping or patio sets for the clear plastic kinds. The colors of the clear cups will show up more clearly on the Light Cube.

stacking color cups light cube

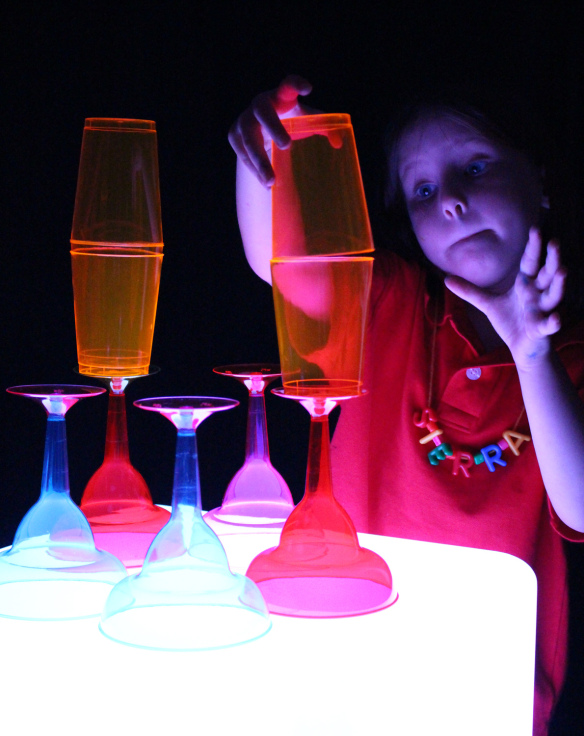
We asked our friend Sierra to take the cup piles apart and stack them to make a tall building.

stacking color cups light cube

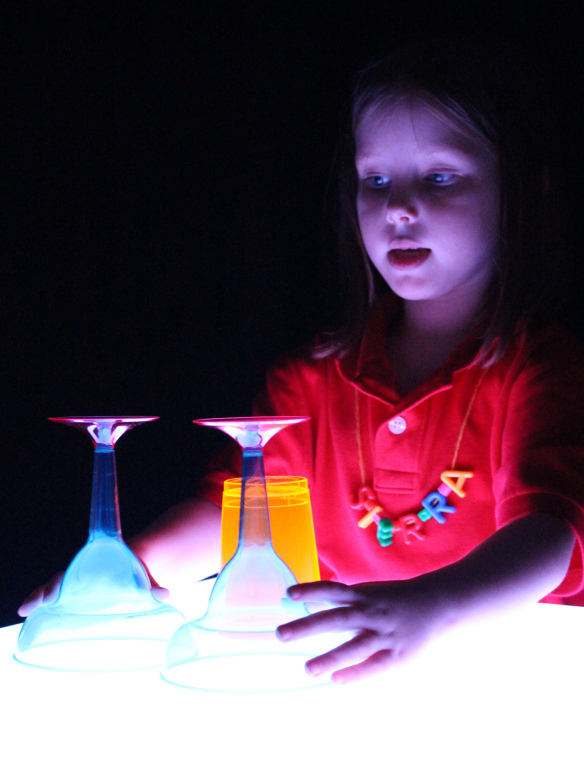
She found that by inverting the direction of the cups, she was able to build one on top of the other securely without it falling apart.

stacking color cups light cube

Look at how tall Sierra built the cups!

stacking color cups light cube

The next challenge was to take another set of cups and figure out a way to stack them upwards. The way we have these martini glasses stacked up–without the bases–make it impossible to build them into a tall tower.

stacking color cups light cube

Once we added the bases to the cups, Sierra was able to build them up without a problem.

stacking color cups light cube

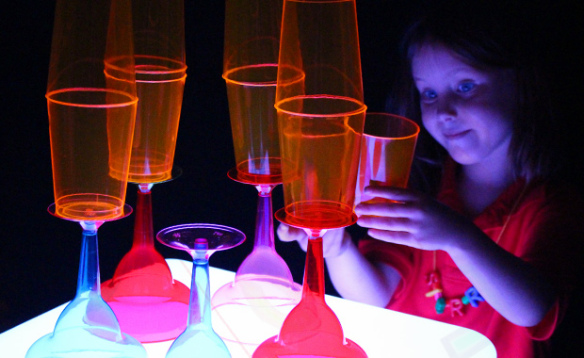
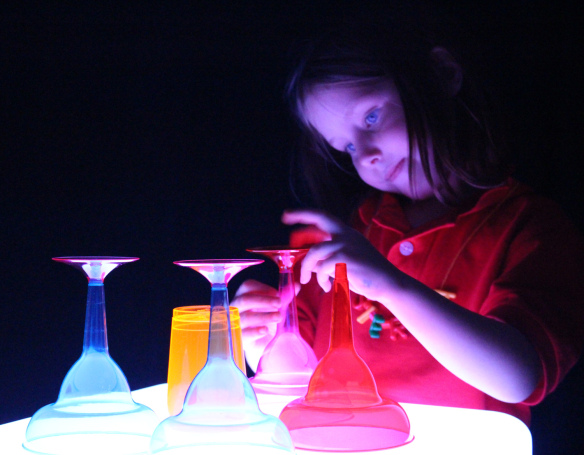
There’s more than enough space on the Light Cube to combine multiple cups together. Sierra got the idea to use the margarita glasses as the bases for her structure.

stacking color cups light cube

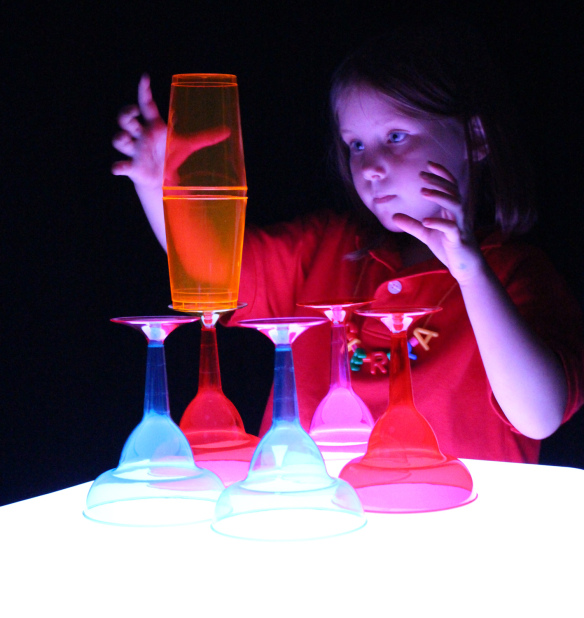
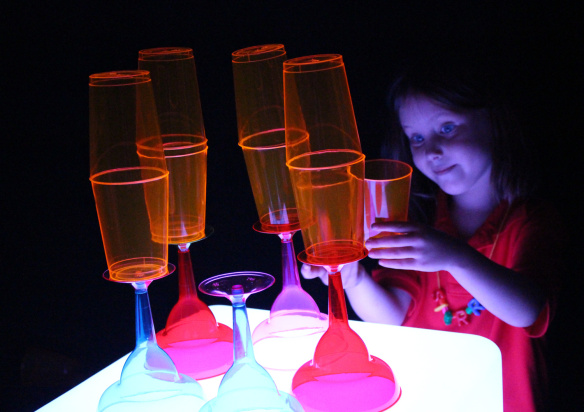
She used the regular cups and stacked them, inverted, onto the margarita glasses.

stacking color cups light cube

Look at that concentration! Sierra was so careful not to let anything lean or fall over.

stacking color cups light cube

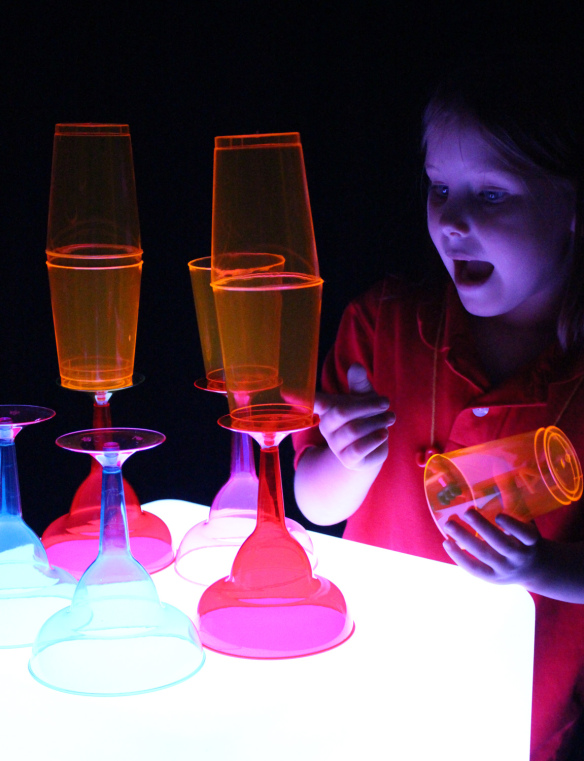
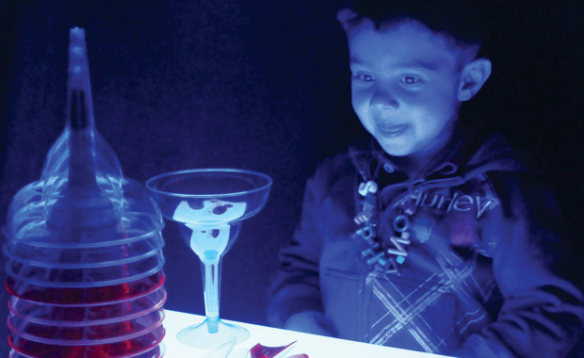
Sierra was amazed with the light effects. Look at how the blue stem of the margarita glass combines with the pinky red of the margarita glass behind it to make a purplish hue. This is just one example of how the Light Cube enhances the combinations of different materials, such as these cups!

stacking color cups light cube

This is the final structure that Sierra built! Isn’t it beautiful?

What kinds of structures can your students build on their light tables? 

Line-18

Like us on FacebookShare this post with your friends, or Subscribe to this blog today to receive original craft project updates every Monday, Wednesday and Thursday!
Light Cube: How to Make Math Interesting!

2015-03-15-FeatureImage

The Light Cube is a great medium for learning math lessons! Instead of the same old boring tabletop math activity, take it one step further with light-enhanced materials.

Everything looks better with light, that’s why we’ve made our math lessons extra-special on the Light Cube!

IMG_9549

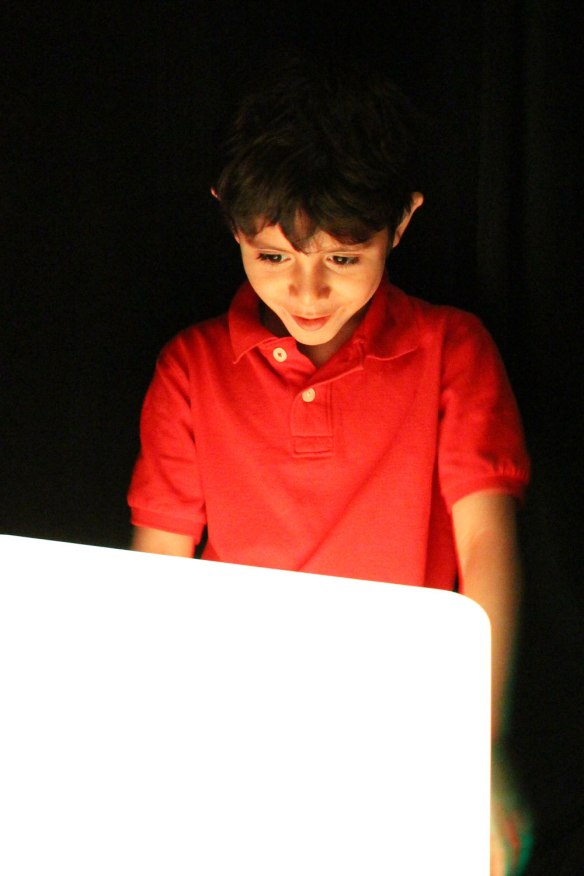
We brought an older student, John, in to see the Light Cube for the first time. Before turning it on, however, we told him that he would be going through some math exercises. John immediately looked at us like he didn’t want to have anything to do with math! But as soon as we turned the Light Cube on, his expression completely changed, and we grabbed a great photo of his reaction!

IMG_9575

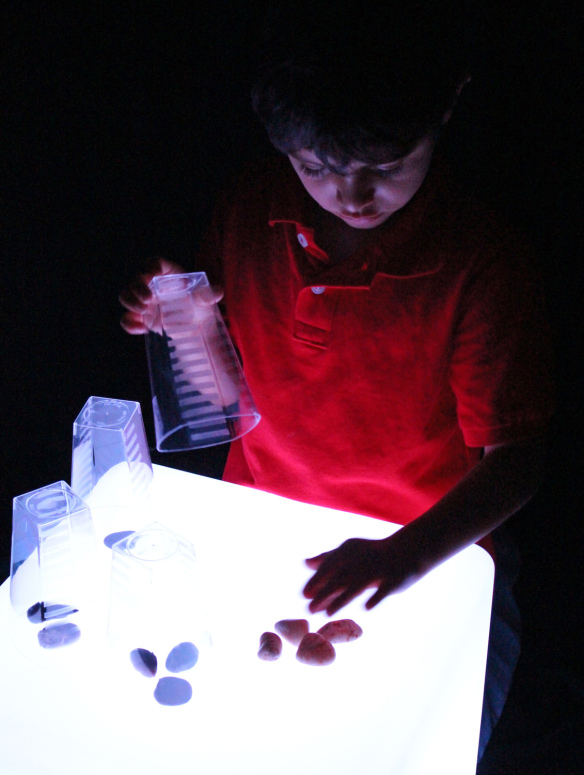
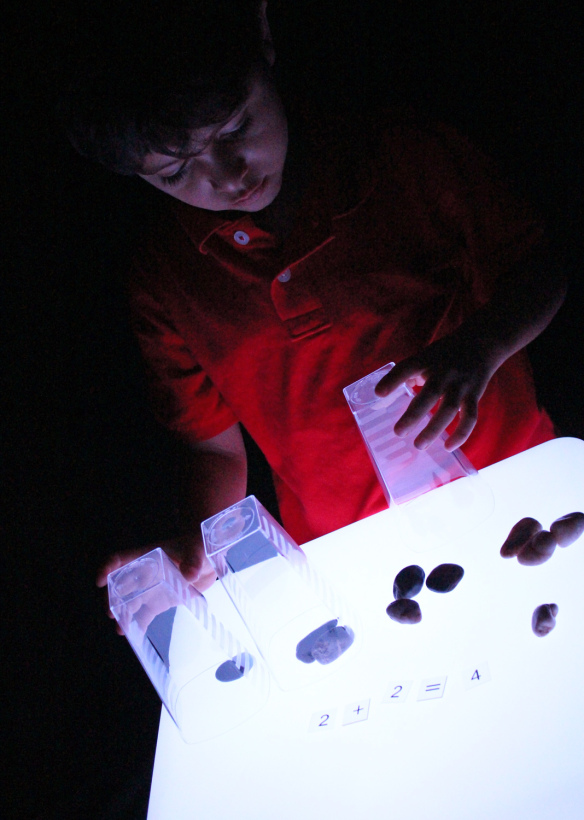
So, we got started! We placed a few clear color cups and garden rocks we picked up at the Dollar Store onto the Light Cube. John was entranced by the way the light shone through the clear cups, but the rocks completely blocked out the light, meaning that they are opaque. It was great to talk about the differences between items, to learn about transparent or semi-transparent versus opaque objects… and a great boost to children’s vocabulary!

IMG_9601

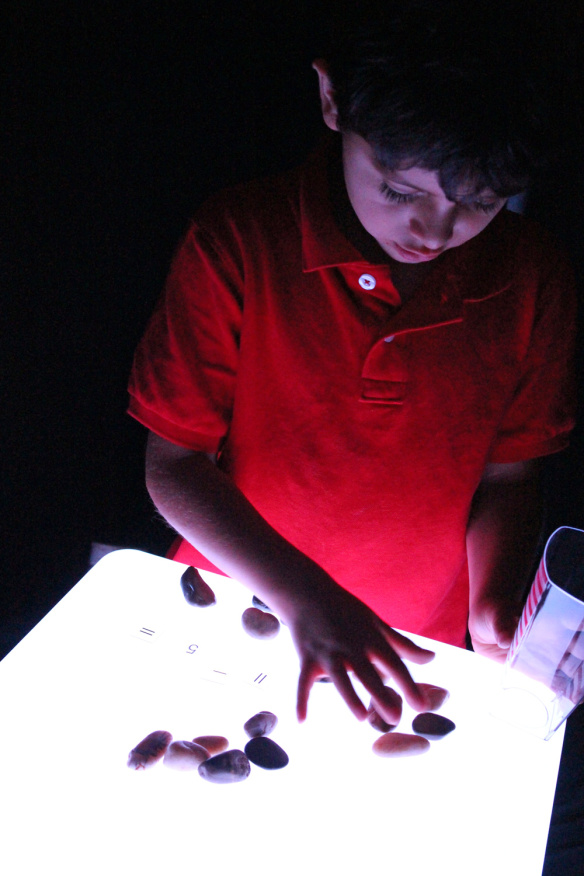
We placed clear numbers and operations onto the table. Above, we organized the number sentence to say 11 – 5 = ? We asked John to take 11 garden stones, then remove 5 from the main pile to a separate pile and count the remainder.

IMG_9590

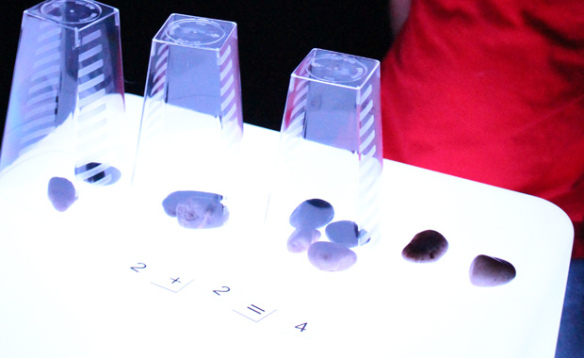
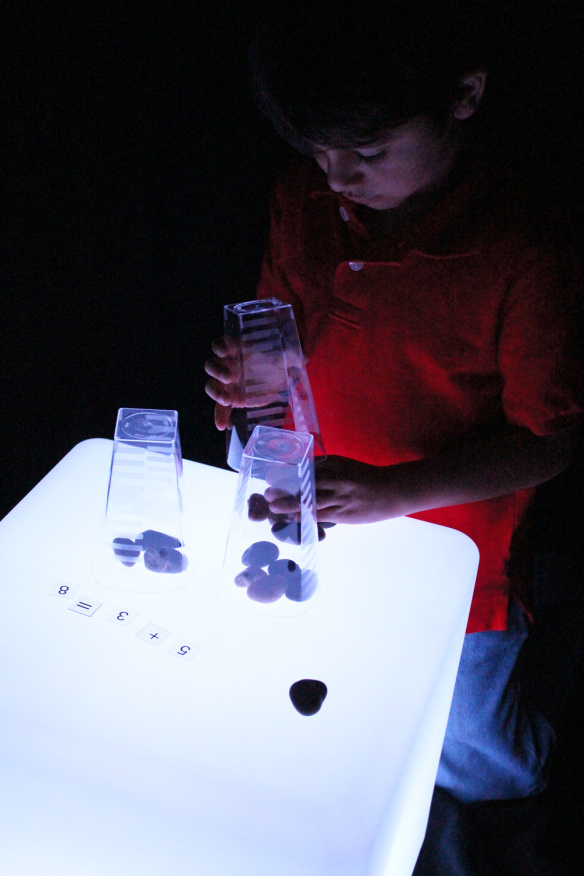
To complicate the activity a little bit, we decided to incorporate the clear color cups. We separated the stones into 4 piles, starting with 1 stone in the first pile, 2 stones in the second pile and so on. John secured each of the piles separately by placing the clear color cups on top.

IMG_9595

Once we posed a number sentence to John, he immediately redistributed the stones inside each cup to match the given numbers. He compiled the final amount of stones into a single cup. We counted and found his answer to be correct: the number 8!

IMG_9585

What’s the answer to this one? By this point, it was pretty easy for John to figure out. We had a lot more fun than we’d thought learning math on the Light Cube… because it puts things in a whole new light!

Line-10

Like us on FacebookShare this post with your friends, or Subscribe to this blog today to receive original craft project updates every Monday, Wednesday and Thursday!
Educational Light Cube: Sorting Manipulatives

2014-11-27-FeatureImage

Getting students to sort manipulatives is a double-duty task. While they sort and differentiate between the objects in front of them, students get to exercise their fine motor skills, too!


On the R59601 Educational Light Cube, sorting gets so much more fun to do! Turn on the fading function of the Light Cube to gradually cycle through colors. This produces a calming effect on students, getting them to slow down and focus on their task.

IMG_9559

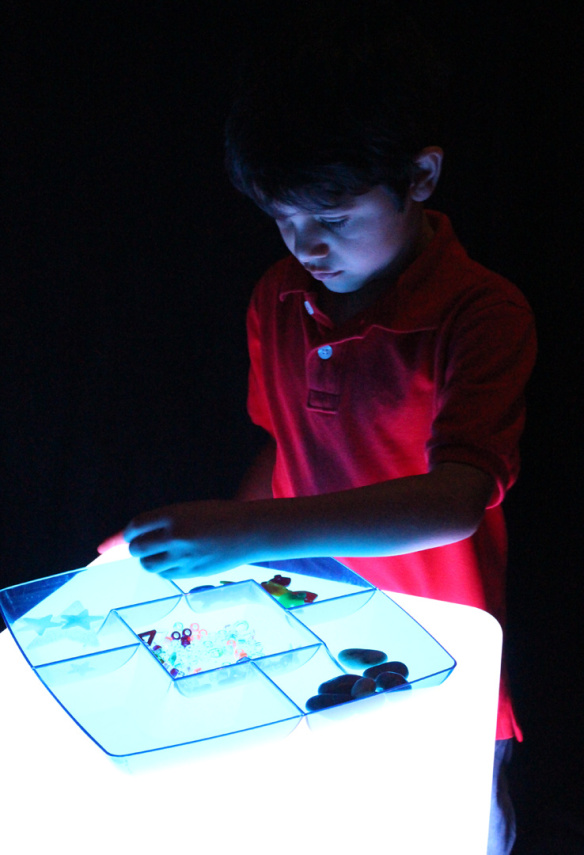
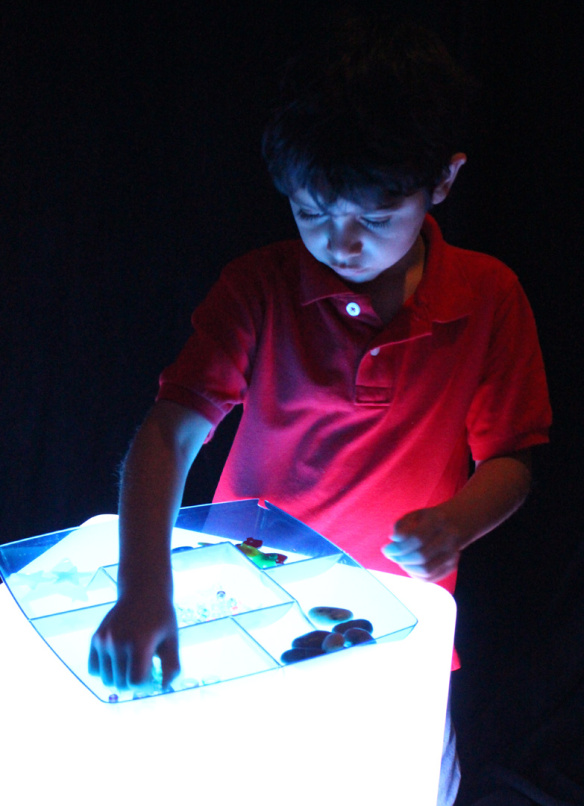
Our first step was to find a snack platter at the dollar store. Use the snack platter to encourage proficiency in identifying like and unlike objects. Gather a variety of different types of manipulatives. We suggest using items such as buttons (R2131 Bright Buttons), letters or numbers beads (R2185 Math Beads and R2184 Manuscript Letter Beads), mosaics (R15367 Heart Mosaics) and more! Place all the manipulatives in the center of the snack platter.

IMG_9561

Ask students to sort through all the different manipulatives and pick out similar ones. Place similar items in one of the snack platter dividers. Repeat for all other items in the snack platter.

IMG_9562

If you cycle through the colors more rapidly on the Light Cube, it challenges students to notice the differences between objects that are transparent versus those that are opaque.

IMG_9566

It’s a great exercise that students will love to try!

More curriculum-based activities on the Light Cube:

Use readily-available materials for counting and sorting

• Build stacking abilities with dollar store party cups

• Find out just how sturdy the Light Cube is!

Share your stories about the Light Cube! What activities do your students use the Light Cube for?

Line-20

Like us on FacebookShare this post with your friends, or Subscribe to this blog today to receive original craft project updates every Monday, Wednesday and Friday!
Educational Light Cube: Stacking Colorful Cups


2014-10-09-FeatureImage

View the dazzling effects of color-changing light on the cube with dollar store variety cups and plastic drinking glasses! Develop fine motor skills through arrangements of stackable cups… see more of this exercise below!


IMG_9337

To start the activity, we first turned on the Light Cube to the ‘white’ setting. Next, we placed a stack of clear-color plastic cups we found at the dollar store on top of the cube. The white brings out the brightness of the clear colors and allows kids to see what inside of the various cups look like when they’re stacked together.


IMG_9338

We next asked our art camper Stephano to take the structure apart. He wanted to see how the individual pieces looked like. Without the bases, these regular dollar variety martini glasses appear quite unique!


IMG_9340

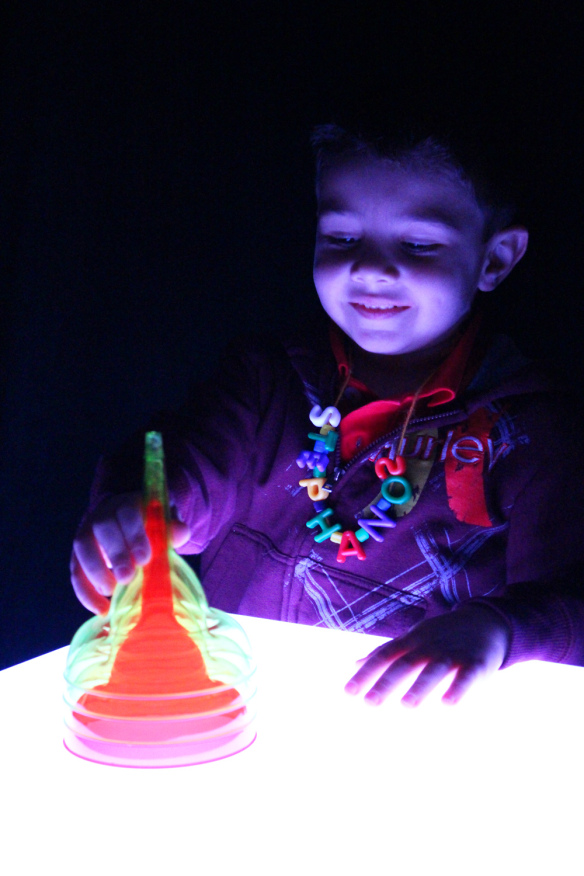
How about we add some more to the mix? Here’s a good look at what happens when you stack multiple cups of the same color together–the colors become extremely saturated, meaning that they are intensified.


IMG_9343

Now let’s add another level of complication to our structure with the bases for the cups.


IMG_9361

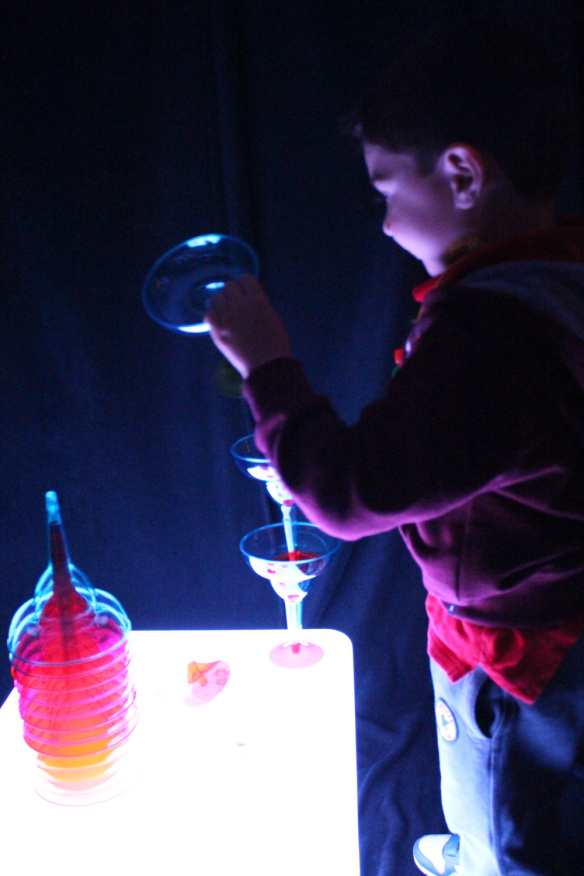
Stephano decided to structure the martini glasses in a way that they could easily be stacked together with the bases intact. He decided to place them standing on top of the inside of each cup.


IMG_9362

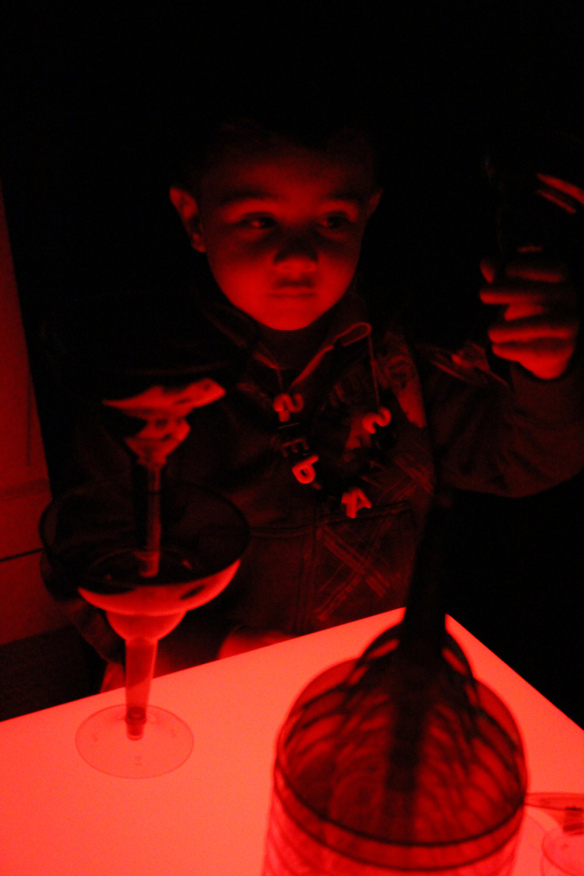
Next, we amplified the colors of the glasses by changing the cube’s color to red. This created a stark glow throughout the room and helped Stephano focus directly on stacking rather than the colors of the cups.


IMG_9364

Once we turned the cube’s color back to white, we got to see how Stephano had randomly chosen differently-colored cups to stack together. Reflecting back on the activity, Stephano noticed that he wasn’t so worried about which colors he used while he was stacking. Instead he could focus directly on stacking the cups together, and then afterwards enjoyed the surprise when he got to see what combinations of colors he used!


Line-12

Like us on FacebookShare this post with your friends, or Subscribe to this blog today to receive original craft project updates every Monday, Wednesday and Friday!