Posts Tagged ‘all about me’
All About Me Dolls – A Fun and Sustainable Way to Celebrate Individuality!
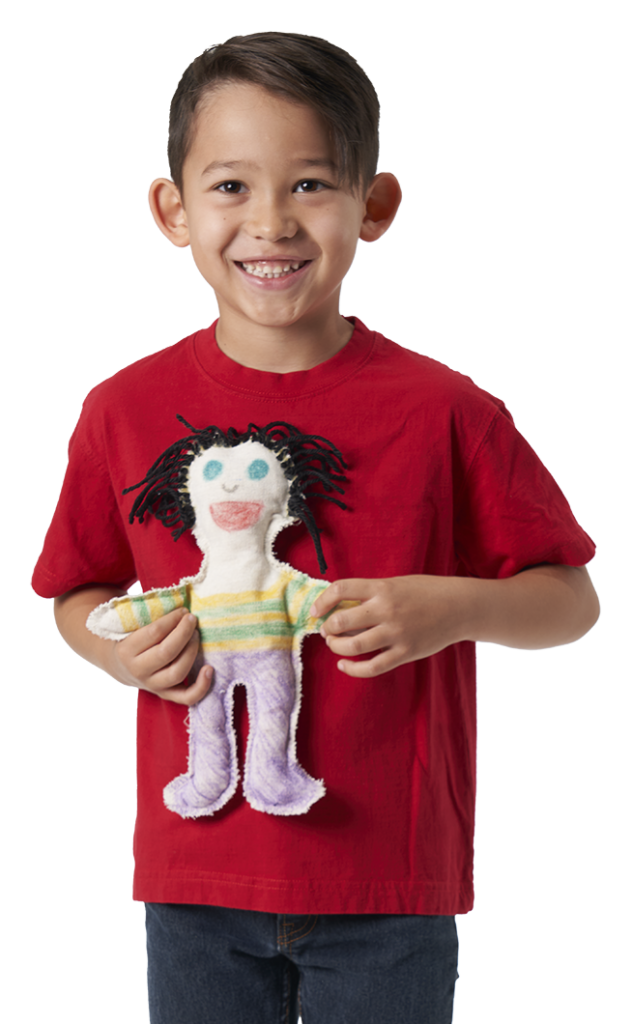
Introducing All About Me Dolls! These unique, eco-friendly dolls encourage children to explore their individuality while learning about sustainability. Perfect for classrooms, homeschoolers, and parents, these dolls provide a hands-on way to celebrate self-expression and creativity. Why Use All About Me Dolls? All About Me Dolls are more than just an art project—they offer a…
Read MoreSpotlight On: Stand-Up People
Create cute, miniature people who can stand on their own two feet! These sturdy card stock figures are terrific for a multitude of different art projects and as components in presentations for other subjects. Use paint, marker, crayon, pencil crayon and collage materials to decorate your stand-up person. The large size (7 1/4 x 11…
Read MorePersonalized Portfolios
Get kids excited for an artful school year with this useful back-to-school craft! Every child needs a portfolio to keep their exceptional art and school work in. Get to know your students by having them personalize their portfolio! Age: 4+ Duration: 5-10 Minutes Learning Outcomes: Practice names, exercise fine motor skills, and encourage adding art to everyday…
Read MoreAction Shapes
These poseable, personalized action figures are great for setting up easy puppet theatre-style plays or making a stop motion animation movie! Learn more below! Each Action Shape comes in separate parts laid onto sheets. Before popping out all the pieces, ask … Continue reading ![]()
Stand Up Self Portrait Craft for Kids: All About Me Activity | Roylco

This week’s Craft Spotlight features our Stand Up Self Portraits! Are you gearing up for Parent-Teacher night? Or are you in need of a project that children can use to introduce themselves to each other? Perfect for “All About Me” crafts, Stand Up Self Portraits encourage children to explore self-expression and self-representation! Stand Up Self…
Read More