Sensory Collage Easter Egg Art Project

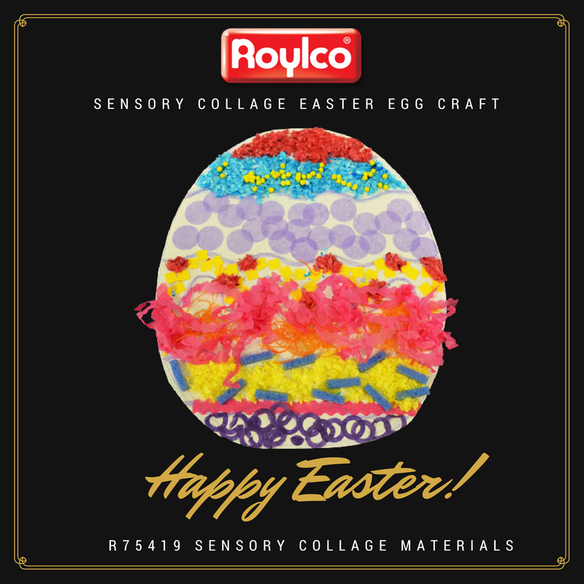
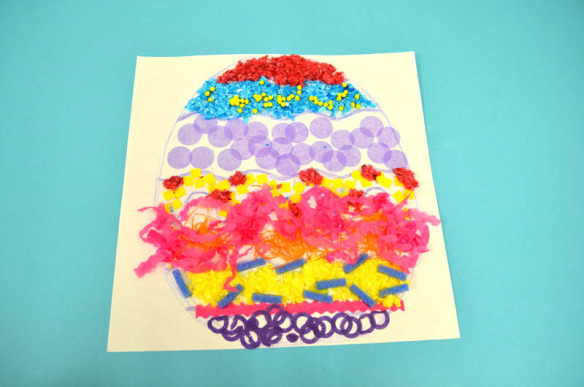
Are you looking for Easter egg ideas? The sensory collage Easter egg art project is great for your classroom activities. It introduces children to the important senses of the human body with Roylco’s Sensory Collage Kit. It’s also great for working on fine motor skills.

Age: 5+

Duration: 15 minutes

Learning Outcomes: Exercise fine motor skills. Practice sorting materials by color and texture. Learn about collage art. Develop sensory awareness.

You’ll Need: 

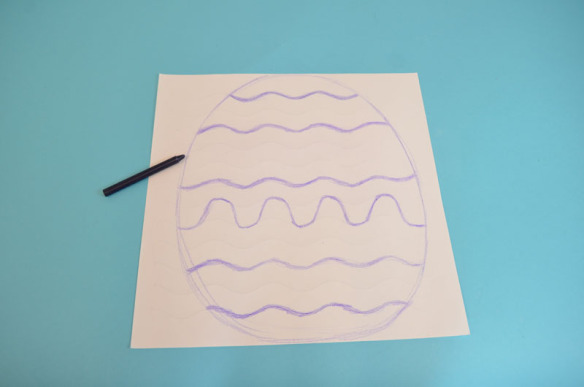
Pull out a wavy sheet from the R15413 Sensory Paper package, choose your favorite pastel color, and draw an outline of an egg. Encourage kids to slowly move their palms and fingertips over the paper to feel the small raised patterns. Some kids may want to follow the patterns on the paper to create their designs, while others may want to create their own designs. You can color the wavy lines on the paper and it will divide the egg into different sections. You can make these lines as bold as you like.

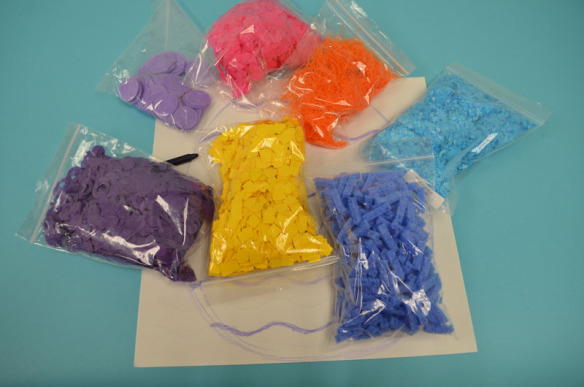
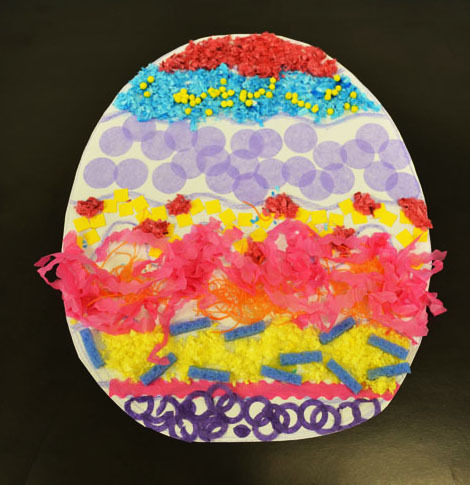
Next, plan and place the sensory art materials you like on your egg. The Sensory Collage Kit contains 20 different sensory art packs to use in creating unique illustrations.

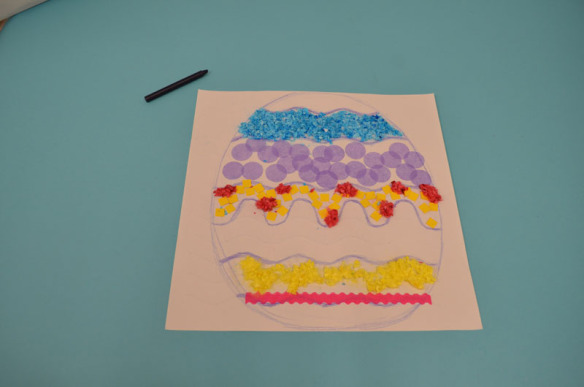
Before gluing the sensory art materials onto the artwork, you can play with the colors and the different textures. Think about which sensory art materials would best represent your Easter egg artwork.

Encourage children to talk about the color and the texture they use on the artwork and discuss what they feel. Is the color a warm color or a cool color? Is the material rough, hard, scratchy, smooth or bubbly? After exploring the materials, children can start to glue the sensory materials onto the artwork.

The artwork is almost finished. Have the children cut out the egg and glue it on to the  cardstock. Here is our sensory collage Easter egg artwork. Write your name on the artwork and take it home for your Easter celebration!
For more information please visit https://roylcostore.com/products/sensory-collage-kit 


Bundle Savings

Get all the Roylco items used
in this project and save 15%!

$47.58 USD
bundled price
Add Bundle
to Cart


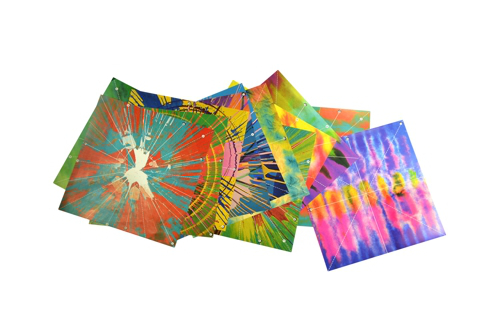
Color Diffusing Easter Egg Artwork

Make beautiful color diffusing Easter Egg Artwork by using Roylco’s R15213 Color Diffusing Paper™!

Age: 3+

Duration: 5 minutes for painting and assembling, couple of hour for drying.

Learning Objectives: Use fine motor skills to squeeze paint from pipettes onto paper. Learn about the process of diffusion with beautiful Color Diffusing™ technology.

You’ll Need:

• R15213 Color Diffusing Paper™

• R54470 Junior Heart Paint Pipettes

• Watercolor paint

• Paint tray

• A Cup of water

• Cardstock

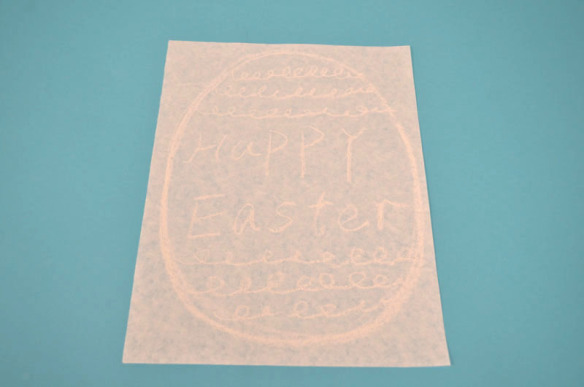
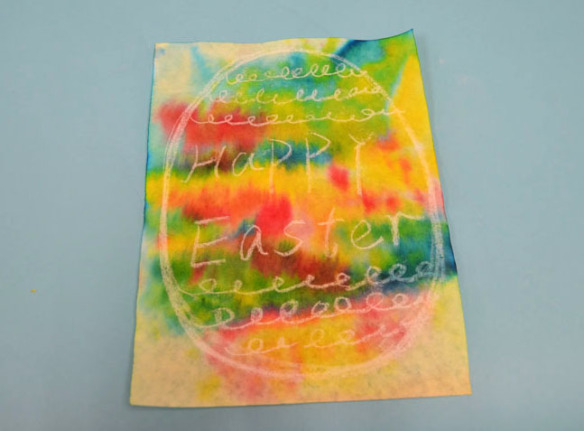
Use white chalk to draw an outline of an egg on to Roylco’s R15213 Color Diffusing Paper™ . Then create some patterns to design your egg. I also wrote ” Happy Easter” in the middle of the egg. Encourage children to use their imagination to create their own designs.  

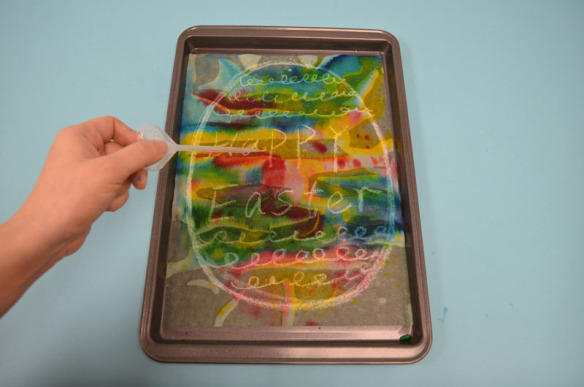
Next, place the paper in the paint tray. Wet the R15213 Color Diffusing Paper™, and use Roylco’s R54470 Junior Heart Paint Pipettes to drip liquid watercolor paint over top of the wet surface. Encourage children to experiment with different color palettes. It’s lots of fun for children to play with different colors and watch the colors flow and blend to create spectacular patterns and effects.. This is a great time for children to learn about color mixing, ask the children to discuss the effects of color mixing.

Let the artwork dry in the paint tray for couple of hours.  You can also use a blow dryer to dry the artwork. You can see the result is unexpected and beautiful.

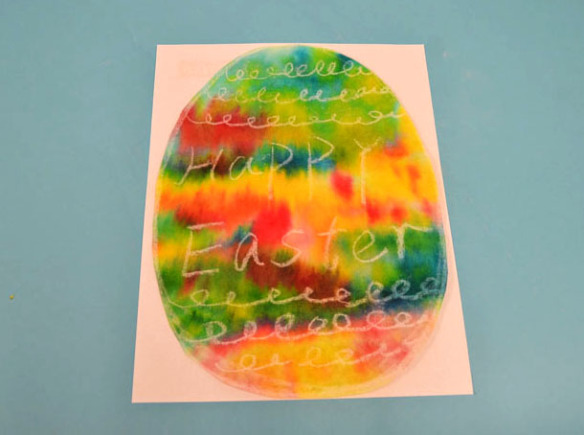
The color diffusing Easter egg artwork is almost ready. Once the paint is dry, you can cut the egg out and glue it on to the cardstock.

For more information please visit https://roylcostore.com/products/color-diffusing-paper-9×12

Bundle Savings

Get all the Roylco items used
in this project and save 15%!

$15.62 USD
bundled price
Add Bundle
to Cart

A Pot Of Gold for St. Patrick’s Day

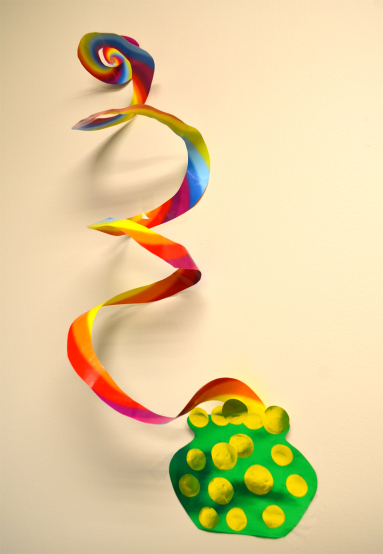
Are you looking for craft ideas for St. Patrick’s Day? Create some decorations to make the house and classroom more festive. Lets make a spiral rainbow and pot of gold.

Age: 4+

Duration: 5 minutes

Learning Outcomes: Exercise fine motor skills. holiday activities. Makes a perfect take-home craft.

You’ll Need:

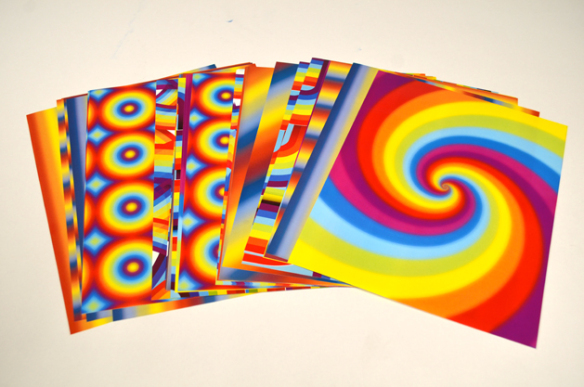
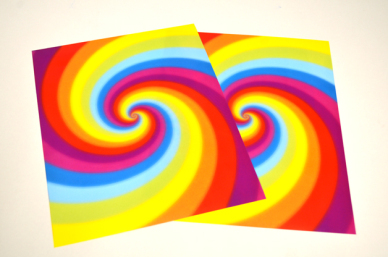
Choose your favorite pattern from Roylco’s R15295 Rainbow Paper Pack.

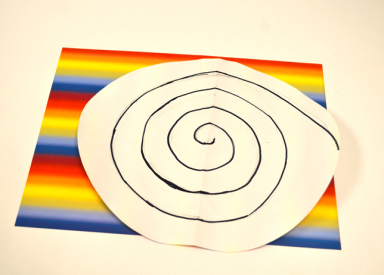
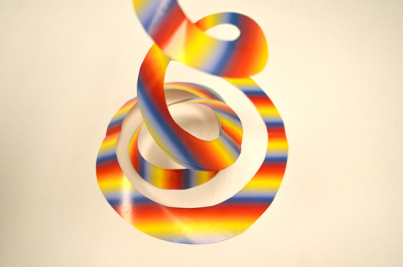
Draw a spiral at the back of the paper.

You can also glue two pieces of rainbow paper together to create a double-sided sprital.


Use scissors to cut from the end of the outline toward the center to make a spiral.


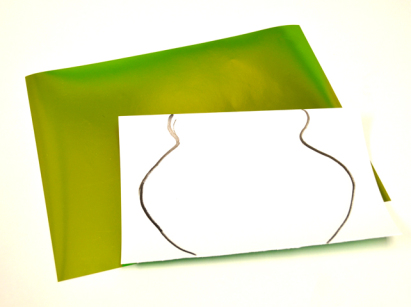
Take two pieces of metallic paper from Roylco’s R15409 Economy Metallic Paper Pack.

I choose dark green paper to make the pot, and the gold colored paper for the golden coins. Draw the shape of a pot at the back of the green paper, and cut it out. Make the coins by cutting out some circle shapes from the gold paper. Then glue the golden coins on to the green pot.

After you finish making a pot of gold, you can glue it to the end of the rainbow.  Once complete, hang from ceilings, on bulletin boards or anywhere that could use some extra color.


You are the pot of gold at the end of my rainbow!

Bundle Savings

Get all the Roylco items used
in this project and save 15%!

$19.19 USD
bundled price
Add Bundle
to Cart

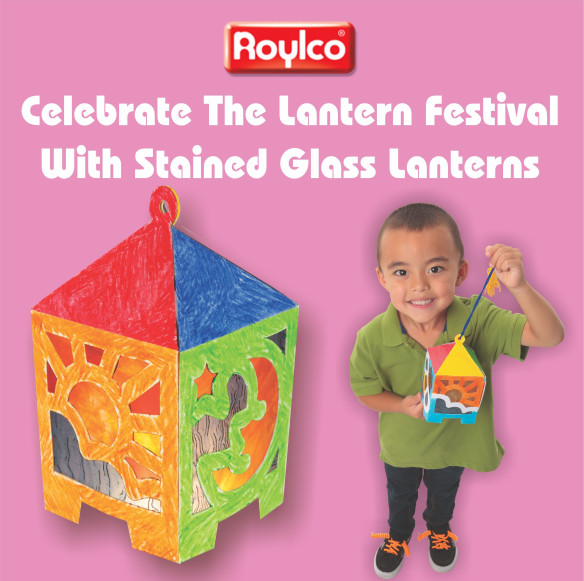
Celebrate The Lantern Festival with Stained Glass Lanterns

Create luminous lanterns to string up in your classroom or send home as great gifts! The 3D lanterns are cleverly designed to make assembly easy for little hands. Lanterns are a wonderful example of a cultural and historical artifact that you can discuss
in your next social studies class.

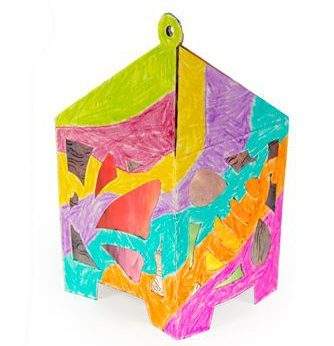
Our stained glass lanterns look a lot like the Andon and Crystal Magic lanterns used in Japan and China, respectively. Your students can be creative and can color in the lanterns any way they like. Adding stained glass to a lantern is a recent trend of turning a practical or useful lamp into a pretty and decorative piece of art.

Age: 4+

Duration: 10 -13 minutes

Learning Outcomes: • Develop fine motor skills • Explore creativity
• Discover lantern and stained glass history   • Use basic design techniques to develop ideas • Learn about Chinese and Japanese lanterns • Combine social studies with arts and crafts  • Use multiple media to create a multi-use craft

You’ll Need:

  1. Each of the lanterns features 4 sky-themed designs. Each design is made to look like a stained glass window. The illustrations include a sun, moon, butterfly and bee. Cut out sections of colored tissue paper or R15275 Stained Glass Paper to glue under the designs.
  2. You can use different colors for parts of one illustration. For instance, paste white tissue paper pieces over the bee’s wings. Alternate and paste yellow and black tissue paper pieces across the separate sections of the bee’s body.
  3. Fold in the lantern along the pre-scored creases to make the lantern three dimensional.
  4. You’ll notice that its side edges are slightly smaller than the rest of the tab. These side tabs will help hook the tab in place when you insert it into the slot. Gently open the slot to loosen it up. Insert the tab into the slot by edging in first one side of the tab then the other.
  5. Finally, fold in all four tabs on the sides of the triangular roof flaps.
  6. Pass a length of fishing line, yarn or string through the holes of all four
    roof tabs and tie a knot at the top to secure.

Now you can hang your lantern along a length of string with other lanterns in sequence or you can hang the lantern directly from the ceiling.

Celebrate Chinese New Year or the start of spring by stringing up the lanterns. You can also send the beautiful lanterns home as Mother’s Day gifts or for any other special event.

Please visit https://roylco.com/shop/r52093-stained-glass-lantern/ for more information.

Bundle Savings

Get all the Roylco items used
in this project and save 15%!

$16.64 USD
bundled price
Add Bundle
to Cart

Spotlight On: Super Simple Kirigami

child with snowflake.jpg

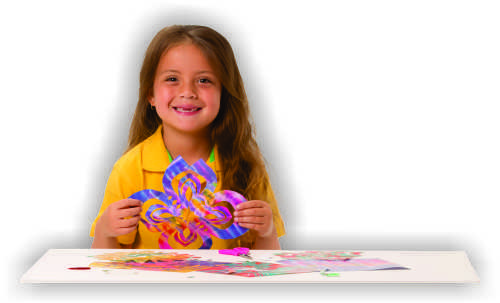
Immerse your students in the Japanese art of Kirigami! 

Kirigami is a variation on the Japanese art of origami. Unlike origami, however, the folding is not the end product for kirigami. Cuts are made in the paper, and then the sheet is unfolded to reveal the cut-paper artwork!

15218 Kirigami_Pile.jpg

Our kirigami sheets are printed with numbered lines for three different folds. Choose a sheet of kirigami paper. Lay the sheet of paper on a desk or table. First fold the paper in half on line 1. The paper should now be a triangle with the point facing away from you. All the fold styles begin this way. Fold on line 2 from right to left. Fold on line 3 from left to right. This is the final fold for the Triangle style fold. For the other two styles, fold on line 4 from right to left. This is the final fold for the Snowflake style fold. Finally, the final fold of the Lotus style is to fold on line 5 from left to right. Once you have folded your paper, cut out your design. Use our suggestions or experiment with your own!

We created a video to walk you through the folding and cutting process!

Line-17

Like us on FacebookShare this post with your friends, or Subscribe to this blog today to receive original craft project updates every week!


NAEYC 2015 – A Great Turnout!

naeyc 2015

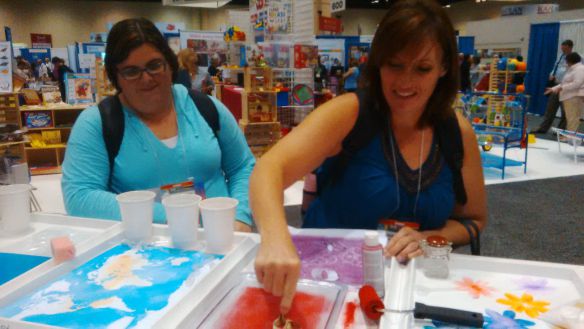
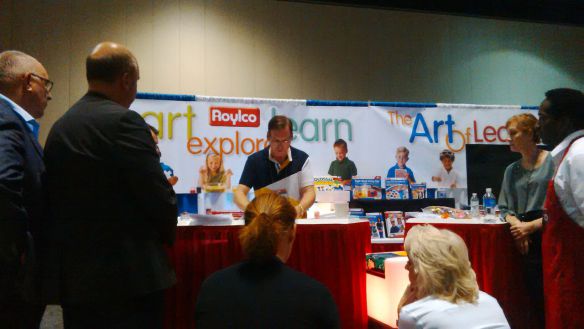
This year, the creative folks at Roylco returned to the Annual NAEYC Conference, which was being held in sunny Orlando, Florida! Check out some of our favorite moments captured on our cameras!

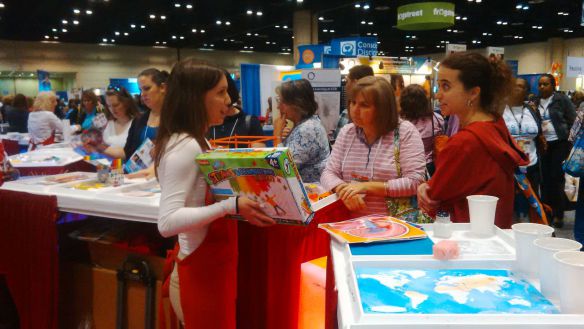
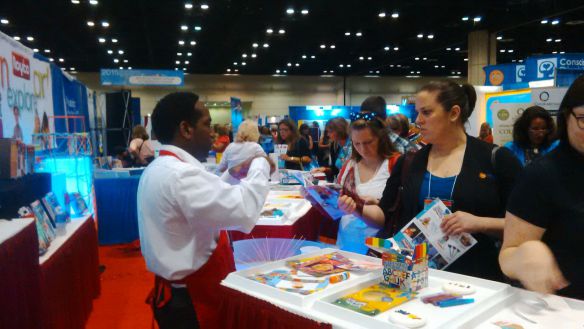
Every year, the National Association for the Education of Young Children hosts a large space for companies who specialize in art education (like us!) to showcase their materials and talk one-on-one with the teachers. We had a prime location nearby the entrance to the hall, and welcomed hundreds of visitors!

naeyc2015

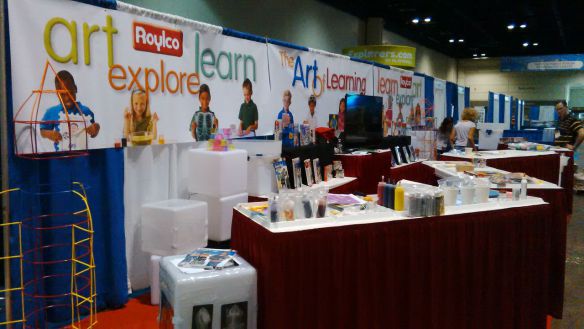
Our booth featured a fantastic array of our products, with 4 tables zig-zagging across the front. This allowed us to demo some of the products to our teacher friends while encouraging a flow of traffic through our booth.

naeyc 2015

We showed off some of our new products too! Look out for some of the following great products coming out next year at your local educational retailers:

R60705 Neon Straws and Connectors

R54490 Chromatography Kit

R48236 Junior Fun Faces Mix and Match Rubbing Plates

R59270 My Body in Action Cards

R49143 All About Me Book

naeyc 2015

We had great fun talking about our published ebooks as well (soon to be available on our website!), including The Art of LearningThe Art of EngineeringThe Human Body: Inside & OutLight Table Magic and Learn Math… Without Knowing It! Each e-book is a gigantic resource for teachers, featuring over 50 ideas for implementing art-based learning through various subjects. The focus is on FUN learning, meaning that we don’t provide any worksheets or practice lessons that students need to learn. Instead, we focus on building quality experiences within the classroom, using those experiences as a strong foundation, and strengthening those experiences with further tie-ins.

naeyc 2015

We love our teachers and strive to make the difference with all our products! Email us at info [at] roylco [dot] com for more information about our 2016 products and e-books!

Line-05

Like us on FacebookShare this post with your friends, or Subscribe to this blog today to receive original craft project updates every week!

Jeanene from Earth Boys uses our Stained Glass images!

IMG_688732

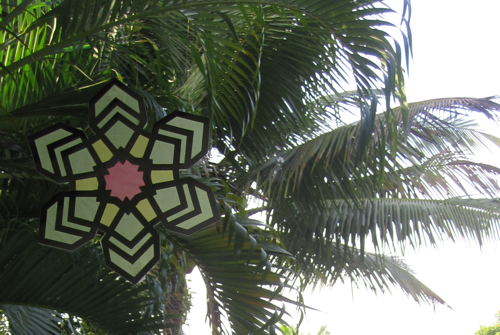
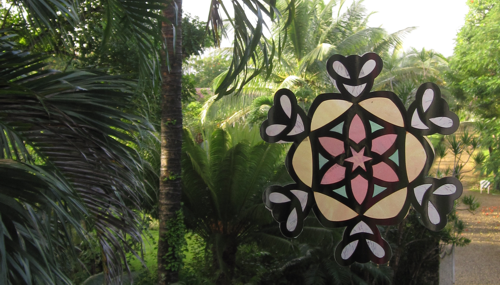
Jeanene from Earthboys posted a great feature on her blog about holiday crafts. One of the crafts featured was our R52085 Snowflake Stained Glass Frames! 

Jeanene’s post can be found at her site Earthboys and is entitled, “Handmade Holidays, Yarn Along — Angels and Fairies.” Her post was made on December 11, 2010.

IMG_688732fs

Jeanene’s photos show a beautiful backdrop of the lovely palm trees in her family’s yard. What a beautiful contrast! The colorful snowflake seems to “fit in” with the bright green and golds of the tropical forest.

IMG_688732fssd

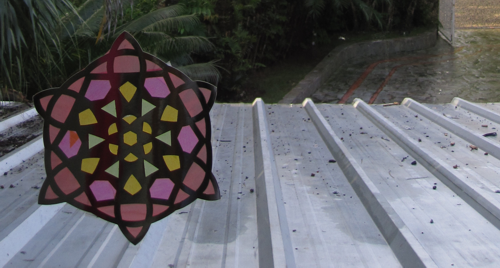
Beautiful work! Jeanene’s boys helped to cut out each of the individual pieces and glue them to the sections of the stained glass design.

When hung from the window, the sunlight can beam through the colorful snowflakes to illuminate the paper.

Thanks to Jeanene for this illuminating post!

Images and original post © Earthboys.

This post was not sponsored for a review. At LittleFingersBigArt, our mission is to present to our readers and viewers the newest and most creative craft ideas that fans of Roylco have made on their own. Our goal is to allow you and other educators and parents to reuse our products in fun ways so that children always get the best educational experience from them!

We’d love to see more ideas like this one! If you’ve got a brilliant craft idea or have made a version of one of our crafts that you would like to share with us, send an email to subscriber@roylco.ca with photos, descriptions or a link to your work. We will create a feature post and link back to you with full credit. We’d love to hear from you!

Line-09

Feely Bag Find-It Letters

Feature-Image-eyespygame

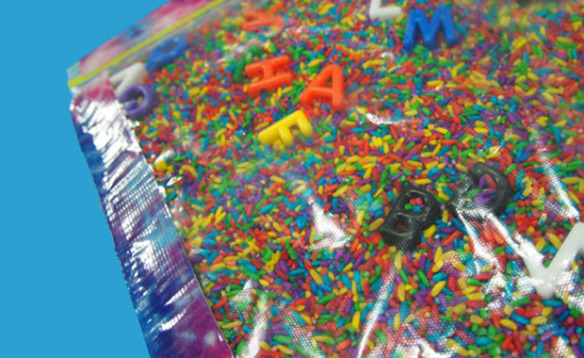
Can you find all the letters of the alphabet? Check out our tutorial below for an easy-to-make game students will love playing with during rainy days! This project uses our R2184 Manuscript Letter Beads which help students feel for the shape of each letter as they search for them! 

Age: 4-7

Duration: 15 minutes

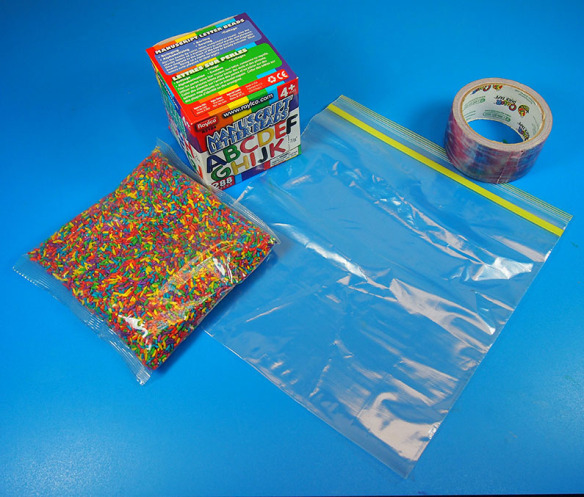
You’ll Need:

• R2184 Manuscript Letter Beads

• R2114 Colored Rice

• Ziploc® bag

• Tuck tape or duct tape

Line-12

The objective of the Feely Bag Find-It game is to locate and find all the letters or numbers placed into the bag using touch. Students can “feel” and look for various kinds of letters or numbers, for example, letters that are vowels, consonants, uppercase or lowercase. These different rules help students reinforce different linguistic concepts while playing with the Feely Find It Bags!

OLYMPUS DIGITAL CAMERA

This is a pretty easy project that most young students can help out with. You can make multiple kinds of Feely Bags–for uppercase and lowercase letters, numbers or even miniature action figures! Note: Be careful when handling Colored Rice as it can spill everywhere if not properly siphoned into the bags. Use a measuring cup or spoon to transfer the Colored Rice from its container to the Feely Bag.

OLYMPUS DIGITAL CAMERA

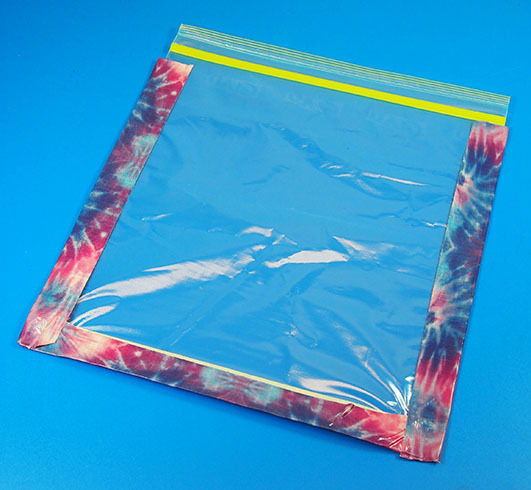
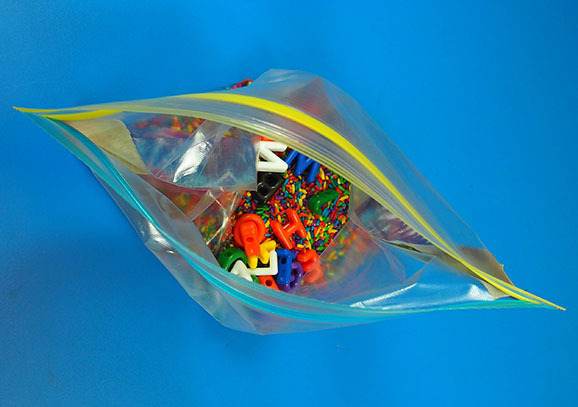
First seal up all three sides of the Ziploc® bag with colorful or decorative duct tape. This helps to ensure that the Colored Rice won’t seep out in case there is a rip in any of the edges.

OLYMPUS DIGITAL CAMERA

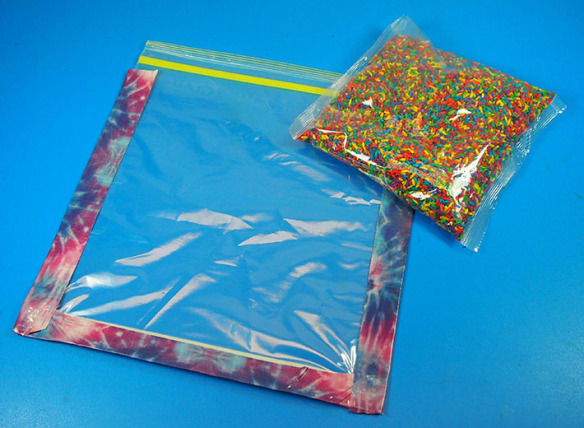
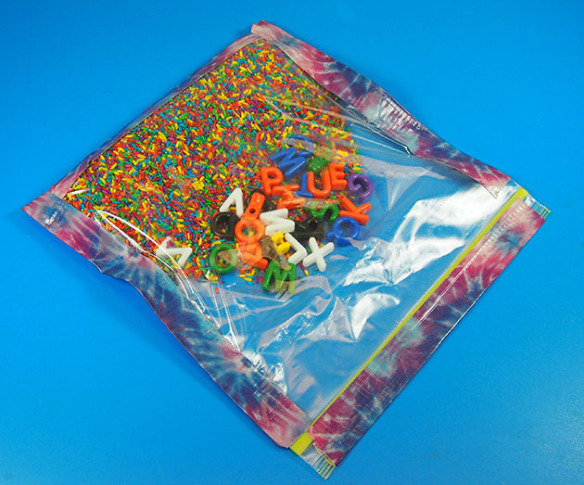
Fill the Ziploc® bag with the Colored Rice.

OLYMPUS DIGITAL CAMERA

Next, place in the Manuscript Letter Beads or Math Beads.

OLYMPUS DIGITAL CAMERA

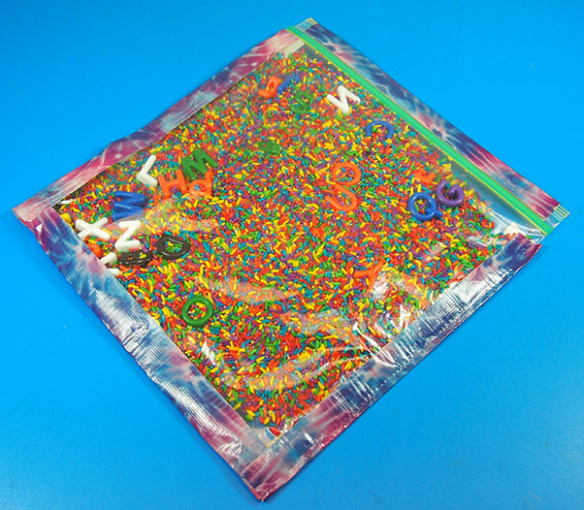
Close the opening in the Ziploc® bag and seal with another strip of duct tape. Note: Gently press out all of the air from the bag through the opening before closing it up.

OLYMPUS DIGITAL CAMERA

Shake the bag to mix all the contents together and hide all the visible beads in the mass of Colored Rice.

Give students a time frame to find all their beads or have students sit in a circle and pass the Feelie Find-It Bag around so that each student can locate one assigned letter or number bead.

Line-12

Tell us how today’s project went by sending us an email to subscriber@roylco.ca! Send us photos of your students’ work and we will write up a feature post highlighting your classroom crafting adventures!

Craft Spotlight: Animal Paint Scrapers

Feature-Image-paintscrapername

What better way to explore patterning, lines and painting than with our uniquely designed paint scrapers in the shape of animal claws, toes, wings or hooves! Check out our R54560 Animal Paint Scrapers here

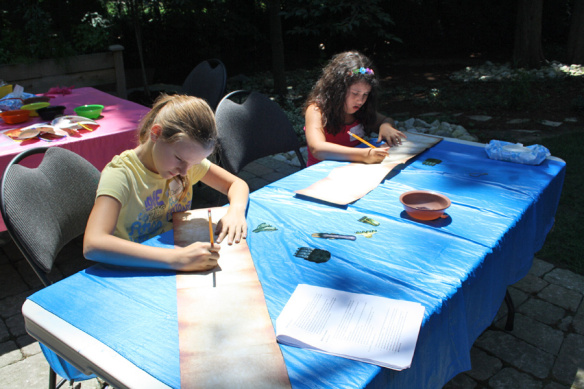
Our crafters had a blast experimenting with the Animal Paint Scrapers and paint. We used printed R15406 Rolly Scrolly Paper to bring out the brightness of the paint colors.

IMG_7421

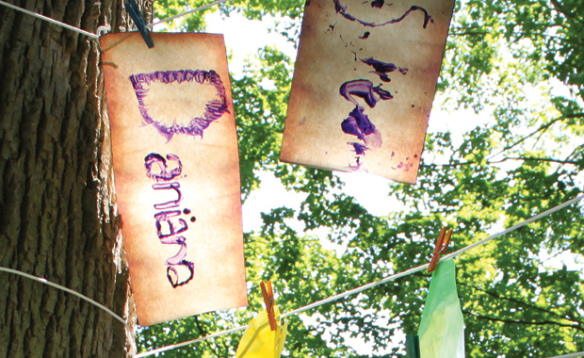
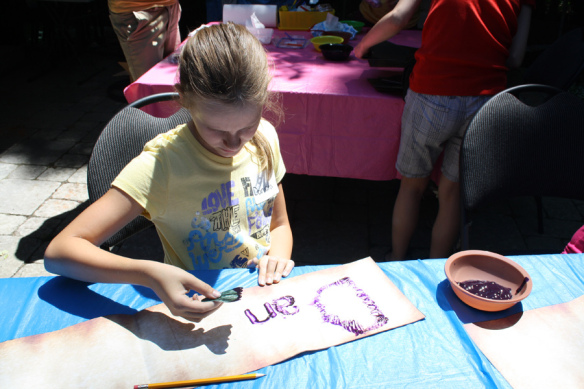
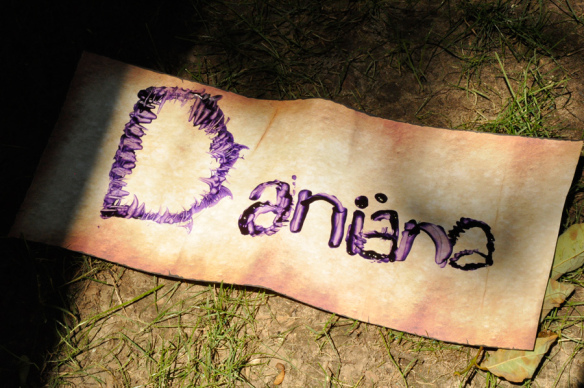
First, we filled up bowls with thick tempera paint. Each paint scraper was dipped into the paint to saturate the edges. Next, one of our crafters came up with the idea that she could spell her name out with the paint scrapers using the unique waved edge as a writing tool.

IMG_7417

If your students would like to try out writing their names with the paint scrapers, we suggest you first provide them with pencils to write their names out as a guide for when they begin painting. This will help you keep track of how large or small the name will appear on the paper as well. Keep lines light in case anything needs to be erased!

DSC05346

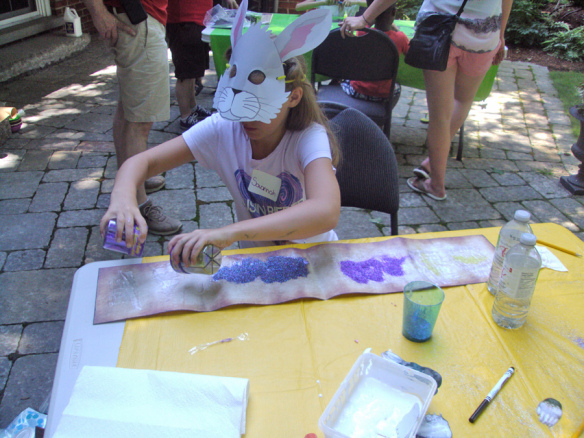
Another crafter decided to try spreading glue across the Rolly Scrolly paper using our Animal Paint Scrapers. She later spread colorful glitter on top and shook off the excess glitter to reveal an interesting pattern.

_DSC0343

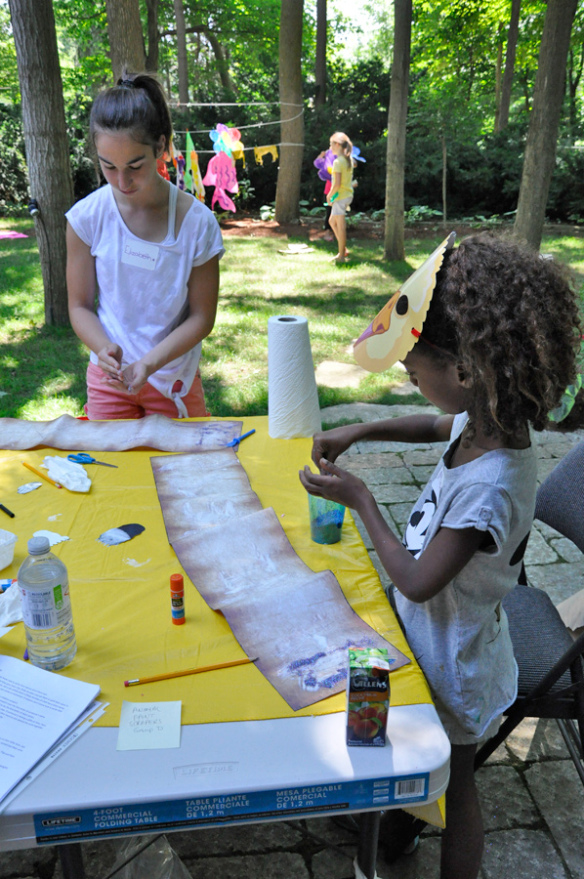
The crafters learned some important characteristics about the paint scrapers: Each of the paint scrapers had their own distinct edge to create interesting textured lines. Some lines turned out thick while others were thin.

_DSC0354

By adding stylistic effects with the edges of the paint scraper, our crafter was able to turn her name banner from ordinary to extraordinary!

Line-17

Let us know how your students’ paint scraper art turned out by sending photos to subscriber@roylco.ca! We’d love to see your classroom artwork!