Life on Seaside Farms uses our True To Life Human X-Rays!

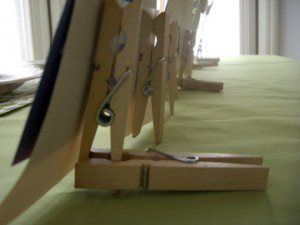
As part of their “Fall Fun” special post, the Life on Seaside Farms II blog posted a photo of their children playing with our R5911 True To Life Human X-Rays! This science product is a great way to introduce younger grades to basic properties of the human body.

Learn about bone arrangements and how the skeleton structures organs and other important tissues! In addition, learn how the skeleton is important for giving shape to our bodies.

The post was made on October 30, 2011 and can be found here at “Fall Fun“!

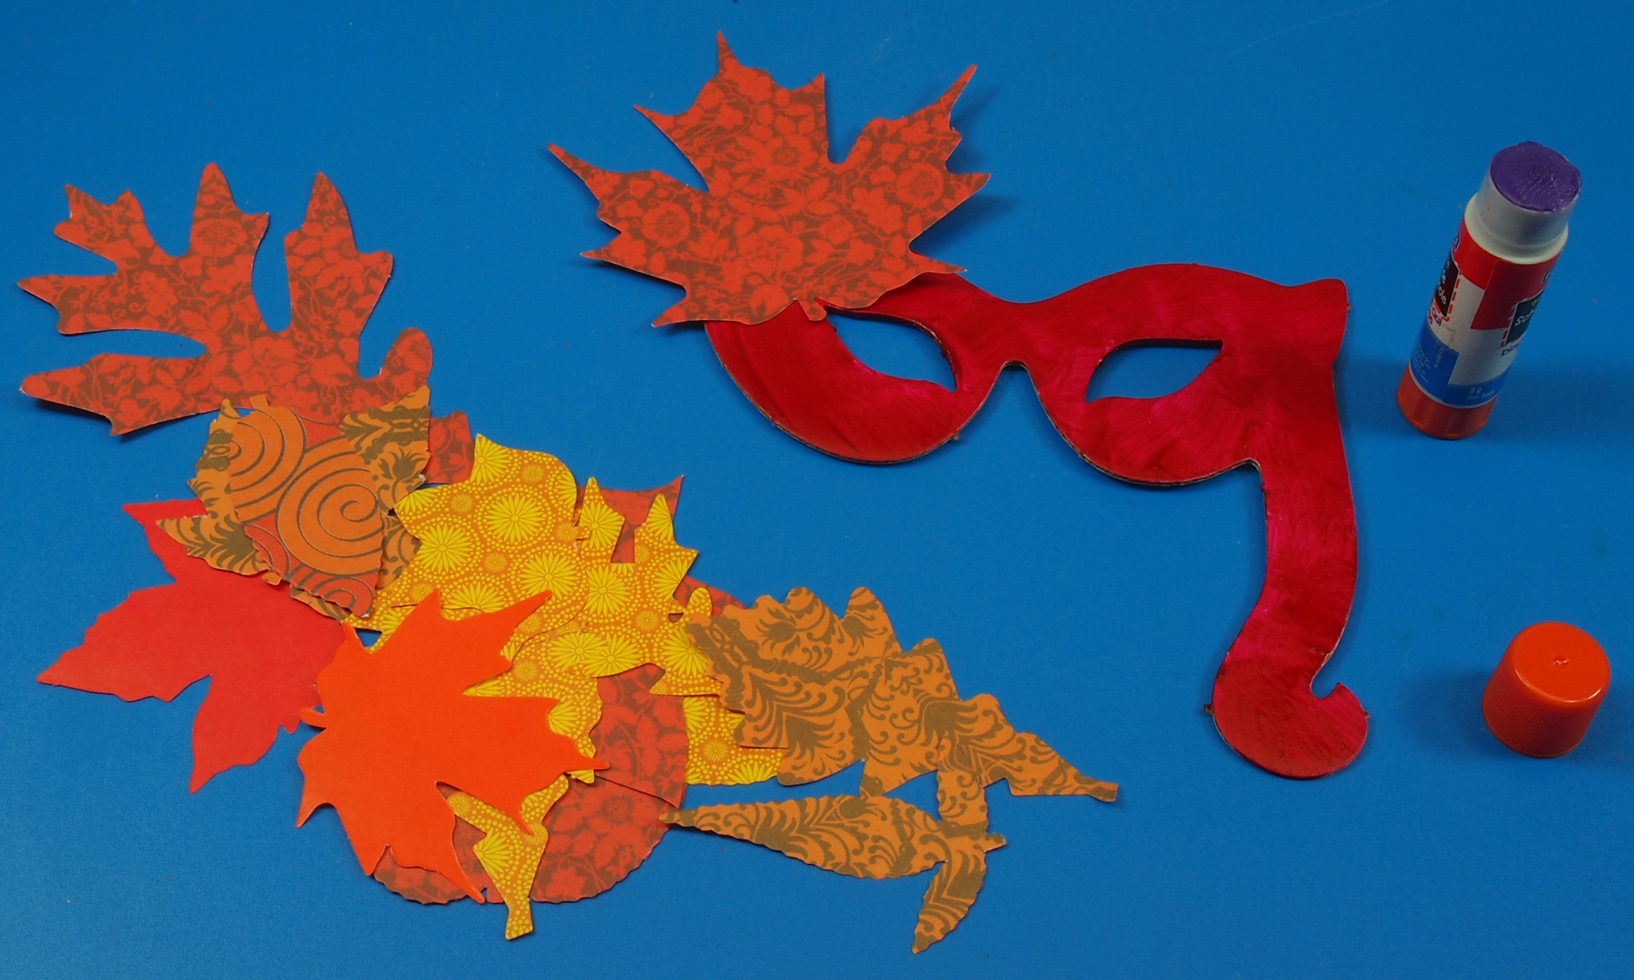
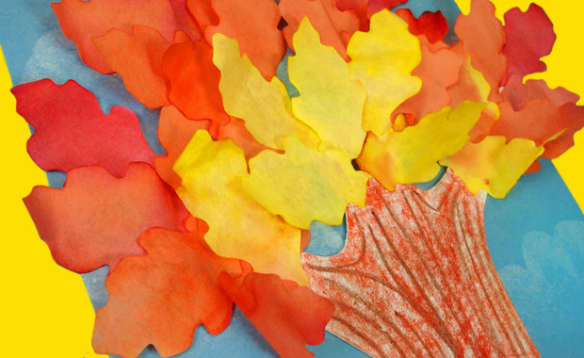
The blog post features other great ideas for incorporating Halloween thrills into your daily learning schedule! From decorating the front porch with spooky ghost ornaments to raking fall leaves and learning about the human body through vivid x-rays, this post has a great round up of ideas.

R5911

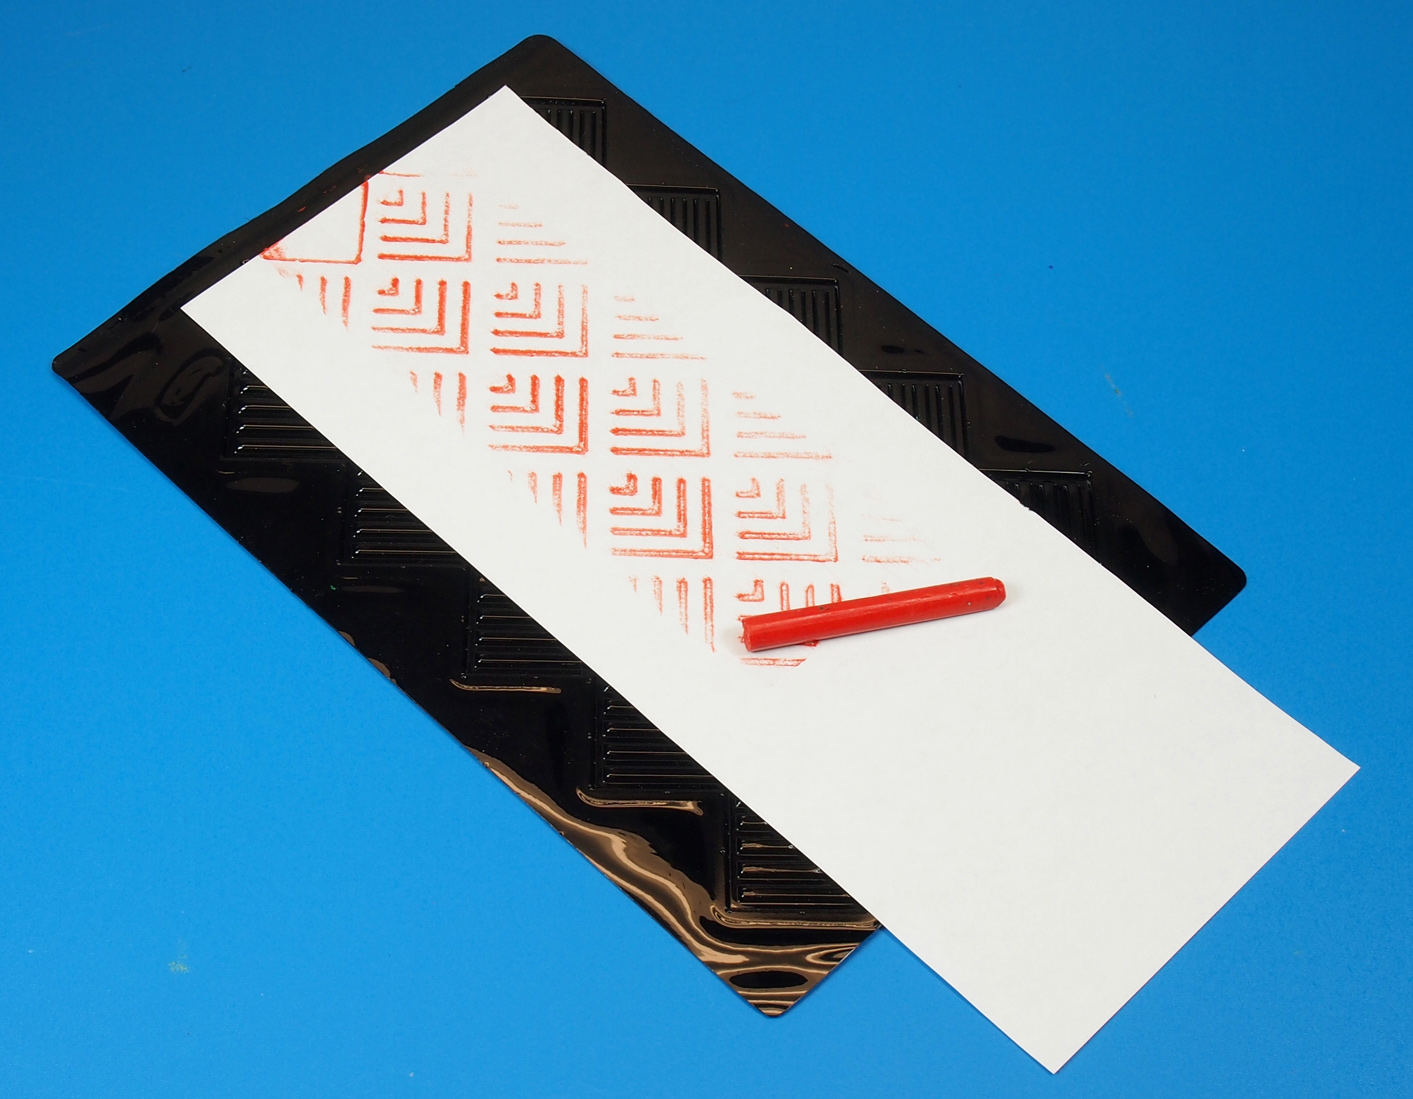
Illuminate the details in the R5911 True To Life Human X-Rays by placing the x-rays up against a light source, such as a window or a light table!

Read our guide here for more ideas on activities to do with the True to Life Human X-Rays!

Thanks to Seaside Farms for their post!

Images and original post © Life on Seaside Farms Part II.

This post was not sponsored for a review. At LittleFingersBigArt, our mission is to present to our readers and viewers the newest and most creative craft ideas that fans of Roylco have made on their own. Our goal is to allow you and other educators and parents to reuse our products in fun ways so that children always get the best educational experience from them!

We’d love to see more ideas like this one! If you’ve got a brilliant craft idea or have made a version of one of our crafts that you would like to share with us, send an email to subscriber@roylco.ca with photos, descriptions or a link to your work. We will create a feature post and link back to you with full credit. We’d love to hear from you!


Spooky Halloween Masks

Image of Roylco Halloween Mask

Feature-Image-halloweenmask

Don’t stress about what to wear this Halloween… make spooky faces with our R52076 Folding Fun Masks! A bit of paint and our step by step instructions go a long way with these spooktacular masks!

Age: 6+

Duration: 20-30 minutes

You’ll Need:

• R52076 Folding Fun Masks

• Paint

• Paintbrush

• Paint tray (try our R7512 “No Mess” Fingerpaint Tray™!)

• Tape

• Imagination!

Line-10

In this tutorial I’m going to show you how to paint a basic scary face. You can add more details to the basic face illustration or change the color for different dramatic effects. The photo at the end of this post shows some example ideas that you can do with minor changes to the look.

OLYMPUS DIGITAL CAMERA

Choose “Halloween” colors for your mask. For this project, I chose deep purple, white and black paint colors.

OLYMPUS DIGITAL CAMERA

Lay out the R52076 Folding Fun Mask onto the paint tray and cover it in an even layer of paint.

OLYMPUS DIGITAL CAMERA

Switch to black paint. First drag your paint brush along the outside edge of the mask to make a black border. Stop right before the bottom edge of the mask. At the middle of the hairline, paint the point of a triangle facing downwards. Finally, add a slight curl to either side of the mask.

OLYMPUS DIGITAL CAMERA

Add an eyebrow line above each eye. Trace out the top edge of each eye with black paint. Drag the point of the brush from the outside corner of each eye to add lashes.

OLYMPUS DIGITAL CAMERA

Use white paint to illustrate fangs.

OLYMPUS DIGITAL CAMERA

Once the paint on the mask is dry, tape the mask slits together. The edges of each slit overlap to make the mask appear 3D!

OLYMPUS DIGITAL CAMERA

Secure the overlapped edges with tape on the underside of the mask.

OLYMPUS DIGITAL CAMERA

Ready for spook-tastic fun! Tip: Punch a hole through each side of the mask. Thread through some string or pipe cleaners to help secure the mask while wearing.

OLYMPUS DIGITAL CAMERA

Change the base color of the mask to form an entirely new mask! Choose a pale green for another vampire-inspired Halloween mask. You can paint the mask deep green and add straight lines with stitch-like notches for a creepy monster mask. Use a thick brush and a deep brown to create the mummy mask. Just drag the paintbrush across the entire mask at different angles. This will create the effect of woven paper strips. Splotch the brush with deep brown around the eyes.

Scare the socks off your friends with these crazy designs!

CRAFT CHALLENGE:

Paint a witch-like mask! Show us your techniques and step-by-step instructions on how to make the perfect witch mask.

Add 3D details! Stitch yarn to the edges of the mask to make hair, or attach thumbtacks to various parts of the mask to make ugly warts. Paint over the thumbtacks with the base color of the face to blend it in.

Line-10

Send us photos of your work to subscriber@roylco.ca. We would love to feature your project on our next upcoming post!

Craft Spotlight: Exercise Animals!

Feature-Image-exerciseanimals

Exercise Animals get children up and moving! First decorate the animals with paint, and color in the printed paper with crayons or markers. Assemble the animals in three easy steps. Watch a video below to see how it’s done, then check out our Art Campers taking off in an animal stampede!

Try out various fun activities with the R62030 Exercise Animals. Use our guide and the ideas provided to help get your students’ bodies moving and hearts pumping!

R62030 Exercise Animals are a great way to segue between different educational subjects, such as science, art AND physical education!

IMG_00000711

The Exercise Animals feature 10 different animal designs. Choose from a cheetah, horse, lion, kangaroo, bunny, eagle, monkey, elephant, bear and giraffe! Talk about the different types of animals as students paint in the details of their Exercise Animals.

IMG_2500

Our campers loved picking out their favorite animals! Here, one of our campers finds herself a rare one–a purple horse!

DSC05458

Once students have finished painting their animals, color in the printed paper sheets. The sheets come with two small tubes that can each be pasted onto either end of the sheet as reinforcements. Roll up the sheet with the tubes inside and secure with tape. Finally, join either end of the barber pole with the tab at the bottom of the Exercise Animal head.

_DSC0328

Go on an animal stampede outside your school building!

Line-19

Let us know how your students’ animals turned out by sending photos to subscriber@roylco.ca! We’d love to see your classroom artwork!

Loralee Lewis uses our Paper Doll Pads!

nofussfabulous_gathertogethergarland-300x210

Loralee Lewis makes beautiful stationery for sale at her website here. Loralee’s experience with paper makes this Paper Doll Pad project an innovative craft for Thanksgiving! Celebrate diversity with fun paper doll characters for your Thanksgiving table!

Loralee Lewis posted her craft on November 22, 2008, entitled: “Gathering Together Activity and Thanksgiving Kids’ Table.” She notes that Thanksgiving is a time to celebrate diversity, and what better way to do so than through customizable paper dolls?

clipbacking-300x225

The Paper Doll Pads come in a variety of skin tones! Use construction paper for the clothes and decorate the faces with black marker. To stand the paper dolls up, glue on clothespins to the paper backing! Loralee shows you how at her blog post.

nofussfabulous_gathertogethertable2-225x300

Tape the hands together to represent the importance of community! Tip: Decorate characters to look like historical figures.

Thanks to Loralee for this post!

Images and original post © Loralee Lewis.

This post was not sponsored for a review. At LittleFingersBigArt, our mission is to present to our readers and viewers the newest and most creative craft ideas that fans of Roylco have made on their own. Our goal is to allow you and other educators and parents to reuse our products in fun ways so that children always get the best educational experience from them!

We’d love to see more ideas like this one! If you’ve got a brilliant craft idea or have made a version of one of our crafts that you would like to share with us, send an email to subscriber@roylco.ca with photos, descriptions or a link to your work. We will create a feature post and link back to you with full credit. We’d love to hear from you!

Line-22

Thanksgiving Hat

Feature-Image-featherhatcraft

Inspired by what our crafters at the Roylco Summer Art Camp made, here’s how to put together your unique Thanksgiving Hat! Use the R28421 Scissor Skills Paper for this craft. 

Age: 4+

Duration: 15-20 minutes

You’ll Need:

• R28421 Scissor Skills Paper

• R5870 Linear Rubbing Plates

• Sheet of paper, 8.5 x 11″ (20 x 28 cm)

• Crayons

• Scissors

• Tape

Line-06

Putting together the Thanksgiving Hat is super simple!

P9033137

For this activity, you can decorate the head band with any of our special rubbing plates!

P9033140

Fold a sheet of paper lengthwise in half. Unfold the paper and cut along the fold line to make two equal strips of paper. You’ll need both strips of paper for the entire headband.

P9033143

Place the headband on top of a rubbing plate. Use the side of a crayon to rub the pattern onto the headband.

P9033145

I used a different pattern for the top and bottom headband edges. Try it out with a different color too!

P9033146

Choose one of the three types of feathers to decorate your headband with. We’ve made an easy set of feathers for beginners with which to practice their scissor cutting skills. The second set is intermediate, with wavy lines. The third, and most challenging, set features jagged edges for students to cut. Choose the most appropriate set of feathers for students to cut.

P9033155

Attach the two headband pieces together with a piece of tape. Join the two headbands horizontally to extend the length of the entire headband.

P9033160

Keep the headband flipped over to the blank side. Line up all your cut feathers along the top edge of the headband and paste onto the paper. The feathers are double-sided so you won’t have to worry about which side you paste them onto!

P9033161

Join the edges of the headband together. Tip: First get students to adjust the headband for wearing. When they have found the right fit, tape the edges at that point.

P9033163

All ready for wearing! If you would like to add some dimension to your hat, curl out the ends of the feathers using a pencil.

CRAFT CHALLENGE:

What else did your students use to decorate their hats? You can use anything available in your craft supply closet or use scrap paper left over from other projects to cut out feathers. Once students have made their hats, sit your class down in a circle and talk about what each student is thankful for from the previous year.

Line-06

Send us your responses to subscriber@roylco.ca along with photos of your students’ hats! We’d love to hear from you!

Art With Ms. K uses our Fossil Rubbing Plates!

017

Ms. Katzin of Art with Ms. K used several of our rubbing plates, including R5870 Linear Rubbing Plates and R5817 Animal Skins Rubbing Plates, as texture mats for clay sculptures. She explores a variety of textures and materials and guides her students to make gorgeous clay pendants!

Ms. Katzin published her post, entitled “Kindergarten Fossils,” on January 17, 2013. She used regular clay to bring out the best textures.

0141

Our rubbing plates are great for introducing texture to pre-K art classes. For this activity, Ms. K got her students to press rolls of clay onto the textured rubbing plates. Once they removed the clay, they could shape the sides of the clay rolls into pendants.

To use the texture rubbing plates for making clay sculptures such as bowls, place a sheet of parchment paper below the clay. Roll out the clay into a flat 1/4″ thick slab. Next, choose your favorite textured rubbing plate. This next step will allow you to transfer the texture onto the clay piece.

Simply press the rubbing plates onto the clay slab and lift off. Gently loosen the parchment paper from the textured clay by peeling off the paper from the corners. When you are finished removing the clay, manipulate the textured clay slab into a curved face for a bowl or a cup. For the most adventurous, shape the clay slab into a dynamic sculpture, like an animal!

I love to see what new project Ms. Katzin comes up with–she IS the definition of art teacher in all aspects. Thanks again, Mollie!

Images and original post © Art with Ms. K.

This post was not sponsored for a review. At LittleFingersBigArt, our mission is to present to our readers and viewers the newest and most creative craft ideas that fans of Roylco have made on their own. Our goal is to allow you and other educators and parents to reuse our products in fun ways so that children always get the best educational experience from them!

We’d love to see more ideas like this one! If you’ve got a brilliant craft idea or have made a version of one of our crafts that you would like to share with us, send an email to subscriber@roylco.ca with photos, descriptions or a link to your work. We will create a feature post and link back to you with full credit. We’d love to hear from you!

Line-11

Fall Leaves Mask

Feature-Image-fallleavesmask

Beautiful masks are perfect for reigning in the autumn season! These flashy red, green and gold Masquerade Glasses are easy to make too! Try out our Craft Challenge below and send us photos of your work to get featured in a post.

Find out your craft challenge below!

Age: 4+

Duration: 10-15 minutes

You’ll Need:

R15335 Spring and Autumn Leaves

R52023 Masquerade Glasses

• Glue

• Markers or paint

Optional:

• Paintbrushes

Paint bowls

Line-20

Masquerade Glasses are versatile for kids of all ages to use! Everyone can decorate their unique Masquerade Glasses anyway they like, but the R15335 Spring and Autumn Leaves add a perfect autumn twist to this craft.

P8123087

You can use markers instead of paint to color in the R52023 Masquerade Glasses. You won’t have to wait for drying times!

P8123091

Color in the R52023 Masquerade Glasses completely. Make sure none of the card shows through!

P8123093

Pop out the R15335 Spring and Autumn Leaves from the backing. The kit includes most fall colors such as yellow, gold, red, orange and green. The leaves are double-sided, featuring a flat color on one side and a pattern on the other side. The patterns are great for adding dimension to your projects!

P8123097

Select the best-looking leaves and arrange them onto the R52023 Masquerade Glasses. Tip: Put the larger leaves on the corners of the R52023 Masquerade Glasses, and lay the longer leaves along the edges.

P8123098


This mask is simple to make, but looks amazing!

CRAFT CHALLENGE:

Go outside while wearing the leafy Masquerade Glasses. Stand by a tree and take a picture! It will look like the leaves of the Masquerade Glasses are a part of the tree!

Line-20

Send us your photos of this project to subscriber@roylco.ca. We will post the photos up in an upcoming post! Thanks for visiting!

Craft Spotlight: Fall Leaves Projects

Feature-Image-fallleaves

We’re well into the autumn season, fast approaching winter! Lengthen the season’s stay with some bright and colorful autumn crafts for your classroom. Check out our spotlight below on our R15334 Crafty Leaves, R15335 Spring and Autumn Leaves and R15656 Autumn Paper Bits!

Our autumn craft projects feature golden colors, patterns and natural die-cut leaf shapes for intriguing artwork! Use the leaves to decorate base materials, such as a paper tree trunk. Mix up the arrangements of the leaves on paper to make animal and people figures!

In this video, I show you how to layer and glue together the Crafty Leaves to make a bird in flight! This craft uses simply the Crafty Leaves, glue and a bit of imagination. Find leaves that appear to fan out like feathers on wings. Other leaves can be used to make the body of the bird. A tiny brown leaf was used for the head (but you can use the chestnuts for the bird’s head too!)

Use the gorgeous patterns in our Spring and Autumn Leaves as decorations for picture frames! I took our R52107 Craft Collage Boards and popped out the center so I could use the outside piece as a frame. Peel off the backing to adhere the leaves to the sticky side. I used three colors of the Spring and Autumn Leaves pack, including orange, red and green with the addition of yellow! Arrange the leaves along the sticky side of the frame. You can use both sides of the Spring and Autumn Leaves (one side is printed with flat color while the other side is gussied up with cute patterns!)

Create a lovely autumn tree and talk about the effect of the changing seasons on the tree’s leaves. Demonstrate this with our Autumn Paper Bits! Cut out a tree from brown construction paper. Glue down the leaves around the tree boughs. Make several different trees and paste only green leaves on one tree, orange and red leaves on the second, and leave the last tree blank. Illustrate buds or small twigs on the final tree to show how trees look like in wintertime!

Line-16

If you have some of these projects in your classroom craft closet, send us photos of your students’ artwork! We’ll make a feature post and show the blogging world your class’s artistic talent! Email us at subscriber@roylco.ca!

Library Arts uses our Animal Print Paper!

On Safari final

Doris of Library Arts once again uses our printed papers to make fun 3D safari animals! In this tutorial, Doris features our R15256 Amazing Animal Paper! Check out her detailed instructional post. 

Doris posted her tutorial on August 13, 2010 as “On Safari!” Check it out!

100_4987

The post features templates to use for making the 3D animals. You will need tongue depressor sticks, a toilet paper cardboard roll and some tin foil.

100_4996

Use our papers to make a tiger, zebra, leopard, giraffe and many more! I adore the creativity of this craft!

Thanks to Doris for this adorable post!

Images and original post © Library Arts.

This post was not sponsored for a review. At LittleFingersBigArt, our mission is to present to our readers and viewers the newest and most creative craft ideas that fans of Roylco have made on their own. Our goal is to allow you and other educators and parents to reuse our products in fun ways so that children always get the best educational experience from them!

We’d love to see more ideas like this one! If you’ve got a brilliant craft idea or have made a version of one of our crafts that you would like to share with us, send an email to subscriber@roylco.ca with photos, descriptions or a link to your work. We will create a feature post and link back to you with full credit. We’d love to hear from you!

Line-09