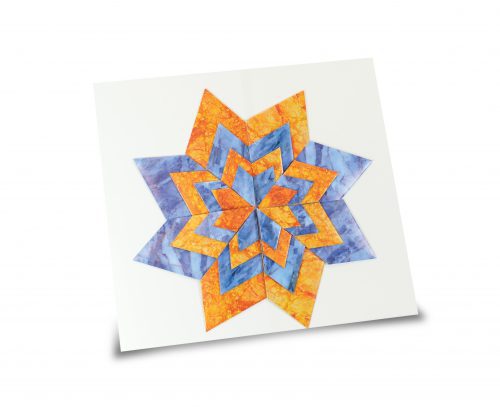
Make Marvelous Marble Marquetry

15401 Marble Paper - OrgBlue Mosiac

Marquetry is the art of using thin pieces of veneer to craft beautiful images and patterns. Now you can create your own beautiful marble marquetry! 

Age: 5+

Duration: 15-30 minutes

Learning Outcomes: Practice fine motor skills while you cut and fold. Encourage early geometry by talking about different shapes, patterns, and types of symmetry.

You’ll Need:

Line-17


This craft looks like marquetry, but it actually combines a marquetry effect with a technique we call Shapegami. Start by downloading and printing the Shapegami Folding Instructions. This set of instructions includes step-by-step folding instructions for ten different shapes, basic geometric vocabulary, and design ideas. Start by taking the time to discuss different shapes and their attributes! Each of these shapes can be folded with an 8 1/2 x 11″ sheet of paper AND with the special sized rectangles in the marquetry template.

Once students are familiar with the different shapes, they can practice folding them with white printer paper and start thinking about the design they want to make with their shapes. Students can design their own marquetry designs, or choose from the Shapegami idea list. I decided to create a flower design using folded kite shapes.

Once students feel confident, break out your Marble Paper and download the Marble Paper Marquetry Template. It may take some experimenting to see which way you need to put the craft paper into the printer so the lines print on the white side. I used the orange and blue sheets to create a strong color contrast, but you can choose any sheets you like!
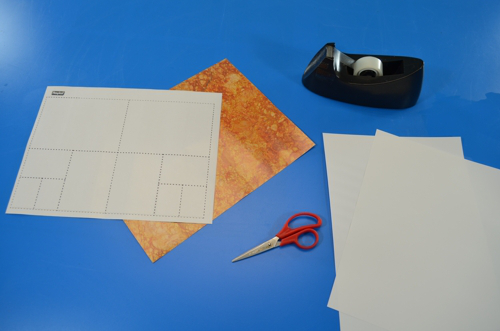
marquetry 1

Start by carefully cutting out the variously sized rectangles. To make each size easier to find, I sorted my rectangles by size as I cut them. Once your rectangles are all cut out, it’s time to start folding! I folded all my rectangles into kite shapes, keeping them arranged by size. This makes it easier to compose your marquetry design.

To create your marquetry design, start with a piece of white paper. Beginning with the largest of my kite shapes, I used loops of tape to secure each shape to the paper in the design I wanted.

Simply repeat this process using progressively smaller folded shapes, and you will have created a beautiful piece of geometric marquetry art!
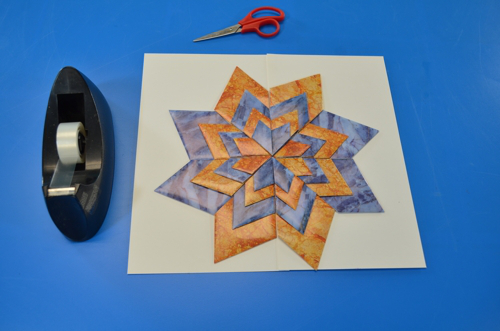
marquetry 8

Line-17

Like us on FacebookShare this post with your friends, or Subscribe to this blog today to receive original craft project updates every week!

Spotlight On: Fraction Friends Mosaics

Fracton Friends_Product Shots_Fan with Scissors

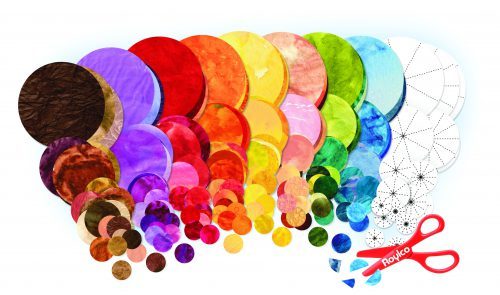
These bright, beautiful circles are printed with fraction lines to create precise, proportional and pretty works of art!

Fraction Friends Mosaics are multi-purpose classroom tools! Designed with both art and math lessons in mind, these circles make a set of unique math manipulatives for early numeracy and a student’s introduction to fractions.

  • Sort and count the circles! The different textures and bright colors make the circles easy to see and differentiate from each other.
  • Practice fine motor skills while cutting out the different fractional pieces!

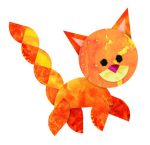
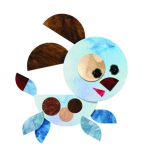
In art lessons, the pre-printed fractions allow students to cut out the perfect sized pieces to create 20 different animal friends, including:

To create these (and more!) fraction friends, simply cut the circles to the appropriate size, and use a glue stick to glue each animal together using a sheet of craft paper as a base to make take-home art! To add some pizzazz to your art, try using any of our rubbing plates to create a textured background for your fraction friend.

Line-01

Like us on FacebookShare this post with your friends, or Subscribe to this blog today to receive original craft project updates every week!

Really Big Tangrams

girl tangram.jpg

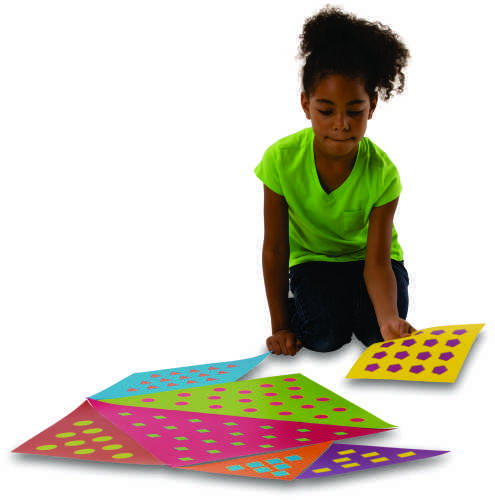
We scaled up these tans to scale up the fun of  solving tangrams!

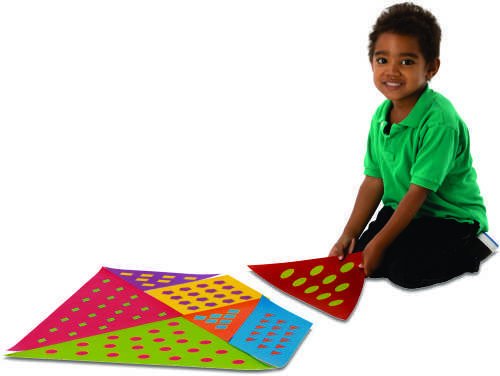
Get ready to have fun with our Really Big Tangrams! You’ll have to make a lot of room on the floor for this huge version of the classic Chinese dissection puzzle. Learn to use mathematical principles by arranging the 7 pieces, called tans, to make geometric shapes and figures. It won’t take long to realize the puzzles are not as simple as they seem. Printed on durable, weather resistant material, Really Big Tangrams are perfect for group activities in the classroom OR on the playground. Let everyone work together to exercise creative strategies for practical problems. The included guide will get you started with three different levels of difficulty. Use our Really Big Tangrams as a teaching tool for 2D spatial relationships, working together as a team, and for active play!

What is a dissection puzzle? Dissection puzzles are puzzles that are made with tiles of varying sizes. The hallmark of dissection puzzles is that the pieces can be assembled to create two or more distinct geometric shapes. Dissection puzzles are as old as Plato, with the earliest puzzles being described in Ancient Greek texts. Tangrams came to the west in the 19th century (the 1800s) when American sea captain M. Donaldson brought a set back with him on his ship, the Trader, in 1815. These puzzles were less popular in the latter half of the 19th century, but saw a resurgence during the first world war.

boy tangram.jpg


Tangrams can form all different kinds of puzzles! Some common themes are:

  • Animals
  • Plants
  • Buildings
  • Geometric Shapes

You can find some puzzle ideas in the guide included with these tans, but you can also visit your local bookstore for puzzle books. The internet is also a great resource!

Line-05

Like us on FacebookShare this post with your friends, or Subscribe to this blog today to receive original craft project updates every week!

Spotlight On: Counting Fingers Hand Book

Roylco_7796 Counting Finger Handbook child.jpg

Need a few extra fingers to count with? These hand-sized books make perfect math manipulatives!

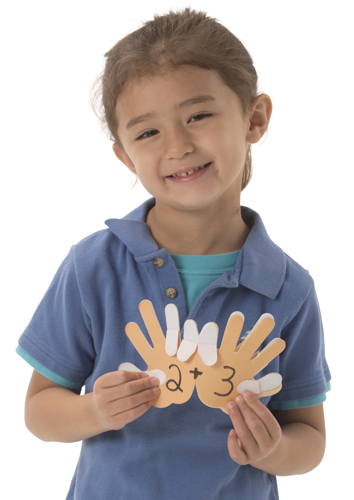
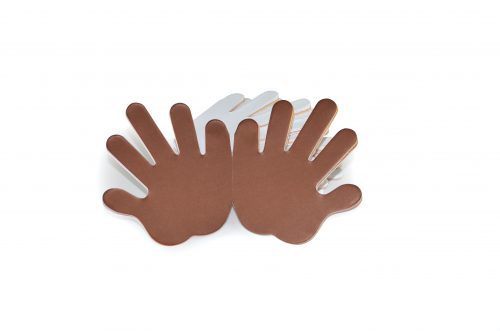
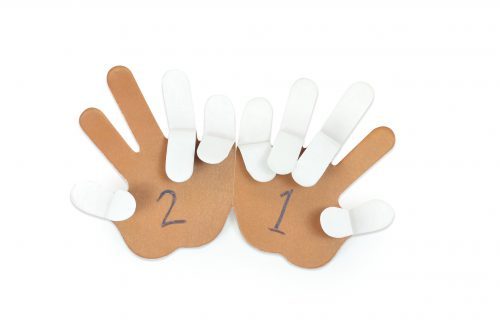
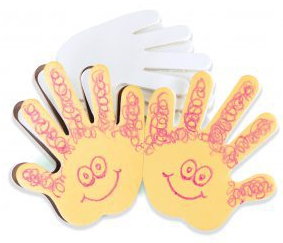
Each page is printed in fleshtone colors with foldable fingers to use as a math manipulative. Use the pages to practice numbering, writing out equations or for math journaling. Each book has a card stock front and back cover along with 10 pages and measures 4 x 4½ (10 x 11.5 cm). Fold down the fingers just like you would curl in your own fingers to represent numbers! For example, if you want to show the number 2 with your hand book, fold down the thumb, ring and pinkie fingers on one hand. You can also fold down all but the pointer fingers on two pages.

49145 - Counting Hadbook Stack and Open

Make math facts concrete by folding down fingers and writing the math facts on the palms!

49145 - Counting Handbook 2 and 1

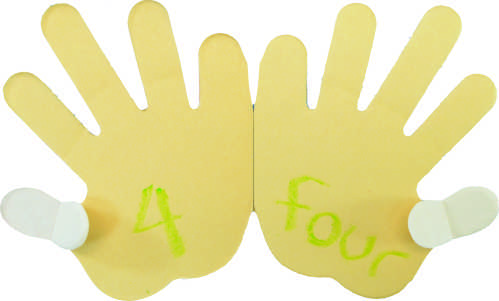
These books are also great for early learners! There are a lot of different ways to write out 4, so match the fingers with the words and symbols!

49145 counting hand book 4 four.jpg

Make a unique “All About Me” book with a numeracy theme! Start with a self portrait, and fill each page with numbered favorites.

49145-counting-handbook-smile-hands-e1497978352488.jpg

Line-02

Like us on FacebookShare this post with your friends, or Subscribe to this blog today to receive original craft project updates every week!


Spotlight On: Number Dolls

Alldolls and signs

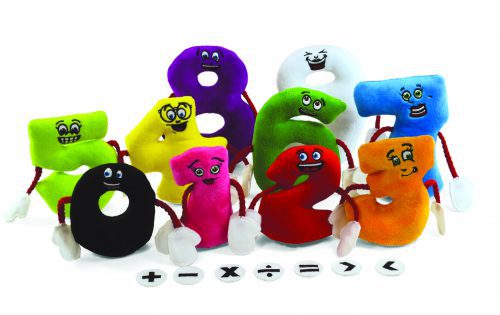
Make math cuddly and explore early numeracy with these brightly colored, size-scaled dolls!

Even the most reluctant learner will want to engage with these plush, smiling dolls. Ranging in size from a 3 1/2″ doll in the shape of a 1 to a 6 1/4″ doll shaped like a 9, the numeric value of each number is clearly visible in relation to the other numbers. Line all ten numbers up in order and they create a mathematical rainbow!

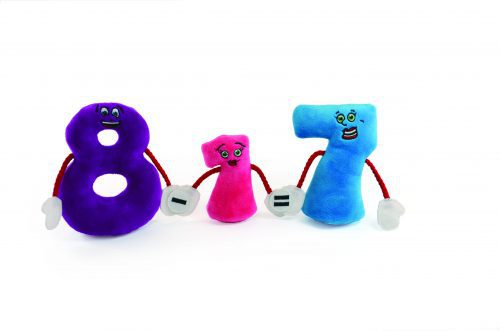
The firm base of each number allows the dolls to stand on their own. Each doll loves to hold hands with their friends and Velcro™ lets them do just that! We have also included Velcro™ math signs that let students create their favorite math facts in 3D. Early numeracy students can use the < and > signs to demonstrate an understanding of relative value. Math facts can seem abstract and difficult to comprehend. These dolls make math facts concrete!

8-1 image

Put students on the path to STEAM (Science, Technology, Engineering, Art and Math) excellence with plush equations and smiling number pals!


Line-03

Like us on FacebookShare this post with your friends, or Subscribe to this blog today to receive original craft project updates every week!


Light Learning: Numbers

35043 LightLearning Numbers small.jpg

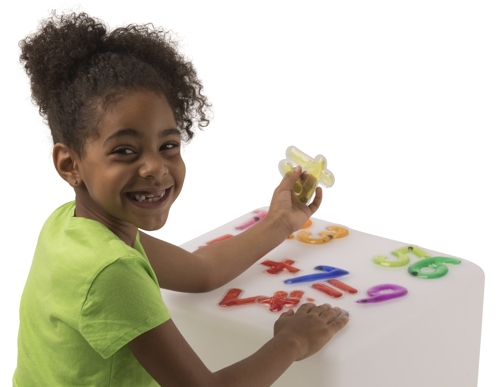
Appeal to the senses while counting and creating simple equations!


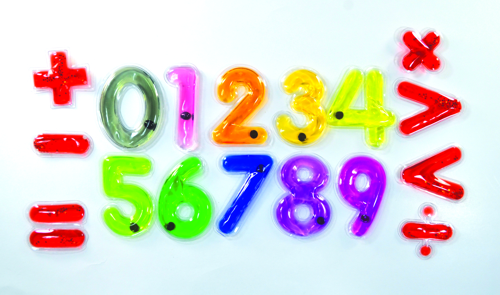
For students with fidgety fingers, these squishy numbers and math signs make math tactile. The small disc inside each number allows students to develop fine motor skills. Children will quickly learn how to propel the disc by tapping the number in different areas. We have chosen specific colors so students can represent the visible spectrum of light by lining up the numbers from zero, black (the absence of all light) through red, orange, yellow, green, blue and purple. Tip: All the math signs are red with sparkles!

Roylco_8564 Light Learning Numbers girl.jpg

Develop fine motor skills! Ask students to move the small discs all the way around a number. 0 and 1 are great for beginners, while 4 and 5 will challenge older students.

Make glowing equations! Use a light table or Roylco’s R59601 Light Cube to practice counting, using the < and > to demonstrate value differences, and basic math facts. Purchase a second pack to make really long equations!

Line-10

Like us on FacebookShare this post with your friends, or Subscribe to this blog today to receive original craft project updates every week!


Spotlight On: Measuring Rockets!

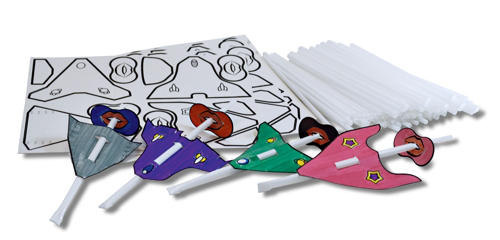
25070 Rocket Pile that is coloured 2 small version

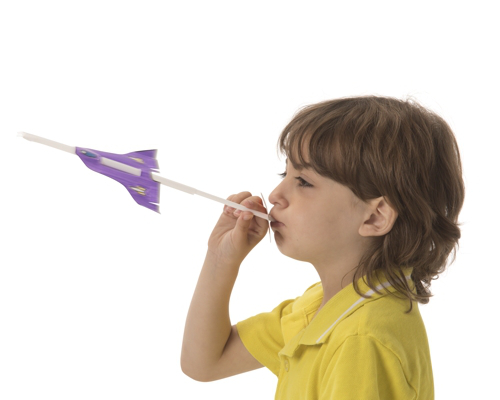
Take a deep breath and power your rocket straight to the moon!


Decorate and launch beautiful straw rockets! The four different wing designs are printed on sturdy cardstock and measure up to 4 x 5” (10 x 13 cm).We have included two different straws. Use the wider straw as a base for your rocket. Use the narrow straw as a rocket launcher. Pop out a wing design and decorate with colored pencil, crayon or marker before sliding the wings onto the large straw! We have included optional mouth pieces to decorate. Simply slide these over one end of the smaller straw. Thread the larger rocket straw over the smaller launcher straw and you are ready for the count down!

35070 Measuring Rockets boy

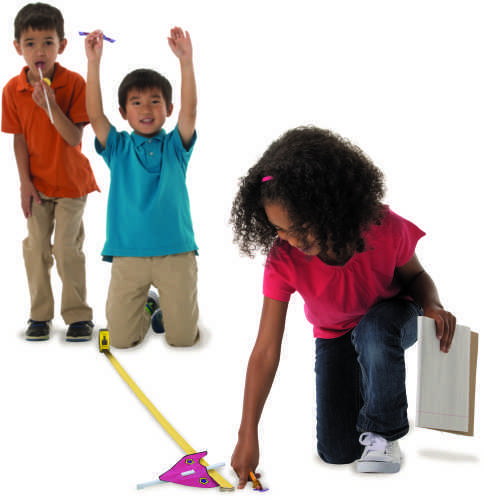
Challenge students to experiment with different engineering plans for their rockets. Play with folding wing tips and flaps and experiment with the placement of the wings on the straw. When students successfully launch their rocket and measure the distance they have traveled, give them a unique certificate. Print off the certificates Here!

kids measuring as a group.jpg

Evaluate your fleet of rockets! After launching your rockets, measure the distance they travel. Repeat this activity and average the results. Continue developing math skills by charting the results. Challenge your students to make different types of graphs and charts. What does a distance pie chart look like? How about a distance bar graph?

Line-12

Like us on FacebookShare this post with your friends, or Subscribe to this blog today to receive original craft project updates every week!

Sponge Paint Christmas Tree

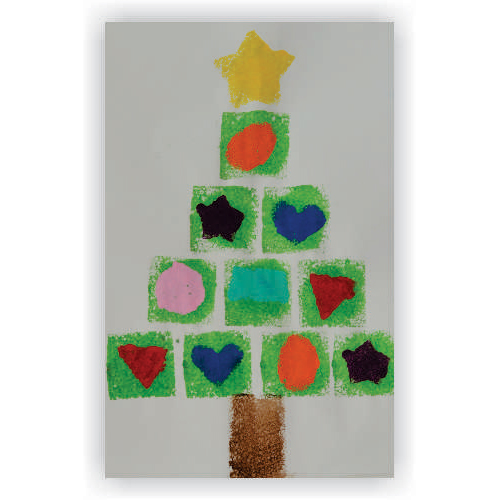
Roylco Sponge Paint Christmas Tree

finished craft.jpg

Integrate early geometry and holiday spirit with this adorable craft!

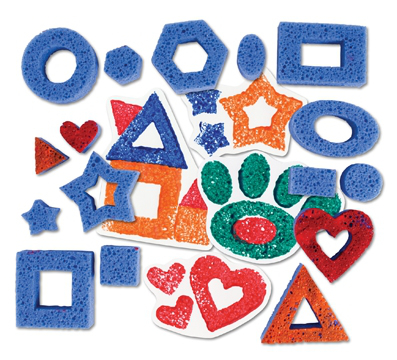
Sponge painting is a tactile and fun activity! By combining our R55009 Shape Sponges with tempera paint and some old-fashioned Christmas Spirit, we have come up with a great way to integrate early geometry and holiday art!

Age: 3+

Duration: 15-20 minutes (plus drying time)

Learning Outcomes:

You’ll Need:

Line-01

The sponges are cut from a thick blue sponge with bubbles in the material to add texture to your prints. Dip the sponge into a bowl of thick tempera paint or fingerpaint! Make sure you keep the sponge flat down against the paint so that it completely covers the bottom surface of the sponge. Bristol paper, poster board or fingerpaint paper are great mediums for stamping the various shapes as they will absorb the paint without warping too much. Encourage your students to stamp repeatedly on the same sheet of paper.

55009 Shape Sponges web.jpg

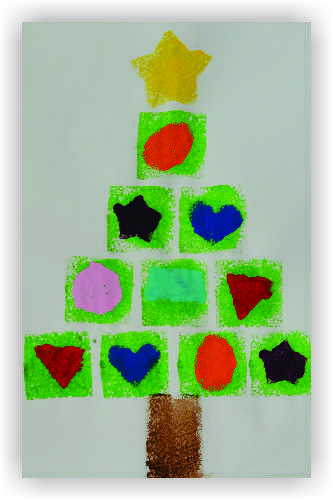
For this activity, make sure you take the time to talk about shapes with your students. Ask them to name each shape, and describe its attributes. For example, a square has four sides, one face and four angles, while a triangle only has three sides and three angles! We used the square and rectangle sponges to paint the tree itself, and then let the paint dry for a few minutes before adding the shape ornaments!

Let kids experiment with some of these ideas and their own creativity:

  • Squares work to make the shape of your tree, but what other shapes can you use? Try the circle, oval, or even the triangle sponge to craft the body of your tree
  • Add backgrounds to your picture! Make the tree a small part of a bigger mural by painting a scene on a large sheet of butcher paper. Make the activity a whole-class art project.
  • Add presents below the tree! Use sponges to stamp the images of presents underneath the tree, and consider gluing real yarn or narrow ribbon to the presents after the paint has dried.

Line-12

Like us on FacebookShare this post with your friends, or Subscribe to this blog today to receive original craft project updates every week!
Math Mystery Mini Booklet

finished craft.jpg

Can YOU solve this math mystery?

Today we are demonstrating a fun activity that uses our technique for folded mini booklets, and will help get kids excited about math! Challenge each student to write their own math mystery, then mix them up and challenge their peers to solve the mysteries.

Age: 5+

Duration: 15 minutes

Learning Outcomes: Explore math facts and get to know students. Exercise fine motor, folding and scissor skills.

You’ll Need:

Line-21

Start by folding your booklet. To learn how, click here!

Once your booklet is folded, each student will need 6 strips of white paper. Fold each strip in half. Then glue one folded strip to each page, so you have a “lift the flap” book.

Now it’s time to create your math mystery! Students will need to have five math facts about themselves. The answer to these questions can be things like age, shoe size, number of pets and number of family members.

The first pages of our booklet challenge students to discover the author’s age and number of pets.

The next pages ask about the number of people in the author’s family and the author’s shoe size.

The last pages have a math fact and the reveal page!

These books aren’t just a great way to practice math and introduce students to each other. It’s an excellent activity for parent nights!

Line-05

Like us on FacebookShare this post with your friends, or Subscribe to this blog today to receive original craft project updates every week