Let’s make a Rangoli decorated entryway!

Rangoli Mega Stencils

Roylco Rangoli Artwork Complete

Age: 4+

Duration: 10 minutes

Learning Outcomes:

We want to start a conversation about Indian culture, Hindu traditions and Rangoli art to help us broaden our understanding of the people we share the world with.

Here’s what you need:

Rangoli Mega Stencils (R5621)

Sidewalk Chalk

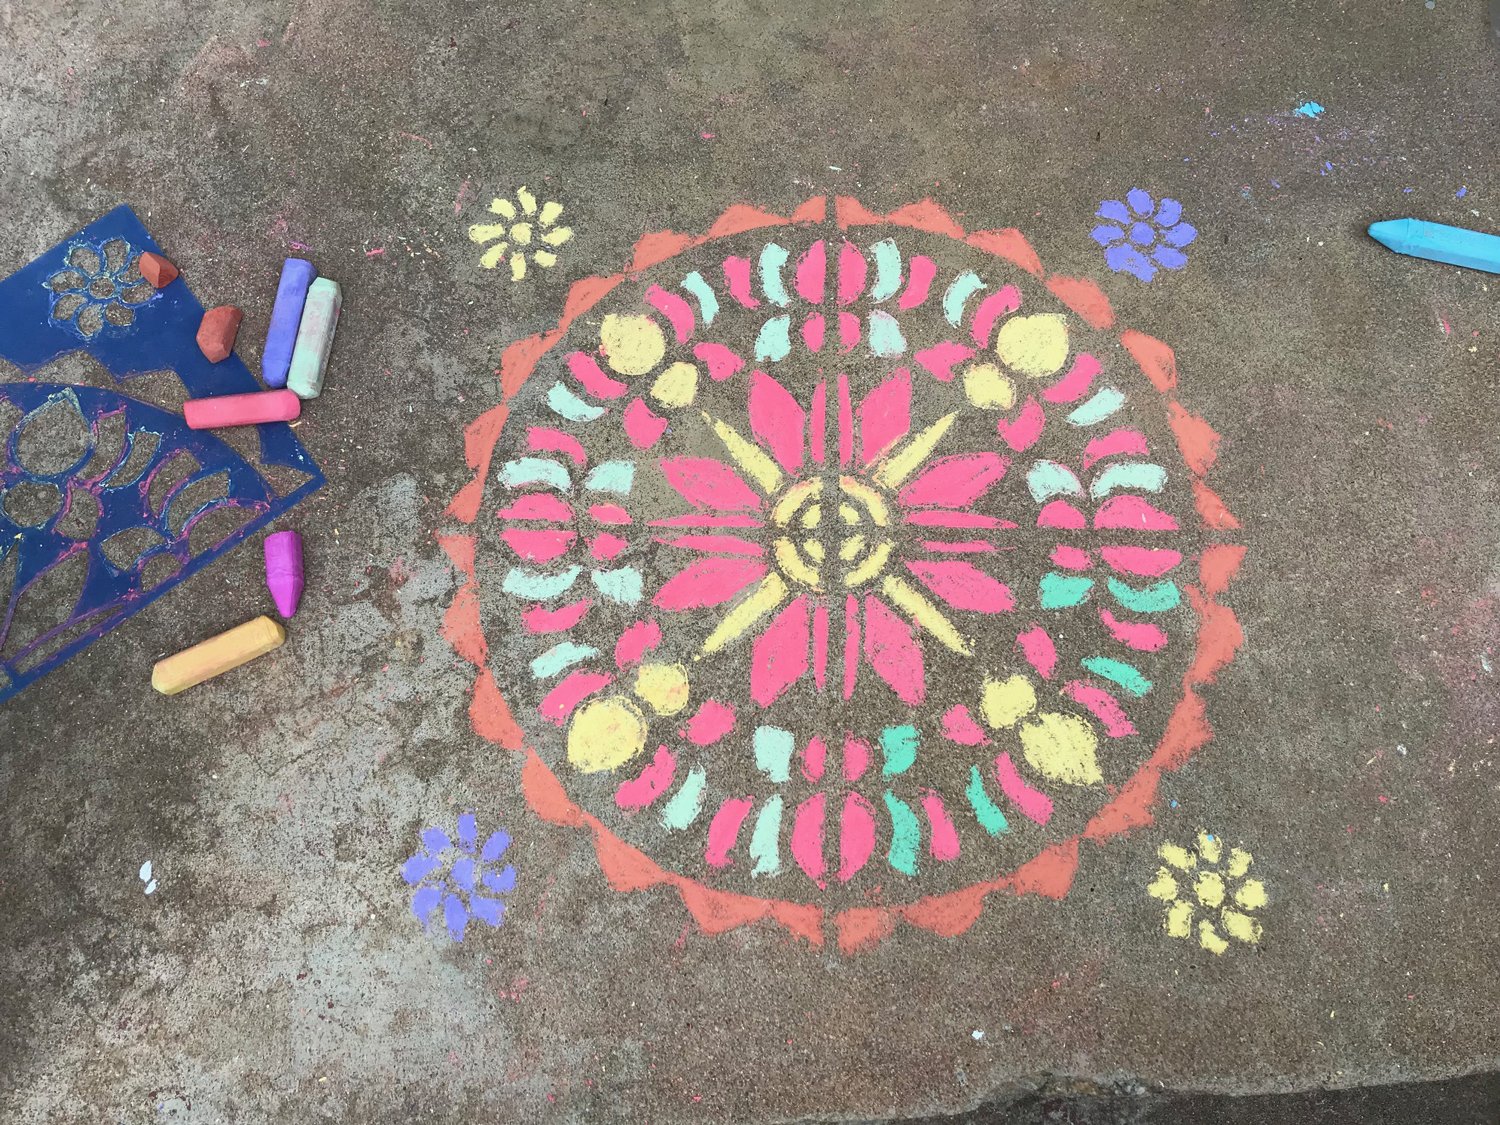
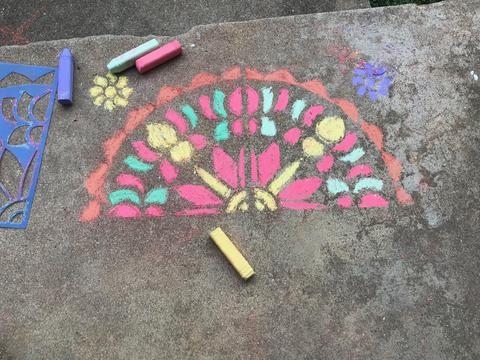
If you’re looking for a fun, and very simple, summertime activity, this is just for you! All you need is our Rangoli Mega Stencils (R5621) and some sidewalk chalk.

Authentic Rangoli art is spiritually motivated and originates from India. It’s used for decoration and good luck, and it usually coincides with Hindu rituals. Traditionally, women would be the ones to create the Rangoli art. The bright, beautiful patterns are made from a variety of materials, including dried rice, flower petals and sand. 

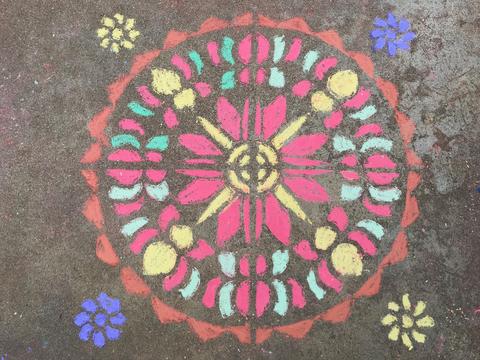
One of the many uses for Rangoli art is to place the pattern on the ground near the entryway of your home. This is believed to bring good luck and prosperity to all who reside within. Lucky AND beautiful… sounds good to me. Let’s do this!

To create our beautiful patterns, we’re going to be using sidewalk chalk. This is a good medium for decorating your entryway because it’s super simple to clean up, and it will work on pavement, wood and brick. If there isn’t enough space to decorate the floor in front of your door, you could always just decorate the door!

And on that note, a quick message to the kids:

Before you start, make sure the adults in your life know what you’re up to. We already know these stencils are going to look awesome! We just want to make sure they agree with us.

Kid illustration for Little Fingers Big Art Blog

Here’s how you do it:

Step 1: Choose your pattern

The first thing to do is decide which stencil you want to decorate with. The product guide will help you understand how to arrange your shapes. 

Rangoli Entryway Step 1

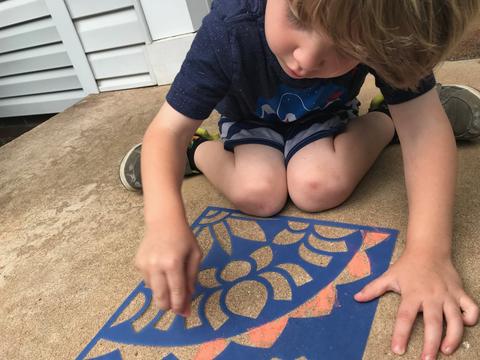
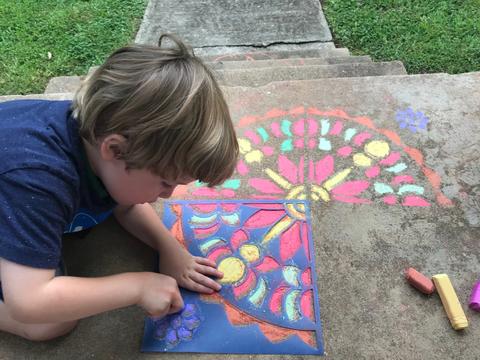
Step 2: Fill in the shapes

Using your sidewalk chalk, fill in the patterns of your stencil. You can use as many or as few colors as you like. Whatever you think looks best.

Rangoli Entryway Step 2 A

Rangoli Entryway Step 2 B

Rangoli Entryway Step 2 C

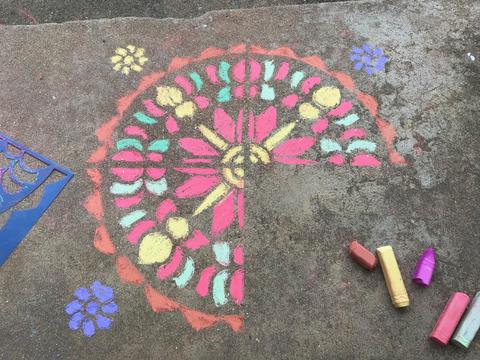
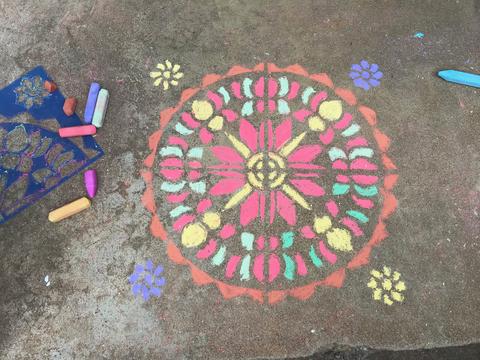
Step 3: Admire your work

Come on, admit it… you’re awesome!

Rangoli Entryway Step 3

Consider This:

Do you know anyone who practices Hindu Spirituality?

How are Hindu beliefs different from yours? How are they the same?

What kind of art do the people from your culture create?

If you could share something fun from your culture with the rest of the world, what would it be?


Lace Paper Dolls

OLYMPUS DIGITAL CAMERA

Add beautiful trims and details to your paper dolls with R22054 Lace Paper!

Age: 4+

Duration: 10-20 minutes

Learning Objectives: Use multiple materials to make details. Talk about fashion and how to combine details to make interesting combinations of clothes. Discuss proportions, clothing arrangements and combining pattern and color. Exercise scissor skills.

OLYMPUS DIGITAL CAMERA

You’ll Need:

Line-07

OLYMPUS DIGITAL CAMERA

Choose your Paper Doll of choice and lay it onto a sheet of Fabric Paper. Trace around the edge of the Paper Doll. To make the pants, trace only around the legs and connect the lines when you remove the doll. Similarly, trace around the upper body area to make the shirt.

OLYMPUS DIGITAL CAMERA

Cut out the resulting tracings. Use different types of paper sheets to add a variety of pattern and color to your Paper Doll’s overall outfit.

OLYMPUS DIGITAL CAMERA

Glue the pieces down onto your Paper Doll.

OLYMPUS DIGITAL CAMERA

The lovely lace patterns in our Lace Paper are perfect for adding little details and embellishments to your Paper Doll’s outfit. Trace around the outside of your doll’s sleeve/arm area if needed.

OLYMPUS DIGITAL CAMERA

Cut scalloped edges with special scrapbook scissors or develop an advanced scissor skill by cutting a wavy line! Glue the strips down onto the edges of the separate clothing pieces.

OLYMPUS DIGITAL CAMERA

Even use the Lace Paper to make the hair! Cut out little sections and wisp the ends.

OLYMPUS DIGITAL CAMERA

Here is another example of how you can combine lovely patterns of the Fabric Paper! Explore wonderful, wacky combinations and make your characters come to life!

Bundle Savings

Get all the Roylco items used
in this project and save 15%!

$21.90 USD
bundled price
Add Bundle
to Cart

Line-03

Thanks for checking out this post! Like us on FacebookShare this post with your friends, or Subscribe to this blog today to receive original craft project updates every Monday, Wednesday and Friday!

Flag Designer

2015-06-15-FeatureImage

Create your own beautiful flags or duplicate your country’s flag with our Flag Designer kit

Use the blank card flags to initiate discussion about country flags and their symbolism. Talk about your own country’s flag and what the colors or images on the flag represent. You can even broaden the discussion to include the country flags for students of different nationalities.

You can make the project more interesting if you encourage children to design their own flags for a favorite team, make-believe country or for a special club.

Provide your students with scrap paper on which to first design their flags. Use crayons, markers or pencil crayons to color in your flags.

Pin up the finished flags for a classroom display!

Here are some other great project ideas you can incorporate in your unit study about flags:

• Make a flag windsock using a super-cool color resist technique!

• Hang your flags together with a Paper Hand Wreath to celebrate diversity in the classroom!

Line-20

Like us on FacebookShare this post with your friends, or Subscribe to this blog today to receive original craft project updates every Monday, Wednesday and Thursday!

Craft Spotlight: Winter Classroom Mobile

Feature-Image-WinterClassMobileNeed a festive decoration for your classroom? How about a decoration that every student can partake in making? Try the wonderful R51301 Winter Classroom Mobile! Divide your classroom into groups to each decorate their own mobile–then hang it above their desks!

The Winter Mobile features 36 winter-themed ornaments that can be hung from the frame. Use crayons, paint, markers or collage materials to decorate the shapes! There are enough ornaments in the Winter Mobile pack for each student to decorate at least one!
First make the mobile frame. We’ve included a detailed guide with pictures to help you construct the mobile frame. Use the provided Straws and Connectors to assemble the frame. Watch the video below for details!

Decorate the frosted-look ornaments and thread some string through the holes in the top to hang them from the mobile.

R51301

Building a mobile opens up plenty of opportunities to learn some interesting lessons. Talk about the science of air movement (how air particles bounce off the ornaments to always keep them in motion). Encourage teamwork and individual development through decorating and assembling the mobile. You can even incorporate a lesson on learning about multicultural winter celebrations.

Note: The ornaments included in the mobile kit are meant to be universal for all winter celebrations. If children would like to add their own ornaments to the mobile, encourage them to do so!

Line-07Thanks for checking out this Monday post! If you’d like to be featured in one of our posts, send us photos of your students’ work to subscriber@roylco.ca! Looking forward to hearing from you!