Flag Designer

2015-06-15-FeatureImage

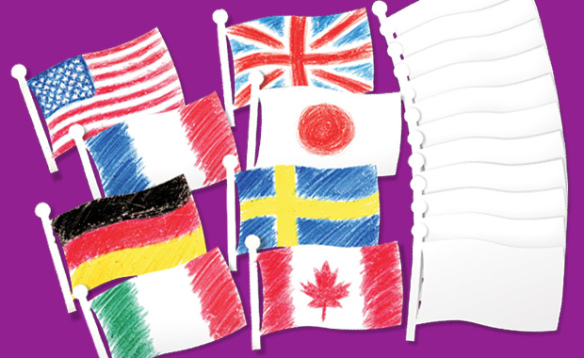
Create your own beautiful flags or duplicate your country’s flag with our Flag Designer kit

Use the blank card flags to initiate discussion about country flags and their symbolism. Talk about your own country’s flag and what the colors or images on the flag represent. You can even broaden the discussion to include the country flags for students of different nationalities.

You can make the project more interesting if you encourage children to design their own flags for a favorite team, make-believe country or for a special club.

Provide your students with scrap paper on which to first design their flags. Use crayons, markers or pencil crayons to color in your flags.

Pin up the finished flags for a classroom display!

Here are some other great project ideas you can incorporate in your unit study about flags:

• Make a flag windsock using a super-cool color resist technique!

• Hang your flags together with a Paper Hand Wreath to celebrate diversity in the classroom!

Line-20

Like us on FacebookShare this post with your friends, or Subscribe to this blog today to receive original craft project updates every Monday, Wednesday and Thursday!

Project Spotlight: 3D Ornaments

2014-12-15-FeatureImage

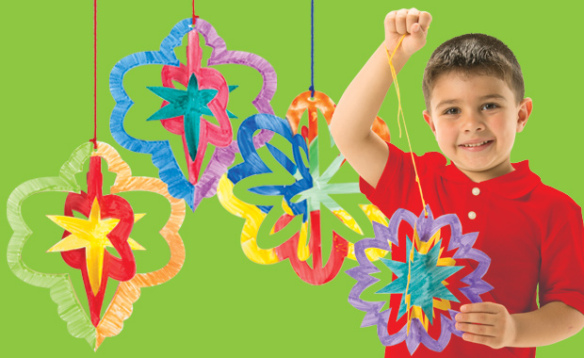
Decorate with color this season! Fold up beautiful ornaments with our special designs–use paint, crayons or markers to color in the shapes.

Each of the R51081 3D Ornaments are die-cut into 3 folding designs. This means that when folded, the card ornament transforms into a beautiful arrangement that can be hung from the ceiling or as a part of a giant seasonal mobile.

20141127_112219

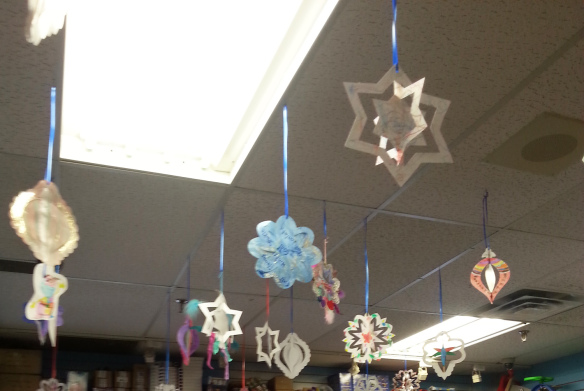
This photo was taken in Simply Wonderful Toys in Guelph, Ontario. They decorated the ceiling using our 3D Ornaments! The ornaments were given to children to color and collage while they waited for parents to finish shopping.

51081-3D-Ornaments-art_4

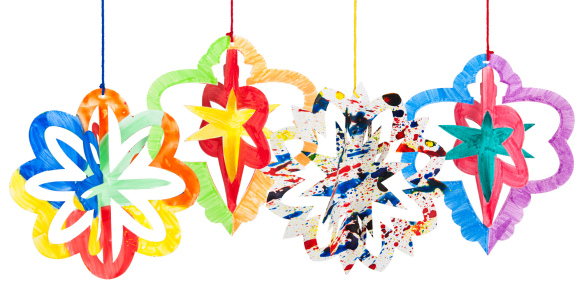
Here’s a look at some of the ways you can decorate the ornaments. Use paint or markers to color in alternating sections of the ornament. Splatter paint blobs across the ornament to give your design a retro tie-dye effect. Experiment with different paint techniques to make your ornament stand out!

51081-3D-Ornaments-girl

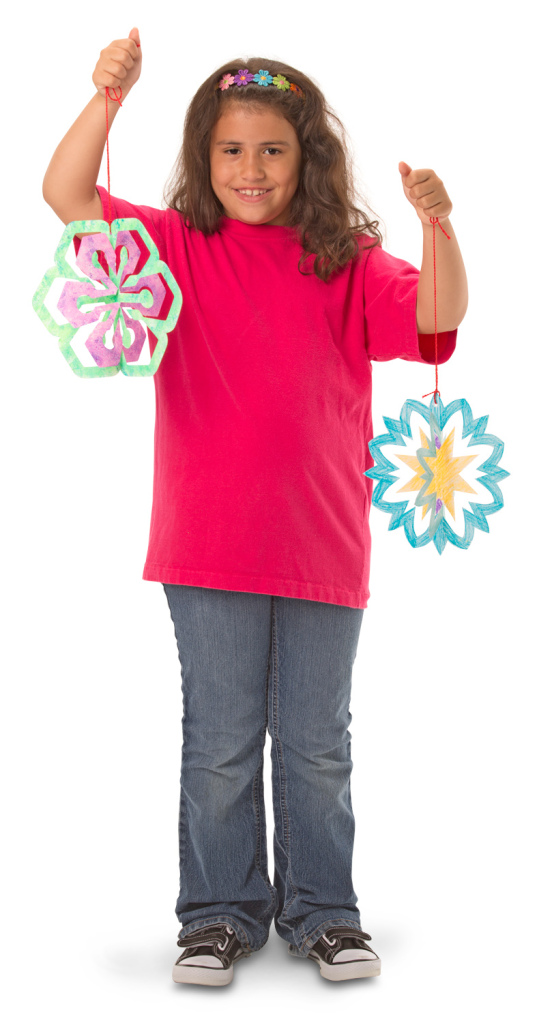
All finished decorating! Pop out the ornament along the scored lines and fold each layer of the ornament towards opposite sides. Thread some string through the pre-punched hole at the top of the ornament and hang.

Line-08


Like us on FacebookShare this post with your friends, or Subscribe to this blog today to receive original craft project updates every Monday, Wednesday and Friday!

Little Fingers Big Art won’t be posting from now until the week of January 5th, 2015. Enjoy a safe and prosperous holiday! See you in the NEW YEAR! Check back for more incredible arts and crafts projects in your classroom. All the best, from all your friends at Roylco!

New Year’s Masquerade Masks

2014-12-10-FeatureImage

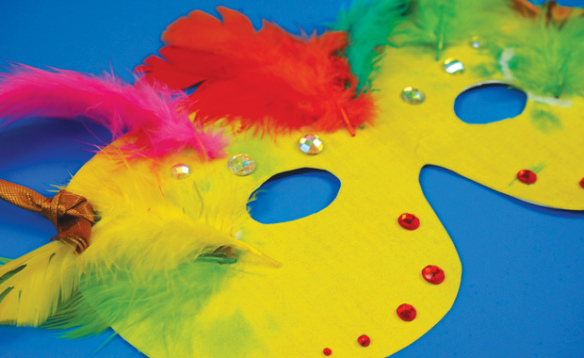
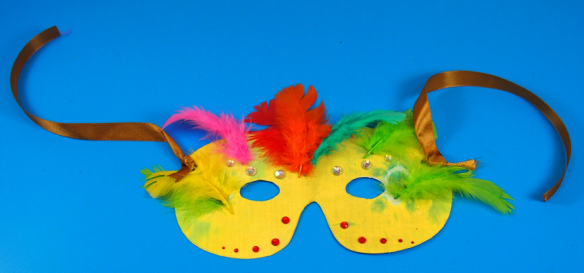
This year’s New Year’s party will be a blast with fancy custom-made masks! Celebrate the past year and what the New Year will bring!

Age: 5+

Duration: 10-20 minutes

Learning Objectives: 

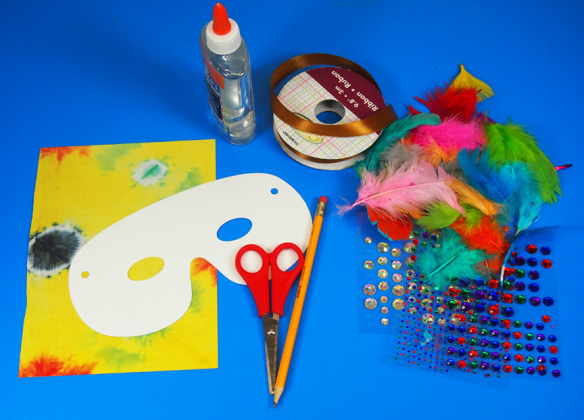
You’ll Need:

R15623 Tie Dye Paper

R22020 Color-In Masks

• Glue

• Scissors

• Pencil

• Rhinestones or sticker jewels

• Feathers

• Hole punch

• Decorative ribbon

Line-15

Encourage your students to think of their New Years masks as a reflection of their creative expression. So go crazy with it! Bring out your stock of decorative materials from the craft closet–look for things like sequins, bright, shiny beads or buttons, rhinestones, tinsel and more!

P1015837

Gather up your plethora of decorations for the masks! You don’t need to use a full sheet of the Tie-Dye Paper to decorate the mask; in fact, it would make sense to cut each sheet in half and divide the halves between two students.

P1015840

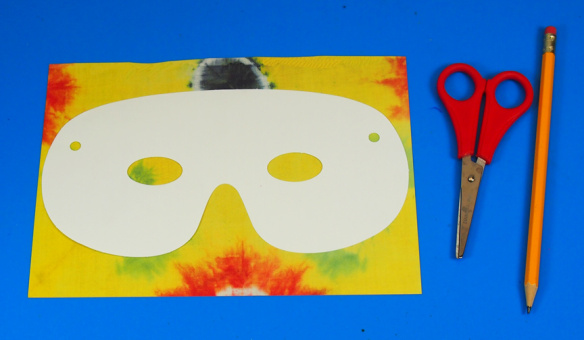
Place the Color-In Mask onto the Tie-Dye Paper and trace around the outside edges with pencil. Be sure to mark those eye holes as well as the pre-punched holes on the sides!

P1015841

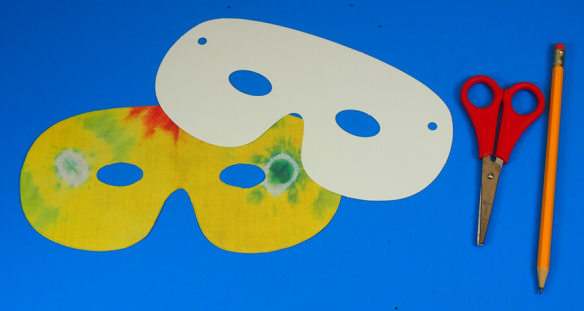
Cut out the Tie-Dye Paper along the traced lines.

P1015843

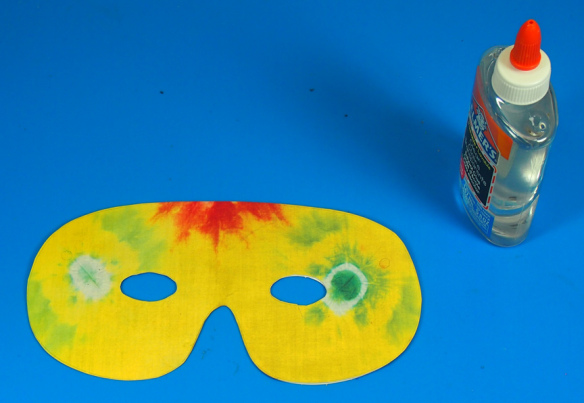
Glue the Tie-Dye Paper cutout directly on top of the Color In Mask.

P1015848

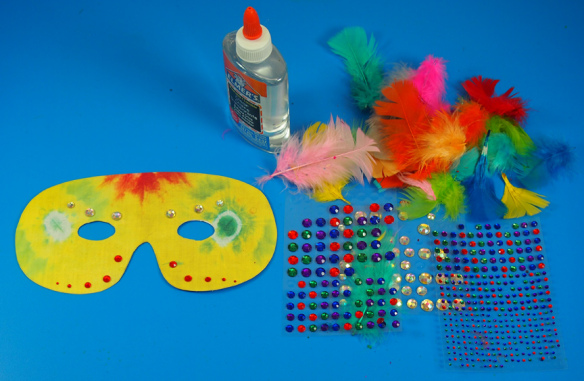
Pick out your assortment of decorative items. Start adding details to your mask! Make patterns with the sequins or rhinestones, trace the outlines of the eyeholes or the edges of the mask.

P1015849

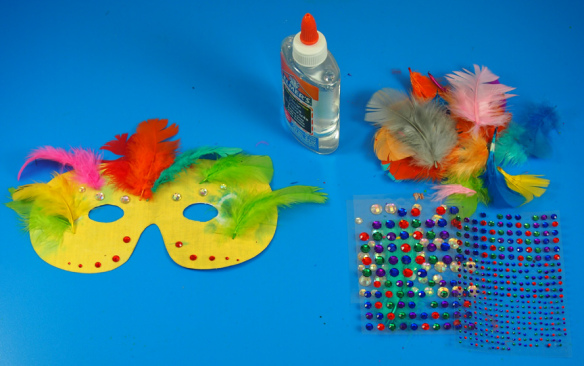
At this stage, I’ve decided to add decorative feathers to the mask. This adds a bit of flair! You can use hot glue, but regular white glue works fine as well. Simply press and hold down the feather shaft for 30 seconds. If the feather pops away from the paper, dab a bit of glue onto the feathery strands and press down onto the paper.

P1015850

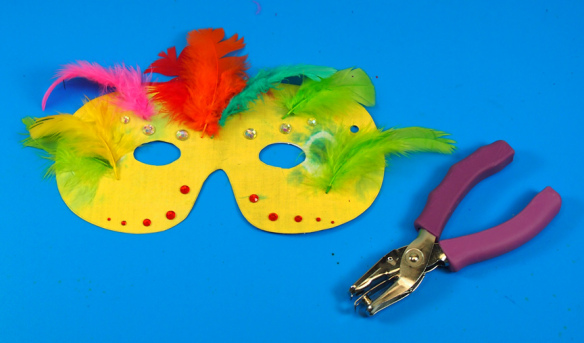
Finally, punch holes through the Color-In Mask on either side.

P1015854

Attach a strand of ribbon onto each side of the mask. It’s a good idea to make two strands of ribbon for each mask, as it is easier to tie the mask around students’ heads. This is a great take-home project for kids before they head home for the holiday season!

Line-15

Like us on FacebookShare this post with your friends, or Subscribe to this blog today to receive original craft project updates every Monday, Wednesday and Friday!

Craft Spotlight: Wild Flower Paper Bits

2014-09-28-FeatureImage

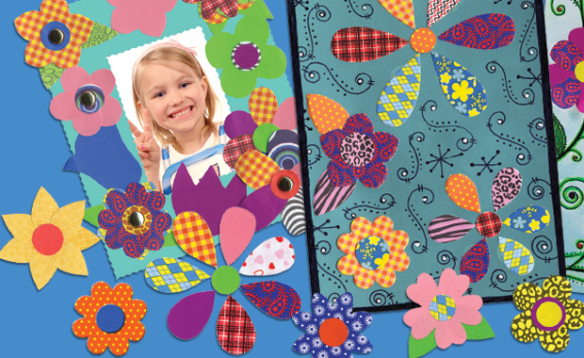
Try out our Wild Flower Paper Bits and decorate scenes, book covers, picture frames and more this season!

Our R15657 Wild Flower Paper Bits come with an assortment of flower shapes, petals, flower centers in a range of colors and patterns.

Pop out the various flower bits from the backing and paste down wherever needed. The whimsical designs and bright colors make the paper bits perfect for decorating skulls for Day of the Dead, which takes place on October 31st in Mexico.

Try out some of our project ideas using the DIY YouTube videos below! Check out Cathy’s brief review of our Wild Flower Paper Bits and the variety of projects you can make with the flower cutouts.

In the following video, we show you how to put together your own picture frames with markers, glue and a few of the Wild Flower Paper Bits.

Line-15

Like us on FacebookShare this post with your friends, or Subscribe to this blog today to receive original craft project updates every Monday, Wednesday and Friday!

Craft Spotlight: Stand Up Letters

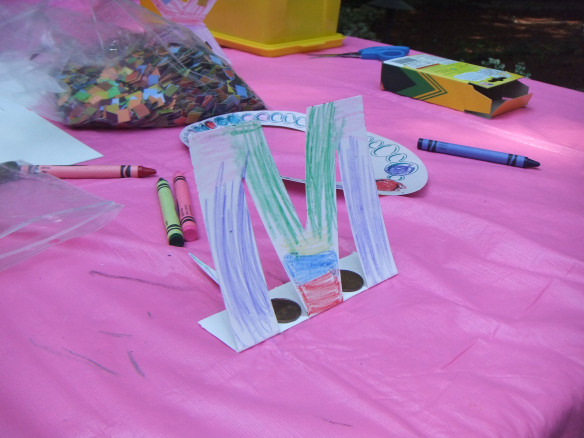
DSCF7019Our newest product addition: R49702 Stand Up Letters! Students can color in and decorate the letters, adding their own unique touch with collage materials, stickers, mosaics and more! The Stand Up Letters are perfect for helping students picture exactly how each letter looks like–since they stand out so well!

Stand Up Letters can be used for a variety of literacy projects! Click on the link to visit our full product webpage.

• Younger students can trace the inside of the Stand Up Letters to help build their fine motor skills and get them prepared for learning how to write the letters individually!

• Older students can spell their names with the letters.

• Draw on images that match the letter (i.e. Cat for the letter ‘C’ and so on).

• Use the letters to teach the differences between consonants and vowels!

• Students can also play a spelling game that’s a version of Boggle Letters! Choose 3-5 assorted consonants and vowels and encourage the students to spell out words with the provided letters.

View more ideas here in the PDF guide!

The Stand Up Letters are made from sturdy card to help reinforce the folded letter when it’s placed upright.

R49702

The video below shows how to set up and decorate the Stand Up Letters.

Line-20

Thanks for viewing this post! Subscribe to our blog to get notified about craft updates every Monday, Wednesday and Friday!