Craft Spotlight: Fabric Mosaics

2014-06-30-FeatureImage
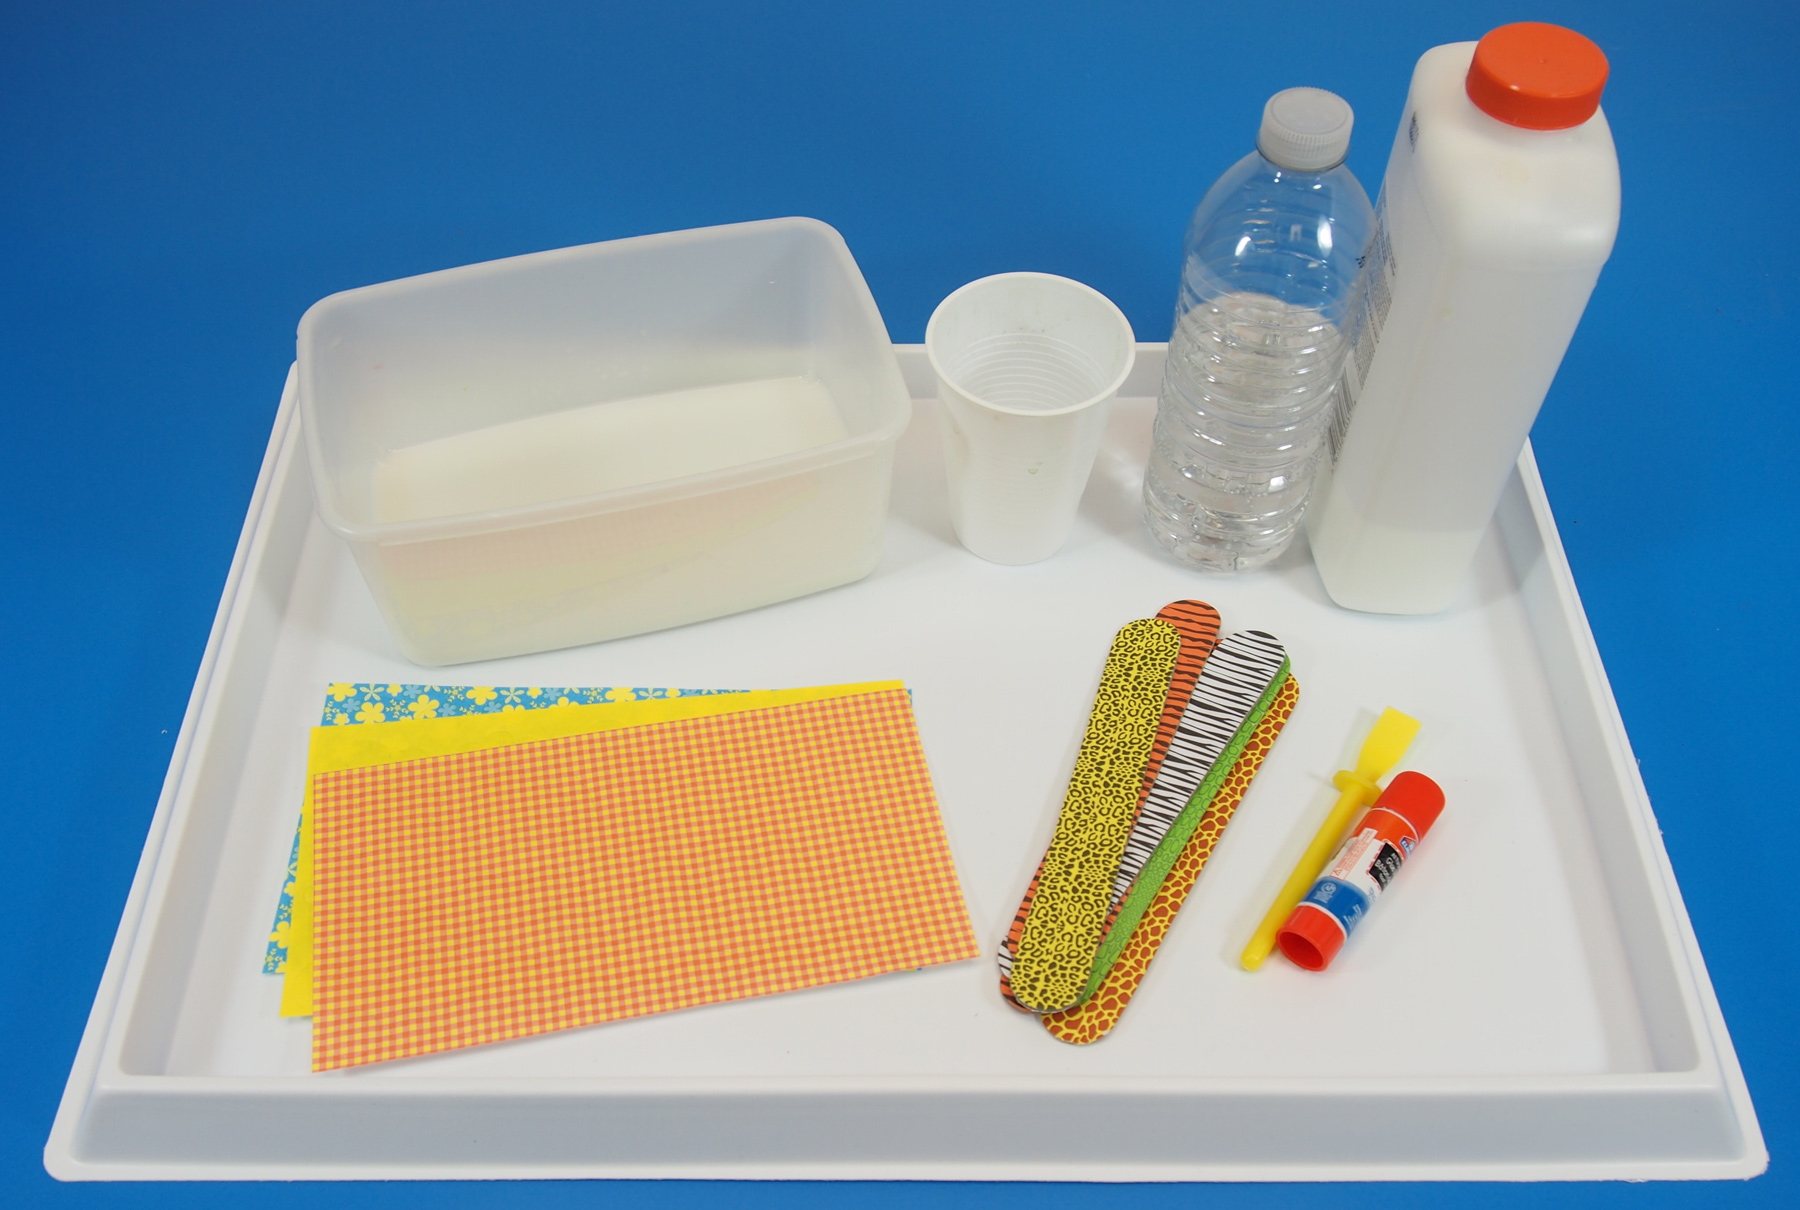
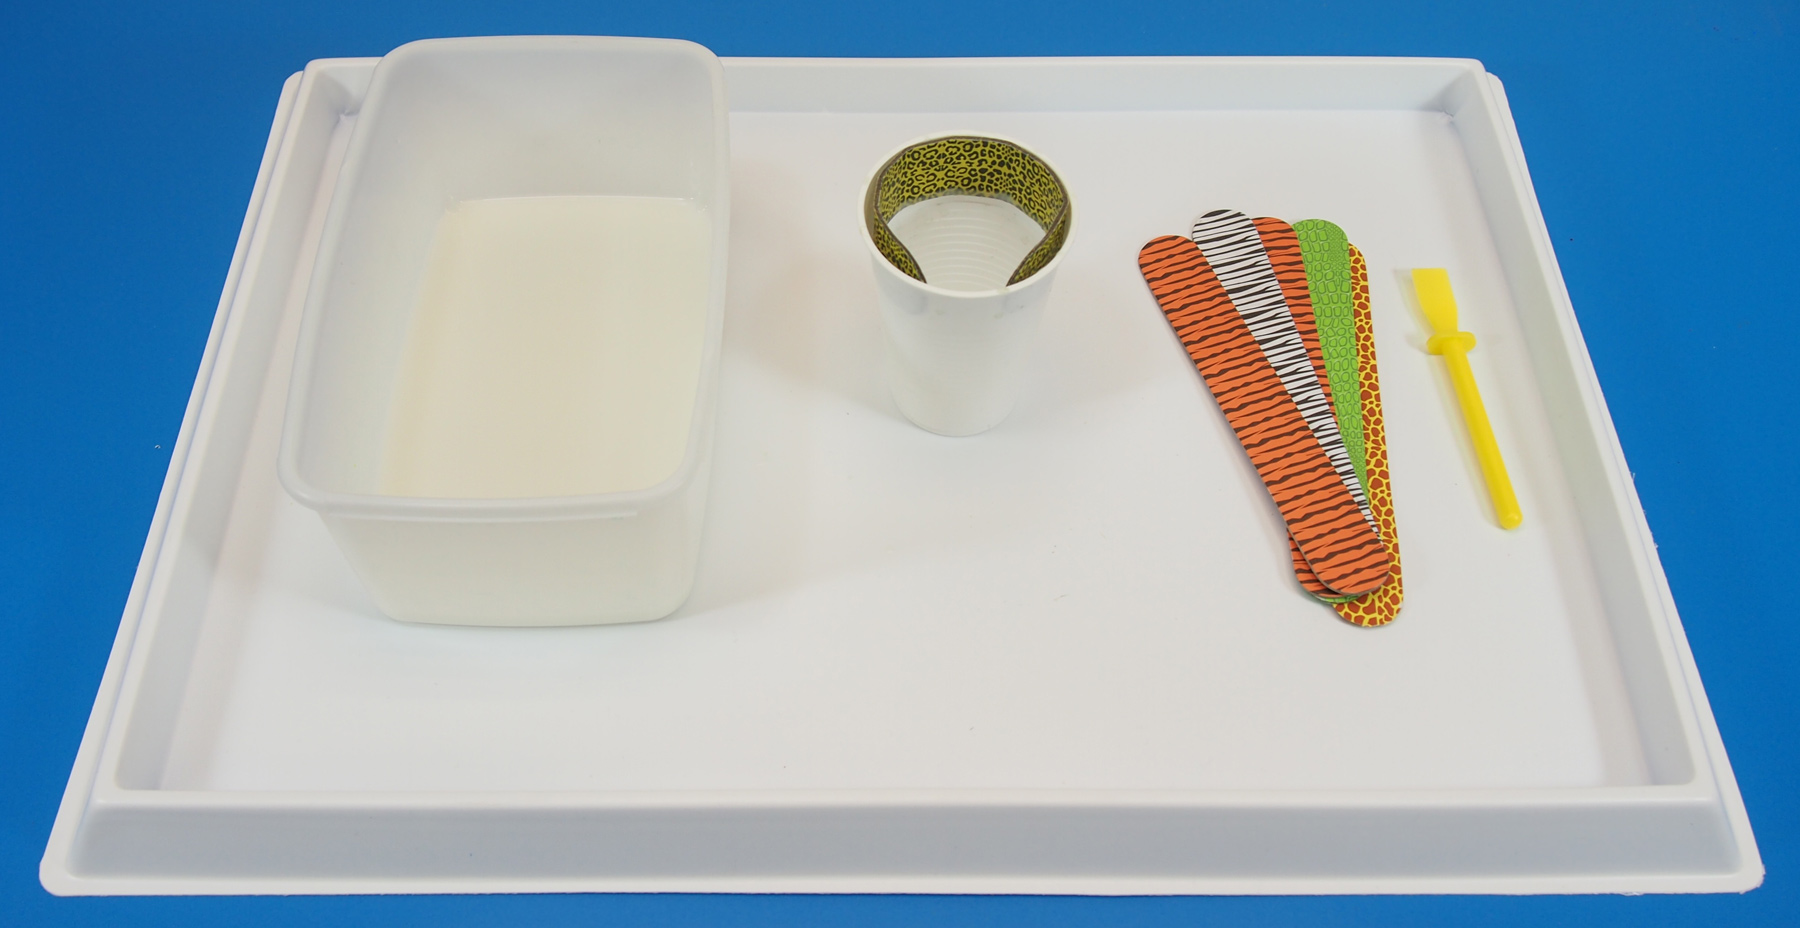
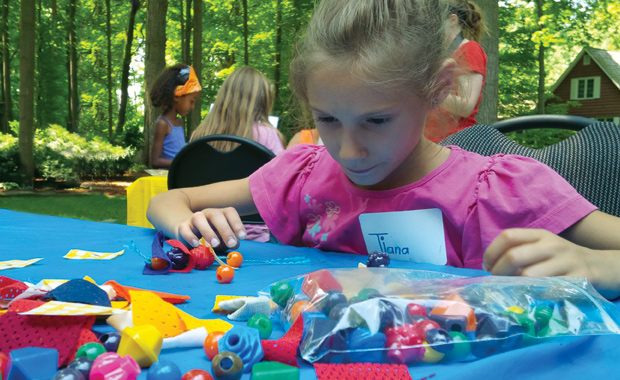
R15651 Fabric Mosaics are great for tactile activities such as beading and stringing! Who knew! At our art camp, we tried out a technique where we interwove Brilliant Beads with Fabric Mosaics on string to make colorful and unique jewelry!_DSC0303
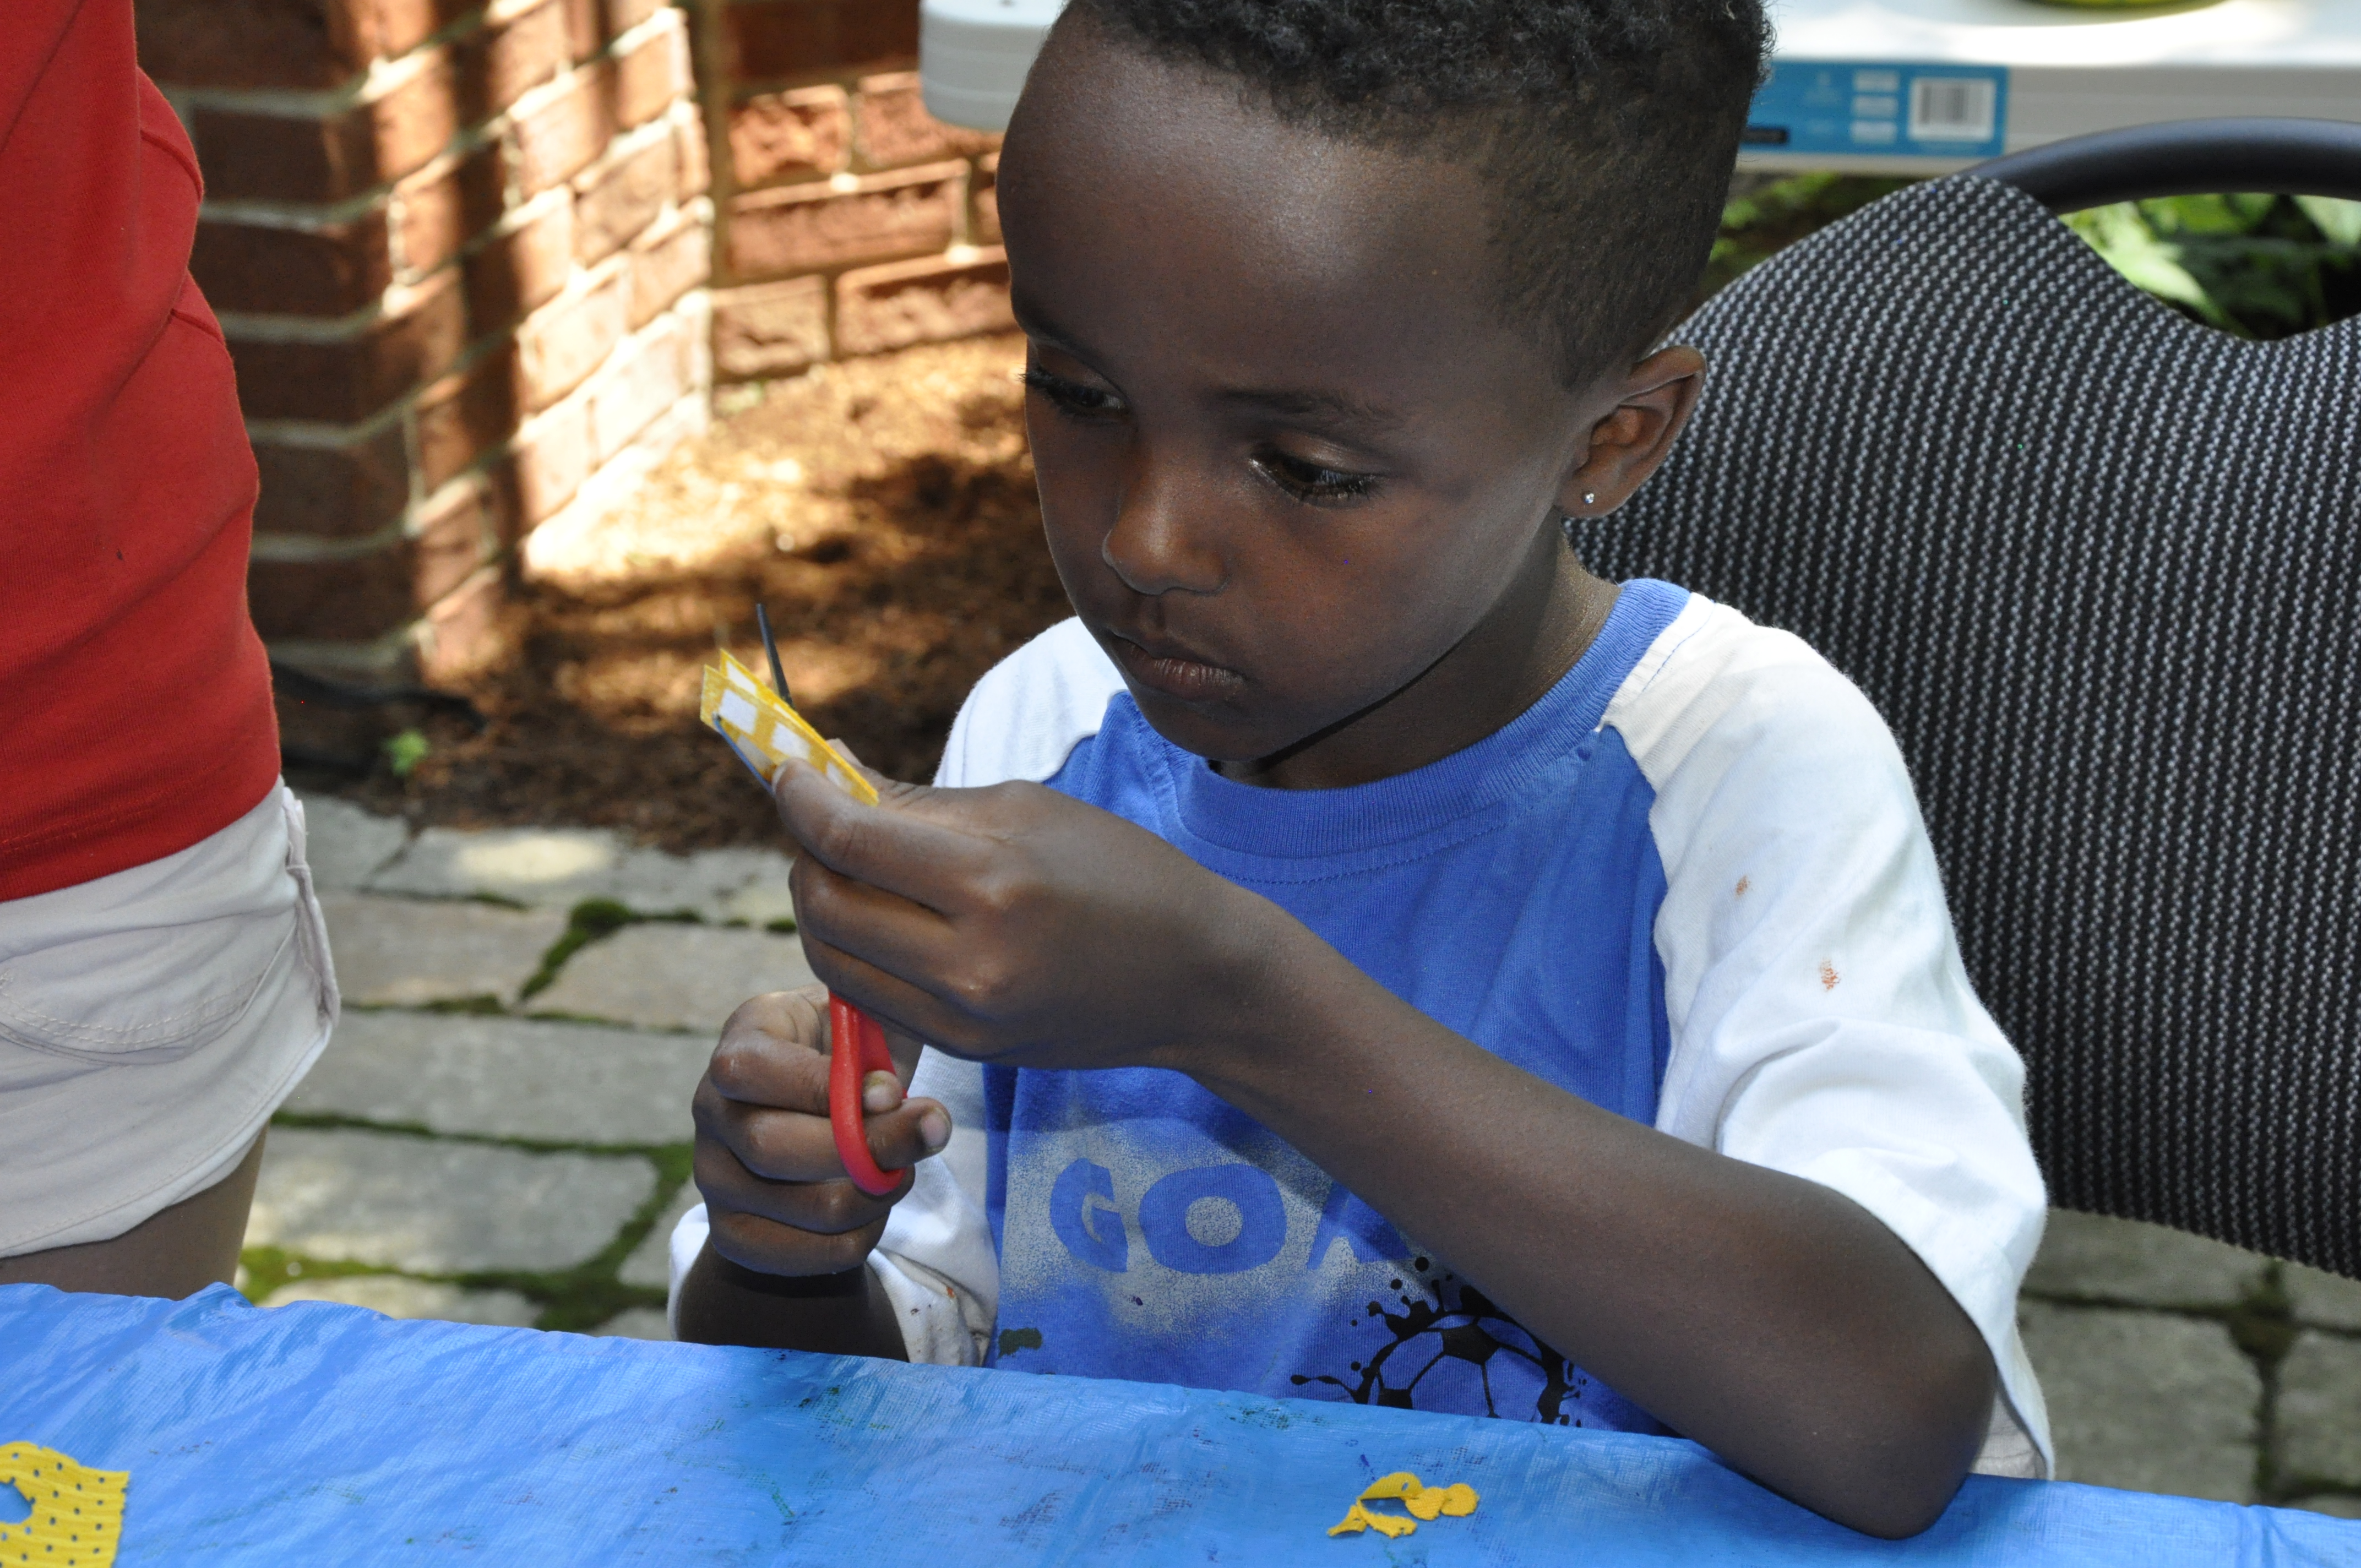
First, we started out by folding the Fabric Mosaics in half and cutting out the center. This made a hole that we could use to string the yarn through. IMG_00000576
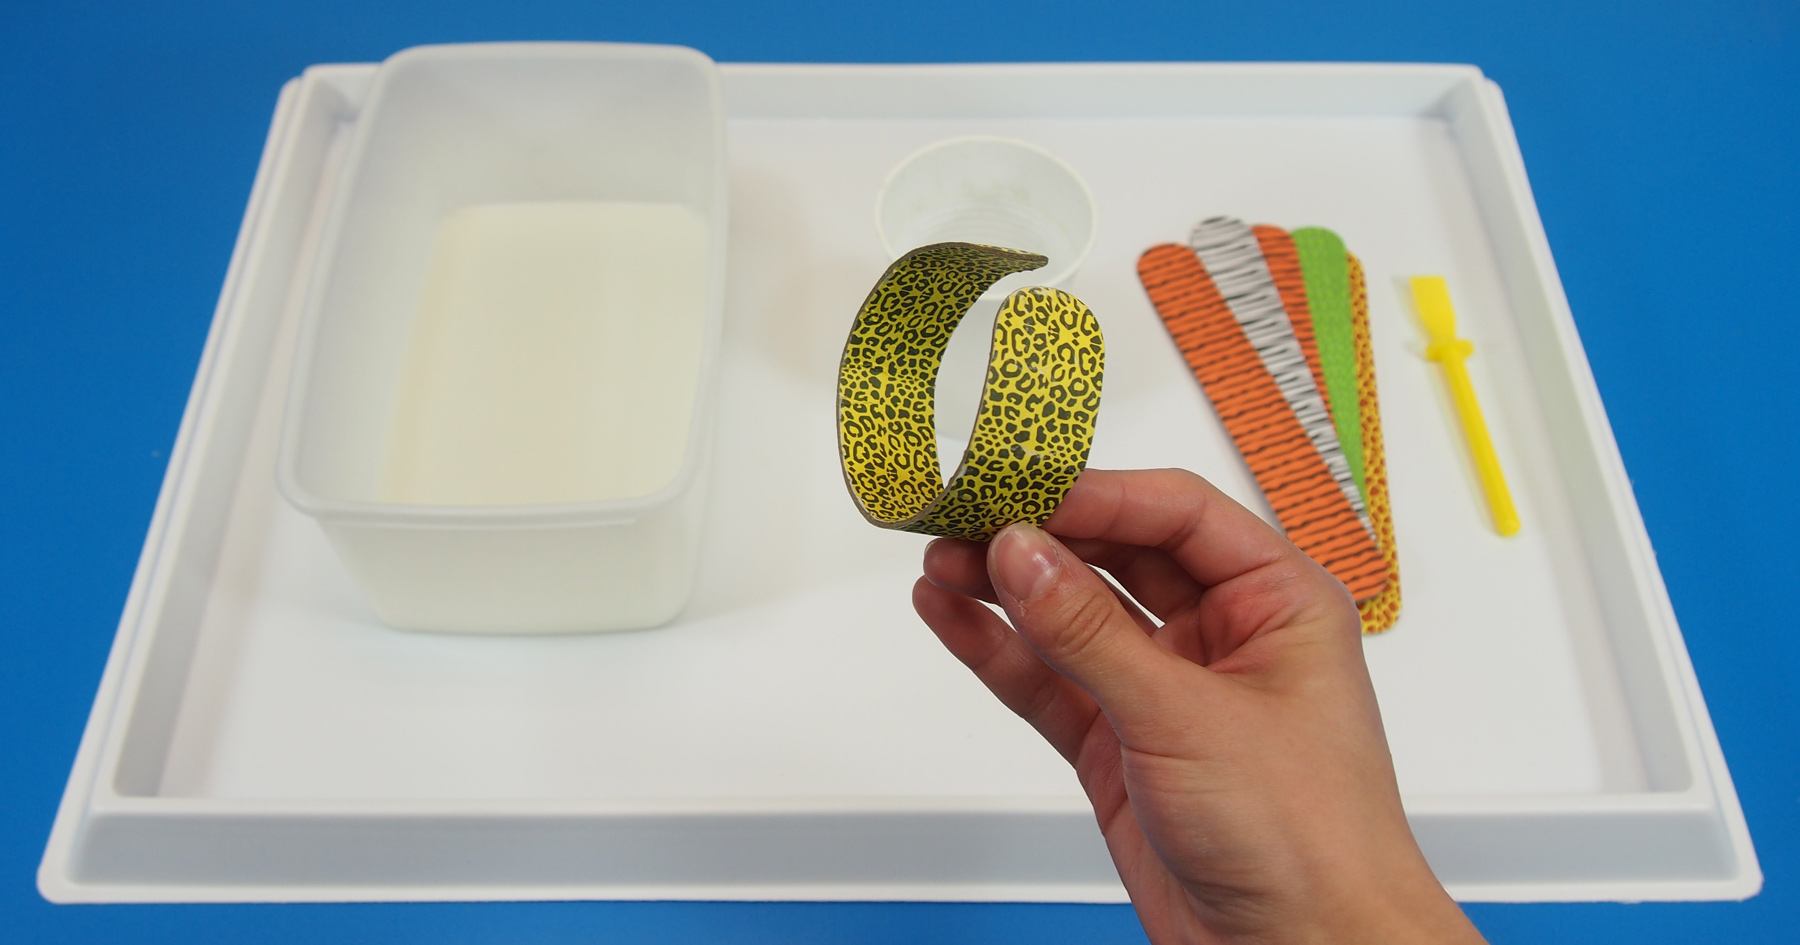
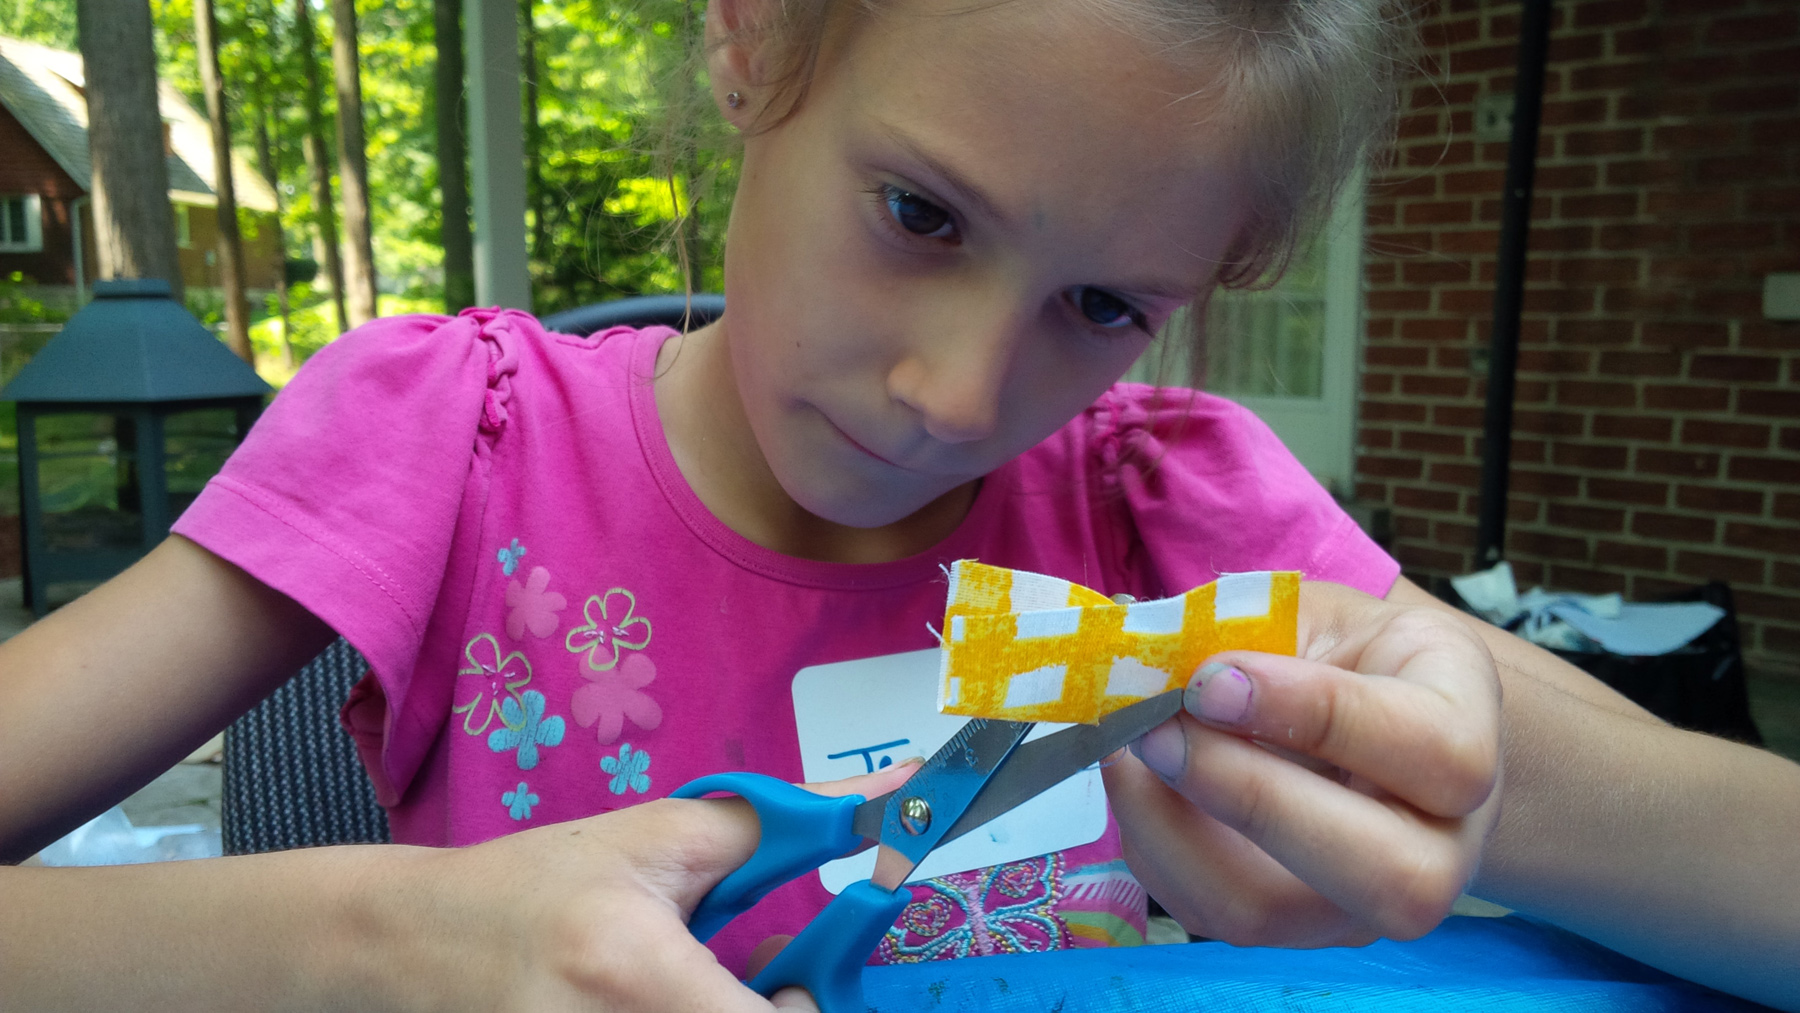
We made sure the kids cut out the centers very carefully. IMG_00000580
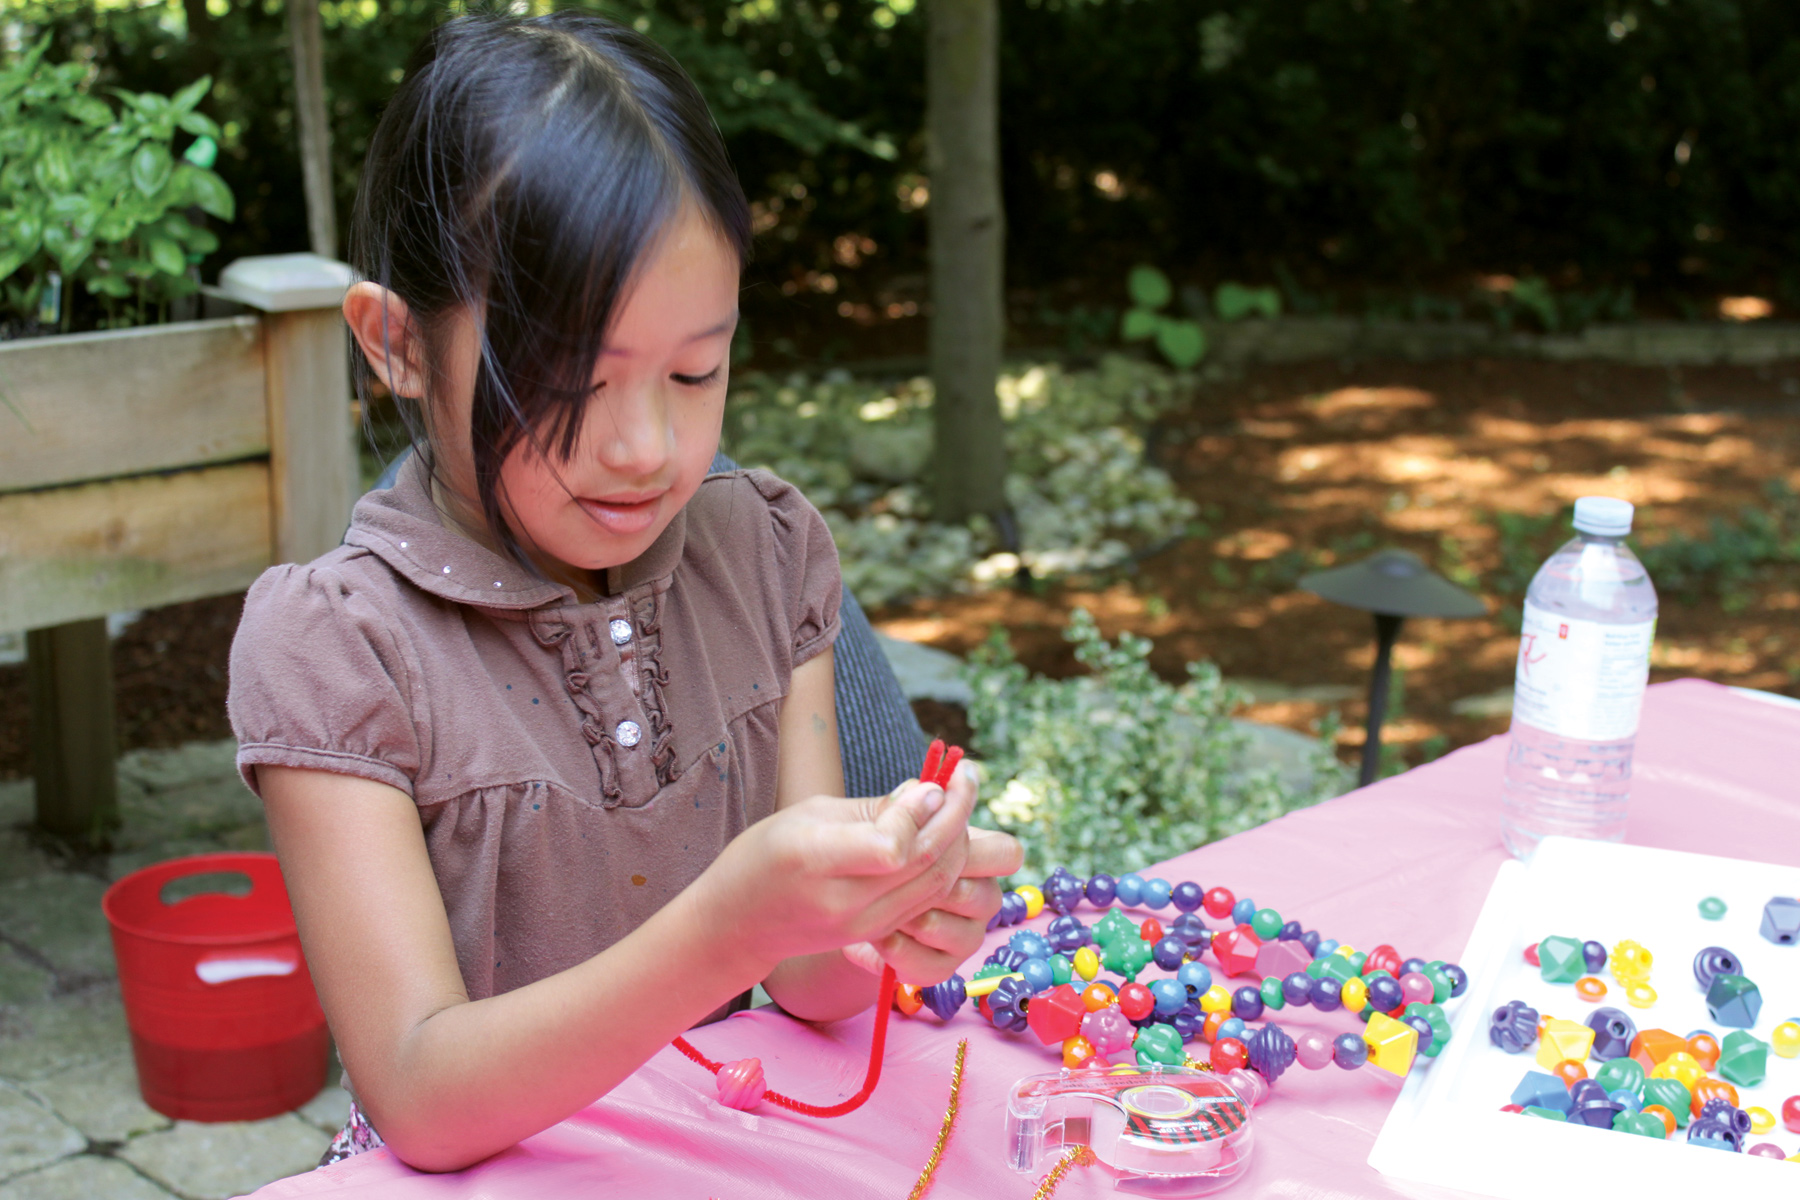
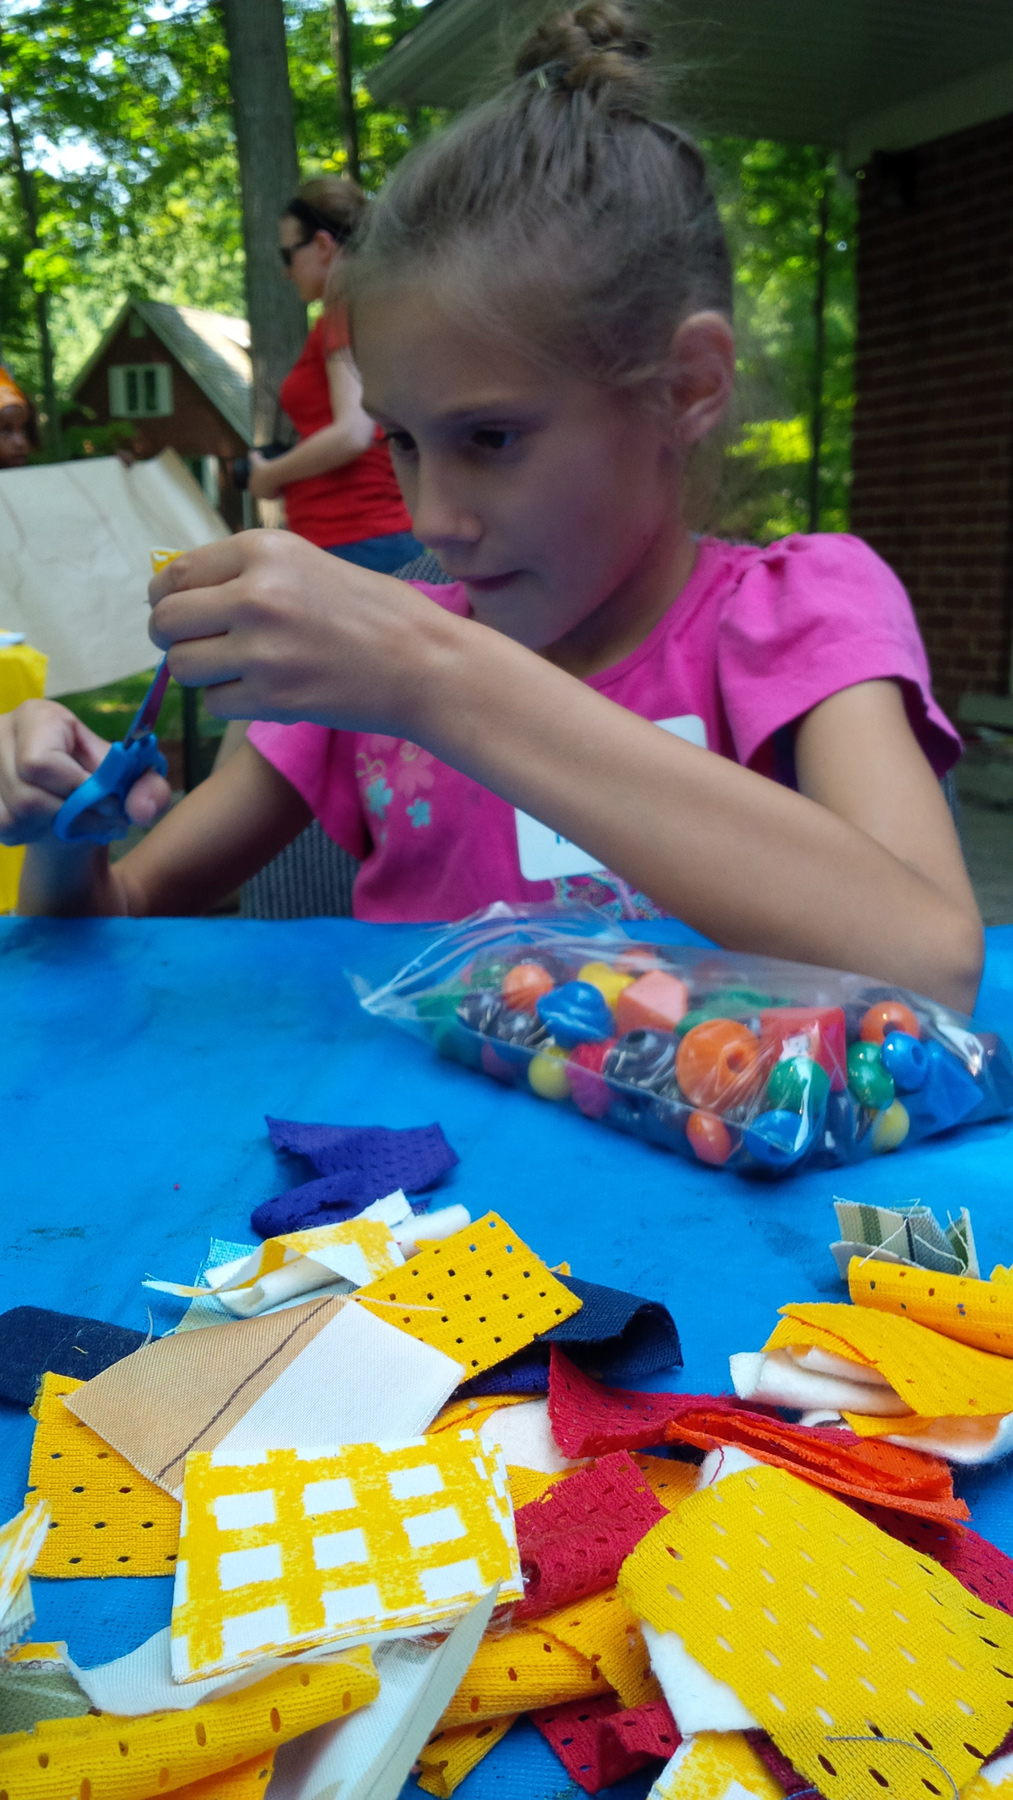
Once all the mosaics were cut, we tied a knot at the end of each length of yarn. IMG_00000587
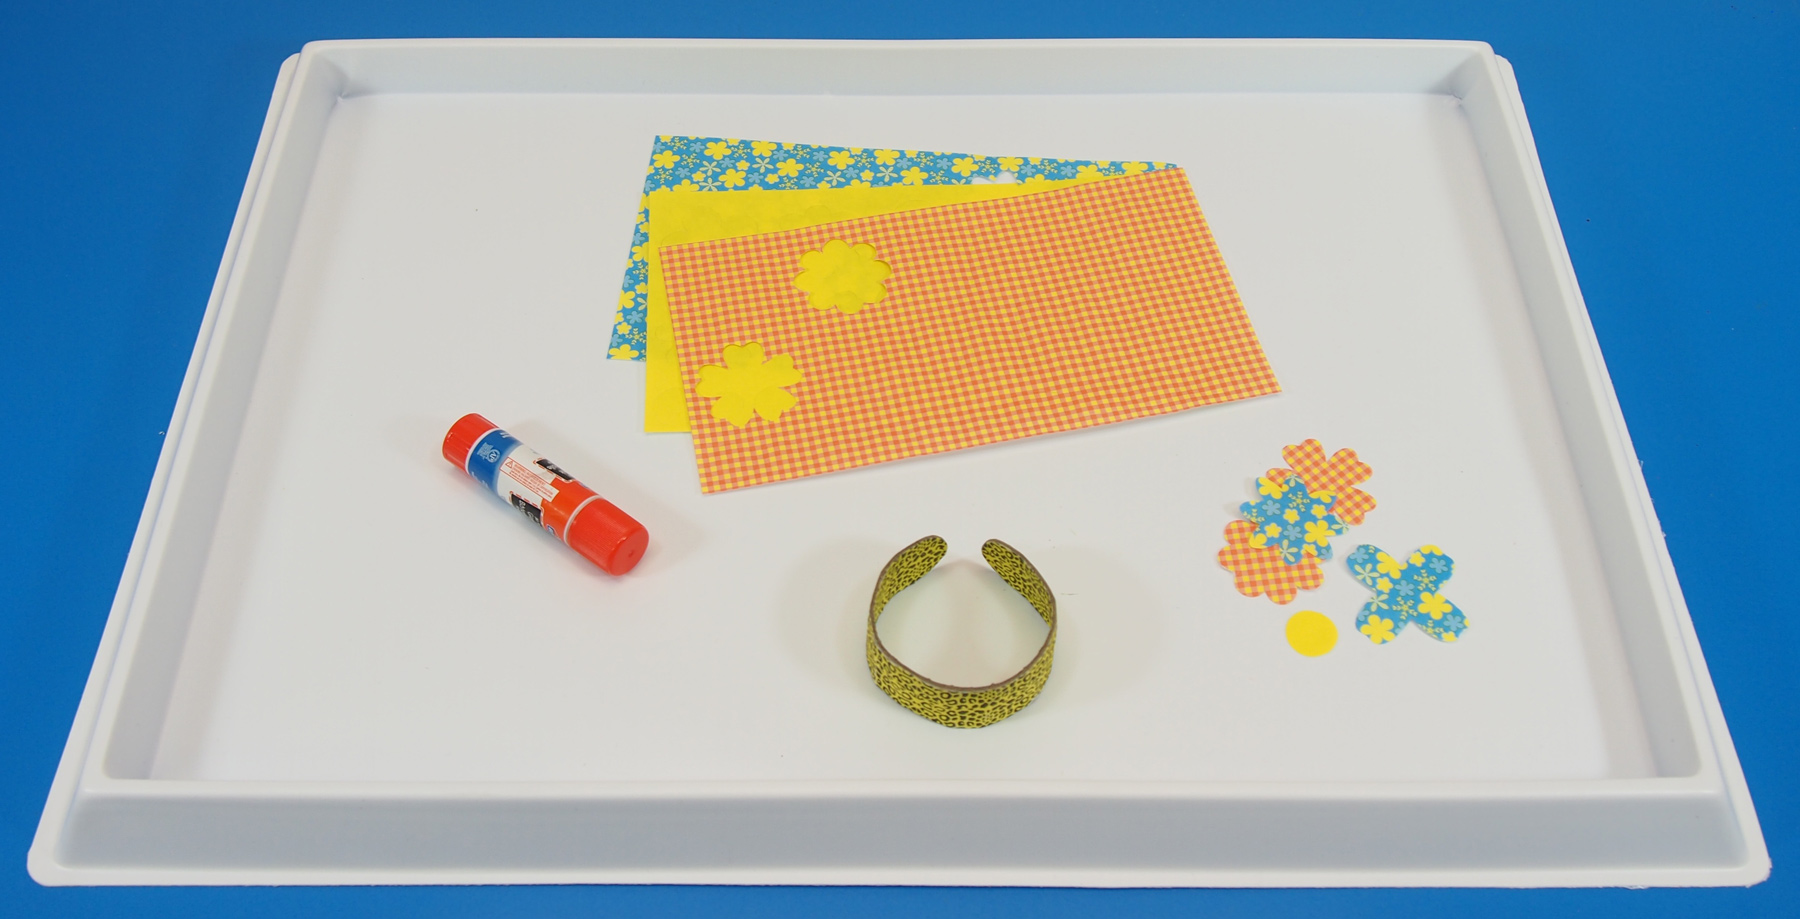
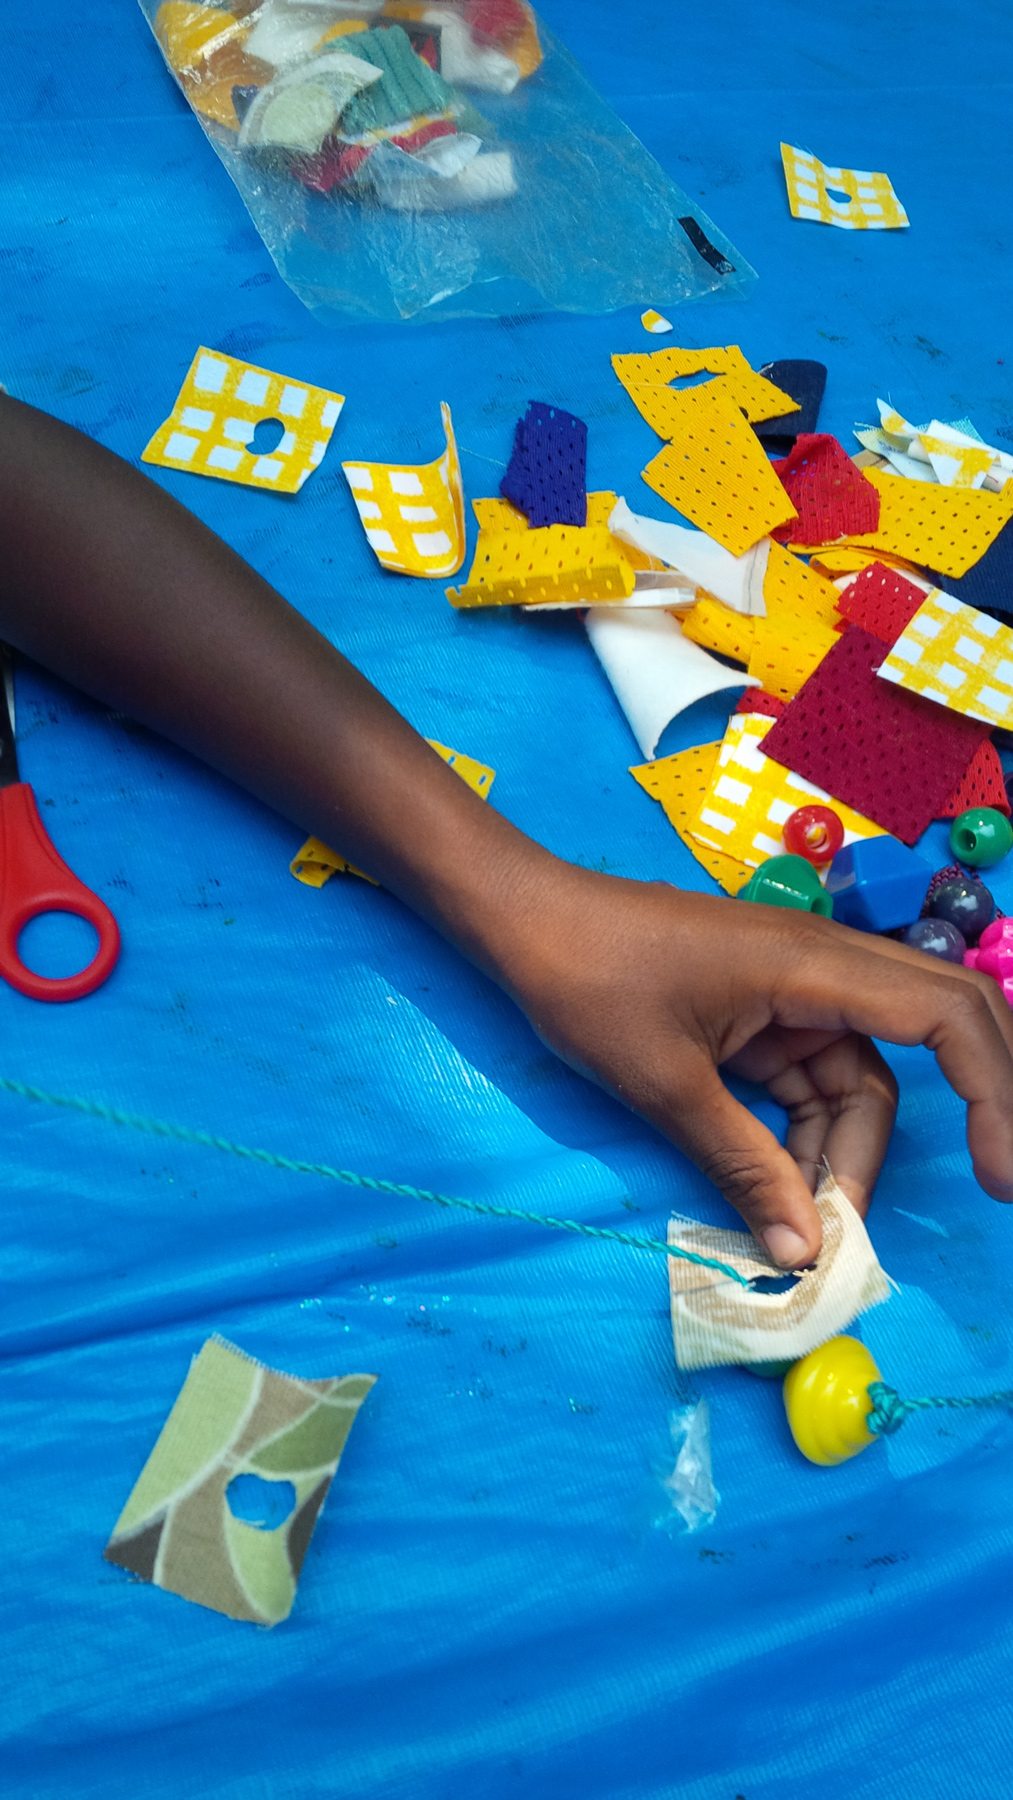
We first strung large Brilliant Beads up against the knots. This made sure that none of the Fabric Mosaics could slip out. IMG_00000588 
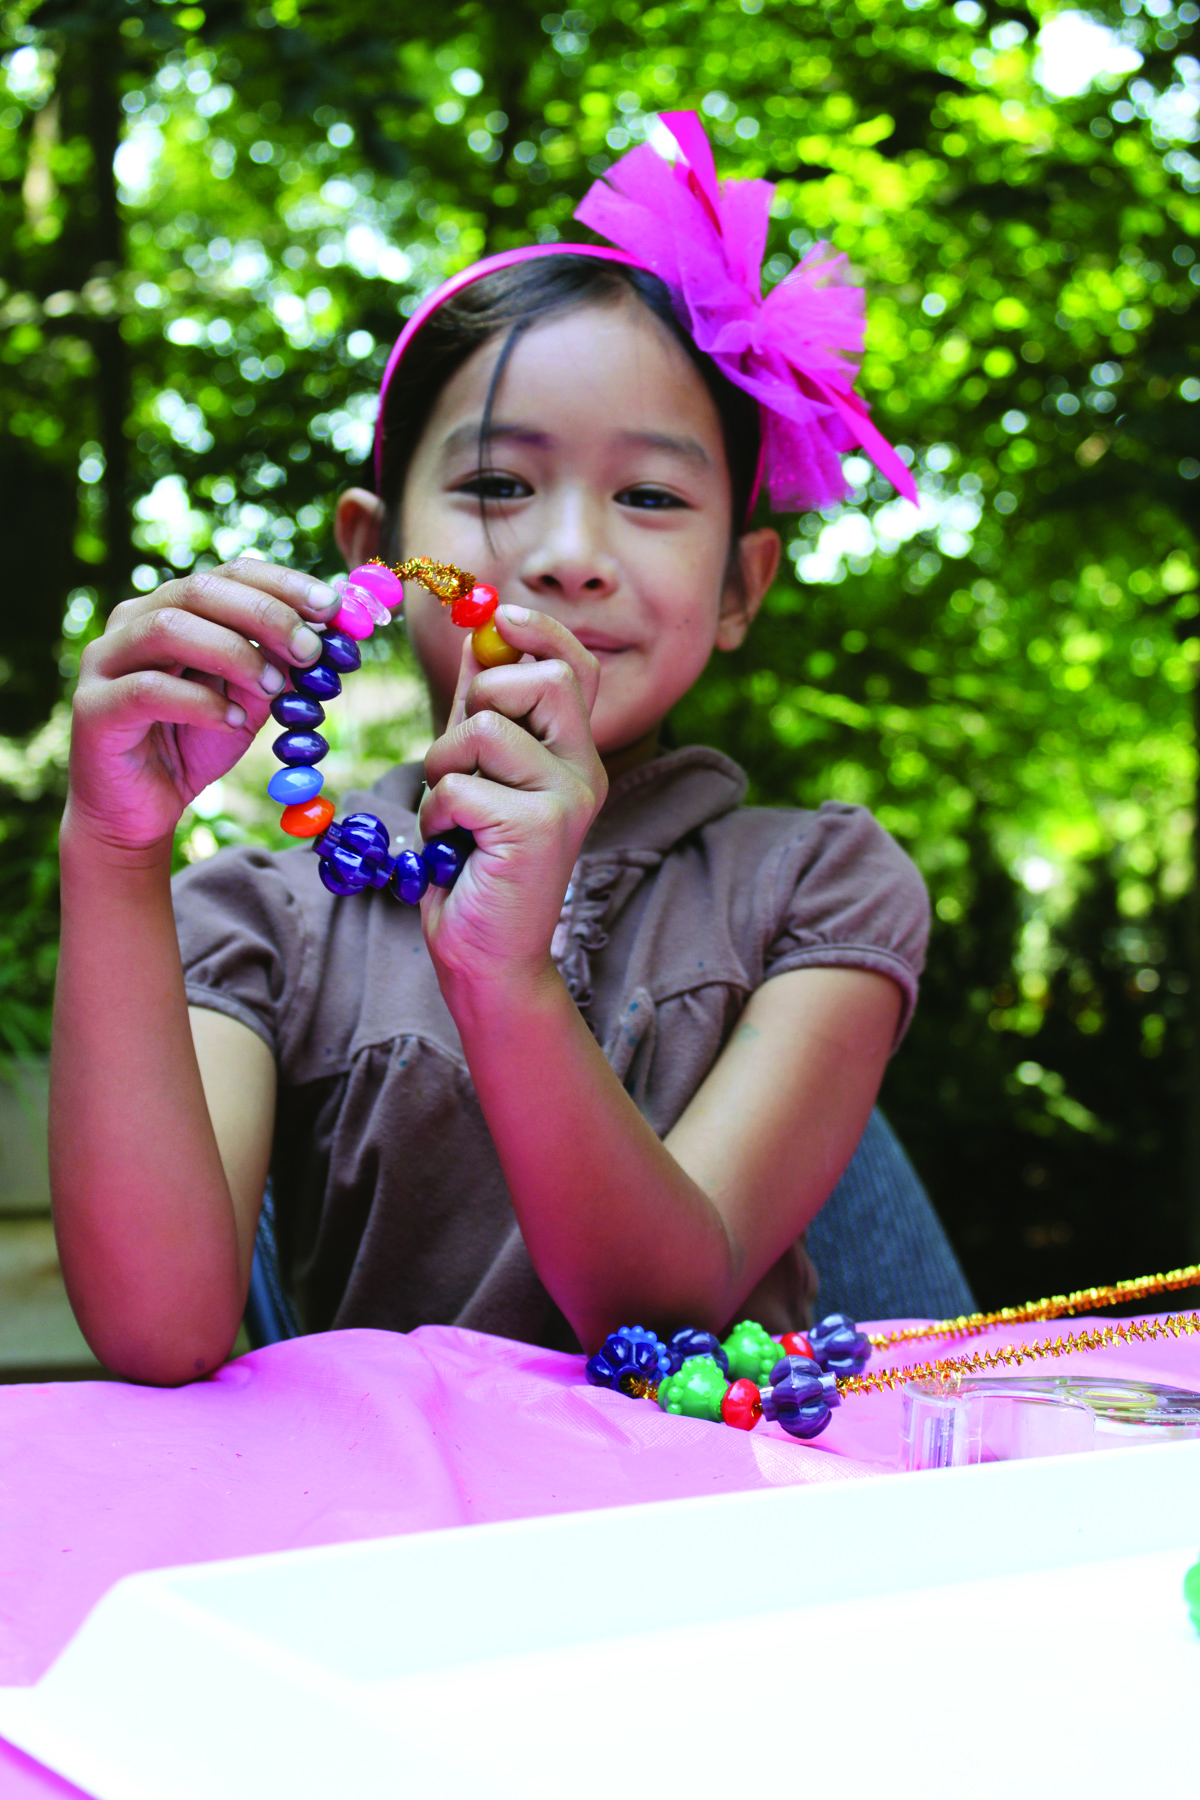
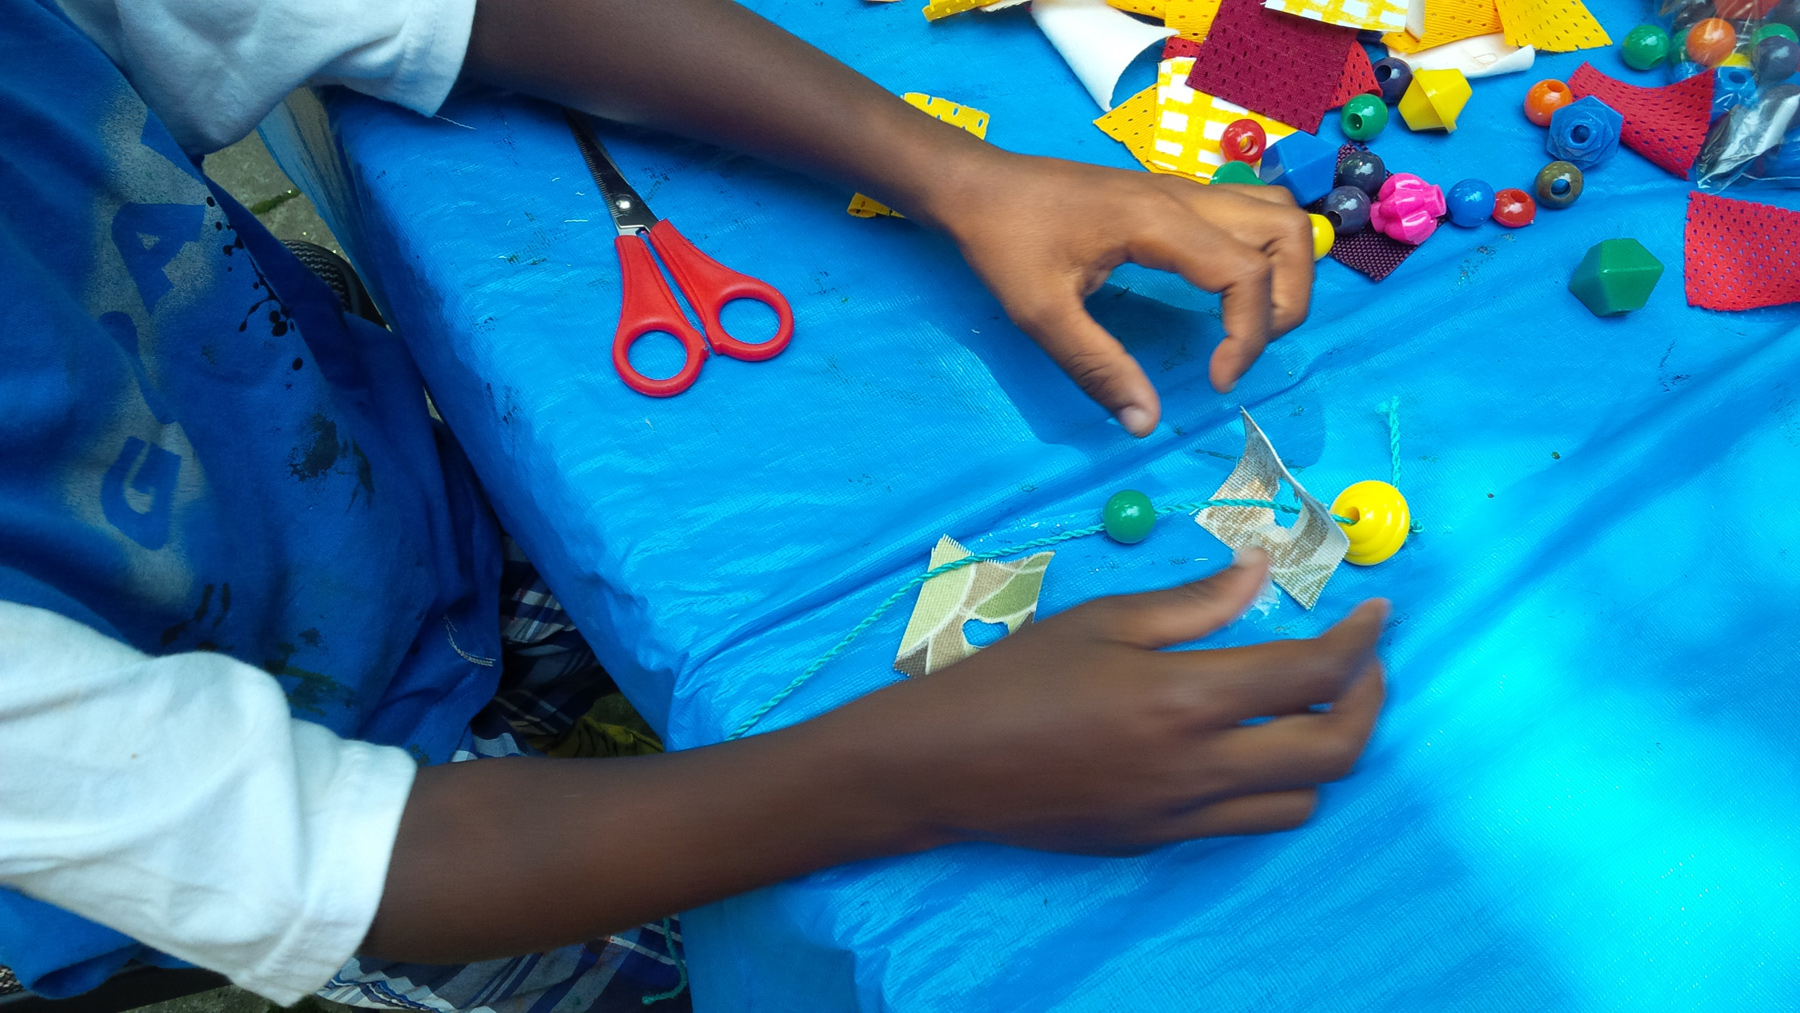
Then we started layering our bead arrangements! IMG_00000596
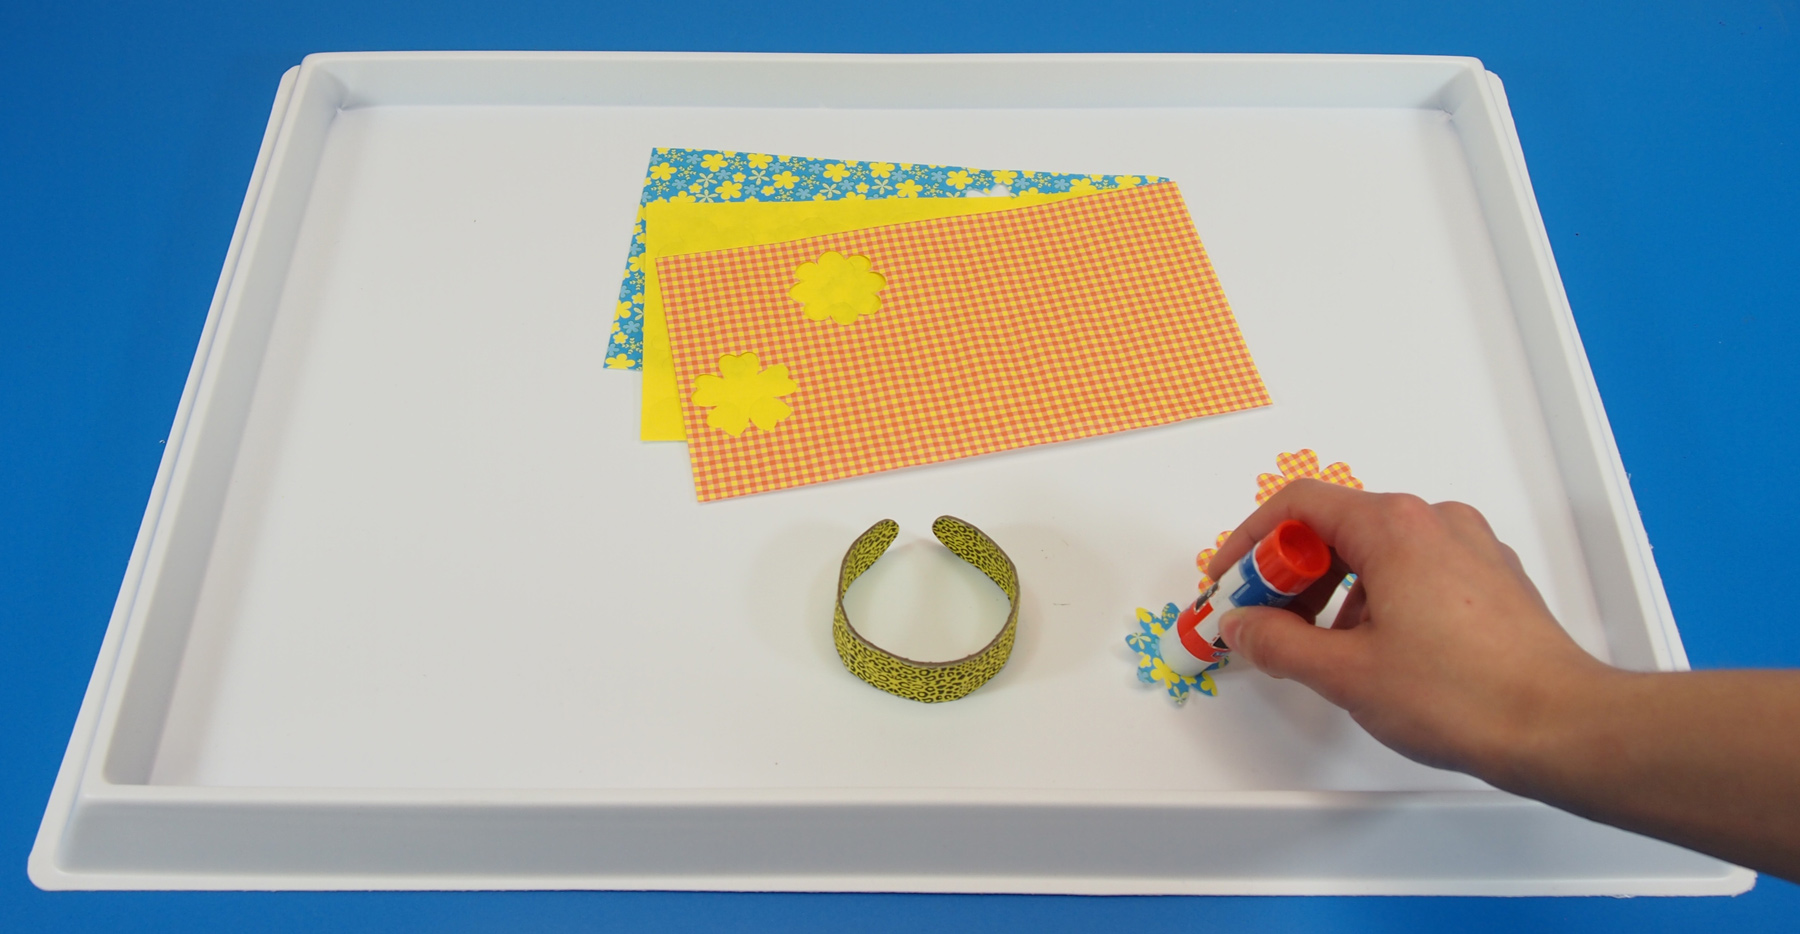
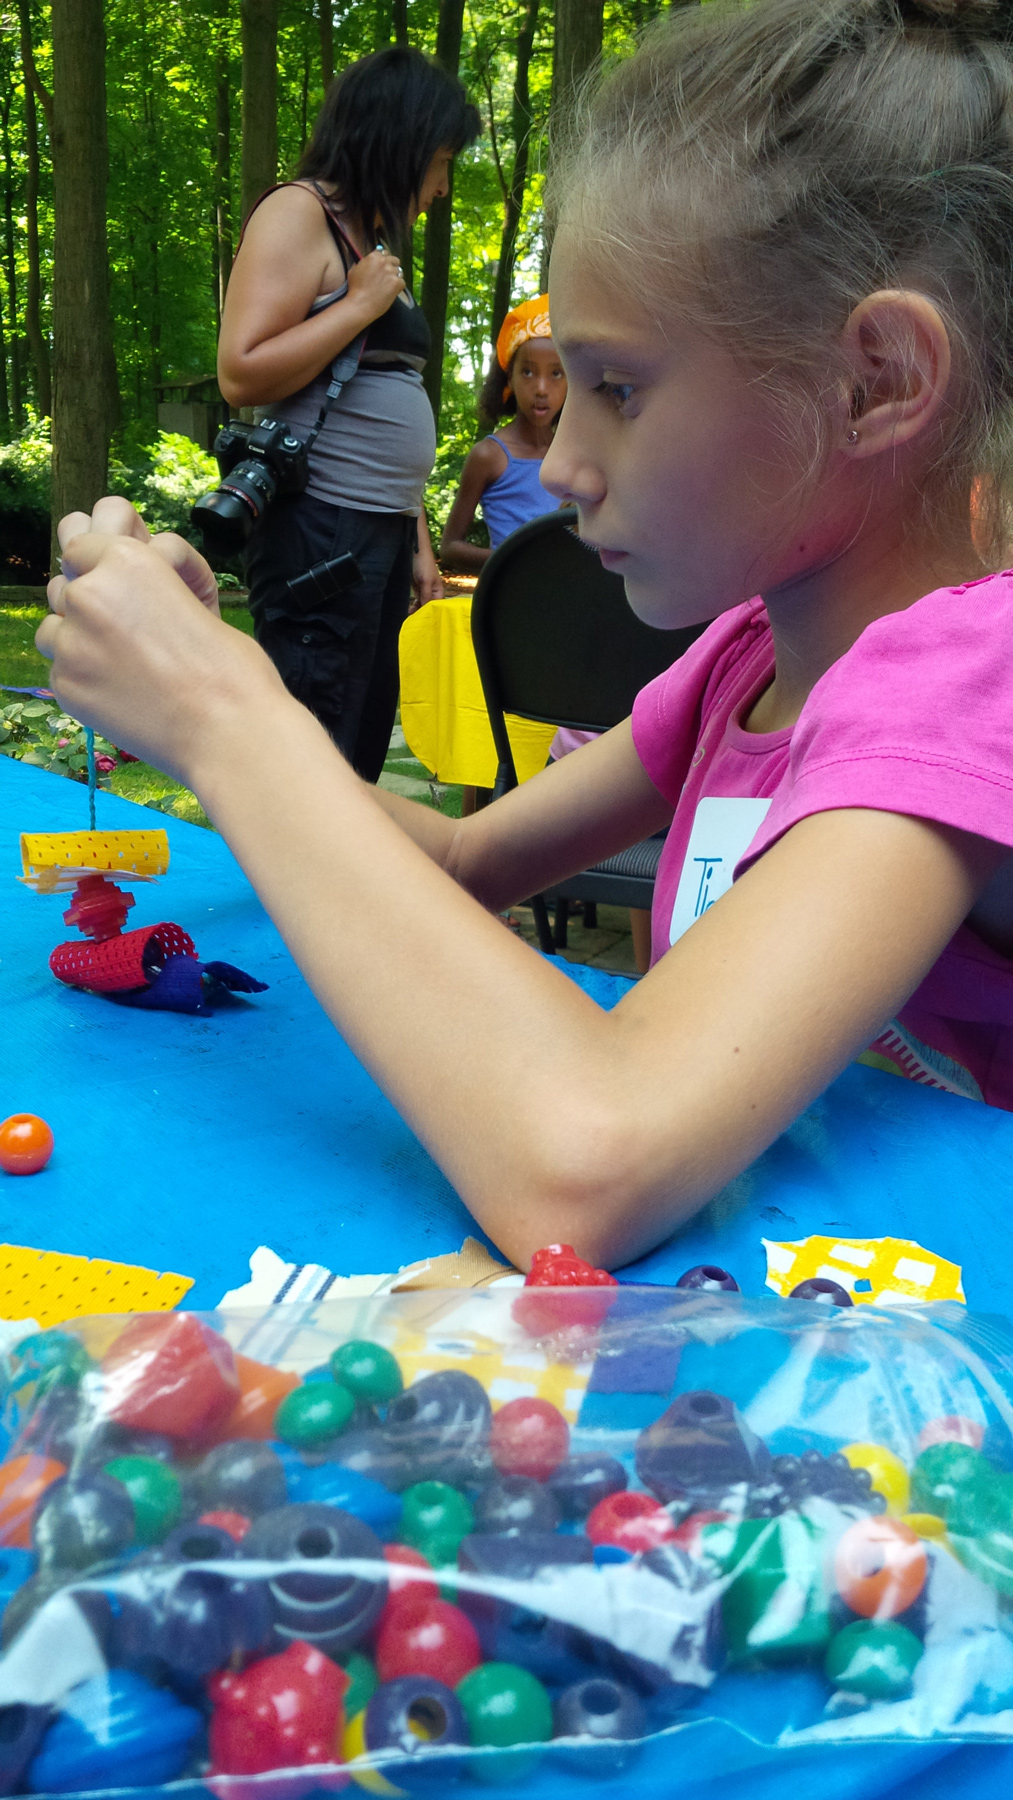
The bright colors in the Fabric Mosaic pack worked so well with our Brilliant Beads! IMG_00000606
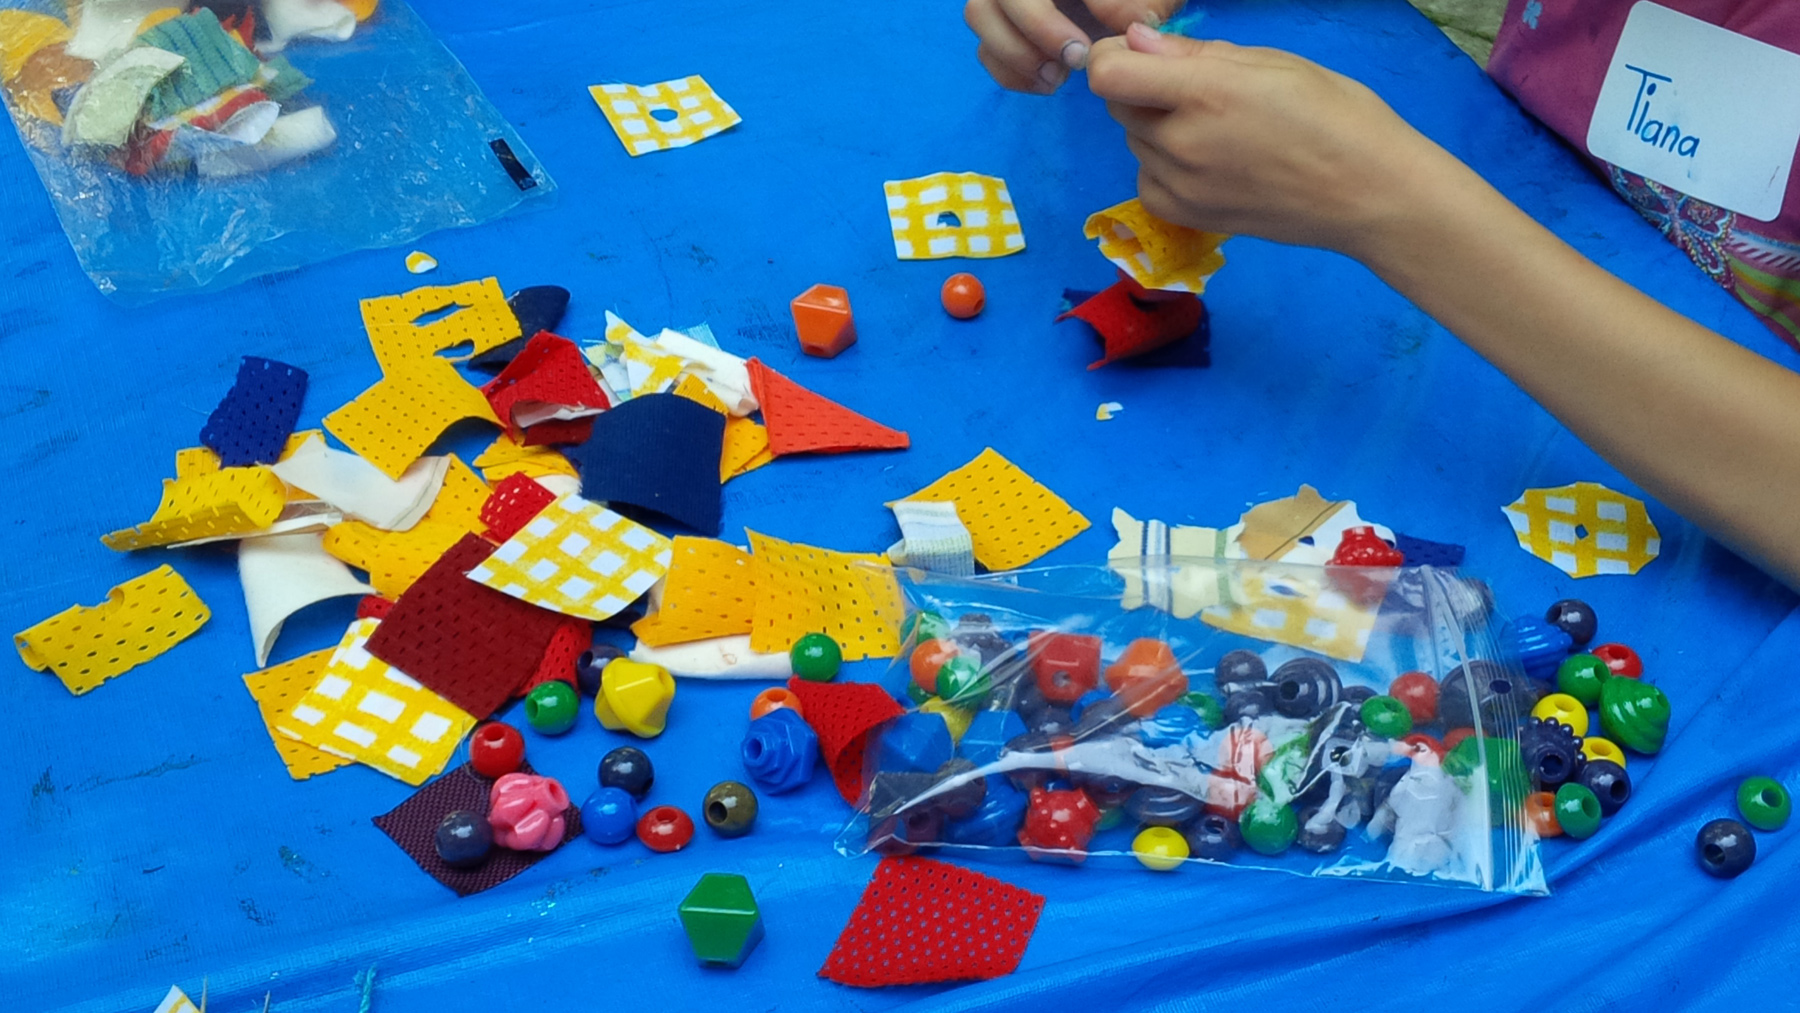
The combination was simple: alternate a Fabric Mosaic with a Brilliant Bead and back again. Keep going until the whole string is decorated or filled up! IMG_00000610
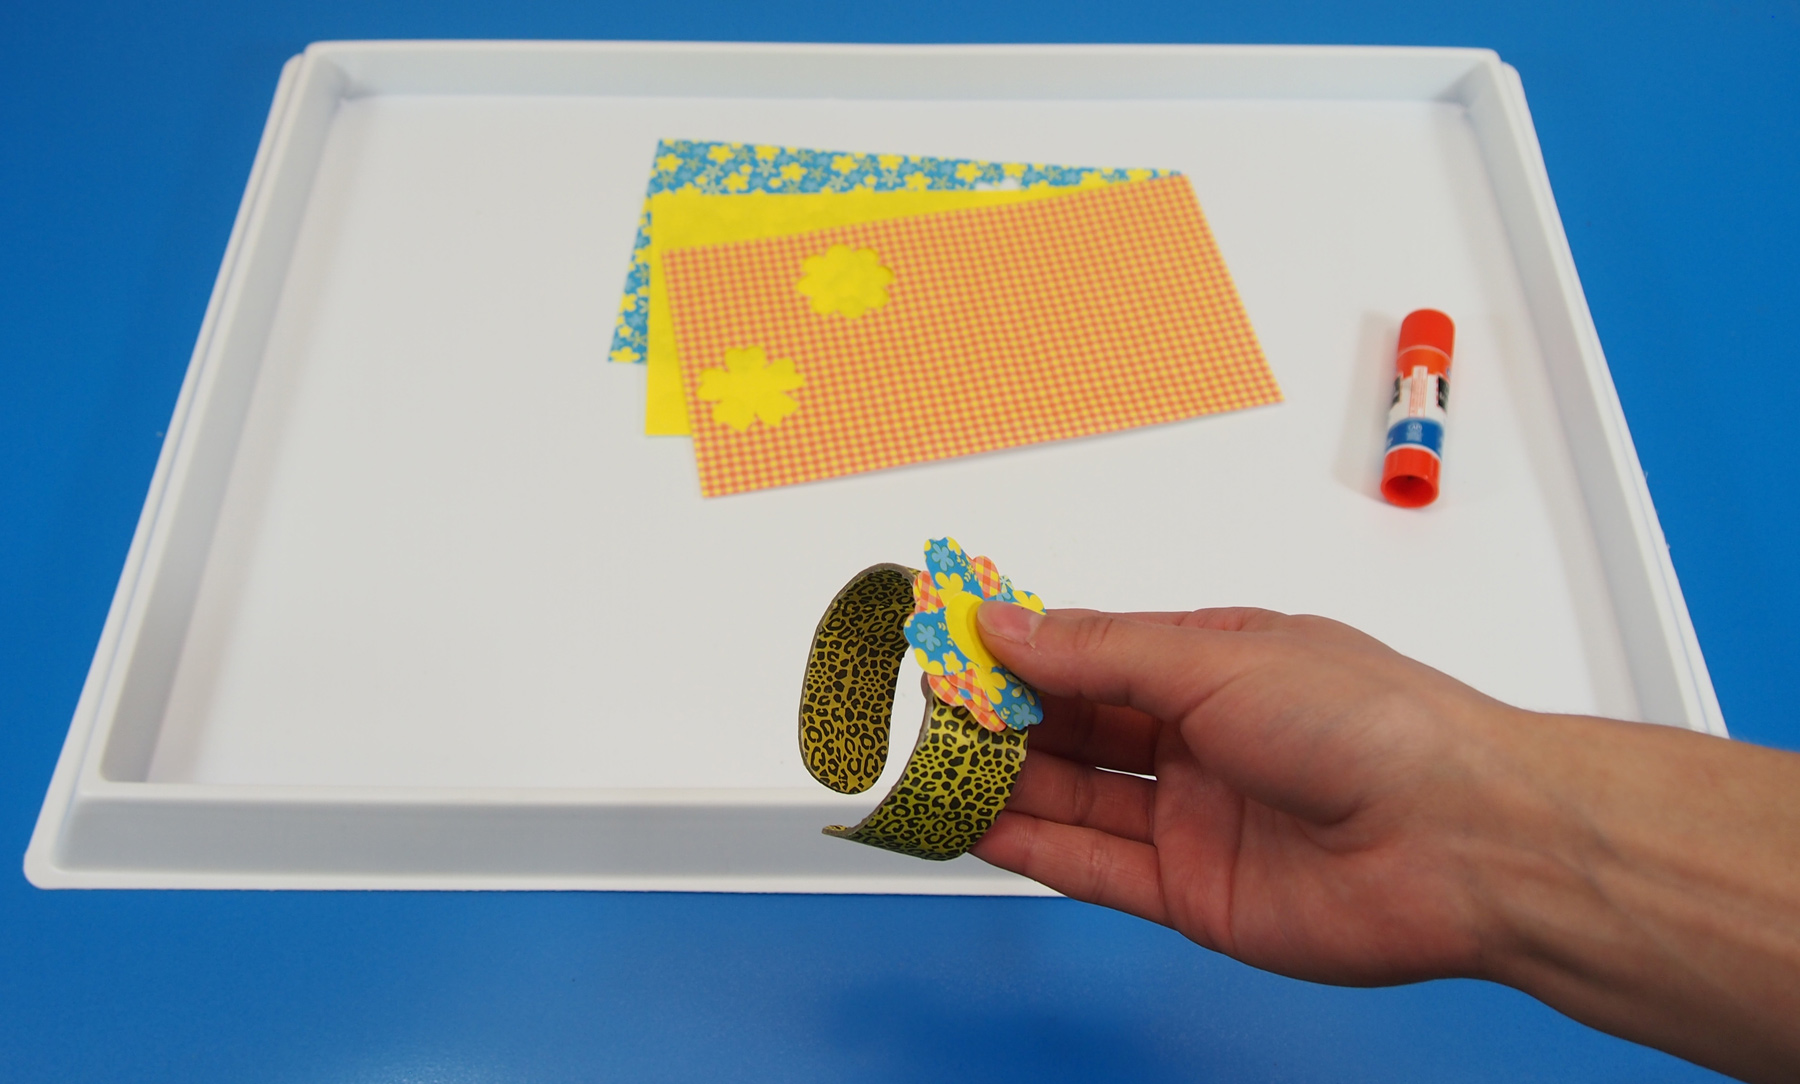
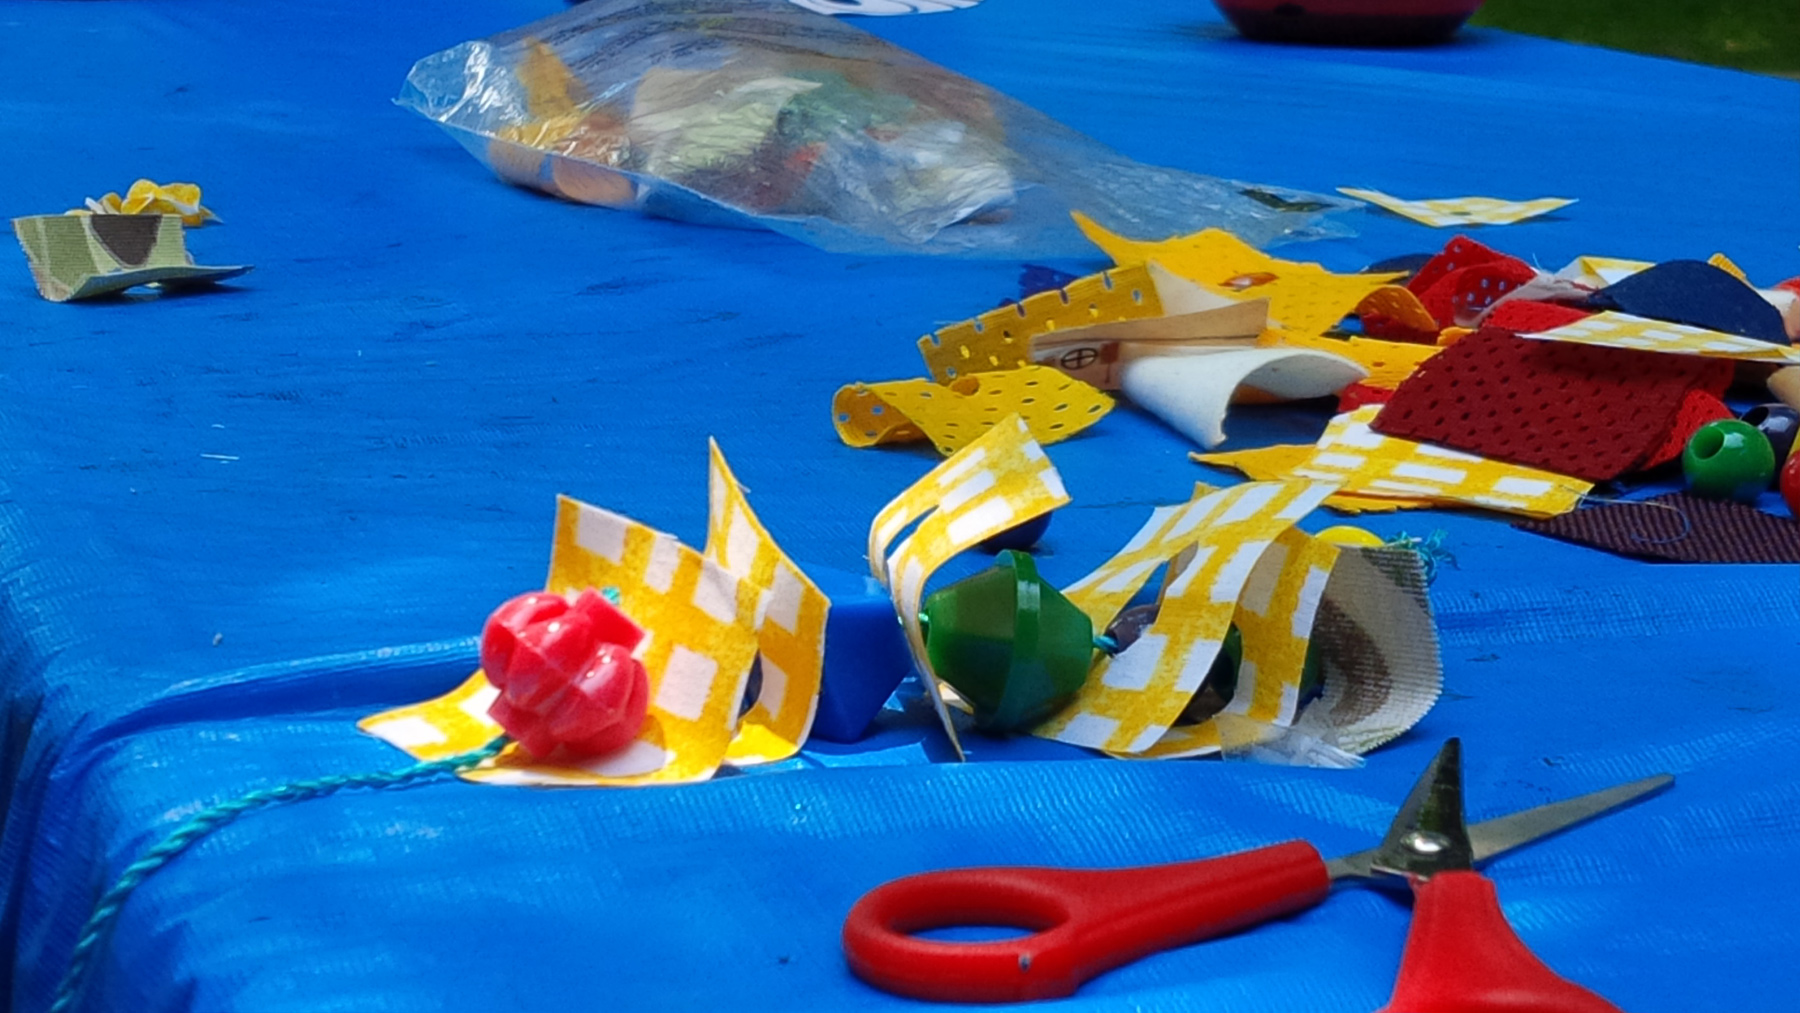
Getting ready to finish up! Now we can loop the beaded string into a bracelet…
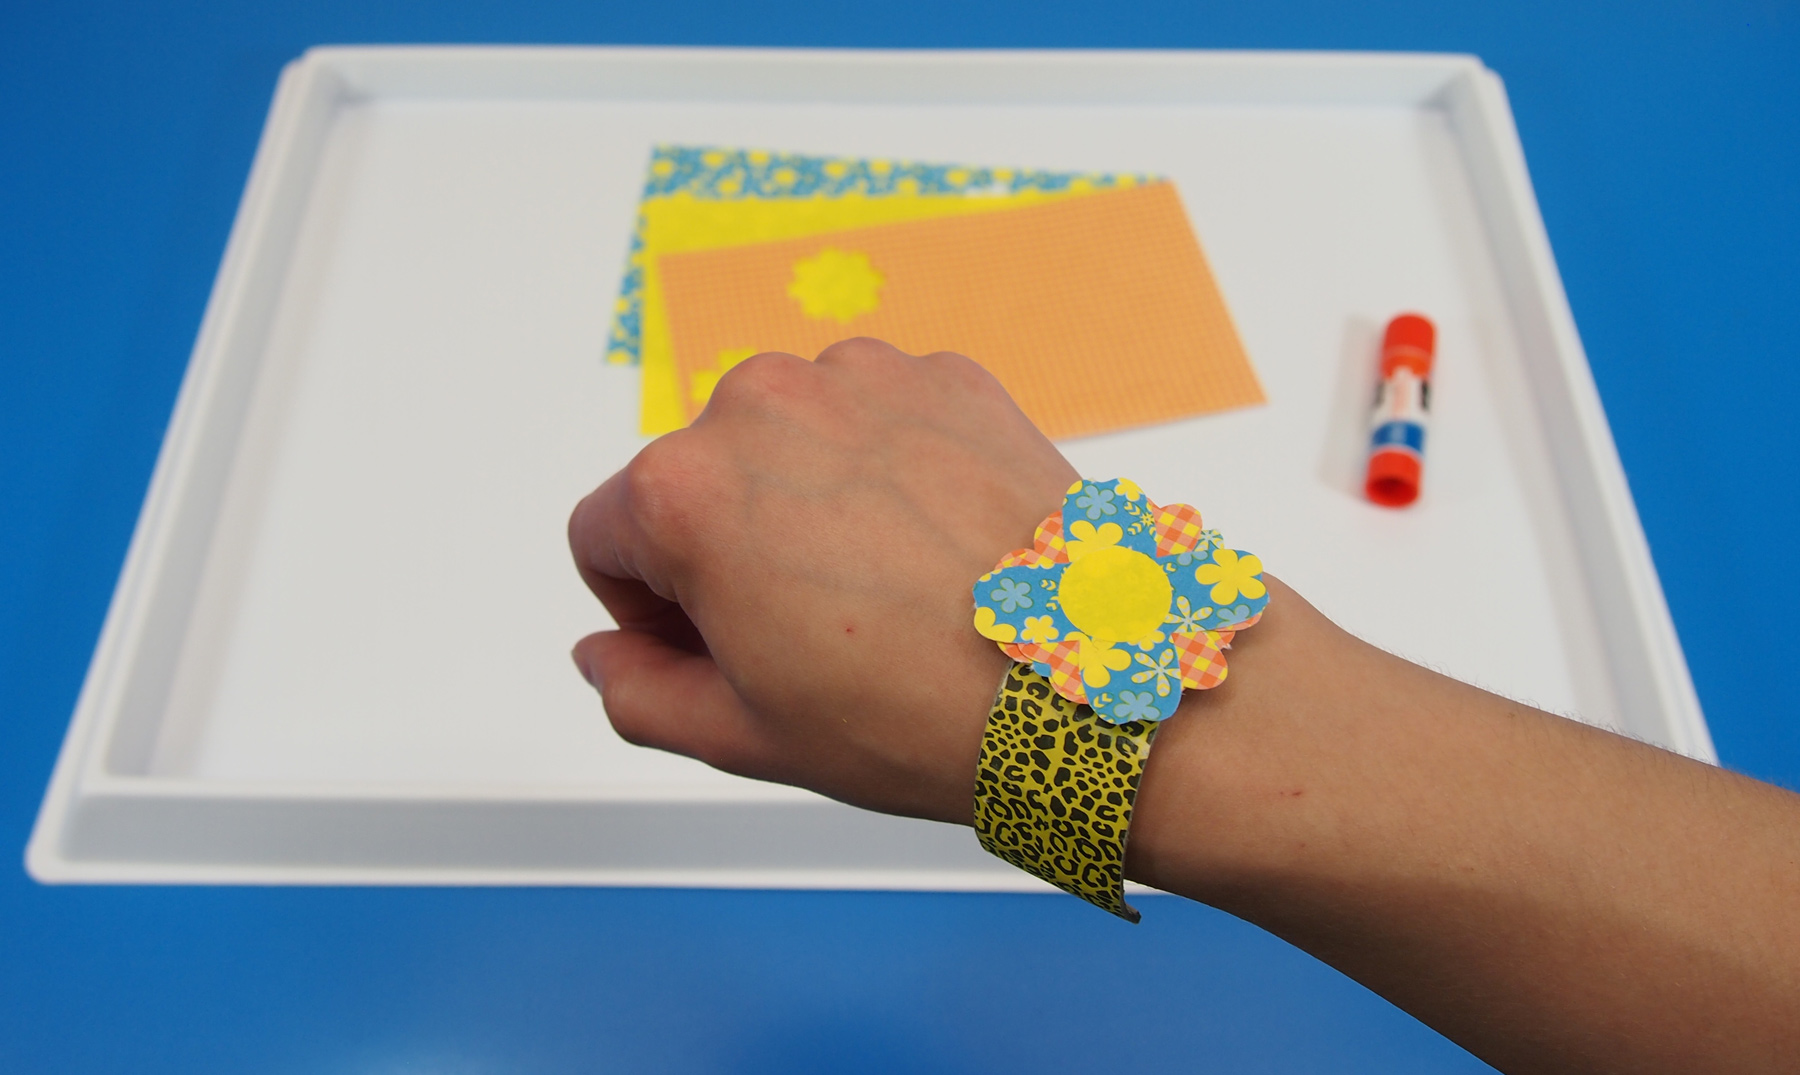
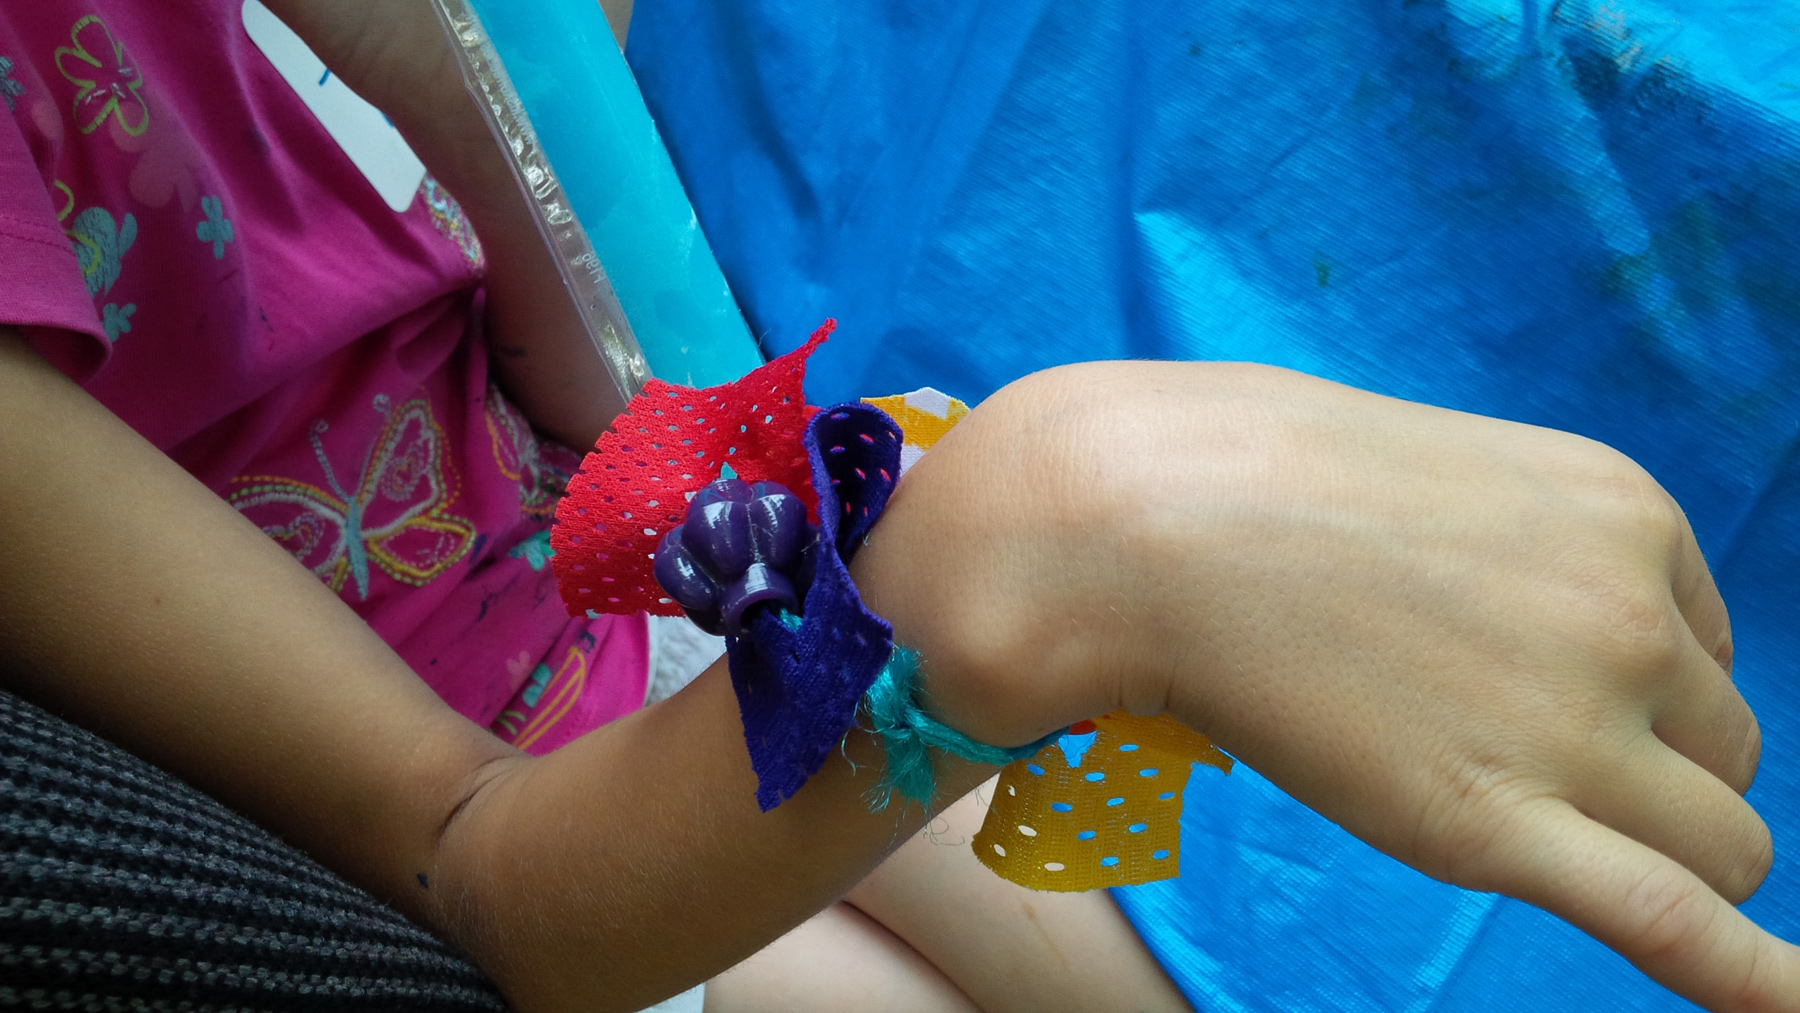
 IMG_00000620…like this one! IMG_00000624Or a necklace! Simple and easy, yet great fun to make! Line-18 Thanks for checking out this post! Like us on FacebookShare this post with your friends, or Subscribe to this blog today to receive original craft project updates every Monday, Wednesday and Friday!

Craft Stick Bracelets

2014-06-04B-FeatureImage

Make beautiful bracelets using our R39100 Wild Animal Craft Sticks! An ingenious process creates a curved shape in the craft stick that you can use as a bracelet!

Age: 4+

Duration: 10 minutes. Project dries overnight.

Learning Objectives: Combine craft stick designs with flower pieces to make beautiful combinations. Observe the effects of glue and water on manipulating the shapes of craft sticks. Use simple techniques to create an effective, visually appealing product.

You’ll Need:

R39100 Wild Animal Craft Sticks

R15657 Wild Flower Paper Bits

• Small plastic disposable cups

• White glue

• Glue stick

• Water

• Paint tray

• Container

• Paper towels

Line-09

It’s a good idea to protect your work surface as you will be working with glue and water. Children can share one container of water and glue between each other, but that will inevitably lead to some messes!

P1019186

Set up all of the supplies you’ll need. The craft sticks are patterned in 5 different designs, but you can experiment with different designs using the Wild Flower Paper Bits.

P1019192First, mix 1 part water with 1 1/2 parts glue. You want to have more glue than water, as this will help the bracelet retain its shape. I suggest mixing the glue and water together in a bottle. Cap it off, then shake to get the two ingredients fully mixed.

P1019203Pour the mixture into a container that’s long enough to fit the craft sticks inside.

P1019206Dip one craft stick inside the container. Let it sit inside for about 1-2 minutes.

P1019211Once you remove the craft stick, it becomes bendable! Carefully press the craft stick along its length to loosen it up. Grab the ends and gently bend the craft stick inwards.

P1019213Place the craft stick inside the plastic disposable cup along the topmost rim.

P1019216Let sit overnight until it dries. In the morning, remove the bracelet from the cup to reveal a beautiful shape!

P1019221

Now you can decorate your bracelet! Pop out a few of the Wild Flower Paper Bits. Choose several different shapes and patterns.

P1019222Dab a bit of glue into the center of each flower. Layer the flowers.

P1019226Finally, add a lot of glue to the center of the craft stick bracelet and press your flower design down onto it.

P1019228Ready to wear!

P1019235You can try a number of different combinations with just a few sheets of flower bits and a great craft stick design!

Line-09

Thanks for checking out this post! Like us on FacebookShare this post with your friends, or Subscribe to this blog today to receive original craft project updates every Monday, Wednesday and Friday!

Craft Spotlight: Brilliant Beads

2014-05-26-FeatureImage

Following our series of posts about our beading wonders, including the Fancy Stringing Rings last week, today I’m going to showcase a bit about our Brilliant Beads! 

R2170 Brilliant Beads come in a bright assortment of colors and shapes. Besides basic small round beads, there are some that resemble flowers while others look like geometric shapes. You can talk about each of the shapes to your students as they sift through them.

IMG_2404

You can also sort by color. Pick out similar colors and observe the different shapes that make up that color group. Get students to describe the beads with practice vocabulary.

_DSC0164

At the Art Camp last year, our campers designed their own super-long necklaces and brilliant bracelets. To prevent groups of beads sticking together, we got the campers to use pipe cleaner as the thread for all the beads.

_DSC0151

Here’s another shot of some lovely jewelry!

IMG_2421

Use Brilliant Beads in a variety of projects, not just for jewelry! Check out the video below that shows you how to make your very own bead-paintbrush. This “paintbrush” will add a provide your students with a new technique for painting!

Line-10

Thanks for viewing this post! Like us on Facebook and subscribe today to our blog for more updates like this every Monday, Wednesday and Friday!