Natural Materials Cuff Bracelet

bracelet blog image.jpg

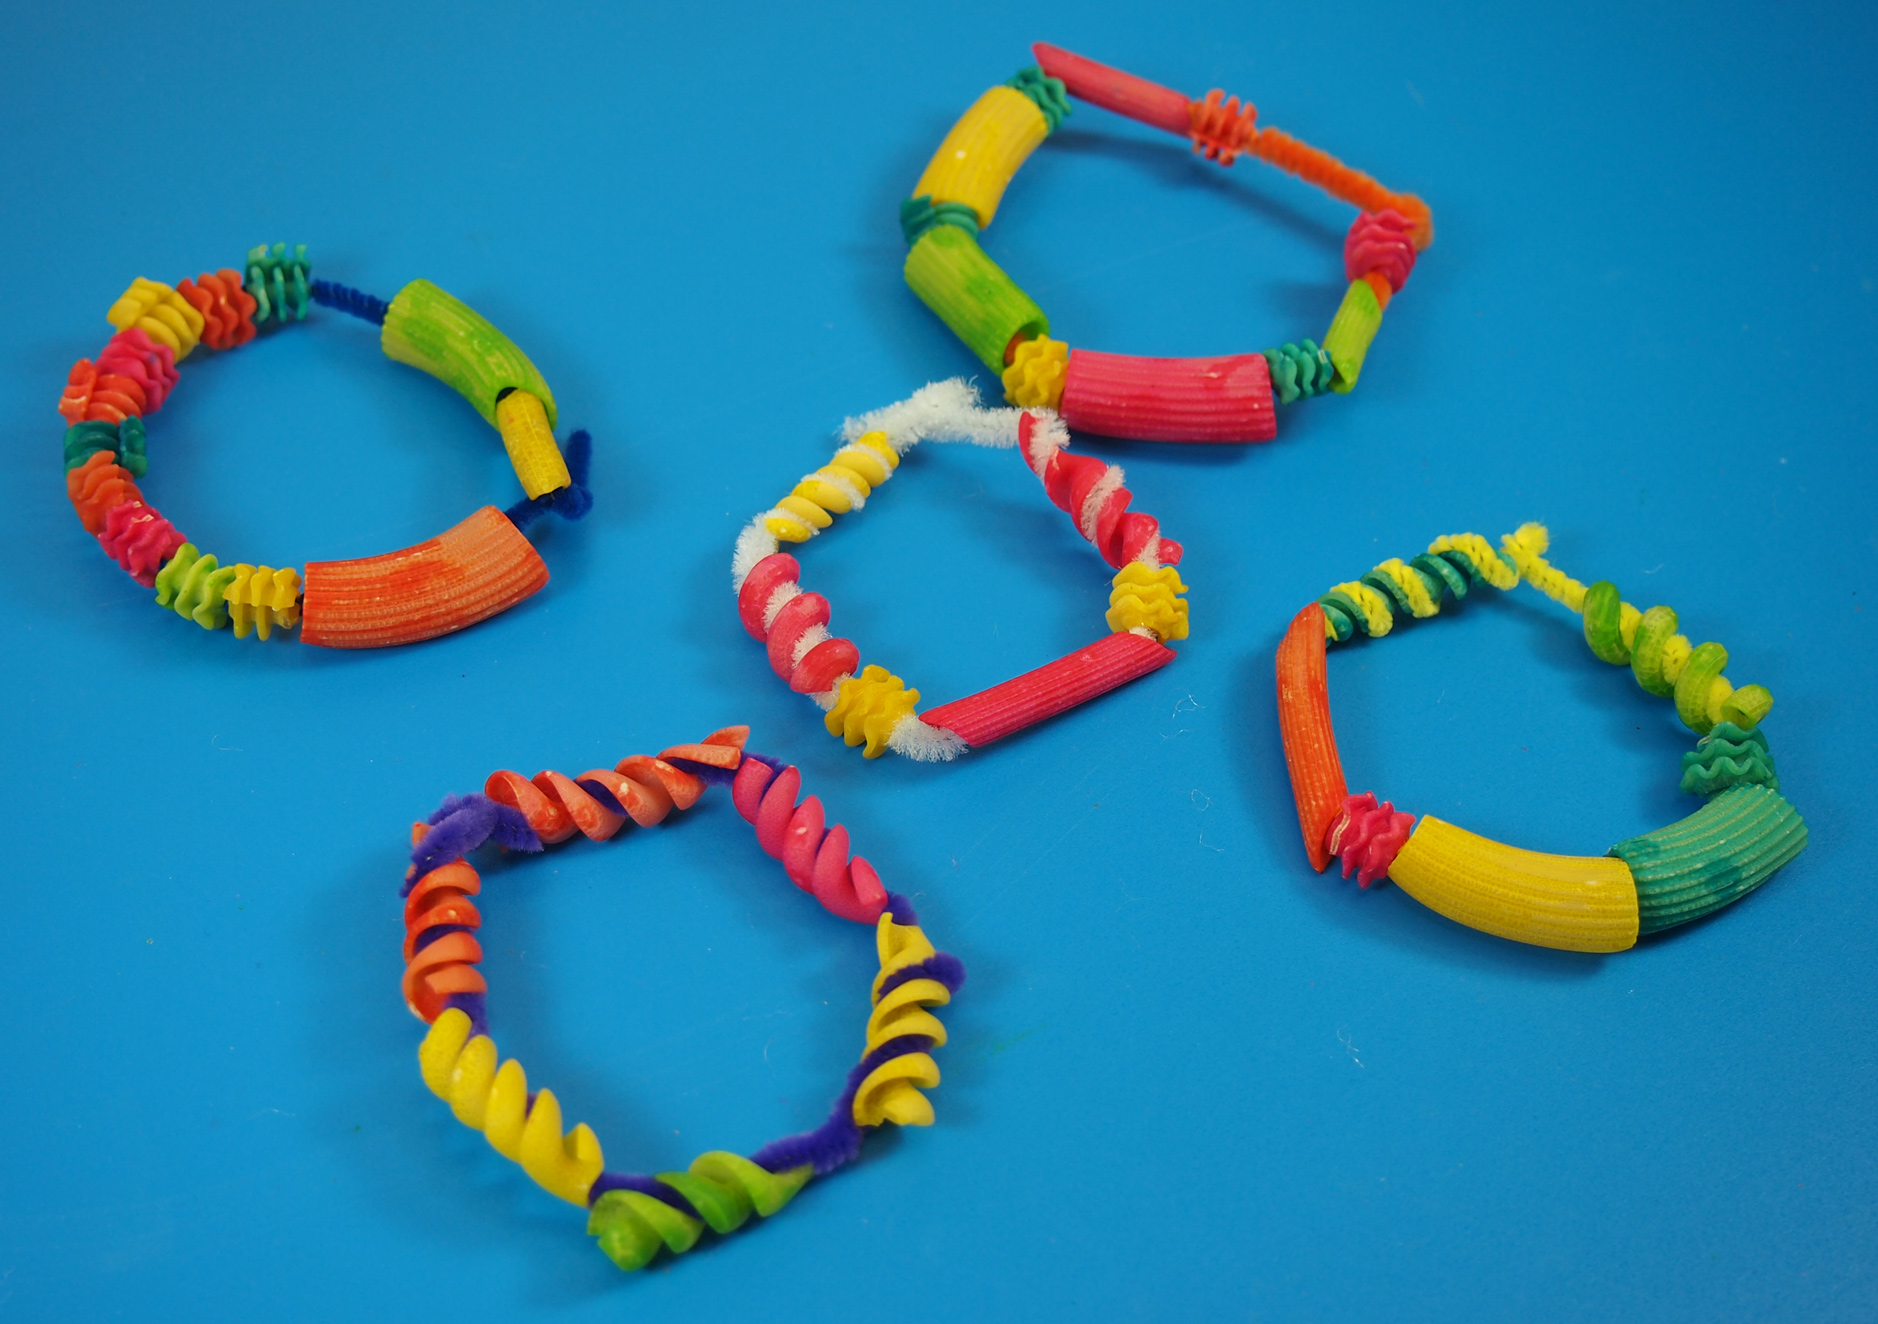
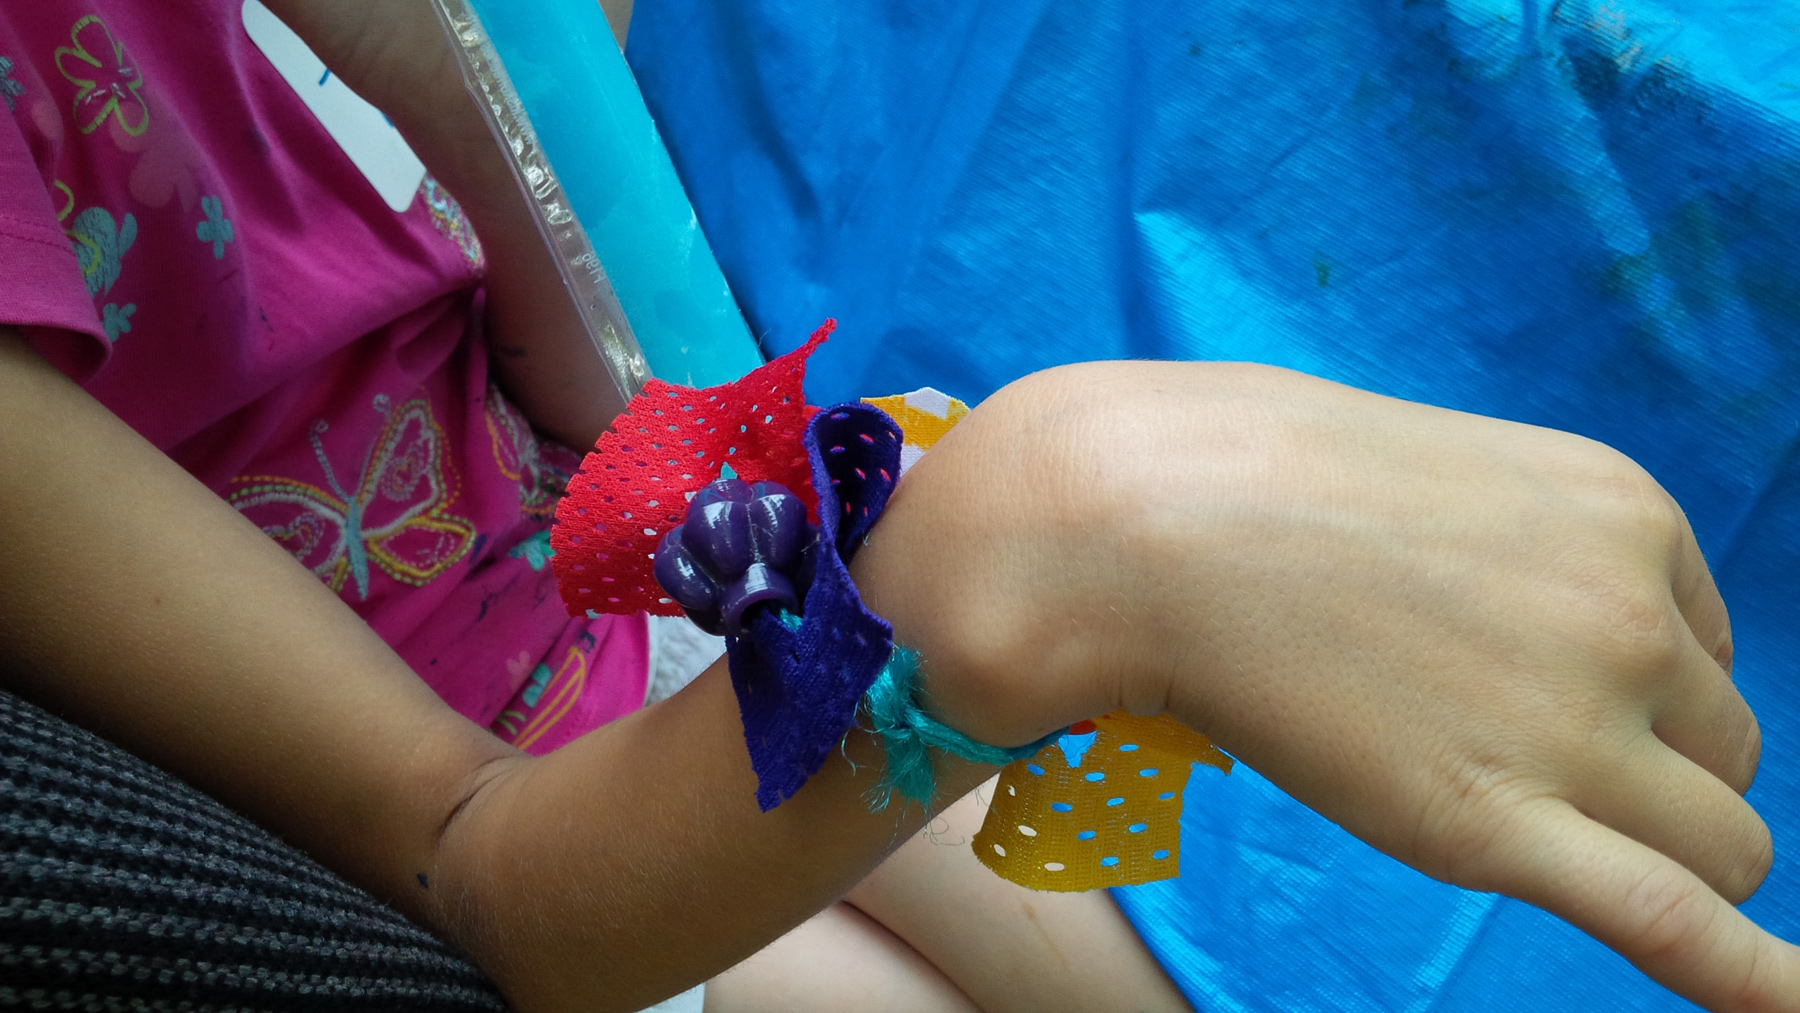
This wearable art is a terrific fashion statement!

Age: 5+

Duration: 10 minutes (excluding drying time)

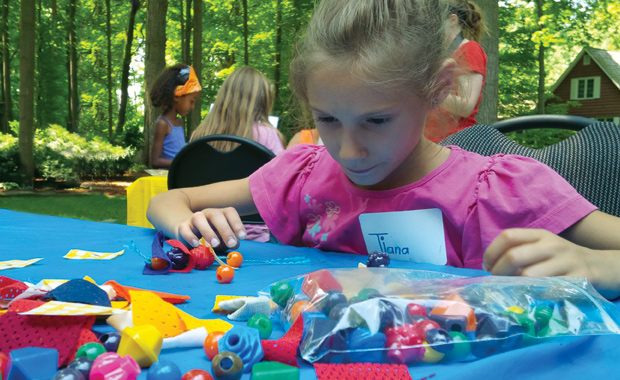
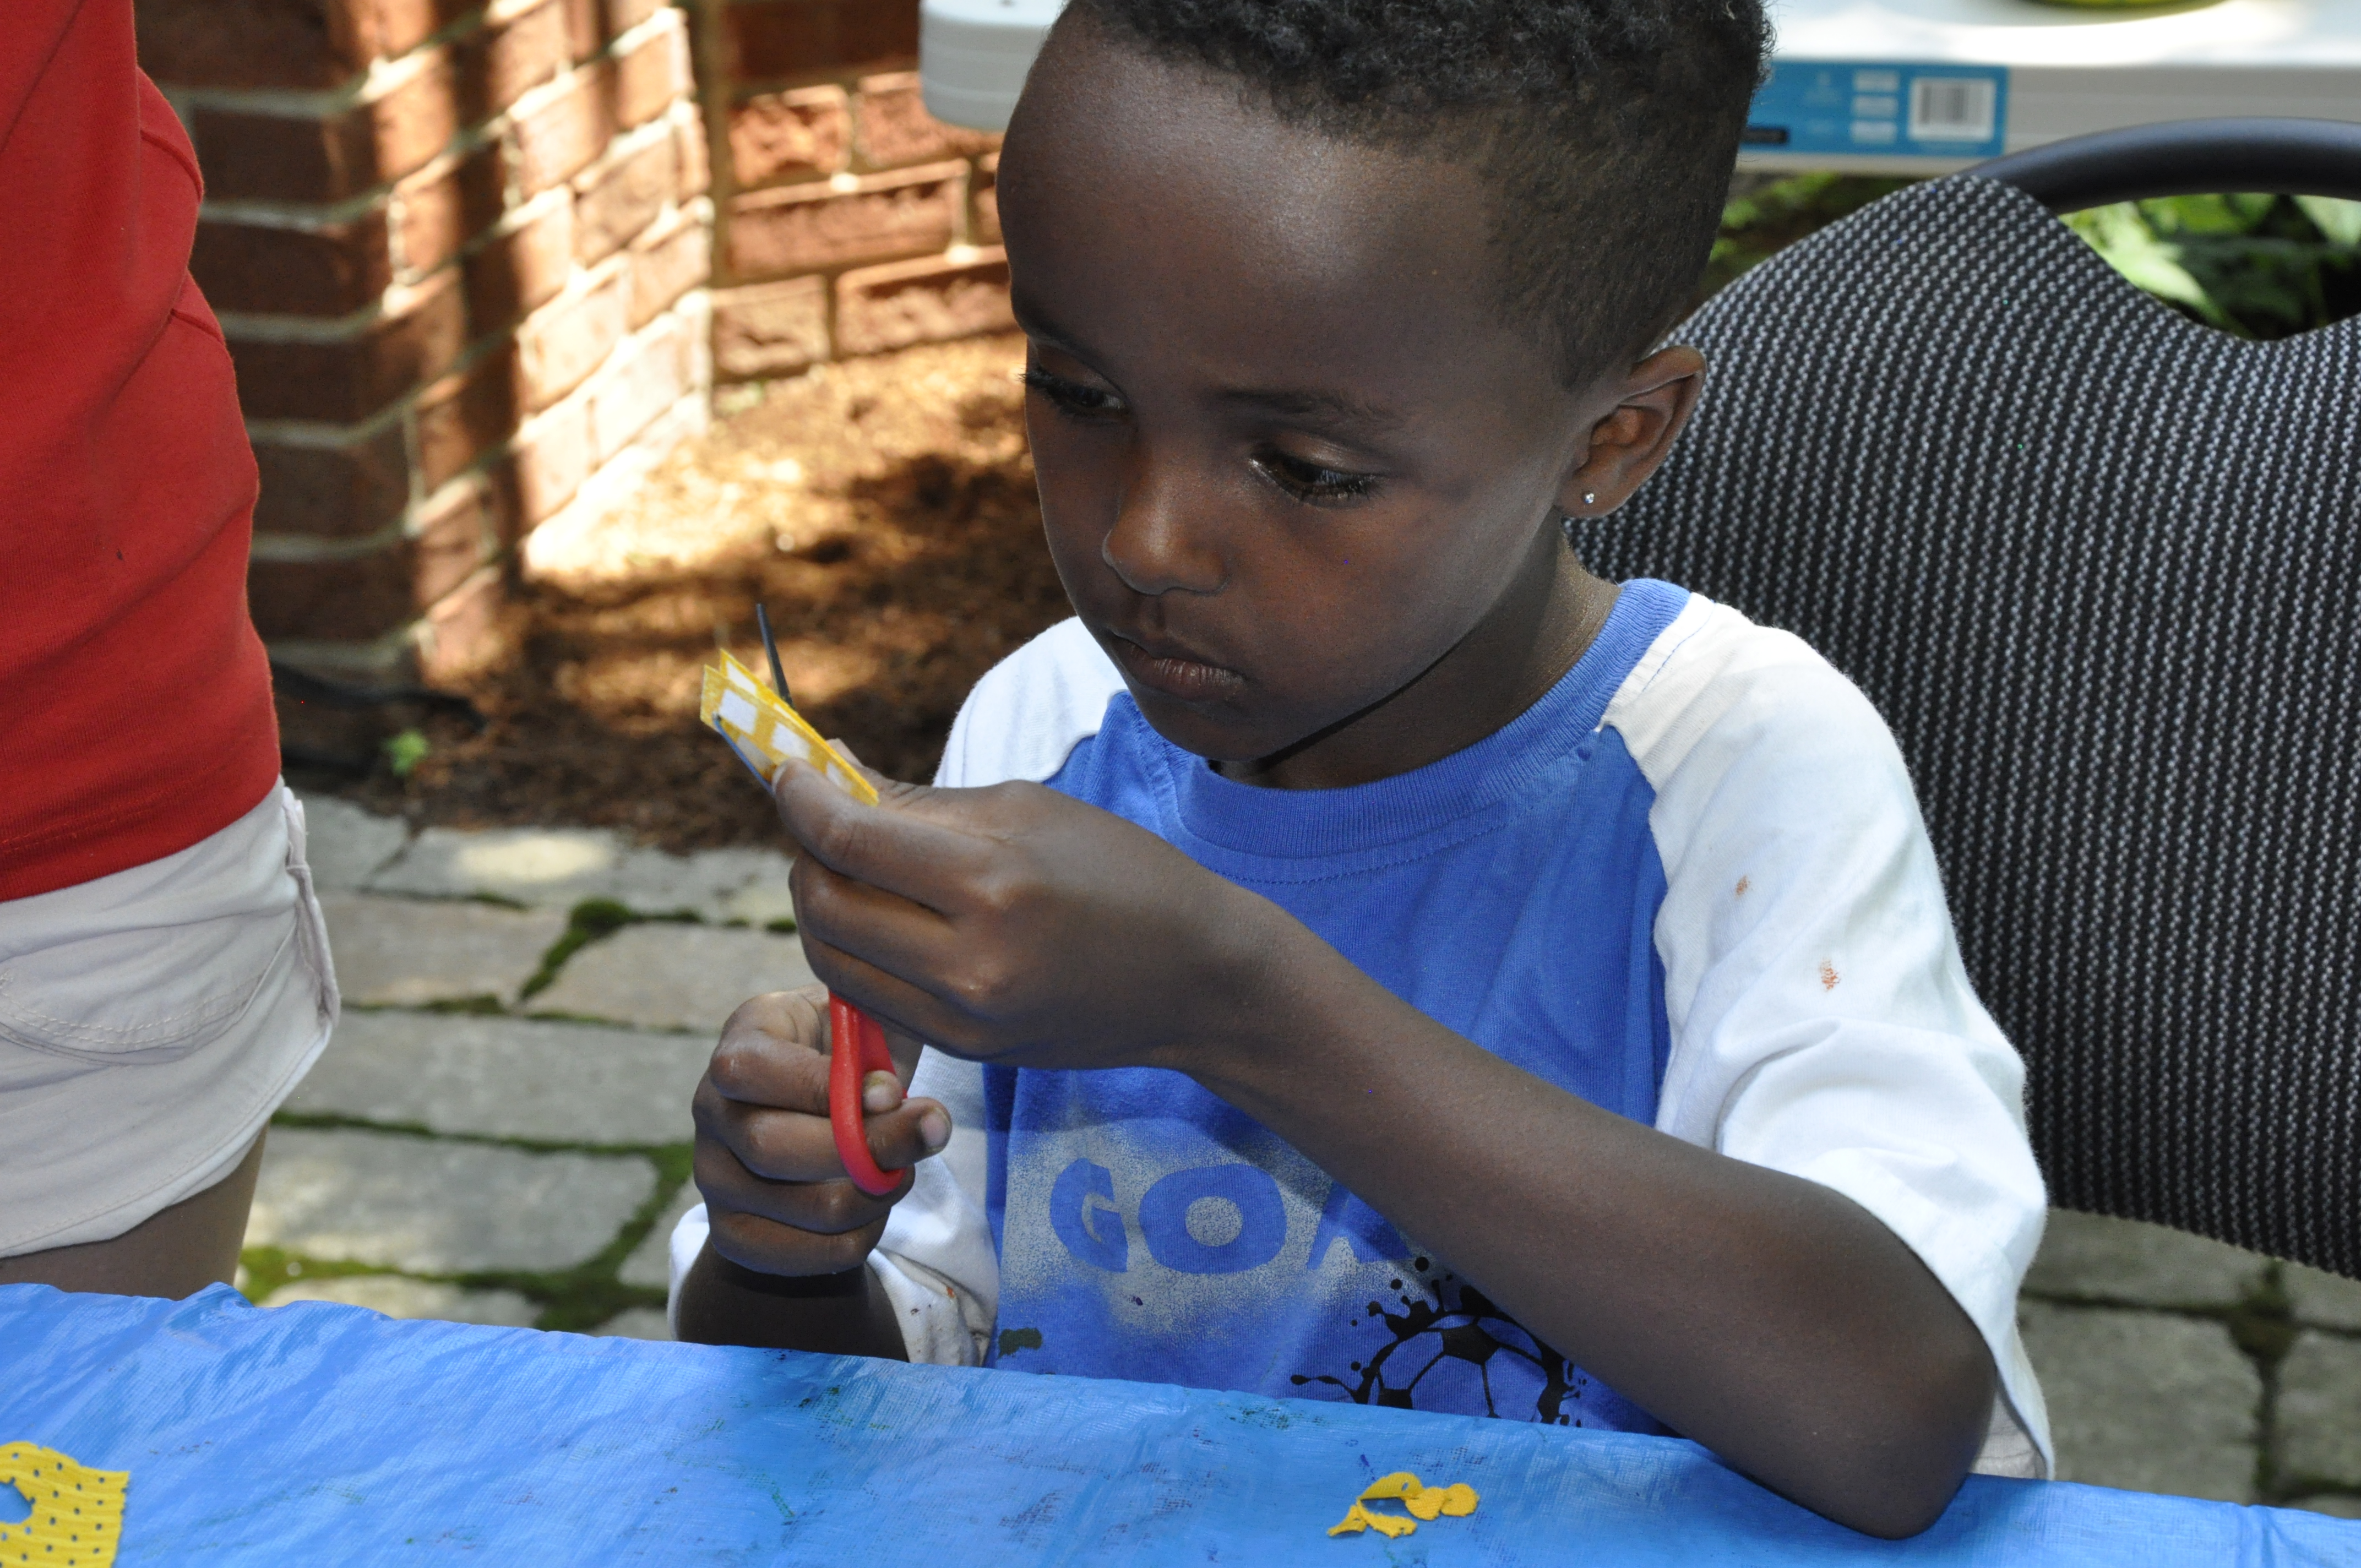
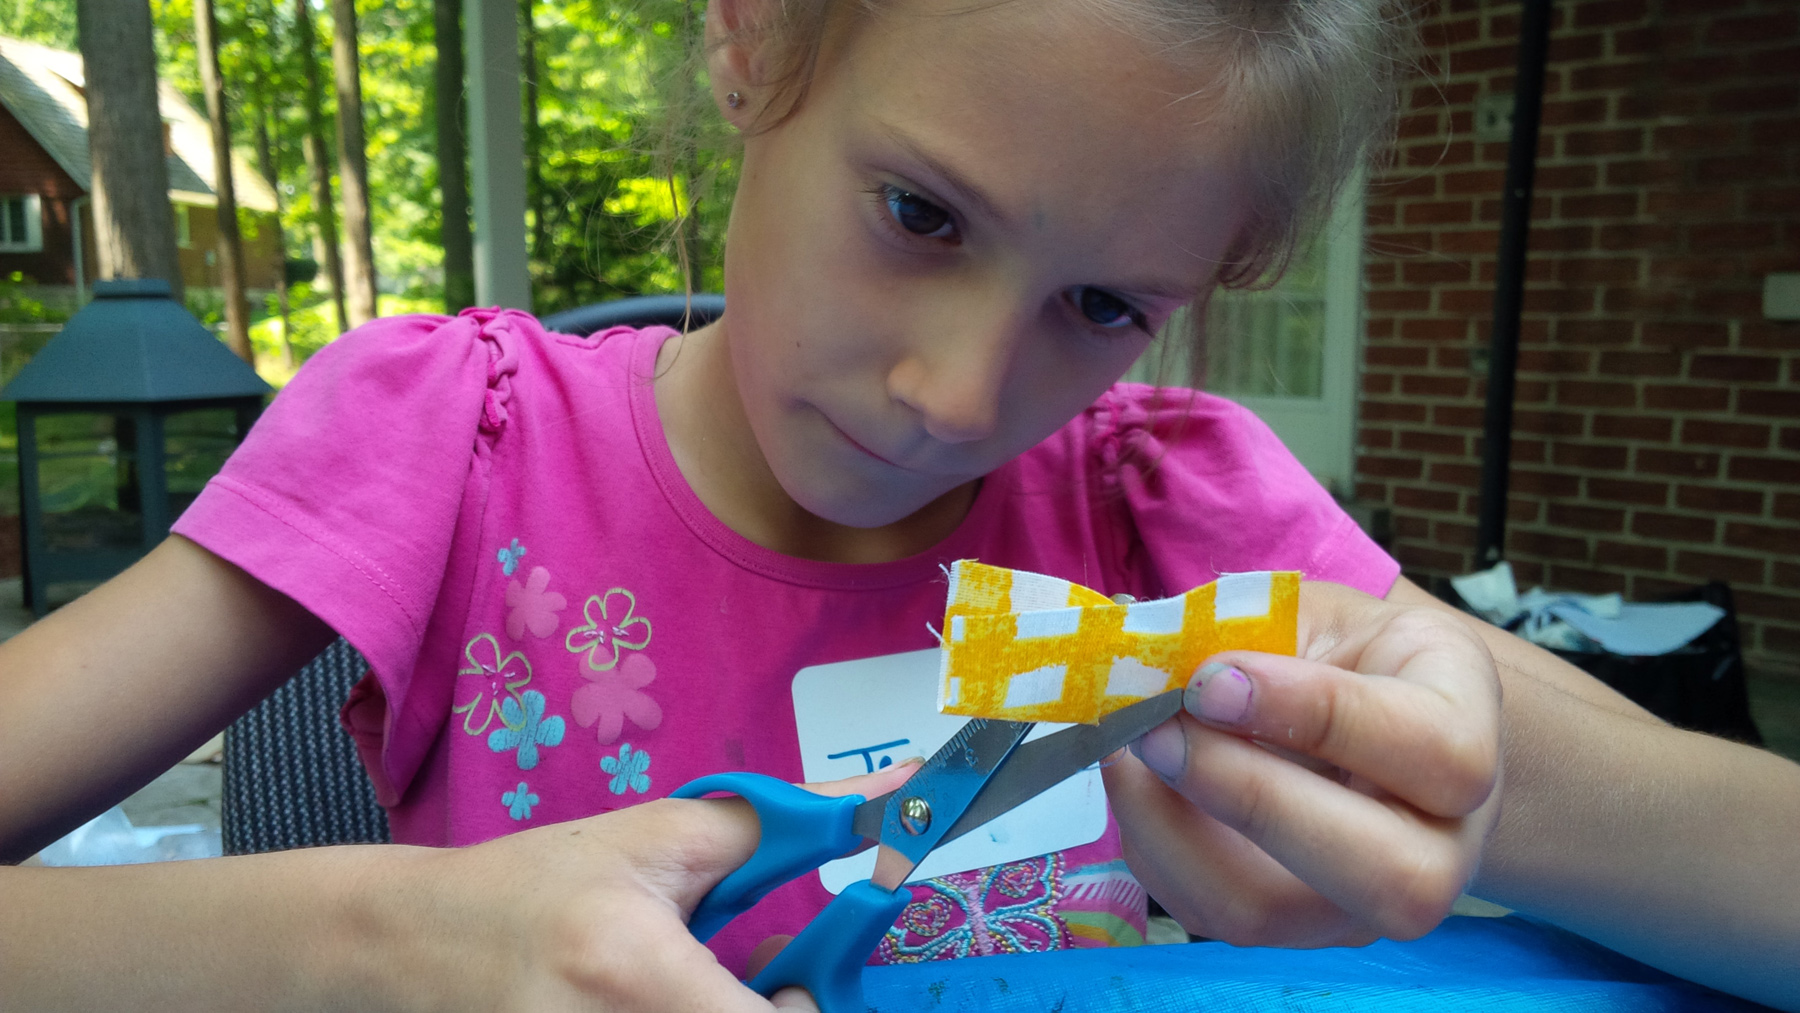
Learning Outcomes: Learn about the textures and properties of natural materials through manipulation of paper and card board. Exercise fine motor skills.
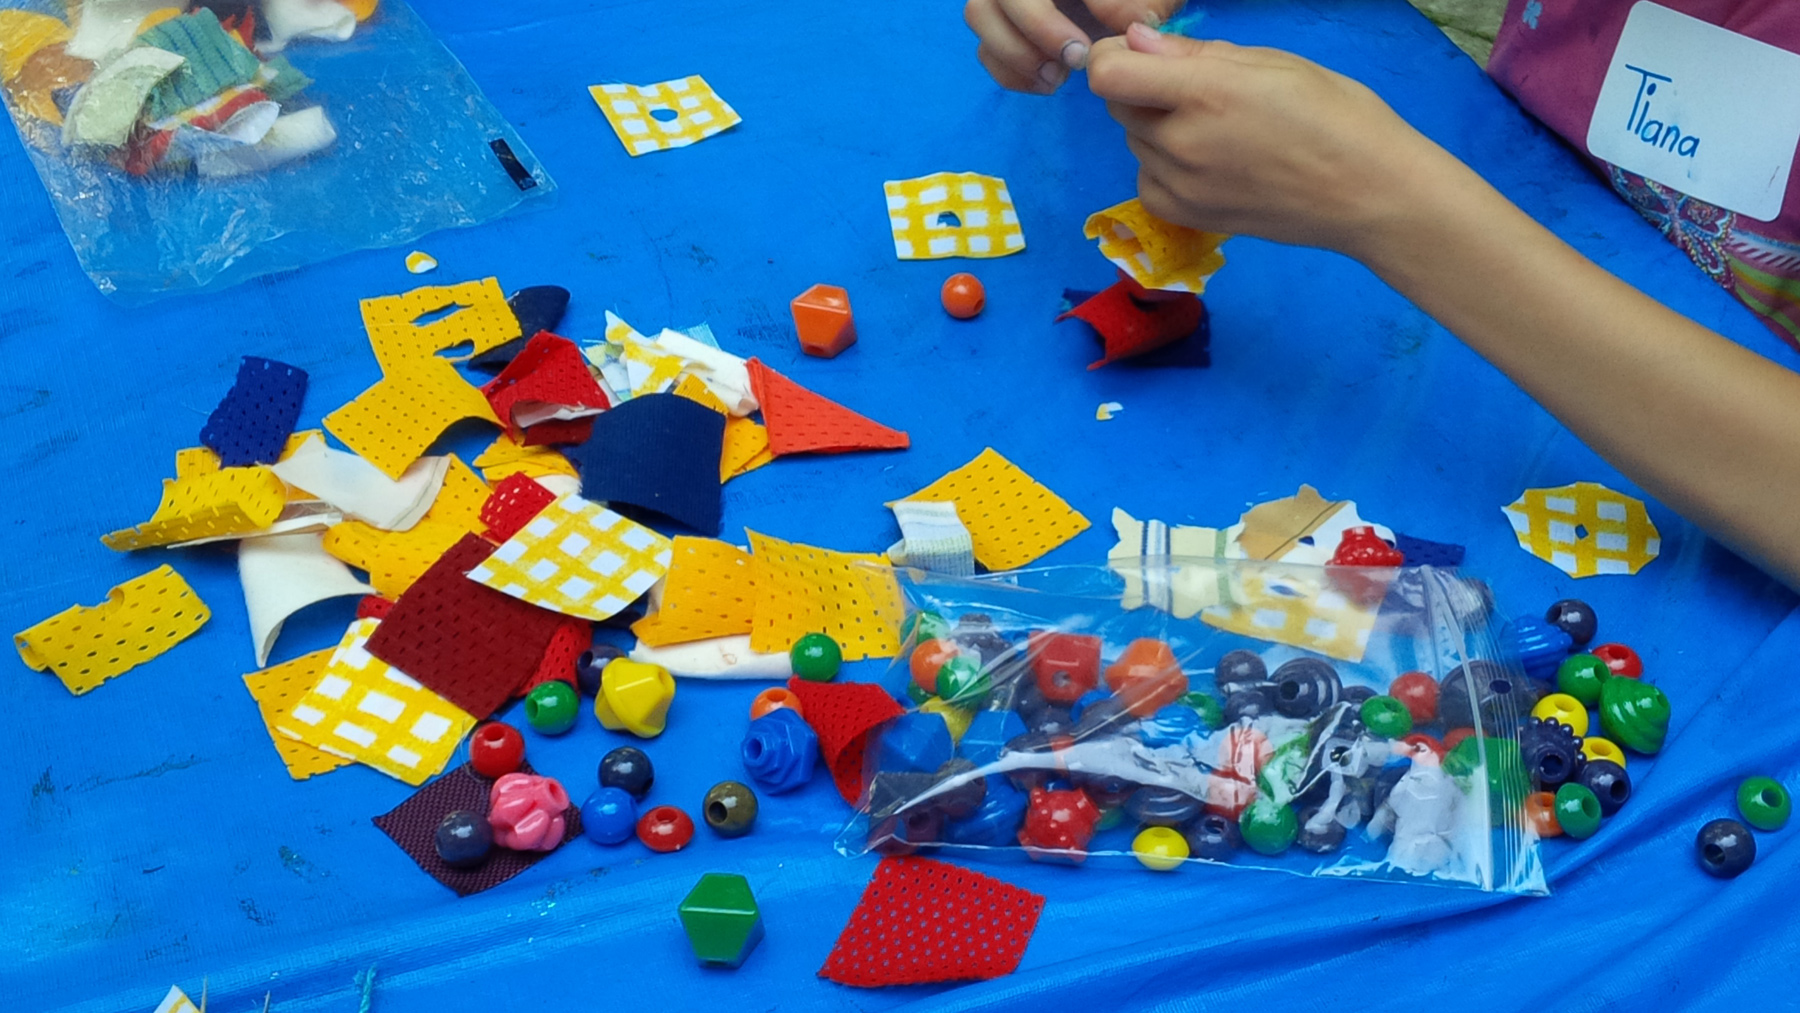
You’ll Need:

Line-20

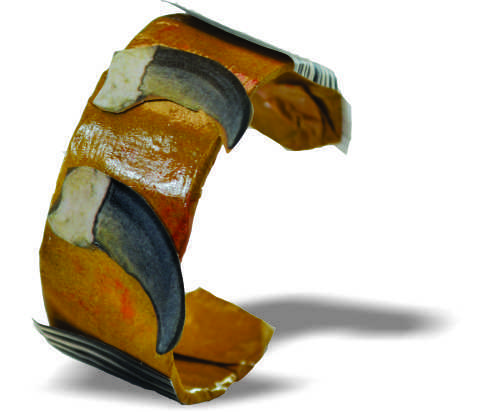
Before metalwork became commonplace, jewelry was made with natural materials like wood, bone, leather and porcupine quills. Bone and wood beads could be strung on leather strips, but porcupine quills have to be softened before they can be used. Additionally, rawhide can be wet down, molded and once dry will keep it’s shape. Finally, wood can be steamed to the point where you can bend it! Our version of this craft doesn’t use real rawhide, but students can experiment with paper-based versions of rawhide wet-molding and wood bending.

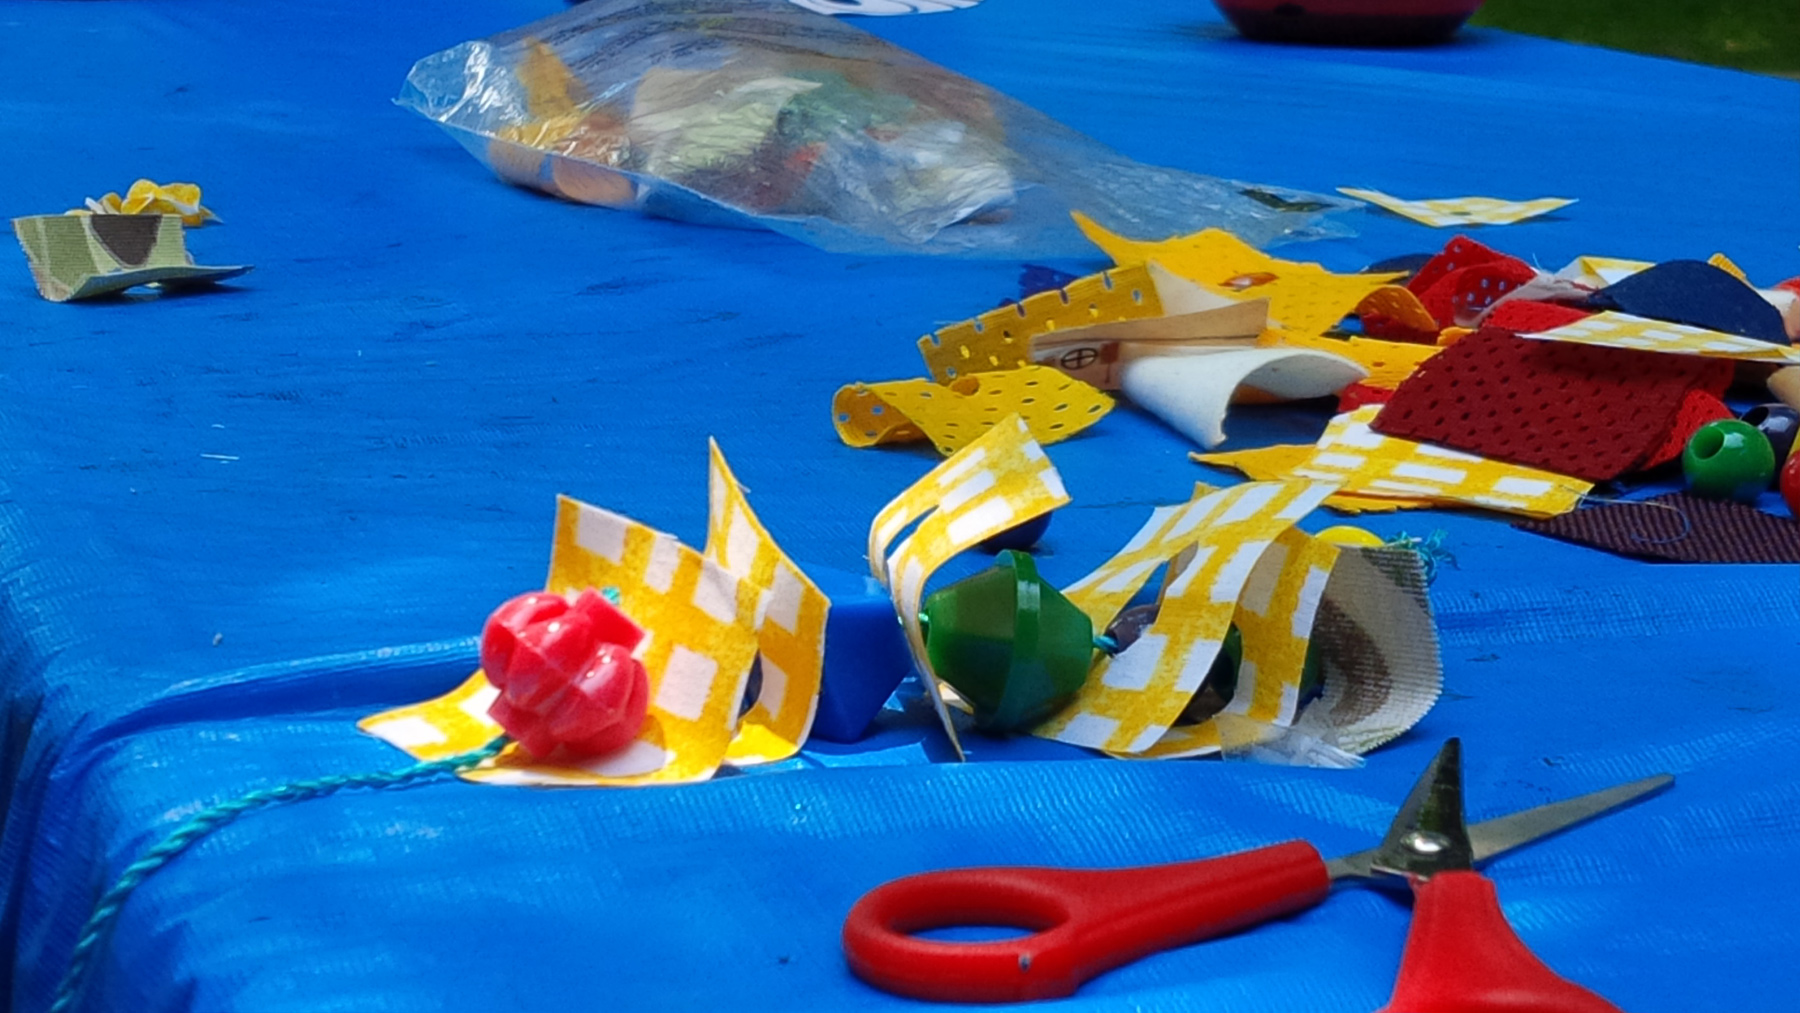
First cut a 2″ strip of the leather design craft paper and set it aside. You will need it later.

To start, mix a solution of 1/2 a cup of white school glue and 1/2  a cup of tap water. Warm water makes mixing easier, but cool or cold water works too. Just make sure you mix the glue in completely, so there are no gluey lumps in the solution. Once your solution is thoroughly mixed, submerge your craft stick in the mixture for up to 90 seconds. To make this process easier, we used the lid of one of Roylco’s beautiful bins!

Once the craft stick is soaked, pull it out of the solution and start to gently bend it into a circular shape. Just like traditional bending wood, your craft stick can still break if it dries out or if you bend it too quickly. Carefully place the bent craft stick inside an empty Play-doh® container so the bracelet will keep its shape. Allow to dry for at least two hours.

Once the craft stick is dry, remove it from the Play-Doh® container. Lay the 2″ strip of paper in your glue and water solution for a second or two and then gently roll the sheet over the outside of your craft stick. Fold the edges inside so the paper is smooth over top of the craft stick. This technique is similar to wet-molding, and because there is glue in your solution, the paper will be firmly glued to your craft stick once everything dries. Place the paper-covered craft stick back in the Play-Doh® container.

Once the bracelet is dry, decorate it with pencil crayon, marker, crayon or paint. Or try cutting out collage shapes from other sheets of craft paper and glue them on to your bracelet.

Bundle Savings

Get all the Roylco items used
in this project and save 15%!

$18.44 USD
bundled price
Add Bundle
to Cart

Line-13

Like us on FacebookShare this post with your friends, or Subscribe to this blog today to receive original craft project updates every week!

Tropical Art-a-Roni Bracelets

2014-08-06-FeatureImageToday’s craft is pretty simple, but no less fun to try out! We’re making use of our extra-bright and colorful Tropical Art-A-Roni® Noodles to fashion exotic-looking bracelets. 

Age: 4+

Duration: 5-10 minutes

Learning Objectives: Develop manual dexterity while threading pasta beads through pipe cleaners and winding pipe cleaners around spiral pasta beads. Mix and match bright and fun colors for a range of interesting bracelet designs. Enhance visual stimulation while combining multiple bracelets into pleasing arrangements.

You’ll Need:

R2113 Art-A-Roni® Tropical Noodles

• Pipe cleaners

Line-08

Making a tropical bracelet is a great way to get prepped for some summer fun at the beach! Our Tropical Art-A-Roni® Noodles are pre-dyed for you, eliminating the need to spend hours creating your own pasta noodle craft pieces for the classroom. One box is contains 1 pound (454g) of assorted colorful pasta noodles–just open and start crafting!

P8060076There are more than three kinds of noodles that we can use from the pack to make our bracelets. Although the noodles are mostly intended for gluing down, a neat technique allows you to use more noodles than you might think!

On the far left, I’ve placed our radiatori noodles. These look like mini shrunken spirals. In the middle, you will see our fusilli and cellentani noodles and on the far right, penne and rigatoni pasta noodles.

P8060077

Pipe cleaners are usually made of a combination of a length of braided wire and woven fibers that make up the fuzzy part. You can press one end of the pipe cleaner against your finger and feel the point. This point can be squeezed into the hole of a radiatori–make sure that the pipe cleaner is straight enough to fit through. If you encounter a stubborn length of pipe cleaner, simply snip it off with a pair of scissors. Push the radiatori through to the desired point.

P8060080The penne is quite simple to thread through. Simply slide the pipe cleaner through the opening.

P8060082The fusilli are a bit tougher to thread through but with the versatility of the pipe cleaner, it is possible! Start at one end of the fusilli. Wind the pipe cleaner around the bottom of the fusilli then follow the spiraling track across the pasta noodle to the top.

P8060083Once you get the hang of it, it’s quite simple!

P8060086You can use the same technique with the fusilli as with the cellentani pasta noodles. You can see that I’ve filled up almost the entire length of the pipe cleaner with a variety of pasta noodles.

P8060088Once you are near the end of your length of pipe cleaner, twist it and tie off.

P8060091Here’s a selection of the various kinds of bracelets I made with pipe cleaners and a few choice Tropical Art-A-Roni Noodles®.

P8060094Make multiple kinds of bracelets and wear them all at once for an authentic tropical feel!

Line-08

Thanks for checking out this post! Like us on FacebookShare this post with your friends, or Subscribe to this blog today to receive original craft project updates every Monday, Wednesday and Friday!

Craft Spotlight: Fabric Mosaics

2014-06-30-FeatureImageR15651 Fabric Mosaics are great for tactile activities such as beading and stringing! Who knew! At our art camp, we tried out a technique where we interwove Brilliant Beads with Fabric Mosaics on string to make colorful and unique jewelry!_DSC0303First, we started out by folding the Fabric Mosaics in half and cutting out the center. This made a hole that we could use to string the yarn through. IMG_00000576We made sure the kids cut out the centers very carefully. IMG_00000580Once all the mosaics were cut, we tied a knot at the end of each length of yarn. IMG_00000587We first strung large Brilliant Beads up against the knots. This made sure that none of the Fabric Mosaics could slip out. IMG_00000588 Then we started layering our bead arrangements! IMG_00000596The bright colors in the Fabric Mosaic pack worked so well with our Brilliant Beads! IMG_00000606The combination was simple: alternate a Fabric Mosaic with a Brilliant Bead and back again. Keep going until the whole string is decorated or filled up! IMG_00000610Getting ready to finish up! Now we can loop the beaded string into a bracelet… IMG_00000620…like this one! IMG_00000624Or a necklace! Simple and easy, yet great fun to make! Line-18 Thanks for checking out this post! Like us on FacebookShare this post with your friends, or Subscribe to this blog today to receive original craft project updates every Monday, Wednesday and Friday!