Make a bright and beautiful vest to commemorate the end of summer! To add some fun to your students’ painting experiences, try painting outside as a tribute to all the great days spent in the sunshine (and to enhance students’ sensory exploration!)
Age: 3+
Duration: 10-20 minutes
Learning Objectives: Exercise fine motor skills with a needle and thread to make stitches, squeezing Squiggle Pipettes to spread paint on Color Diffusing Paper and pasting assorted flowers onto Sew Up Vests.
You’ll Need:
• R43006 Sew Up Vests
• R15657 Wild Flower Paper Bits
• R54460 Squiggle Pipettes
• R5601 Plastic Lacing Needles
• R5519 Classroom Bowls
• Paint
• Paint tray
• Yarn
• Glue

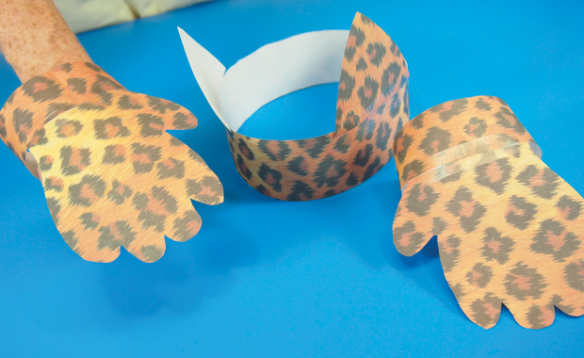
Sew Up Vests encourage fine motor development through easy sewing techniques using a system of matching holes to ensure that students keep track of their work. Each Sew Up Vests kit is accompanied by a set of Plastic Lacing Needles which are designed to prevent injury with a soft-tip point.
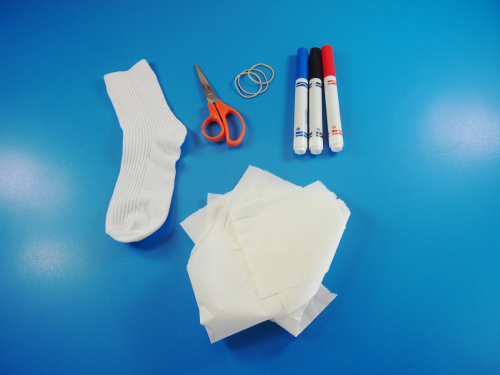
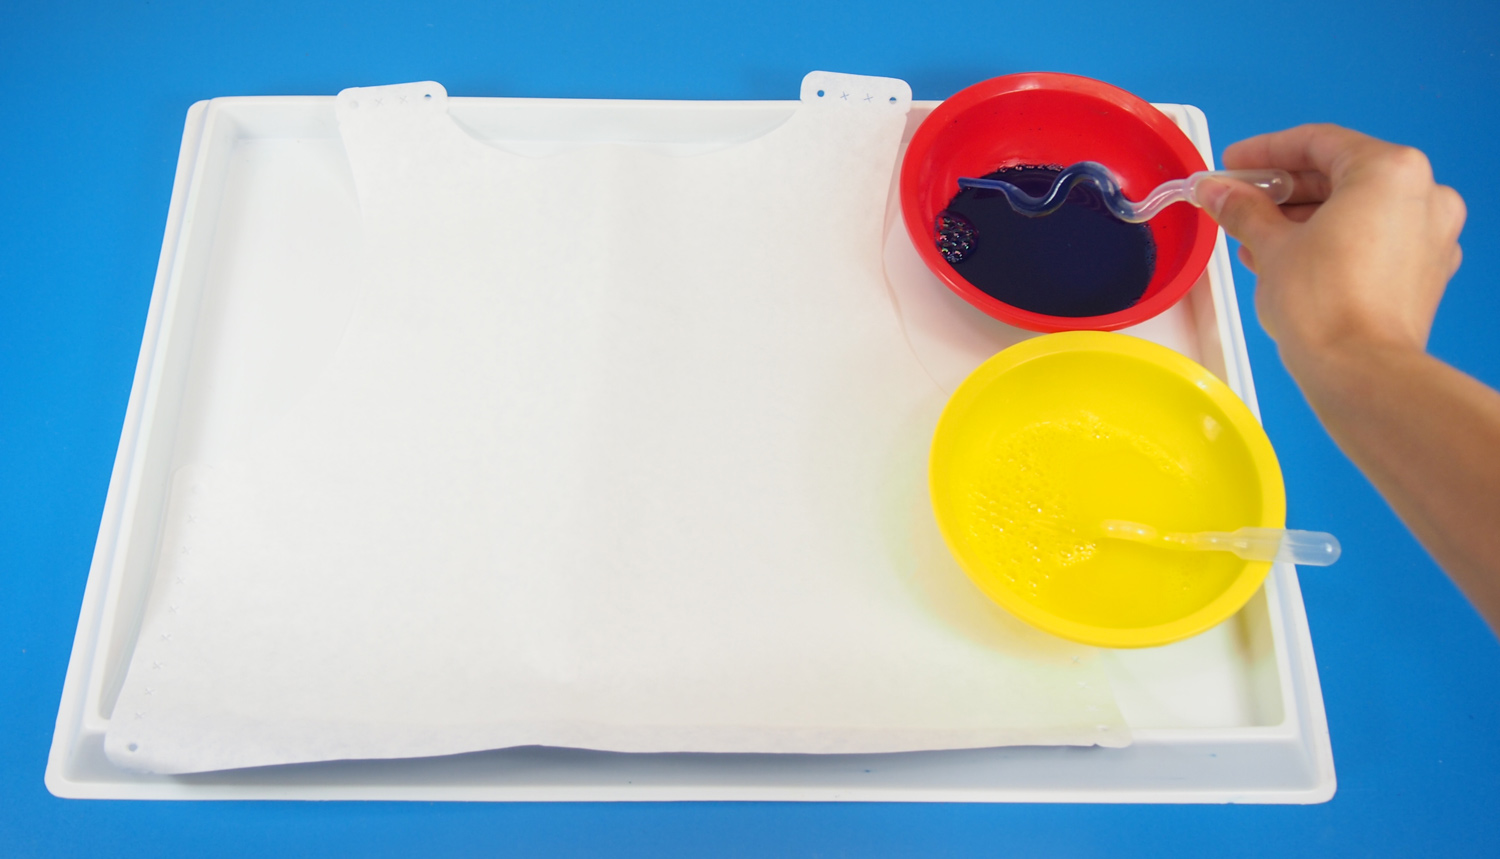
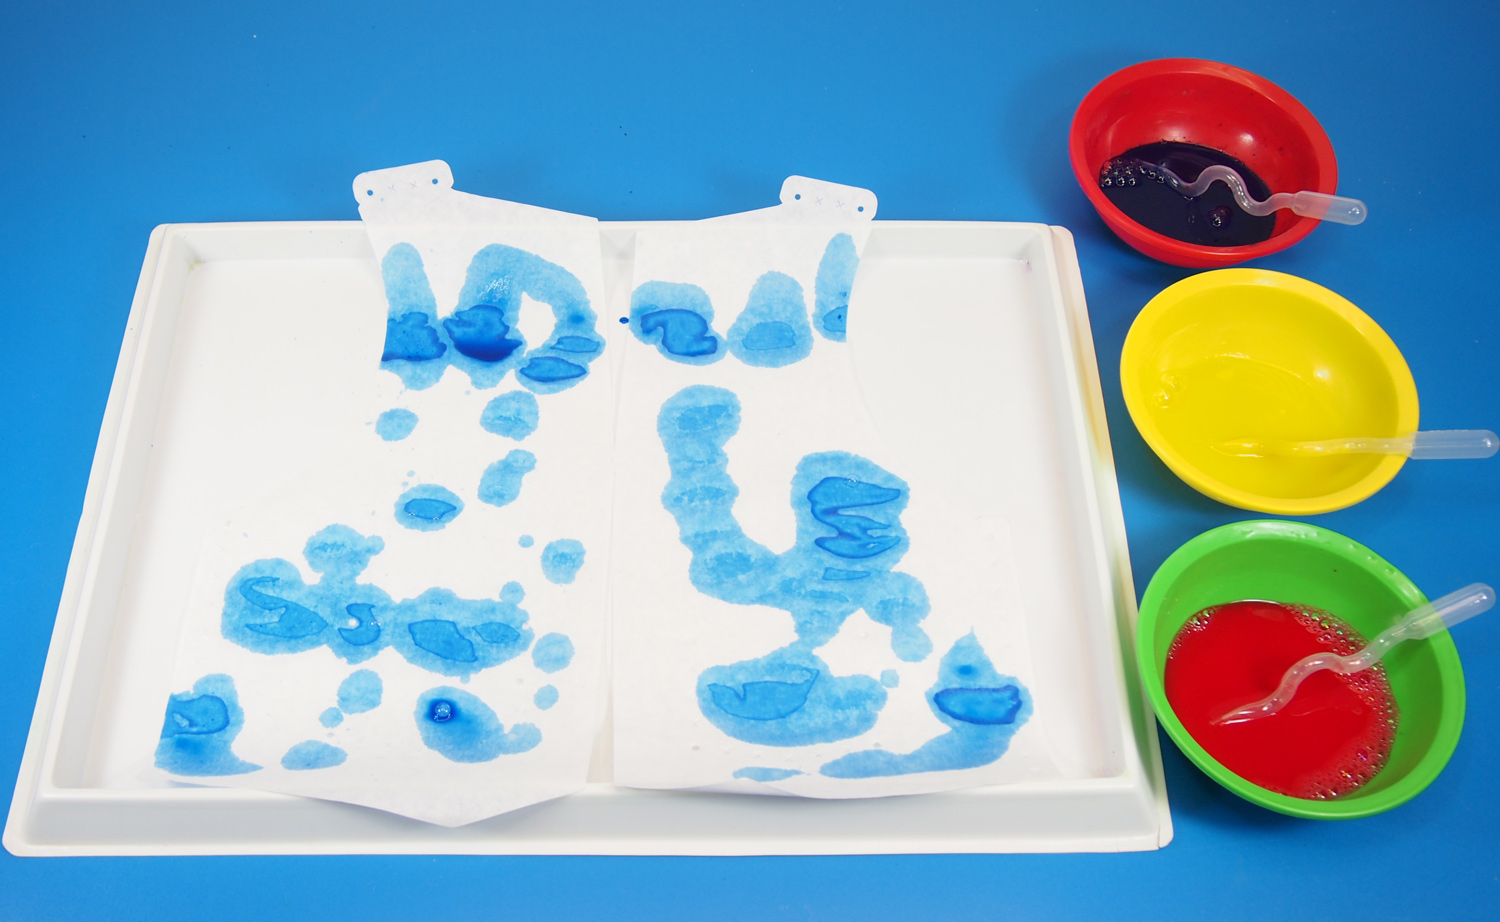
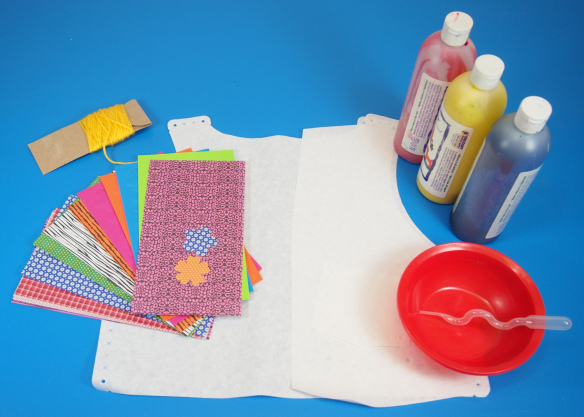 Here are some of the items you will need. If you are not able to produce watercolors, simply dilute your existing tempera or thick-based paint with three parts water. Mix the colors together to get the watercolor “effect.”
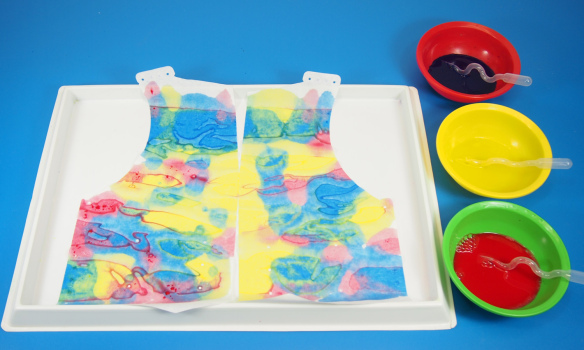
There are 5 parts to your Sew Up Vest: The back vest, the two front panels and two pockets. It is easiest to paint each piece one at a time before moving onto the next piece.

Start with the back part of your Sew Up Vest. Dip your Squiggle Pipette into a paint color. Squeeze and release to draw in some of the liquid paint. This is a great exercise in fine motor skills for young children.
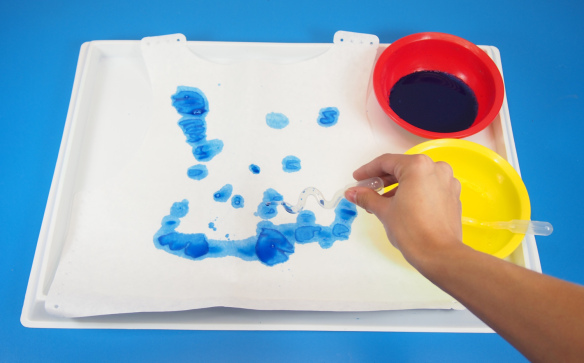 In this step, I first dropped a random arrangement of blue paint onto the back vest. Squeeze the bulb of the Squiggle Pipette to release the paint. Notice between this picture and the next that the color on the vest begins to spread further and further out. This is due to the nature of the Color Diffusing material used to make the Sew Up Vest.
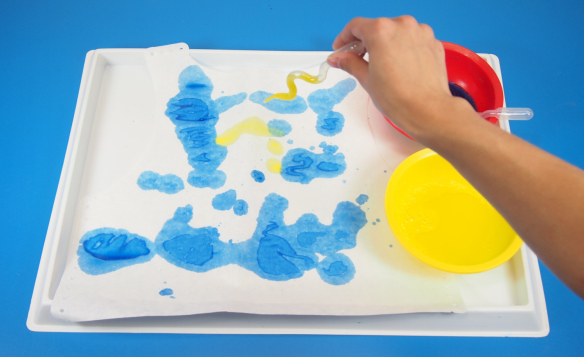 Next, I added some yellow to mix with the blue. This is a great opportunity to discuss principles of color mixing, as the color literally mixes right before students’ eyes!
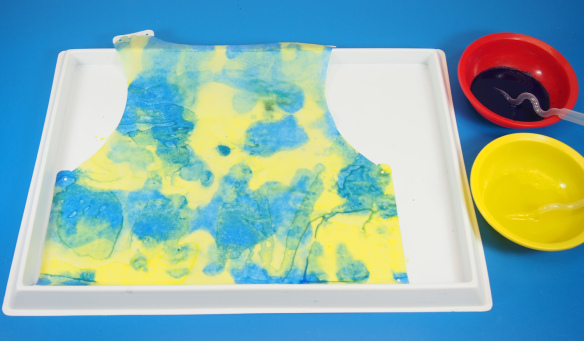 Notice the large patches where the yellow mixes with the blue to make green! It also produces a neat tie-dye effect that children will have fun creating and observing.
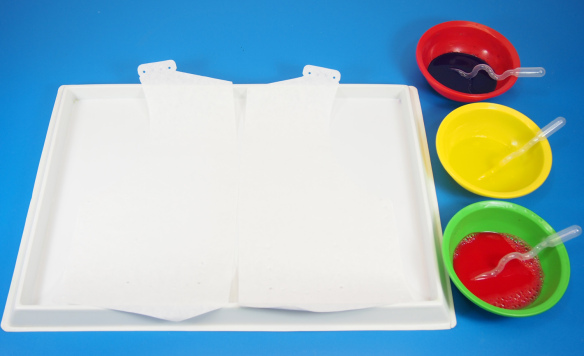 Next, we will work on the two front panels of the vest. I’ve placed them side by side above to make painting easier and conserve workspace. Here, I’ve decided to use the colors yellow, blue and red.
 First, drop a bit of color onto the front panels and watch how they spread. Hint: Try not to use too much color to completely saturate the vest. You want to leave some white space as room for other colors to appear; only the edges of the color groups should mix together to form new colors. Try to keep students from squeezing paint onto areas where paint already exists as this will cause the colors to turn brown!
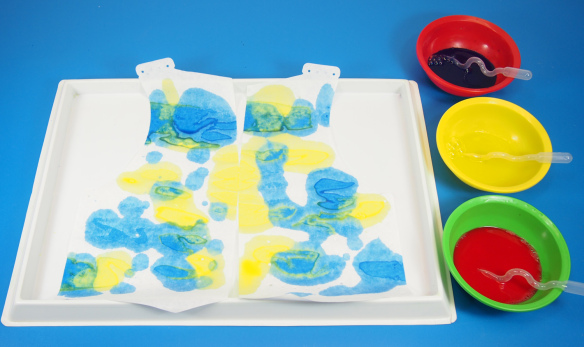 Now I’ll add a bit of yellow to repeat the process from the previous vest piece. Notice that I’ve left quite a bit of white space all the way around the vest pieces.
 Now for the fun part! Place some red paint onto the white areas remaining on the vest. Notice how the color changes from red to a soft pink. This is due to the addition of water that is diluting the color throughout the Color Diffusing material.
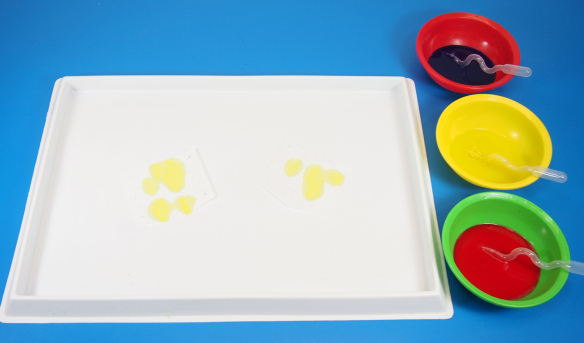 Now for the pockets! First I’ve added some yellow to random sections…
 …Then, I’ve concluded with some red color around the sides.
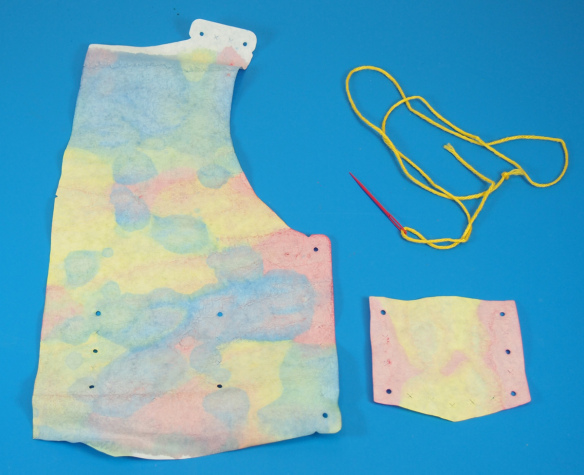
 Leave the Color Diffusing Paper to dry for about 15 minutes (even faster if placed directly under the sunlight!) For the next step, we will be assembling the pieces together using our Plastic Lacing Needles and some colorful yarn. Make sure you choose a yarn that complements the look of your vest!
 First, thread the yarn through the needle hole. Widen the eye with your fingers to make it easier to slip the yarn through. Tie a knot at one end to make sure the thread doesn’t slide apart once it’s been stitched into the vest.
 This is a very important part as it will help you to sew up your vest properly. The front panels and pockets match together in a particular way. Besides being placed in the center of the front panel, the pockets align with a certain arrangement of holes on either side. On one side, there are holes that are shaped like circles, and others that are shaped like x’s.
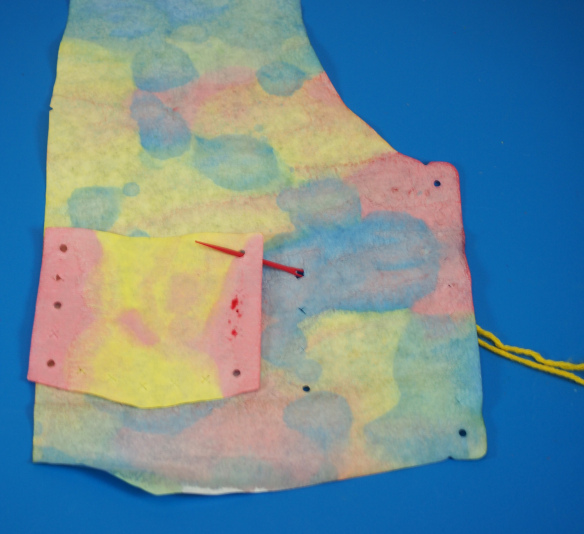
First, find out which way the front panel aligns on the back vest, then flip your pocket accordingly to match up with the same number of holes on either side. Since the paint colors the material on both sides, it’s no issue to flip the pockets when needed.
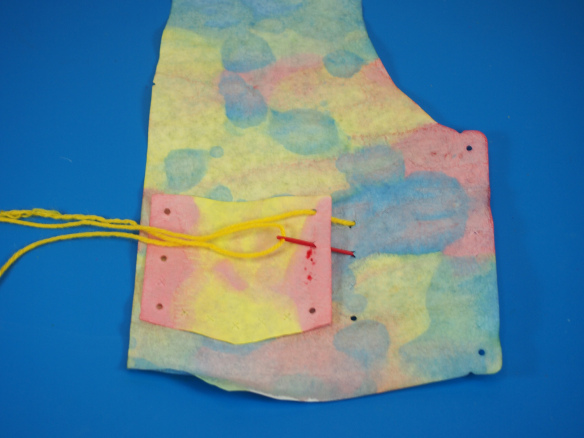
Slide your needle and thread through the first hole as shown the picture above.
 Next, flip the direction of the needle and thread the opposite way and go through the next two holes to the other side.
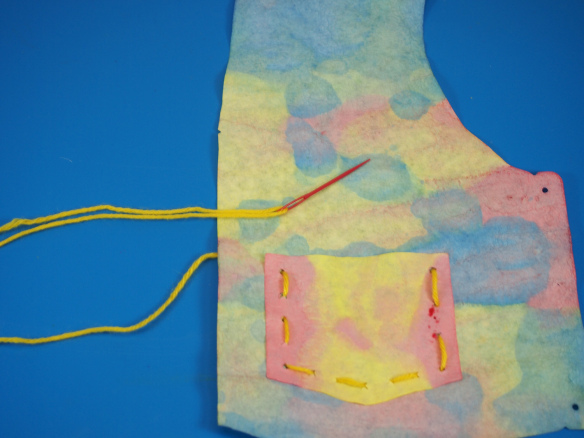 Continue following the line of holes all the way around the pocket until you come to the end.
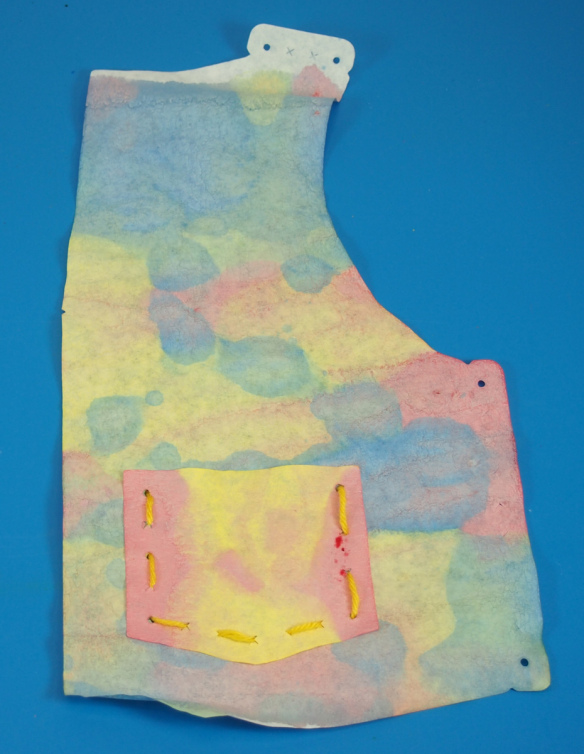 Flip over the vest and tie off the thread with a knot.
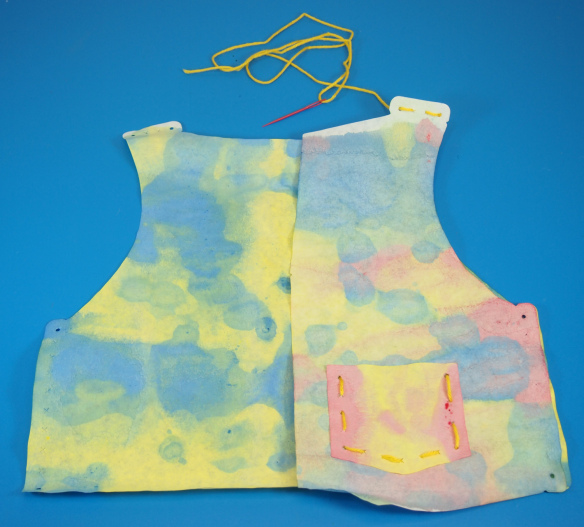 Start sewing one front panel to the back vest. There are four holes at the top shoulder that align with the holes of the back vest. Thread the yarn through these holes and tie off.
 Additionally, secure the front panel to the side of the back vest. Thread the yarn through and tie off.
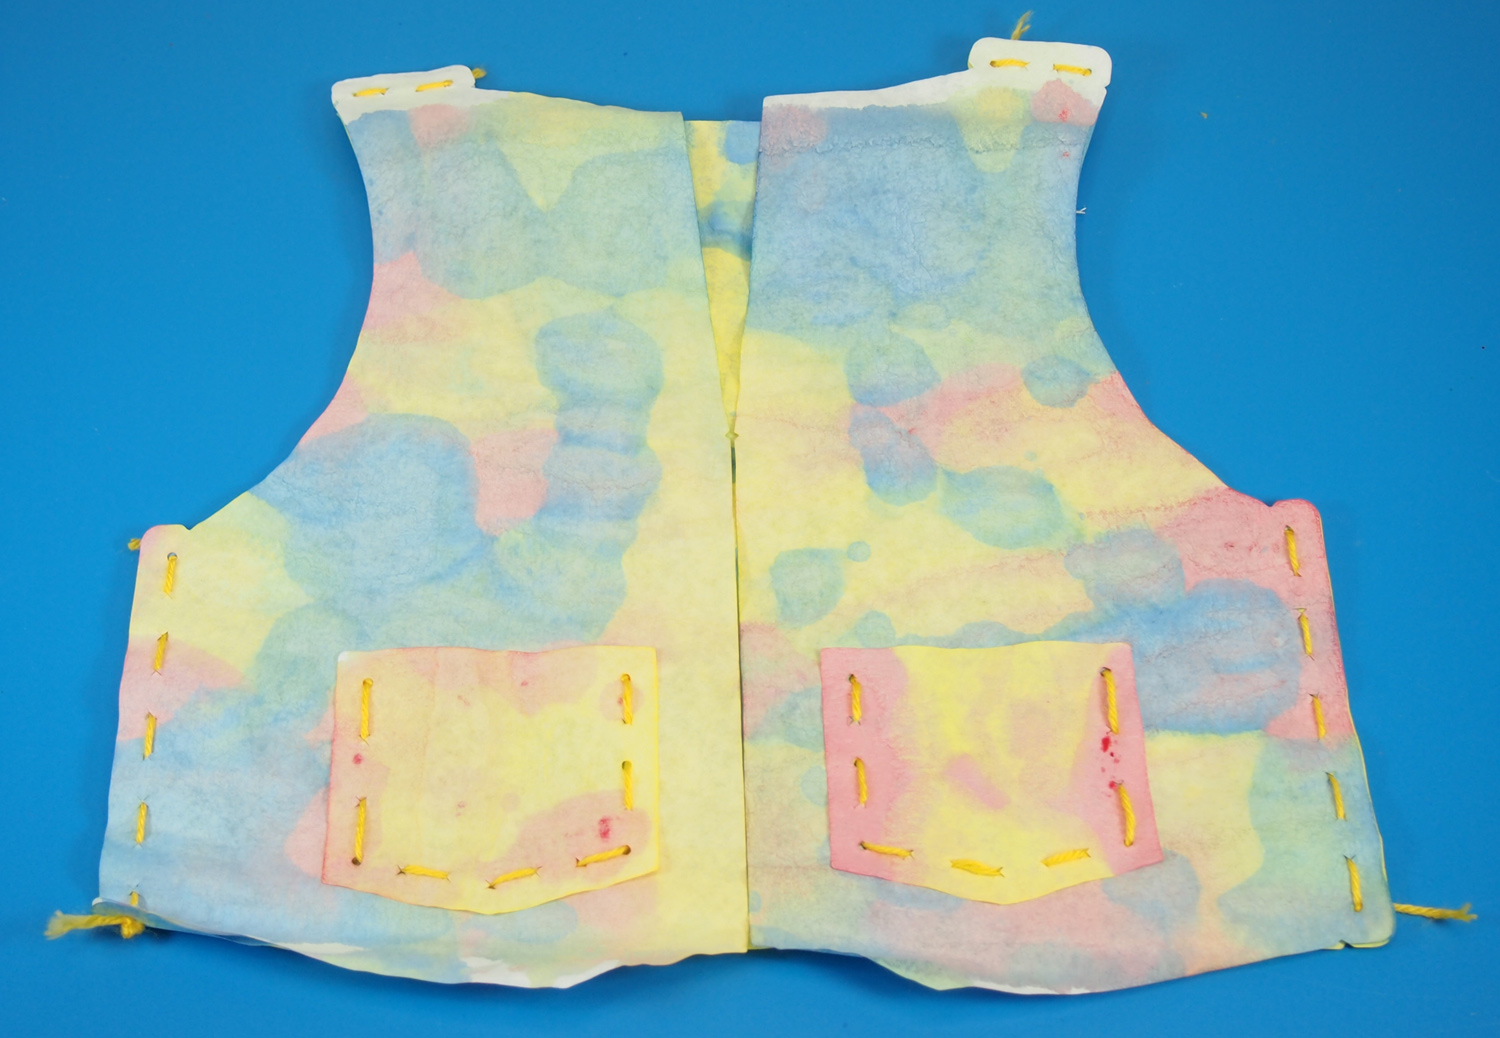
 Repeat the same procedure for the opposite side. Your Sew Up Vest is almost complete!
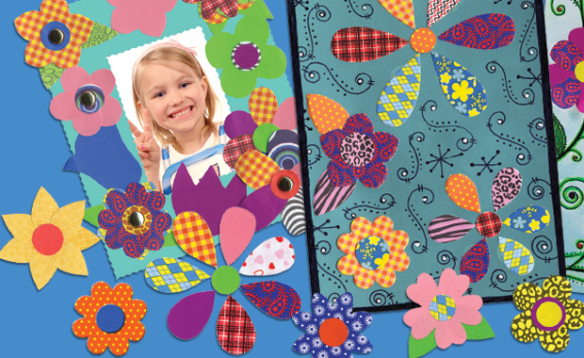
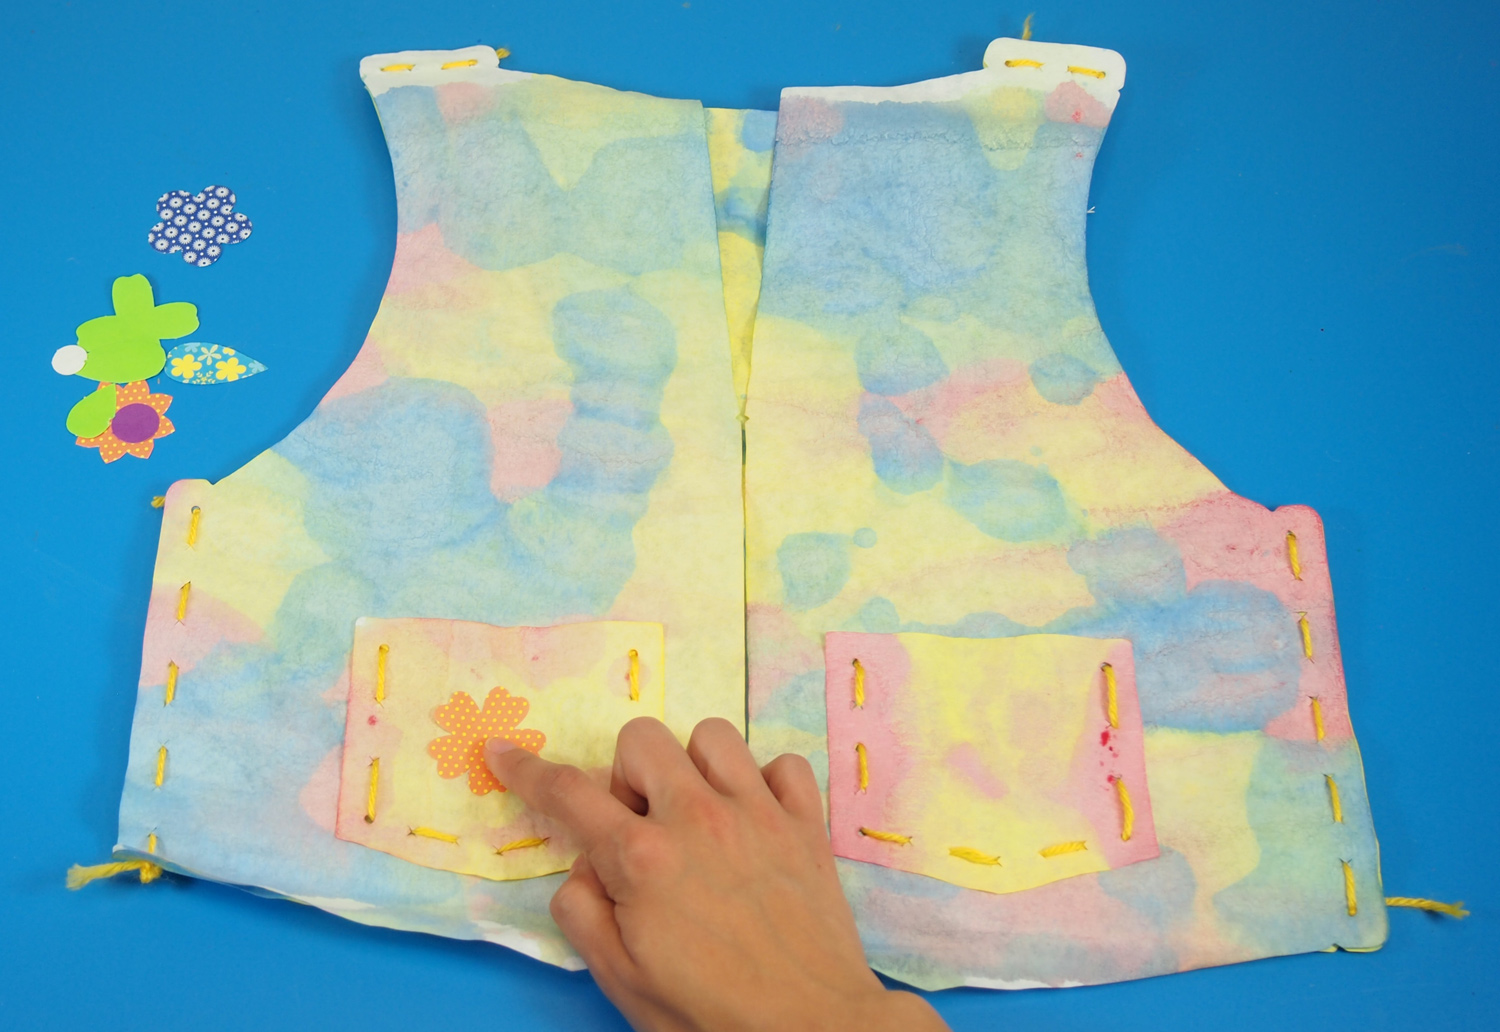
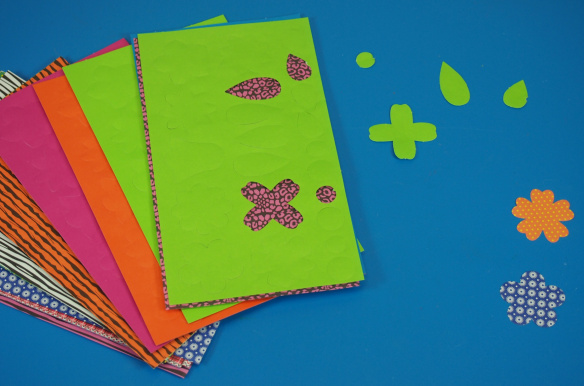 Now it’s time to decorate the Sew Up Vest! You’ll notice that our Wild Flower Paper Bits are cut into sheets of decorative or full-color sheets of paper. You can make flower designs out of the variety of flower shapes, or use the petal/leaf pop-outs to make your own designs. There are two sizes of flower centers to add interest to your flower designs.
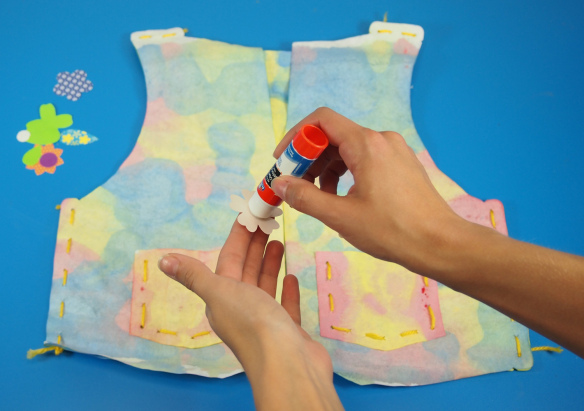 Rub a bit of glue onto the back of the flower shape.
 Paste the flower shape onto the vest. I decided to decorate the pockets and make a “collar” out of a line of flowers.
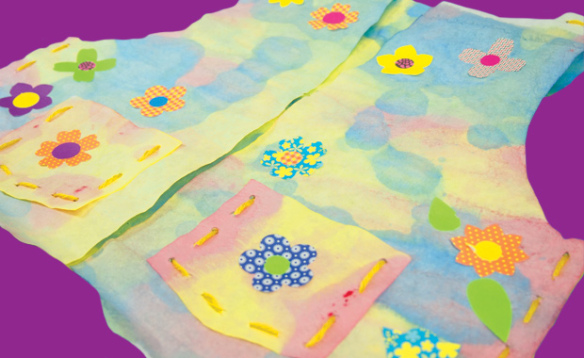
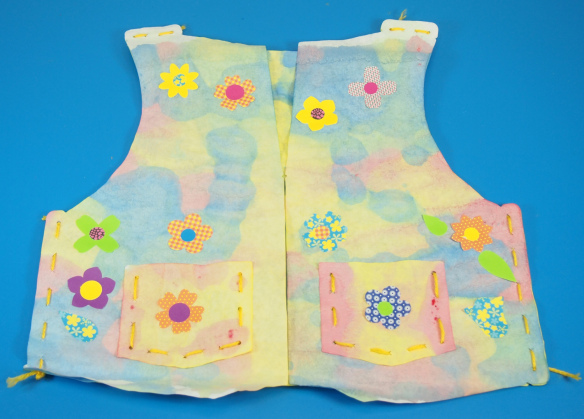 Here you can see how I’ve mixed and matched the colors of the various leaf and flower shapes to make interesting designs. Isn’t it pretty? And ready to celebrate some summer fun with style!
Thanks for checking out this post! Like us on Facebook, Share this post with your friends, or Subscribe to this blog today to receive original craft project updates every Monday, Wednesday and Friday!