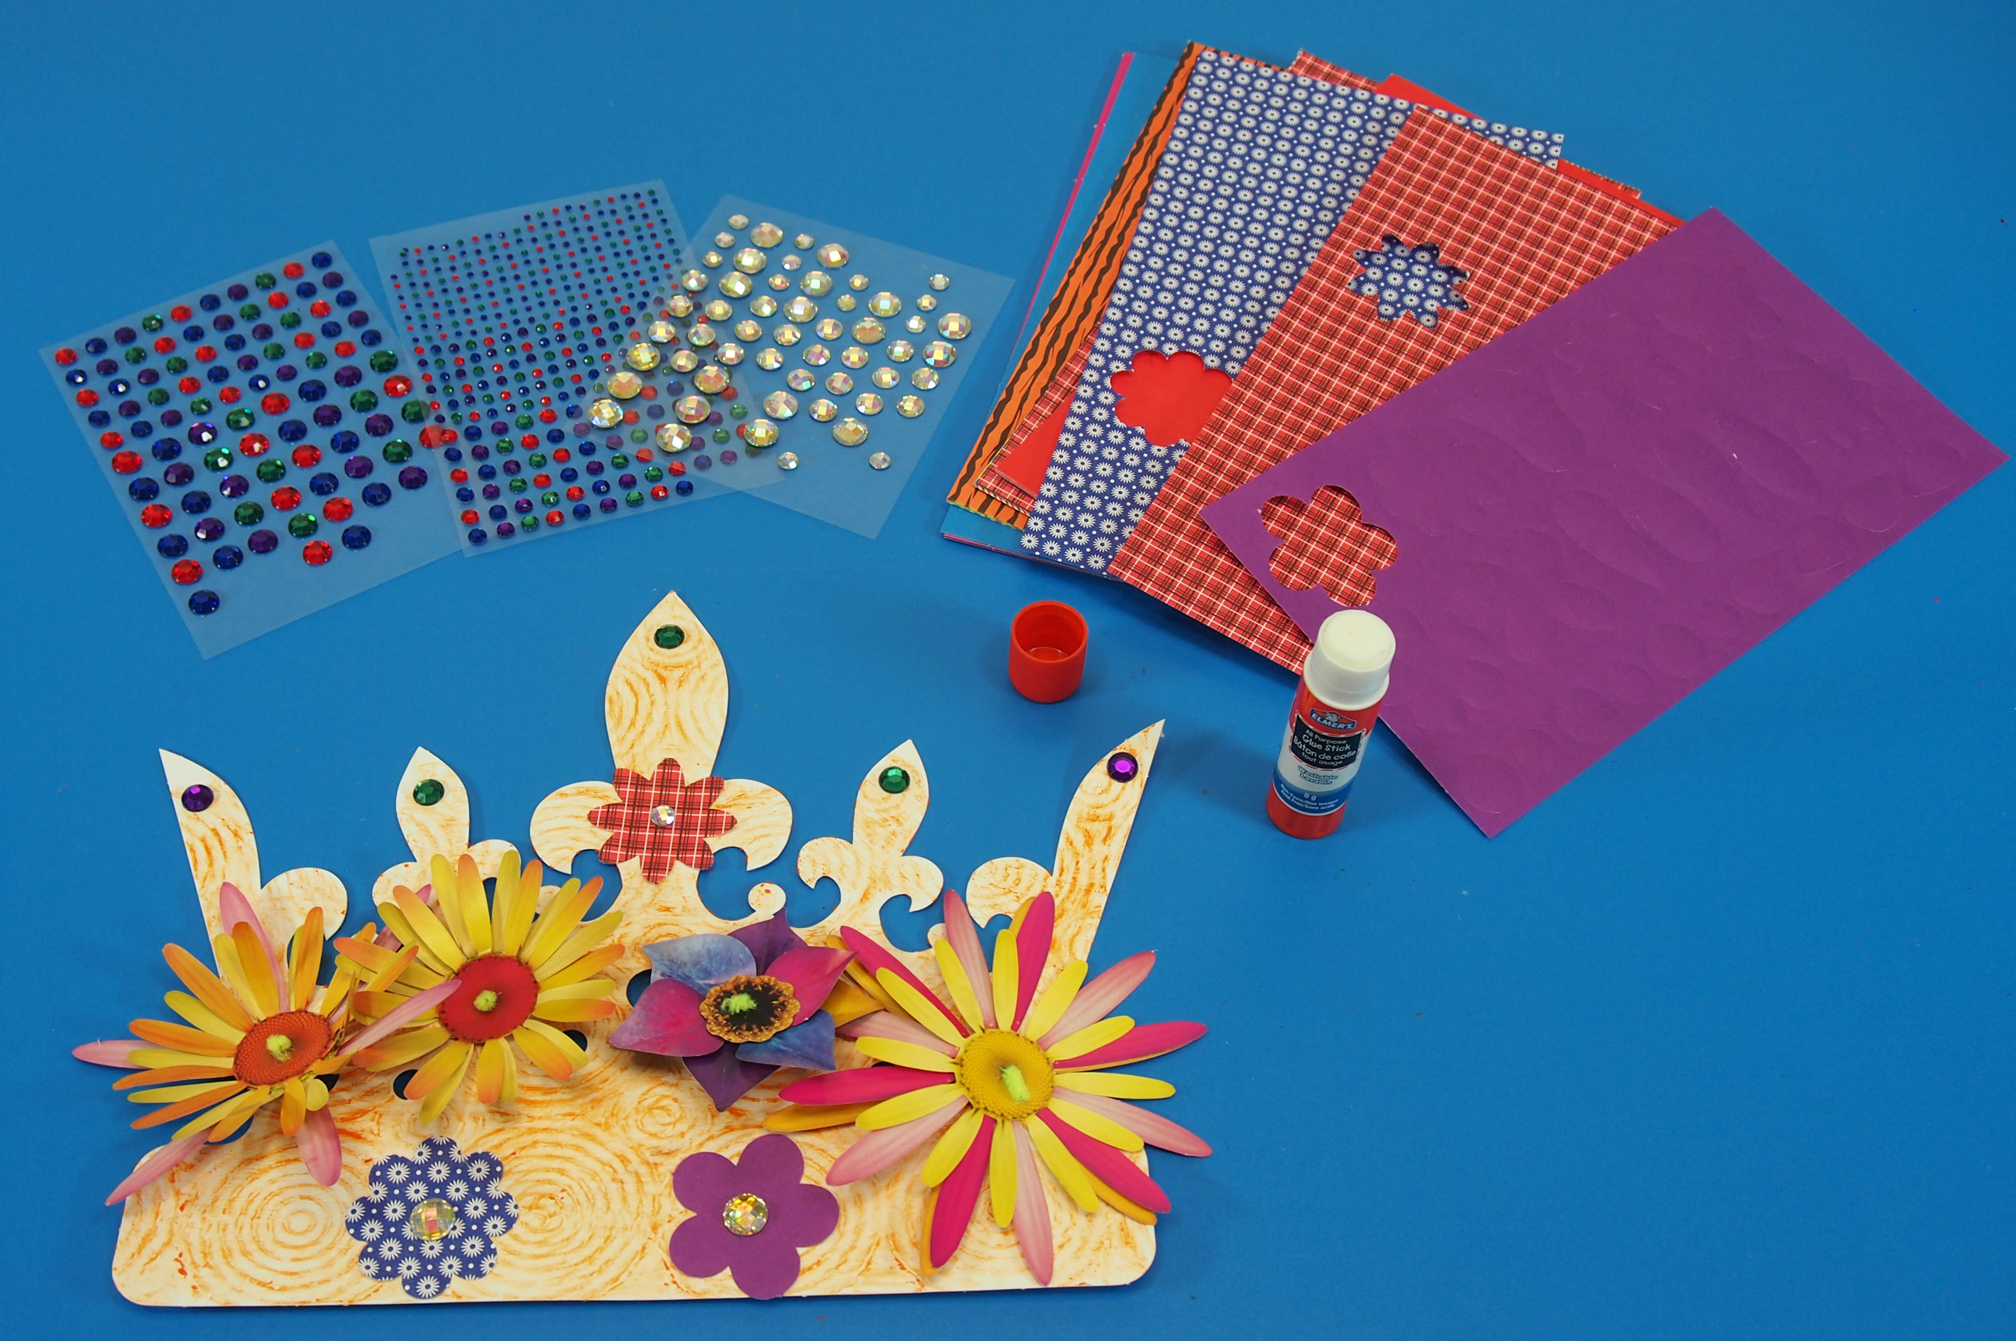
Make Mom a queen for the day with these embellished R22025 Color In Crowns! Add details with collage materials and a few of our own fun craft products, such as R24560 Bouquet Paper and R15657 Wild Flower Paper Bits!
Age: 4+
Duration: 15 minutes
You’ll Need:
• R15657 Wild Flower Paper Bits
• Pipe cleaners
• Scissors
• Crayons
• Glue
• Sequins / Dollar store rhinestones
• Tape
• Pencil
• Ruler
• Strip of paper from 11 x 17″ sheet (28 x 43 cm)

Mom will love to feel lavished with this beautiful, handmade crown. Choose mom’s favorite colors and combine printed paper flowers. Although you can embellish the crown with real flowers, you can use our life-like Bouquet Paper to add on flower combinations that will never wilt!

The crowns come in a variety of different styles, so you don’t have to be limited by one type. In addition, each of the crowns features die-cut holes that can be popped out from the interior of the crown. These can be used to attach the bouquet flowers. I’ll show you more in the steps below!

First we will rub a pattern onto the Color-In Crown. Flip the crown so that the non-glossy side faces down onto the rubbing plate pattern.

Place the crown onto the rubbing plate. Rub the side of a crayon to help distribute the pattern evenly across the crown. Choose a color that will allow the pattern to really pop out! Darker colors work best, but here, I’ve used orange and it still managed to turn out nicely.

All finished. How does that swirl pattern look?

Next, we will create the flowers to decorate your Mother’s Day Crown. First, cut a length of pipe cleaner into quarters. These will be used as stems to hold the Bouquet Paper pieces together.
 Pop out the pieces from the paper backing. The graphics are double-sided with different colors so you can easily alternate the design of your flowers.

Grab a bunch of different petal colors, shapes and sizes. The Bouquet Paper includes leaf and center graphics.

I’ll show you how to layer the various kinds of flowers I will make for the crown. First, choose a daisy-like flower with a red center and its twin with a yellow center.

Each Bouquet Paper graphic features small nicks in the paper to help you thread pipe cleaner through. Thread one of the small pipe cleaner lengths through the yellow center.

Continue to thread the pipe cleaner through the next flower until it sits perfectly on top of the first. Fan out the petals so that they alternate between dark orange and soft yellow. To secure, press the top of the pipe cleaner on its side like a hook.
 For the next type of flower, choose a daisy-like flower with a yellow center, another similar flower with a reddish-orange center and a long thin flower with light pink petals. Thread the pipe cleaner through the reddish-orange flower first.
 Next, thread the yellow centered flower behind the first.
 Finish with the thin pink flower behind the first two. Press the top of the pipe cleaner down to hold the arrangement in place.

You can make further variations of these flowers using other combinations.

Choose the double-petal graphics in four different colors. I popped out an additional center for the final flower design.

First, thread the pipe cleaner through the flower center. Bend the end of it to secure.

Layer the rest of the petals behind the flower center. Fan them all out equally so you can clearly see the various colors.

You can add dimension to the flowers to make them look even more realistic! These particular petals feature a score line along their length. Pinch the sides of the petal together to bend them inwards.

What a neat lifelike effect!

Now it’s time to decorate your crown!
 Pop out the interior cutouts. These will be helpful for stringing through the flower designs.

Thread the pipe cleaner stem of one flower through the popped-out opening.

Flip the crown over to the opposite side. You will see where the rest of the stem is poking through. Tape it down to the back of the crown with tape.

Thread the rest of the flowers through and tape down.

Ta-DA! Already looking fashionable!

Now for some details. I pasted large rhinestones in different colors on the tips of the crown arches.

To give our crown a bit more flair, I’ve popped out various flowers from the Wild Flower Paper Bits sheets. There are over 1000 different flower pieces to choose from, so mixing and matching the various patterns is so much fun!

Paste on the flower bits to cover up some empty spots.
Instead of popping out the provided flower centers for the Wild Flower Paper Bits, I decided to press in some rhinestones for the centers. So flashy!

Next, we will need to make the headband for the crown. Cut a strip of paper from the 11 x 17″ sheet. The strip will need to be about 1 1/2″ wide and 17″ long. Color in the paper strip headband with the same color of crayon you used to make the print.

Tape the sides of the headband to the sides of the crown.

Now would be a good time to measure the headband and see if needs to be cut at any shorter.

Double up on tape to secure the band.

And voila!! Ready for Mom to wear!

Mom will be so excited! You can make crowns to celebrate any time of the year, or just to feel like royalty for one day!
Thanks for viewing this post! Like and subscribe to us today for more craft projects and product updates every Monday, Wednesday and Friday!

![]()