Chinese Lanterns

Color-In Chinese Lanterns Craft

2014-02-12-FeatureImage

Get ready for Chinese New Year!  Learn how to create lanterns can help students work with form and color to create these awesome, decorative projects. We’ll show you the step by step process using our R22021 Color-In Chinese Lanterns and our R55009 Shape Sponges!

Age: 5+

Duration: 20 minutes
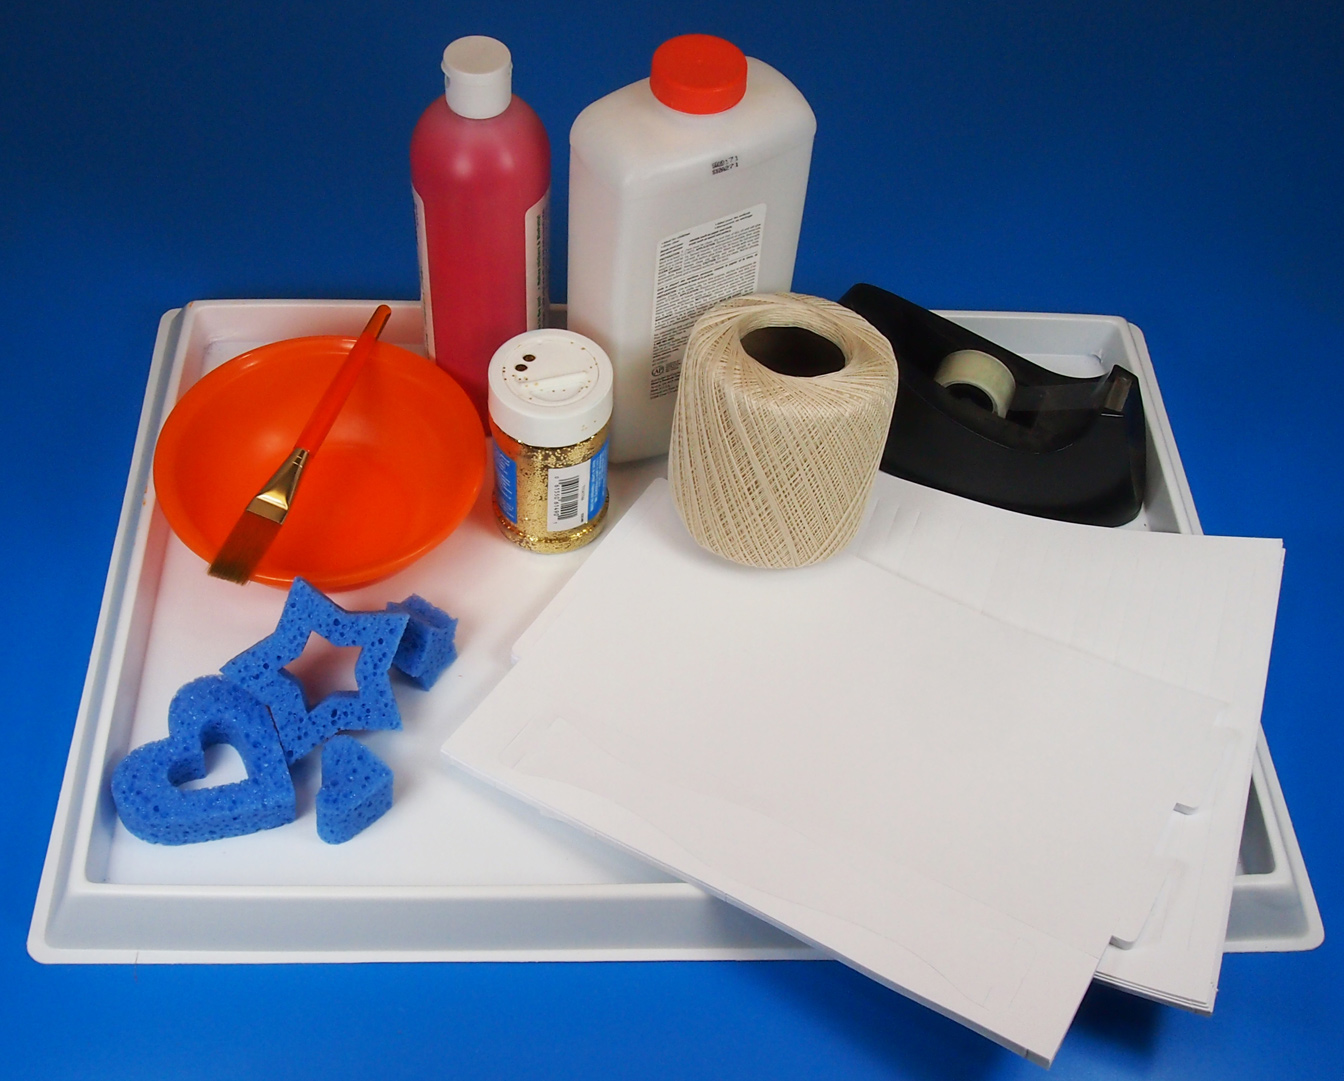
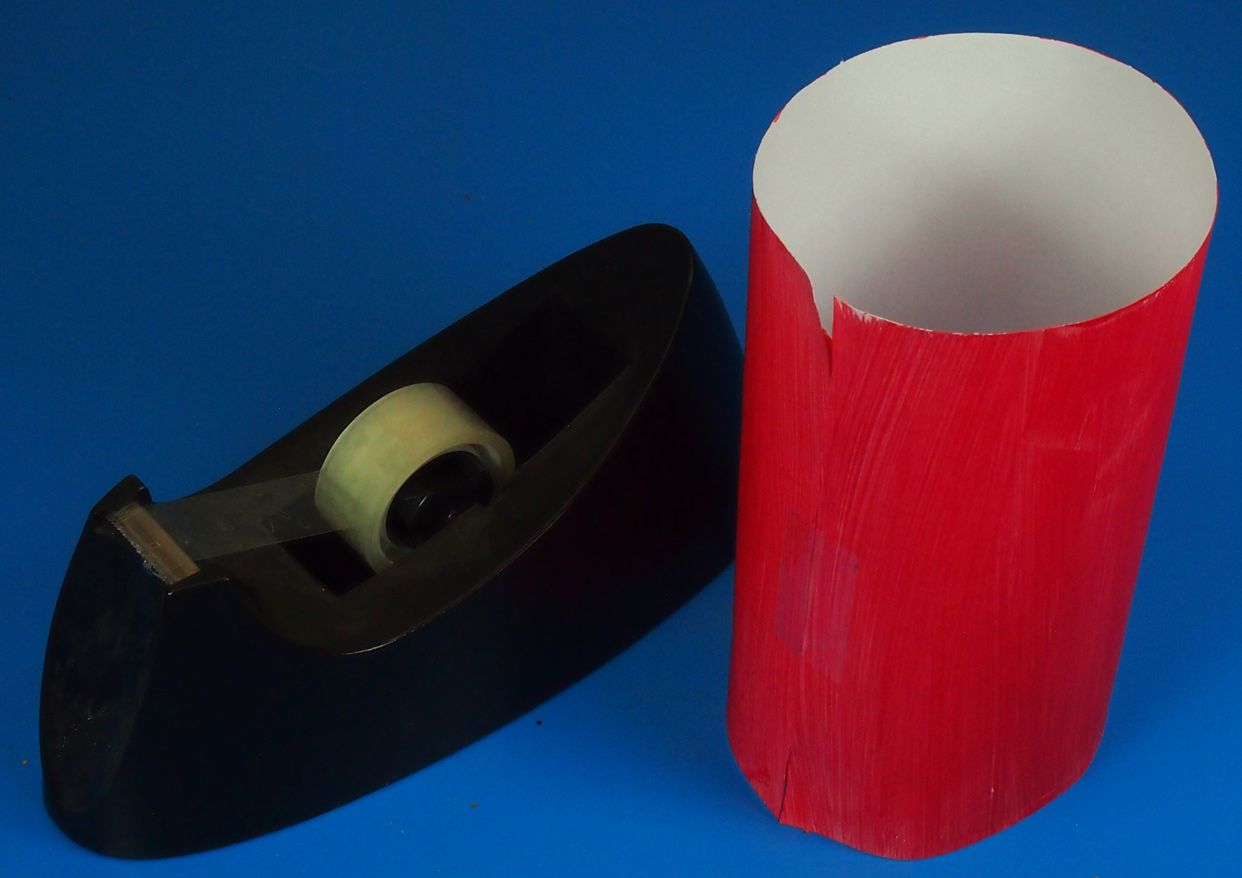
You’ll Need:

• R22021 Color-In Chinese Lanterns

• R55009 Shape Sponges

• Paint

• Glue

• Glitter (if desired)

• Paint tray

• Paint bowl

• Paint brush

• String

• Tape

Line-18

2014-02-12-Step01

It’s a good idea to use newspapers to contain glitter!

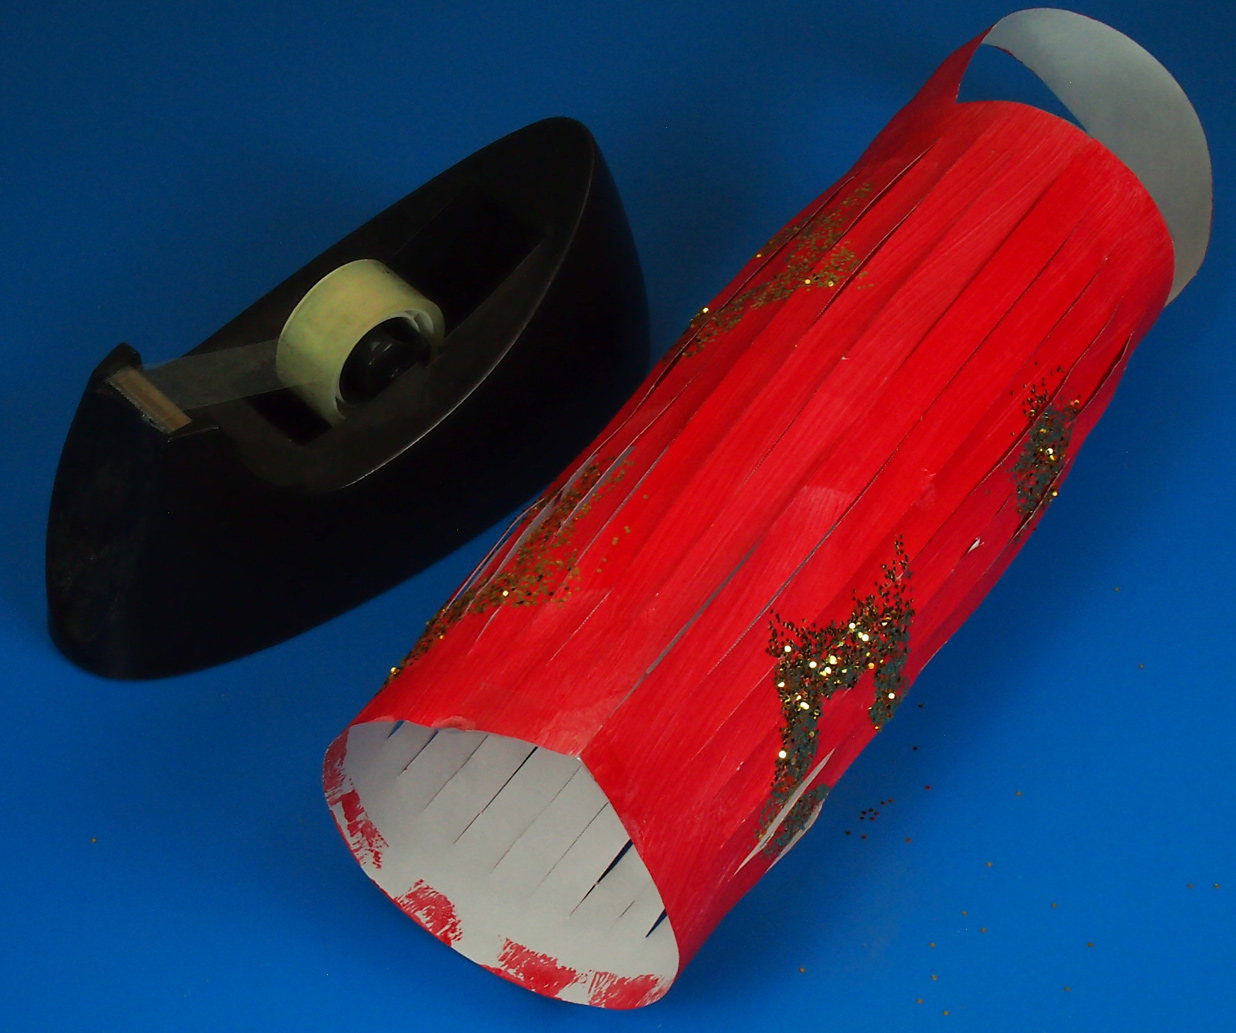
Each of the Chinese Lantern projects comes with 3 pieces: a large square with lines cut into it, a medium rectangle and a wavy-looking long piece.

2014-02-12-Step03
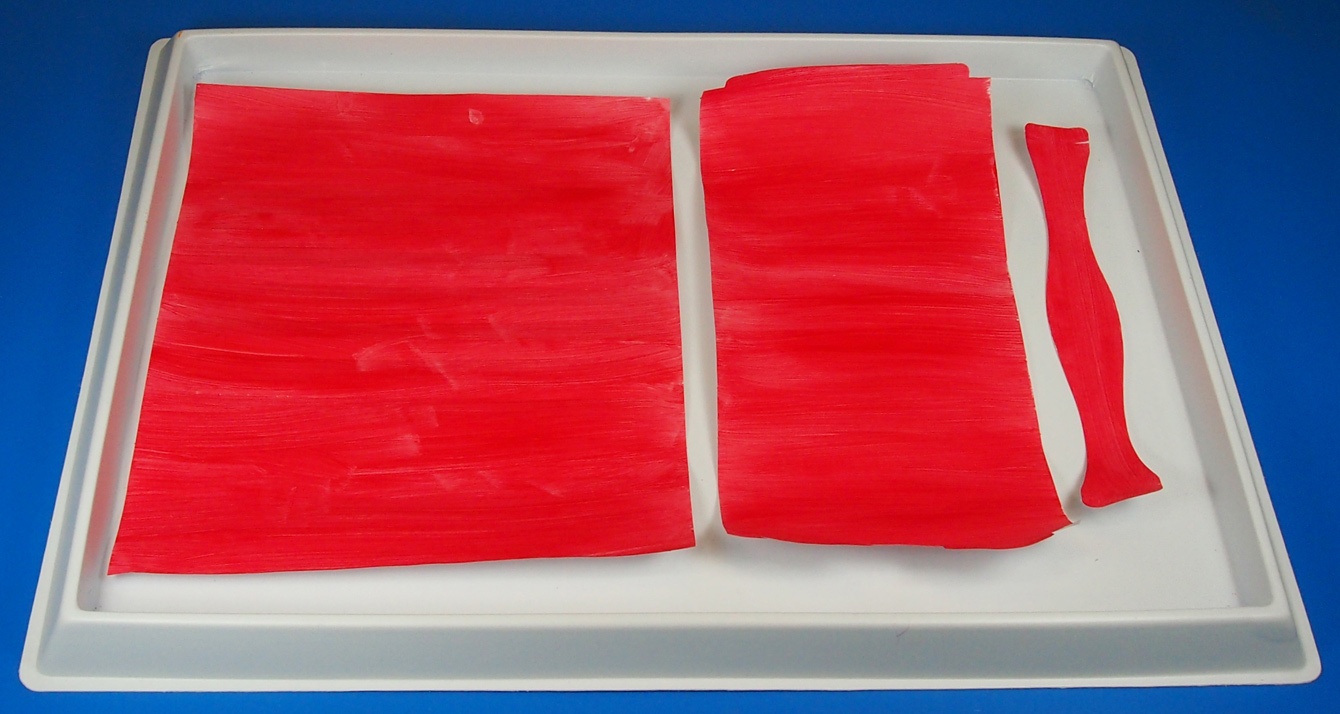
Set each piece inside your paint tray. Paint all 3 pieces in a flat color. If needed, paint on two or three layers. When you are satisfied with the strength of the paint color, set aside to dry.

2014-02-05-Sponge-AnimationOnce the large square piece is completely dry, get ready to decorate it! Fill a plastic bowl with a bit of white glue. Select a favorite sponge shape and dip one side into the glue. Carefully stamp the sponge shape 4-6 times across the square lantern piece.

2014-02-12-Step05
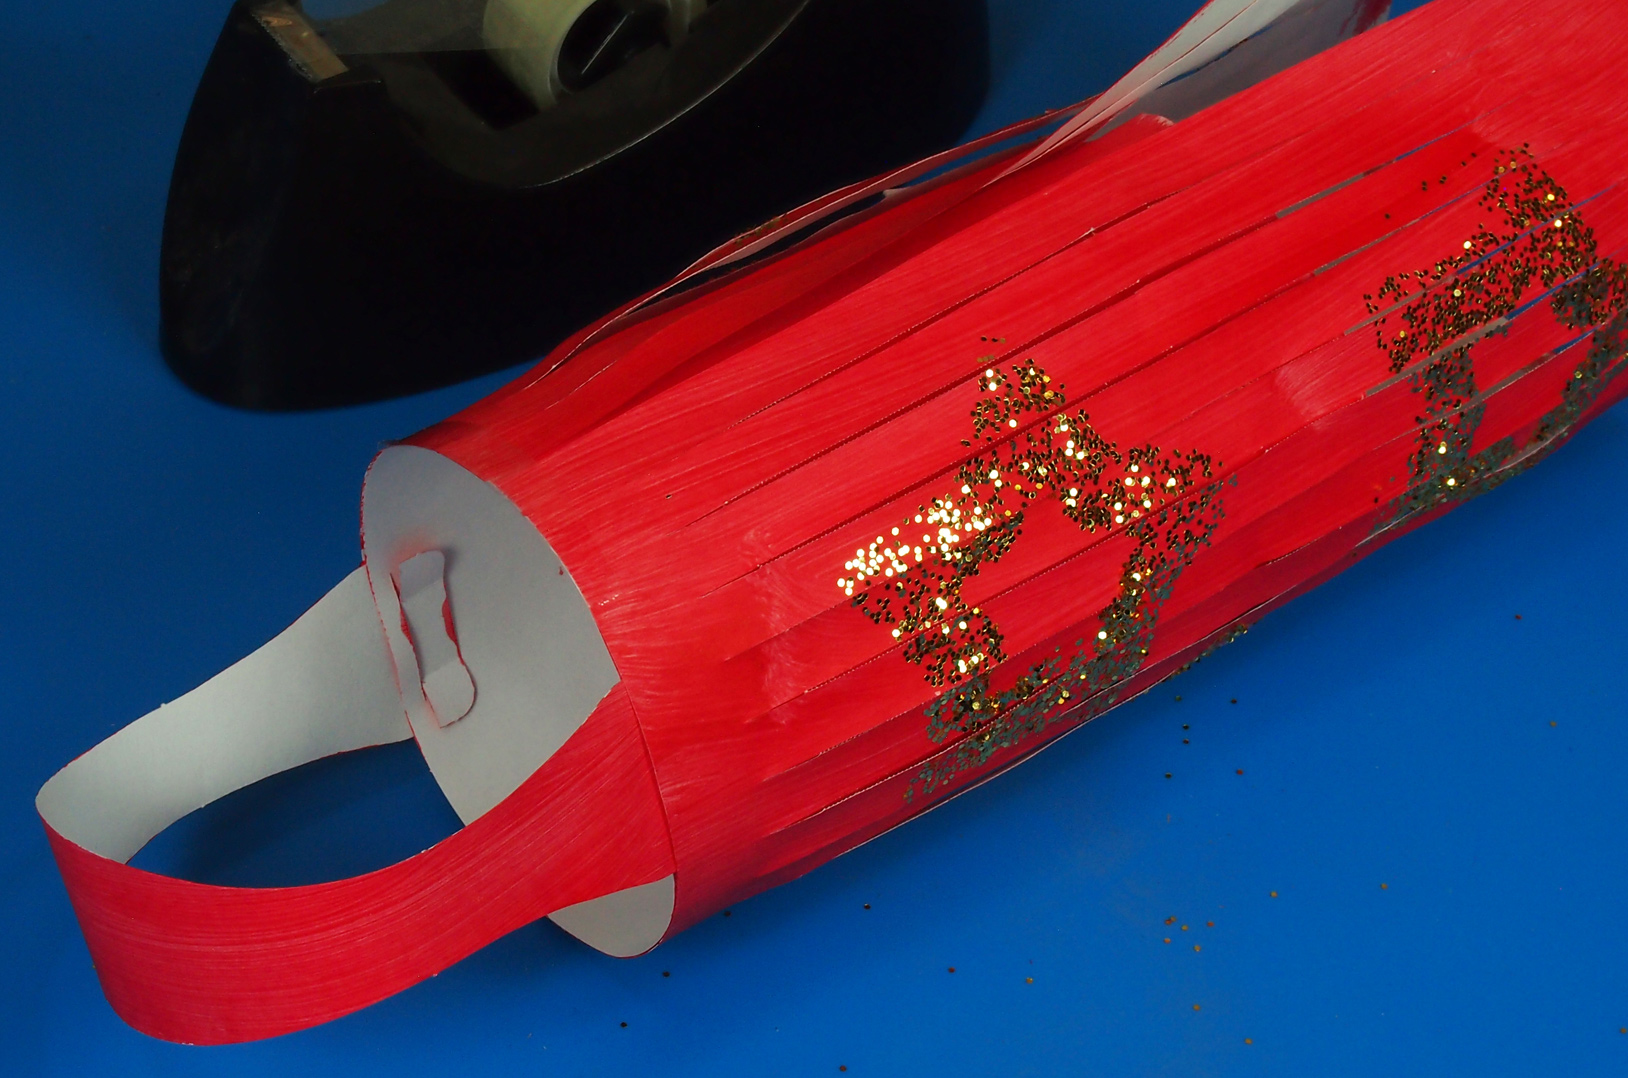
Make sure you do this step quickly, before the glue dries! Place the square piece onto newspaper. Sprinkle gold glitter glue completely on top of the stamped glue areas.

2014-02-12-Step06
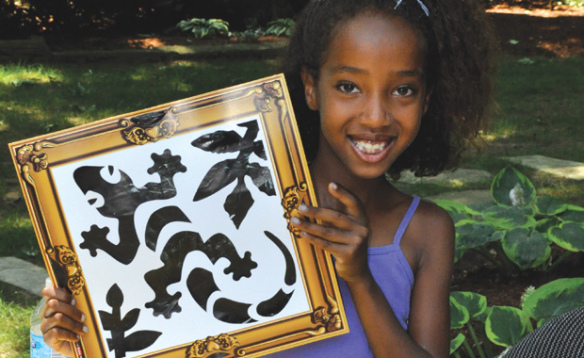
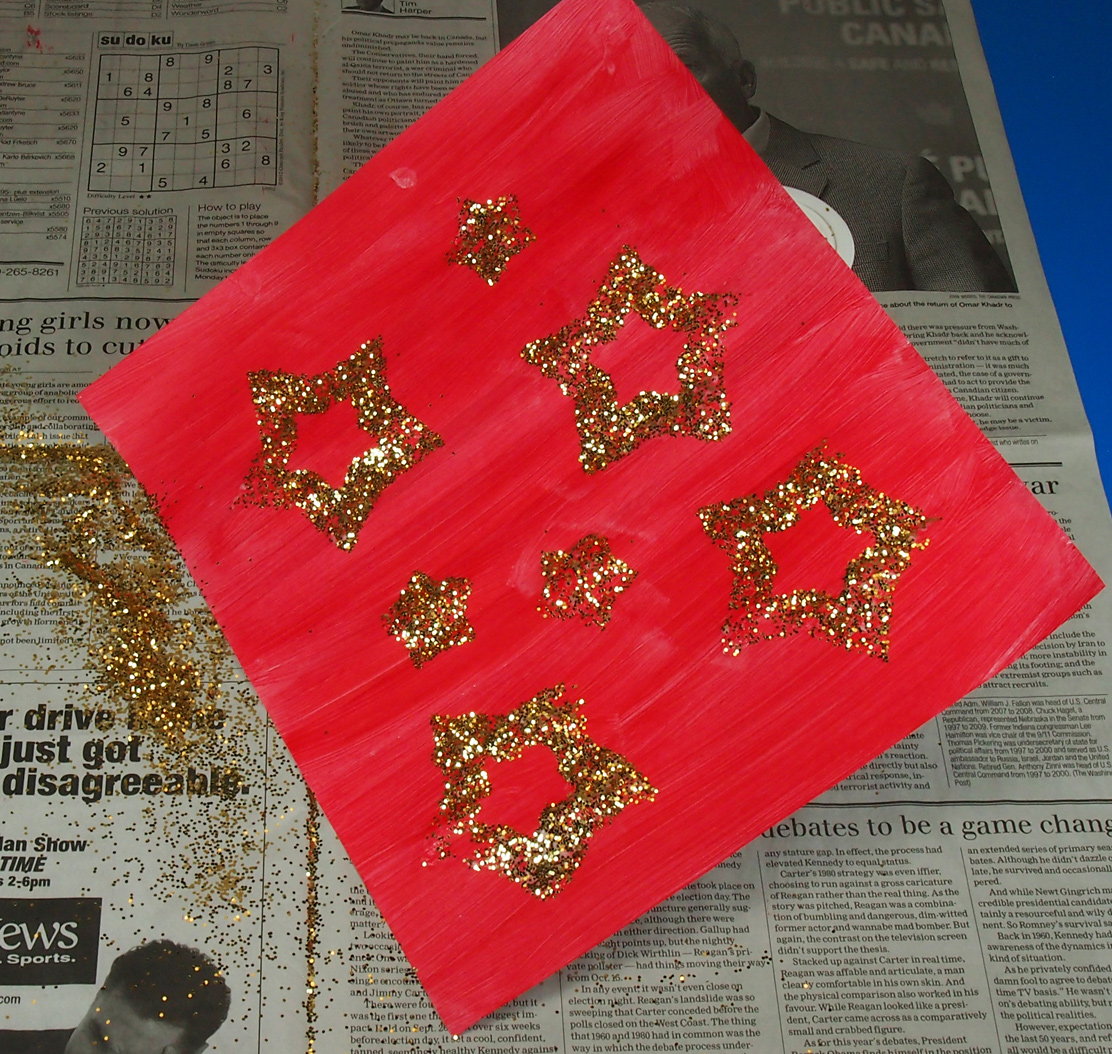
When the glue and glitter have dried, gently lift up one edge of the square piece and shake off the excess. Only the parts where the glitter met the glue will remain on the square piece. This creates a lovely surprise for students! Tip: Try to separate the die-cut lines if they are stuck together from the paint/glue.

2014-02-12-Step09

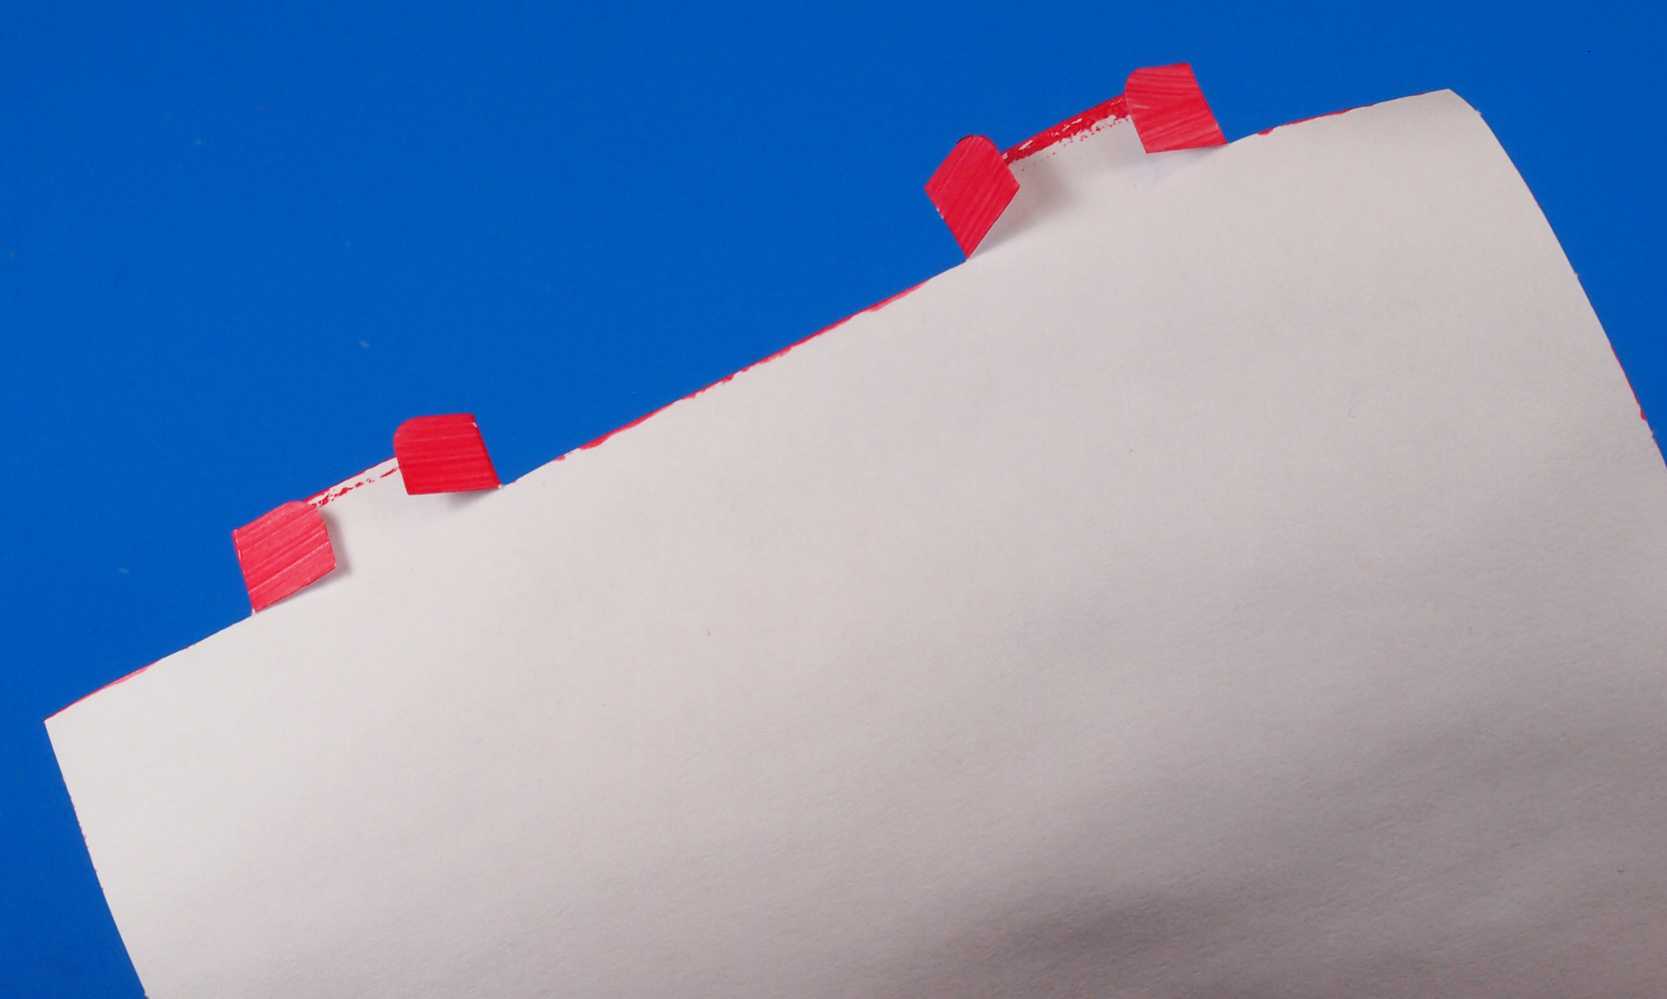
Now it’s time to switch back to the medium rectangle piece. There are two tabs at the top and of the rectangle piece. On the bottom are two slots. Flip over the piece and locate the tabs. Grab the sides of the tabs and fold them into the center.

2014-02-12-Step10
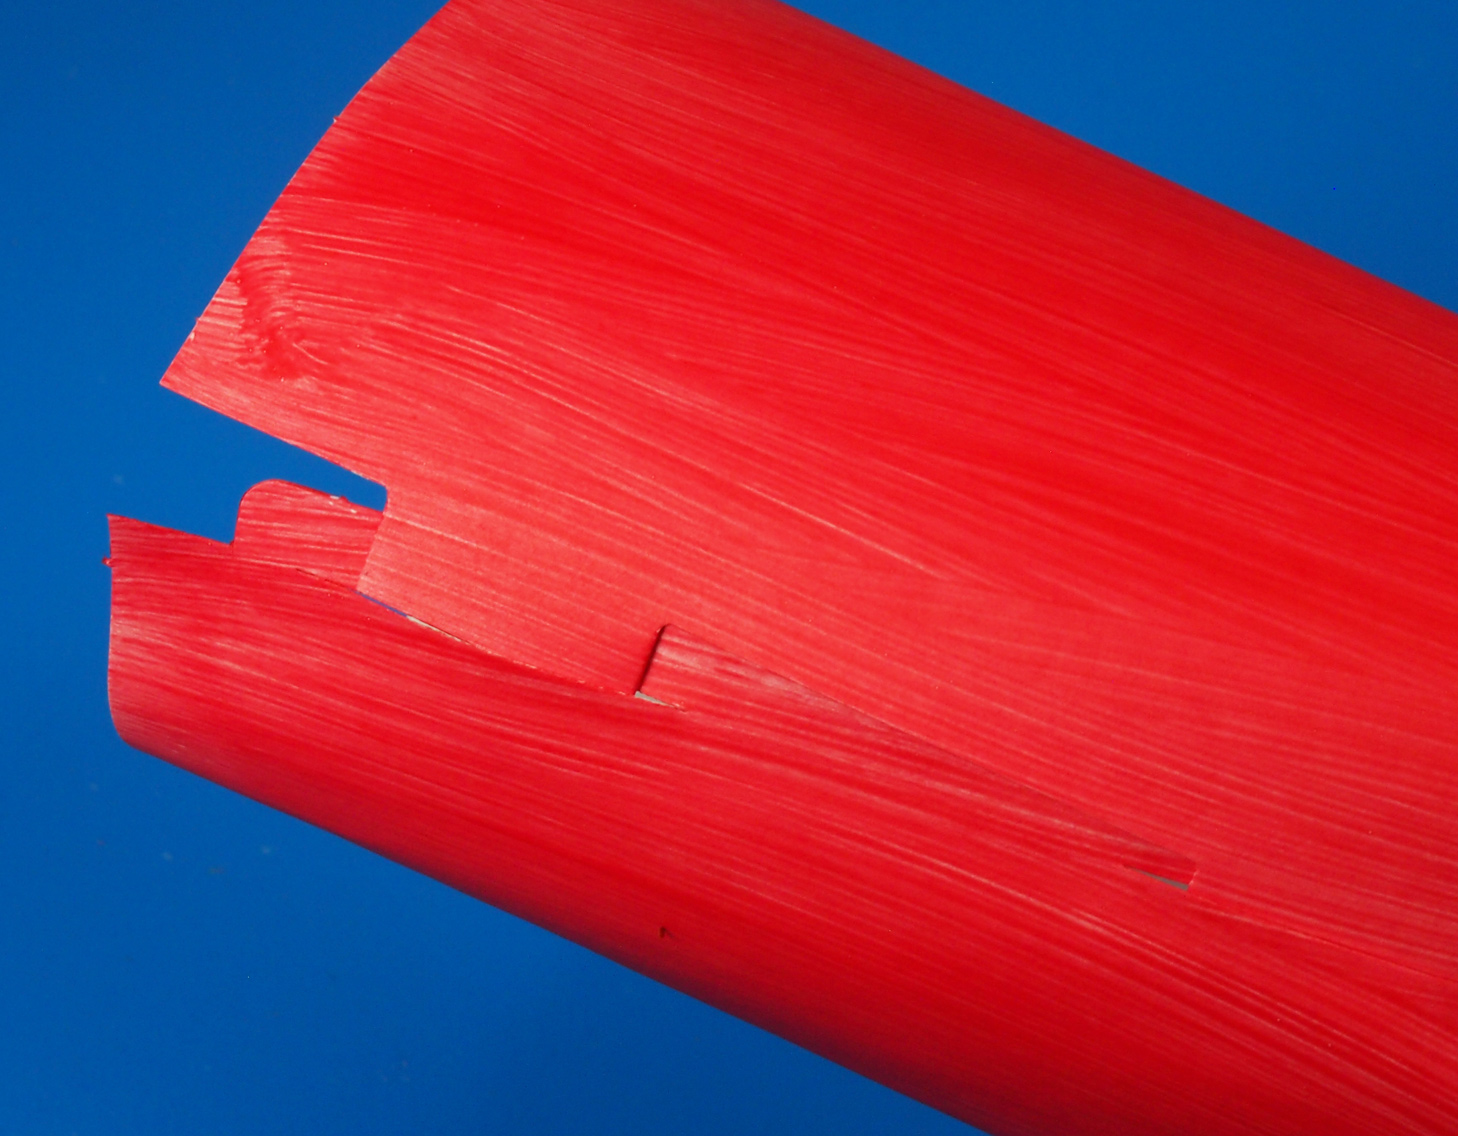
Roll the rectangle piece into a tube. To secure the tube, slide the folded tabs into the slots.

2014-02-12-Step11Reach inside the tube and unfold the tabs to “lock” in place.

2014-02-12-Step12
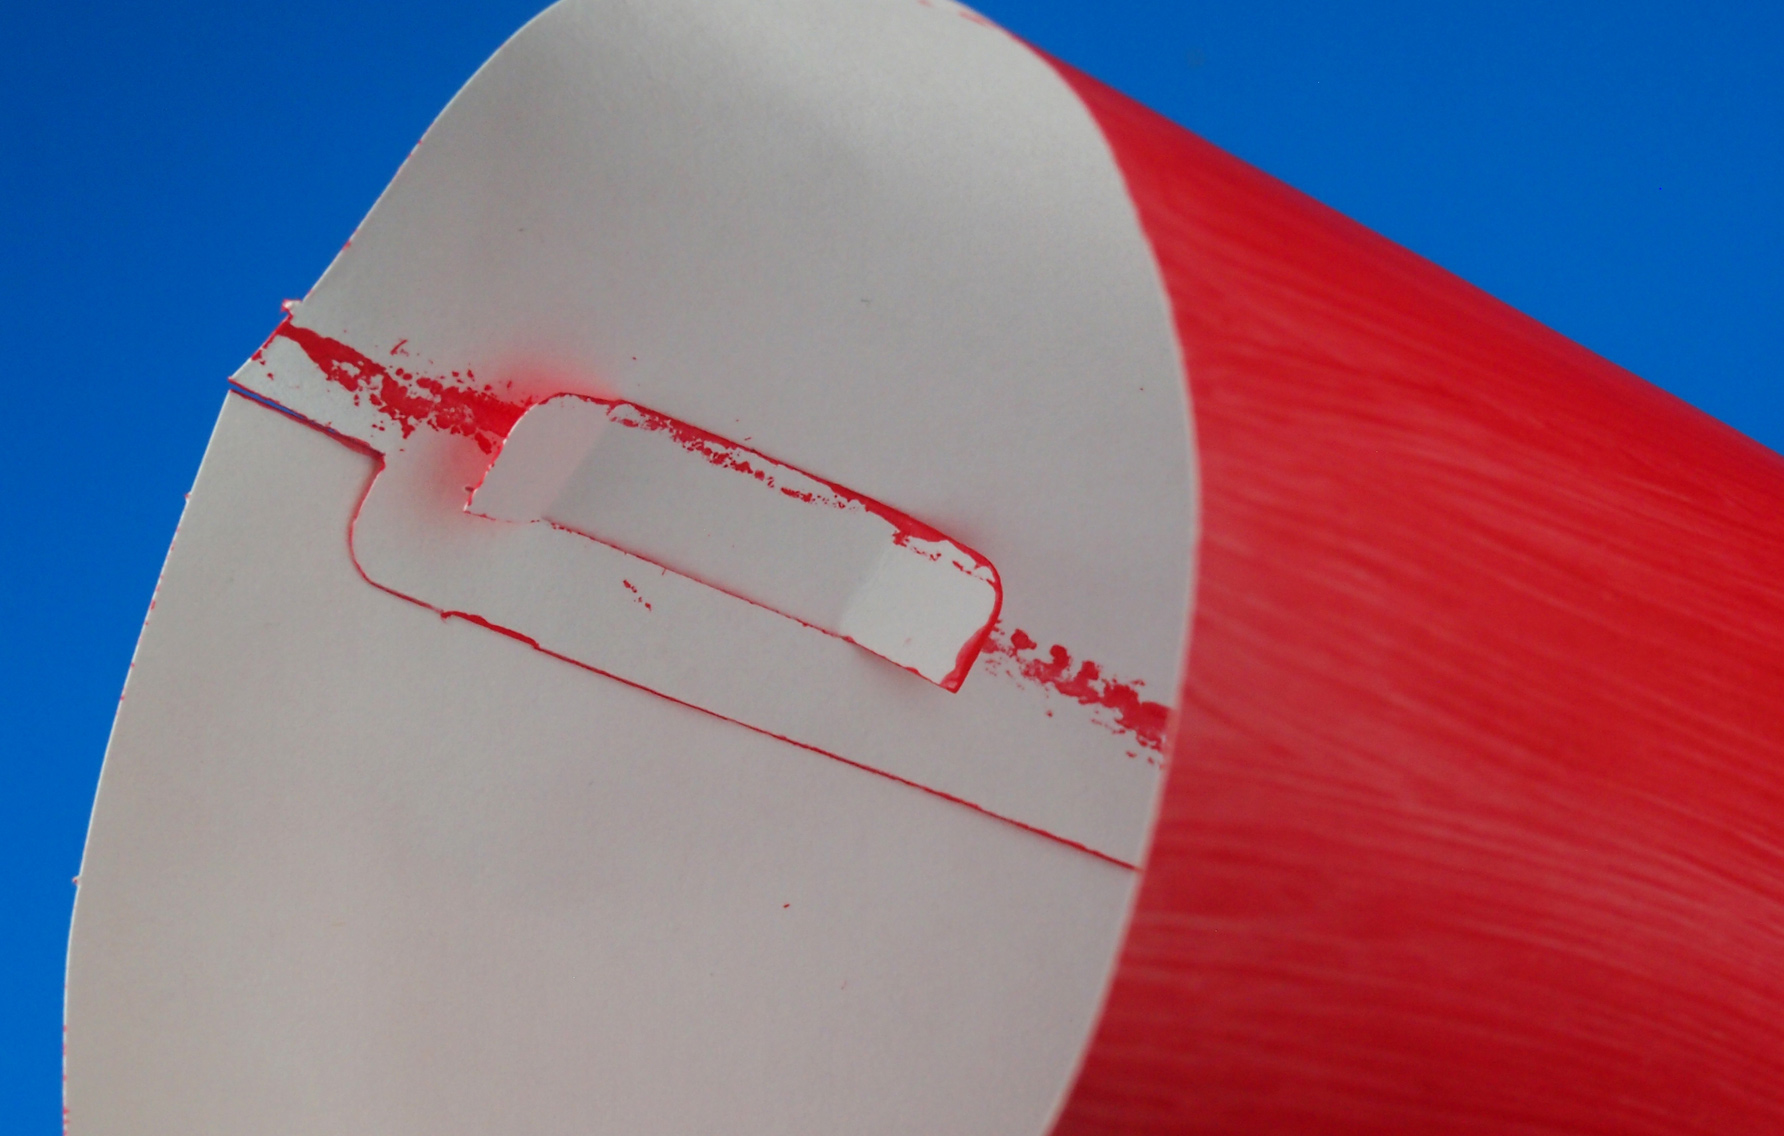
You can reinforce the tube with a bit of tape!

2014-02-12-Step13
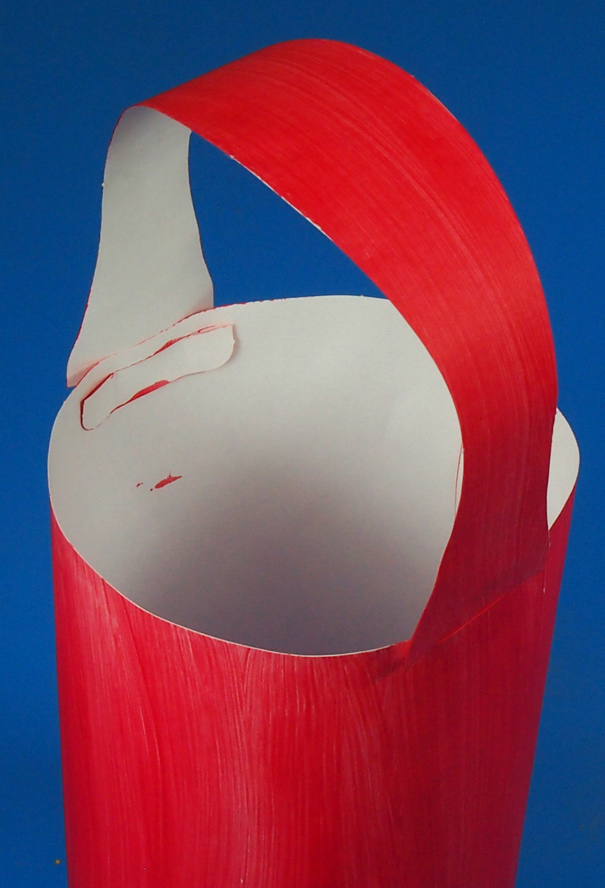
Now it’s time to attach the handle. That’s what the long wavy piece is for! Locate the two slots along the top edge of the tube and slide the ends of the handle through.

2014-02-12-Step14

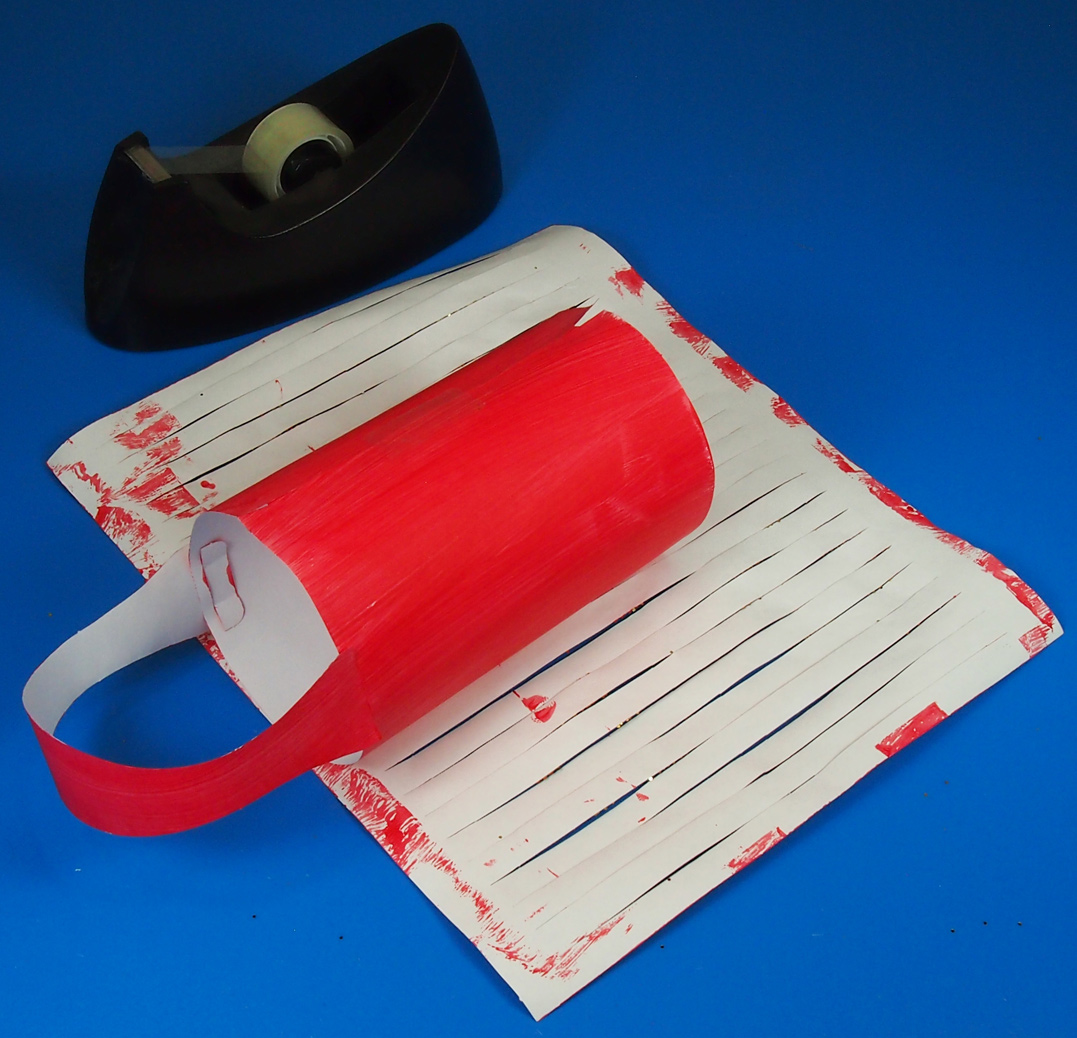
This will create a little basket-like project. Lay your glitter-stamped square piece face down so that the unpainted side is facing up. Align the top edge of the basket tube with the top edge of the square piece.

2014-02-12-Step15Wrap the glitter-stamped piece all around the tube and secure the edges together with tape.

2014-02-12-Step16Now, flip the lantern over. To create the bowl effect, you need to match the bottom edge of the square piece with the bottom edge of the inner tube. This will cause the strips to fan out.

2014-02-12-Step17
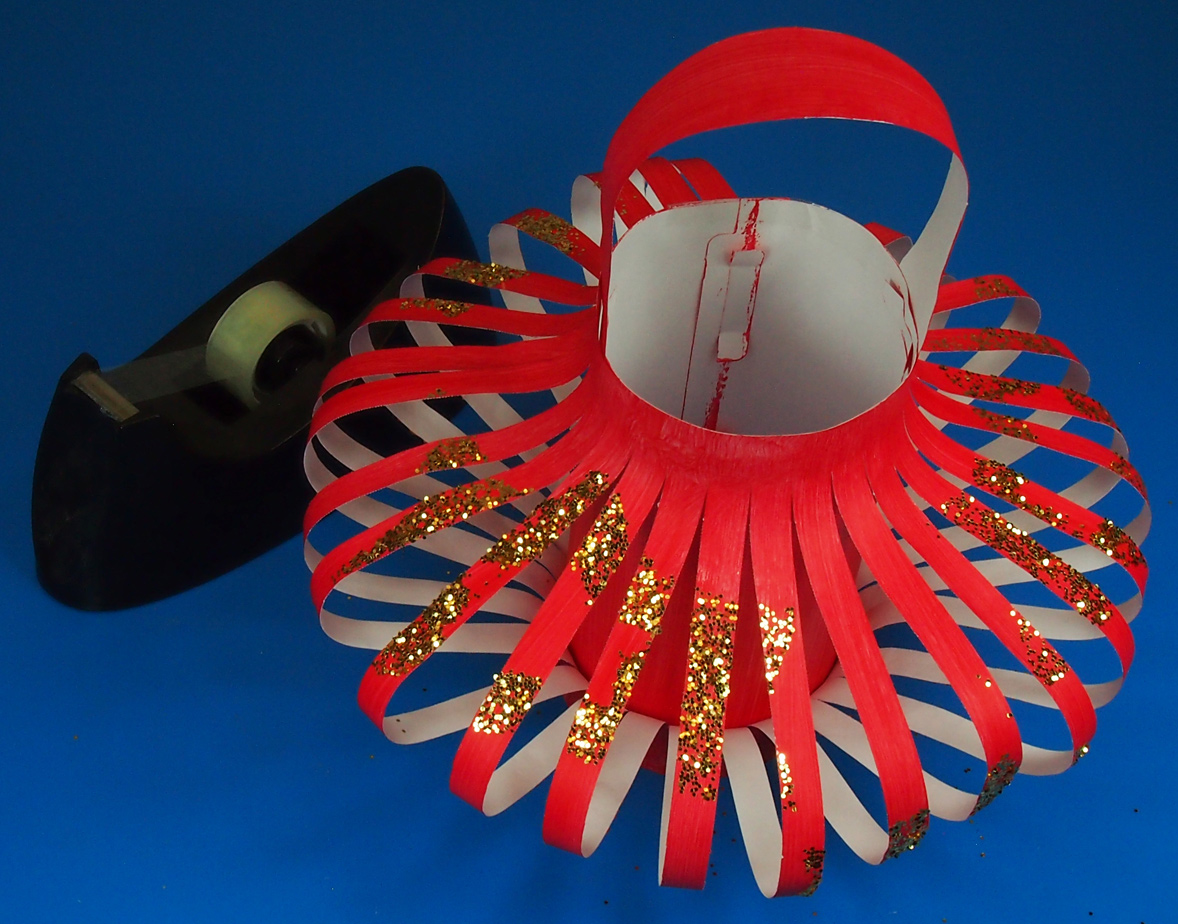
Tape the bottom edges together.

2014-02-12-Step18
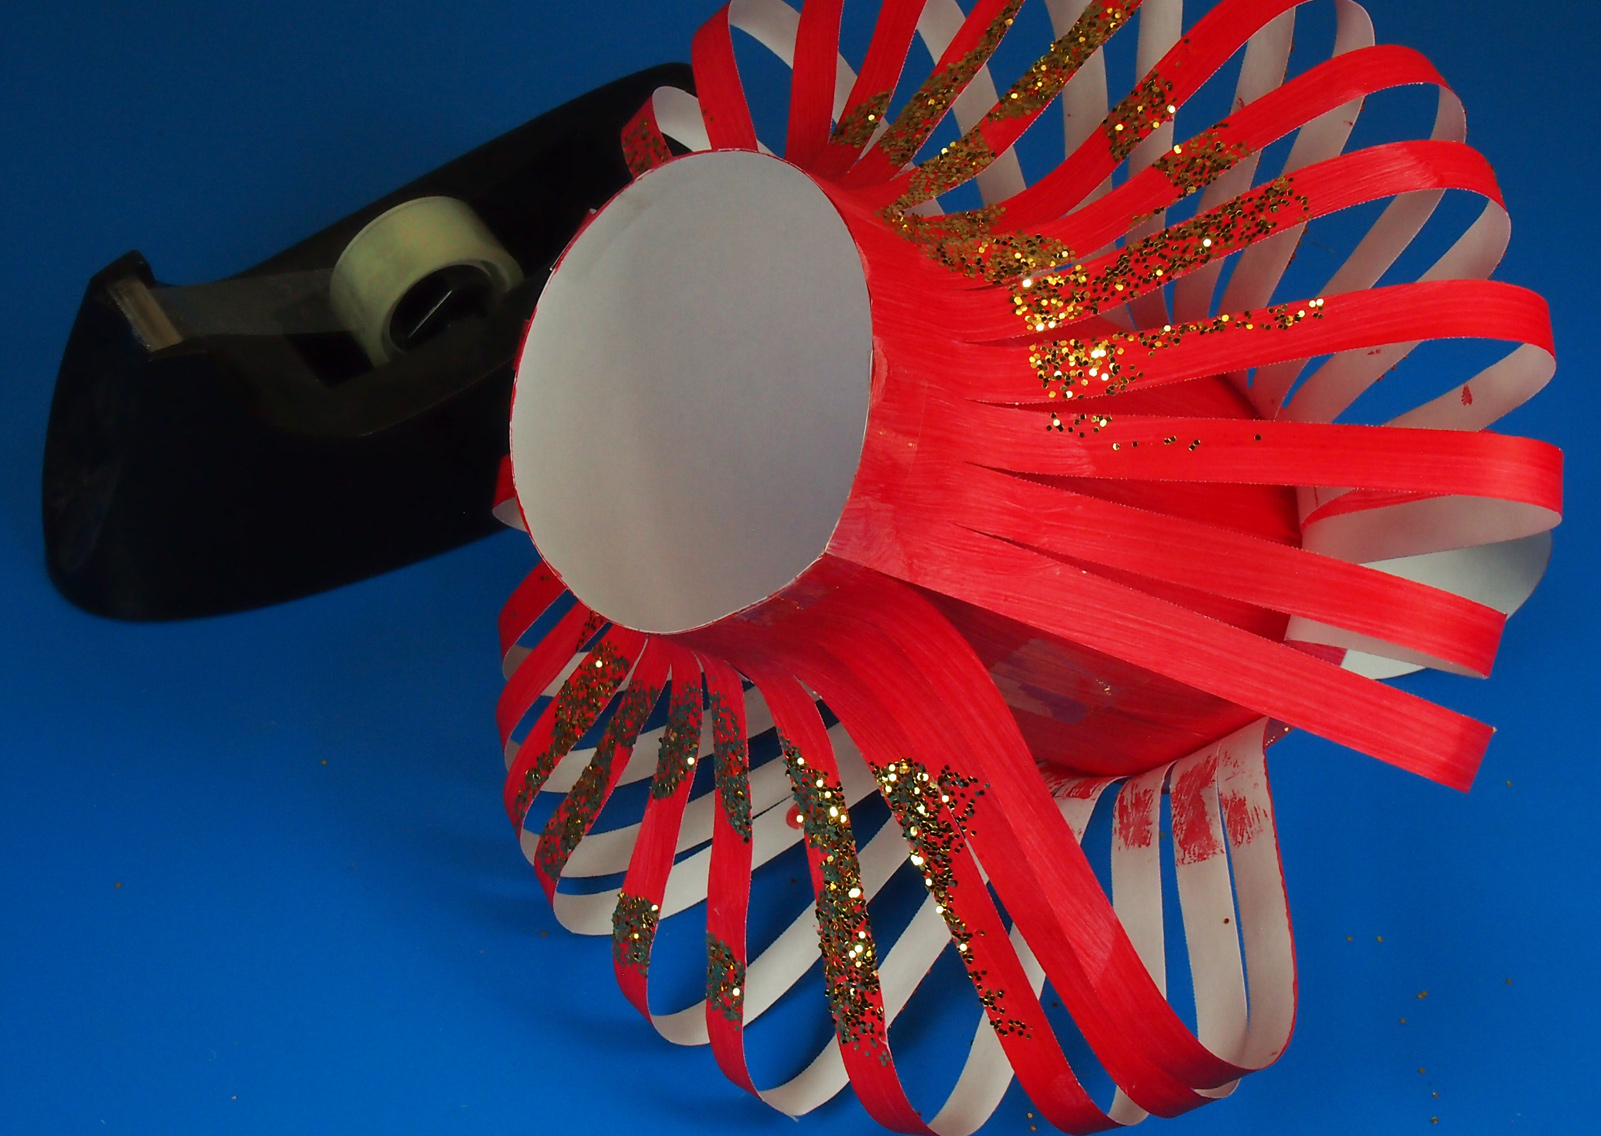
If needed, separate and fan out the individual strips.

2014-02-12-Step19
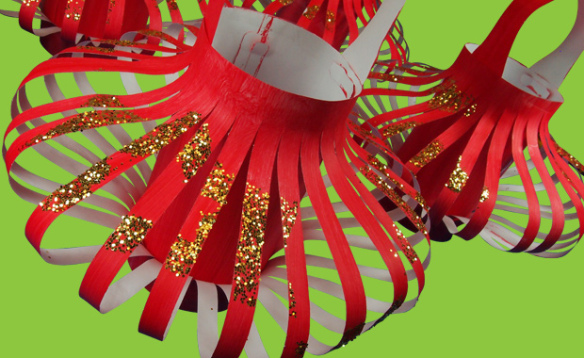
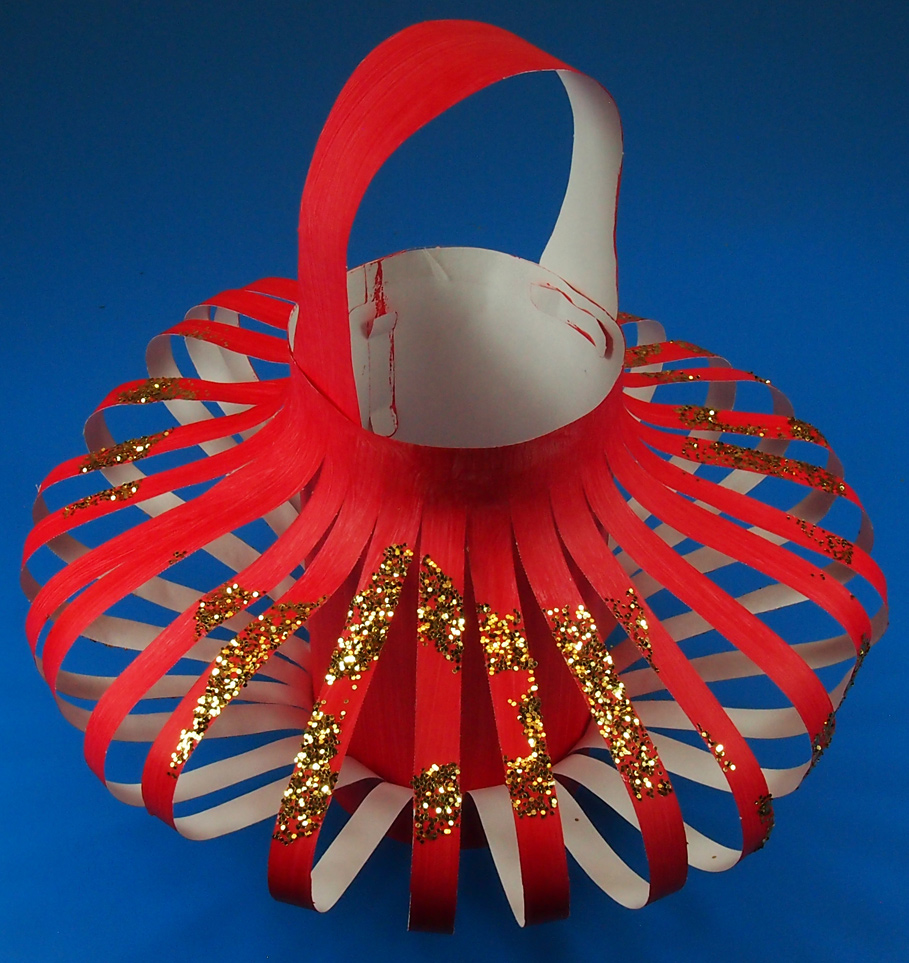
A beautiful, glittery take-home gift or, use string to hang the lanterns together from the classroom ceiling.

Line-18

Thanks for stopping by to view this post! If you would like to share some of your or your students’ projects, send photos of your work to subscriber@roylco.ca! Thanks for visiting and check back soon!

Bug Sculptures

16036 - CHILD SHOT-red_web
Use water to sculpt life-like insects! This ingenious technique using 100% recycled material will create beautiful 3D designs that your students will be proud to call their art!
Before starting, make sure you lay down newspapers or a paint tray onto your working surface. This will help keep the water in one area for easy cleanup.

Choose your insect design. There are 8 bug designs in total, including a bee, spider, rhino beetle, stag beetle, moth, butterfly, scorpion and dragonfly.

16036-CraftGroup2

Wet both sides of the chipboard design. The water will soak through the material, allowing it to bend without tearing. Curve, crease and form wings, legs and antennae.

16036-Bending

When you are finished, prop the sculpture in between small objects to hold the sculpture’s shape as it dries. When dry, color the insects with paint and display the finished pieces in a lifelike nature exhibit!

Line-15

Like us on FacebookShare this post with your friends, or Subscribe to this blog today to receive original craft project updates every week!

Mother Rising blog uses our Color Diffusing Leaves!

I absolutely adore the variety of designs that the Color Diffusing Leaves can be used to make. No two are alike–literally! This beautiful assortment of leaves were made from watercolor paint diffusion.

Wendy published this craft post on September 24, 2008. To read more about the post entitled, “Celebrating Autumn” click here!

A neat addition to the colorful leaves is the grommet, with which Wendy attached in order to make it easier to hang the leaves from the ceiling. This is a great idea for making a garland too! Thread the leaves onto a length of string and hang the garland across a classroom wall.

Wendy also recommended trying crayon and colored pencil to produce a paint-resist effect. This would be a great technique to try out sometime!

Thanks to Wendy for this post!

Images and original post © Mother Rising

This post was not sponsored for a review. At LittleFingersBigArt, our mission is to present to our readers and viewers the newest and most creative craft ideas that fans of Roylco have made on their own. Our goal is to allow you and other educators and parents to reuse our products in fun ways so that children always get the best educational experience from them!

We’d love to see more ideas like this one! If you’ve got a brilliant craft idea or have made a version of one of our crafts that you would like to share with us, send an email to us with photos, descriptions or a link to your work. We will create a feature post and link back to you with full credit. Contact us through the contact form for more details. We’d love to hear from you!

This Little Class of Mine uses our Color Diffusing Paper!

Used to make ocean backgrounds for these adorable squid characters, Color Diffusing Paper was combined with paint and bit of salt to create neat bubbly water effects!

This activity was part of a literacy/art class that studied a fun children’s book, I’m the Best Artist in the Ocean by Kevin Sherry. The squid on the front cover was used as the inspiration for this classroom’s art projects. Students also gained a lesson in biology as they learned a bit about ocean life and habitats of ocean creatures.

Check out some of the amazing art projects at this link!

The post, entitled “Best Artist in the Ocean: Giant Squid Painting” was published on September 27, 2010 at the Little Class of Mine blog. Visit more of this blog here!

Ms. Nellie Mae first showed her students a simple and challenging way to draw squid characters. The students painted their squid characters onto blue-color paper. While they waited for the paint to dry, the students prepared their backgrounds.

The R15212 Color Diffusing Paper was first placed on top of a sheet of white paper. This was a bonus trick that allowed students to make a copy of their artwork! Using liquid watercolors, the students painted their diffusion paper. The students then dropped pinches of salt onto the still-wet paint. This created a bubbly effect on the paint!

Crazy cool!

Thanks to Nellie Mae for sharing this post!

Images and original post © This Little Class of Mine

This post was not sponsored for a review. At LittleFingersBigArt, our mission is to present to our readers and viewers the newest and most creative craft ideas that fans of Roylco have made on their own. Our goal is to allow you and other educators and parents to reuse our products in fun ways so that children always get the best educational experience from them!

We’d love to see more ideas like this one! If you’ve got a brilliant craft idea or have made a version of one of our crafts that you would like to share with us, send an email to subscriber@roylco.ca with photos, descriptions or a link to your work. We will create a feature post and link back to you with full credit. We’d love to hear from you!

Drip Drip Splatter Splash uses our Color Diffusing Paper!

Create awesome effects on Color Diffusing Paper! The Drip, Drip, Splatter, Splash blog posted their butterfly artwork which used Color Diffusing Paper, permanent marker and watercolor paints.

The post was published on April 17, 2013 and is entitled, “Butterfly Art.” Click here to visit the page!

Using permanent marker helps to create definite lines that students can use as guidelines for painting. We suggest to first have your design sketched out onto scrap paper. Once you are satisfied with the look, place a sheet of Color Diffusing Paper on top. Trace the outlines with black marker onto the Color Diffusing Paper.

Watercolor paints work best with the Diffusing Paper as it gets absorbed into and throughout the paper. This neat effect is due to the process of diffusion. Diffusion happens when the particles in watercolors meet a material like diffusing paper that has little to no water content. As a result, it is always trying to fill in that area with watercolor particles.

The first part of the post shows a beautiful picture of the various butterfly renditions made with Color Diffusing Paper. Scroll further down the post to see other variations made with different materials!

Thanks to Shelly P for sharing her work!

Images and original post © Drip, Drip, Splatter Splash

This post was not sponsored for a review. At LittleFingersBigArt, our mission is to present to our readers and viewers the newest and most creative craft ideas that fans of Roylco have made on their own. Our goal is to allow you and other educators and parents to reuse our products in fun ways so that children always get the best educational experience from them!

We’d love to see more ideas like this one! If you’ve got a brilliant craft idea or have made a version of one of our crafts that you would like to share with us, send an email to subscriber@roylco.ca with photos, descriptions or a link to your work. We will create a feature post and link back to you with full credit. We’d love to hear from you!

Line-16

Craft Spotlight: Paint Bellows

_DSC0071

Explore a new painting technique with Paint Bellows! These neat little painting tools feature an accordion-style chamber to help push paint out in a splatter-like design. 

A few drops of tempera paint go a long way with this painting tool! First, press out all the air from the Paint Bellows chamber. To do this, squeeze the spout in between your pointer and third finger, and place your thumb on the flat back of the bellow chamber. Press your thumb down onto the chamber. Press towards the spout. This will make all the air in the Paint Bellow escape from the chamber.

Hold the Paint Bellow in this position and lower the spout into a small amount of paint. Release your thumb from the back of the chamber while holding the Paint Bellow in place. You want to make sure you have just a little amount of paint. A little is a lot with Paint Bellows!

NOTE: Use only thicker tempera paint with the Paint Bellows. Watercolor paints or watered-down paints tend to “leak” across the page rather than create the dotted splatter effect.

R5419

The splatter effect is created when an empty Paint Bellow chamber is suppressed then quickly released onto a sheet of paper. The video below shows some artwork that can be made with Paint Bellows. It’s all in the technique!

Line-13

Thanks for viewing this post! Subscribe to us for updates every Monday, Wednesday and Friday or drop a line at subscriber@roylco.ca! We’d love to hear from you.

Butterfly Day at the Art Junction!

The amazing art community at the Art Junction made butterfly crafts using our R2450 Bug Bodies during one of their family days! See more of their brilliant artwork at the Art Junction blog

The Bug Bodies were combined with painted coffee filters to make the bug wings. Antennae were formed from pipe cleaners that were threaded through the top of the Bug Body heads.

The post was made on April 3, 2012 and is entitled: “Butterfly Day.” See the full post at the link provided!

The little artists used full sized coffee filters to explore the different effects of patterning colors and diffusion. The painted coffee filters were going to be used for the butterfly wings. While the artists were waiting for the coffee filters to dry, they explored another technique to create “butterfly” artwork: blotto painting! View the post to see more about their blotto painting strategies.

The coffee filters were cut in half and slipped through the slim opening in the side of the Bug Body. Once the Bug Body could be placed in the center of the folded coffee filter, the ends of the coffee filter were fanned out to produce a butterfly-wing effect.

Images and original post © Artmanews

This post was not sponsored for a review. At LittleFingersBigArt, our mission is to present to our readers and viewers the newest and most creative craft ideas that fans of Roylco have made on their own. Our goal is to allow you and other educators and parents to reuse our products in fun ways so that children always get the best educational experience from them!

We’d love to see more ideas like this one! If you’ve got a brilliant craft idea or have made a version of one of our crafts that you would like to share with us, send an email to subscriber@roylco.ca with photos, descriptions or a link to your work. We will create a feature post and link back to you with full credit. We’d love to hear from you!

Line-22

Thanks for stopping by to view this post!

Craft Spotlight: Masterpiece Fingerpaint Frames

Feature-Image-mpfingerpaintframes

Make a work of art out of every fingerpainting session! Simply slip students’ fingerpaint artwork underneath any one of our R75421 Masterpiece Fingerpainting Frames

Each of the Masterpiece Fingerpainting Frame packages comes with special fingerpaint paper that slips perfectly into each of the frames. Use regular fingerpaint on the paper.

IMG_7486

To enhance students’ sensory awareness, we asked the art campers to close their eyes as they fingerpainted. Many of the campers loved the freedom they experienced with fingerpainting. Instead of painting a specific image, students could simply blend colors together and take delight in getting ‘messy’ without much clean-up needed.

IMG_7484

To make their fingerpainted backgrounds even more intriguing, we dripped a blob of one paint color onto one side of the paper, then took another color and repeated the same for the opposite side.

IMG_7488

This art camper blended similar colors together: Red and orange. To make her painting more distinguishable, she decided to create patterns in the paint with her fingers.

IMG_7483

The frames are die-cut into 6 beautiful designs. Choose from a gecko, butterfly, fish, frog, turtle or bird. The colors your students choose in their fingerpainting artwork will show through the stylized designs. Pop out the die-cut pieces from the rest of the frame. 

To slip the fingerpainted background into the Masterpiece Fingerpaint Frames, locate the tabs on the sides of the frame. Lift the tabs up and slip the edge of the fingerpaint paper in. Secure the paper on all four sides of the frame.

_DSC0259

Try out a variety of different fingerpainted backgrounds! Change up the background to give your masterpiece a new look.

R75421

Line-09

Thanks for stopping by! If you have any comments or suggestions, or you would like us to publish a post on your work, drop us a line at subscriber@roylco.ca!

Craft Spotlight: Fingerpaint Sensations Kit

Feature-Image-FingerPaintSense

Our safe-to-use additives provide a pop of sensation to your painting projects! A great way to encourage fine motor play in special needs classrooms. Simply pop in one additive to one color of paint and let the fun begin!

Each additive is packaged separately so you can control how much of each you want to use in your painting. Simply insert the additives into your favorite paints and stir around. It’s a good idea to place each color into separate bowls. Let sit for a bit to help the additives soak into the paint.

R75415

The kit includes ten sensational additives: Fine grit, funny fibers, coarse grit, squishy, soft, frictionless, dissolving, roly-poly, stringy and goopy!

The video below demonstrates how these additives work with paint on paper. Try it out for yourself!

Get your students to dip their fingers into the paint and describe the textures they feel. Which textures do they like the best? The video below shows one of our friends Ryan trying out the Fingerpaint Sensations paints for the first time!

Children can paint scenes or pictures of things they like.

_DSC0026To help your students focus on the sensations of the fingerpaint, wrap a bandanna around their eyes so they can’t see their work. Ask them to “feel” their painting. Our Art Campers were talked through their paintings. For instance, we would help them dip their hands into a color of paint and told them to feel the texture and imagine what it could represent in their painting. Once they provided their descriptions, we placed their hands over their painting paper and asked them to draw the the rays of the sun using gritty yellow paint. 

_DSC0019

Once that was complete, the students moved on to paint their gooey blue sky. It was great fun to hear their reactions when they put the different elements of the painting together. Despite not being able to see, many students could clearly visualize how they wanted their painting to appear.

_DSC0021It was a good lesson in getting students to focus on their fine motor movements rather than just relying on their vision to create their art pieces.

If you are going for more results-based artwork, try out a project like the one below!

75415 Fingerpaint Sensations_Image Sample1

Here’s an example of something your students can make. Cover various parts of your hands and fingers with different sensational paint colors. Press your hand onto a piece of paper. Add in details later.

Line-20We hope you’ve enjoyed this post! If you have thoughts to share or would like us to post up photos of your students’ work, send us an email to subscriber@roylco.ca!