Junior Heart Paint Pipettes

R54470-A

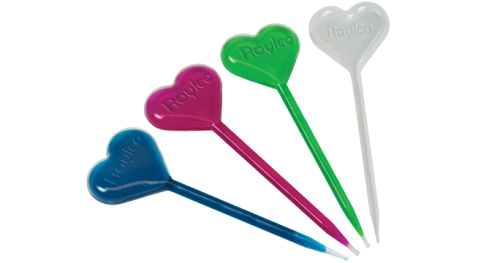
Use our Junior Heart Paint Pipettes and love your art! The pipettes have heart-shaped bulbs at the top that will encourage children to practice flexing and squeezing their fingers.

Mix a few drops of concentrated watercolor paint or food coloring with about 2 cups of warm water. Squeeze the bulb to expel all the air from the inside and then dip the nozzle into a bowl of watercolor paint. Release the bulb. The inner chamber will fill with paint.

Squeeze the bulb to press out the paint.
R54470-B

Here are some ideas on how to use the Paint Pipettes!

  • Make interesting splatter art.
  • Mix up watercolor paint with a dash of glitter. Pipette the mixture onto a sheet of Color Diffusing Paper. Let dry overnight, then in the morning, get a look at your fantastic glitter painting!
  • Make a gel heart! Mix up ¼ cup cold water to 1 packet of Knox® Gelatine. Add ¼ cup boiling water and stir until dissolved. Use the pipette to draw in some of the mixture. Let set at room temperature or place in the fridge for faster setting times. Once the gel is set, use a pair of scissors to cut the pipette open. Peel away the sides to reveal your gel heart! Tip: Add in a bit of food coloring to the mixture before you let it set.

Looking for more ideas? Check out our YouTube page for more Roylco videos!

Line-09

Like us on FacebookShare this post with your friends, or Subscribe to this blog today to receive original craft project updates every week!

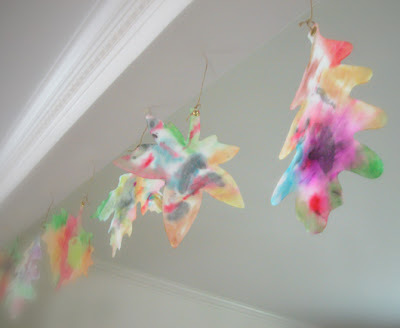
Mother Rising blog uses our Color Diffusing Leaves!

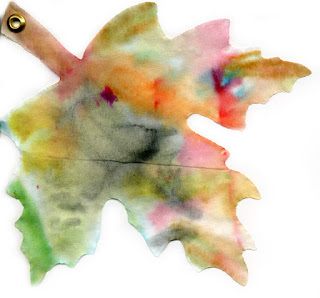
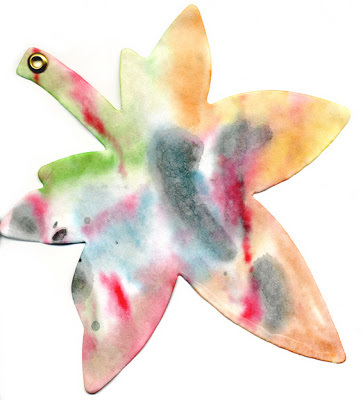
I absolutely adore the variety of designs that the Color Diffusing Leaves can be used to make. No two are alike–literally! This beautiful assortment of leaves were made from watercolor paint diffusion.

Wendy published this craft post on September 24, 2008. To read more about the post entitled, “Celebrating Autumn” click here!

A neat addition to the colorful leaves is the grommet, with which Wendy attached in order to make it easier to hang the leaves from the ceiling. This is a great idea for making a garland too! Thread the leaves onto a length of string and hang the garland across a classroom wall.

Wendy also recommended trying crayon and colored pencil to produce a paint-resist effect. This would be a great technique to try out sometime!

Thanks to Wendy for this post!

Images and original post © Mother Rising

This post was not sponsored for a review. At LittleFingersBigArt, our mission is to present to our readers and viewers the newest and most creative craft ideas that fans of Roylco have made on their own. Our goal is to allow you and other educators and parents to reuse our products in fun ways so that children always get the best educational experience from them!

We’d love to see more ideas like this one! If you’ve got a brilliant craft idea or have made a version of one of our crafts that you would like to share with us, send an email to us with photos, descriptions or a link to your work. We will create a feature post and link back to you with full credit. Contact us through the contact form for more details. We’d love to hear from you!

Craft Spotlight: Sew Up Vests

2014-04-28-FeatureImage

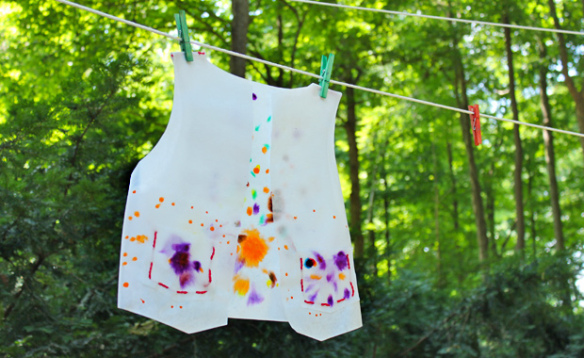
Wear your art! That’s what we say for our amazing Sew Up Vests! These multi-skill craft projects are made from versatile Color Diffusing material so that the paint design you make on the vest creates a tie-dye like effect when you add a bit of water. Paint, fold, sew and wear your vest for a variety of classroom activities!

Sew Up Vests help encourage fine motor development while giving children the creative freedom to design their own wearable vest. The vests dry fairly quickly in the sun after painting, so you don’t have to be stuck waiting for long!

To see more about our Sew Up Vests, visit this webpage. The accompanying teacher’s guide gives you more project ideas and suggestions to experiment with your Sew Up Vests.

Use the vests for group differentiation, gross motor exercise, math and literacy games, or for drama class!

IMG_2670


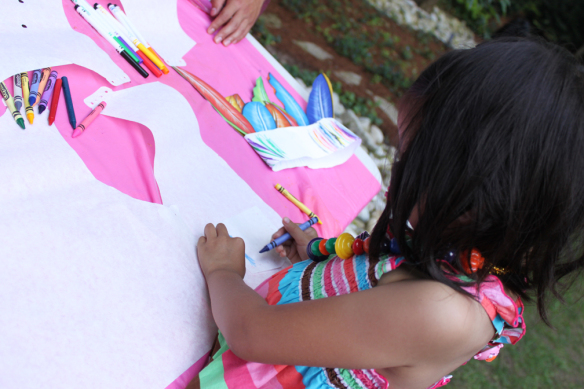
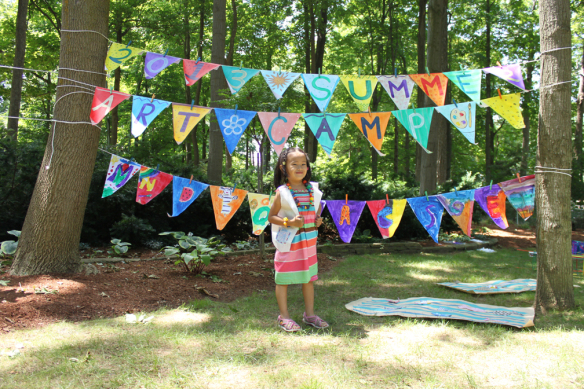
At the Art Camp, our little artists went to town with their vest designs! We supplied the campers with markers and spray bottles of water to help distribute the ink throughout the vests. Some of our campers decided to use crayons instead!

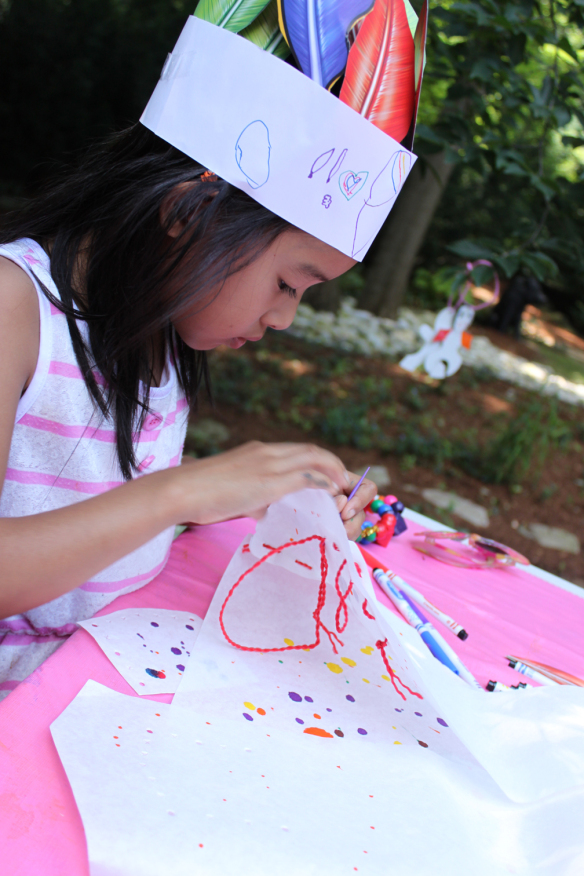
IMG_2684Once several spots of marker were applied to the vest, the campers used their spray bottles to spread the ink throughout the material.

IMG_2682

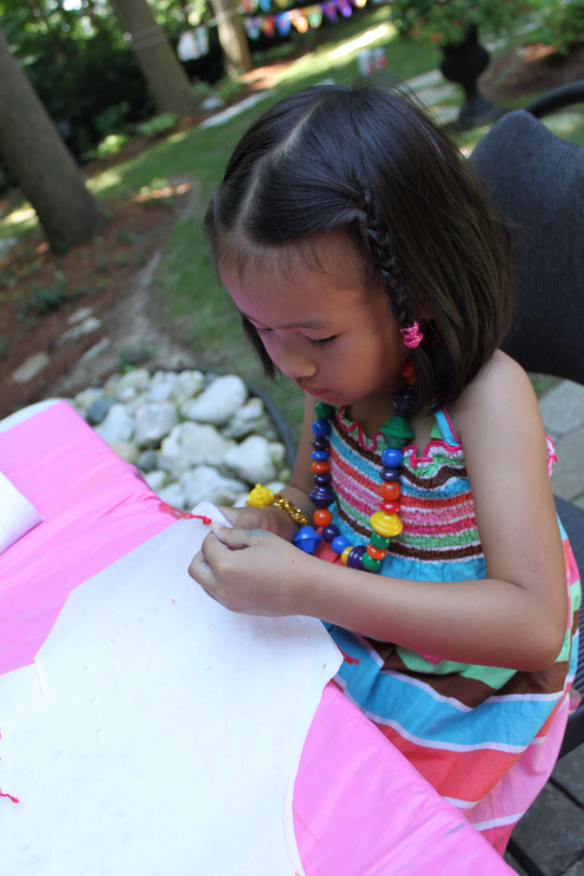
Next, we sewed the various pieces together. There are two pocket pieces, a back vest piece and two side vest pieces. All the pieces have matching holes to help coordinate your students’ sewing. Here, we use our plastic sewing needles, which are included in the kit.

IMG_2698

The guide provides you with further details on how to sew together the vest.

IMG_2691

We tried a few spots with paint first to see how they turned out!

IMG_2699

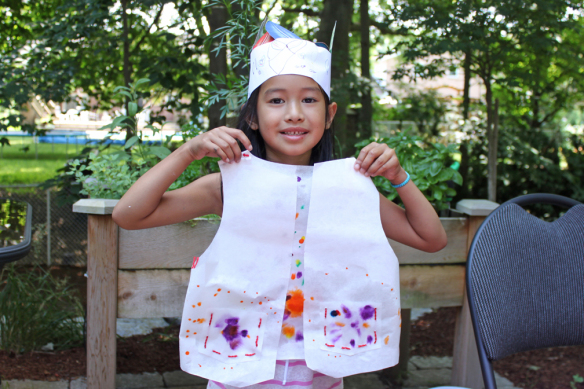
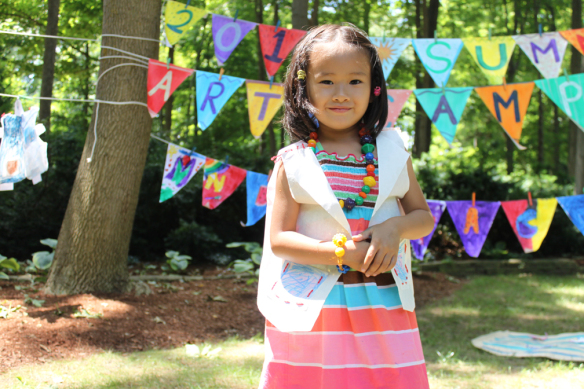
The best part was getting to wear the vests.

IMG_2701

These art vests are perfect for students to personalize and to feel good about wearing them.

Line-16

Thanks for viewing this post! Subscribe to this blog today to get updates on new craft products and craft ideas every Monday, Wednesday and Friday! Send us any comments, questions or suggestions through the contact form at the top of the page.


United Art & Education uses our Color Diffusing Circles!

colordiffusingpapercircles

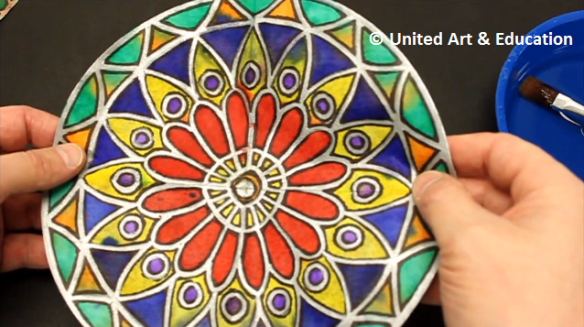
United Art & Education uses our R24908 Color Diffusing Circles to make rose-window style stained glass images! 

The process is very simple and can be applied to most other Color Diffusing Circle projects. First, the R24908 Color Diffusing Circles were folded in half twice. A pencil was used to sketch in a rose-window like design on the portioned part. Later, the artist applied watercolor markers to add color and definition to the sketch. 

The final step used a paintbrush to dab water onto the colored parts. This distributes the color through all the underlying layers.

When the paint is dry, unfold the entire Color Diffusing Circle to reveal the complete art underneath!

Check out the full step by step process and final artwork in the video below! Be sure to leave them a positive comment!

Line-14

Thanks for dropping by! If you have a Roylco project you would like to share with us, please email the details to subscriber@roylco.ca. We would love to hear from you!